Re: Project: Big Loud Server
Minor Update
All the panels arrived today. It ended up costing $95 for all of them.
Construction Error Fixed
I cut out most of the L rail with a hacksaw just leaving the two ends glued down. Then I drilled out the rivets and drilled away as much of the remaining aluminum as possible.
Then I cut away as much of it as possible with a Dremel, the Dremel discs i was using were those $20 a set generic crappy ones so it wasn’t really effective at cutting but it did generate enough heat to just melt away the remaining glue. Then i just knocked out the left over aluminium with a hammer.
Finished refitting the cross pieces in the correct position
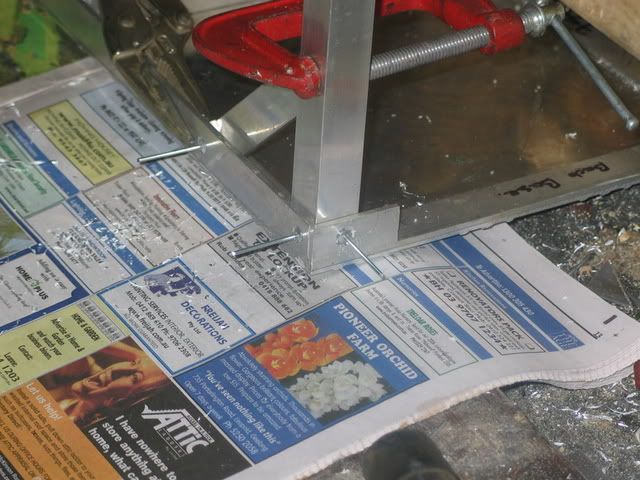
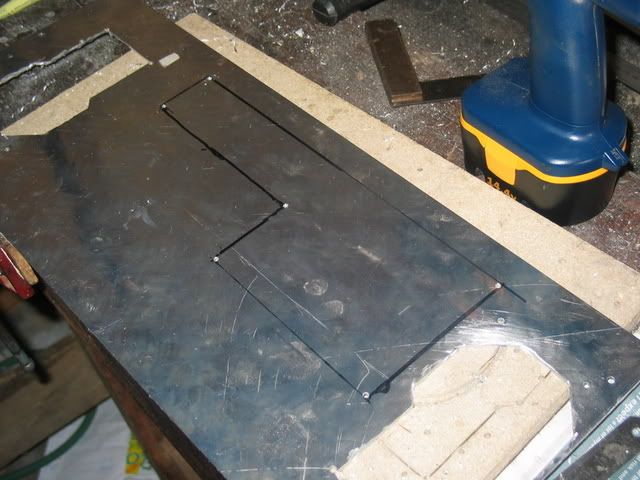
Frame Base/Panel
Now I have to panels cut and ready to go i could continue with the frame. The panel and L rails for the base were clamped onto and chip board and the joiner pieces are pre drilled on a drill press are put into position. The pre-drilled joiners are used as a template to drill through the L rail and base panel with a cordless hand drill.
Rivets are test fitted into the holes.
The L rails are then glued directly to the base panel and riveted in each corner.
Re: Project: Big Loud Server
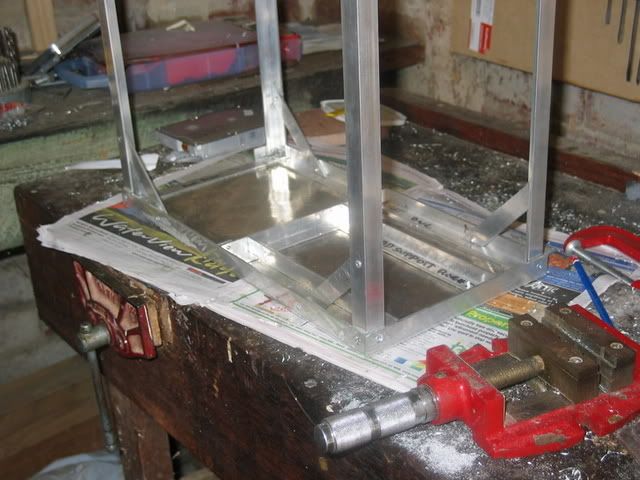
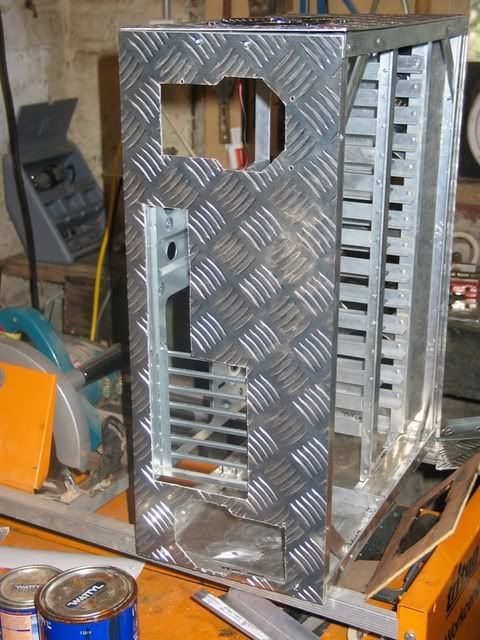
The Frame
The Uprights join the base frame with 2 rivets in each corner plus a 45 degree support. The upright and the 45 degree support are clamped in place with clamps and locking grips then the holes are drilled with a cordless hand drill. Each of the holes is then countersunk with a old school turn the handle type drill. After the first corner is glued and riveted the same process is repeat for the other corners.
After the glue sets the whole frame is turned over and its the same deal with the top of the frame.
(rivets dry fitted)
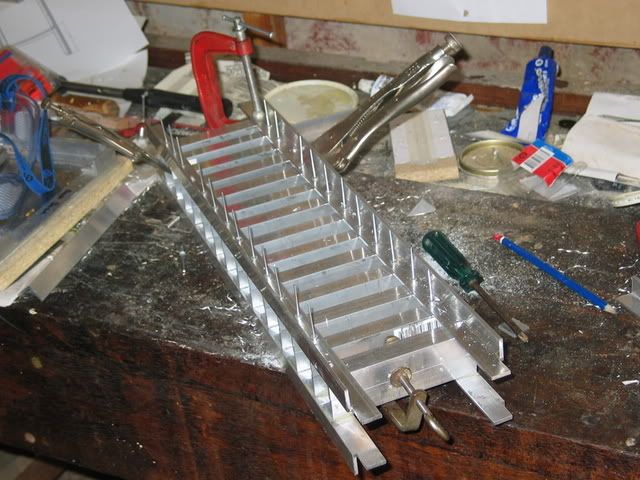
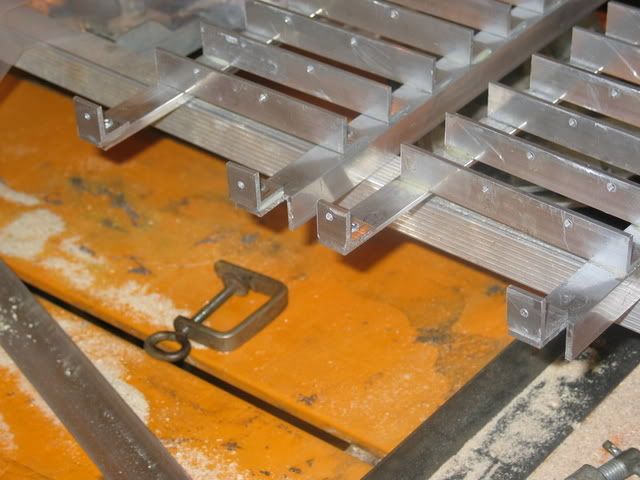
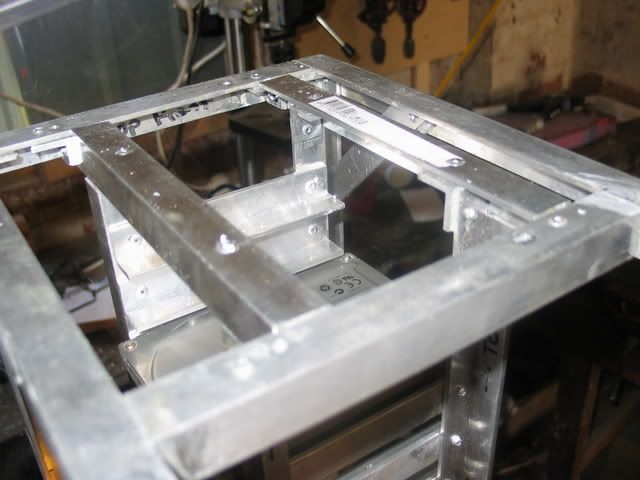
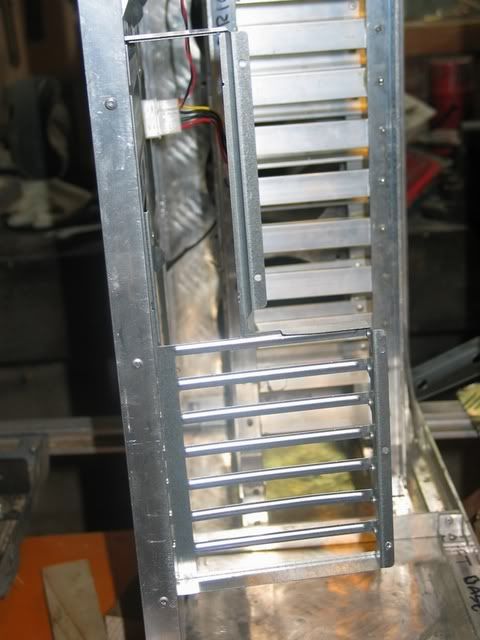
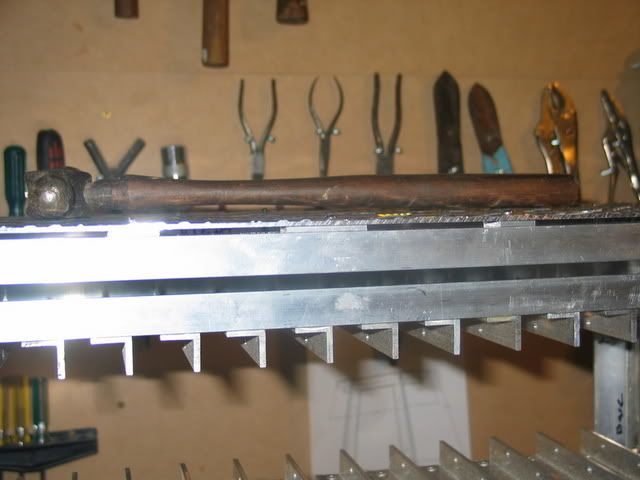
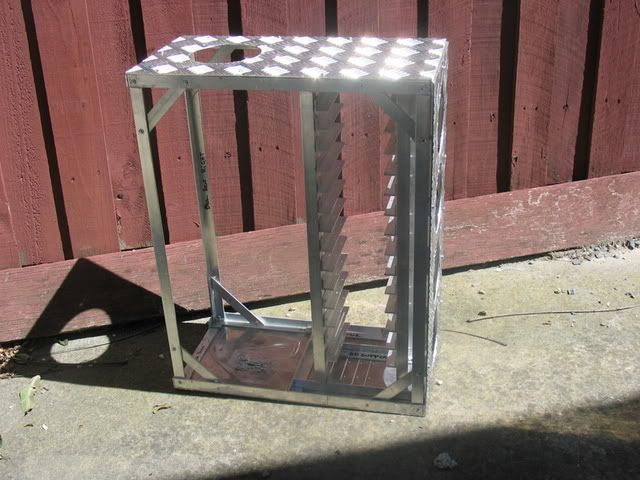
Hard Drive Supports
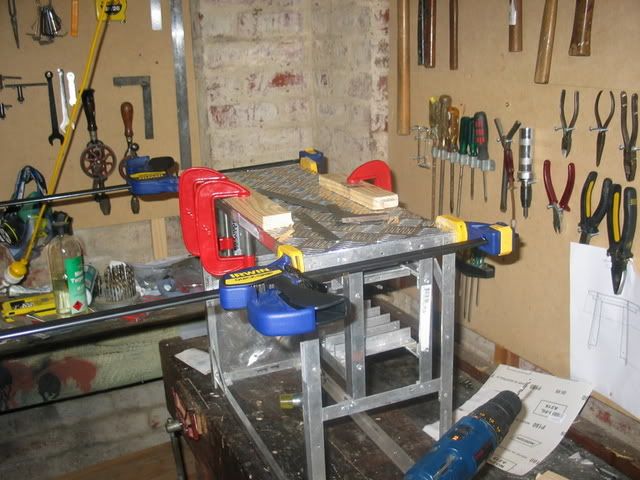
I finally finished the hard drive supports. I was having issues getting all of the supports to line up so i ended up clamping each set of supports ontop of each other then drilling right through.
So the supports can be riveted into the base and top of the frame I've attached these small L brackets at the base and top.
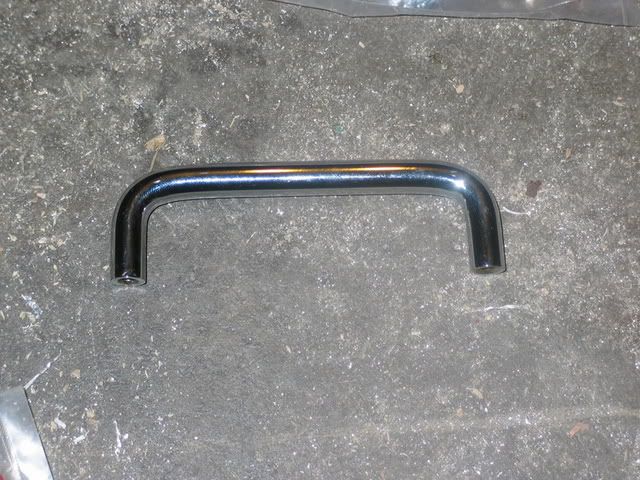
Misc
I got these handles yesterday. I know they are ment for bathroom draws but i think they match ok.
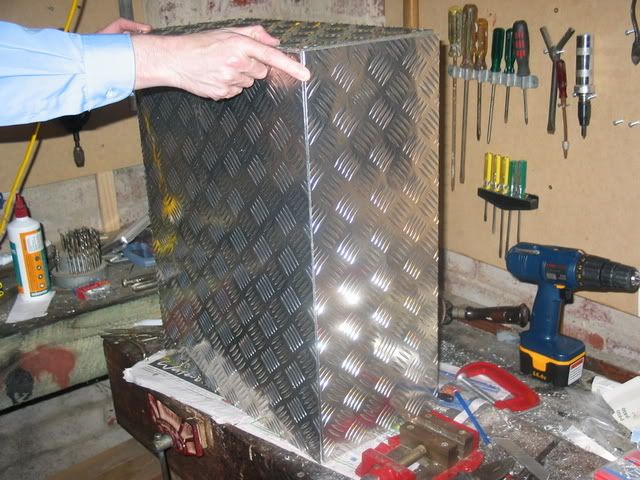
I also test fitted the panels just to get an idea of what its going to look like in the end.
Re: Project: Big Loud Server
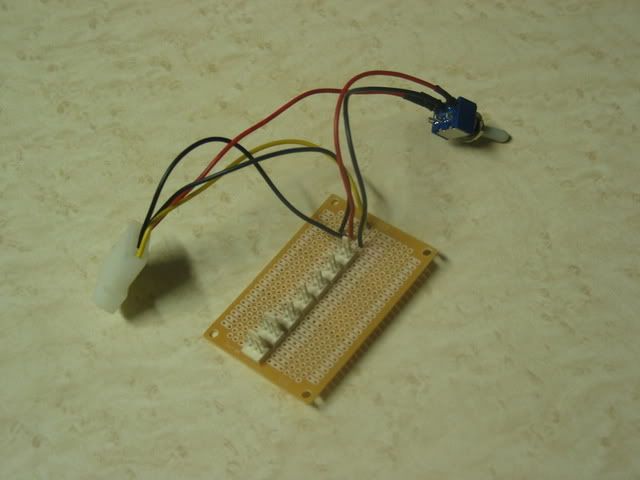
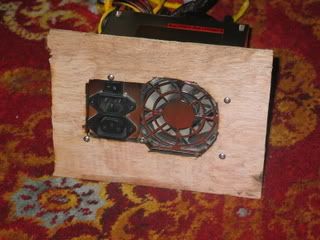
Fan controller
It switches all the fans between 12 and 7 volts.
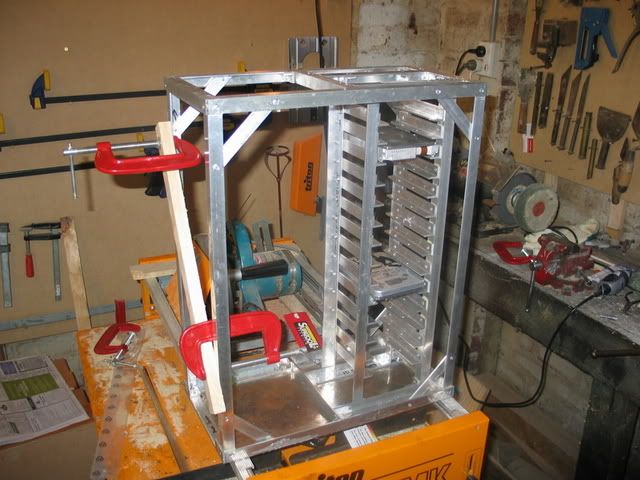
The Frame
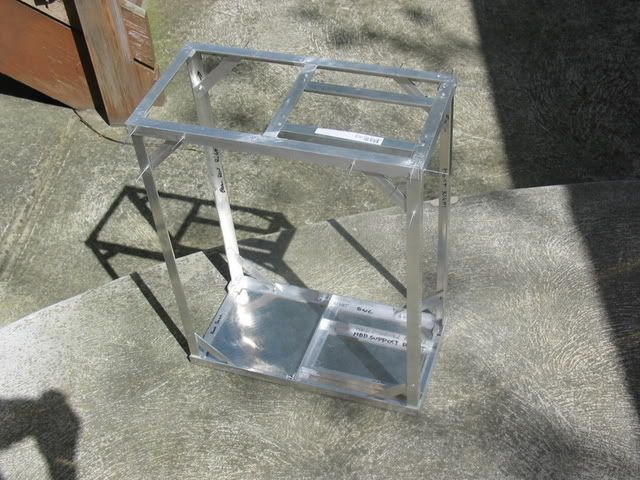
I used to dead HDDs to correctly space the two hard drive supports then braced them square with a spare piece of metal and clamps.
Then after extensive use of a hammer I got it into the frame and got the top to fit correctly. Then braced the frame with wood and more clamps so i can finish counter sinking all the holes and to make sure it was all square. Then glued and riveted everything together.
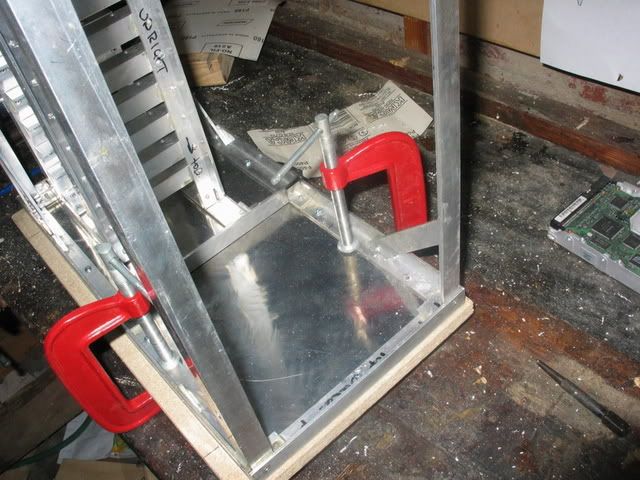
I then drilled holes through the base as well as the top frame. Then riveted through these holes into the L brackets on the top and bottom of the hard drive supports.
And thats the completed frame. Next is panel work but I don't know when i'll start that.
Re: Project: Big Loud Server
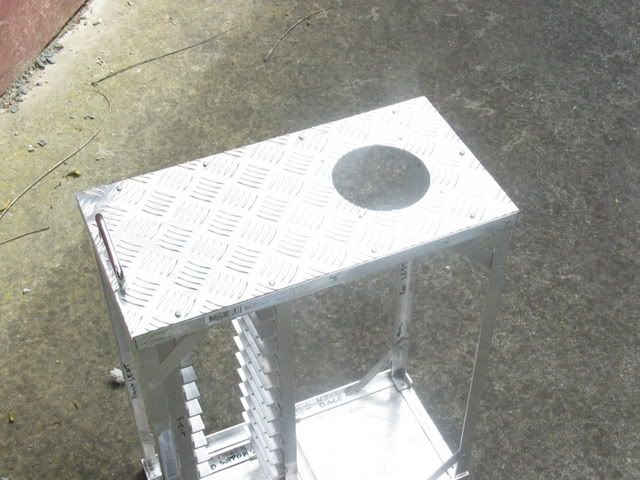
Top Panel
Finally got a bit more work done. The top panel is attached by 10 screws with nuts plus 4 screws that will attach the handles.
First the frame and top panel are lined up and clamped to a piece of chipboard. The holes are then measured and drilled with a cordless drill.
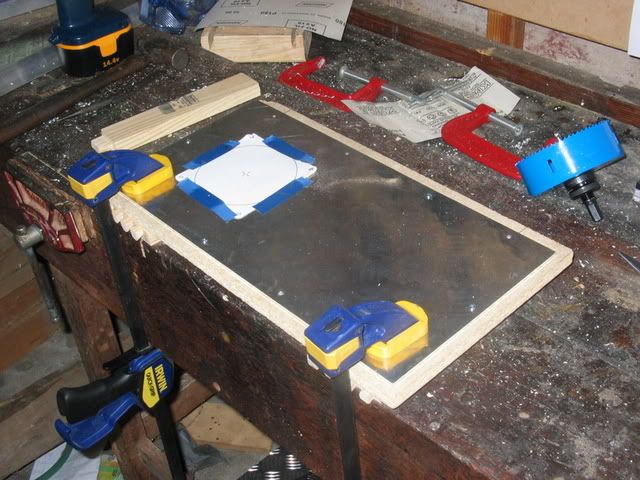
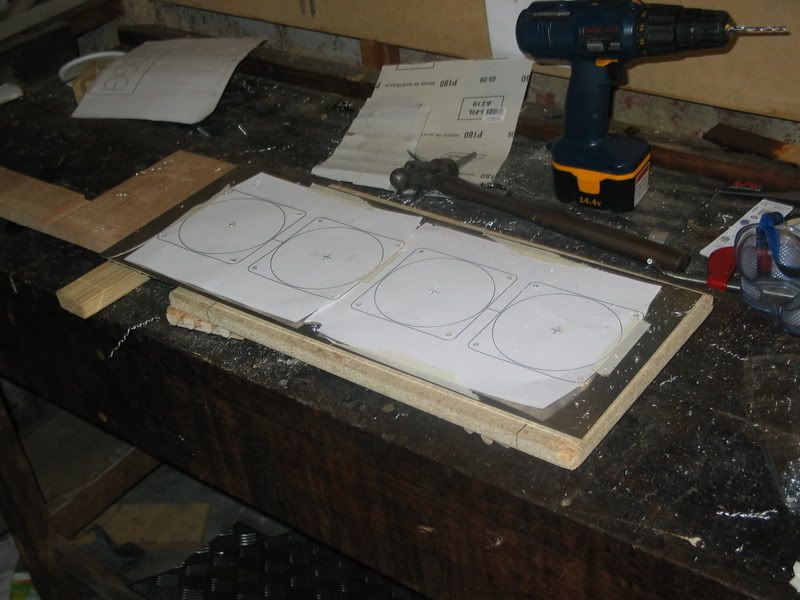
To cut the fan hole I screwed the panel down to a piece of chipboard then drill the pilot holes using a template from Sketchup. Then cut the hole using a hole saw.
It all fits together which is always good. Also now i have a cool chequerplate drink coaster.
Re: Project: Big Loud Server
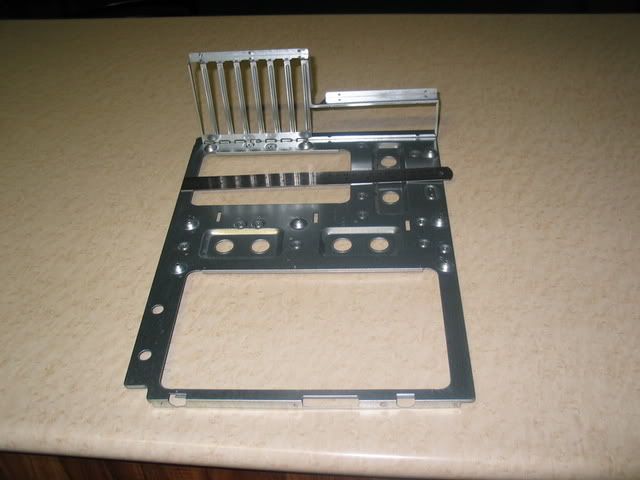
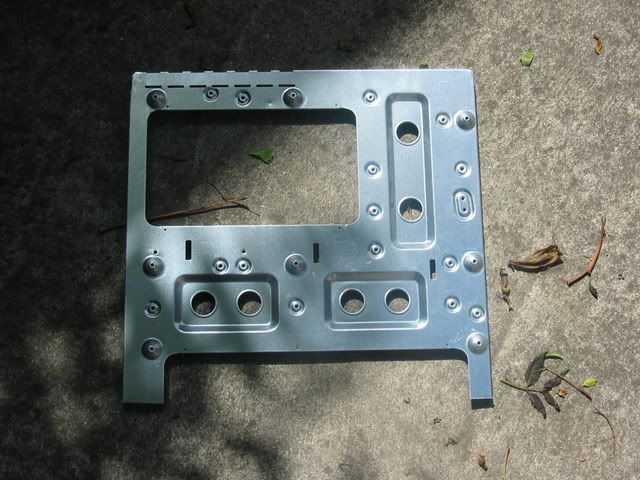
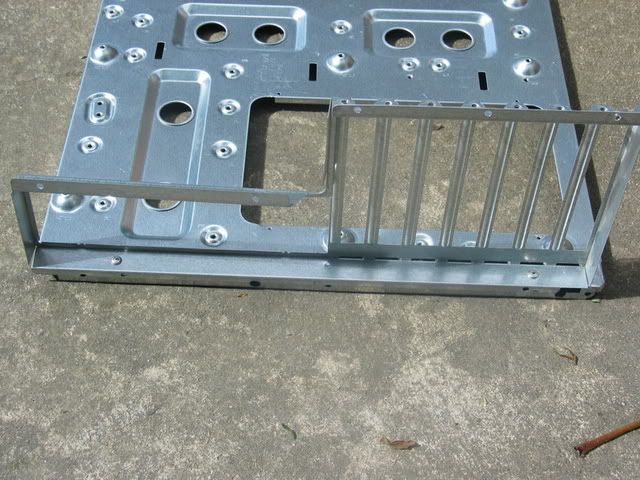
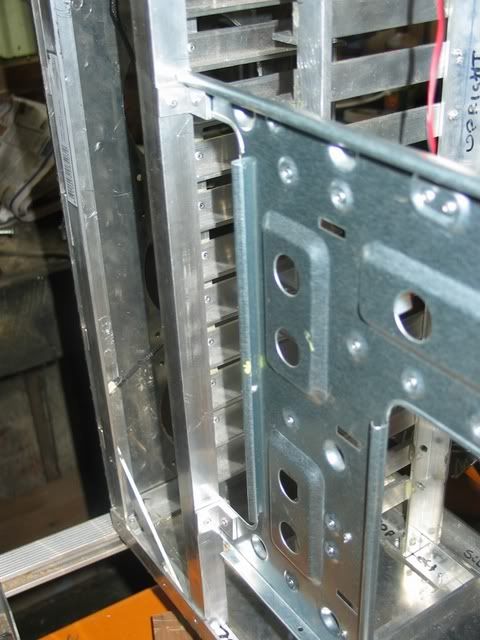
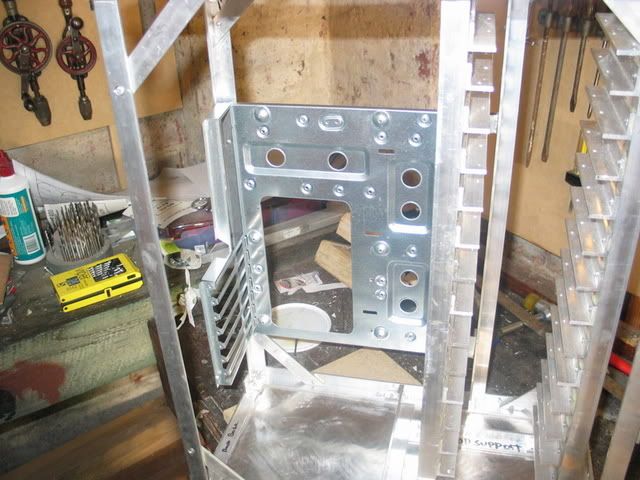
Frame/Motherboard Tray
I finally gutted my current case for the motherboard tray and I/O plate.
To get a better fit I cut about 120mm off the front of the motherboard tray.
In its original case the way the I/O plate connected to the tray was crap so I joined them with 2 rivets through the base of the I/O plate.
The motherboard tray is then connected to the back of the frame with 3 rivets.
The front of the motherboard tray is then riveted via 2 L brackets to a L rail upright.
Back Panel
The holes to fix the back panel to the frame were drill in an identical way to the front panel. The 2 PSU's will be supported by the back panel. To cut the holes for these I printed templates from Sketchup and cut a test in a piece of plywood before cutting the chequerplate panel. I got a little frustrated by the dremel being generally crap so i didn't take many pics of this.
Once the PSU holes were cut I reattached the back panel and traced around the I/O plate. I then drilled guide holes in each corner then started cutting this with the dremel but it was going crap so I switched to the jigsaw to finish it.
Re: Project: Big Loud Server
A few more pics.
To drill the attaching holes for the front panel I clamped the panel down and drilled straight through from the outside.
Because the top and bottom of the frame sits 3mm forward of the uprights I need to put in these little spacer pieces along where the screws go through. They are araldited in place.
The front panel is clamped and hole sawed in the same way the top was.
Re: Project: Big Loud Server
This is looking pretty neat! Keep up the good work.
-Dave
Re: Project: Big Loud Server
Coming along nicely, your aluminum work is top-notch. I'll look forward to watching this one to completion.
Just one quick question though, the spacing in the HD rack looks pretty tight, how do you intend to get the screws in to secure the drives?
Keep up the good work.
Fyreknight
Re: Project: Big Loud Server
:up: Nice work u got there buddy..Totally Custom
would like to see when the case is completion
Keep up the good work