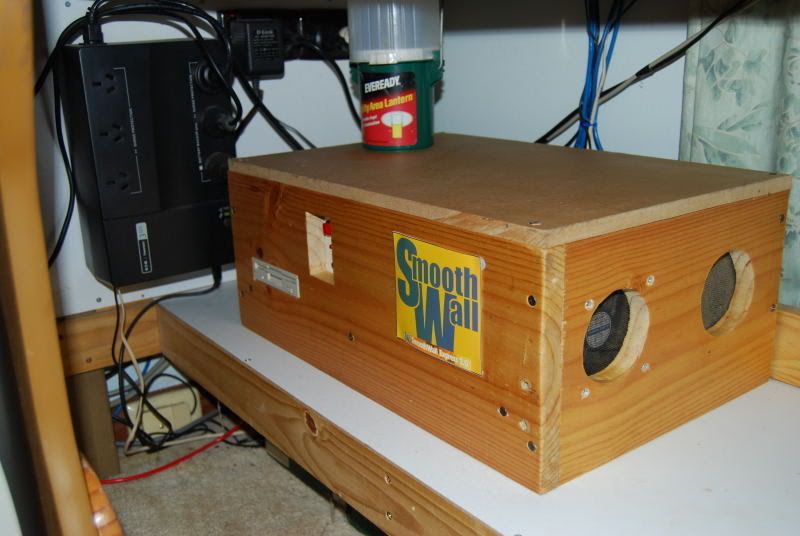
This is going to be a Scratch Build - Total Recycle of an Old Project had a few years back and originally was one of my first SmoothWall Firewalls,
(made build in a simple wooden case )
The Old
I am going to make from the Old and Recycle some of the Wood Case to make the New Jolly's Tech bench, for general Testing and Benching in my Workshop Garage
Also will be Incorporating some NMC style to it even though I wasnt in the Competition as I was one of the Competition Judge;s,
I just needed something to do, kinda getting to Quiet and bored round here so, with a little Time up my sleeve and No Money for Real Case Modding
The only outlay here is for some Paint, as everything else is from scraps left over in garage from other previous Mods!
Materials List
The Old wood case, and extra wood (already have)
Some wood Screws (already have)
Some Plexi (left over pieces from The Sled Project)
HDD cage/CD-DVD drive cage ( left over from old case)
Spray Paint Cans Matt Black x 2 - Purple x1 - Sandpaper (cost $15.00AU)
Spray Clear Coat Satin x 1.5cans(already Have)
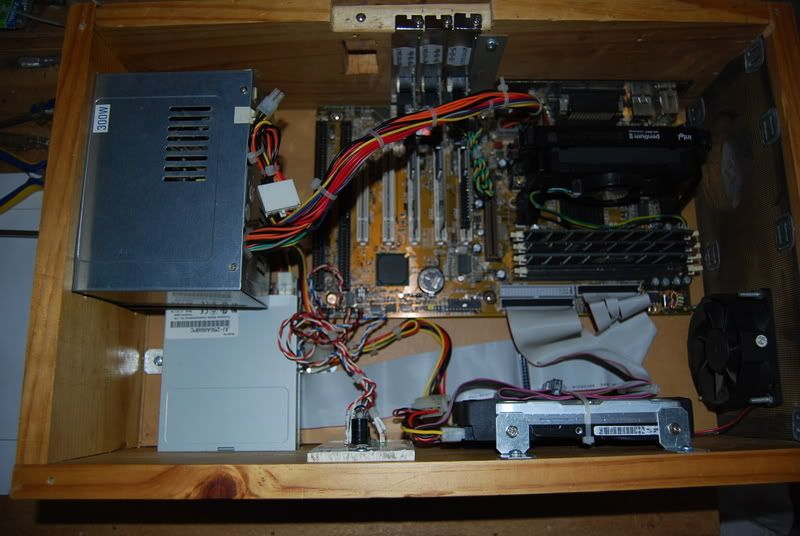
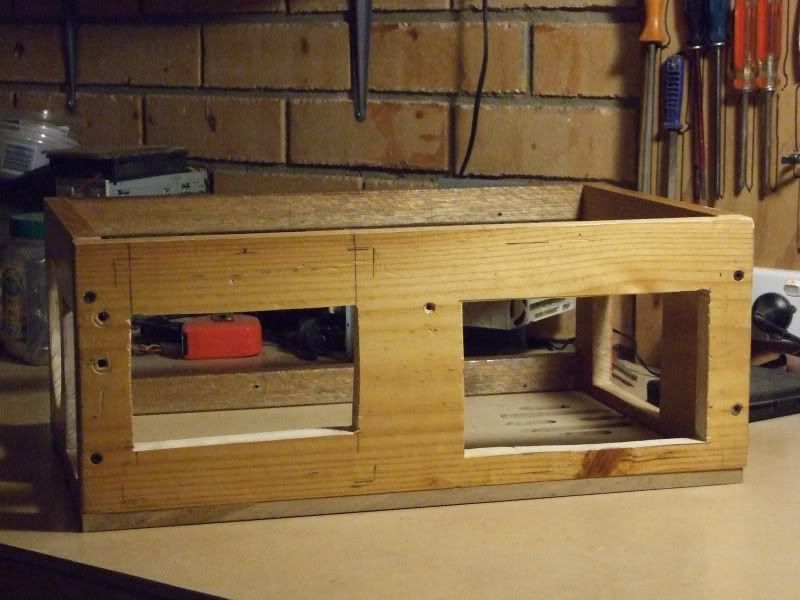
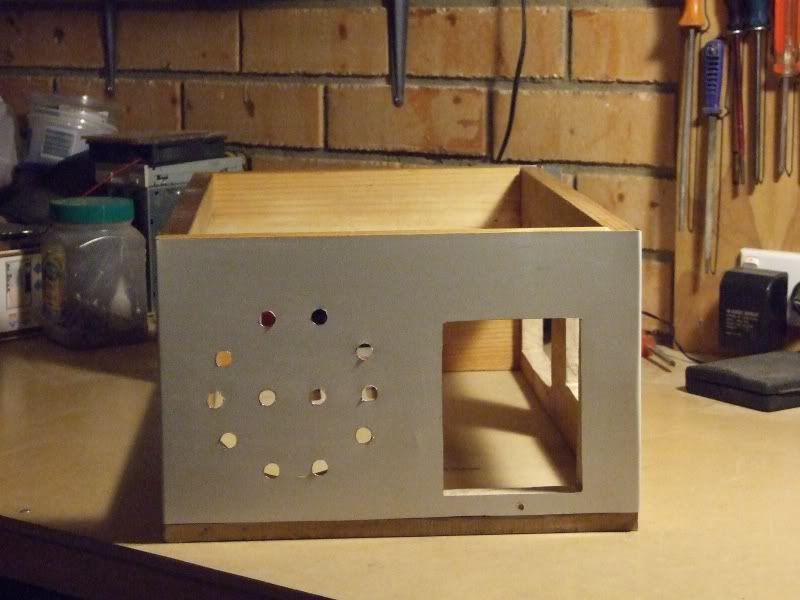
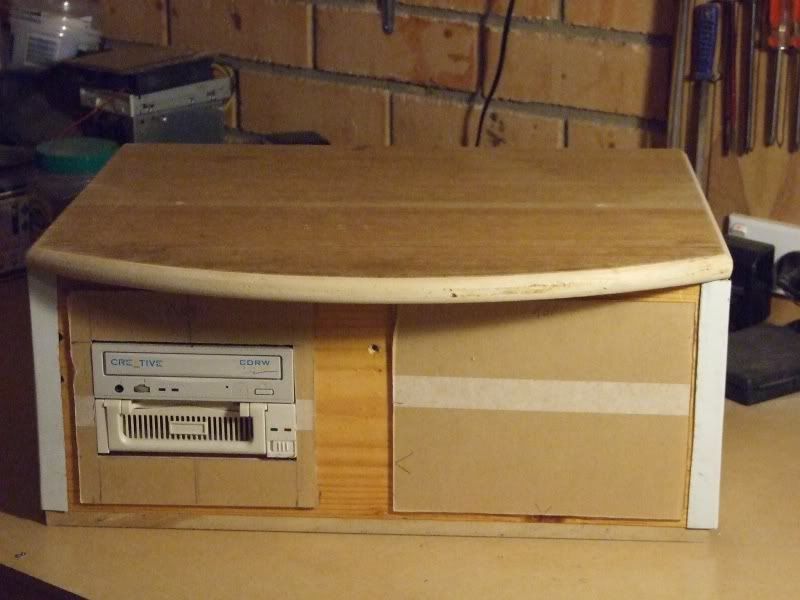
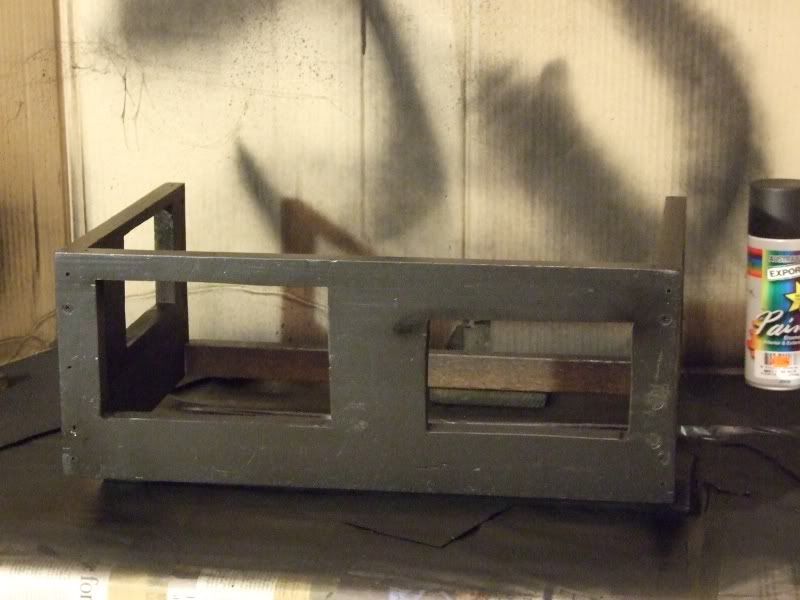
So I Have Started on the Recycle/Revamp of the old Wooden Case to be Now used as Jolly's Tech-Bench 2010,
First I pulled the Back off and the base that housed the Motherboard + HDD ( Had already previously been Removed and stored)
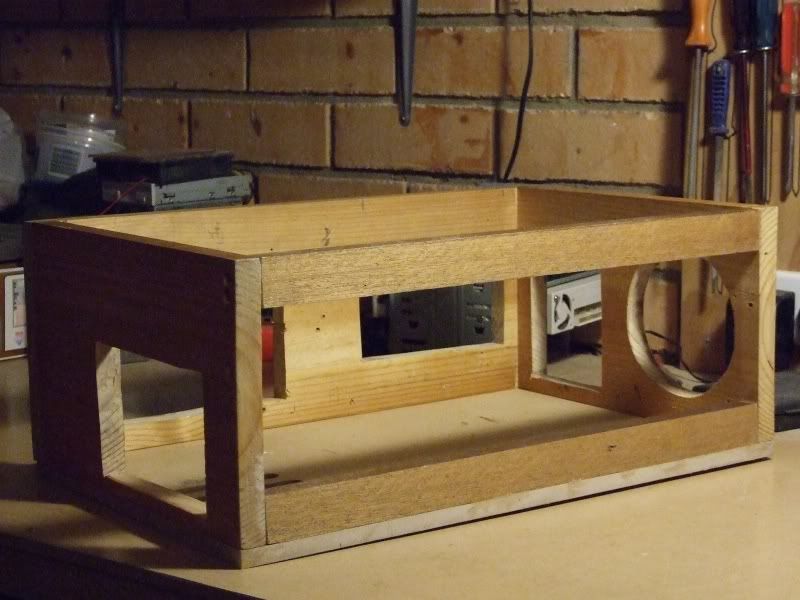
Now the Old Top has become the Base and added 2 Rails Across the Back Top & Bottom
Made 120mm Intake Opening for PSU Air intake on Bottom Base Plate
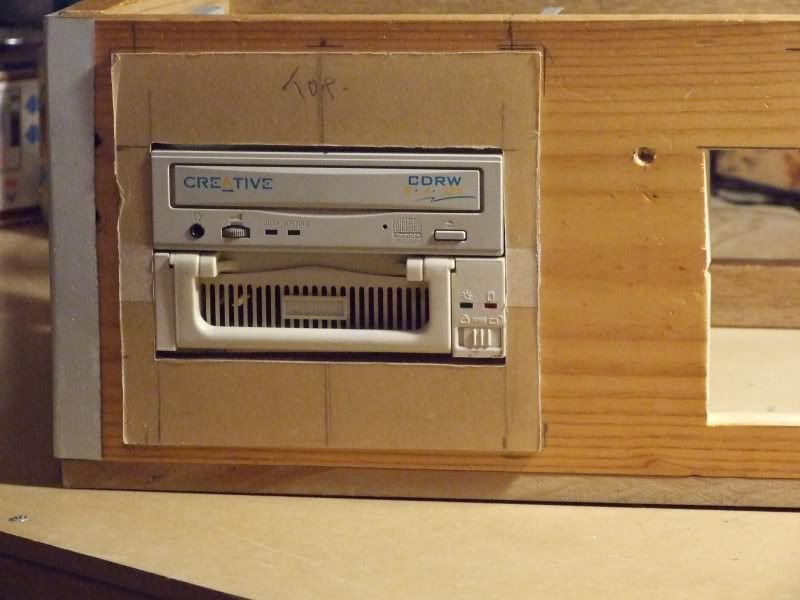
Cut out CD Drive /Removable HDD Caddy Bay and Front Window Cutout (Plexi Panels will go on these two areas)
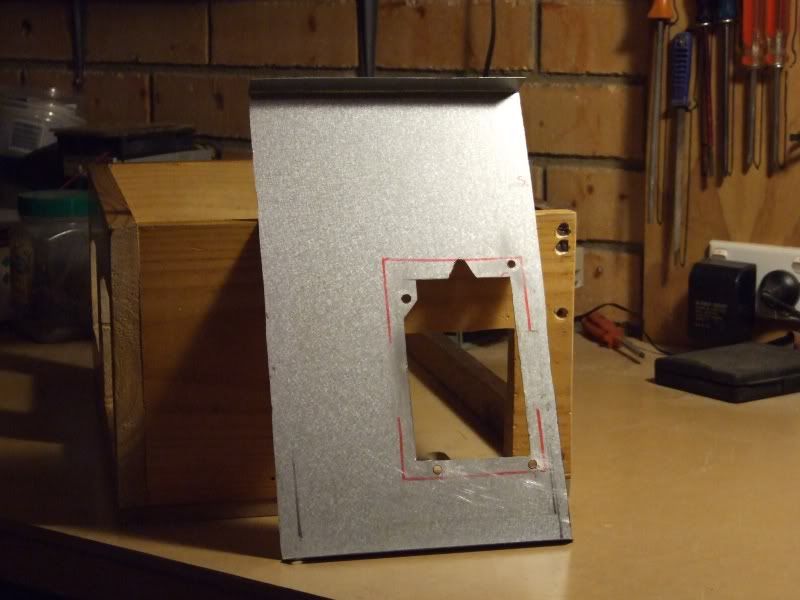
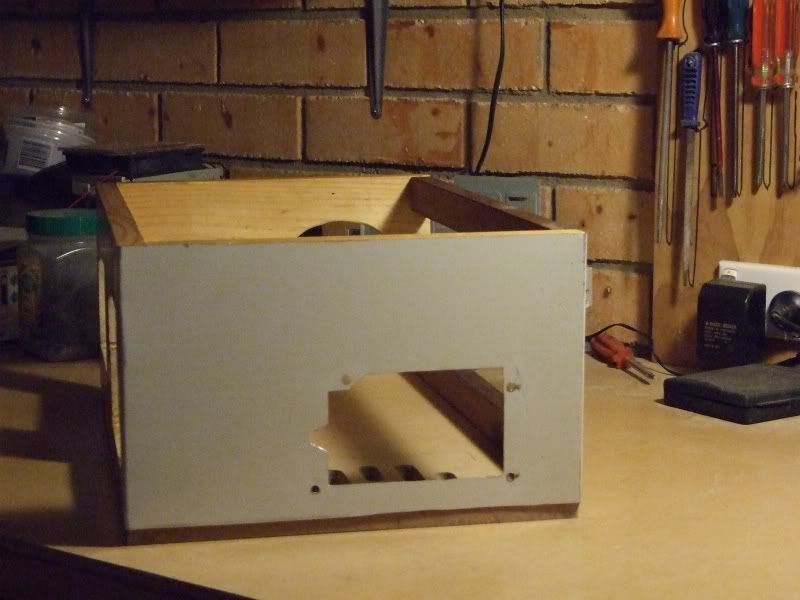
Made Right Side Panel with Mounting Cutout for PSU (Recycled from old Case panels)
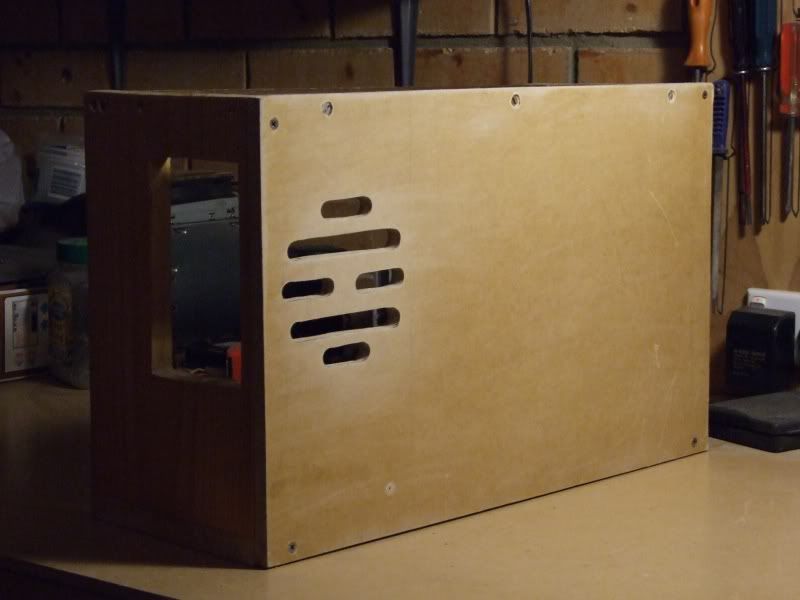
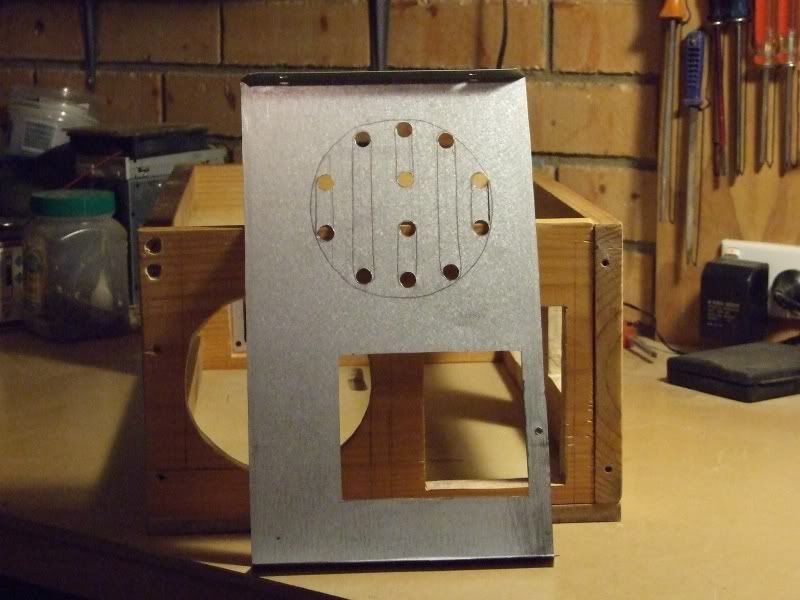
Made Left Side Panel with 120mm Intake vent and Inspection Opening ( for getting access to CD Drive Cage)
Also cut 120mm hole (was 80mm before) and access slot in wooden case side.
Made Plexi Cover Panel for CD Drive/HDD Caddy Bay
Cut Top Deck which will also be hinged at rear, and Front Plexi Window Panel ( will also have PWR/RST SW and LED.s PWR/HDD activity ect on it)
Things to Do
Finish cutting Side Panel slots in 120mm Side Intake vent
Cut Cable Management Slots in Top Deck for M/B access
Make Mounting for M/B PCI Brackets ( GPU ect)
Sand and fill old holes
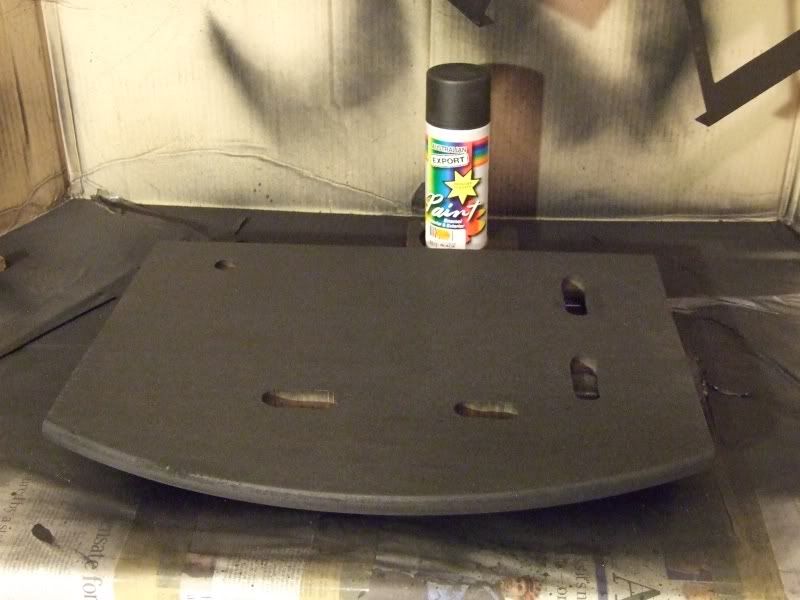
Paint main Frame and Side Panels, also Top Deck (Special Paint effects)
Paint CD Drive Bay Cage and HDD Drive Bay Cage
Mount Rubber Feet to Base
NOTE - May Have a Little Hold Up as my Power Drill Blew up :bang head
Has lasted me quite a good time 10yrs so guess is time for New one,
but will have to wait couple weeks maybe, as NO Money at this time for New One!
Finished off Cutting slots in Side Panel 120mmFan intake,
Made side Panel inspection Cover,
Finished Drilling and Cutting Slots in Top Deck for Cable Routing,
Made strengthening Bracket for Drive cage, added 10mm alu angle for mounting to main frame,
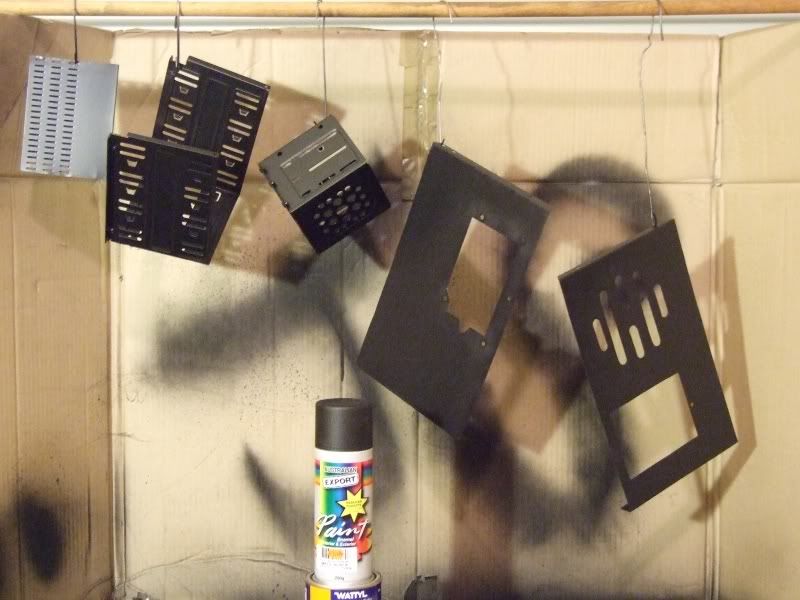
Gave everything its first Base Coat of Matt Black Paint
Top Deck Painted Base Coat
Main Frame Painted Base Coat
Drive Cages & Side Panels Painted Base Coat
Things To Do
Make Mounting for M/B PCI Brackets ( GPU ect)
Second Coat Paint and special Effects
Mount Rubber Feet to Base ( need to get these)
Mount M/B Standoffs
PWR + RS Switches (need to get)
HDD + PWR LED (have these)
Time Spent 6hrs
Money Spent = $.00
--------------------
Total Money Spent =$15.00AU
#3 Update 24 Jan 2010
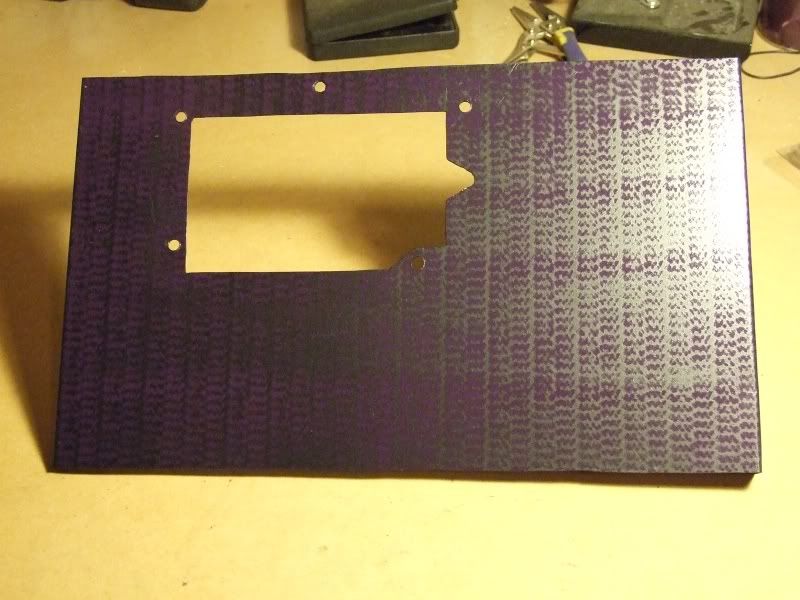
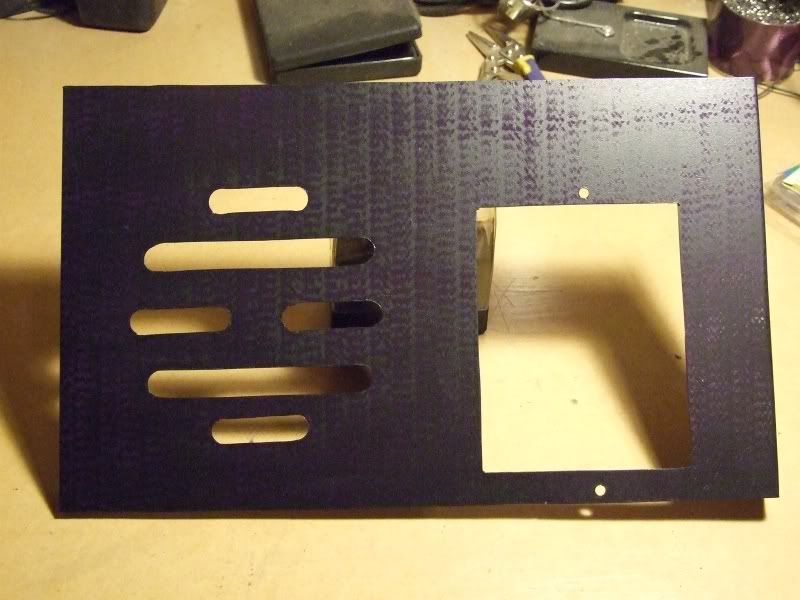
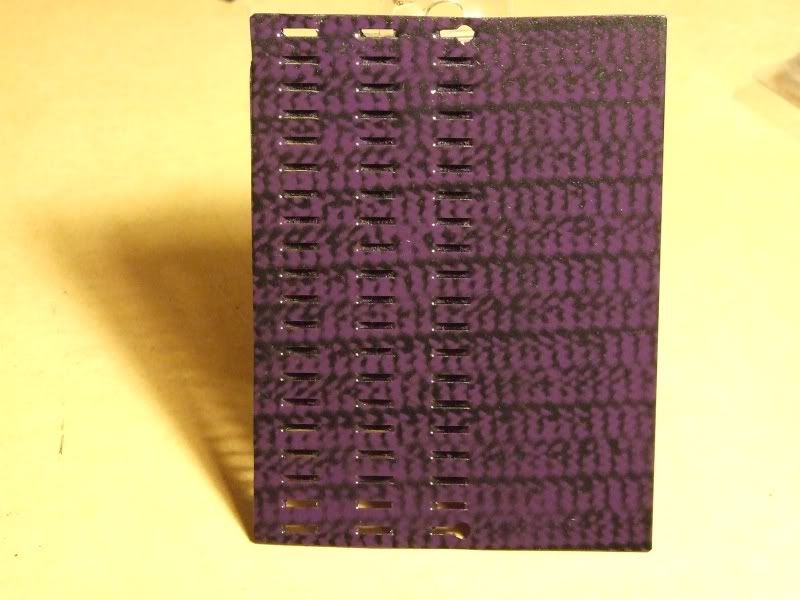
Here are some Pics of the Paint effect I am using on the Side Panels
Side Panel for PSU Mount
Side Panel 120mm Fan intake and inspection Panel
Inspection Panel
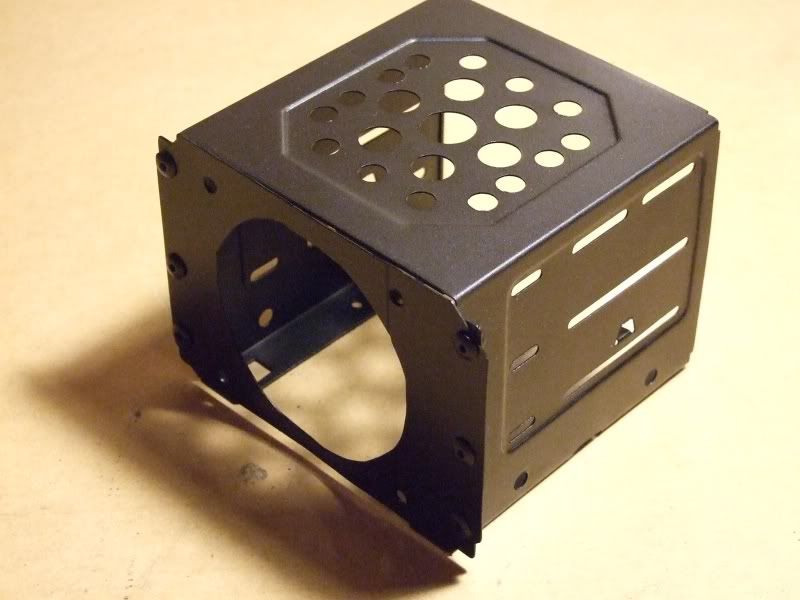
Also have made plate to go on HDD Cage to hold 80mm Cooling Fan
HDD Cage with 80mm fan holder
Just small update still have to do second coat Main Frame and Top Deck and Special effect to Front of Main Frame, then Mount Side panels.
The Main Frame and Top Deck will also get Clear Estapol Clear Coat along with the HDD Cage and Drive Bay Cage
Time Spent = 3hrs
Money Spent $0
----------------------
Total Money Spent = $15.00AU
Other To Do,s
Make Mounting for M/B PCI Brackets ( GPU ect)
Mount Rubber Feet to Base ( need to get these)
Mount M/B Standoffs
PWR + RS Switches (need to get)
HDD + PWR LED (have these)
Also need to Get M/B Header plugs and leads for PWR/RST and HDD/PWR Leds.
Having trouble tracking down the Headers, if anyone has some spare or know where can get much appreciated!
So stay Tuned as More to come soon!
08-07-2010, 04:55 AM
Jolly-Swagman
Re: Jolly's Tech Bench 2010
#5 Update 01 Feb 2010
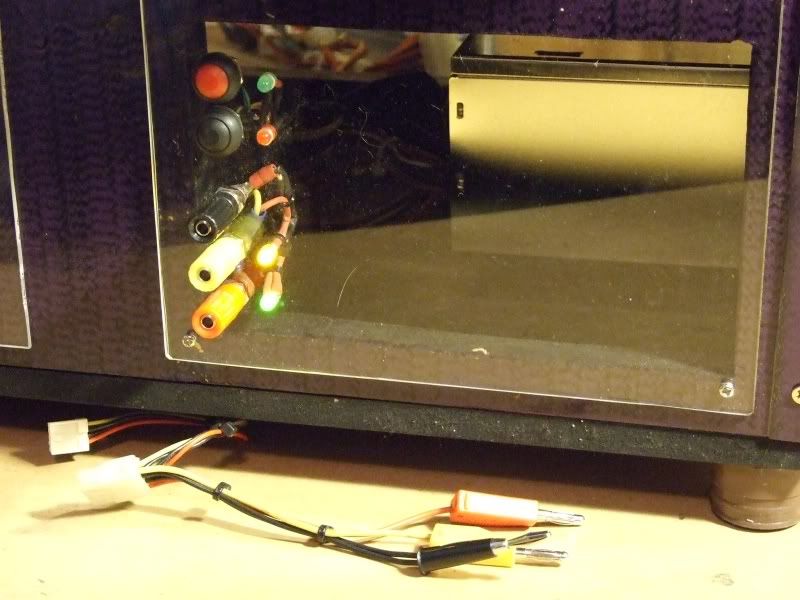
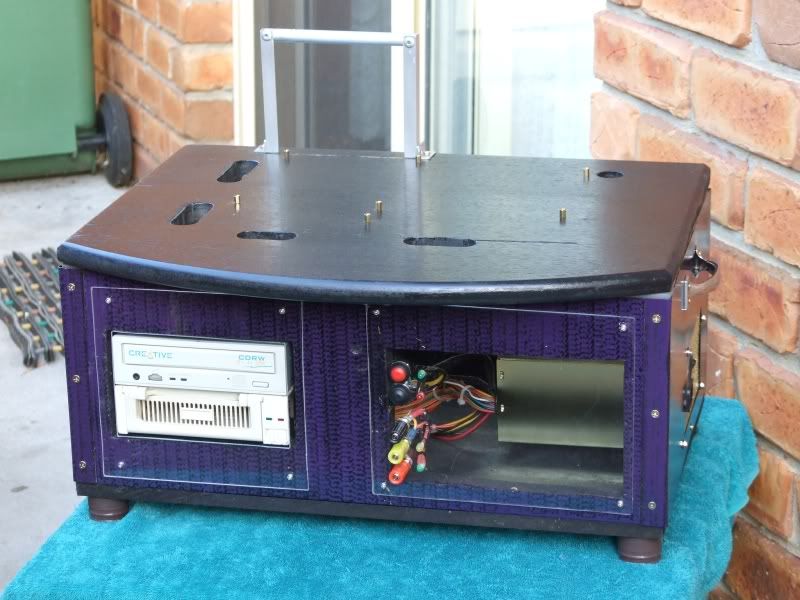
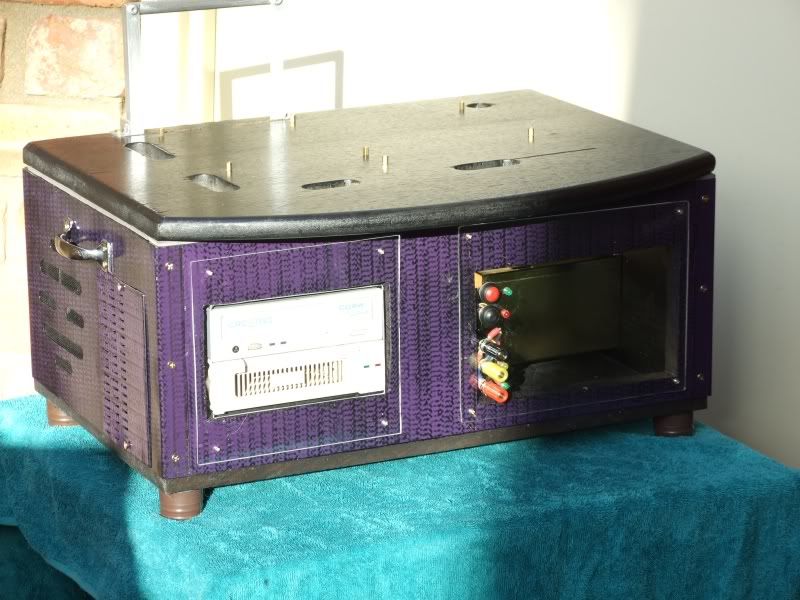
Today I have Finished Front Panel wiring for PWR/RS Switches and LED,s, also added Banana Sockets for Testing Purposes.
I have three installed Black - Negative Post, Yellow - 12 Volt Post , Red - 5 Volt Post
These are wired to Molex Socket Plug and also have corresponding LED,s to show Powered State.
Have also a Molex 4 pin Plug with some Banana Plugs that can be used for Testing ect.
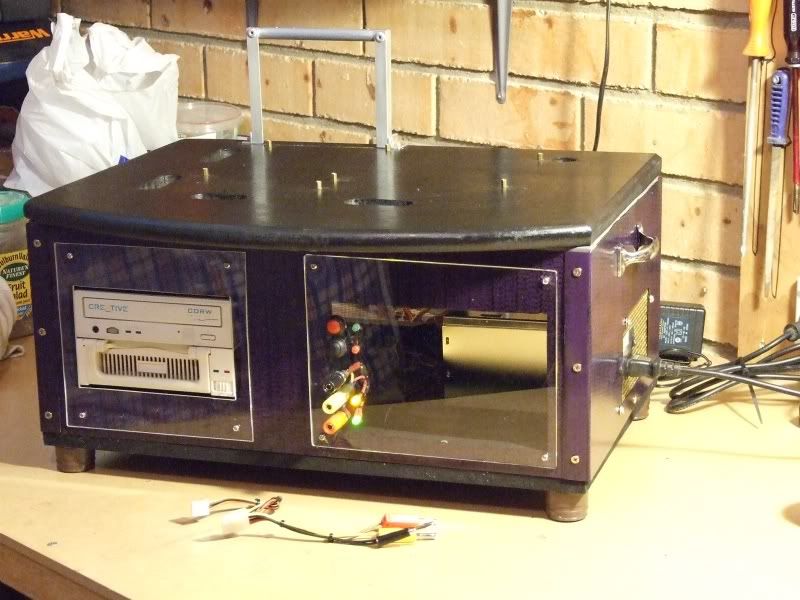
Front Panel Finished
Close-Up Front Panel
Wiring Loom Finished
All Done Finished
Outdoor Pics
Time Spent = 6hrs
Money Spent + $0
-------------------------------------------- Money Spent Total = $28.80.00AU
--------------------------------------------
Things To Do!
- Make Video
- Take some more Pics when Cooler Weather Been to Hot here at Moment
#6 Update 4th Feb 2010
Jolly's Tech Bench Video
#7 Update 5th Feb 2010
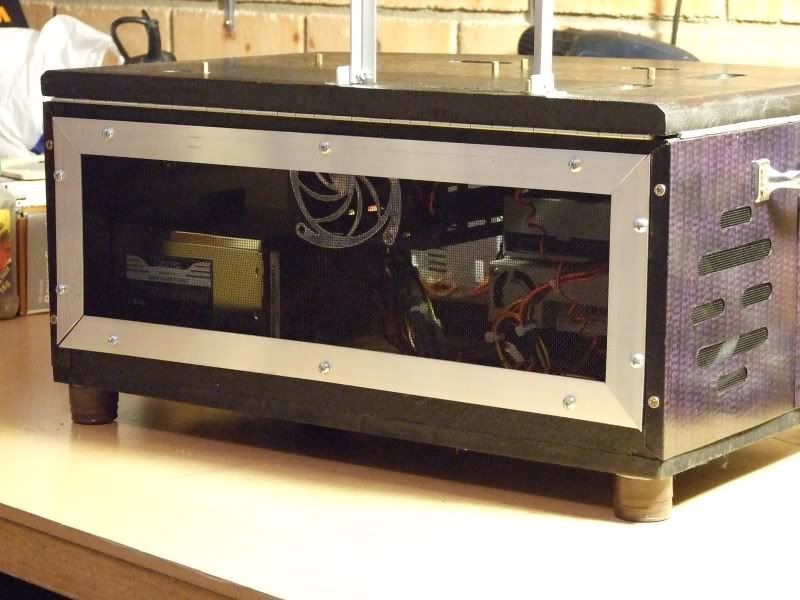
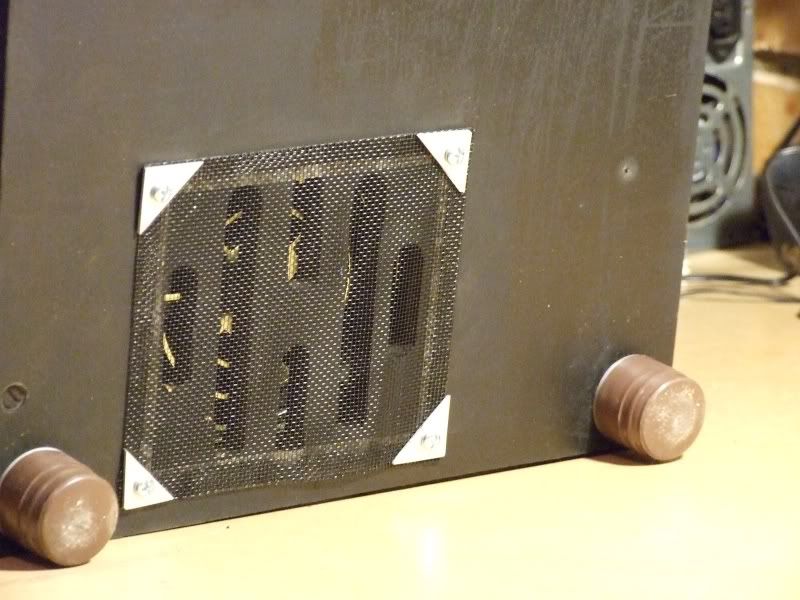
After the very Hot weather we have had the Stick-on Velcro isnt sticking as well as it should,
so have decided to make an aluminium frame to hold the Flywire Mesh in place on the Rear of Tech Bench and also for the Bottom PSU Intake.
Finished Rear Screen
Bottom PSU Intake Filter
Time Spent = 3hrs
Money Spent + $8.20 (25mm x 2.5mm x 3000mm Flat Alu )
--------------------------------------------
Money Spent Total = $37.00.00AU
--------------------------------------------
Update Fri 19 March 2010
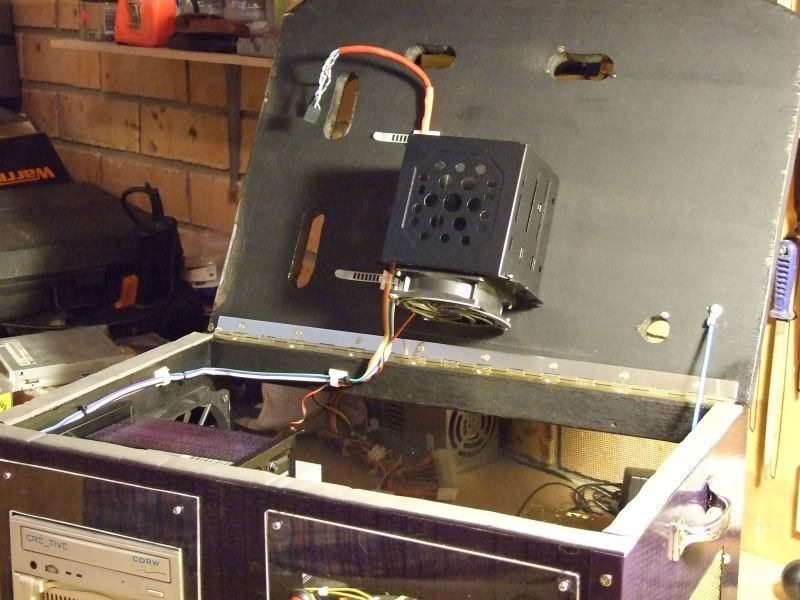
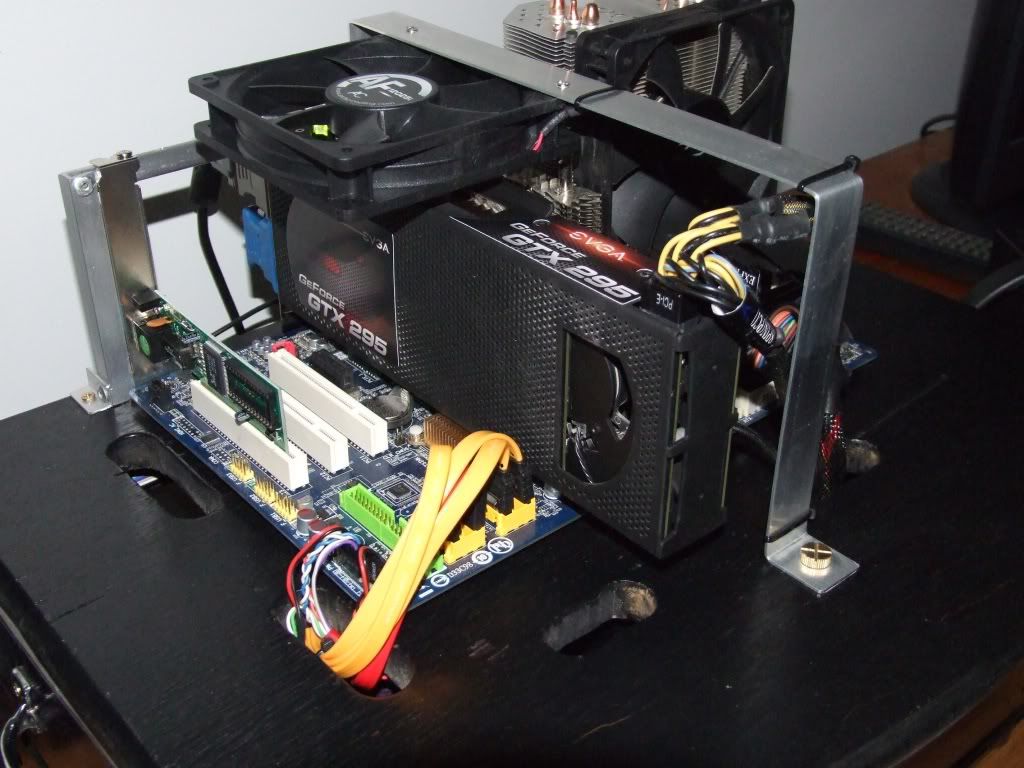
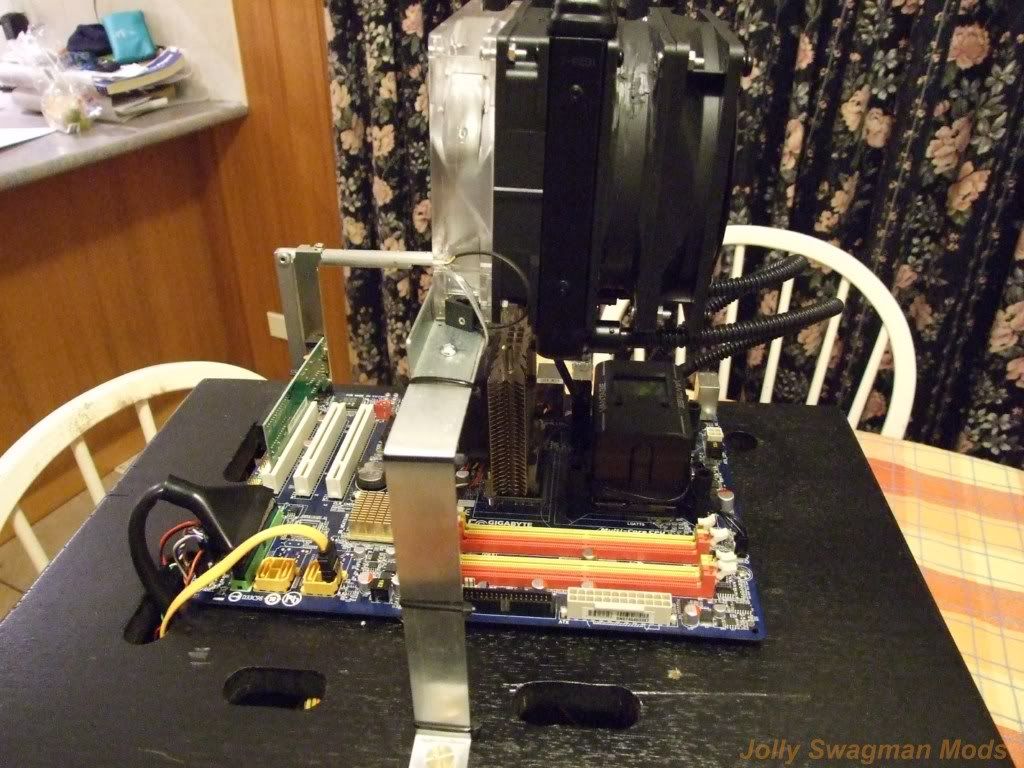
Made some Additions to Jolly's Tech bench 2010,
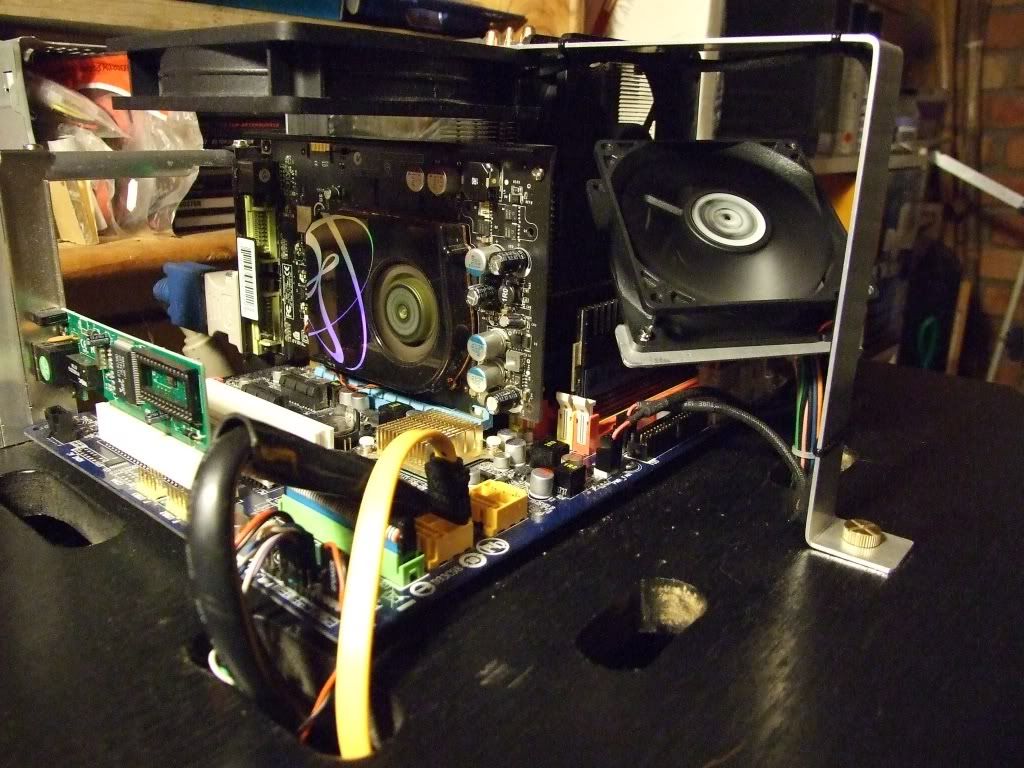
have now included a Cooling Gantry to help aide in cooling GPU area or could move/add for Ram too,
Also have it currently loaded up with Hardware from my Main Rig CM-690, as this one is going through a Total Revamp/Upgrade at the moment,
So will post log up shortly on that one too!
Cooling Gantry
All Up Running a back Folding again too!
That's all for Now Stay Tuned for More soon!
08-07-2010, 04:55 AM
Jolly-Swagman
Re: Jolly's Tech Bench 2010
Update 26 May 2010
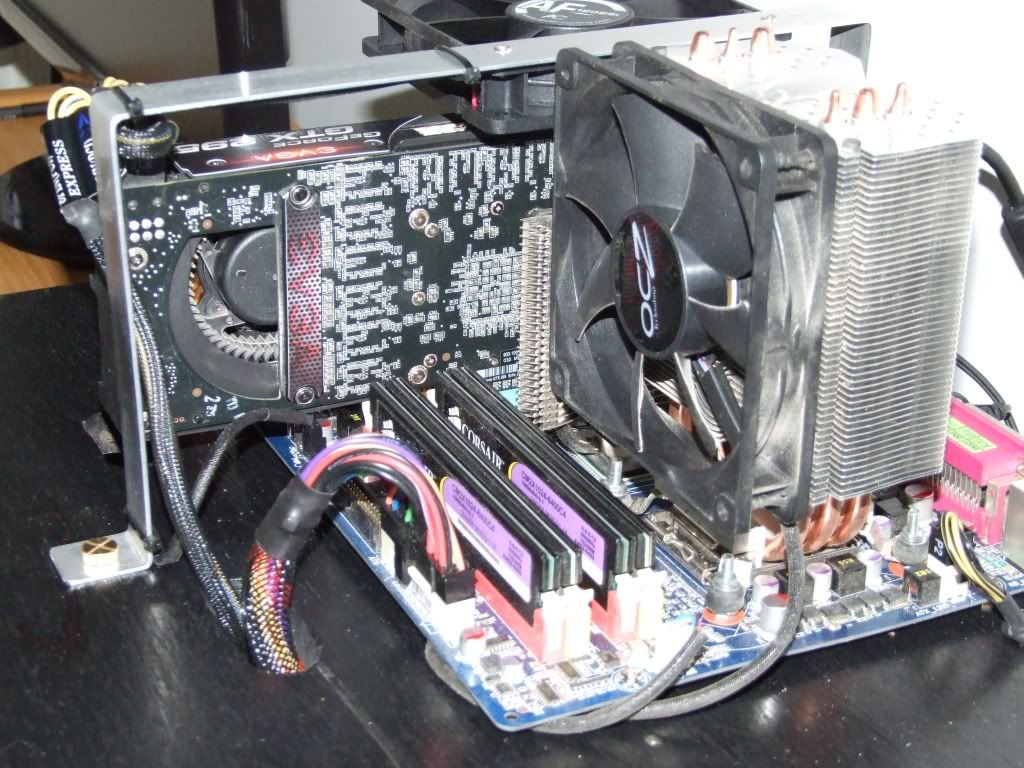
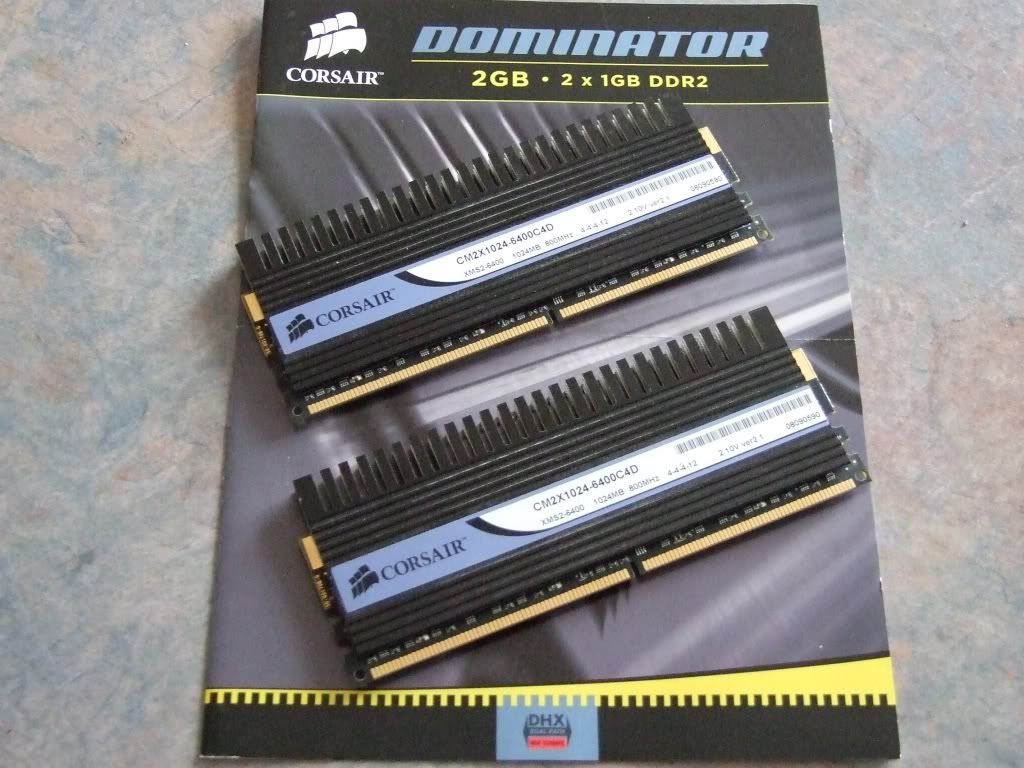
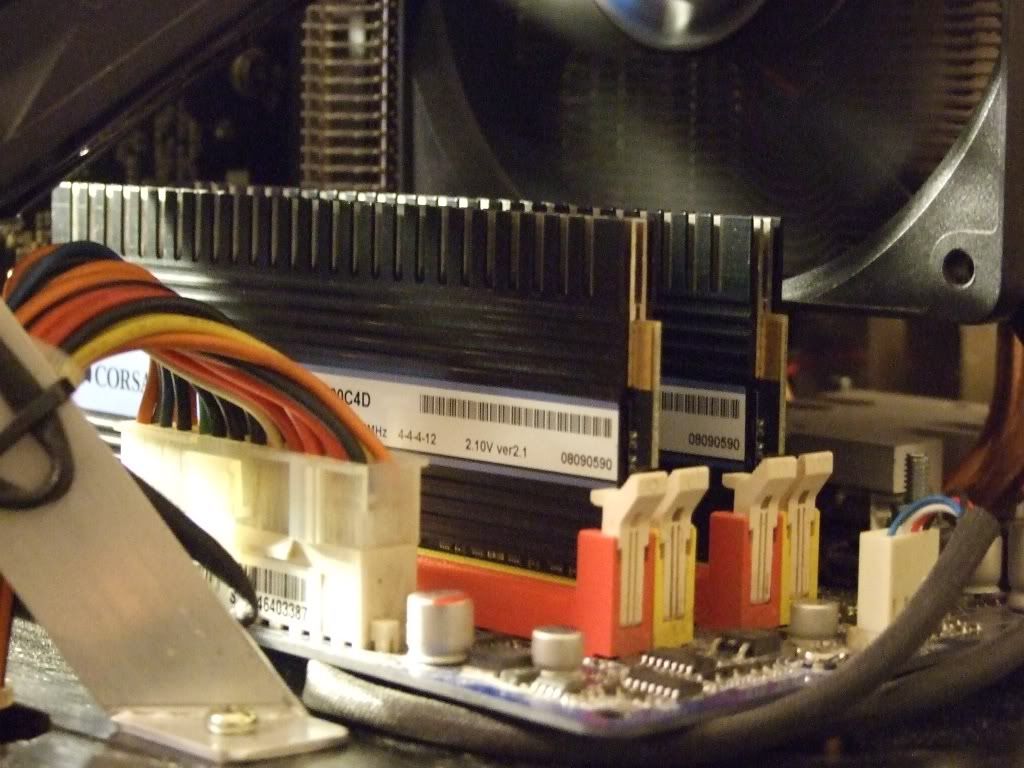
Had some Corsair Dominator's sent to me from a Forum buddy @ Overclokers.com Deadlysyn so I have installed them in Jolly's Tech Bench
Have also used Deb's old XFX-7600GT XXX edition GPU for now!
(just for testing purposes, as will have 8800GTX or 9800GT in later)
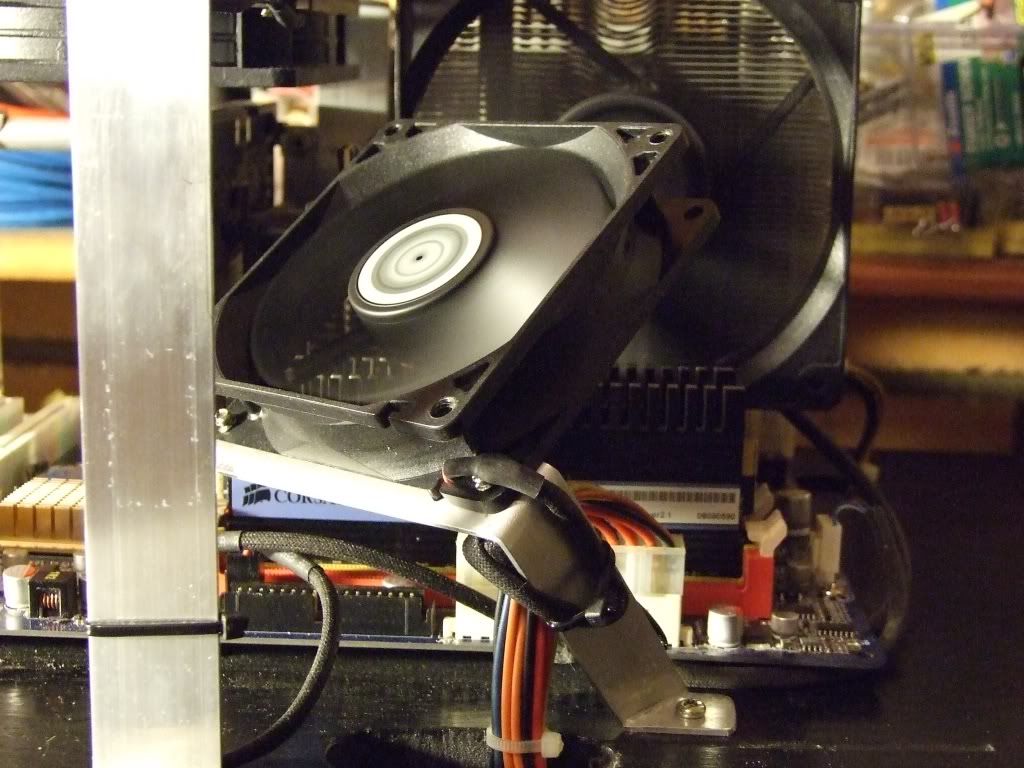
Also added Custom Ram Colling Fan and mount
Corsair Dominator's
Installed on Tech Bench
Custom Cooling Fan & Mount
XFX-7600GT & Cooling Fans
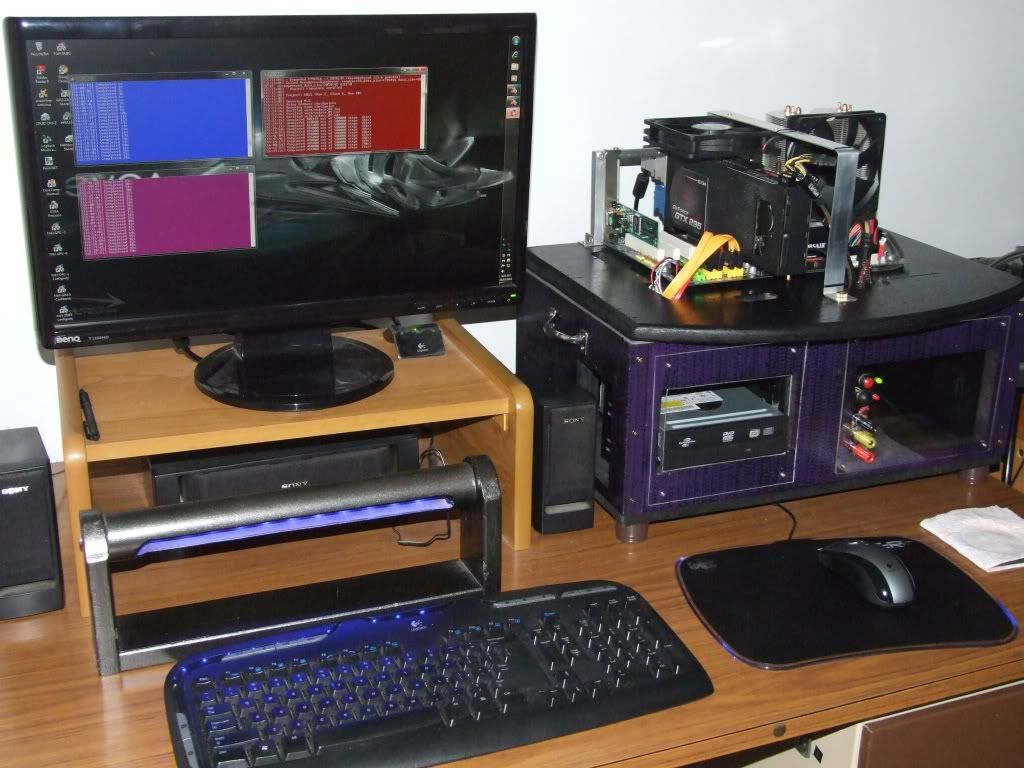
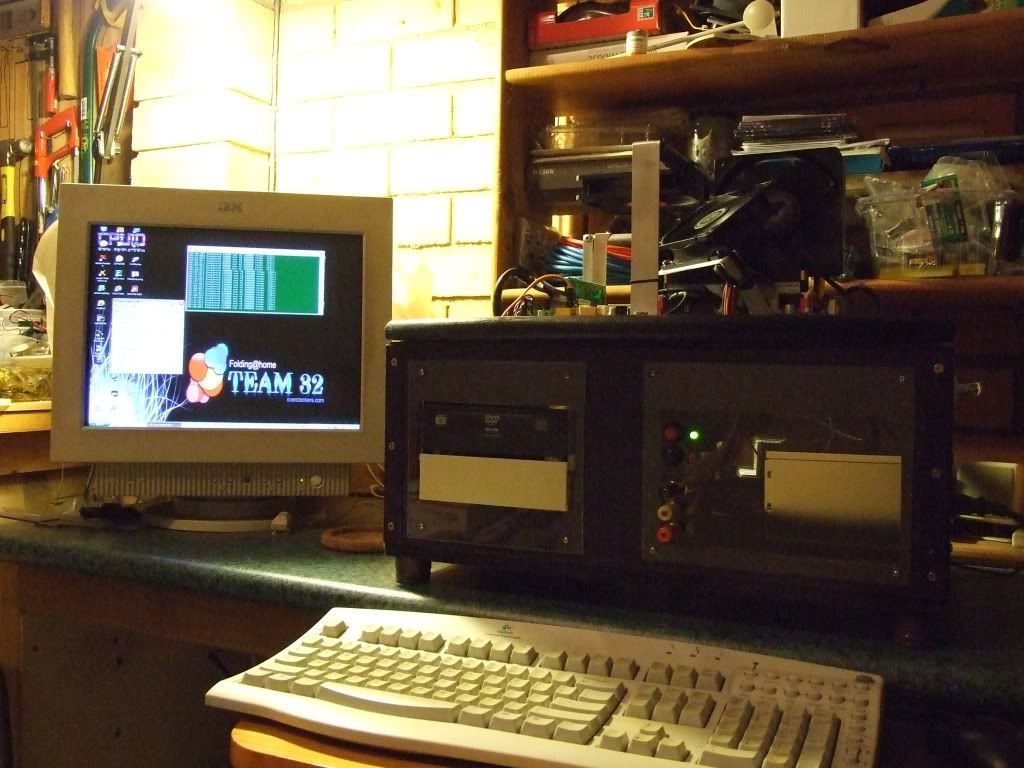
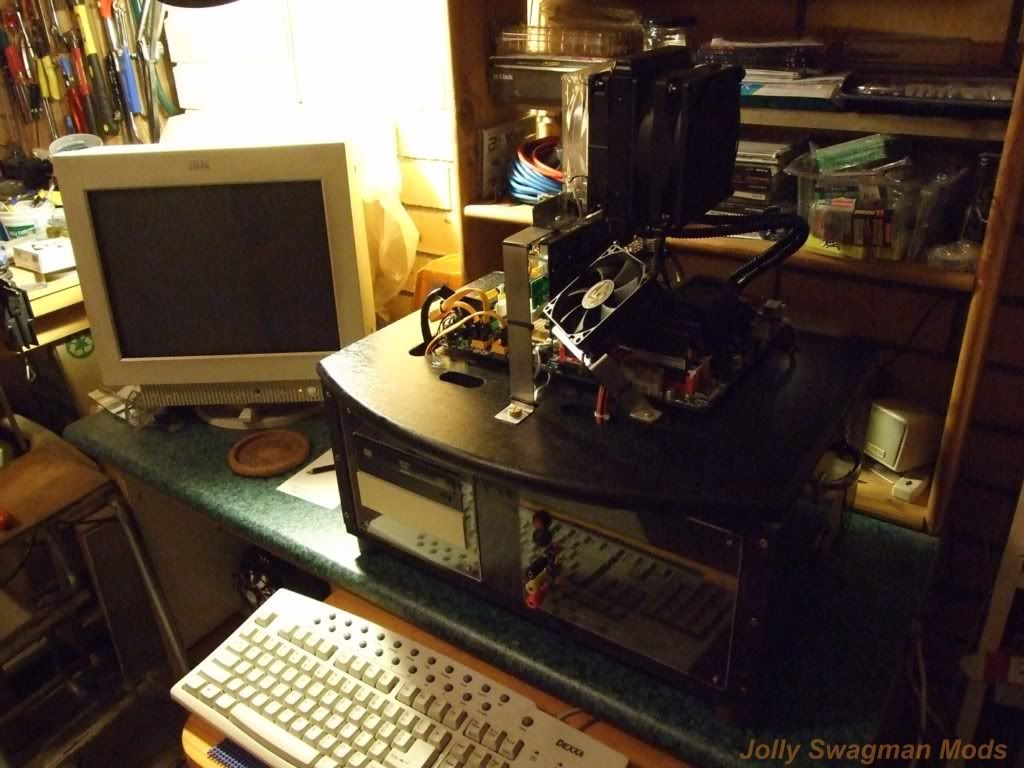
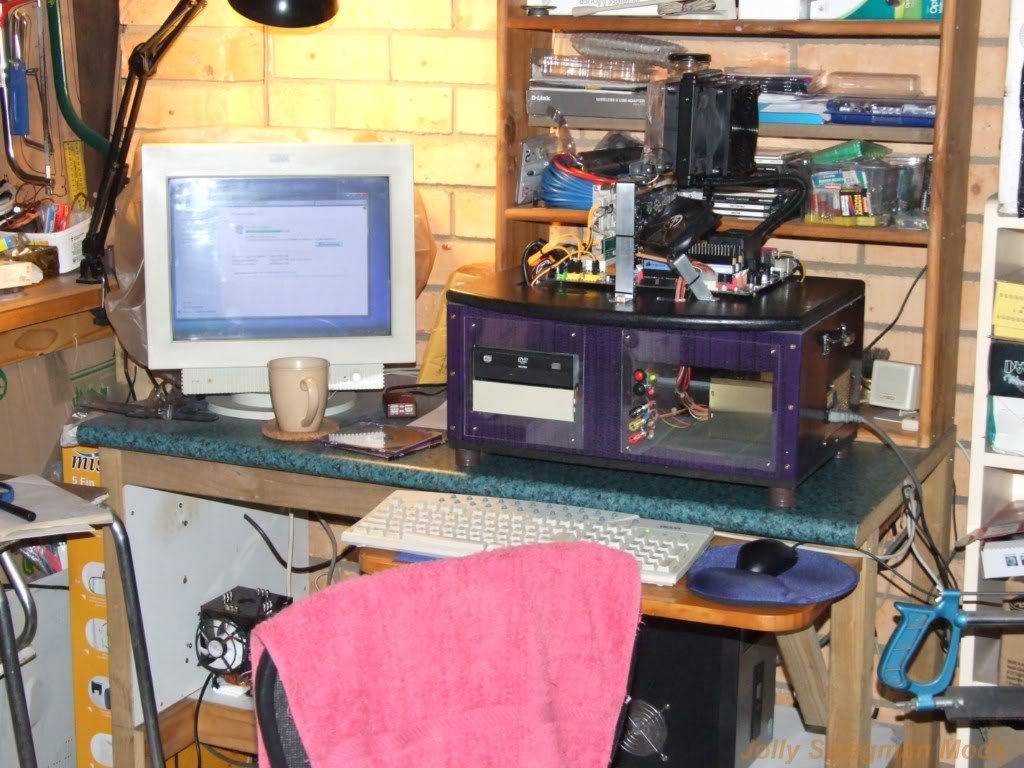
Jollys Tech Bench Garage desk
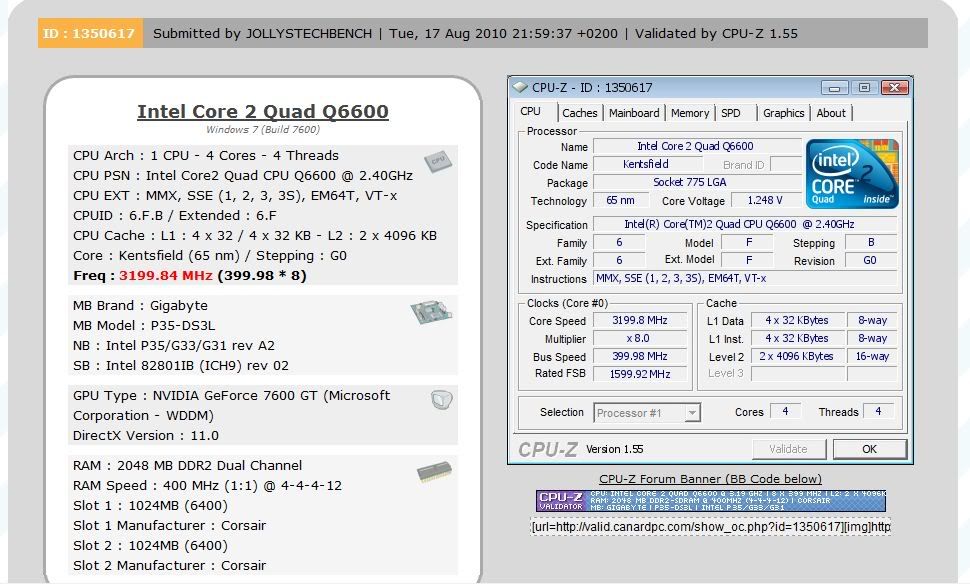
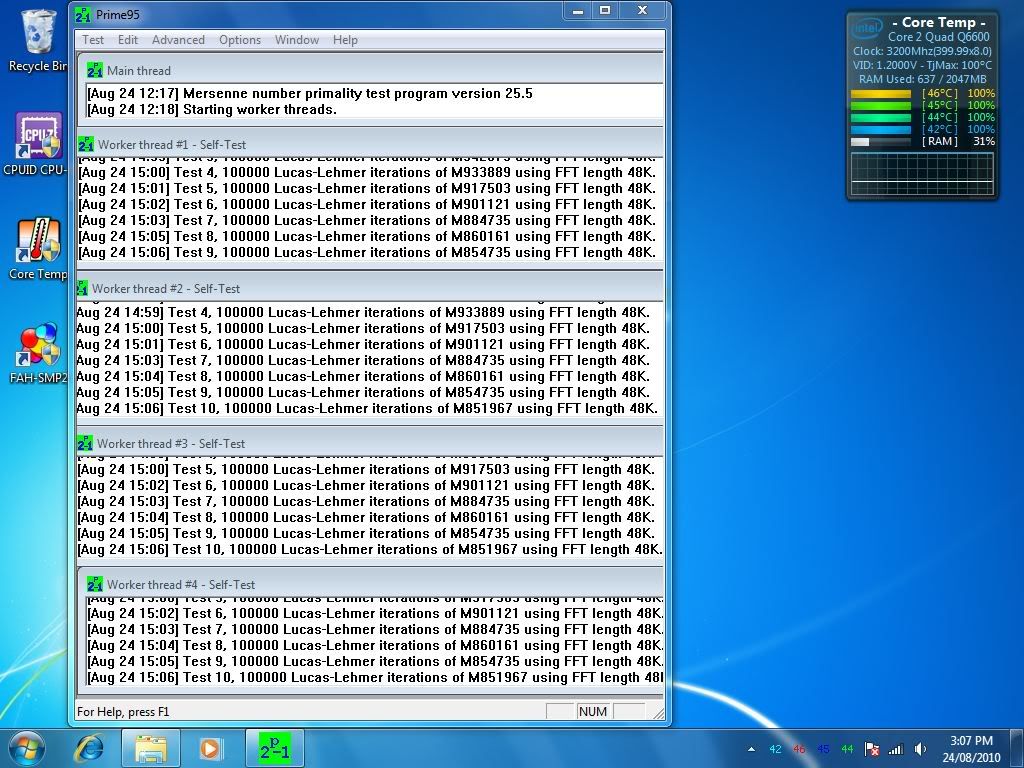
Since the weather here has cooled down some what, the Q6600 OC'd easily to 3.6 Ghz with these Dominator's,
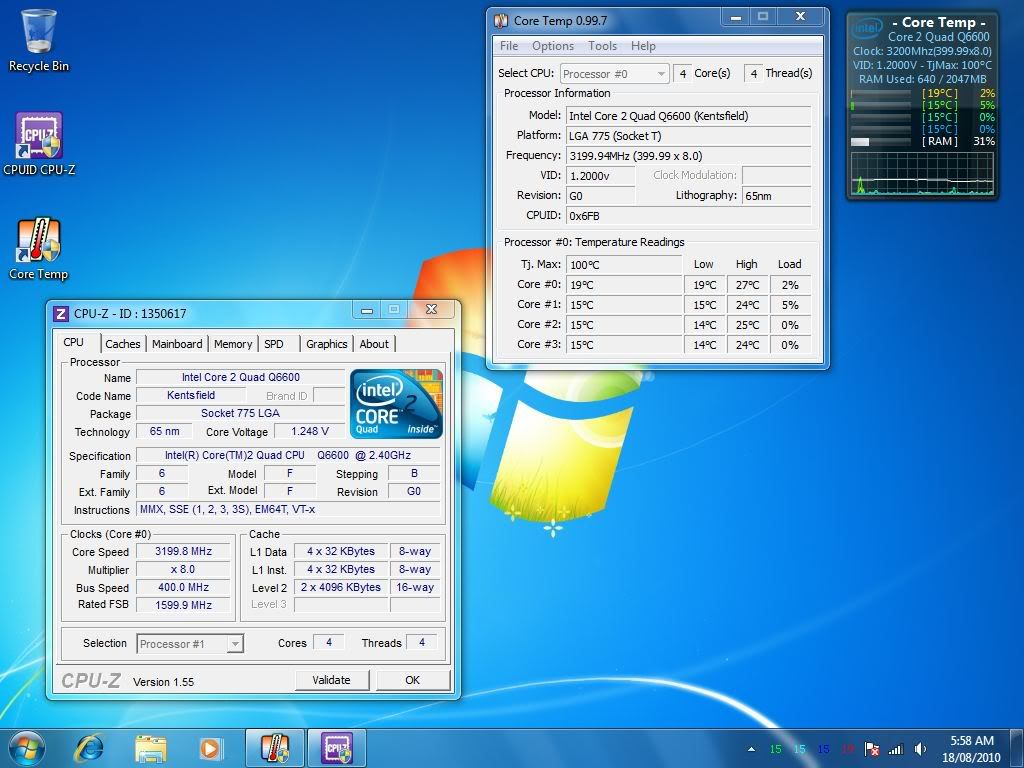
But for 24/7 running 3.2 Ghz is enough on the Power consumption for Folding and the Temps are awesome 23C 20C 22C 20C idle,
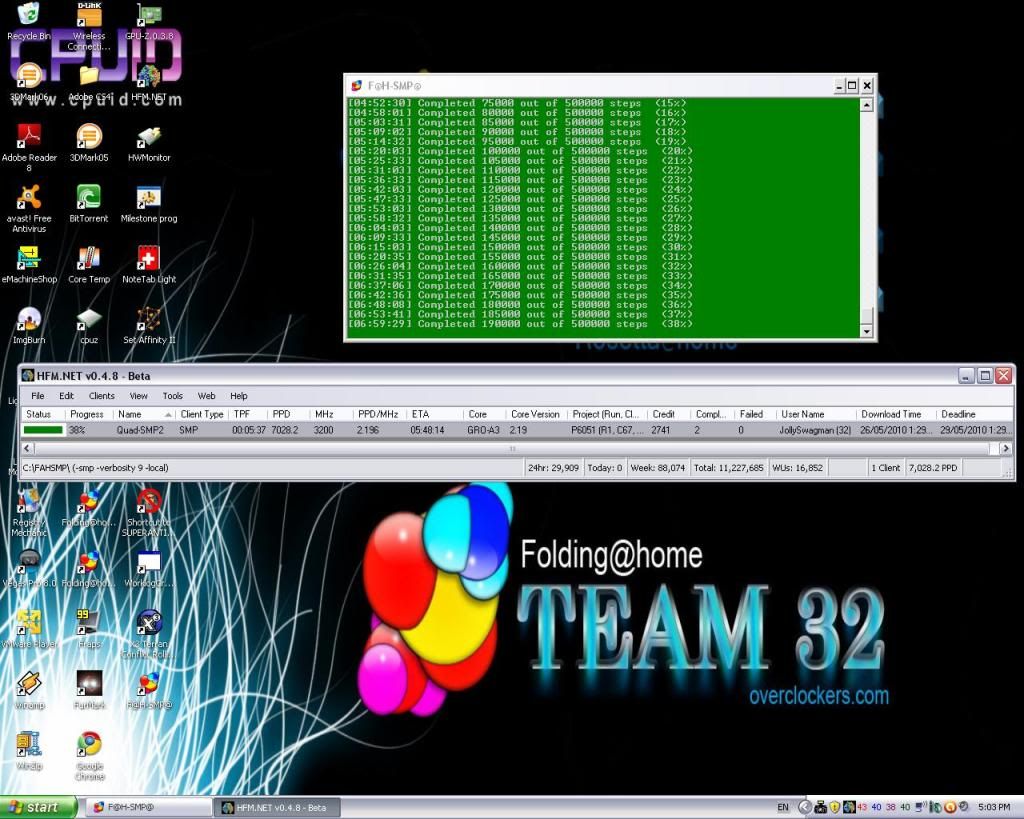
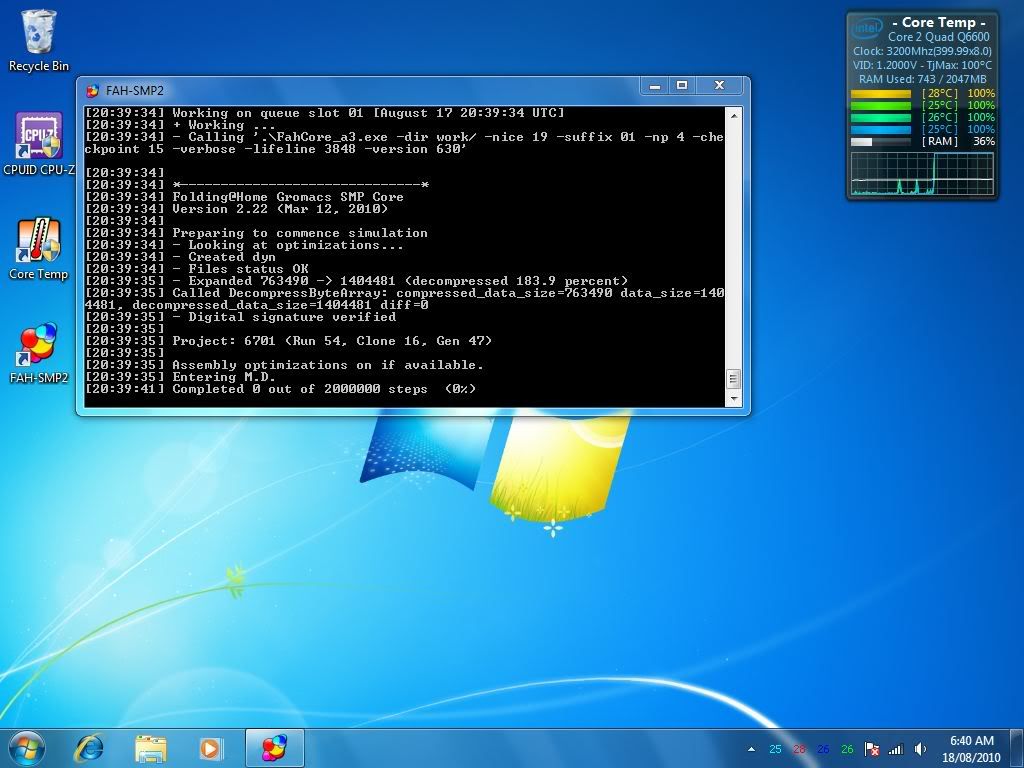
and 43C 42C 40C 40C @ Load while Folding SMP2 on four Cores and a PDD of over 7000 !
Folding PDD
Folding Temps @ LOAD
Thats all for this New Update!
Will post up Some Benchmarks soon!
08-09-2010, 09:51 PM
billygoat333
Re: Jolly's Tech Bench 2010
I like the looks of this. very cool :)
08-12-2010, 01:19 PM
Jolly-Swagman
Re: Jolly's Tech Bench 2010
Quote:
Originally Posted by billygoat333
I like the looks of this. very cool :)
Thank you billygoat333, :)
08-16-2010, 11:20 AM
Loki
Re: Jolly's Tech Bench 2010
This pc must be a great addition to wour workplace! Congratulations!
08-18-2010, 07:05 AM
Jolly-Swagman
Re: Jolly's Tech Bench 2010
Quote:
Originally Posted by Loki
This pc must be a great addition to wour workplace! Congratulations!
Thanks Loki, :)
Update Wed 18th August 2010
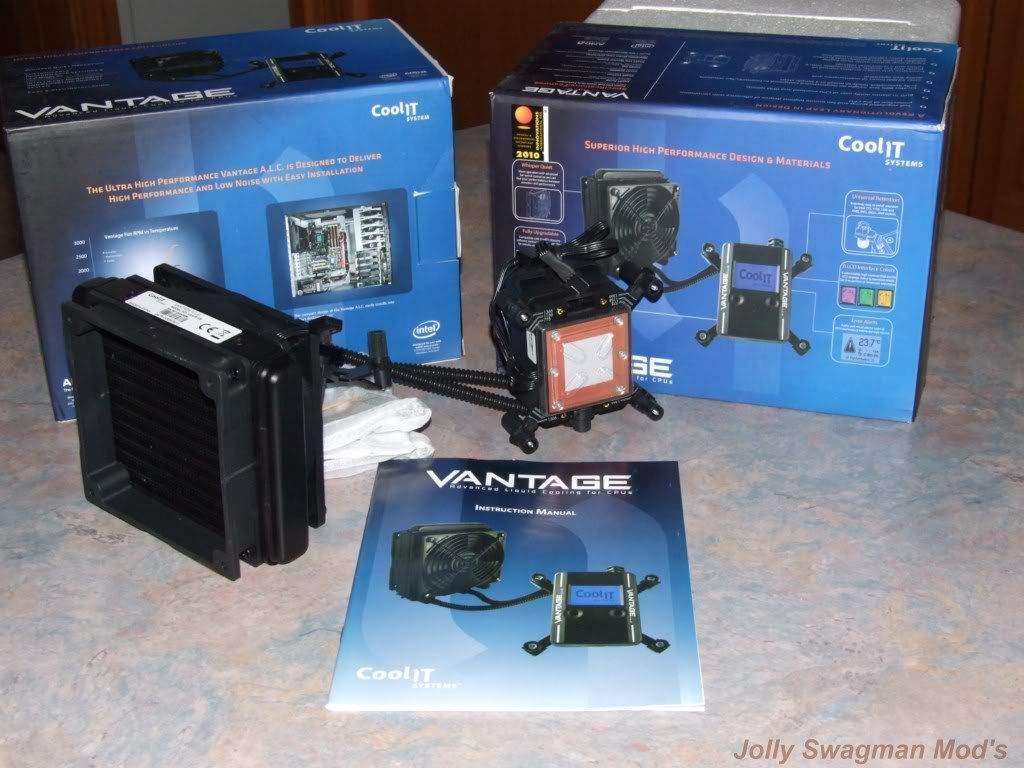
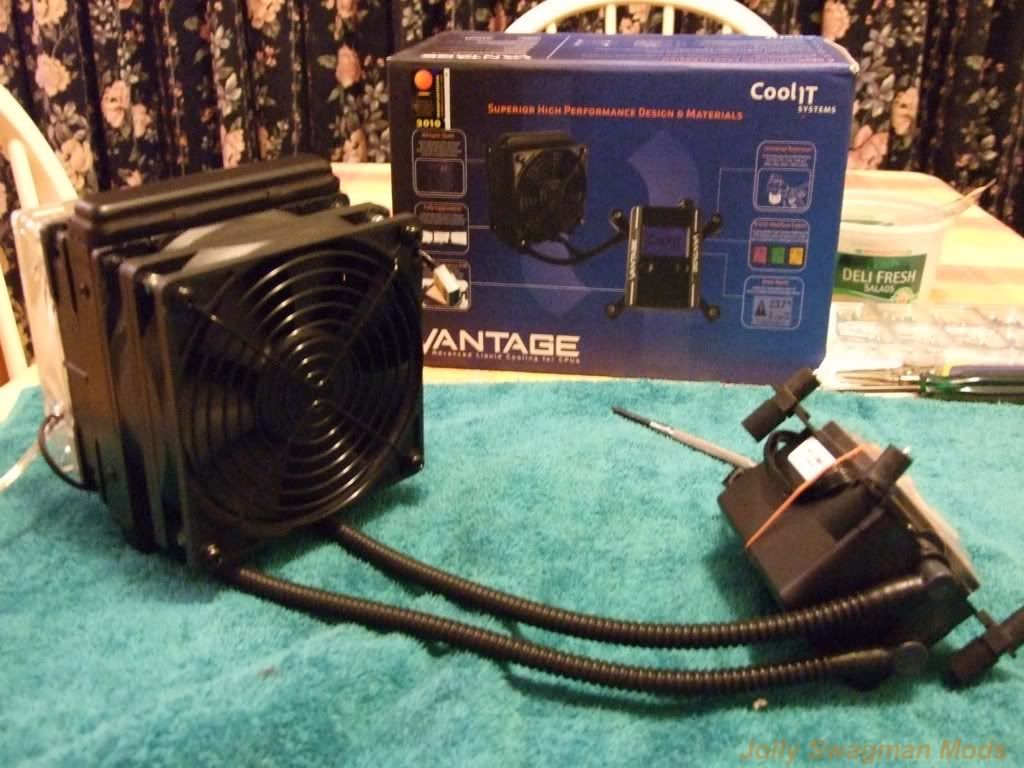
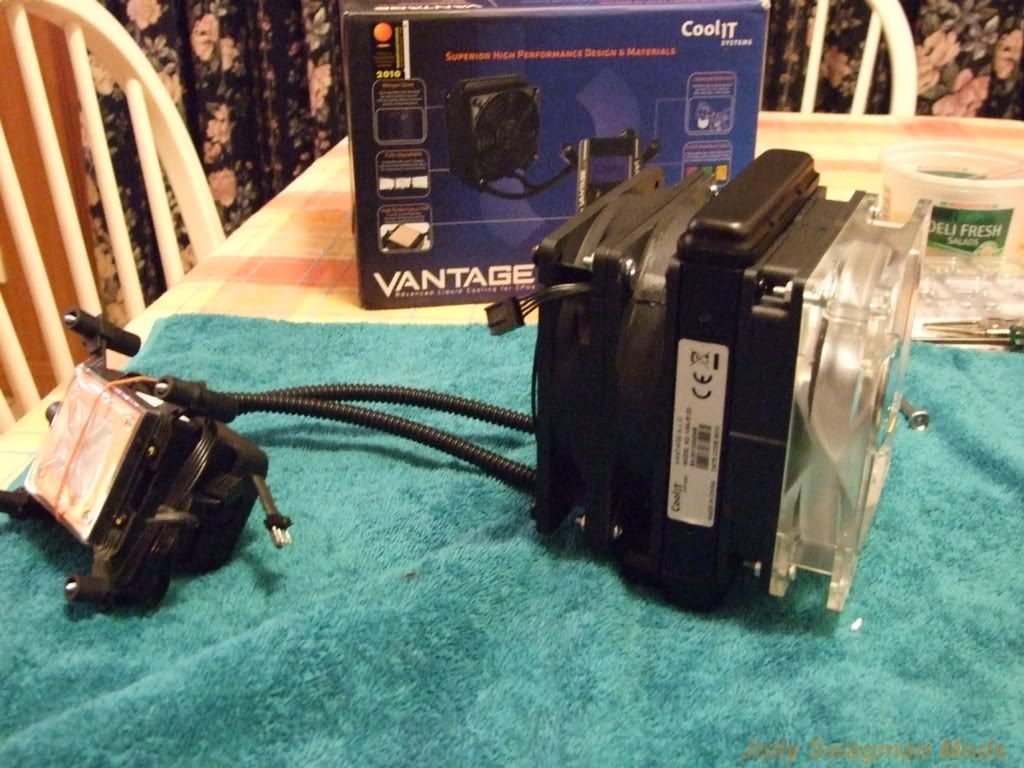
Installing the CoolIT VANTAGE ALC
In Jolly's Tech Bench 2010
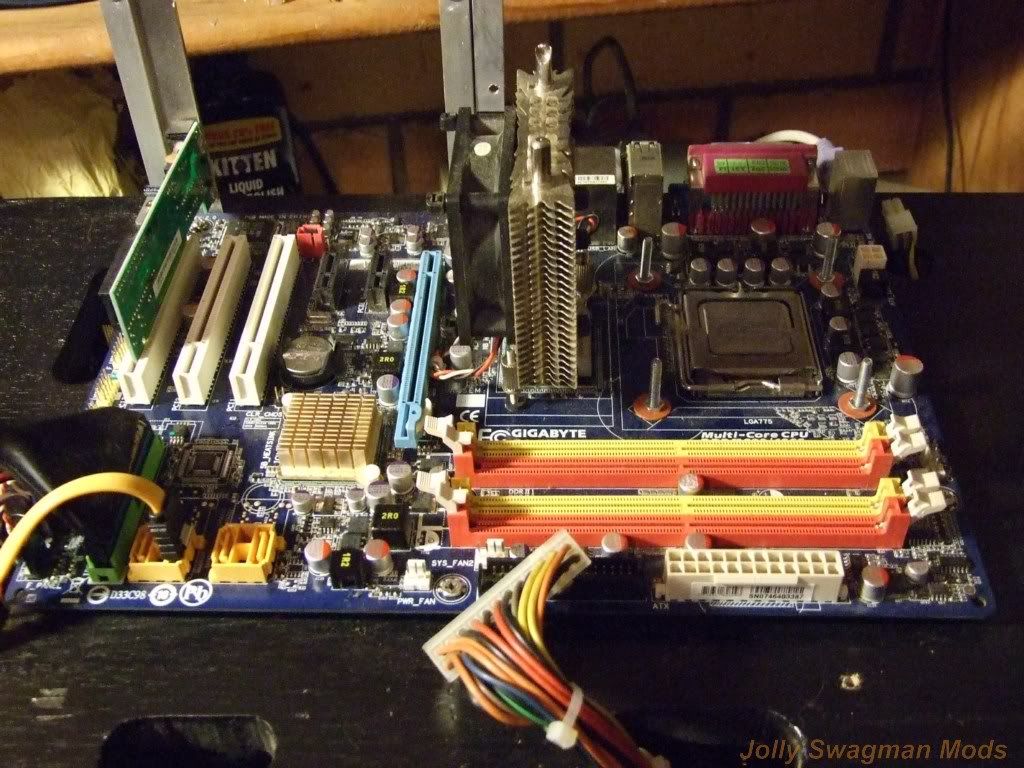
Current Set-Up on Jolly's Tech Bench 2010 with the Q6600 @ 3.2Ghz and cooled with Vendetta 2 HSF,
There are some Screen shots in above Post for Core Temps ect, and also since being so cold here lately the Temp,s
are even better than above with Q6600 @ Full Load sitting nice @ 30C -35C across all 4 cores
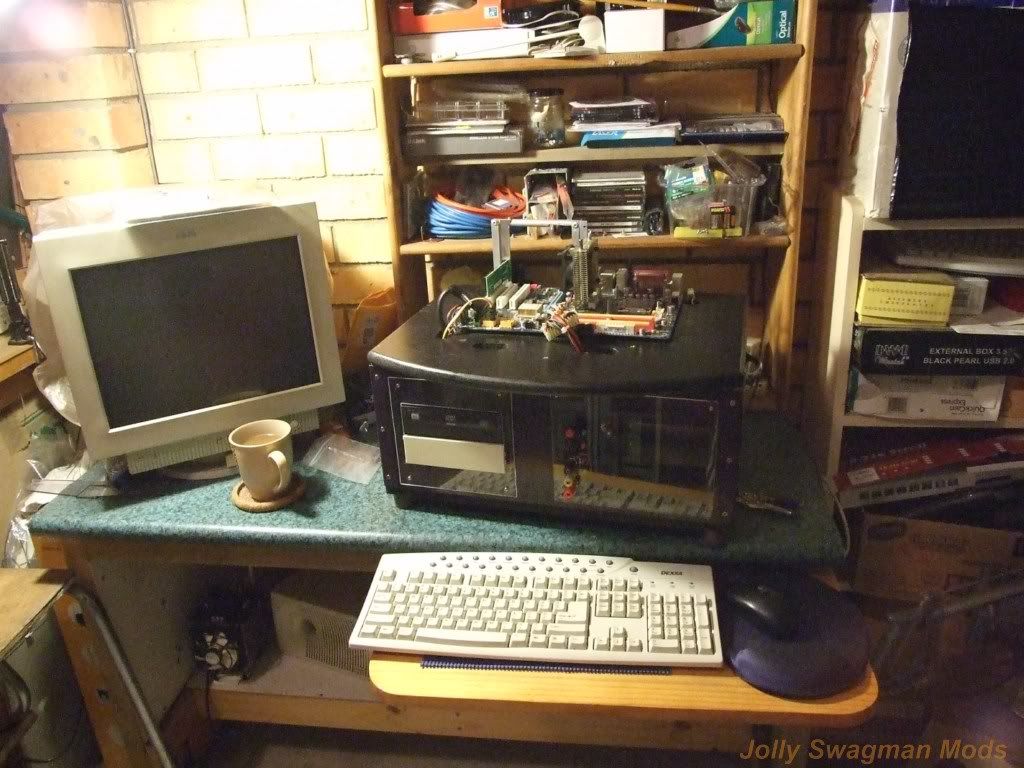
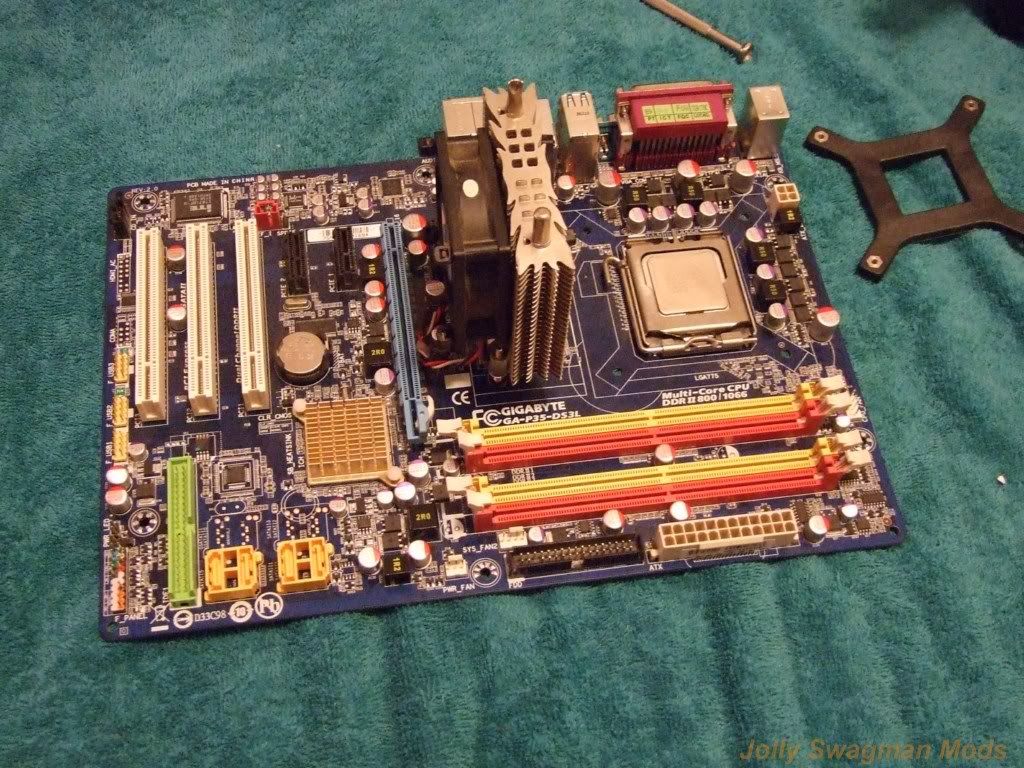
So on to Dismantling Jolly's Tech Bench to make ready fro CoolIT VANTAGE ALC Installation
Dismantling Jolly's Tech Bench
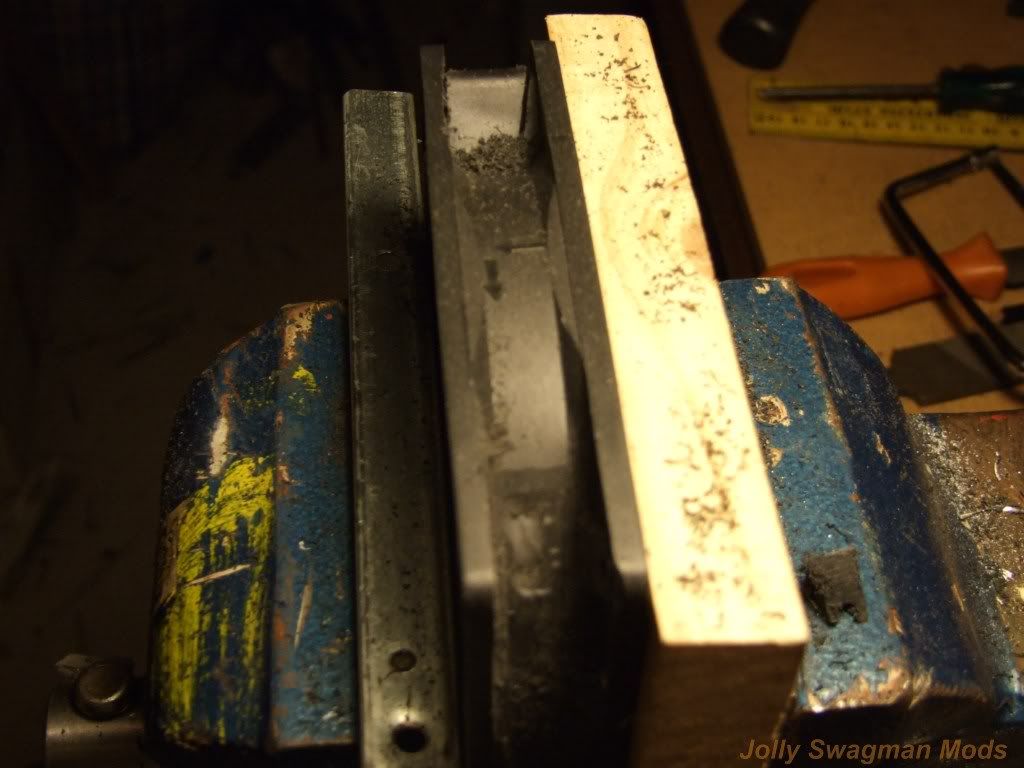
With Mobo off and Vendetta 2 Removed, just leaving the HR-05 NB HSF, it was now onto making another Fan Shroud for the Coolit VANTAGE ALC
Now the last one was simple , but this one needed some modding to be done to it, as where the screw holes go it was the solid closed type,
As seen in pice below, with one corner done
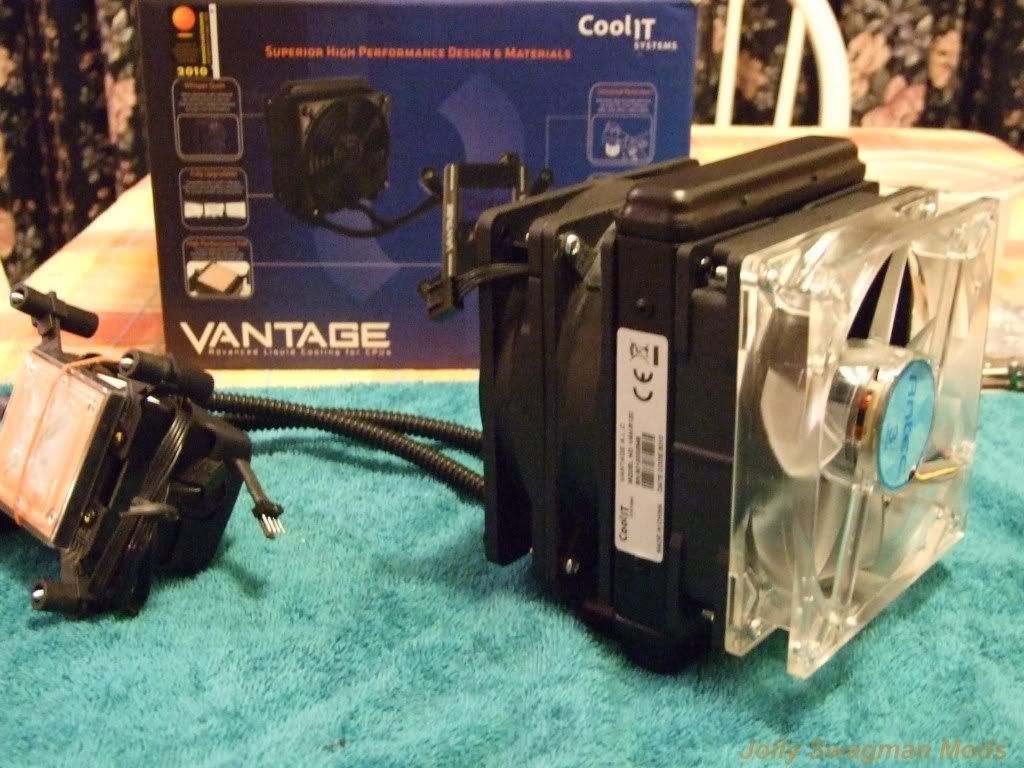
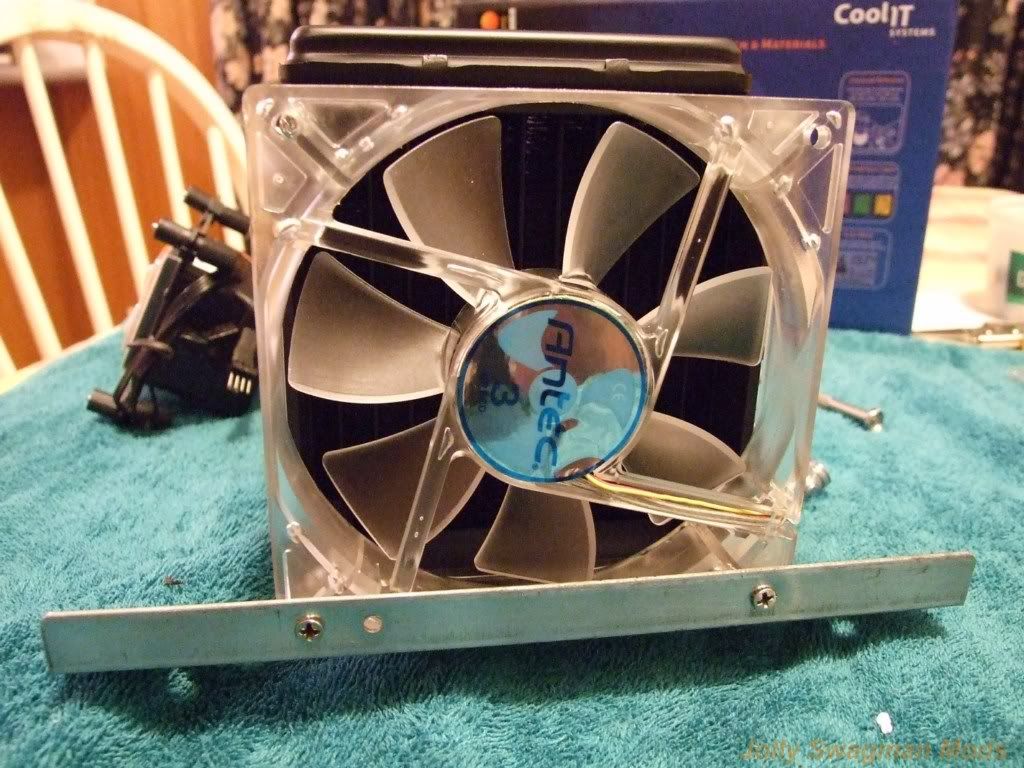
Now with the 120mm Fan shroud made its on to installing them on the CoolIT VANTAGE ALC with a second 120mm x 25mm Antec Tri-Cool Fan
So the configuration will be Push Pull,,, ( <<<< Airflow) Drawing cool air
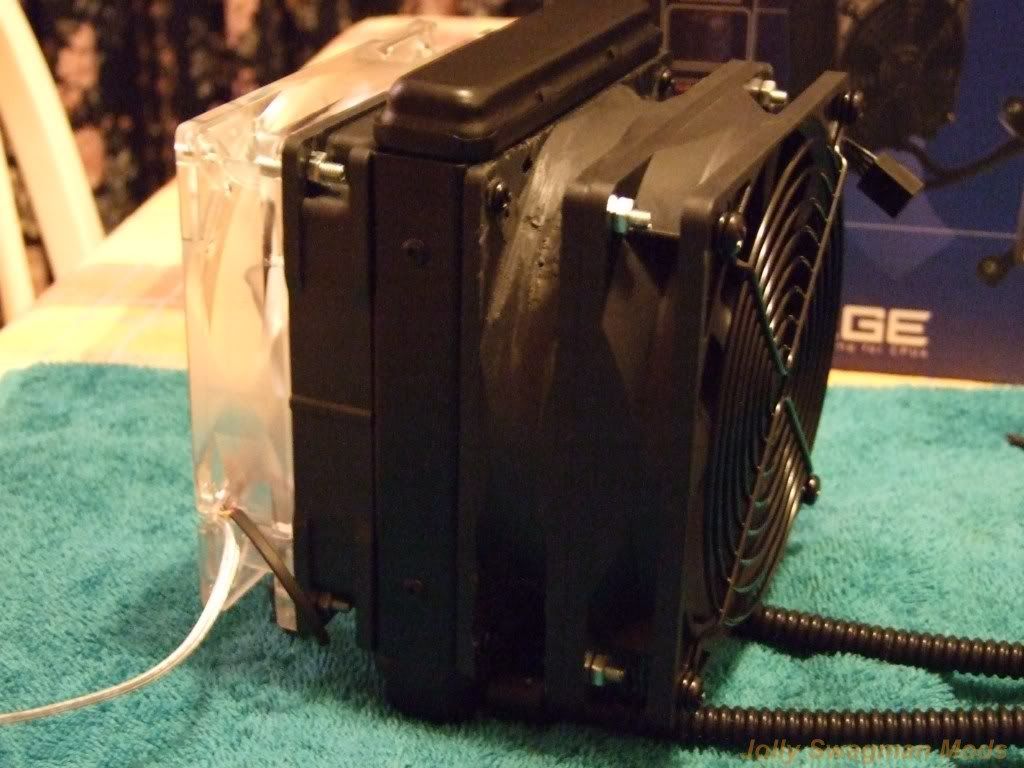
<<<< | Antec 120mm x 25mm Fan |120mmx 20mm Shroud |CoolIT RAD|120mm x 25mm Shroud |120mm PWM Fan | Black fan grill <<<<
Close-Up of the Shroud Set-Up
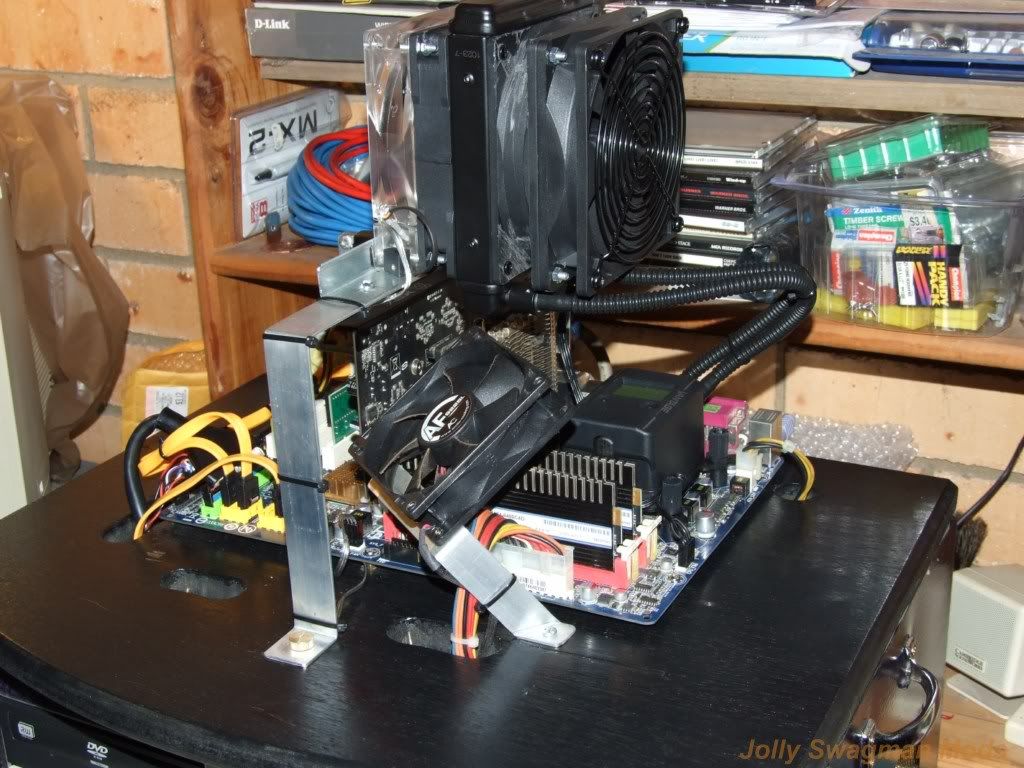
Then made a Bracket to mount the CoolIT VANTAGE ALC on the Cooling Gantry of Jolly's Tech Bench,
Installation to Jolly's Tech Bench
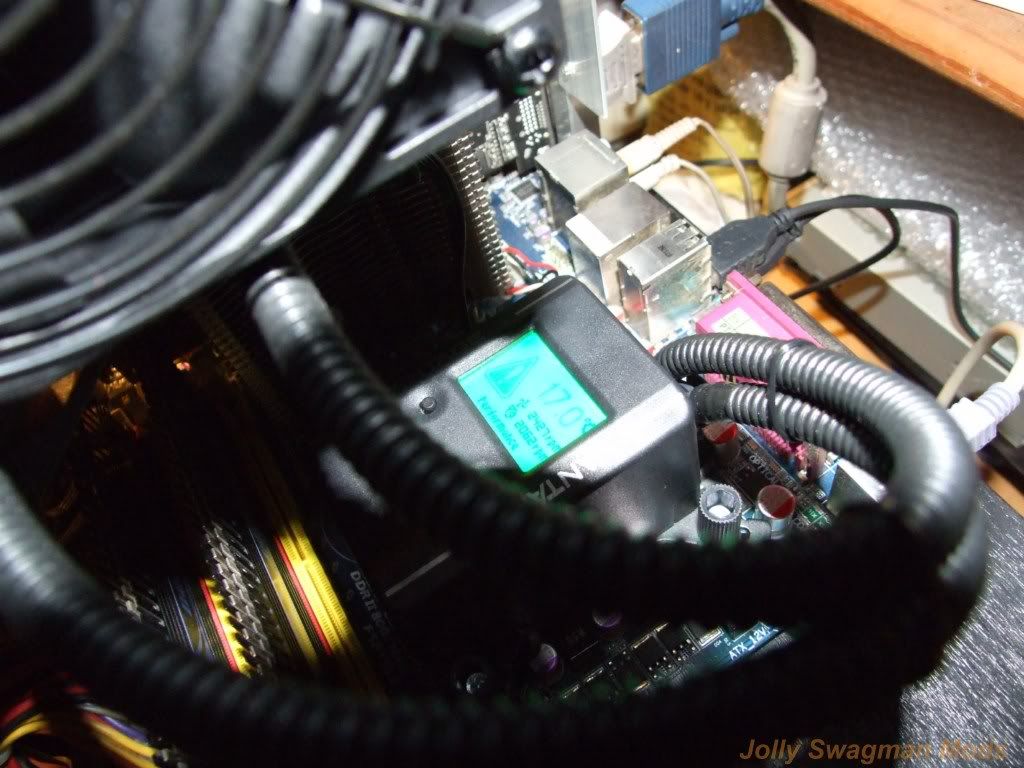
CoolIT VANTAGE ALC Coolant Temp Alarm @ 17C
All installed Ready for some testing and Loading Newly Replaced HDD with Win7 Pro x64 OS
Installing Wn 7 Pro x64
Testing and OC
CPU-z Validation
CPU-z & CoreTemp
Folding@Home SMP -4
Very Happy with the Results of Temps on Par with the Vendetta 2 HSF,
The only Quibble I have is that it took some time for the Dam Beeping Alarm on the CoolIT VANTAGE ALC to stop as
when the Coolant is below 19C it beeps,
So when the system was Idle Coolant Temp was @ 15C then after a while Folding @ 100% Coolant slowly raised to
above 21.5C Beeping Alarm stopped
Q6600 Cores Temps were around 25C-29C but have since settled to 22C-25C across the Cores
So overall the Set-up Configuration I have is Pretty good and fairly Quiet too!