-
Project: Accelerated Fear
This mod has been hardware sponsored by...
Crucial - The Memory Experts (RAM)
QuietPC - Make your PC Whisper Quiet and Hear Yourself Think!(Water Blocks)
AMD - The Smarter Choice (Processor and Motherboard)
Giga-Byte - Upgrade Your Life (Graphics Card)
A.C.Ryan - Pro Modding (Fans)
Custom PC Magazine - The essential read for Performance Hardware and Customisation (Power Supply)
Thankyou to all the sponsors for generous donations to the project.
Hi Guys, iv been a quiet (very quiet ;) ) member of these forums for some time now but iv been into modding for a little over 2 years or so, this will be my first major project.
The idea is to get hold of and old rust bucket PC case and completly strip it back and make it into something a little bit special. I suppose my main inspiration for this comes from the man himself, Defyant. I was totally blown away by his HP mods, so dont be supprised if you see a little bit of "defyantism" in my work, although i will perservere to be original as possible.
A little about me before i begin, im 25 years old and work for in a Military production facility near Milton Keynes, i live in a nice little house with my better half here in the UK, we have a little lad together who is 3 years old and a little girl on the way, i dont really have a workshop (i wish) so most of my fabrication is done by hand, usually on the living room table or outside if its nice weather. Anyway, enough of my mindless ranbling as this is quickly turning into a wall of text!
On with the show.
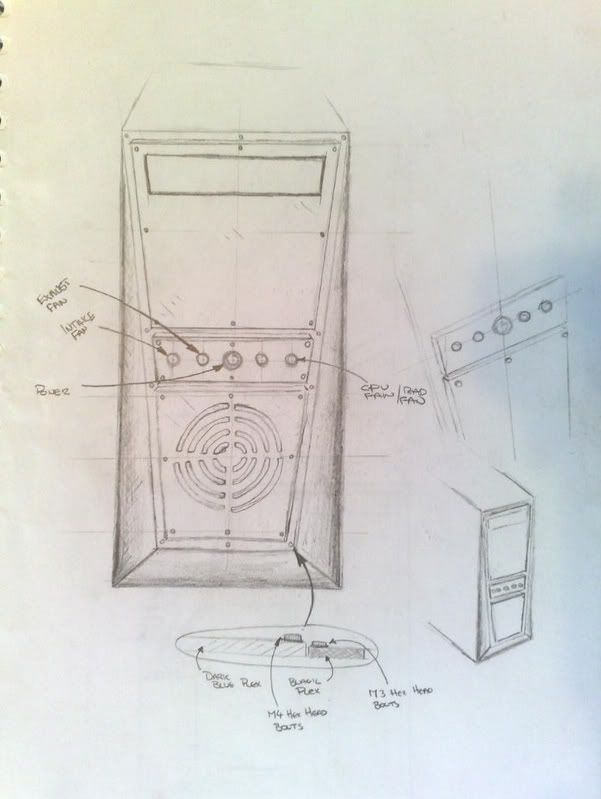
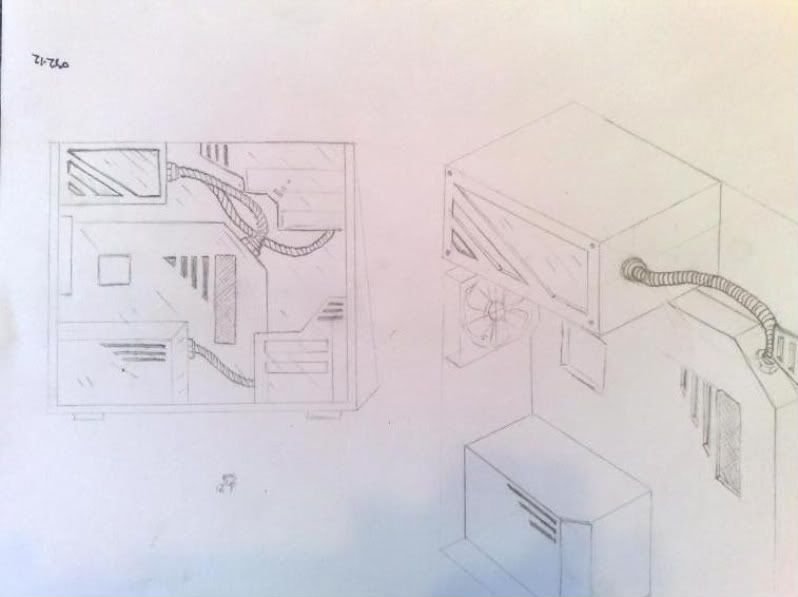
Here are a few rough concept sketches, i used a new fangled gizmo, a pencil and paper :O
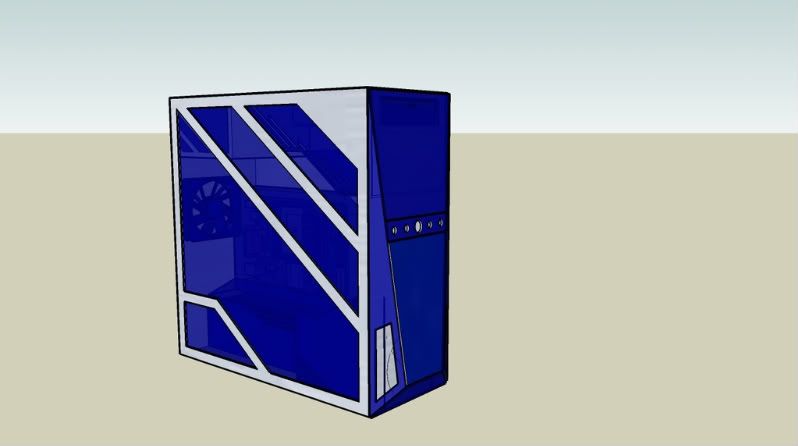
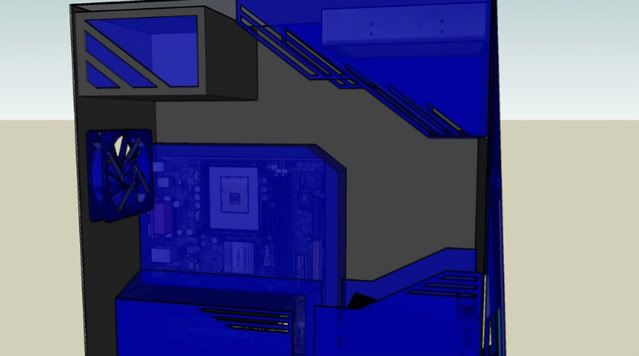
I wanted a nice clean mod, straight lines and precise angles with intricate cut acrylic details, after i had an initial idea i downloaded sketchup for the first time and knocked up a rough model. (Big thanks to the google 3d workshop for the use of there mobo, dvd drive 120mm fan and hdd premade models)
The panels will be transparent blue plex backed onto black plex, the panels will be illuminated, i want them to glow on the edges to show up the detail of the intricate cuts, im not sure of the method yet, maybe you guys can help me with the lighting.
I kept my eyes open for a few days once i decided to go ahead with the project, noticed this little baby poking out the top of the skip at work!
The Victim:
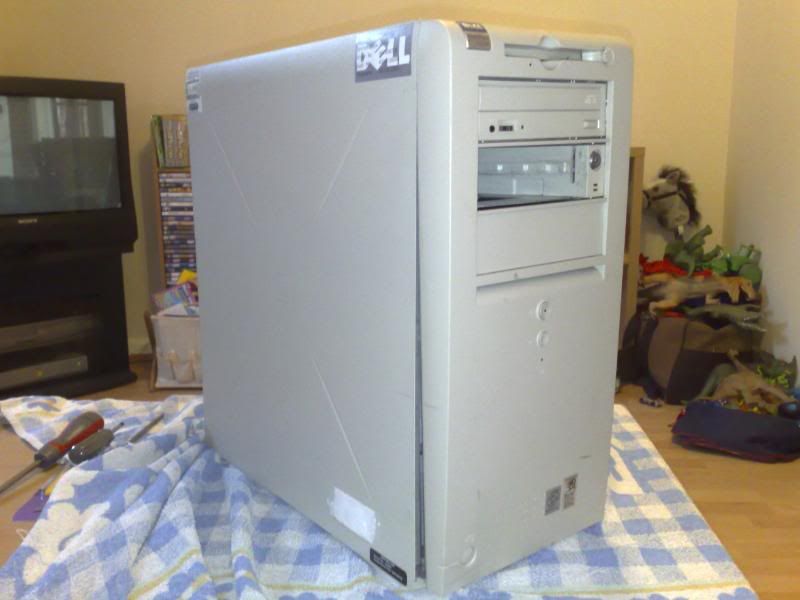
An old Dell Optiplex, look how innocent and unsuspecting it looks! Whats best is the panels are plastic, i should be able to cut these quite easily, hopefully they dont become to fragile when cut.
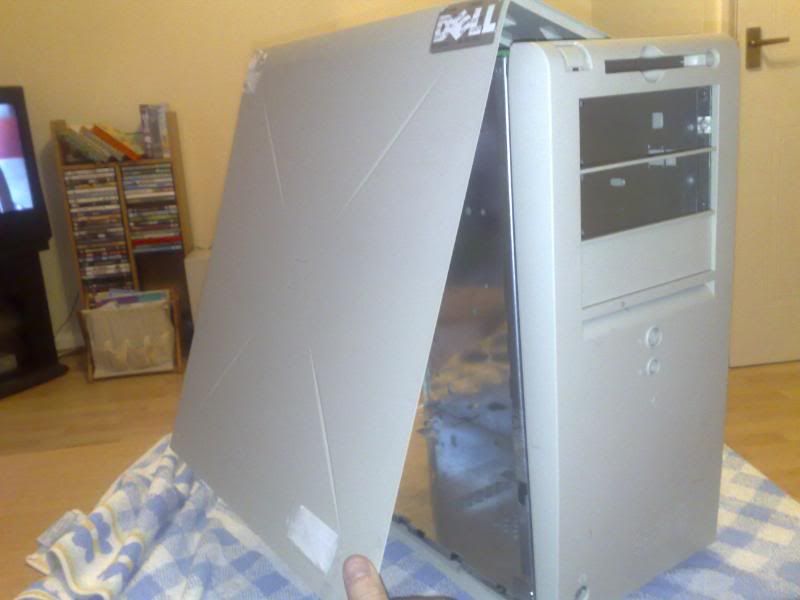
Wow, that was difficult! I had to look up on the net just to get this thing open! Theres a little button on the front (bottom left corner) and a catch on the back that allows the side panel to open up, good for security i suppose. Man this thing is HEAVY, all the panels are steel lined!
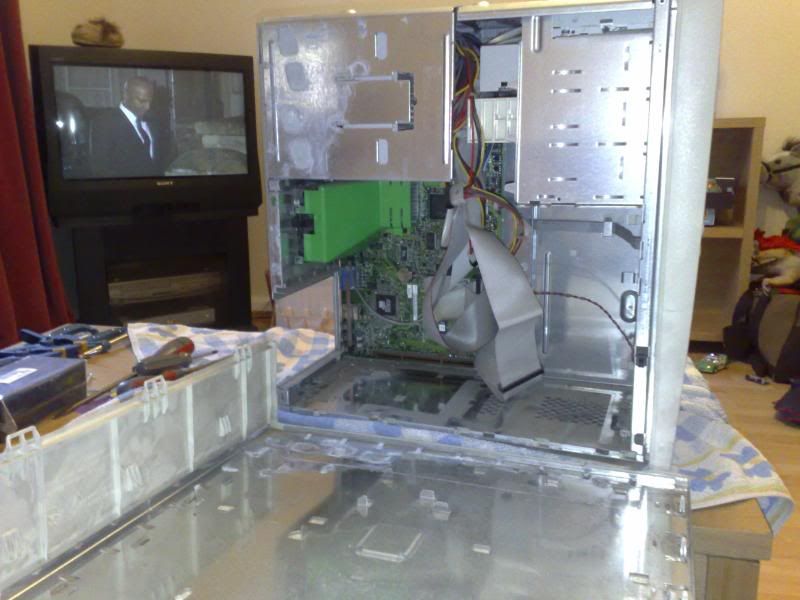
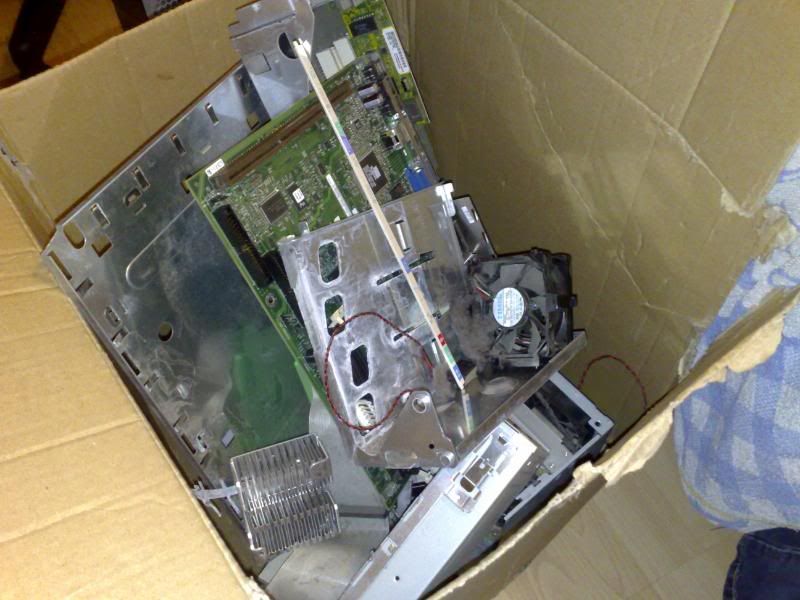
EWWW! SHOULD OF LEFT THE SIDE PANEL ON! Seriously, there was a whole family of spiders living in there along with a few of there dead relatives! They seemed to think if was some sort of extreme makeover, i gave them there eviction notice and they left peacefully out the window.
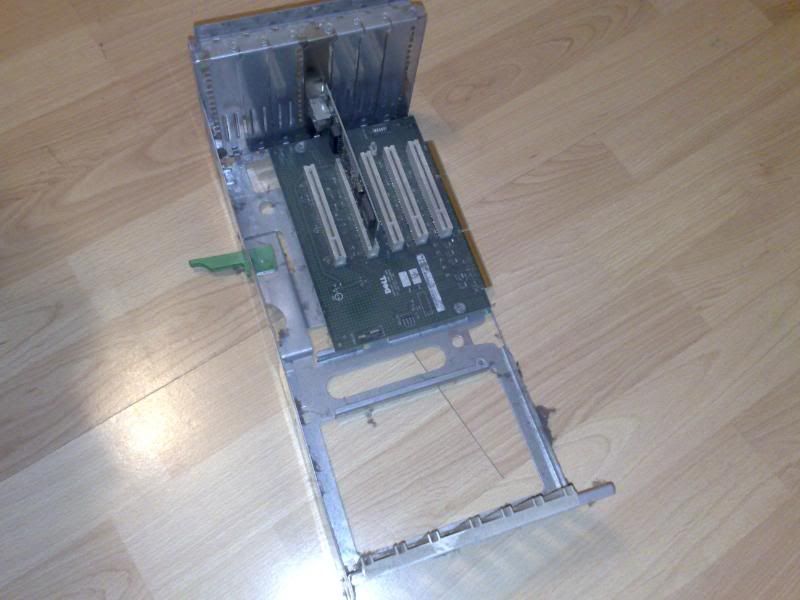
One of the many pieces of steel framwork to be cut from this old girl.
Man how did they cram all that stuff in this case!
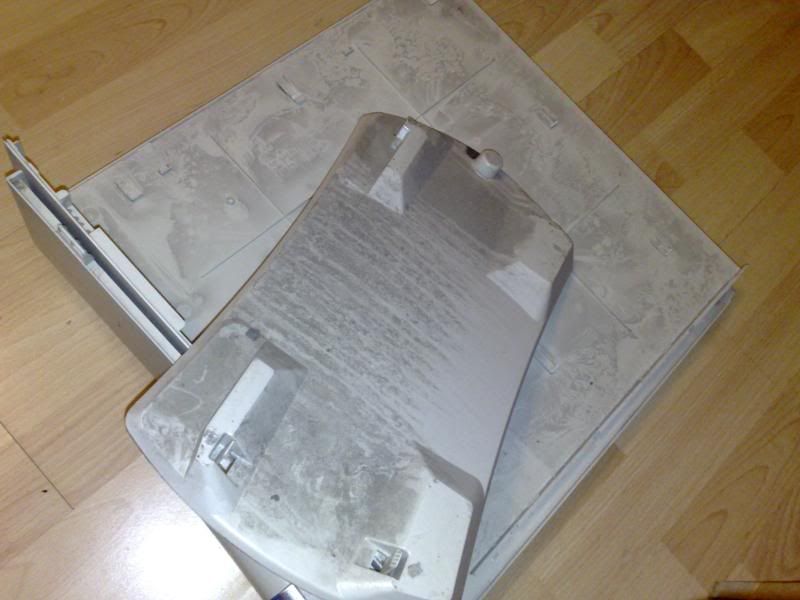
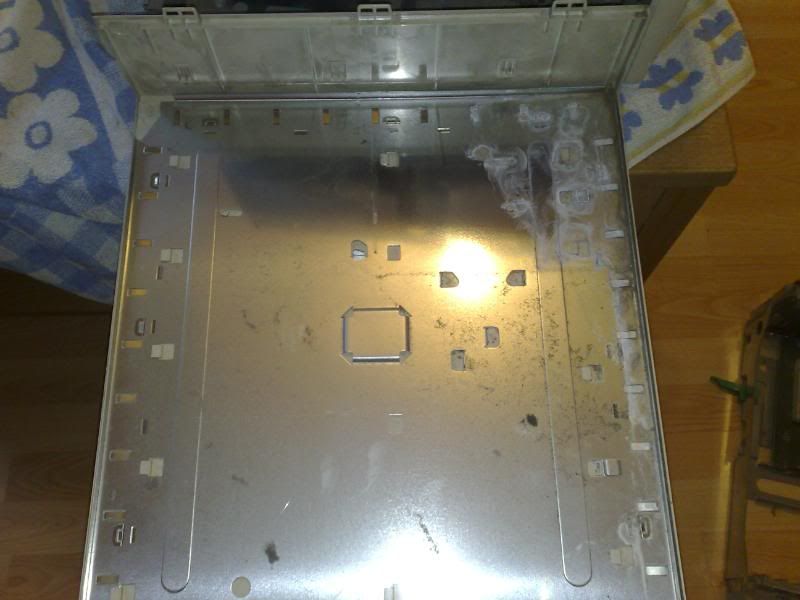
The previous tentants were not very houseproud.
Pretty filthy, nothing a good hose down wont fix though.
Havnt got a tap outside so i slung it in the bath! A good scrub with some bubbles and the shower hose got most of the grime and crap out of it, ill be working on it a lot so it didnt have to be spotless, just free of cobwebs, the bath looked a complete mess afterwards! My girl was going a bit mad! WTF ARE YOU DOING WITH YOUR PC IN THE BATH!!!? HAHAHAHA
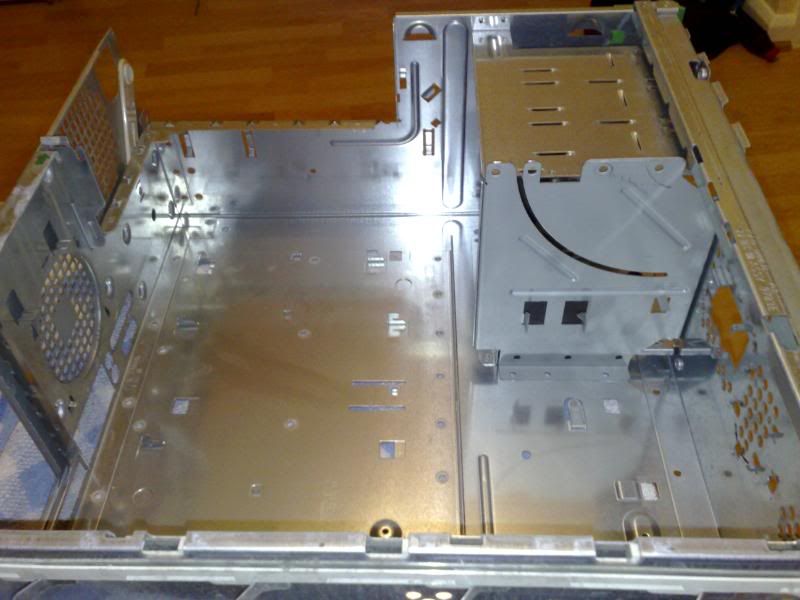
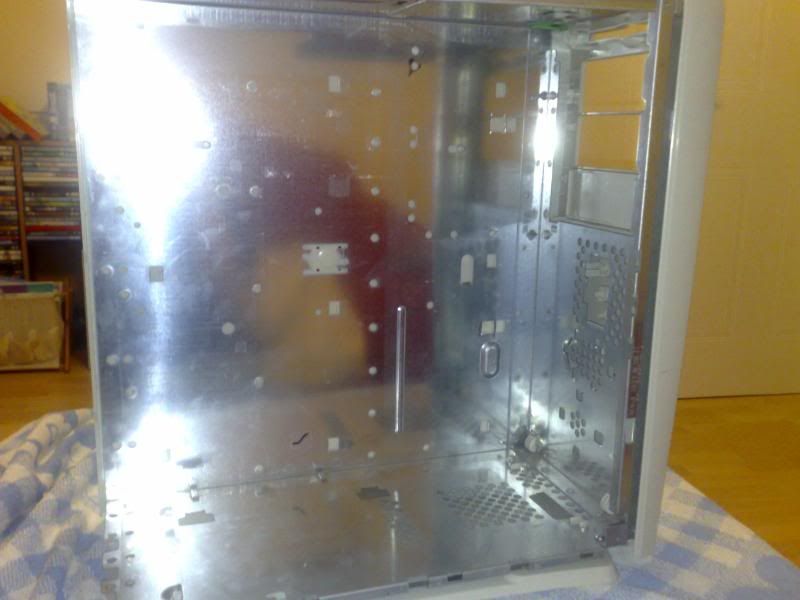
I cut away the rear I/O panel and the drive bays as these are all going to be remade out of plex and other materials.
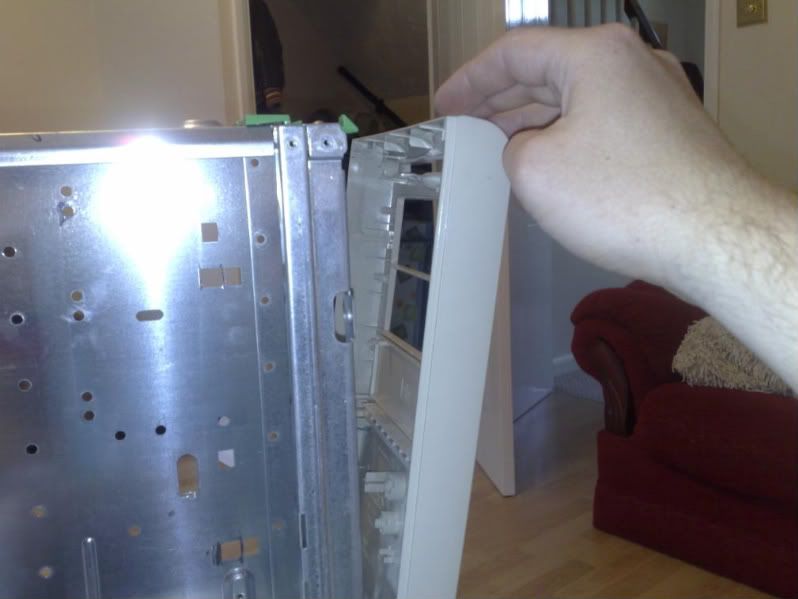
I liked the way the front panel was fixed on, if you look at the top you can see a green thing, thats the latching mechanism that holds the front in place and at the bottom...
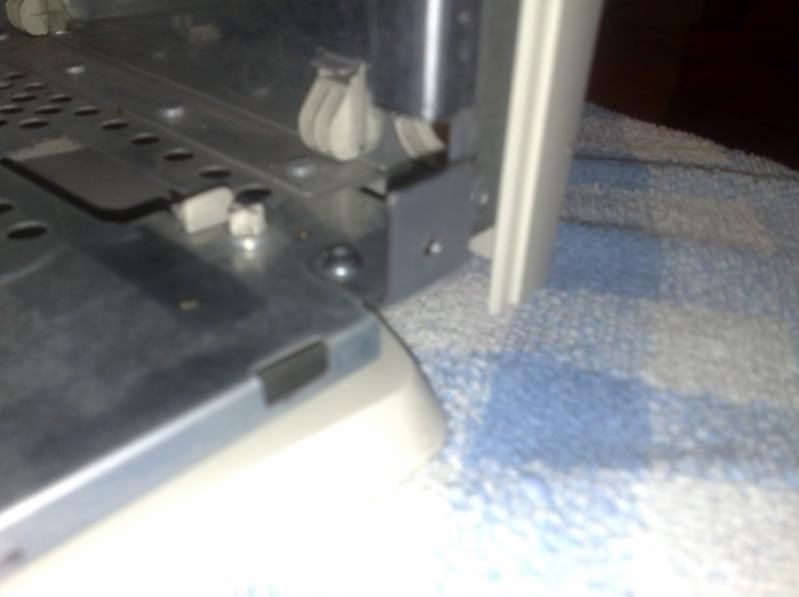
are two hooks that fix onto the frame. I will keep these in place.
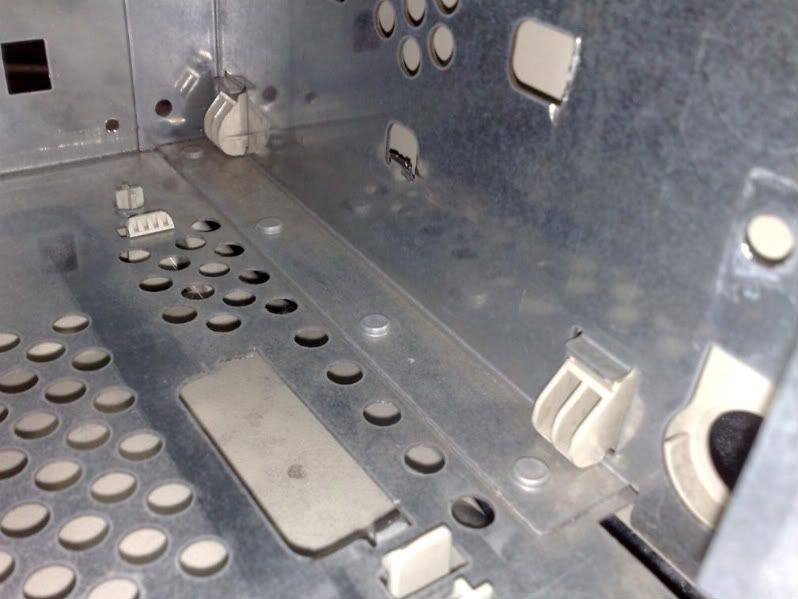
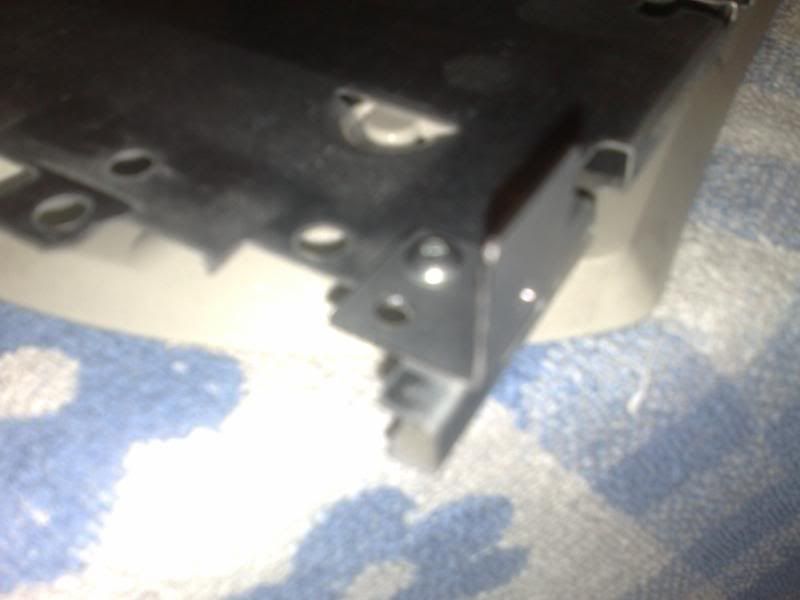
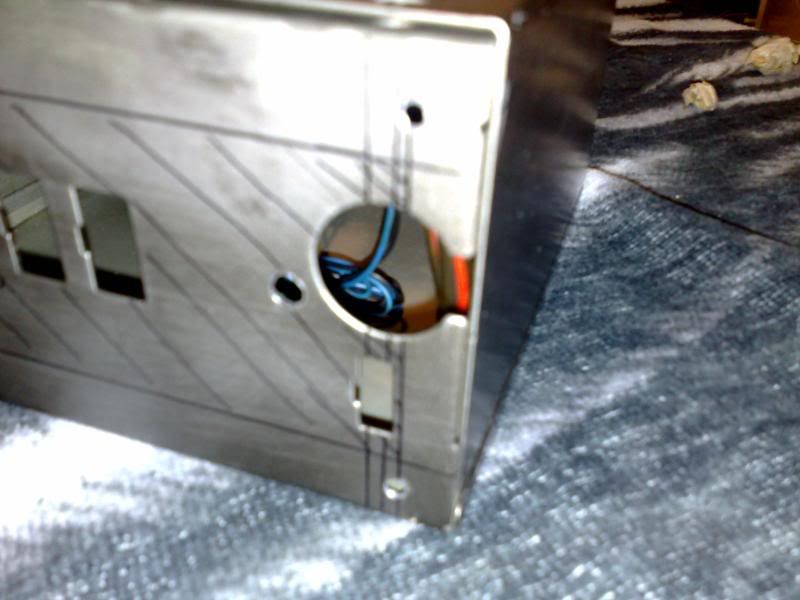
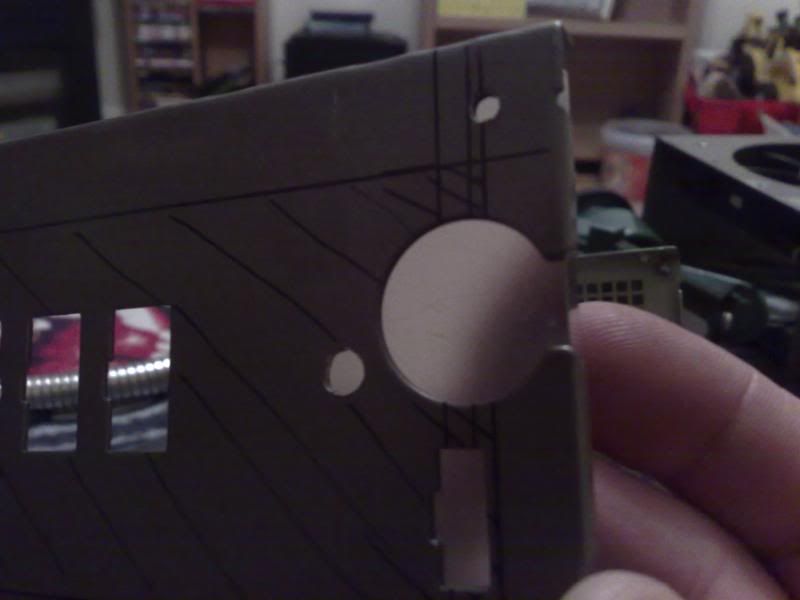
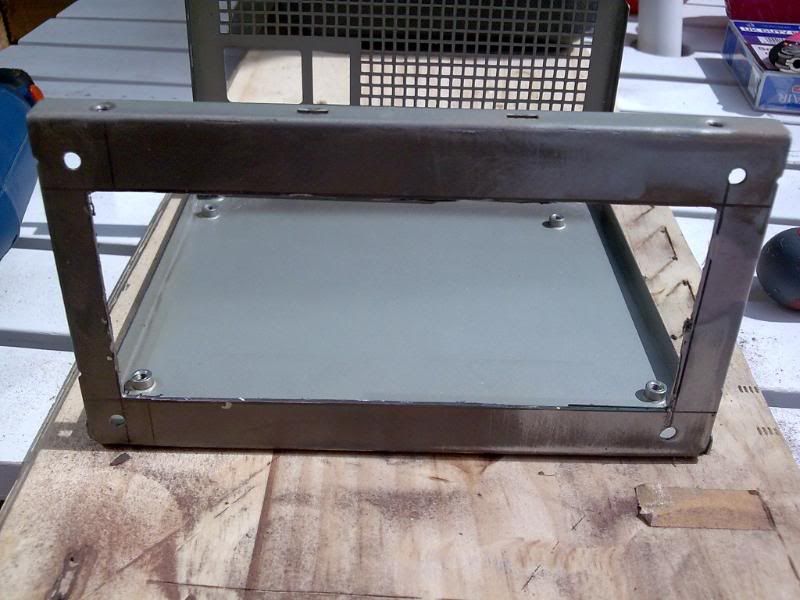
I had a slight problem, as i had removed most of the steel inside, including the locking mechanism for the side panels, the side panels had nothing to hold onto. I fabricated two small brackets to temporarily hold them on.
(Sorry for the Blurry shots, my cam phone has a rubbish macro mode on it)
Front bracket, drilled and tapped to M4, i added a locking nut to the backets, i dont want the brackets coming loose as id have to rip the case apart to get into it if they did.
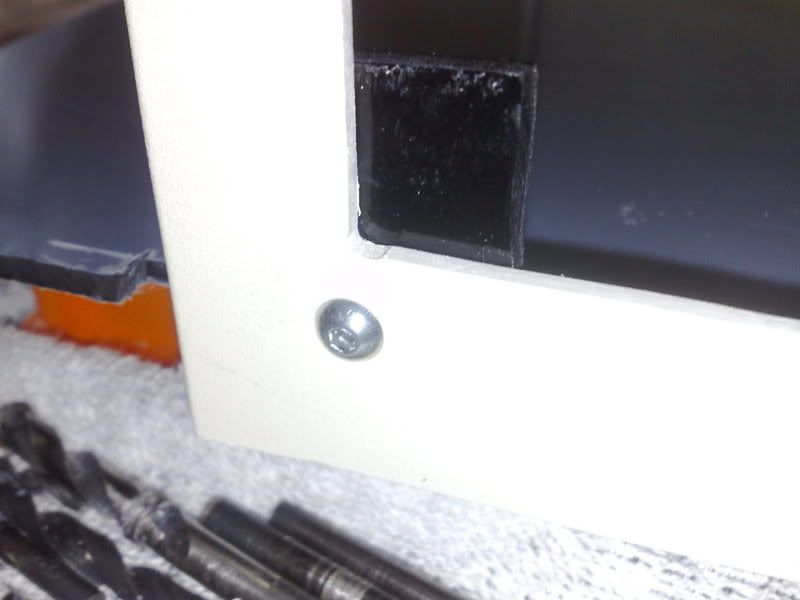
Rear bracket, these are just temps, there way to big and will be visable through the window if i leave them. The plan is to countersink the screw heads and trim the brackets down so the bare minimum amount of metal is present.
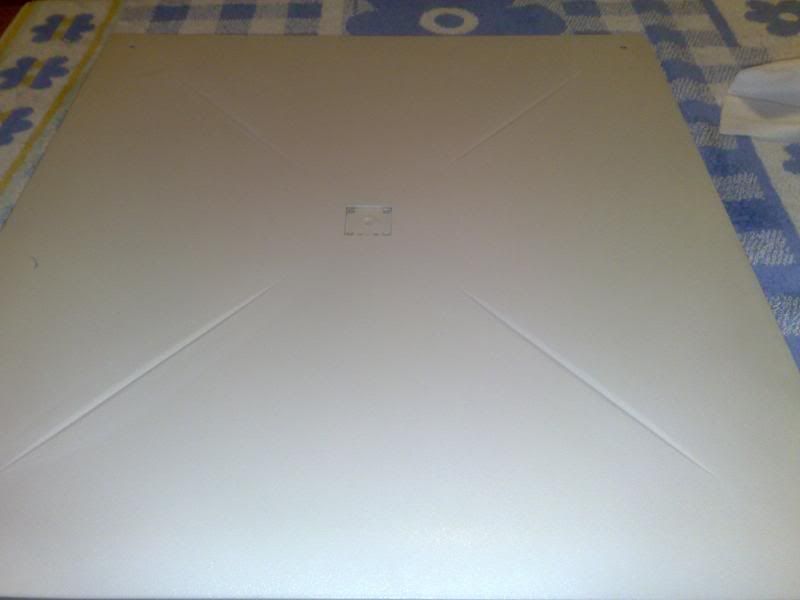
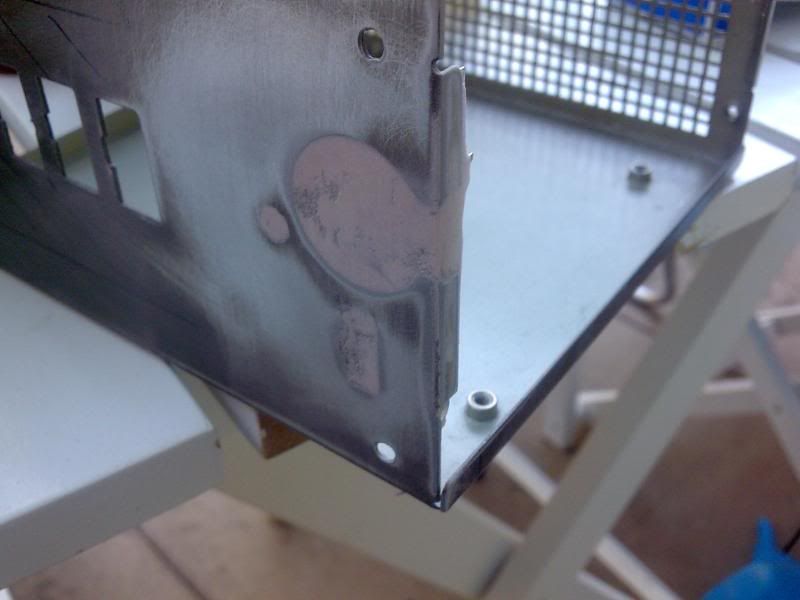
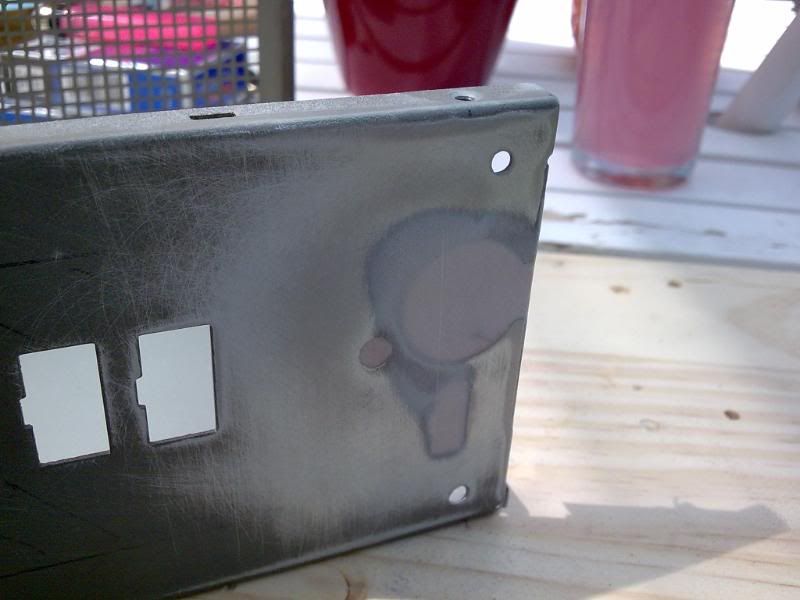
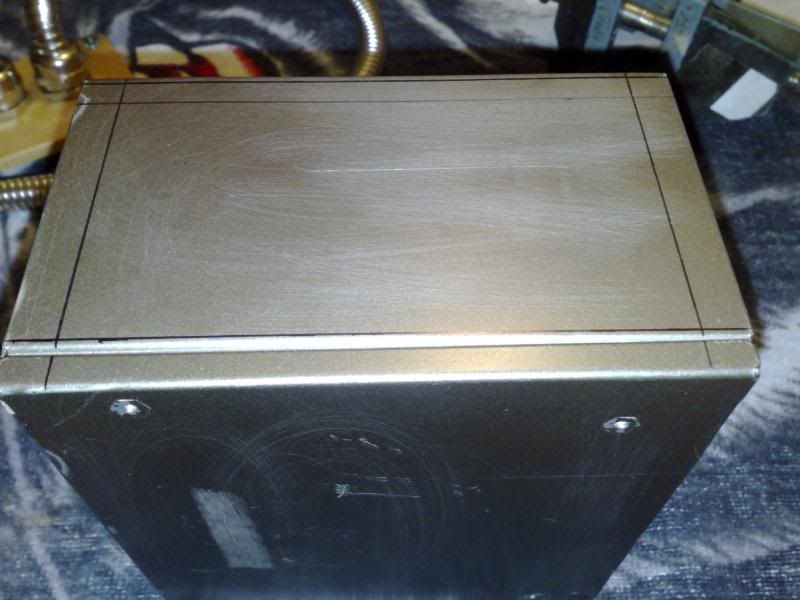
Looking closly at the side panels you can see a kind of indented design on it, this had to go, the grooves would be visible and look totally crap the way im planning on cutting these panels.
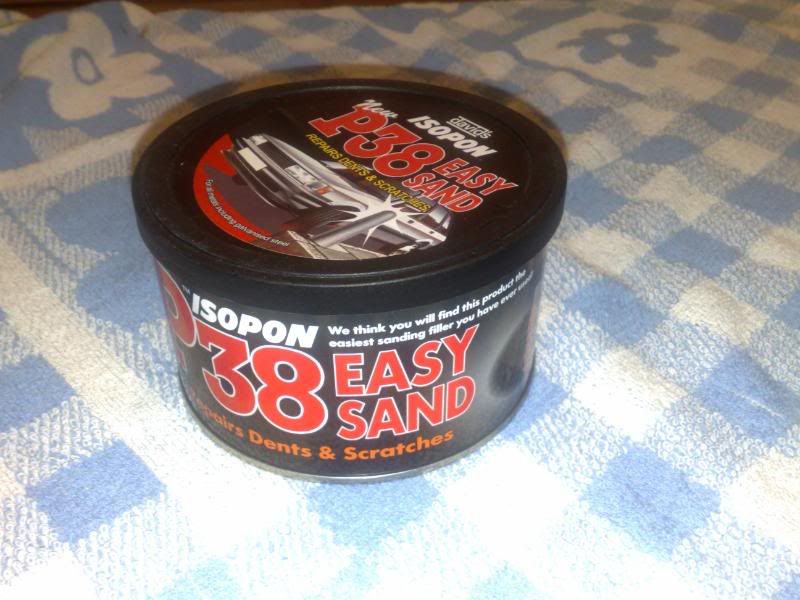
Time to break out the bondo, well we dont have it in the UK, so i drove to Halfords and picked up some Davids P38 from what i could see it was the same stuff.
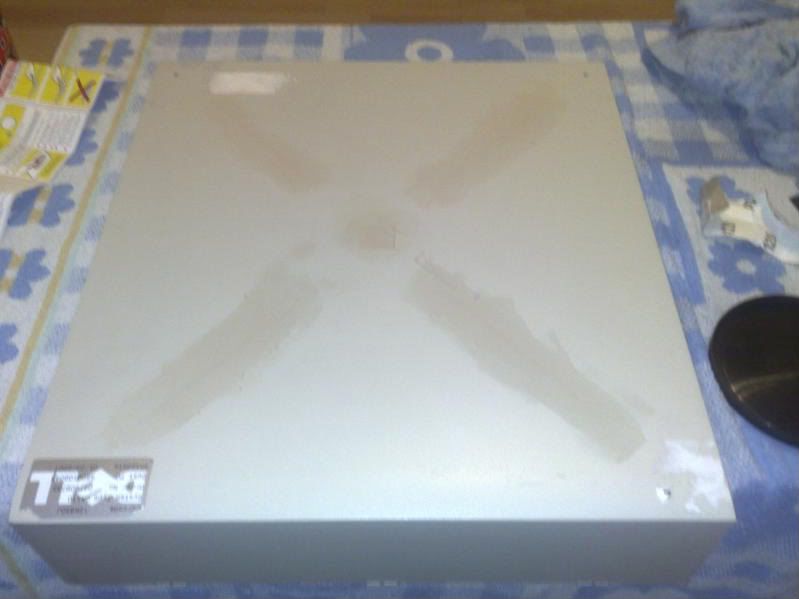
I sanded down the panels to give a really nice key, i really needed this stuff to adhere to those grooves otherwise it would all chip out when i cut the panels.
Gave it the first fill... MAN THIS STUFF STINKS! i mean REALLY stinks, i felt high after about 5 minutes of working with it, had to open the sliding doors for my health!
I gave it a thin coat at first and left it 24 hours the sanded and refilled. Another 24 hours later i sanded again, then wet sanded from 240 grit up to 1000 grit, man this stuff is silky smooth! I closed my eyes and ran my finger over the panel and couldnt feel any bumps at all.
I needed to get those dam labels off, took me ages at first using a sponge and some warm soapy water, then my friend came over and suggested i use some WD40, MAN this stuff kicks ass! Not only does it eat rust, it also eats sticky goop left behind by security labels too! Within a few seconds it was mush and i just wiped it away!
Whilst i was at halfords i also picked up some Filler Primer. This will help me get a really smooth undercoat.
After 1 test coat, i left it dry for 24 hours then ran my hand over it, totally flawless! Once im finished cutting the panels and im near completion i will give it 3 nice smooth coats of this before the real paint goes on.
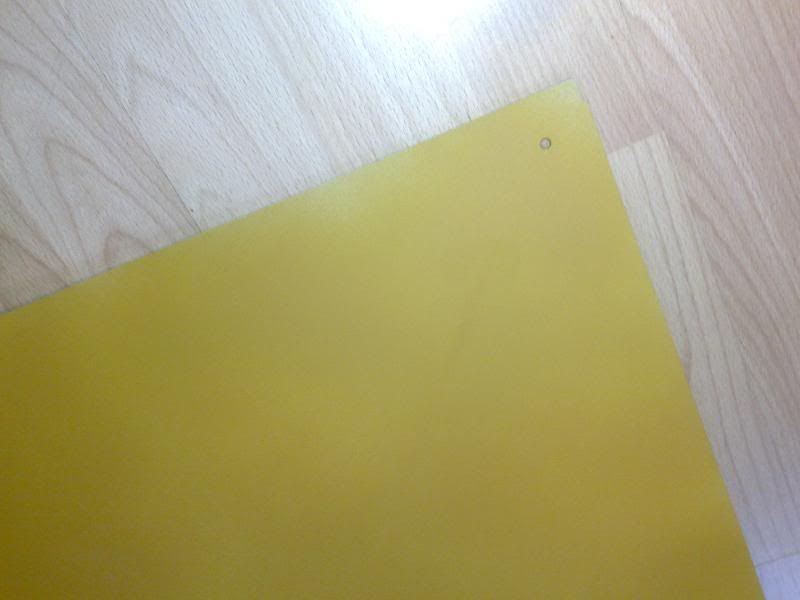
Colour is nasty eh? Kinda like mustard :rolleyes:
-
Re: Project: Accelerated Fear
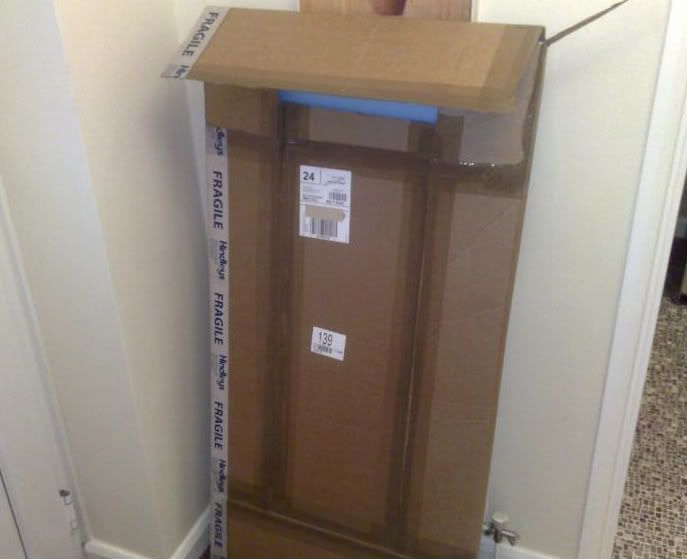
Had a supprise waiting for me when i got home from work today!
OOOOOOOO what could it be!? :rolleyes: as you can see by the state of the box i kinda tore into it, couldnt resist!
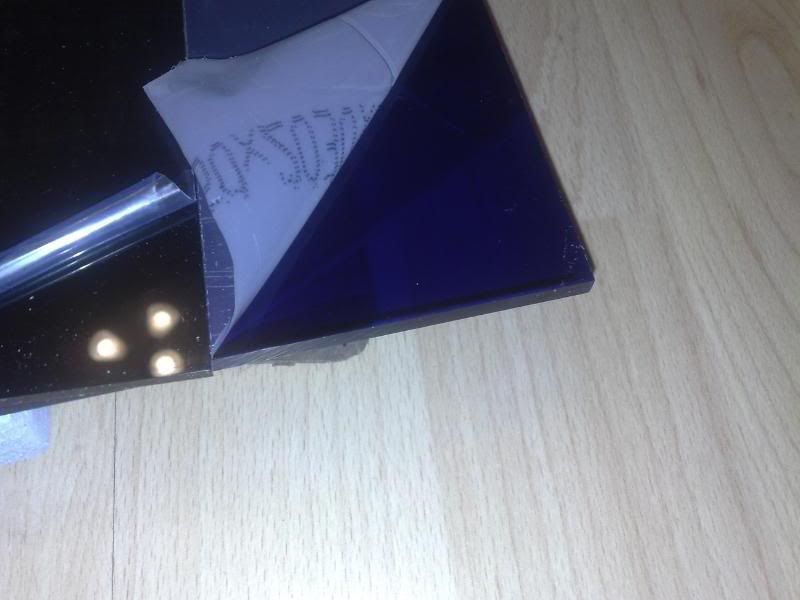
As far as Plex goes, thats pretty dam sexy!
After speaking with Xperiment from the forums he shared the address of his plex supplier (its kinda hard to get hold of in the UK) so i placed an order at Hindleys for my 5mm thick dark blue transparent plexiglas and my 3mm thick black plexiglas.
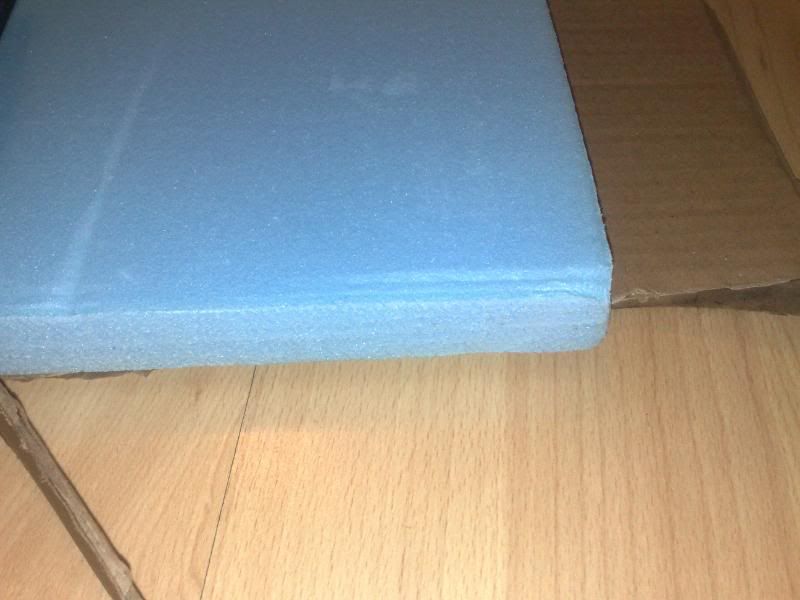
I also bought a sheet of Styrofoam which will be used when creating the front panel.
Man this has really given me some enthusiam to get going, but i cant use these mats for a little while yet :(
On with the mod...
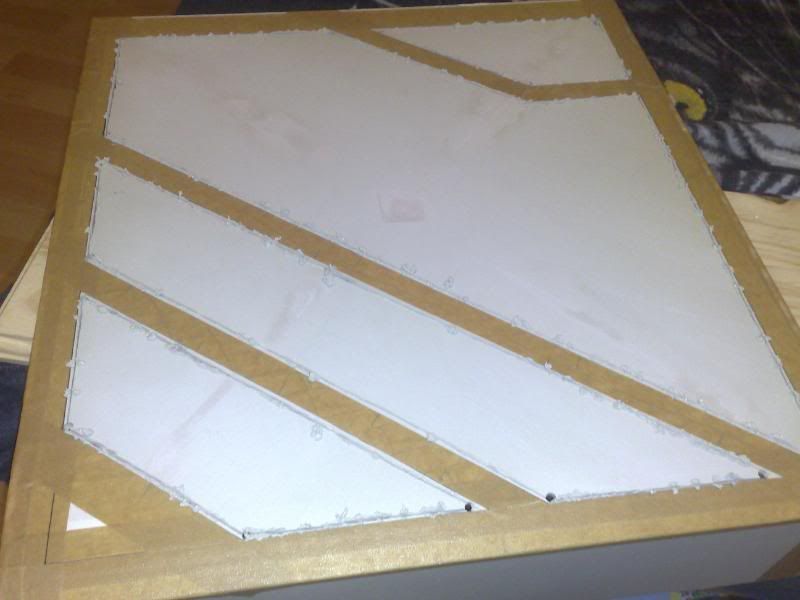
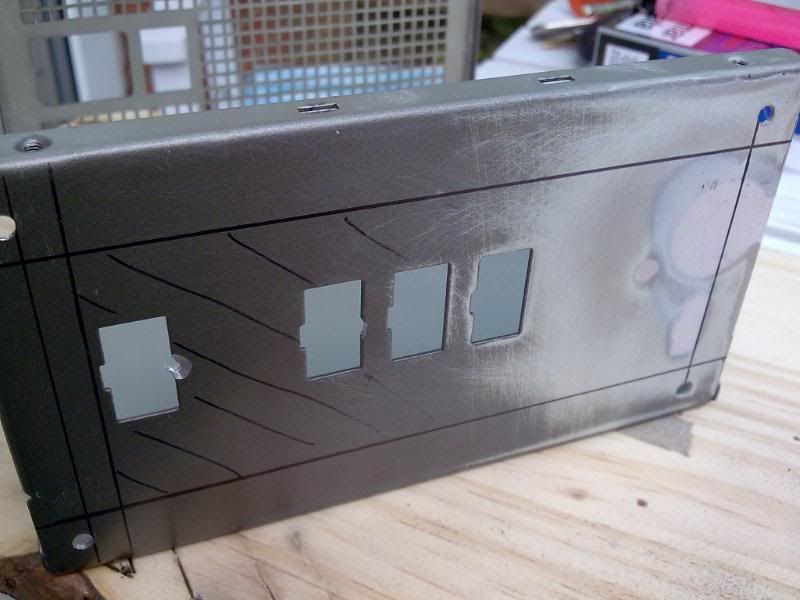
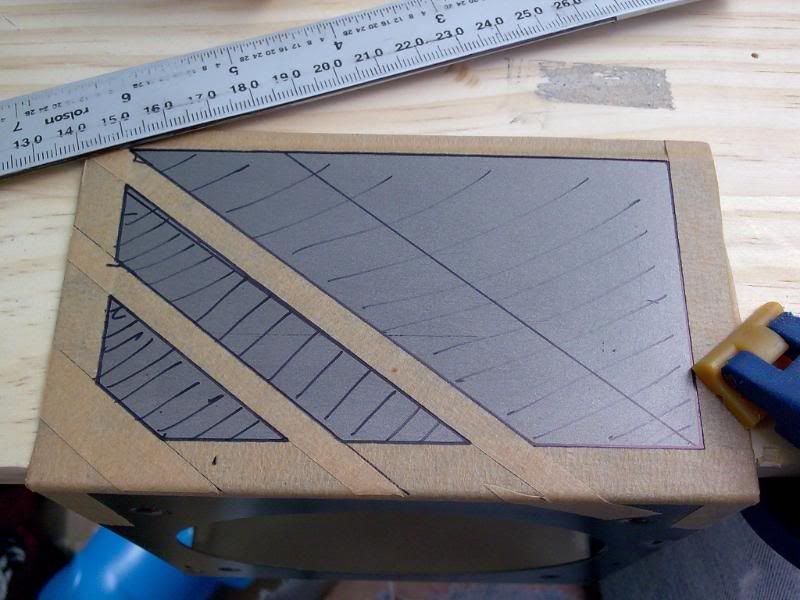
As you can see from the first sketchup pic, i wanted to cut the side panel quite finely. I did a quick mockup on Autocad so i could find the angles correctly, i had one shot at this and really didnt want to screw it up.
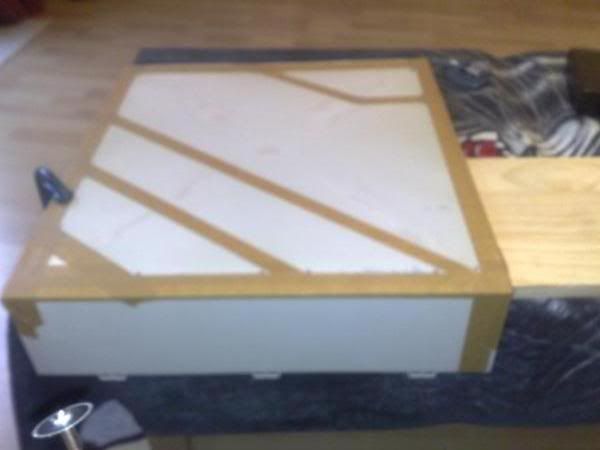
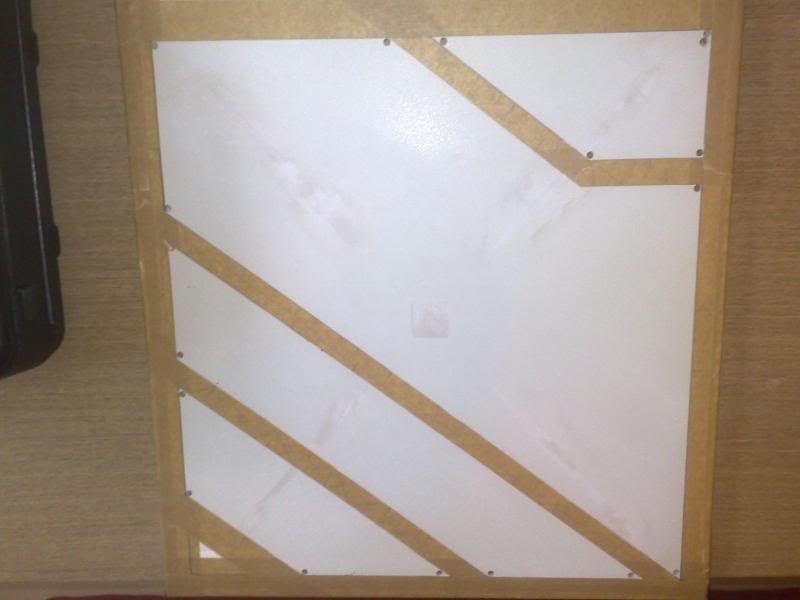
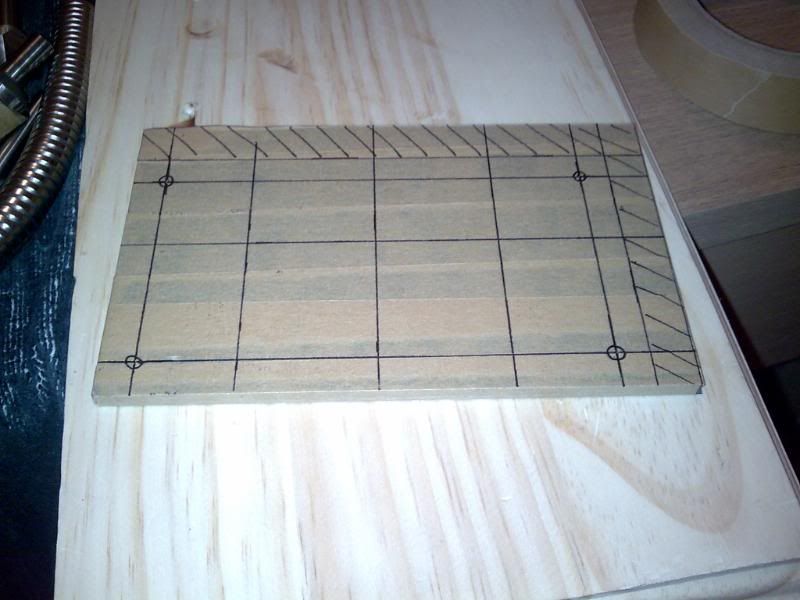
I masked it up with some low tack masking tape, i didnt want to put too much presure on the bondo type stuff peeling of tape. I marked up the lines.
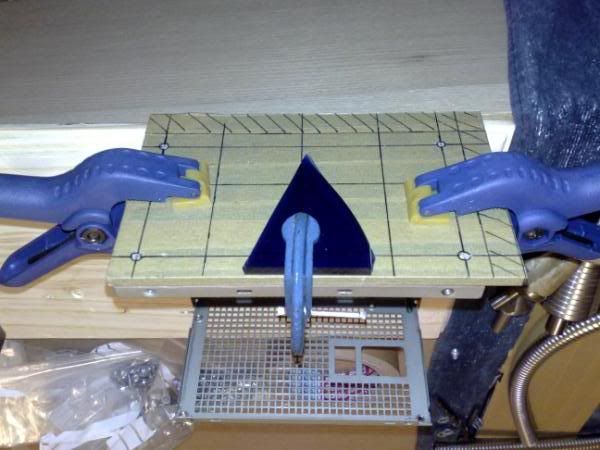
Then i drilled the corners out so there was no chance of me overcutting, the corners will be finished with a file later.
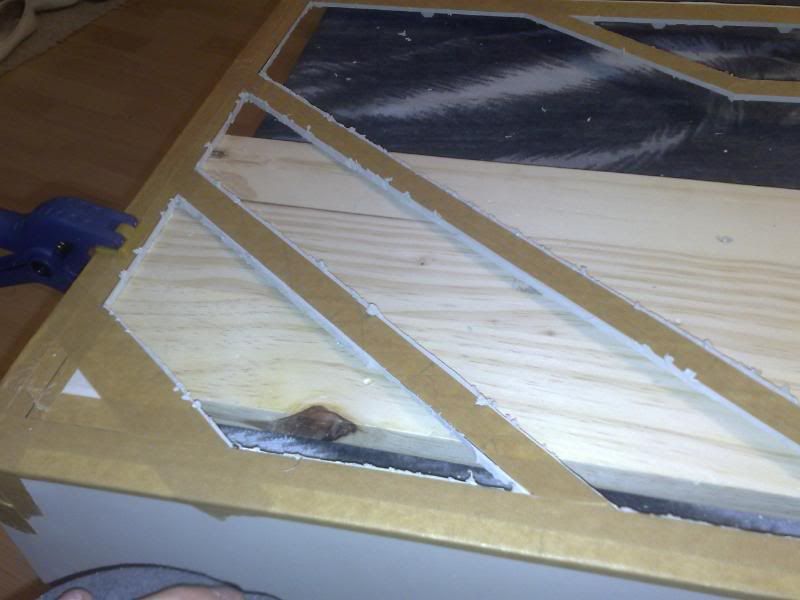
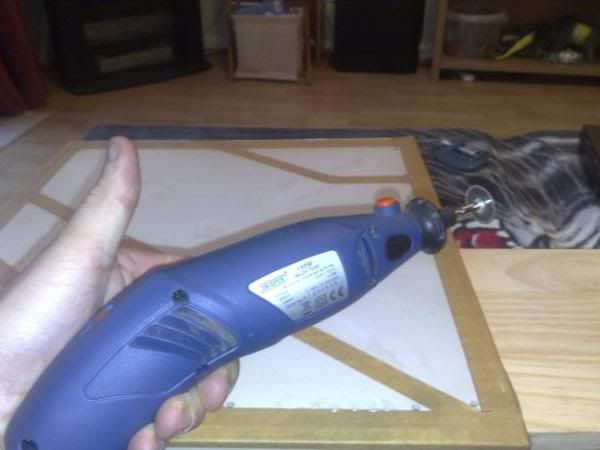
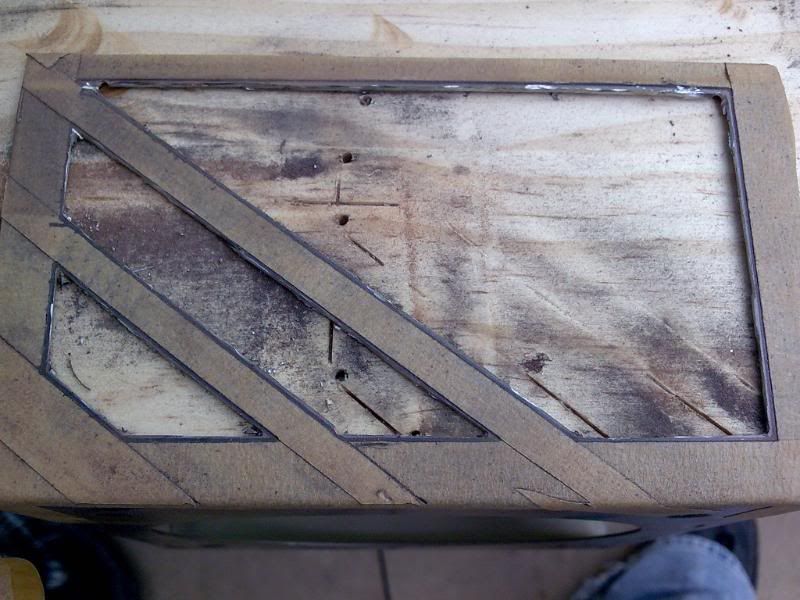
I dont have a scroll saw, although i want one A LOT i just dont have the funds or the space right now, so i had to get by with the good old dremel.
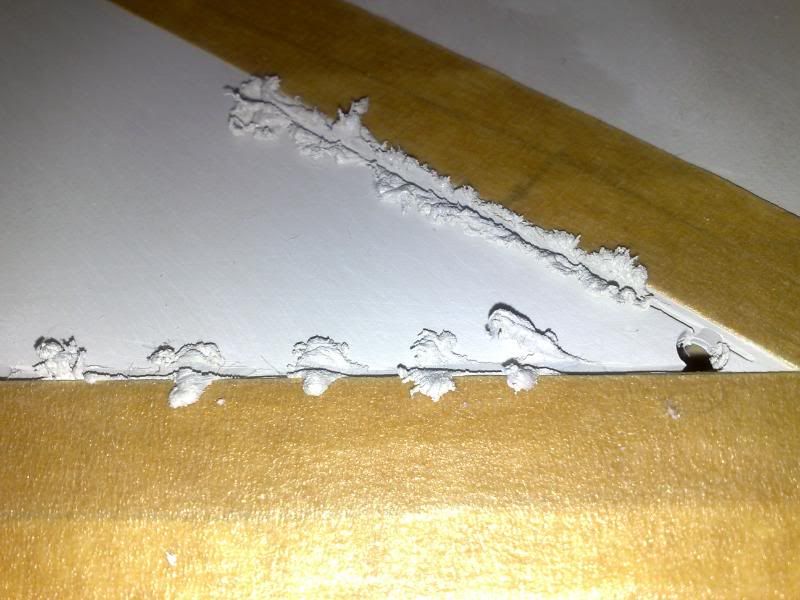
As most of your know 3000RPM and plastic do not go well together. I was expecting this so i gave myself plently of room for melting. What i wasnt expecting though was the amount of smoke and the stench the melting plastic gave off!
The dremel kept skipping up and biting at the plastic, NOT GOOD!
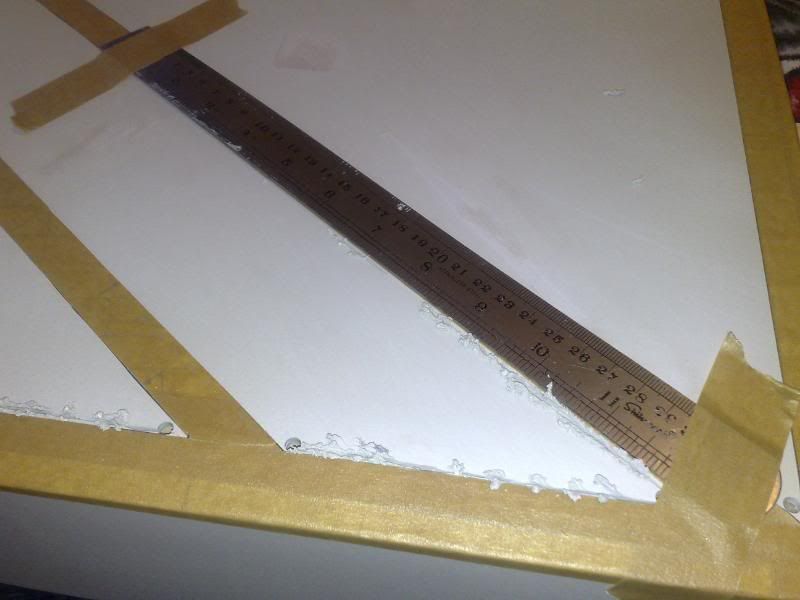
I taped a steel rule to the edges i was cutting to protect the plastic if the dremel decided to leap again.
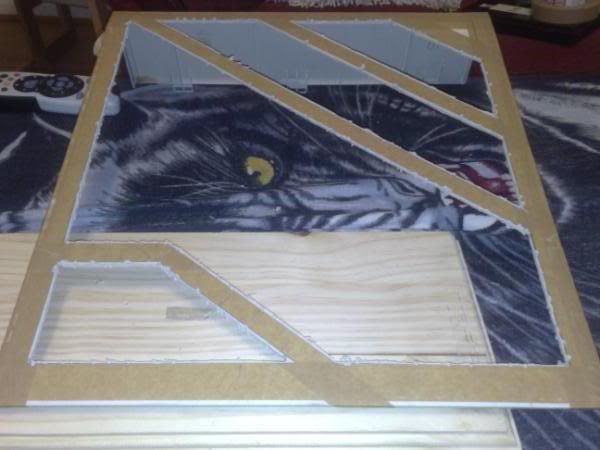
After a good hour of cutting id finished the rough cut.
Broke out the panels.
I agree, rough as a dogs arse! But have no fear, i have a good set of files...
After a bit of filing...
A lot more filing ...
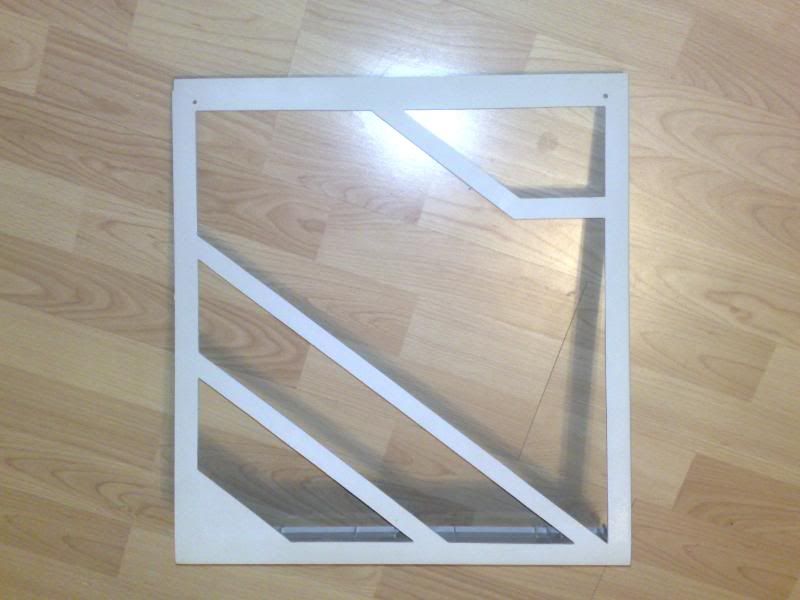
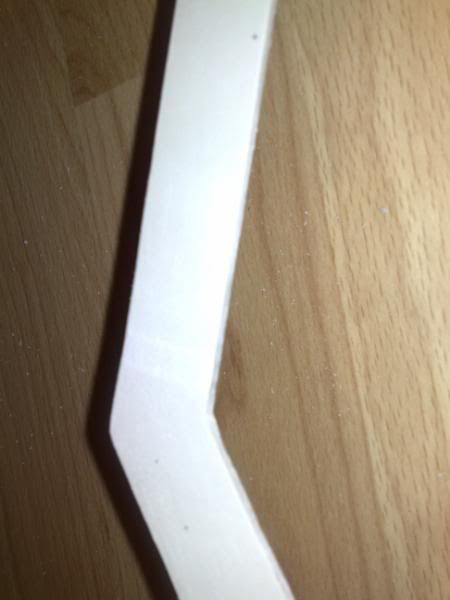
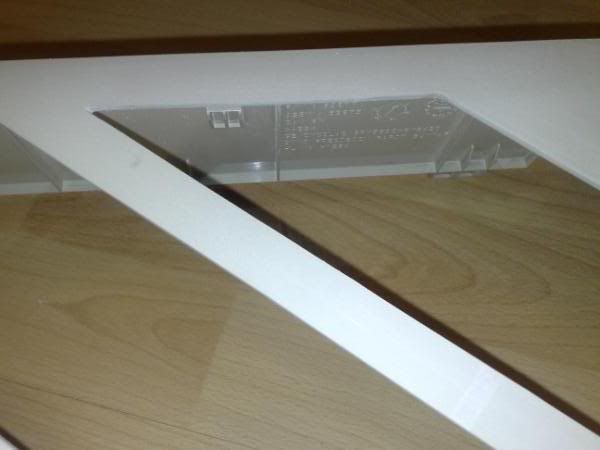
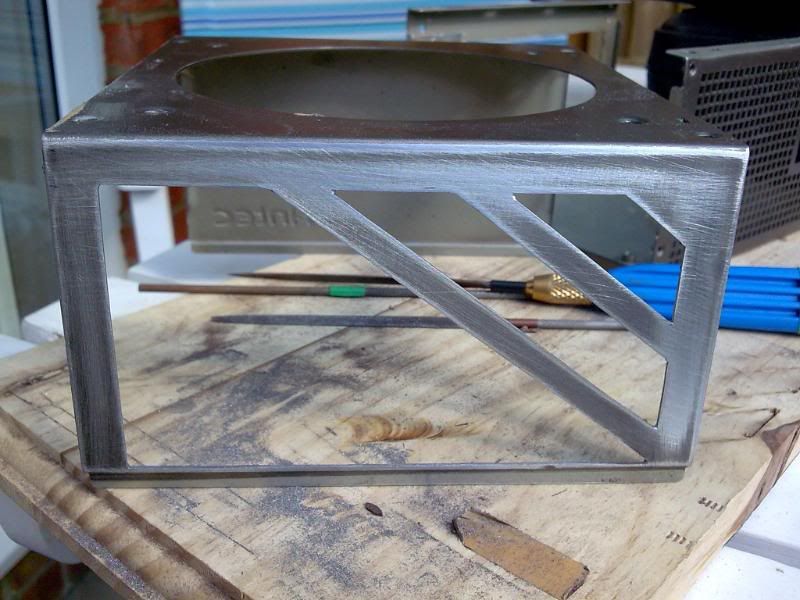
Looking pretty sweet! I finished up the fine corners with a needle file and smoothed down the cuts with some wet and dry.
Im really pleased how it turned out, i was quite worried when it started melting but even with just that amount of material the panel is still quite strong, also the bondo held great! Im so glad i took the time to give it a good key.
Thumbs up for the dremel!!! :up::up::up:
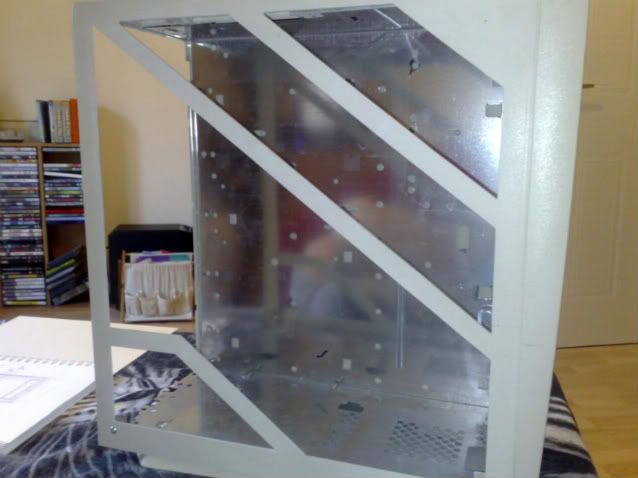
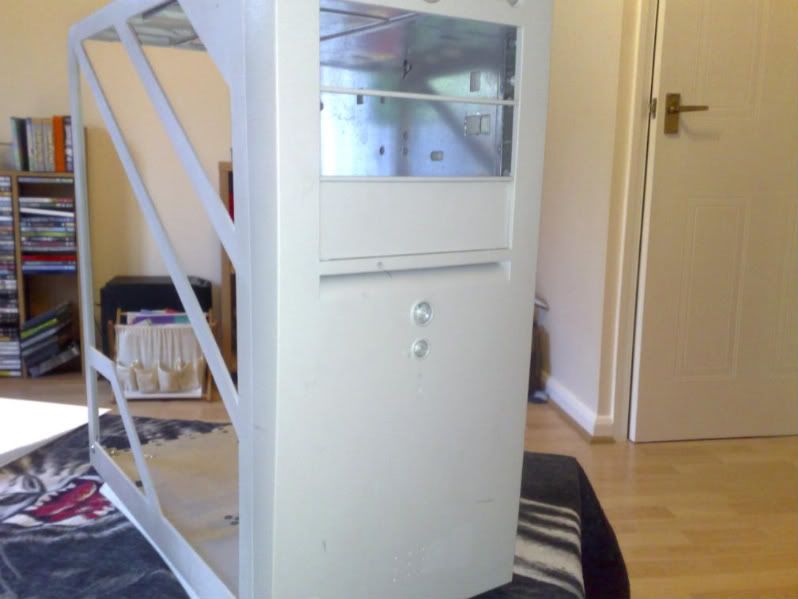
Heres the case with the side panel back on.
and another view.
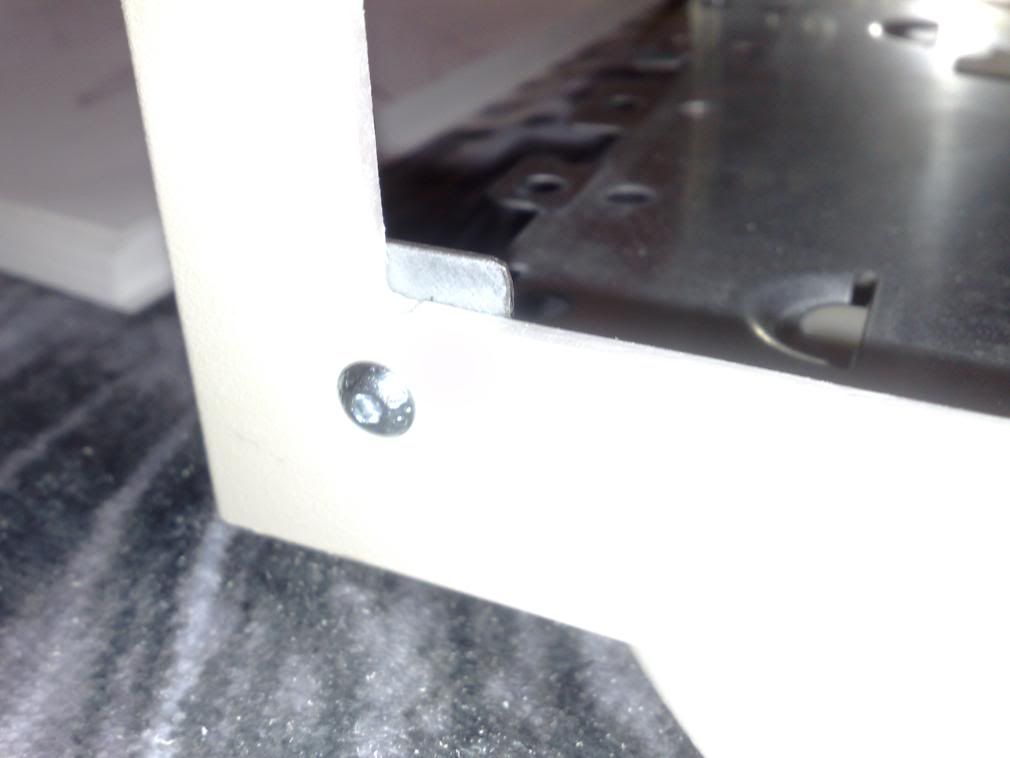
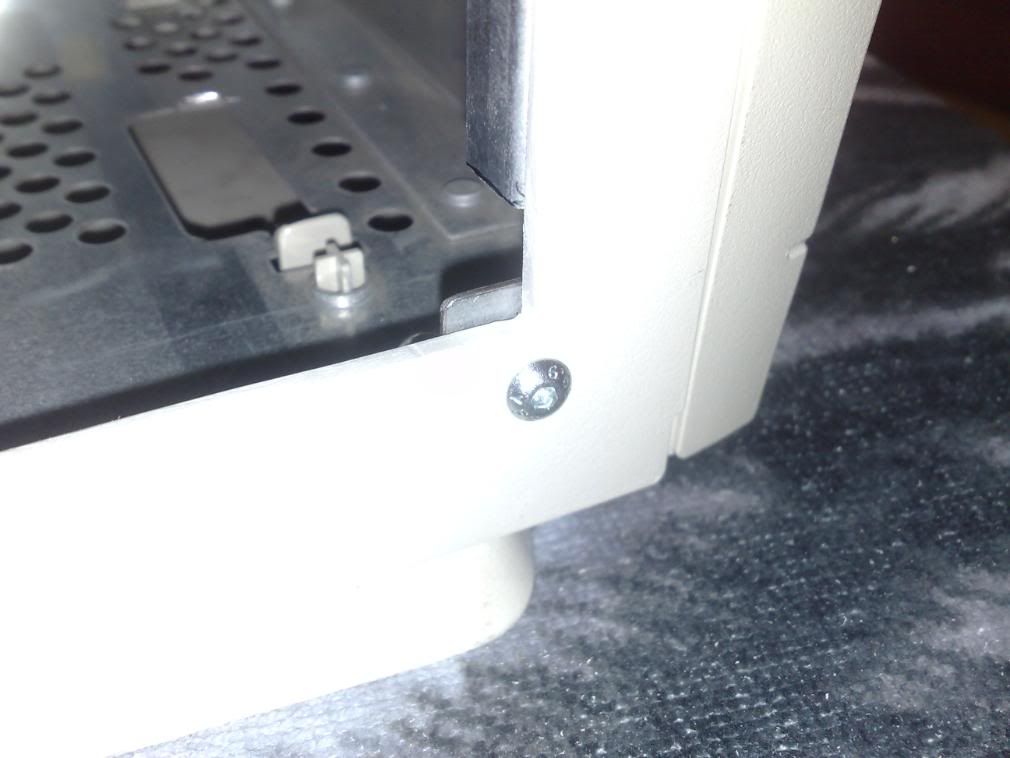
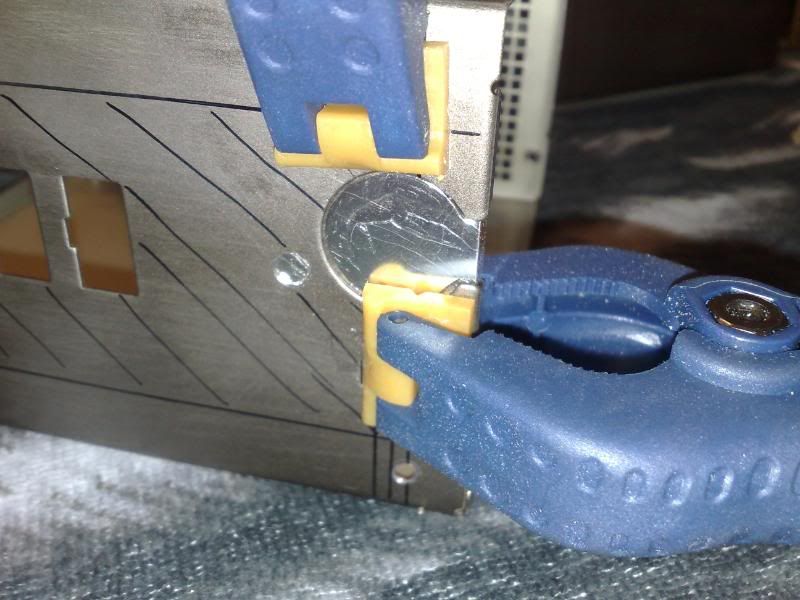
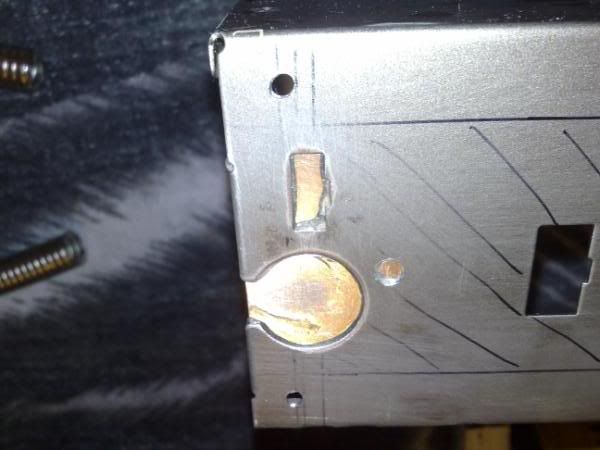
As you can see from the closeups below, what i was saying about the little brackets i made.
Ill remake those, its no big deal.
Thats it for now guys, hopefully i can make a bit of a start on the front for the next update. Cheers for reading!
-
Re: Project: Accelerated Fear
first, welcome to the forums, second Very nice cuts on that window!
-
Re: Project: Accelerated Fear
-
Re: Project: Accelerated Fear
You sir have no fear modding a delll
-
Re: Project: Accelerated Fear
Defyant inspired? Check.
Utter destruction of a Dell? Check
I can only say one thing:
+rep and /subscribe, I like where this one is going!
-
Re: Project: Accelerated Fear
wow looks good so far ur lucky i havent got the seal of aprooval yet... ./cry :P njice work keep it up
-
Re: Project: Accelerated Fear
nice work so far man.
one question... did you provide alternative, supplemental housing for the spiders you displaced?
looking forward to following your work.
-
Re: Project: Accelerated Fear
Thanks a lot for the nice comments guys,
Quote:
Originally Posted by
Dane Bramage

nice work so far man.
one question... did you provide alternative, supplemental housing for the spiders you displaced?
looking forward to following your work.
Haha no, i cast them out into the cold night without a second thought, i hope they dont decide to claim tenants rights once the case is finished though! :eek:
-
Re: Project: Accelerated Fear
-
Re: Project: Accelerated Fear
nice work dude, looking sweet,
and i love the sig, very fitting
-
Re: Project: Accelerated Fear
Very nice. Looks like you have the patience and the skill to make this turn out brilliantly.
Joe
-
Re: Project: Accelerated Fear
I am intrigued by your sketches of the interior design. I will be watching this.
-
Re: Project: Accelerated Fear
+rep for dealing with those horrible cases the right way... mod 'em until they actually work well!
Defyant-inspired... looking good already.
-
Re: Project: Accelerated Fear
lol i like it other than it came from a dell but you wont be able to tell later
playing cod4 the other day and saw a pc on the floor and yelled over ventrillo ahh its a dell and we unloaded all our bullets into it lol
-
Re: Project: Accelerated Fear
Dells make good footrests, it can even be heated if you chose to turn it on.
-
Re: Project: Accelerated Fear
lol nice.... i like that one +rep for making me lol
-
Re: Project: Accelerated Fear
Hey! Thanks for the nice comments!
I have an update for you guys!:banana::banana: :banana:
I said before i wanted to get started on the front panel, however i know that if i get all of the interesting jobs done first i will find it more and more difficult to get motivated and do the crappy little jobs that are left over.
So i decided to get some of the internal panels fitted for this update.
The first job is to basically line to inside of the case with the 3mm black plex i got from Hindleys, The biggest challenge with this will be getting the dimensions dead on, preserving the mirror like shine on the plex and making the fixtures and fittings fit in with the rest of the mod.
I started with a measure up of the base and rear face of the case...
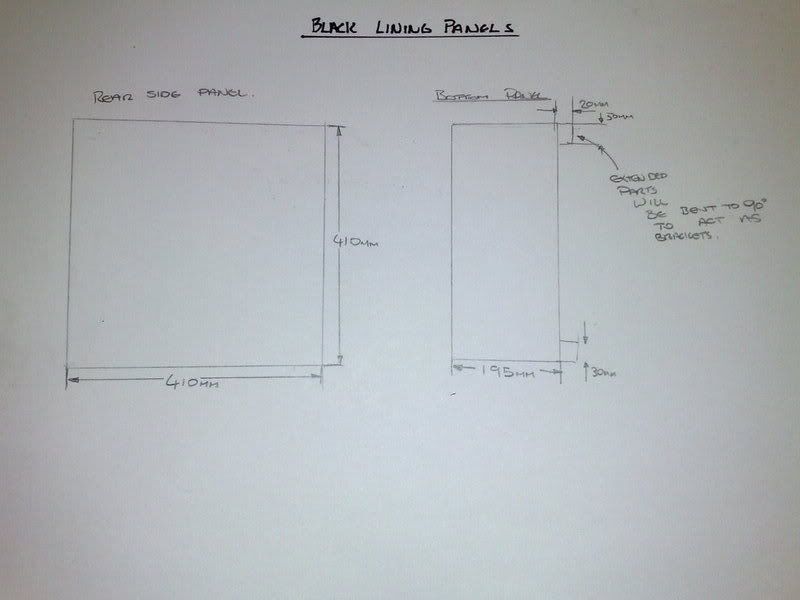
Then drew up a quick sketch for reference
As you can see from the sketch, im planning on leaving two small tags on the base panel, more on this later though.
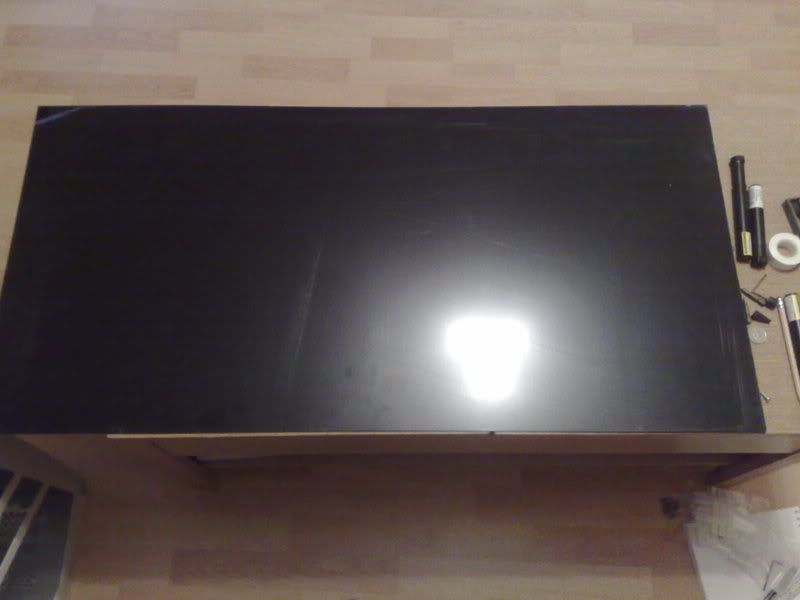
This is the plex i bought
Dont panic! the scratches are only on the protective film, underneath its perfect.
I wasnt sure how i was going to be cutting out these panels, i lack the funds and space for industrial cutting equipment and my local hardware store are worse than drunk chimps when it comes to cutting accuratly. Dremel will work but i dont really want to file away the extra material i leave for melting, i would be filing for hours. So i decided on the only reasonable alternative... THE KARATE CHOP!!!
YA.... SRSLY! well.. not quite BUT there will be violence and unexpected loud noises!...well ok maybe im just going to be snapping it (gasp)
Id never snapped plex before so i wasnt sure how it would go, im thinking it will do one of a few things:-
- Shatter into a million pieces killing me, the girlfriend and possibly the cat.
- Snap in a completly random way completely wrecking my sheet of plex and injuring me in some way
- Crack and chip
- Snap perfectly straight down the carefully marked line.
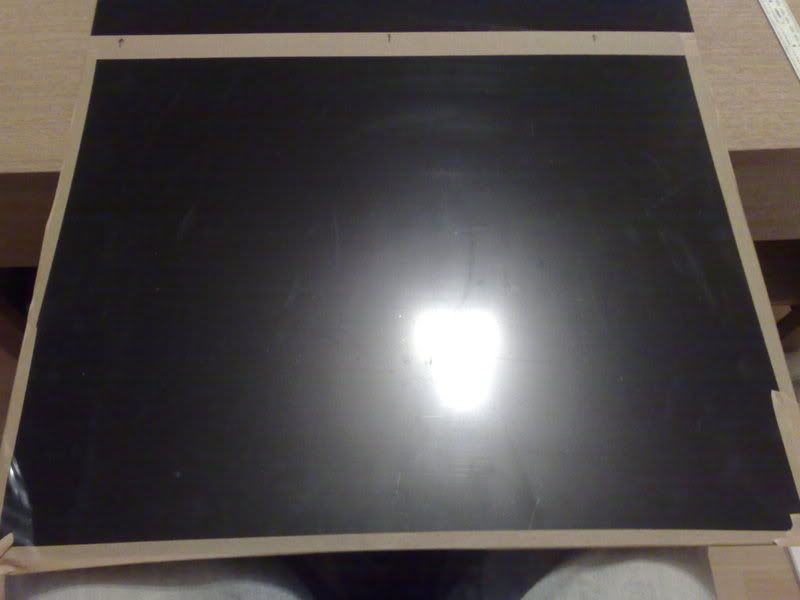
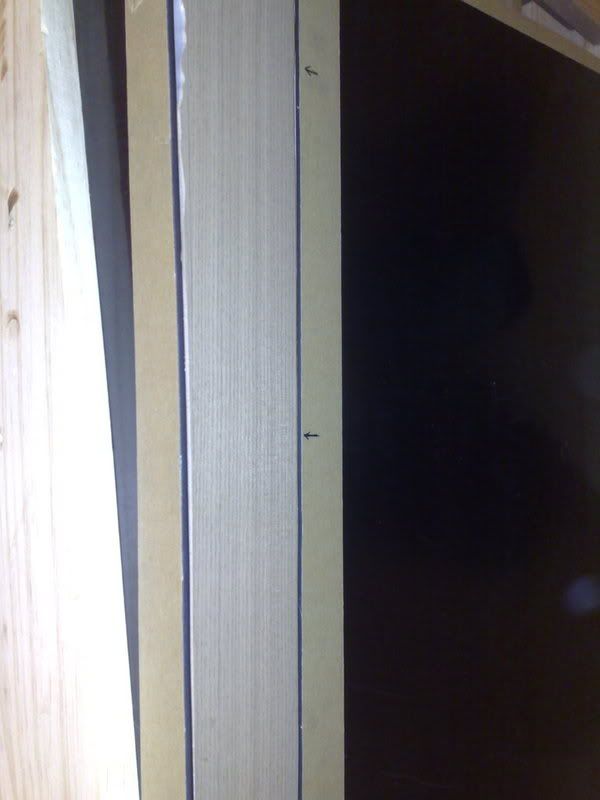
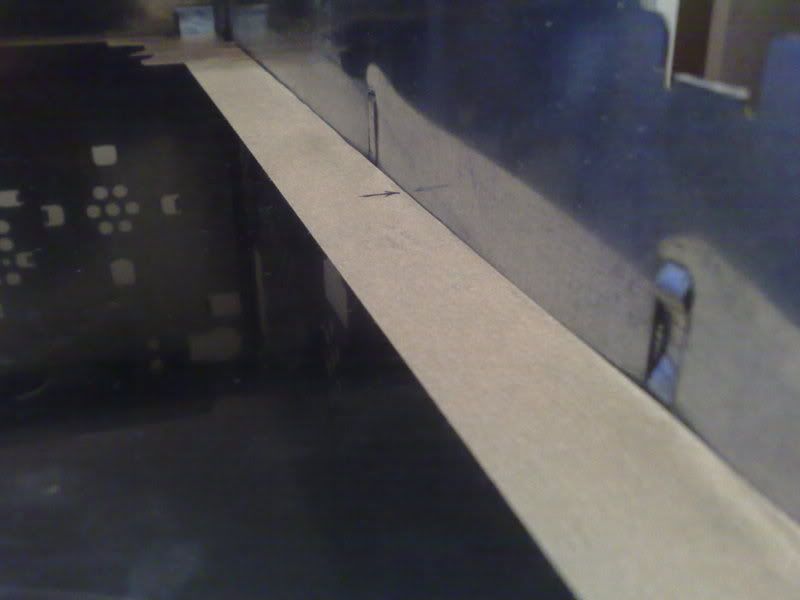
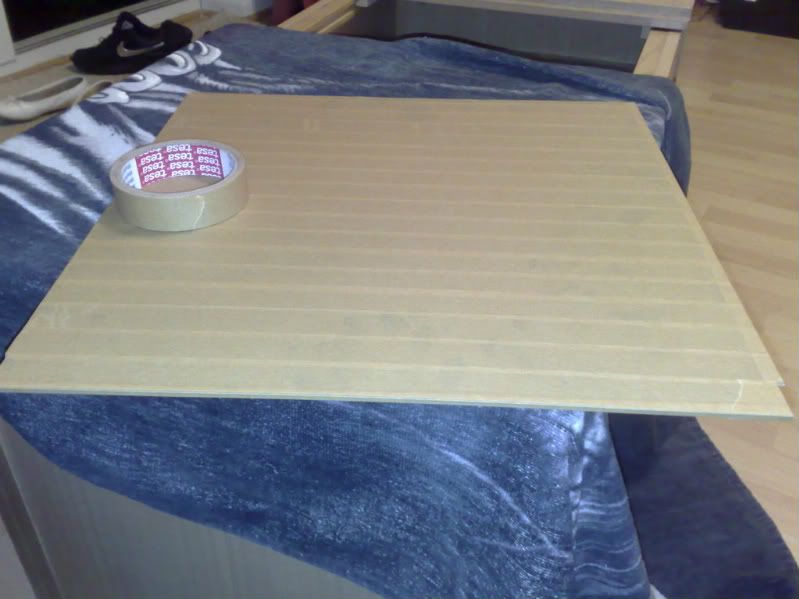
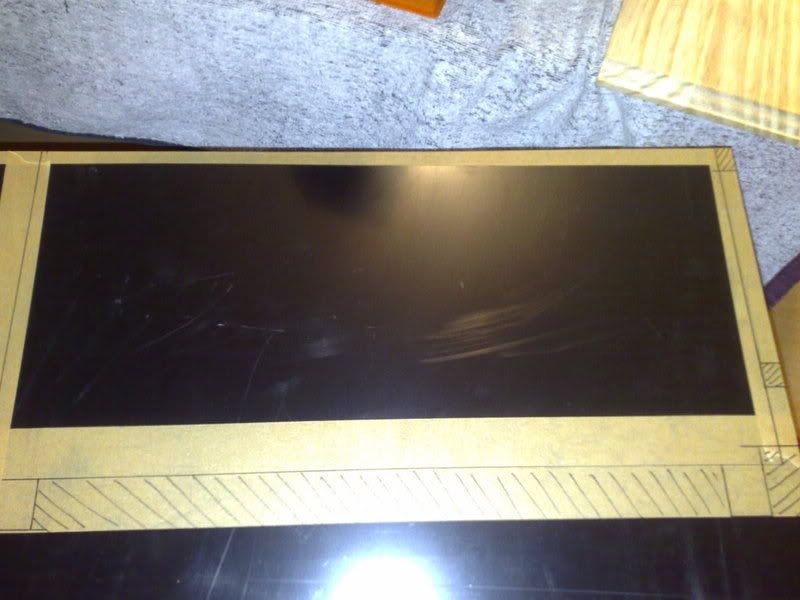
I began by taping of the edges with the low tack tape i like, i also measured the edge i was going to be snapping and masked that off too , the arrows are so i remember which side of the tape im snapping on.
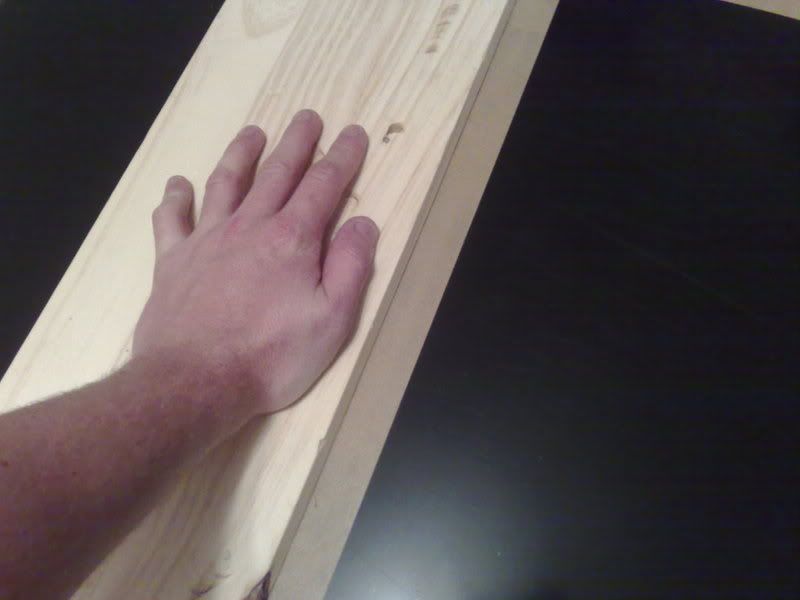
I went to the timberyard round my place and managed to snag and old shelf from them, it will make a good scoring edge (metal could blunt the blade). I clamped the plex to the table, layed the straight shelf on top, dead on the edge and then precarioulsy got my knee on top of the shelf... this ba$tard wasnt moving anywhere! Then i ran a stanley blade down the line 3 or 4 times pressing REALLY hard, making sure i went slow and stuck to the line.
After i scored the plex i moved the sheet to the edge of the table so the scored line overhanged the edge and reclamped it, then clamped the shelf on top so only the bit i didnt want was showing, both hands holding the shelf, two knees on the overhanging plex MAN this stuff is so strong! I was perched on the edge of this springy sheet when it finally decided to snap VERY loudly and hurl me to the floor :eek:
It sounded so violent i was sure id wrecked my plex, upon a closer look i couldnt believe the result...absoloubtly perfect :up:
Take a look at that edge! Totally smooth and straight!
I was well pleased, Mr Miyagi ftw! R.I.P oh great one.
Now for the test fit into the case, the moment of truth..
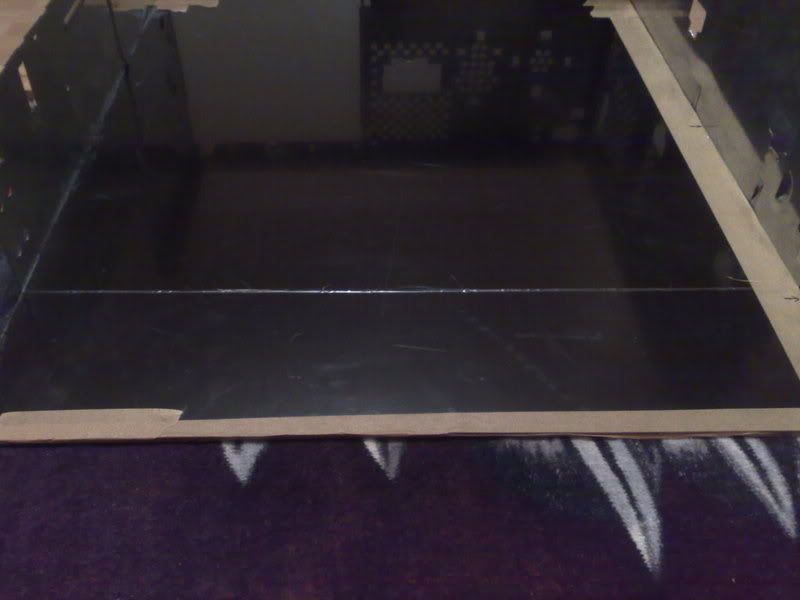
Totally gobsmacked with the result, perfect!
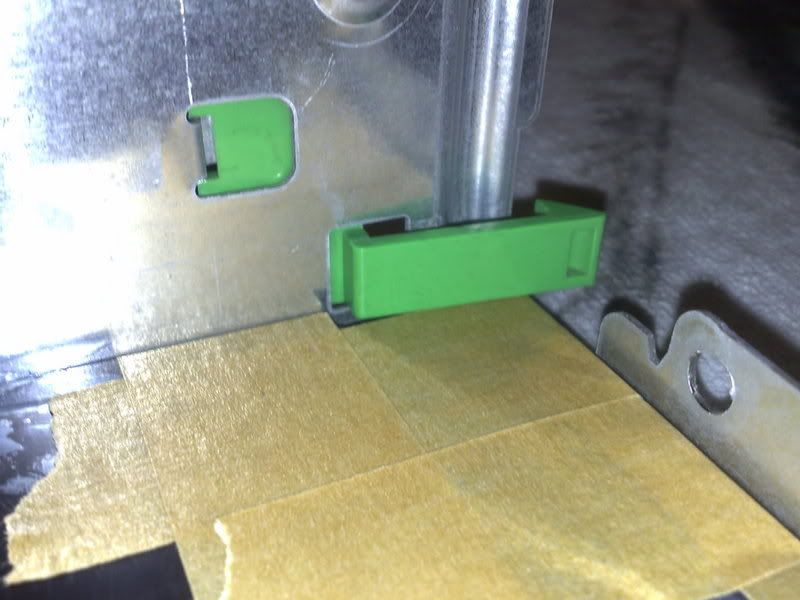
The green fixing mechanism to hold on the face plate just has enough room to move with the back plate installed.
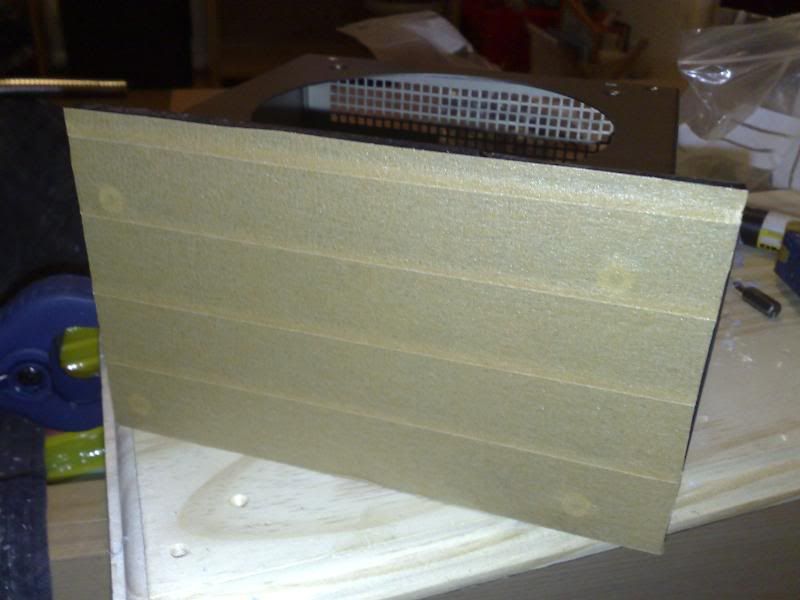
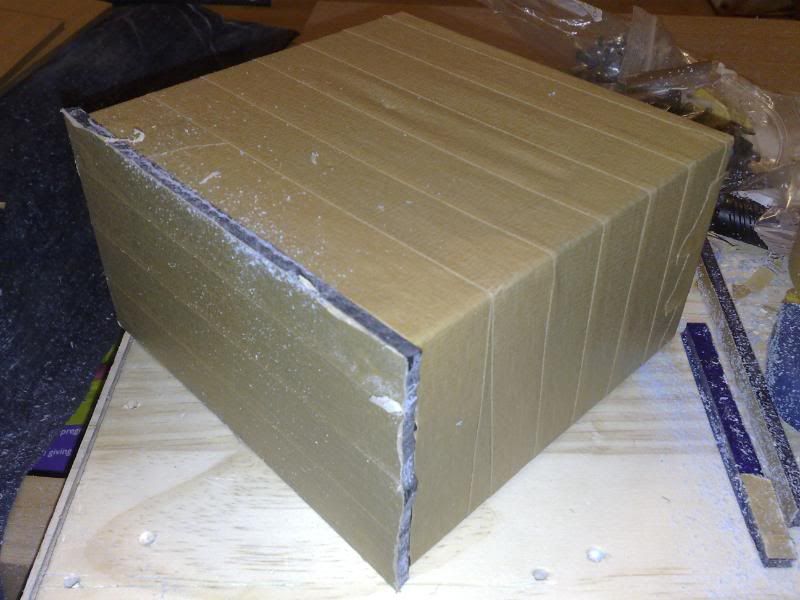
I mummified the panel in tape to protect it
Now for the base, remember those two tags i was planning to leave on, well those are going to replace those little metal brackets that hold on the side panel.
-
Re: Project: Accelerated Fear
I masked up and marked out another piece of plex, making sure to account for the hooks from the face plate and the two tags that are going to hold on the side panel. This is actually attempt no2, the first one i forgot one of the tags, i marked it but ended up cutting it off by accident, i was pretty pissed with myself but it would of bugged the hell out of me if i would have left it so i remade it.
I cut most of the material with a hacksaw then filed it nice and smooth.
I need to bend those tags up to a right angle, but they need to bend so there outside edge is flush with the edge of the base, so i cut two little notches either side of them (above pics).
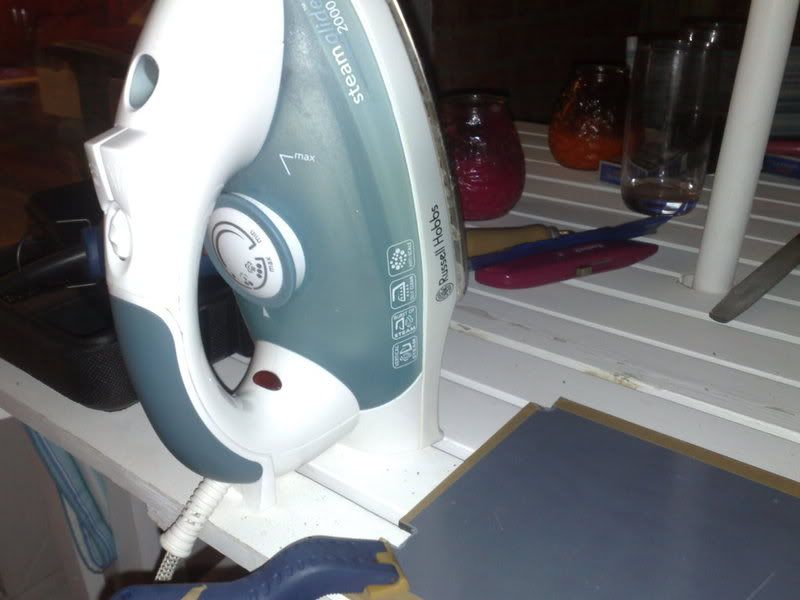
Im buying a heatgun next week but i havent got one now god damit! So, after consulting my book of ancient case making techniques (written by Mr Miyagi) i broke out this badboy!
DONT TRY THIS AT HOME KIDS!!
Your right, i probably HAVE flipped but i have no other option, bare with me.
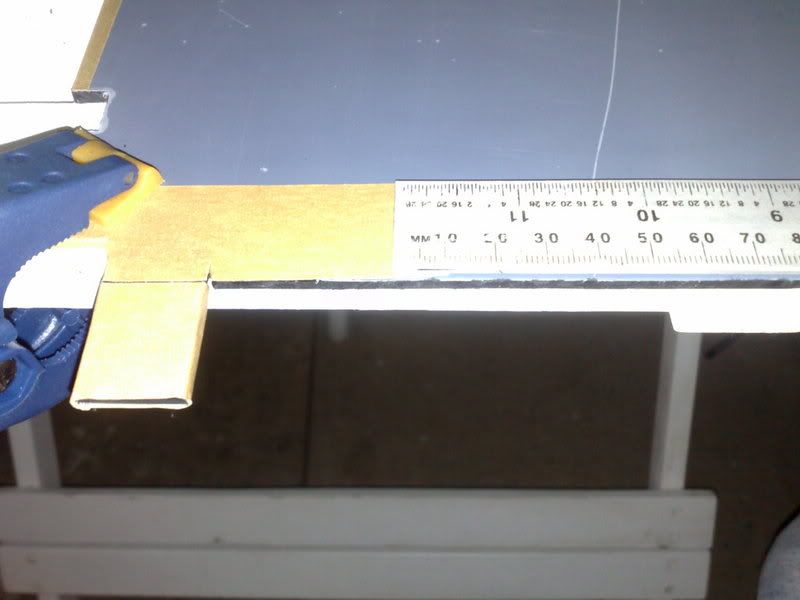
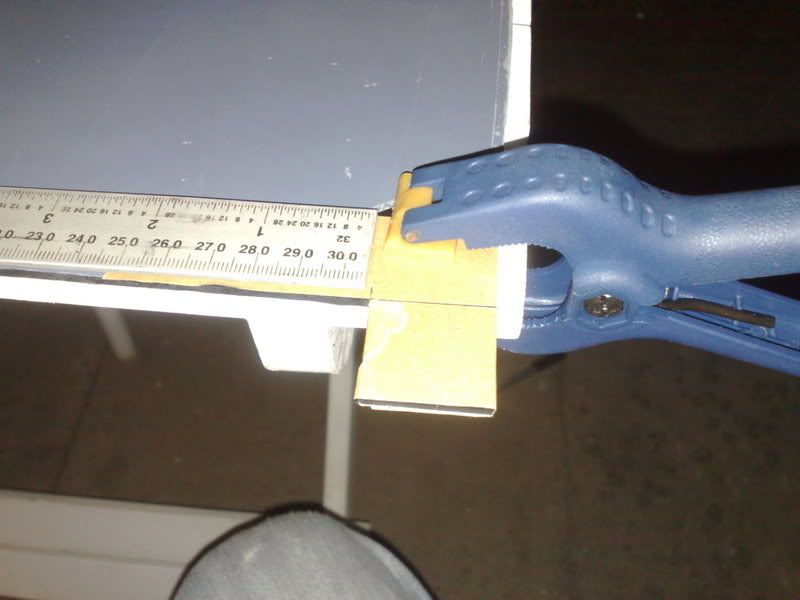
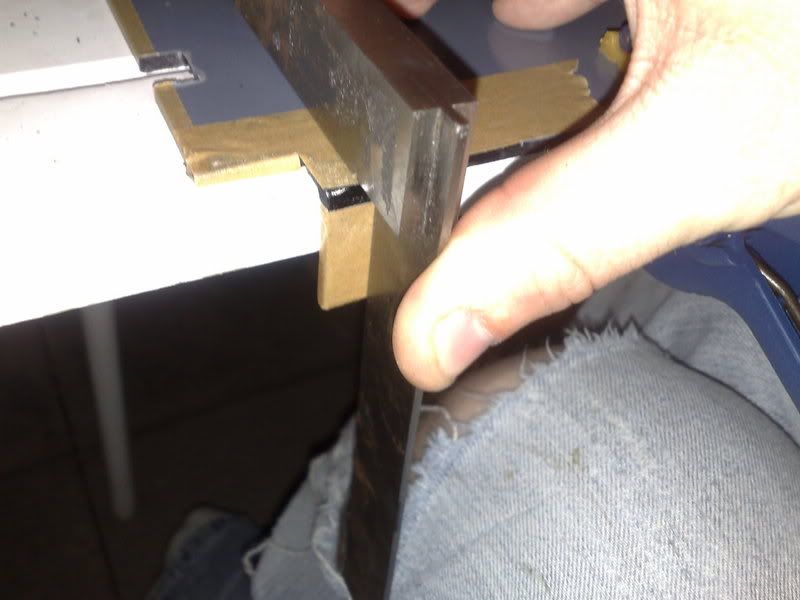
I positioned the tags 3mm over the edge of the table.
Id made sure id covered any exposed plastic with tape, direct contact with the iron would melt it, the tape will allow the heat to transfur through without melting.
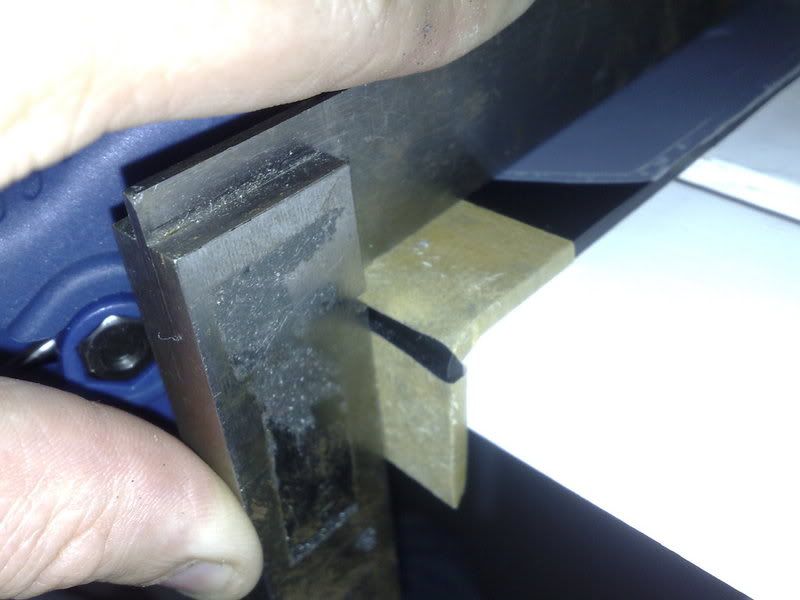
After about 30 seconds it became pliable so i gently bent it and held it in place with a set square.
the the other one..
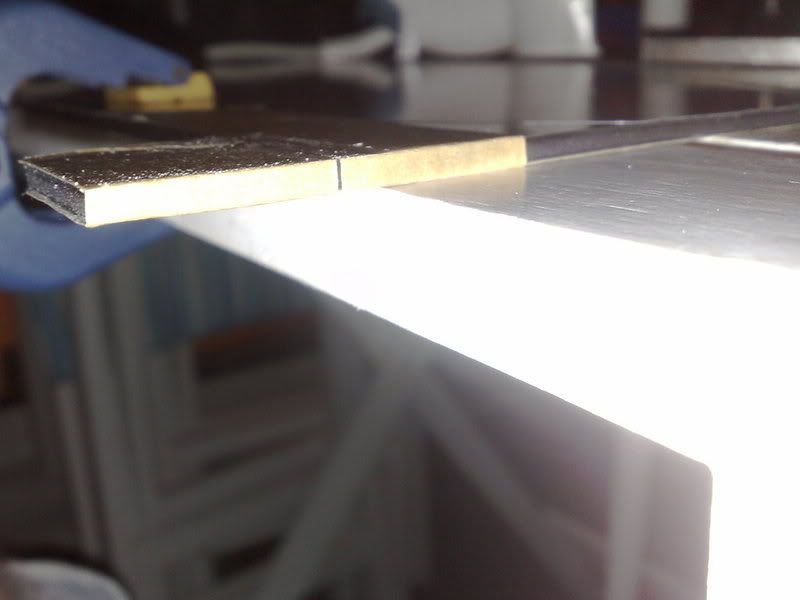
Man the came out good...PHEW! I wasnt sure about using an iron to be honsest but it did the job perfectly, i wouldnt want to use it for large bends but for small bends its exellent. Clamped it back onto the chassis for a test fit..
Yay it fits nicely.
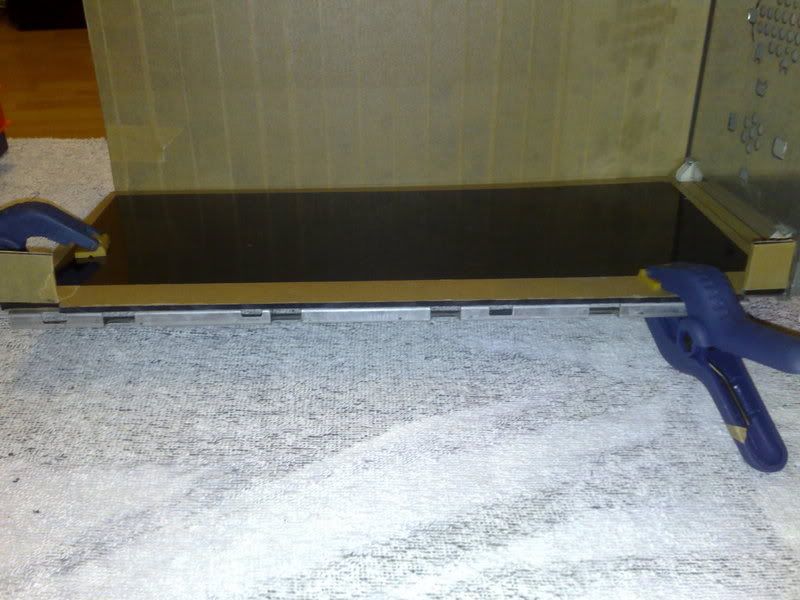
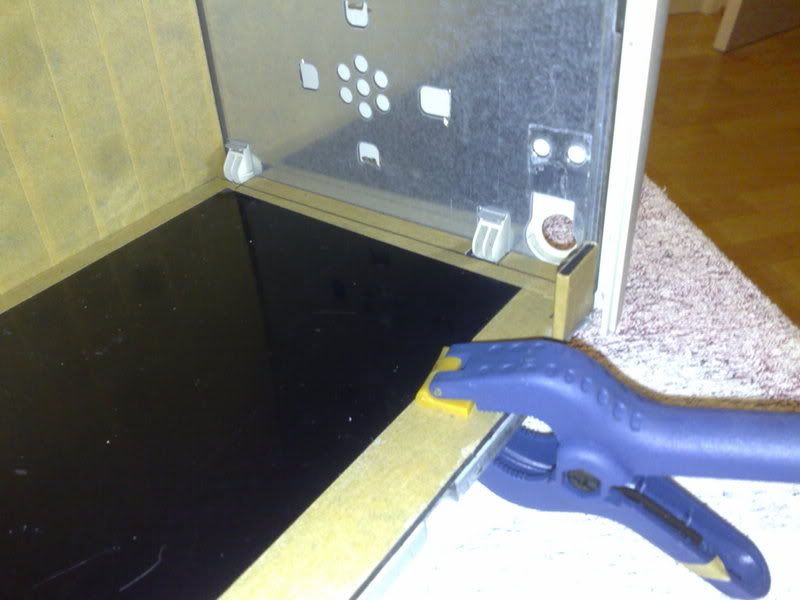
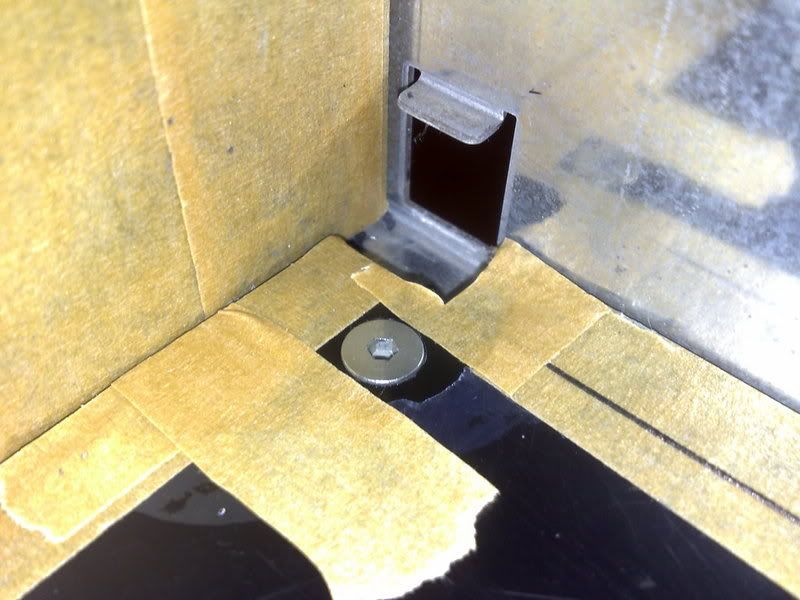
I drilled and countersunk four holes on each corner of the base plate to hold it in.
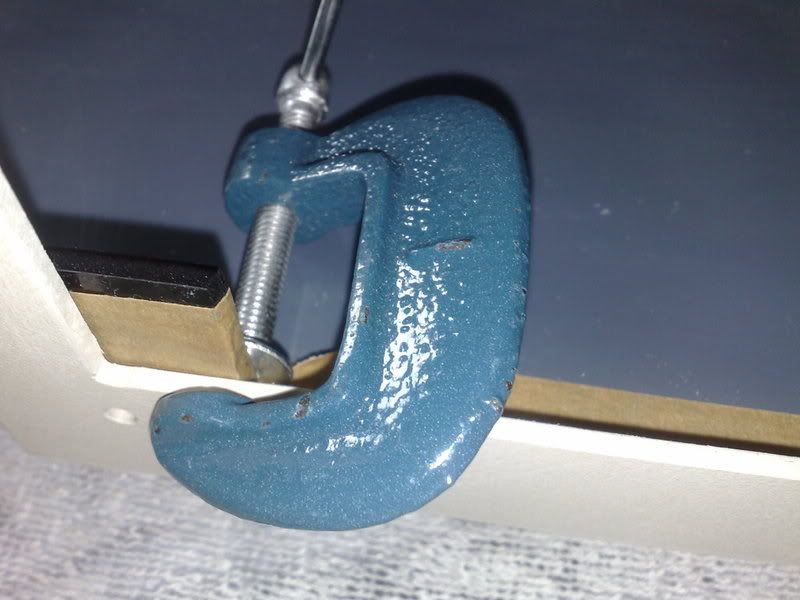
Then i put the side panel back in and clamped it in place.
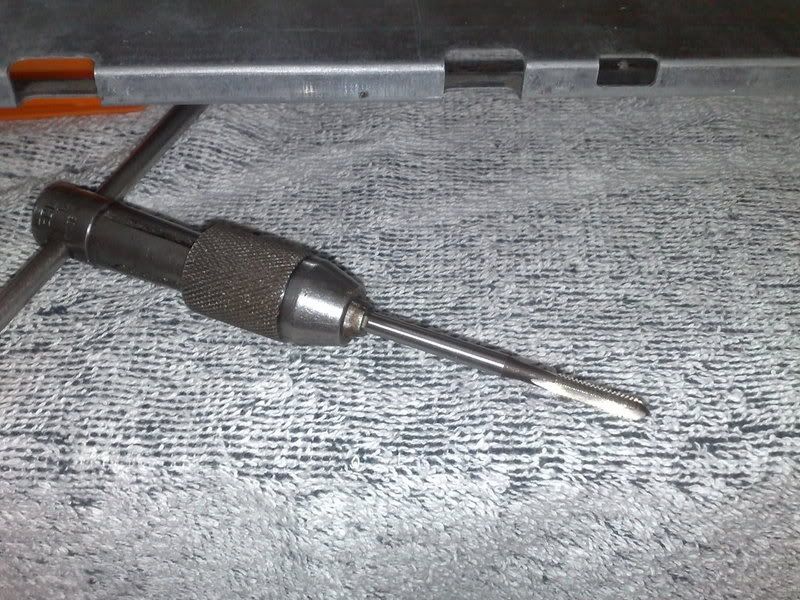
Then drilled and tapped the two holes to m4. Heres my nifty tap wrench.
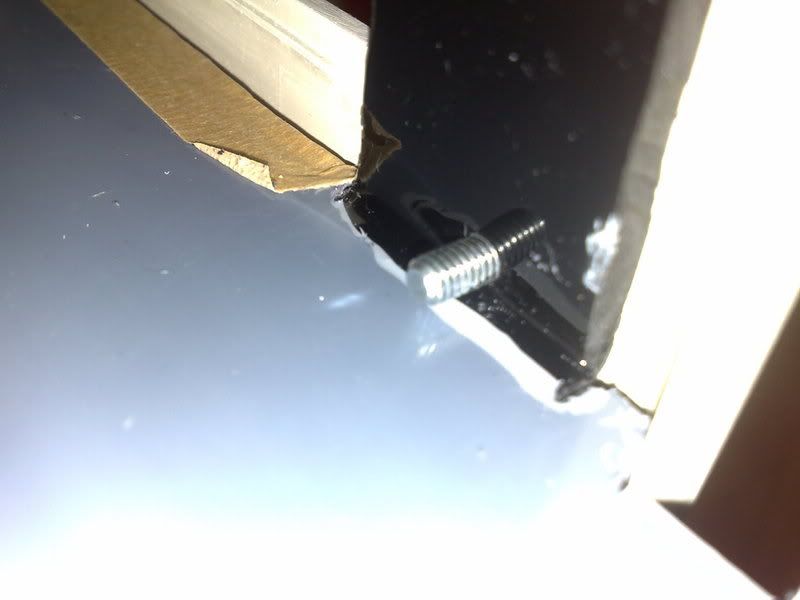
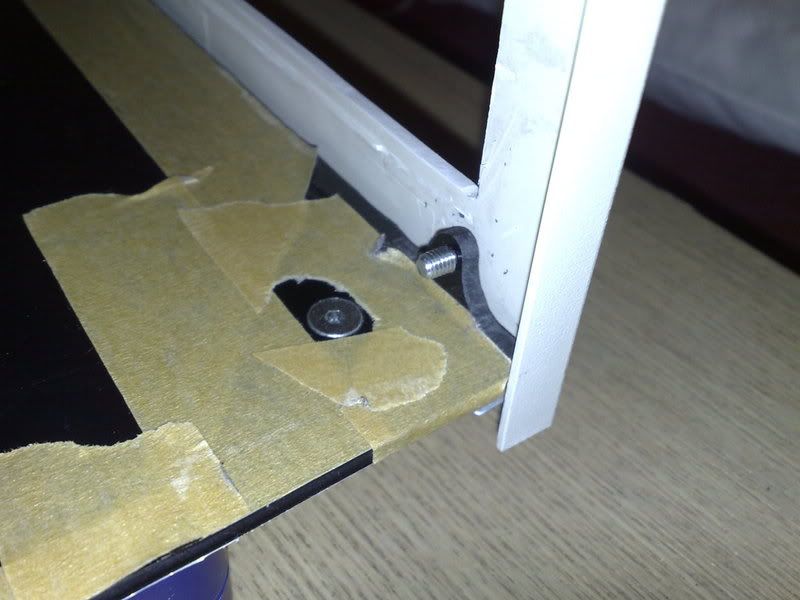
Ran a screw through it to check the fit.
Woooo just enough clearance!
Now to tidy up those big chunky brackets slightly, i filed almost all of the material away so that there was just enough to keep the thread strong
Thats it for now, cheers for reading guys.
-
Re: Project: Accelerated Fear
Nothing like a good bit of ingenuity! I like where you're going with this, keep it up, JohnnyFive-san, keep it up.
-
Re: Project: Accelerated Fear
Glad to hear the plexi snapping went well. The idea is to snap it fast not slow, the slower you go the more chance it has of cracking. I also found that if you score both sides of the plexi it makes it easier and reduces the actual chipping and cracking of the plexi. Something else I have tried is using a glass cutter, that works pretty well on plexi, to score for snapping or to cut.
-
Re: Project: Accelerated Fear
That's looking great so far. I wish I had thought of snapping the plexi for my case since hack saws mean 5 hours of filing. +rep, and +sub.
-
Re: Project: Accelerated Fear
wow... very impressive work. mind if i steal that technique?
-
Re: Project: Accelerated Fear
Thanks for the comments guys, will hopefully have another update towards the end of the week.
Quote:
Originally Posted by
Dane Bramage
wow... very impressive work. mind if i steal that technique?
I asked Mr Miyagi, he said NP Dane-yul son. :)
-
Re: Project: Accelerated Fear
lol that guys a legend keep up the good work :P
-
Re: Project: Accelerated Fear
header image has been inserted. There are two options, just delete the one you don't want.
-
Re: Project: Accelerated Fear
Quote:
Originally Posted by
jdbnsn
header image has been inserted. There are two options, just delete the one you don't want.
Cheers jdbnsn, those graphics are awsome! I picked the one with the eye as it looks pretty freaky :D
Thanks again
_'J5
-
Re: Project: Accelerated Fear
Hey guys, wow, its been about 2 weeks since i updated this project, ive been so busy at work and at home so its been hard to get anything done.
For this update iv been working on the PSU, i dont know why but i like power supplys, maybe its a case of liking the underdog, what i mean is the PSU almost always gets pushed to the side, overlooked and not very well thought of even though without it your pc wouldnt even switch on! Well not anymore! Gonna spend a while giving this PSU a good makeover and making it a focul point of the case.
Im a fan of the old saying "you cant polish a turd" so for a good PC i think you need a good power supply, im not just gonna bung a standard old 350w generic PSU in this machine, a while ago i bought myself an Antec NeoPower 480W, its been powering my current PC solidly for about 6 months, i wanted to use it for this mod as its a good piece of kit. I took it out of my shark and began modding that sucker!
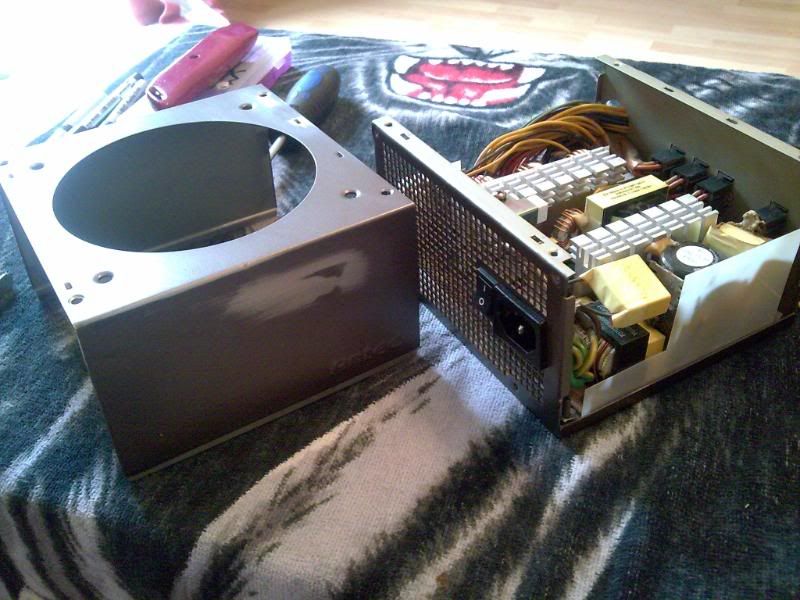
Took the cover off, removed the switches and power plug, scrubbed of the old antec labels and calibration stickers.
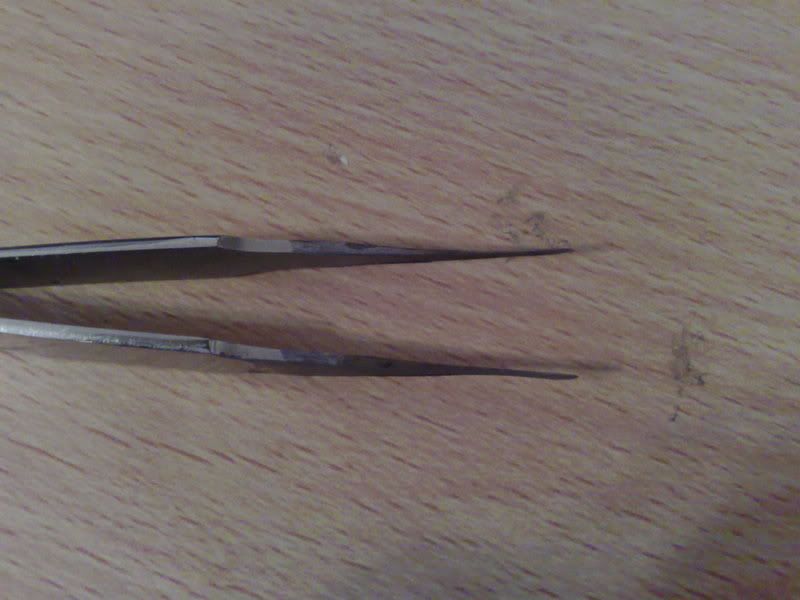
I needed to remove the ATX connector but didnt have an extraction tool so i did what anyone would do.. modded myself one! Taking an old pair of tweezers i ground the ends down to form two very thin spades.
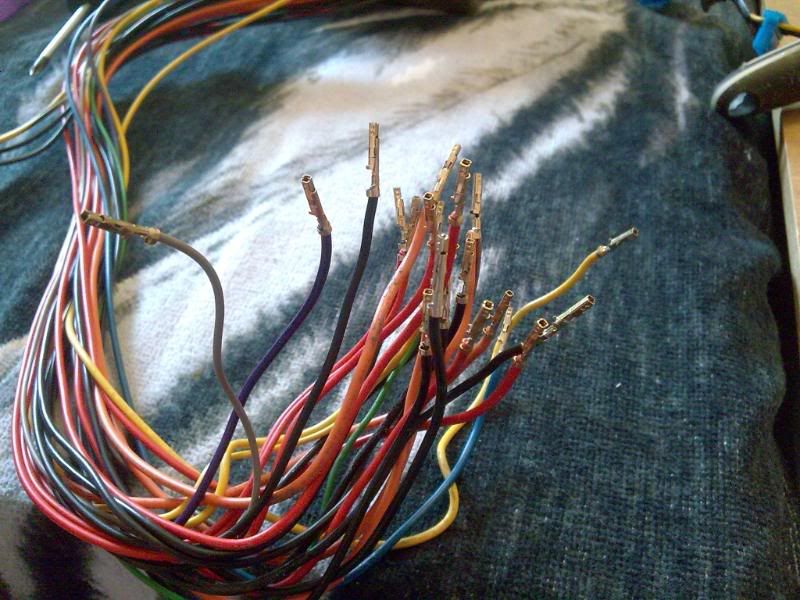
Didnt work first time but after a bit of fine adjustment I could remove the crimps form the housing.
Ill have to make sure i remember to flay the lugs back out when i go to put the crimps back in otherwise they wont grip.
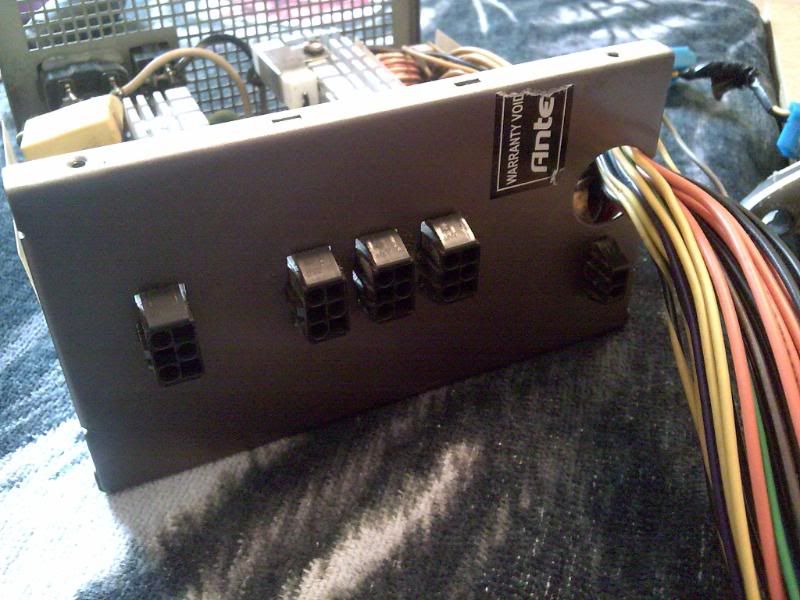
As you can see, the power supply was modular (meaning you can disconnect some of the cables and only have what you need), modular is good, but not for this project. I know what im going to be putting in there so i can plan how many cables im going to have to add to it.
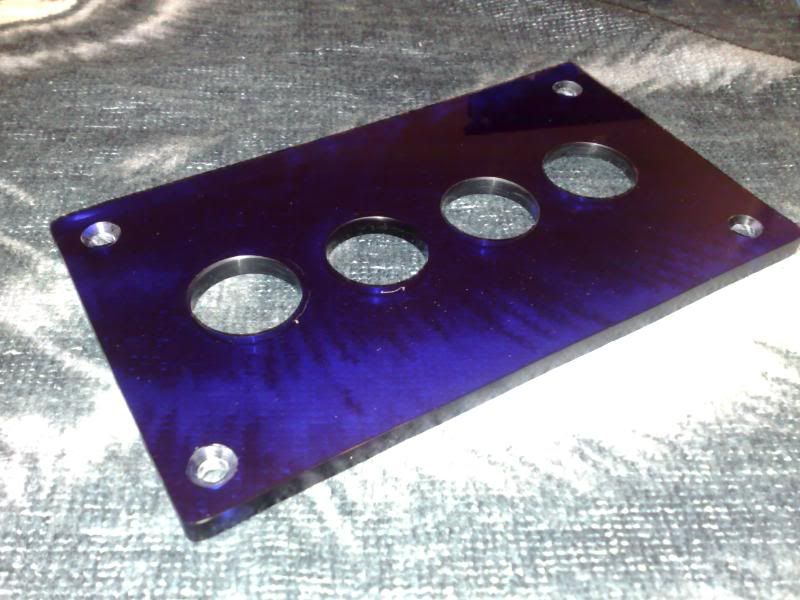
Im going to be using the blue plex i bought as a plate for the front of the power supply, i began by cutting out an oversize piece of plex, i masked it up and marked four holes where the plate will join onto the front of the PSU.
I drilled the holes, countersunk them and then drilled through to the front of the PSU and tapped the holes to M4
Then screwed the plate to the front of the PSU.
Masked of the rest of the box and remasked the plex and began taking away the excess acrylic to match the shape of the PSU
After a LOT of filing...
Now we have the rough shape i can sand and polish the edges, but i have work to do before that, dont want to polish it up and then scratch it up when i work on it.
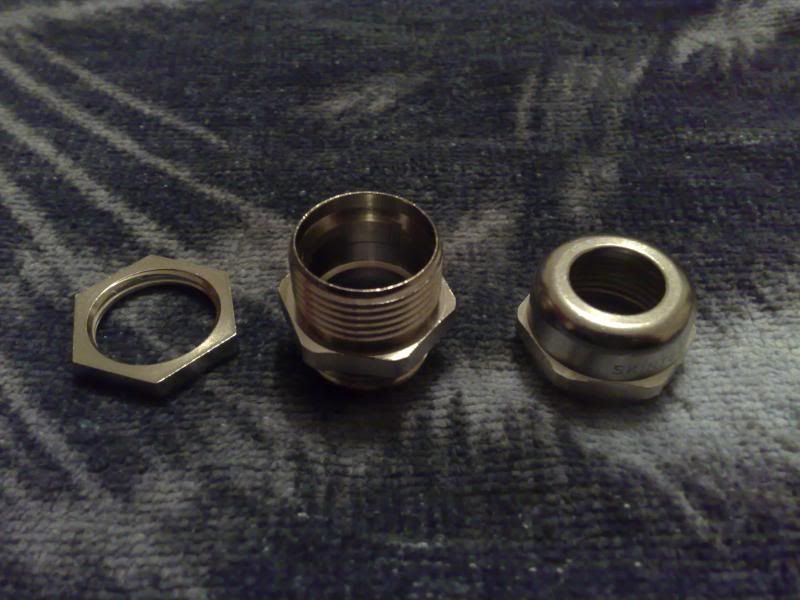
I needed a way of the cables to exit through the plate, after a while i came across these cable glands. I use them at work so i know they will be perfect for this. They took a couple of days to arrive, here's a pic of one of them disasembled, there is usually a plastic part that slots into the middle piece that grips the cable, however we wont be needing that so i tossed it in my bits box.
There M20 in size, im going to be needing four for the front panel (2 for all the ATX wires and 2 for the rest of the power).
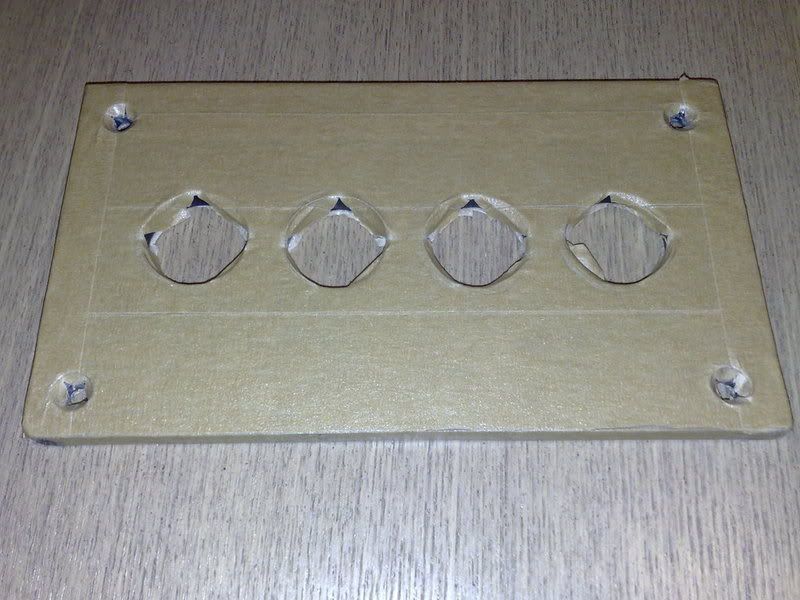
I marked up the plate for the four holes the drilled them out...then re-masked it to keep you lot in suspense! muahah...
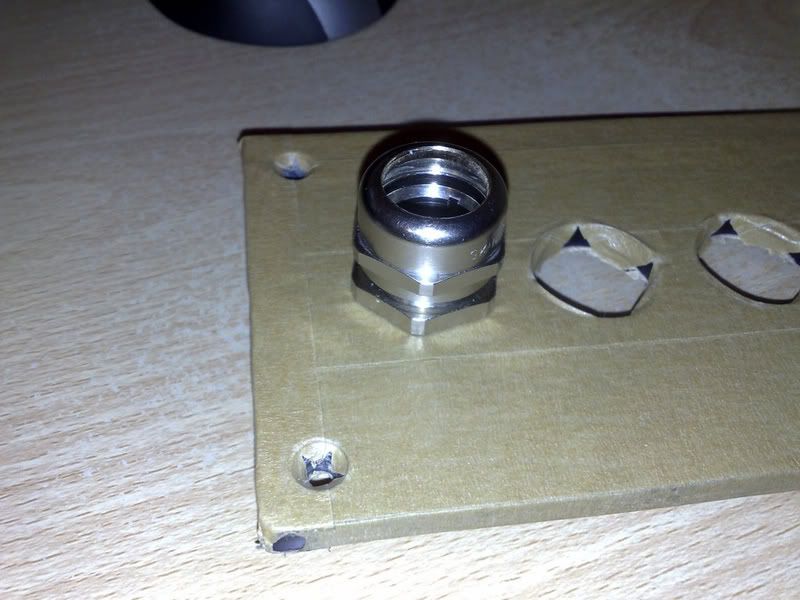
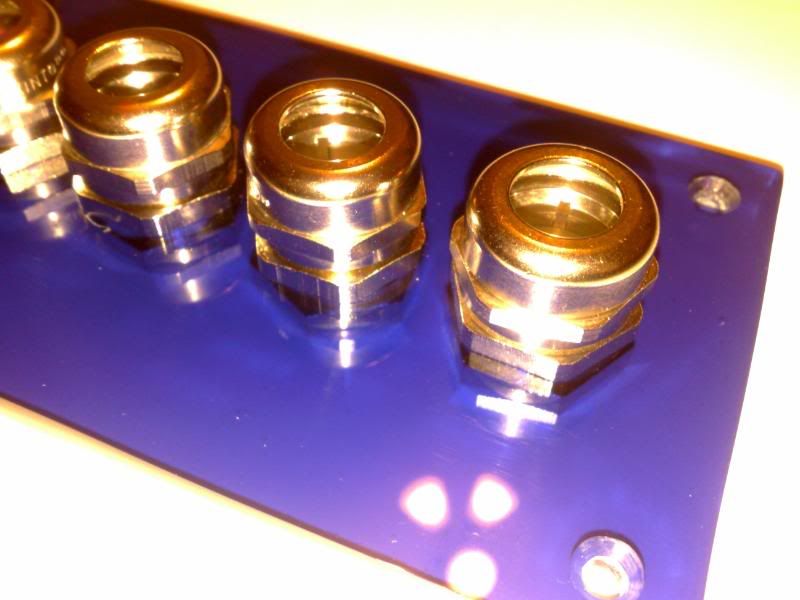
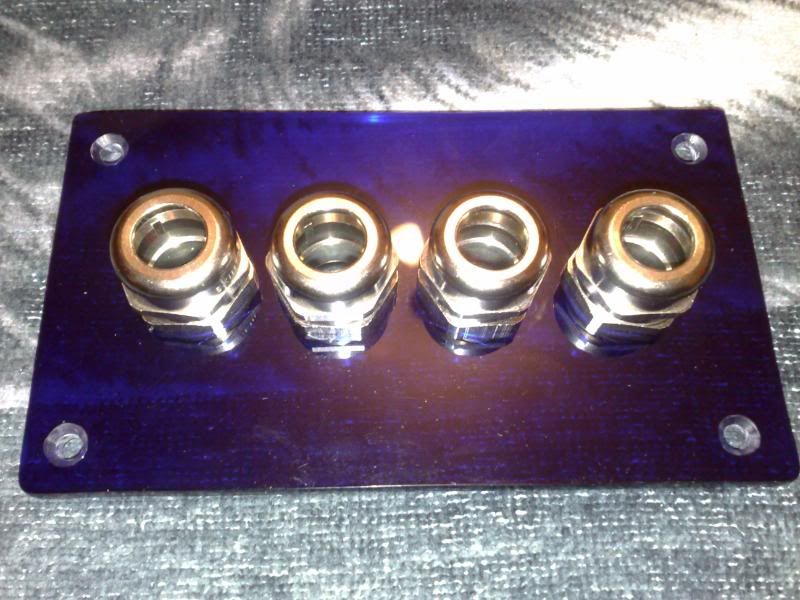
Gave the glands a quick test fit...
Perfect!
Now, as you saw before, the PSU has connectors on the front where this plate will screw onto, don't need those anymore so i removed them and marked out the case so i can cut away enough space for the glands to fit, also this semi window will allow the light to shine through the plex plate from inside the psu.
DAM, thats a pain in the arse! I can either just got ahead and cut out the rectangle and hope the plex will cover it up OR i can fill it so its perfect... method one will eventually drive me crazy as I will know its there even if you cant see it so im gonna filll it.
Needed somthing strong to use as a base for the bondo to sit on. Got some thin sheet metal i had knocking about, this stuff is actually RF Cage they use on circuit boards, its about .3mm thick and really sturdy so its perfect for this job. I scored it and bent a right angle so it fit the hole perfectly...
Then glued it in place with some rapid araldite and clamped it until it was set...
Once set i gave it a good old keying with some 400 grit...
Added the first layer of bondo..
Left it for 24hrs then sanded it...
Refilled it, re-sanded it and remarked the cut line (dead smooth now :) ).
Broke out the Dremel, remember how i was telling you how great my non-dremel dremel is? well its not, its a pile of $h1T! I was using it and the bloody thing got so hot it nearly melted my face OFF, i took it back to the shop as its only 4 weeks old and demanded a replacement, they were happy to replace it much to my dismay as i wanted to make a big Jackie Chan style scene in the hardware store as they had delayed my project slightly, being denied that angered me further! After i calmed down i cut out the window...
I filed down the remaining material but forgot to take pics so you guys will have to trust me that i did it ;)
Right, now i know what i have done so far have been a slight deviation from the original concept sketches but they are only concept sketches anyway so that's ok right? :D Coming back to the concept though my next job was to cut out the side window for this baby, marked up the maximum amount of space i can use without it clashing with anything... Works out 10mm in from each edge.
The angles are all 37 degrees, same as the side panel so they will match :D
New dremel power here we come!
First rough cut...
Wow that IS rough!
Bit of sanding a filing and it becomes perdy!
24Hr drying time and sanding between 3 coats of spray filler primer type stuff and it becomes a lot nicer.
Obviously not the end colour, that will be a surprise for later.
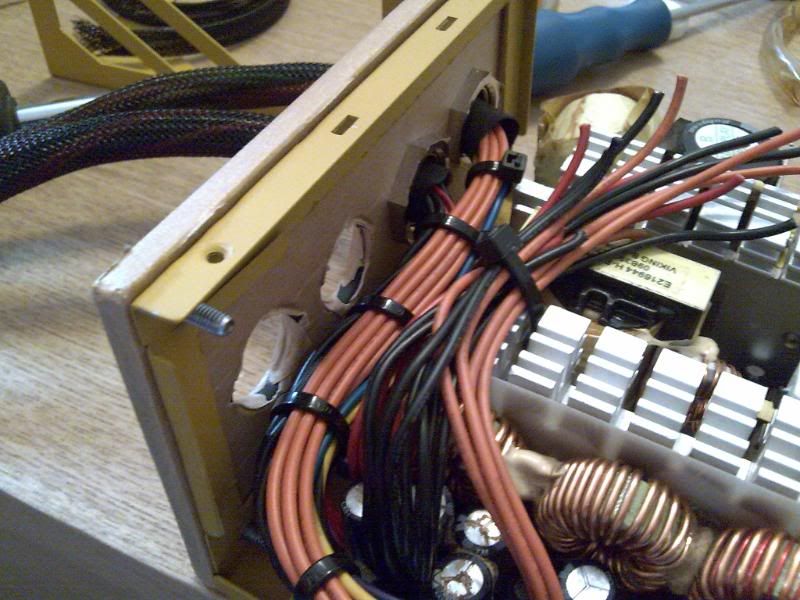
Time to tidy up those wires, gonna keep the ATX wires at the same lengh as they are long enough already, unfortunatly i will need to extend/replace a lot fo the other power wires as they will be too short, iv cut them back and tiewrapped them out of the way in the following pics.
Two glands for the ATX wires i said didnt I? Yup, gotta split them up. I routed them neatly to where they will exit through there glands.
Look how invisible the bondo'd hole is now! sweet!
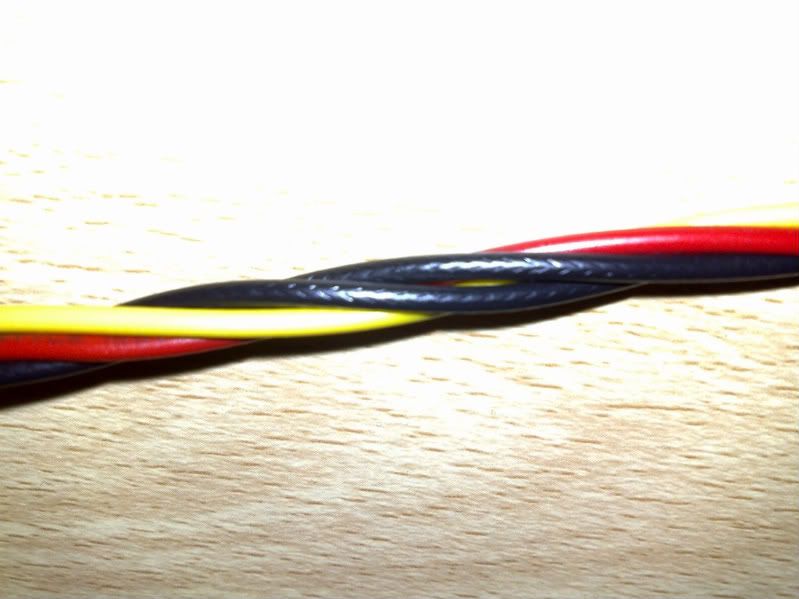
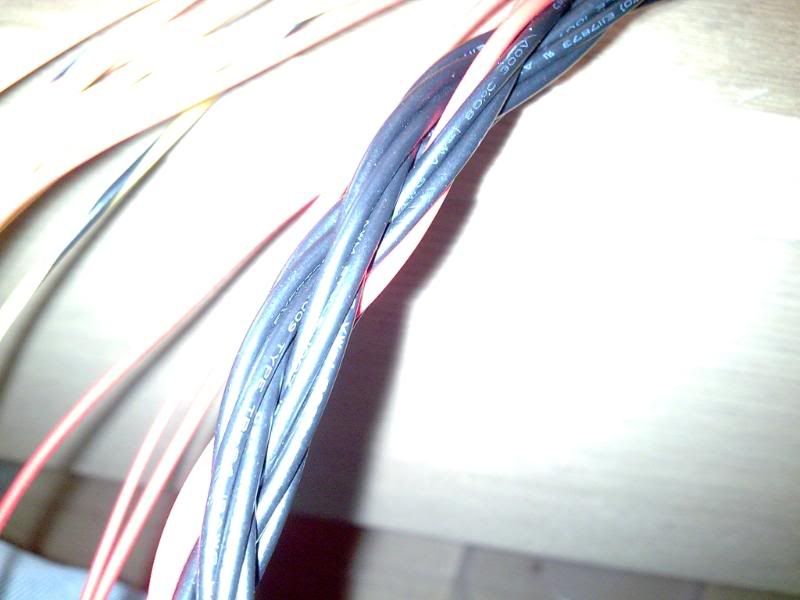
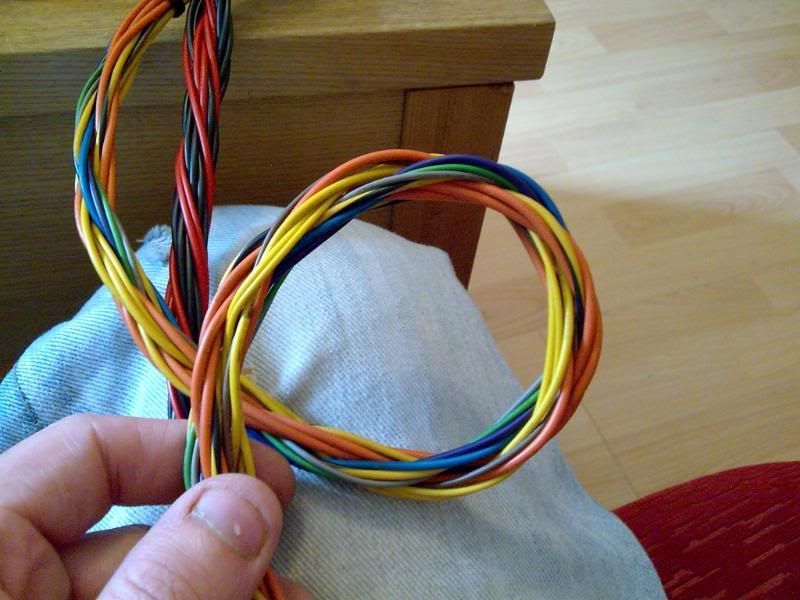
Now its time to lay up these wires! What? Yeah! Lay these bad boys up! I used to be a wireman, my job for 7 years was making cables for the military, a properly made cable has a lay pattern so all the conductors sit in a pattern, they are twisted together to make them more flexable and stronger. In each of the arms we are going to have 12 wires. First we grab out 12 wires, divide them into fours then lay them counter-clockwise (lay NOT twist, twisting stretches wire, gently turn the wires into a twist, no crossovers.)
Once i had all 3 sets of four done like this we lay these together in a Clockwise lay.
See how neat and tight that is? That's what we want, if we have a couple of extra wires we can tuck them in the interstities to make it rounder.
Its really flexable as all the wires travel the same distance around the bend as they are twisted, which means no strain on idividual wires when it bends.
-
Re: Project: Accelerated Fear
So, after we get really exited about twisting bits of wire together (just me yeah?) we stick some black snake sleeving over the top and cover the ends with black heat shrink to protect it from the metal glands.
Added the plate back on for a test fit, YEP GONNA BE TIGHT DAWG! but dont worry, ill cram it all in there and make it neat...somehow!
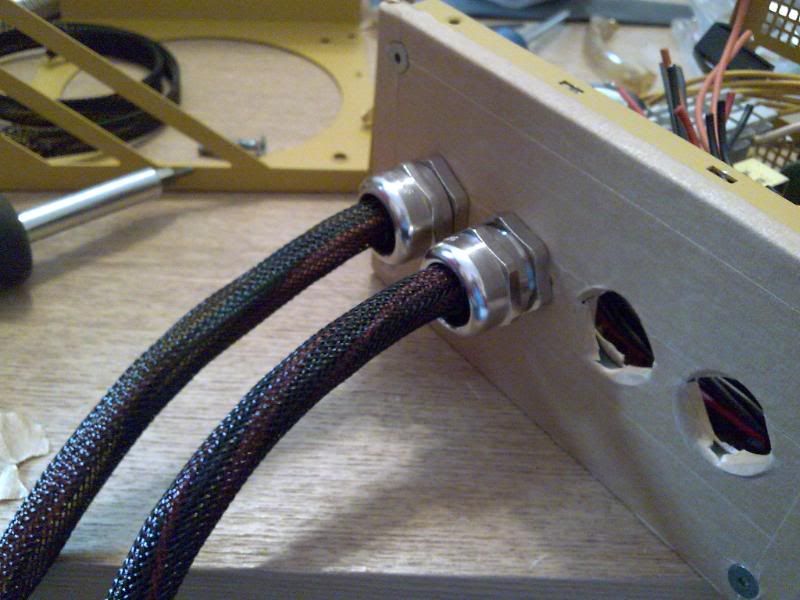
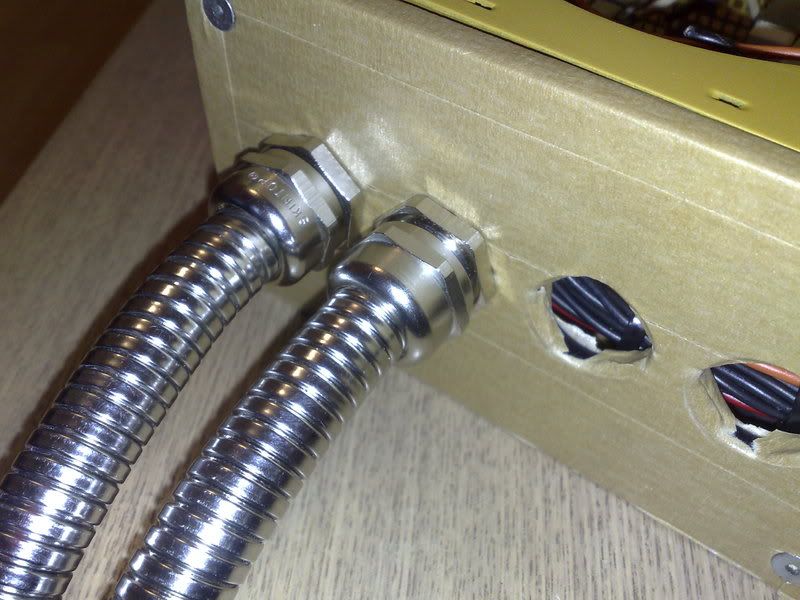
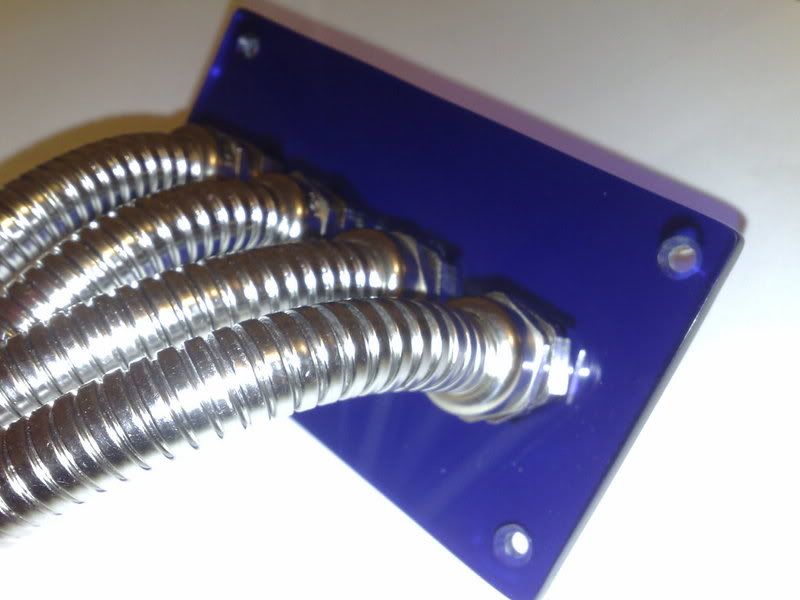
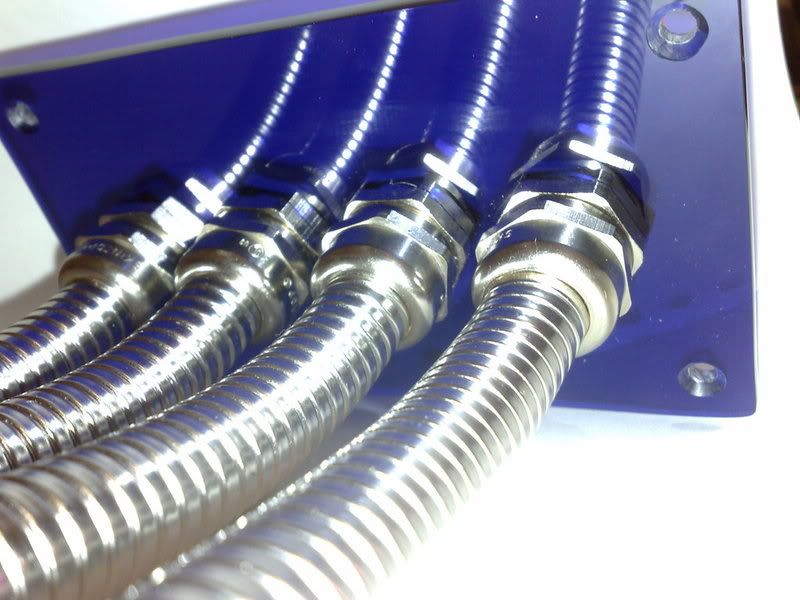
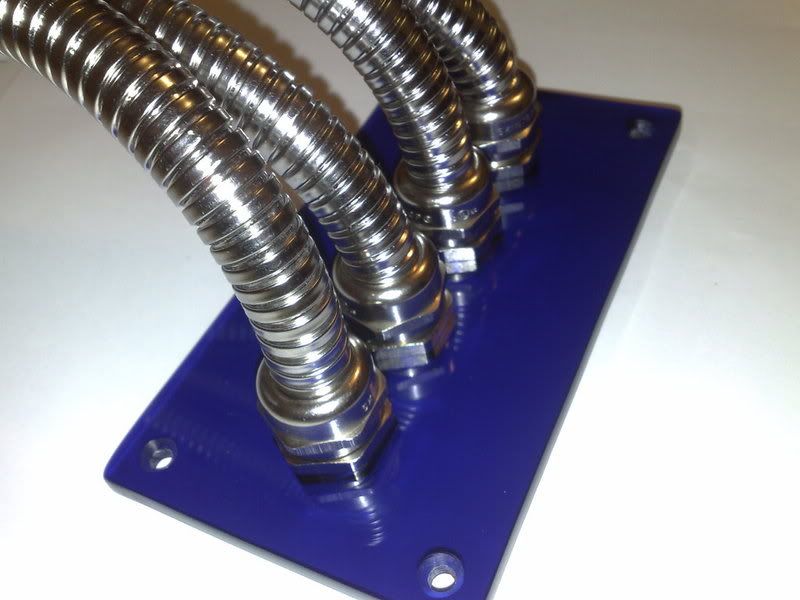
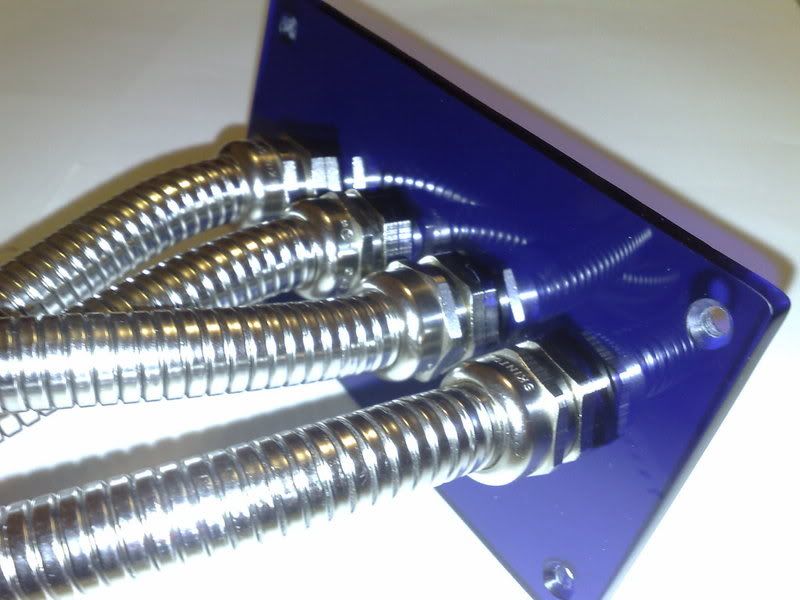
Once the cables were sleeved and protected i covered them with the ultimate cable covers...SHOWERHOSE!
I cant take credit for this, Orac3 gave me the idea for this and i am shamlessly going to use it as it looks too awsome to be too proud not to use in this mod.
This is as far as i am with the case at the moment, when i get some funds im going to get an ice blue case fan for the psu and some paint, till then enjoy these shots of the plex naked without masking tape and with the glands and hose installed!
As you can probably tell im quite proud of how it came out! :)
Thanks for reading guys!
_'J5
-
Re: Project: Accelerated Fear
Very cool work on the PSU, looks fantastic. +rep
-
Re: Project: Accelerated Fear
I envy people who can take their psu apart. Cos my stupid CM psu cant even be unscrewed.. must be someone dripping superglue into the holes
-
Re: Project: Accelerated Fear
that is cool as sh!t, man. love the look. i am gonna have to get some basic wiring skills for my mod. this kind of work just adds so much to the finished piece.
kudos.
-
Re: Project: Accelerated Fear
Thanks for the nice comments guys, next update will hopefully be the finished PSU, gotta get a 120mm LED fan and some paint, what colour do you guys think would go nice with the blue plex? I was thinking maybe a pearl white, maybe white/blue two tone.
Gonna run down to halfords tomorrow to see what they have available, might have to get some custom mixed, feed back appreciated as always.
_'J5
-
Re: Project: Accelerated Fear
-
Re: Project: Accelerated Fear
cant wait to see this all done!!(psu and case)
-
Re: Project: Accelerated Fear
Quote:
Originally Posted by
DonT-FeaR
cant wait to see this all done!!(psu and case)
Me neither mate, sooo skint at the moment, gotta wait until the end of the week to afford a few fans and some paint for gods sake! I'll get there in the end though :)
_'j5
-
Re: Project: Accelerated Fear
Can't wait for the final result.
-
Re: Project: Accelerated Fear
Got some paint today from Halfords, im on my third coat at the moment of Vauxhall Platinum (Kinda like a pearly silvery colour), also picked up some blue LED's and some resistors for the fan inside the PSU. Once its painted ill have a little update for you guys.
Cheers.
_'j5
-
Re: Project: Accelerated Fear
cant wait... hurry up!! :)
-
Re: Project: Accelerated Fear
I'm currently preparing for my first mod. (Still gathering supplies and tools) I bid on a computer on ebay about five months ago. Won it for 5 bucks. It was this crappy looking dell called the "Optiplex". Had I known then what I know now, I might not have bought it. It weighed about as much as a VW Bug, and took just about as long to strip down to the basics.
So I'm glad to see someone else knows my pain. At least we are taking something horribly ugly and turning it into a work of art.
Congrats on getting yours underway! I look forward to seeing this thing take shape.
It's already 5,000,000 times better looking.