-
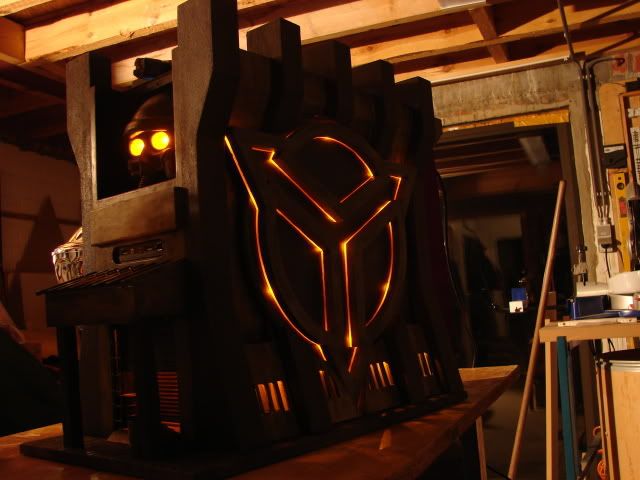
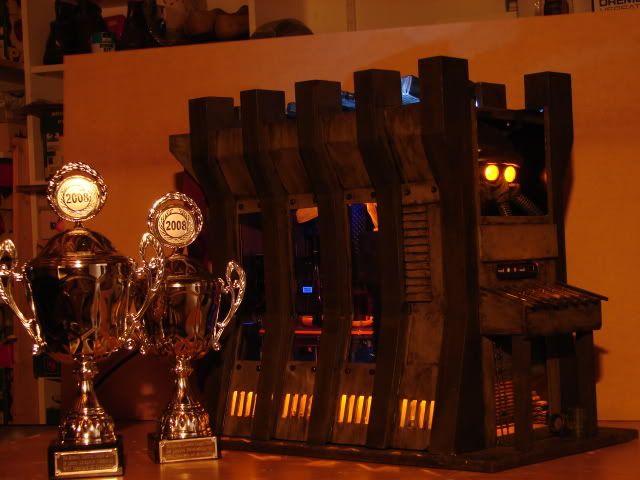
Project: Elements of Fortune
Hello everybody
I’m new to these forums so let me introduce myself.
My name is Tom and I live in Belgium, I am 17 years old and I’m modding for almost 2 years now.
You’ll notice I like to work with wood. My first caseconstruction didn’t work out well.
So I started on a casemod after that (that was …. Hmm let me think … in august 2007)
My project was named HELGHAN … so you can google on it to see more of it.
http://i183.photobucket.com/albums/x...s/DSC04704.jpg
I went to a competition held in the Netherlands… called “The Benelux casemod league”
The good thing is that I won 1st place, the bad thing … well there isn’t a bad thing really xD.
For a whole year I had a very big idea about a caseconstruction … something that was never done before (I think :p). And with the goodies I’ve won at the competition, I had the strength to make it real.
After a long and weird intro, I’m pleased to announce my big idea :D
“Elements of Fortune”
The idea:
The construction is based upon a slot machine, the (I think famous) Wheel of Fortune Slot Machine.
Don’t you know what I’m talking about? Here’s a picture:
I’m only going to make 1 slot machine of course ;)
After lots of looking I started to design a custom build based upon it. I designed it with google sketchup. I work every day on the sketching, so it might be a bit different than this design:
I already made some progress on this mod, and my English is not THAT good … So here are some other pictures on the different parts of the construction.
The bottom:
I started with this
After a while, I decided to make this:
The inside (the actual computer)
Final results will be a bit different than this.
The wheels … with the one armed bandit
The cooling
And about the top I’m not really sure … so I won’t let you see some sketches ^^
-
Re: Project: Elements of Fortune
Enough blab la blablablabaaaaaaaaahaaaa !
Let’s start modding :p
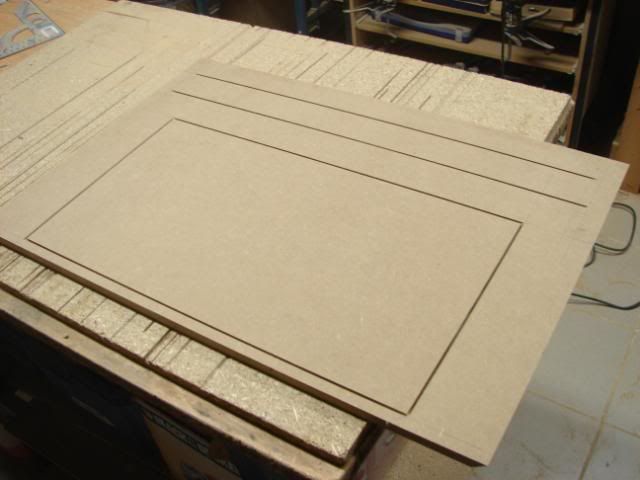
I basically work with 12mm MDF (don’t know dimensions in feet or inches or …)
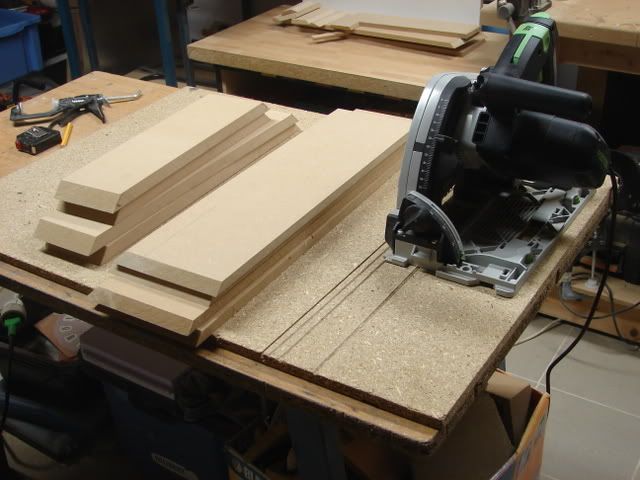
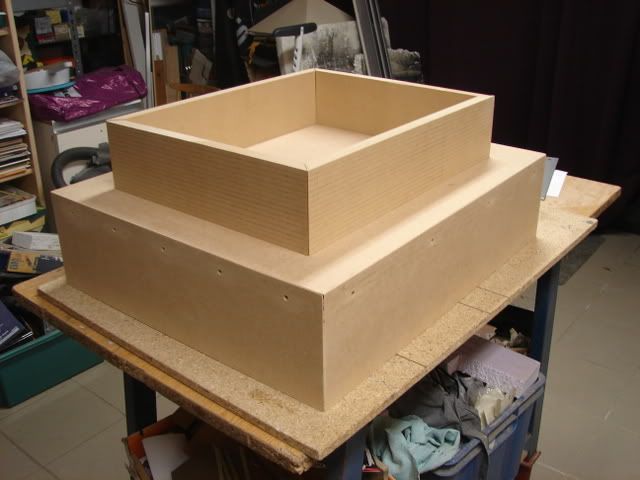
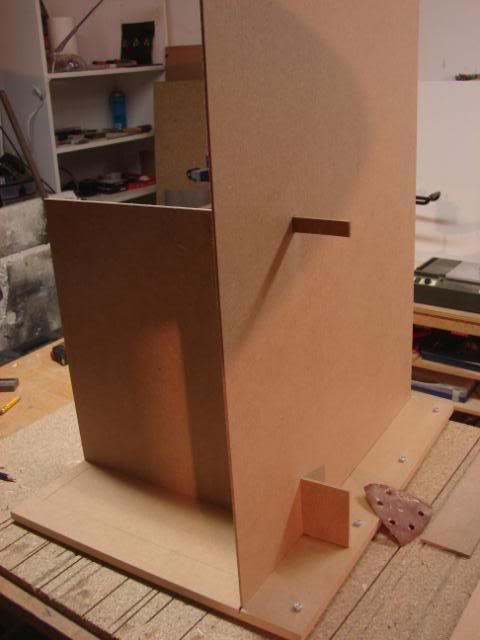
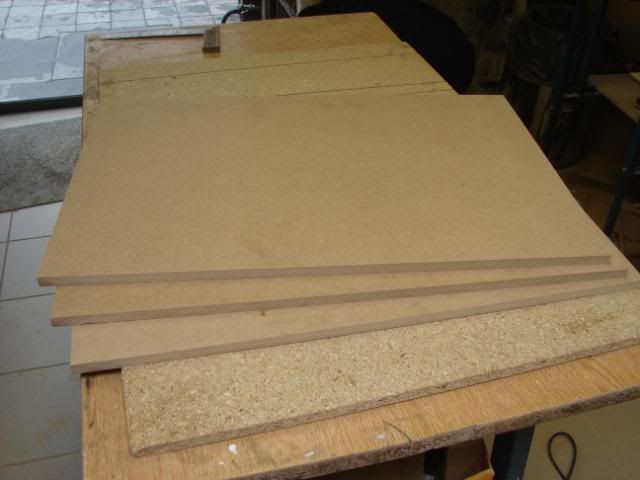
To start with the bottom, I sawed something.
I decided to saw them at 45° , so you won’t see the connection of the wood.
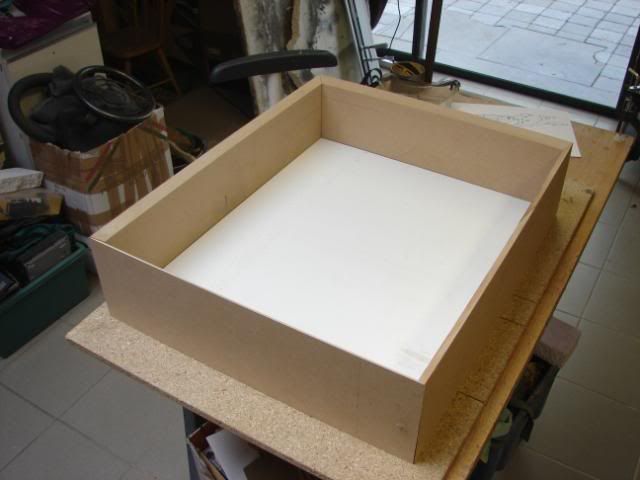
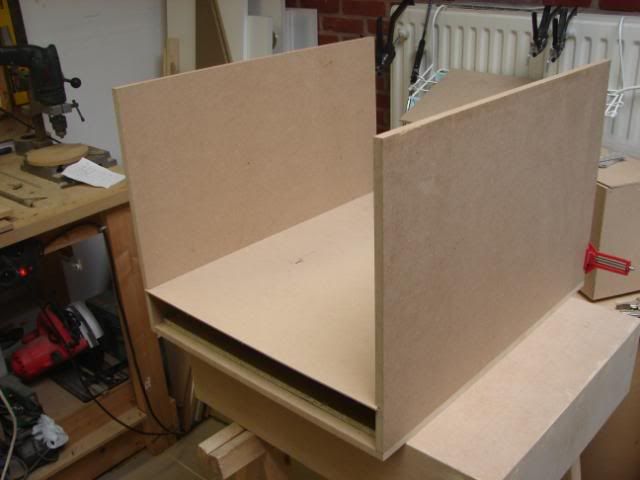
Looks like this when you put it together…
Not really spectacular :p
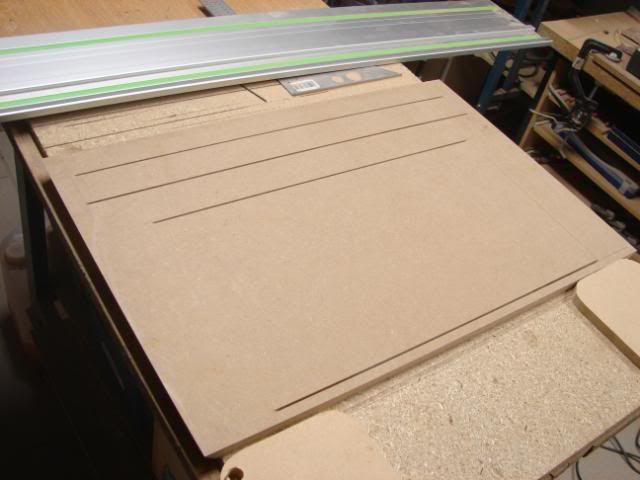
More sawing: PS- you’ll notice my new machine on the table :)
I made a picture what it will look like
The next day I replaced a plate
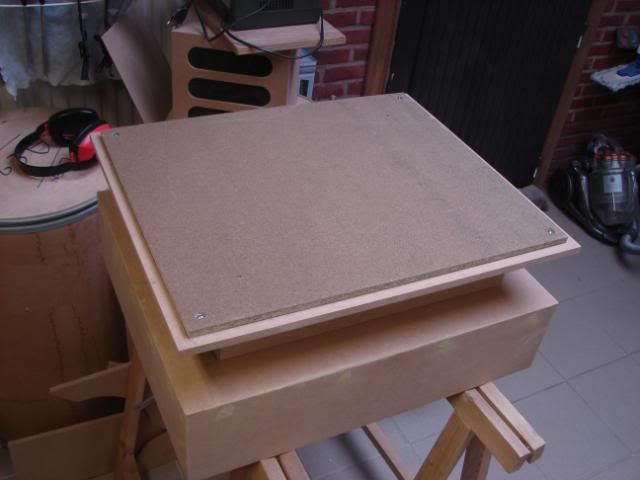
And I made it stronger with another plate of wood.
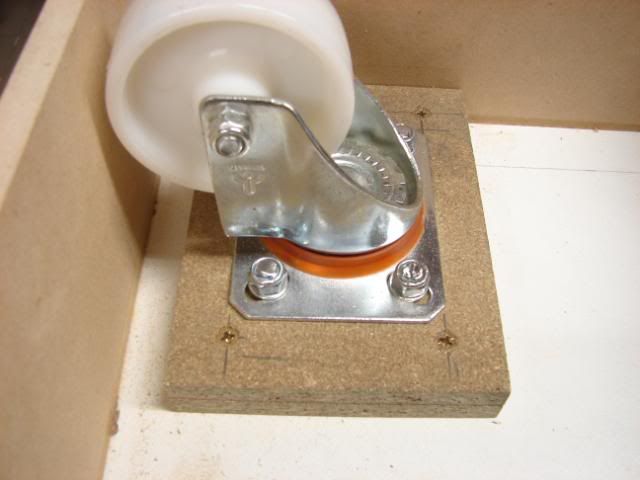
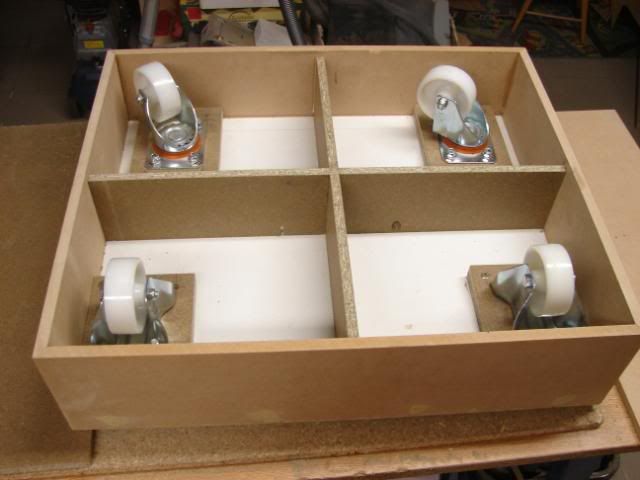
The case will be very heavy and large… wheels will make it movable.
(I also build this construction in several parts, so if I want to transport it … I’ll transport it in parts.)
Some wood, because without the wheel won’t touch the ground
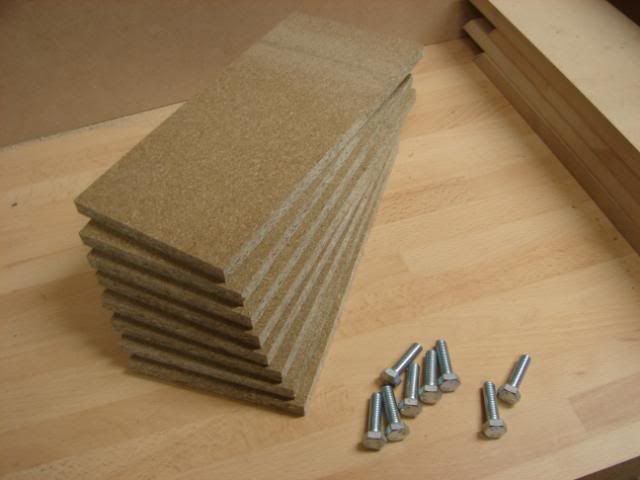
ArGh ! … I still need some shorter bolts :p
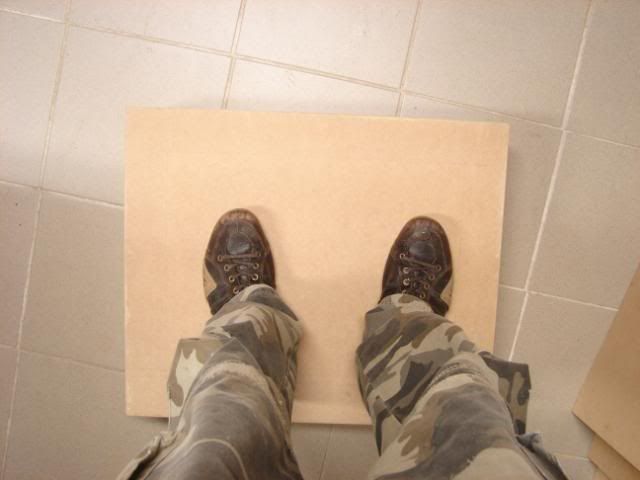
They touch the ground with 1 cm space in between.
(imagine the wooden sheet as “ground”)
…Needs some sanding and finishing and well a lot of things, but I already began on the studs.
http://i183.photobucket.com/albums/x...NE/studs11.jpg
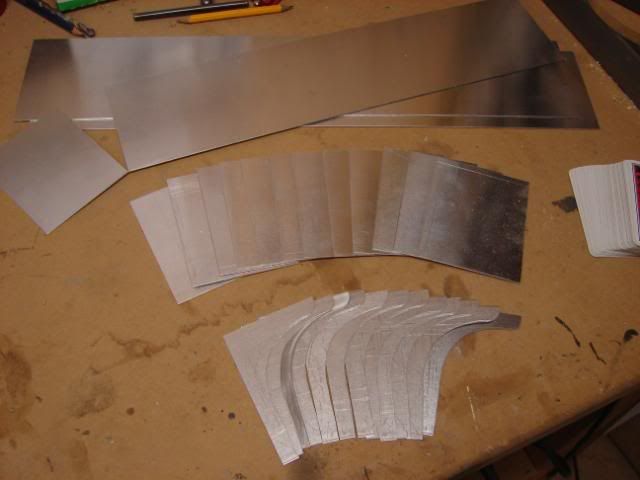
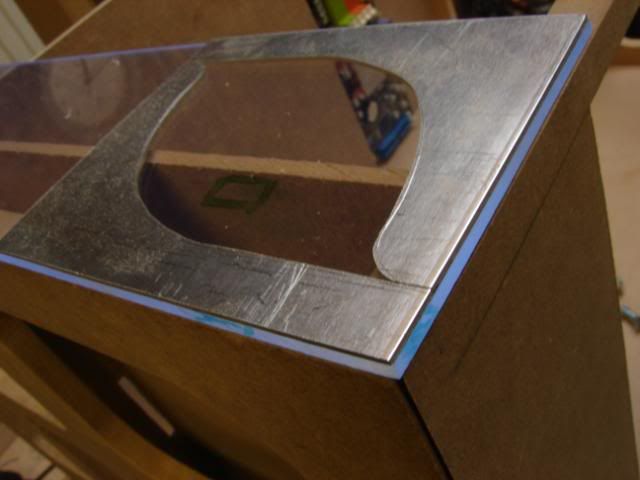
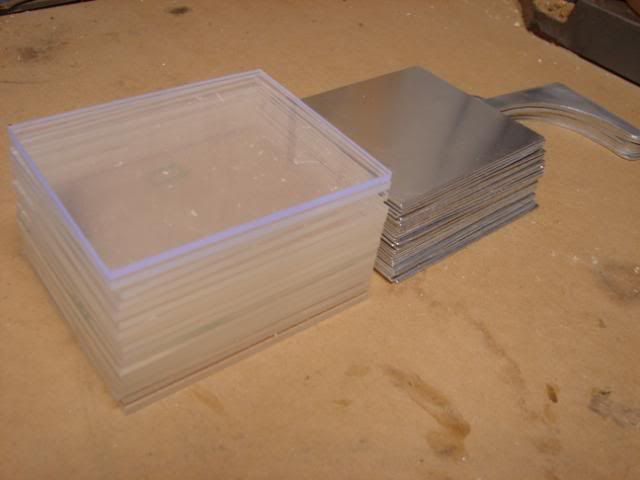
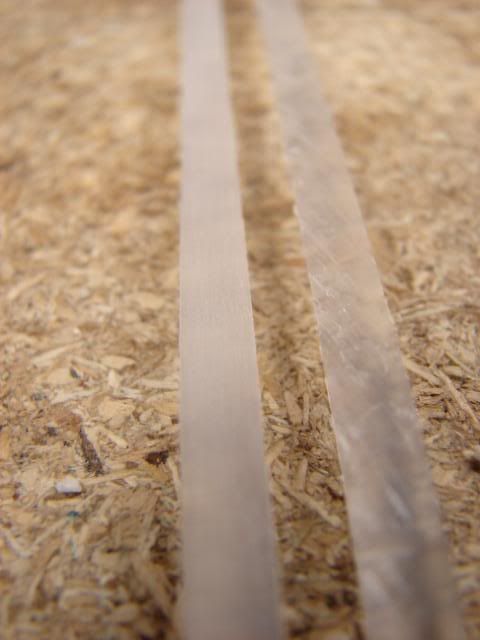
It’s not that complicated. 1 stud is made out of 4 sheets of aluminum and 2 Plexiglas
ALU / plexi (with light) / ALU __ ALU / Plexi / ALU.
I need 18 studs … that’s like 72 sheets of alu, and 36 sheets of plexi.
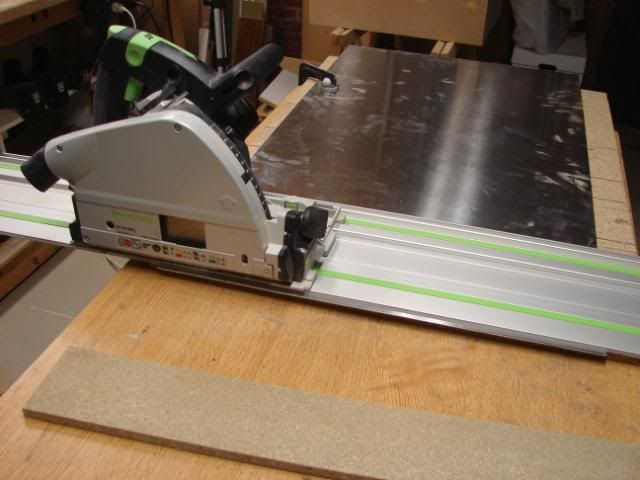
I don’t have the thing like CNC or a mill … so I all need to make it with a small saw.
What do I need?
A big sheet of aluminum
And some coffee with a waffle … of maybe more waffles and coffee :p
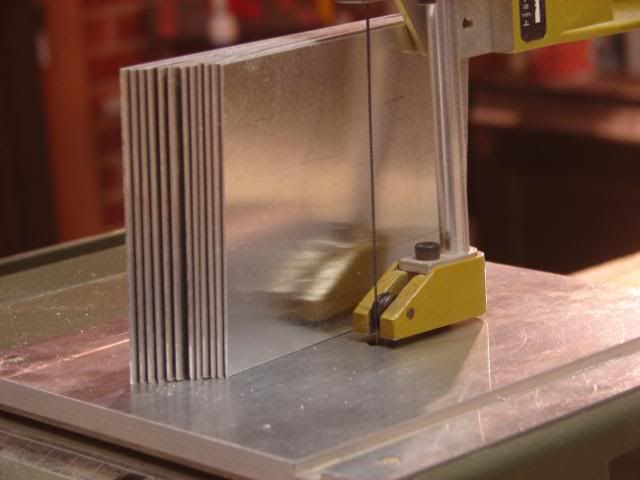
The coffee and waffle … Hmm njam – the sheet of alu is in pieces now.
72 of those :o
Next day I started on something else because the saw blades where missing.
A Plexiglas reservoir. Why? It’s just for eye-candy. There will be moving cogs in it and you will see the fluid moving thanks to those cogs and some lightning.
If you don’t understand … don’t worry – in the end you will :p
This reservoir is tested by me just a few hours ago … I got one very small leek – but that’s easy to fix.
I also designed some other new things.
This will be the reservoir for the watercooling setup.
(custom made, and the middle part is supposed to move ^^ )
Not a good sketch … but the design of the HDD (if they won’t be watercooled)
And two sketches of a possible CPU waterblock
Some tips:
The wheels won’t be working like in a real casino slot machine, and the one armed bandit will only be used to boot the computer.
I hope to get a sponsor because it is a big, expensive project and I’m just a poor student who likes modding :p
Money or not … I’m going to make it – don’t give a * if it takes 5 years :p
Cheers :D
-
Re: Project: Elements of Fortune
Well, first off, Welcome to TBCS. Glad to have you.
Secondly, That first case looks pretty darn good if you ask me.
And thirdly, your new case design looks kick A-ss. It also looks like you are off to a good start. I'll be watching this one. :)
-
Re: Project: Elements of Fortune
Wow, can't wait to see the progress as the design is amazing.
-
Re: Project: Elements of Fortune
Quote:
Originally Posted by
Mach

Wow, can't wait to see the progress as the design is amazing.
+1
-
Re: Project: Elements of Fortune
+2
Simply Amazing! :eek::eek::eek::eek::eek:
-
Re: Project: Elements of Fortune
I was wondering if you'd bring this over from bit-tech. great work so far, cant wait for progress
-
Re: Project: Elements of Fortune
-
Re: Project: Elements of Fortune
lol i have to +5 lol
nice start mate
-
Re: Project: Elements of Fortune
youre from the netherlands arent you? all netherlandish boys can mod like gods :o
-
Re: Project: Elements of Fortune
hmm
what about people that move over there... i might move...
-
Re: Project: Elements of Fortune
First update on these forums.
First of all I want to excuse me because my English is not so great :p.
That’s why you won’t see a lot of description around the pictures
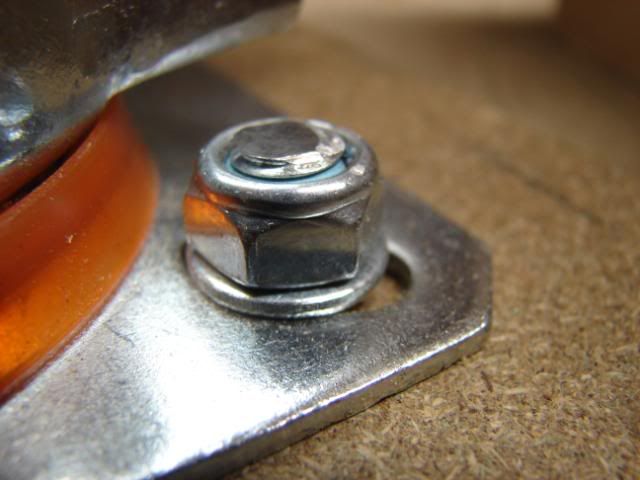
There are new bolts and nuts on the wheels. Not for fun, but for details.
Wheels are steady and ready :p
I also made a frame in the bottom, reason ? to make it stronger ;)
It doesn’t move an inch ! (or whatever dimensions you know :p )
http://i183.photobucket.com/albums/x...1/DSC05132.jpg
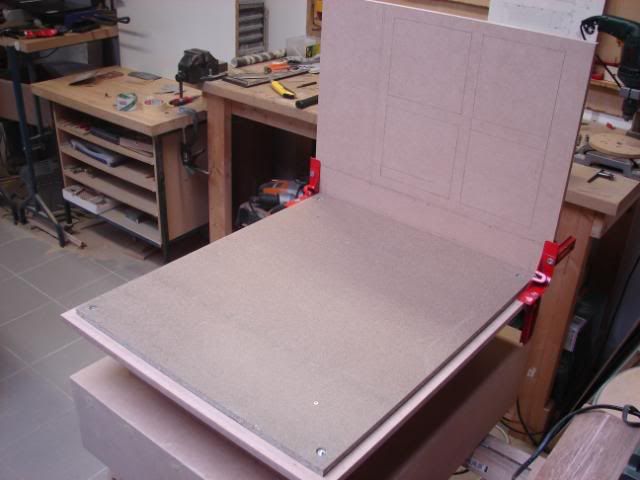
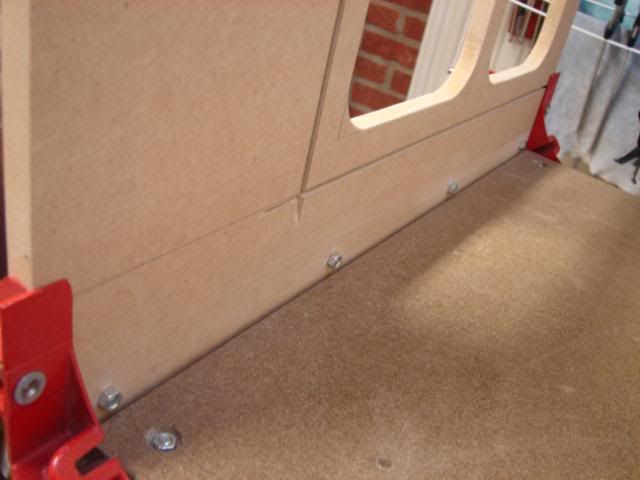
I also made the other bottom plate stronger with some bolts.
This because the whole construction will be heavy.
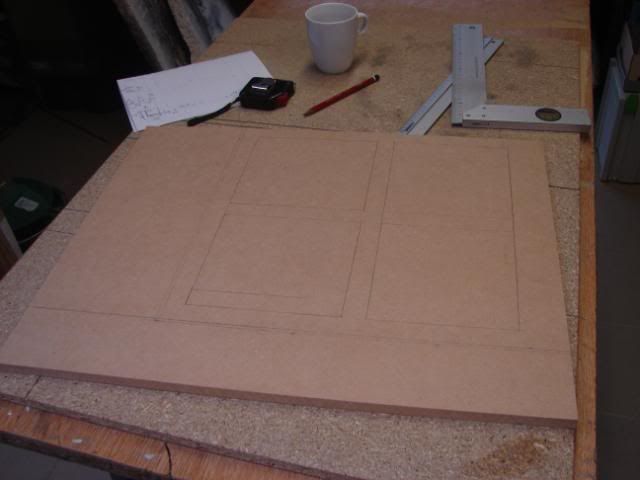
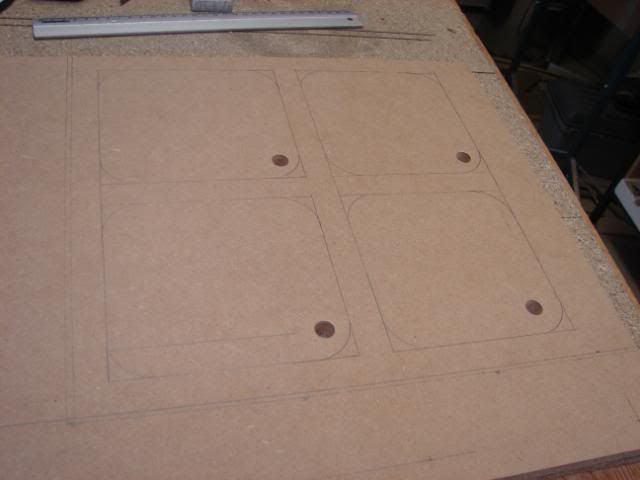
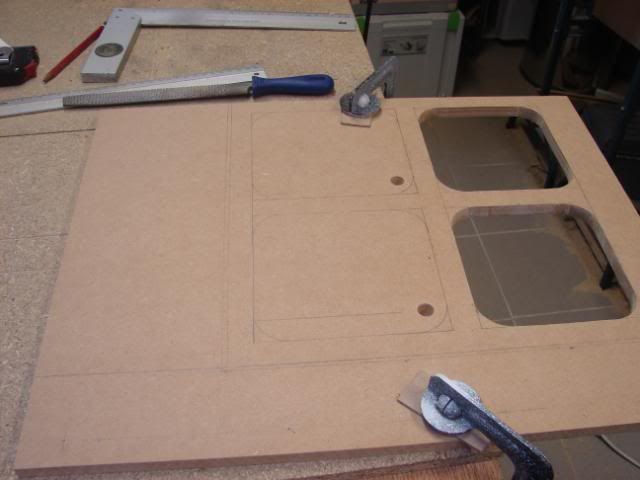
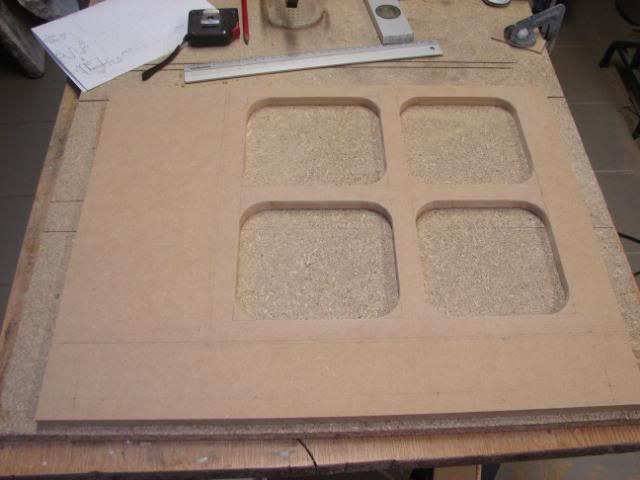
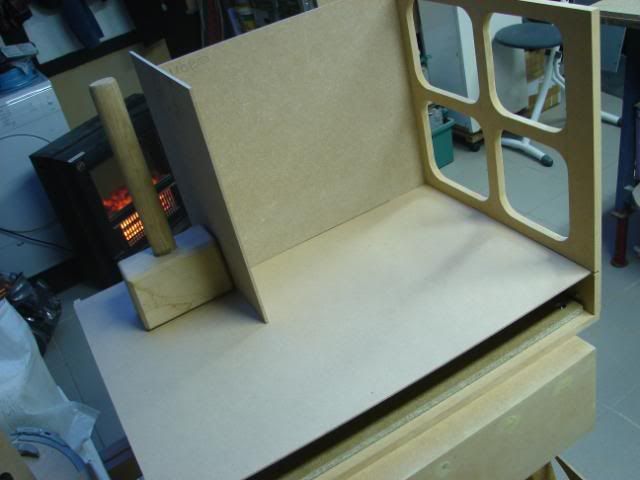
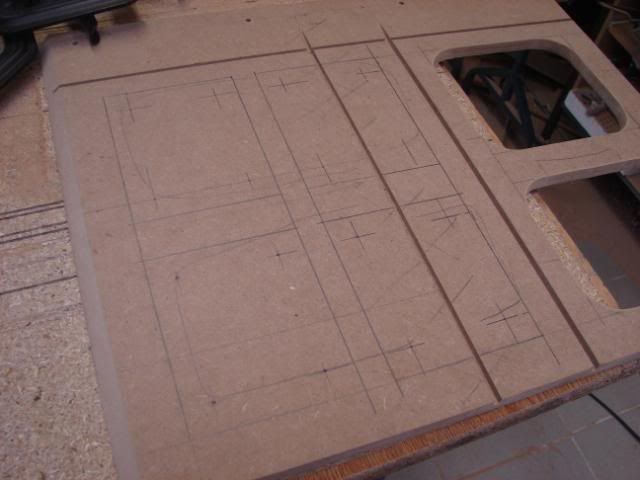
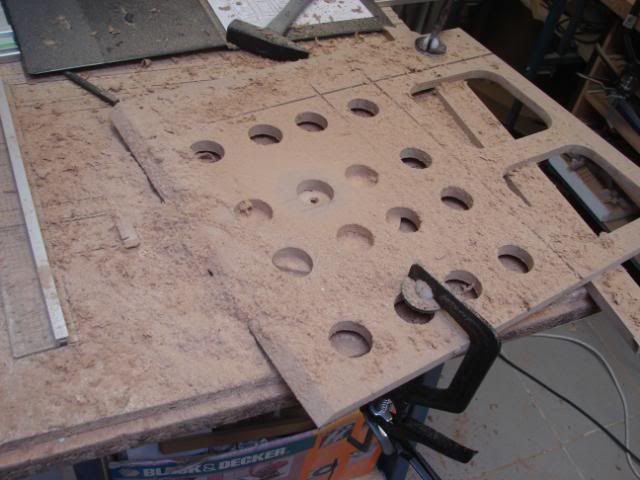
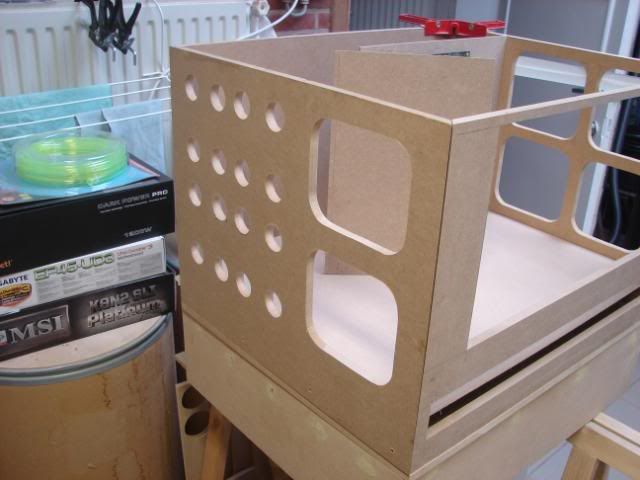
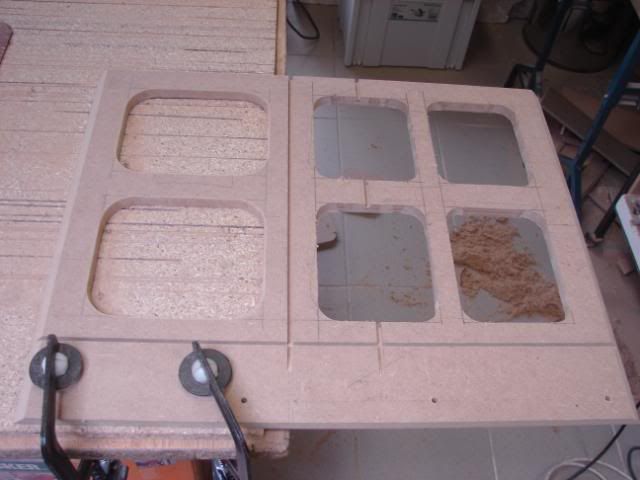
The first sidepanel:
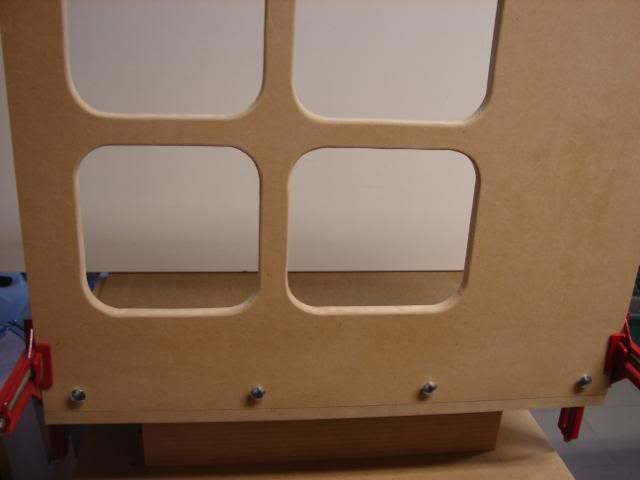
I’m gonna make holes in it, to make just a little bit lighter.
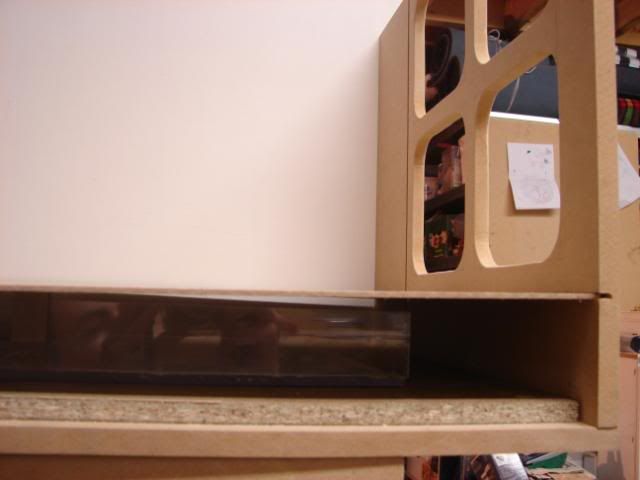
And some “gaps” … In these I can put a motherboard panel and bottom panel.
You won’t see the MDF wood I’m using right now, because the outer side will be made of plexi and the inner side of aluminum.
To attach the plexi I’ve used some bolts.
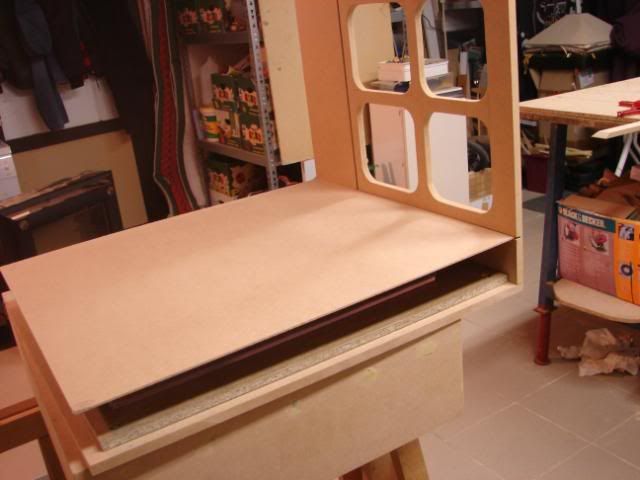
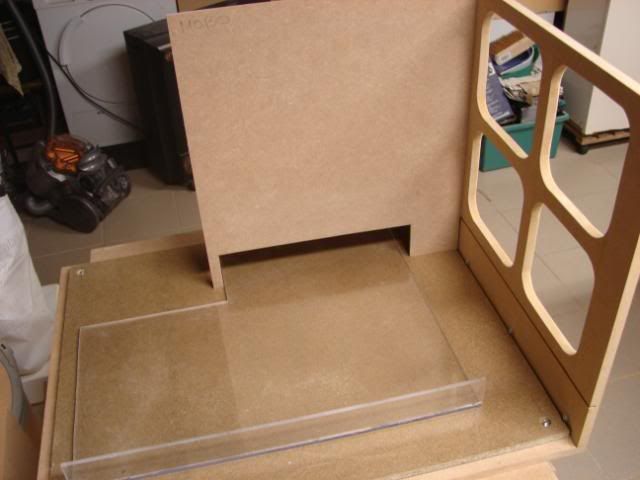
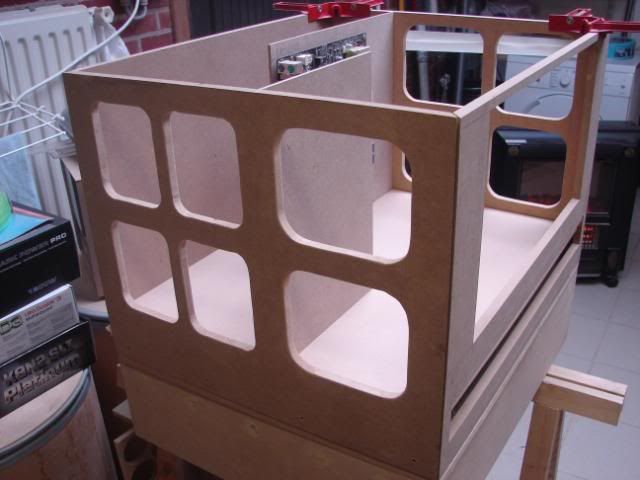
Here you can see how the bottom will be (and under the bottom the plexi reservoir – just for eye candy - )
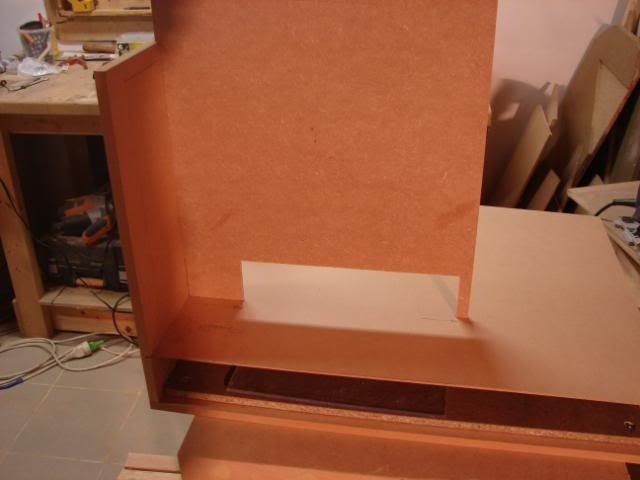
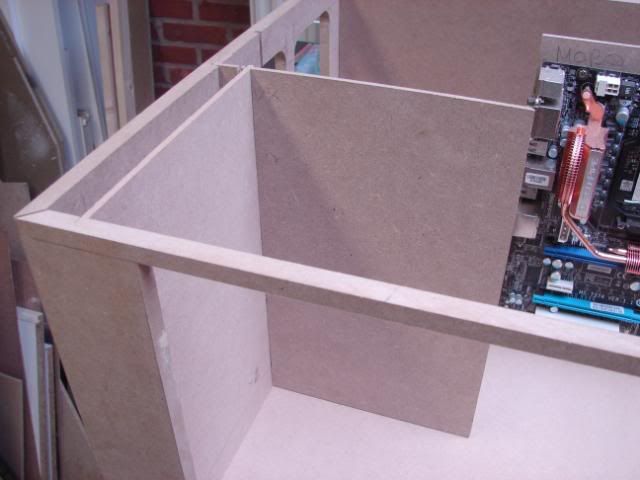
I also made the motherboard panel… and you can see that I already made some holes in that as well.
My intention is to click the panels. So they are attached to each other.
As you can see the panels fit well …
I hope to get some sponsors soon ... Yes I know there is a worldwide crisis ^^ but I really think I can work this project out very well.
Cheers
Tomcatt
-
Re: Project: Elements of Fortune
That looks very good, and I love your idea. Dont worry about your english, we've got a couple of people here that dont speak much, if any english, so dont sweat.
Keep up the good work man, I love it!
-
Re: Project: Elements of Fortune
and if you have no idea what you are writing use ur own language and some one will translate for us... we have bilingual people here... like me... i know english and profanities :P (like all canadian and usa hockey players)
-
Re: Project: Elements of Fortune
-
Re: Project: Elements of Fortune
just the truth :P looks really good so far
-
Re: Project: Elements of Fortune
lookin good, keep it up :up:
-
Re: Project: Elements of Fortune
Hey ! I’m back :D
And I got a load of pictures with me. :P
I think I stopped with this picture.
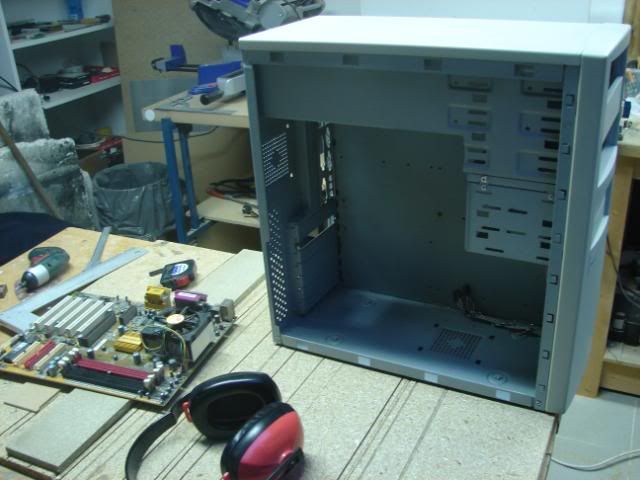
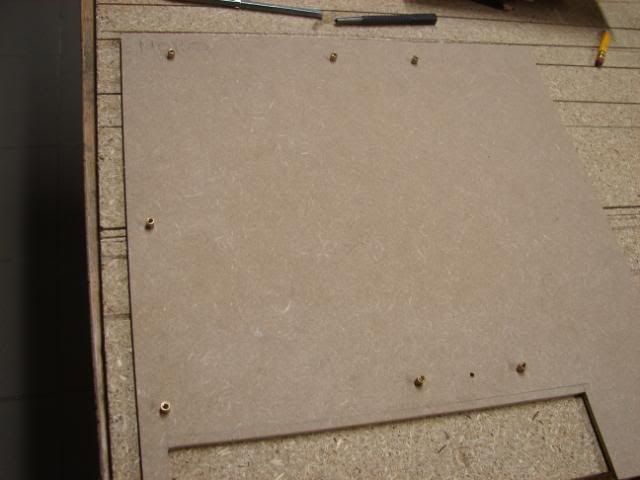
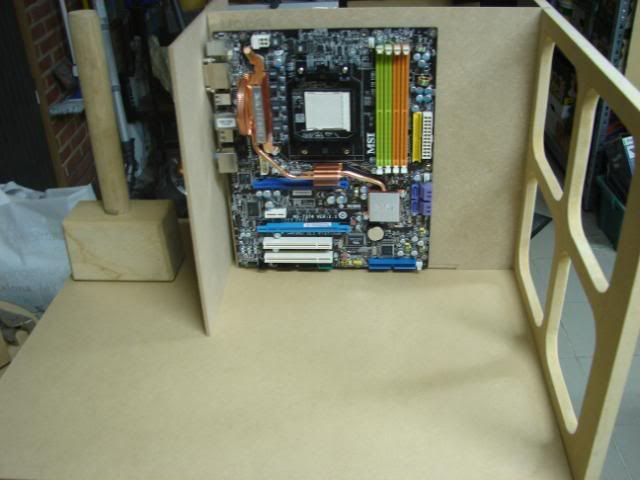
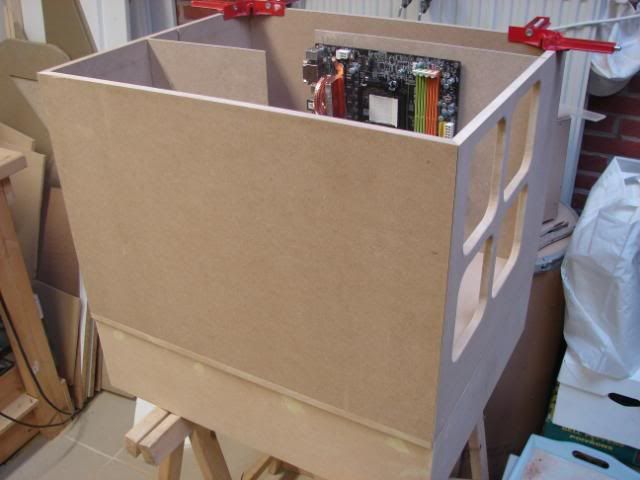
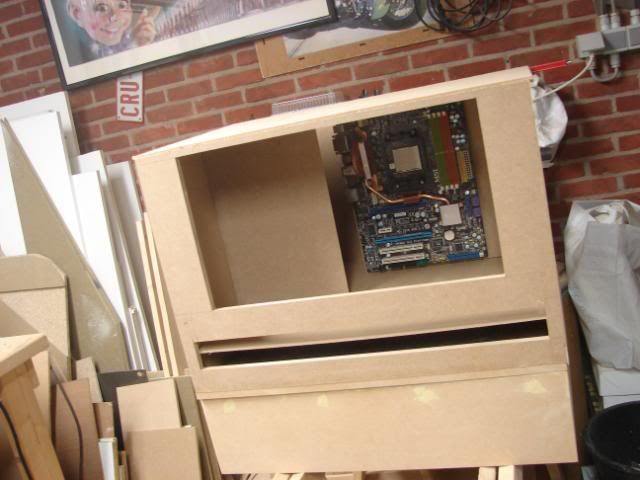
Now, I need to find myself some dimensions of an ATX mobo, and some spacers to place the motherboard.
Here is our victim
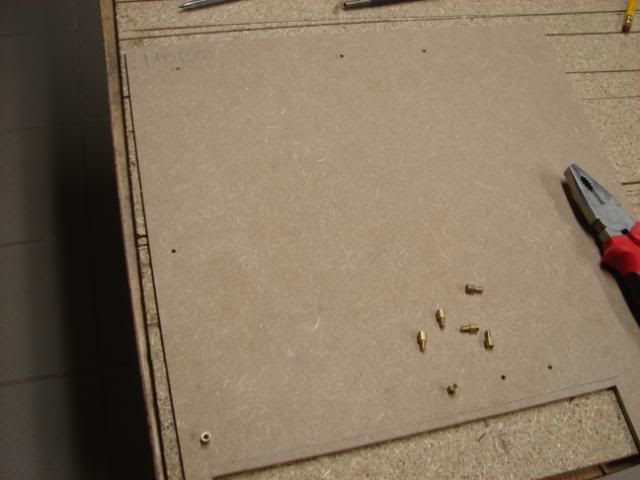
I just made holes in the wood, a little bit smaller than the spacers are. So the spacers are very steady in the wood.
http://i183.photobucket.com/albums/x...E/53699847.jpg
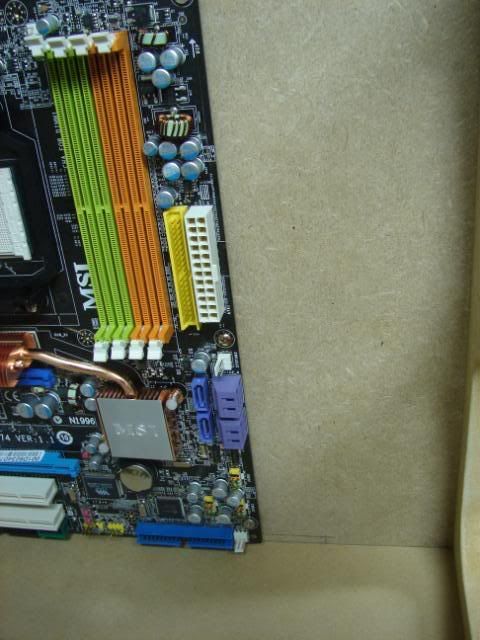
I let some space where I can put my cables. I’m going to make a hole, and then put the wires to the back of the motherboard tray.
I also got some space for my 24pins and SATA cables
After this, I made the other panels.
I used the saw at 45°, so the panels would fit correctly.
Making the window in the front panel:
Now the other side panel.
And to finish this update… I’m going to use a “secret space between the wooden panels” … euhm, here I can put my cables so nobody can see them in the end.
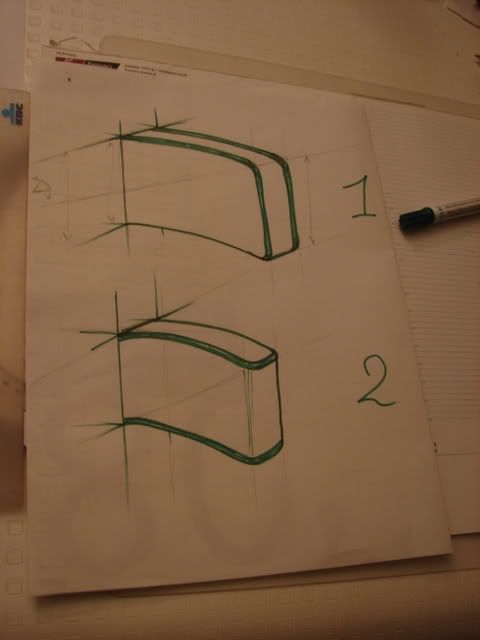
I also sketched 2 different designs for the hard disk casings.
Cheers
-
Re: Project: Elements of Fortune
nice work, shes coming along nicely :up:
-
Re: Project: Elements of Fortune
Coming along very nicely, and those hard disk casings have me intrigued. +rep
-
Re: Project: Elements of Fortune
This looks really good, its gonna be great (and big) when its finished.
-
Re: Project: Elements of Fortune
Very interest, and large. Seems to be coming along nicely.
-
Re: Project: Elements of Fortune
nice work mate wont be long for this 2 b in featured
-
Re: Project: Elements of Fortune
Well I hope so too :D
I had a week vacation, it was a very busy vacation. But I managed to do some casemodding after all :)
Here is the panel that will come at the back.
The big hole will be a window … the smaller hole will be used for cables like the DVI cable, mouse and USB cables.
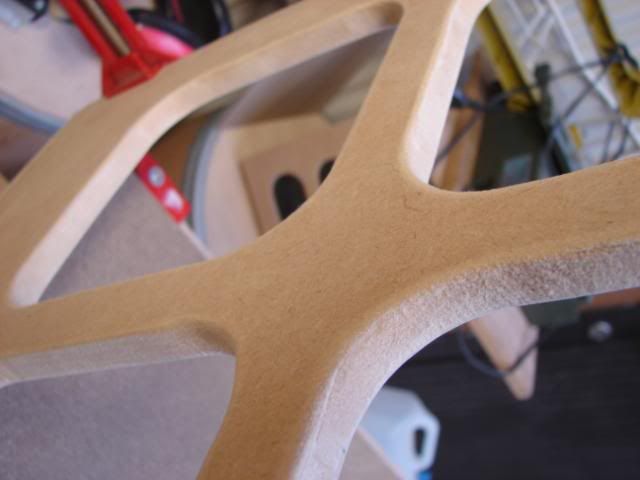
I don’t want that those cables will suffer because the sharp edges … so I made them softer :)
The I/O panel is next.
(that will keep it steady)
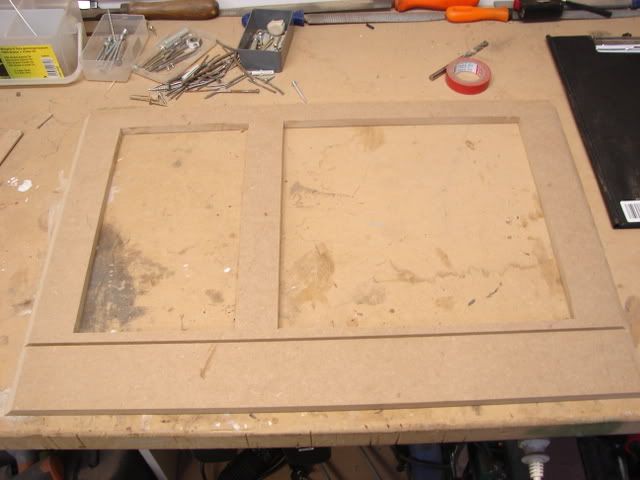
And another wooden frame around the metal frame will make it more steady :D
This is the backside of the case (if you imagine a normal case.)
I’ve used some very thick wood, because this panel will be lifting other heavy things.
Ring rang, man on telephone tells me my saw blade arrived. :D
I fitted it on to my machine, and started working the struts (I think they call “struts”)
Remember these ?
http://i183.photobucket.com/albums/x...NE/studs11.jpg
Making them smaller
In the end of the evening… lots of stupid things happened. So I decided I would continue modding Monday.
Last blade:
http://i183.photobucket.com/albums/x...1/DSC05357.jpg
broke: xD
Evolution of the struts.
To end this update I want to say a big thanks to my sponsor. Autosoft It’s a Belgium store that sells casemodding supply and is a wonderful shop for hardware :)
I made a deal to present this case in the store as it is finished. They also gave me lots of modding stuff… I won’t be using this all in this Elements of Fortune… But I’m sure I can work a little faster now :p
Greetings
-
Re: Project: Elements of Fortune
Ooooh....I like where this is going!
-
Re: Project: Elements of Fortune
-
Re: Project: Elements of Fortune
Wow, that is some sponsorship, congrats on the great deal and nice work on the case.
-
Re: Project: Elements of Fortune
Thx for comments !
I’ve been working on the studs for a while.
Here I made some more aluminum rectangles
After this, I started to work on the plexi part – because my small saw is damaged… anyway:
Some more: :)
A preview – totally unfinished though :)
And ! I played with some UV plexi saw-dust (sawdust ? :think:)
Now back to my schoolwork ! :D
cheers
-
Re: Project: Elements of Fortune
love that last pic man with the sawdust (Sawdust?)
-
Re: Project: Elements of Fortune
Like the way this is going.
-
Re: Project: Elements of Fortune
thanks !!!
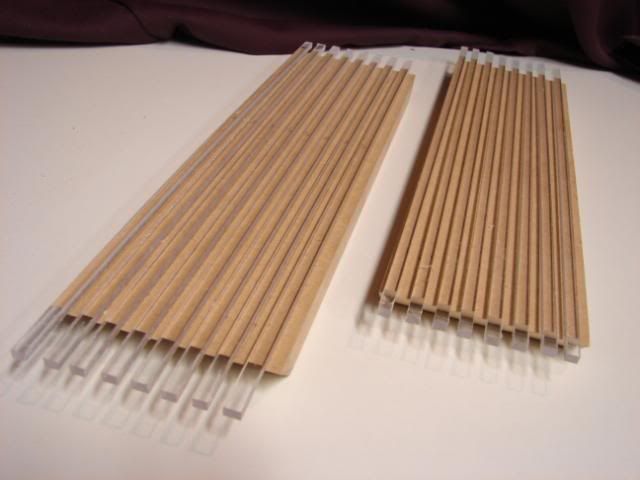
I began to make the horizontal beams
here are some pictures
They are a little bit too long, so I have to make them smaller. (I'll do that later ) :)
I still need to do the front-side and the back-side. But I ran out of plexi.
after a couple hours this is the result.
After this I went to bed to have some sleep :D
-
Re: Project: Elements of Fortune
Nice update, its coming along very nicely.
-
Re: Project: Elements of Fortune
-
Re: Project: Elements of Fortune
:O this is beautiful...
wont be long till it stands at this rate.
-
Re: Project: Elements of Fortune
Quote:
Originally Posted by
DonT-FeaR
:O this is beautiful...
wont be long till it stands at this rate.
you ain't seen nothing yet.
A lot to come !!! (even a small glimp in this little update)
So ... a little update.
I sketched the stuts on each metal and each plexi plate (twice)
A lot of work, these things ... but I'm sure they will be worth it ;)
and after this I started on something else.
I'll be jumping from one subject to another - that's my way of working, I hope you don't mind.
These are some pictures for the backside of my case.
In my last case "Helghan", I also made a big logo on the other side of the window... And with this scratch build I want to do the same.
the beginning:
It will be something like you know as "steampunk".
But instead of those copper colors with the old look ... I want to make this like in the casino's.
The cogs will be made of UV orange plexi
The tubes and stuff will be very white
the background / overall color will be blue (UV)
I hope I can make this like it is in my minds.
and I hope you like it 2 :)
cheers
-
Re: Project: Elements of Fortune
cool...
hmm gunna have a bit of left overs from that pile of alumi and plexi :)
-
Re: Project: Elements of Fortune
Thx DonT-Fear !!
It has been a while ... I'm sorry for that.
I made some progress though.
Some more sketching, an actual 1/1 scale on paper, not detailed – just for right dimensions ;)
This will be huge … xD but I know I can manage to make it.
Some more sketching
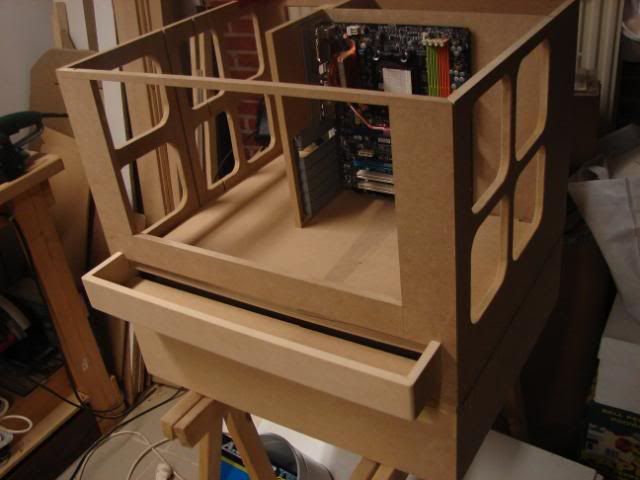
I gave back the figure saw I borrowed from my uncle, In two weeks I hope to buy a new one for myself. I moved on the payout container. This is where you get your chips if you have won something.
To make it a bit more stronger, I made a click system.
It is pretty strong because I can put my grinder on it and the wood doesn’t bend at all.
The edges are smooth, and I sanded the container one more time.
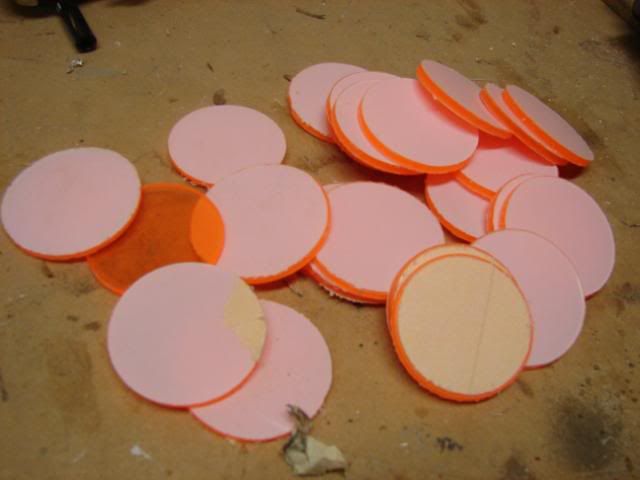
There need to be some chips in it as wel.
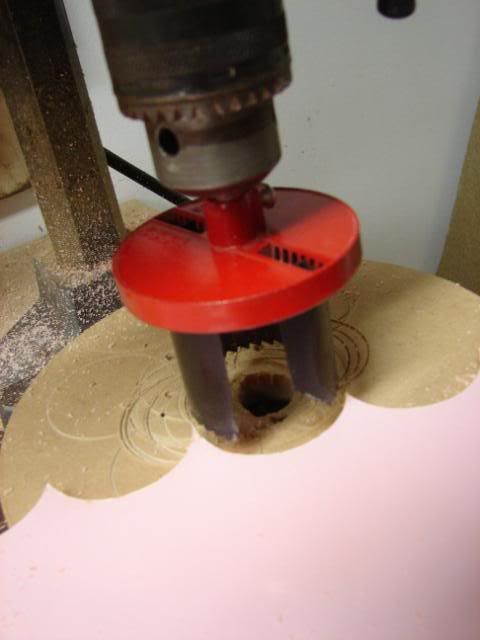
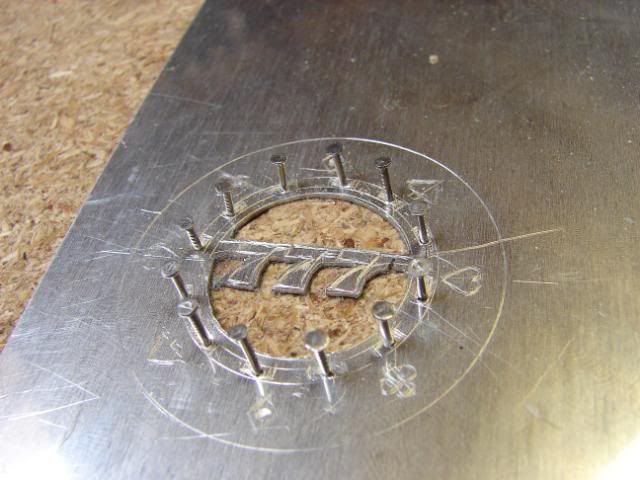
I thought about going to someone who could make chips with a mill, or any programmed machine. But my ego is too big, for a machine to make it – I NEED TO MAKE IT MYSELF !! :D
I stared with a sheet of plexi…
Yes I also modded the drill a bit ^^ (if you could mention it as “modding” xD )
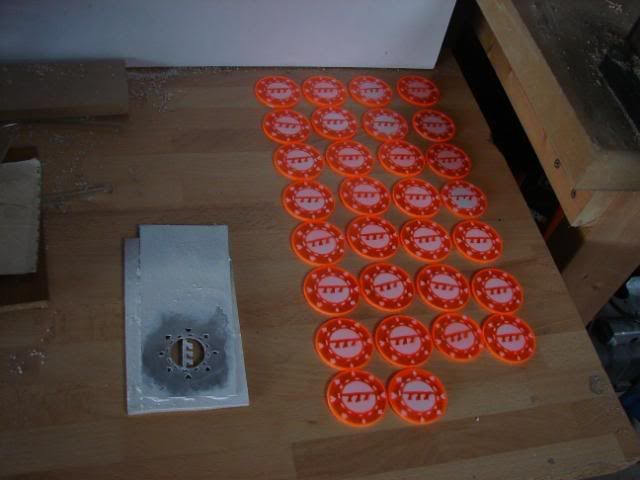
Some round chips were born.
After those, my drill … well euhm :)
Ah yes … I almost forgot – I made these before I began doing the drilling of the chips (previous foto)
I made this with a small saw and curved them with a dremel.
I wasn’t satisfied with the result as all, because you can see the scratches very good.
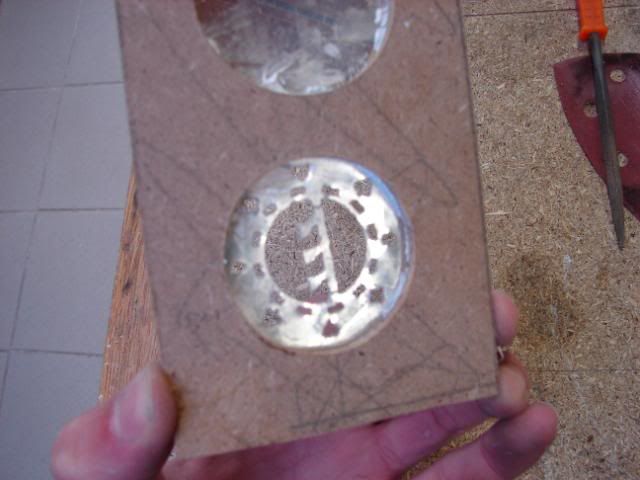
I thought about making a mould / model … maybe the result would be cooler if I used some paint.
Making the model:
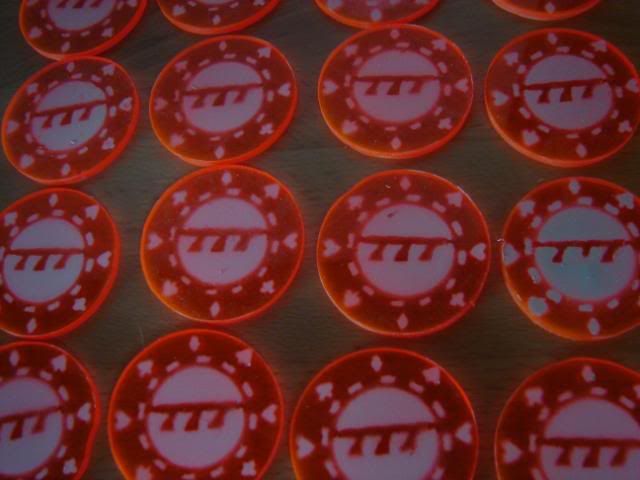
A better result now, some chips are disgraceful, but because there are many … nobody will see it :D
Thx for watching, reading
Let me know what you think about it !
-
Re: Project: Elements of Fortune
amazing work on those chips!! :bowdown:
-
Re: Project: Elements of Fortune
yeah the chips look sweet great work mate...
-
Re: Project: Elements of Fortune
Nice work with the chips.