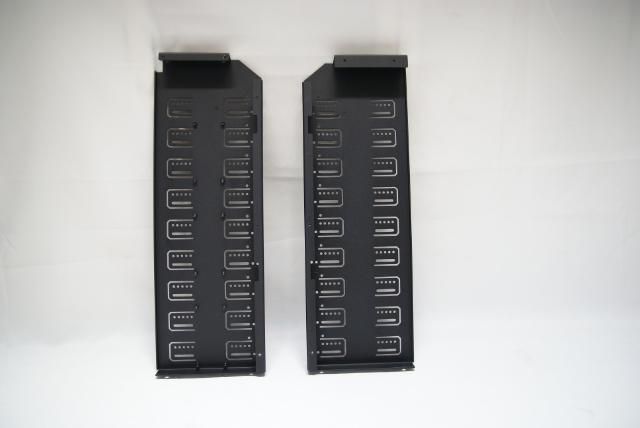
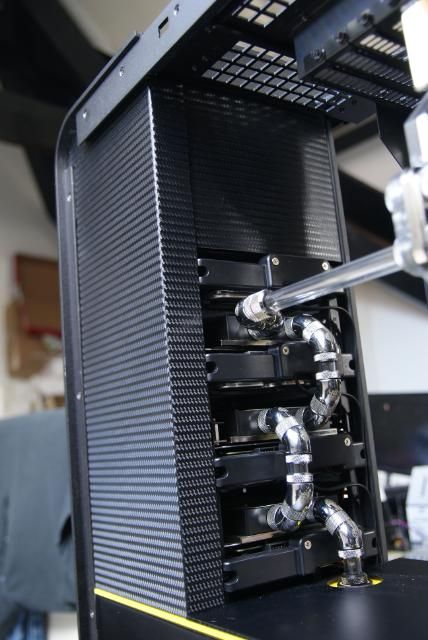
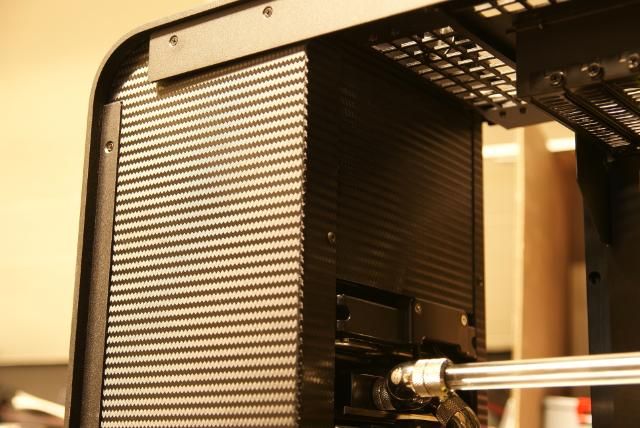
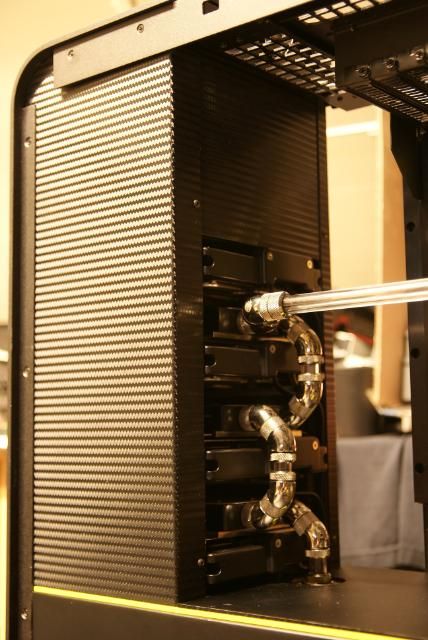
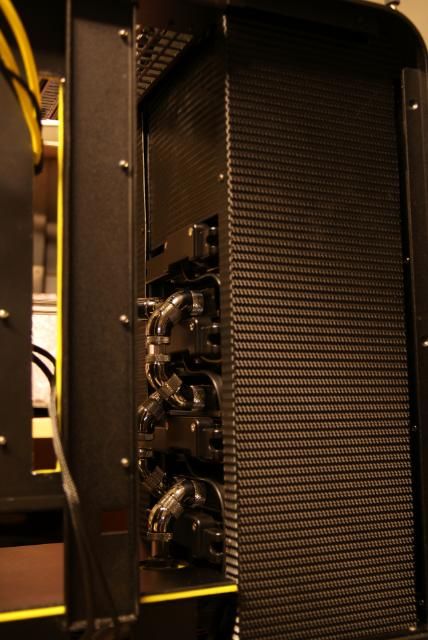
-
Silverstone TJ11 Carbon
Sponsored by:
Hello my friends.
About 4 weeks I was doing nothing, My wife was getting crazy.
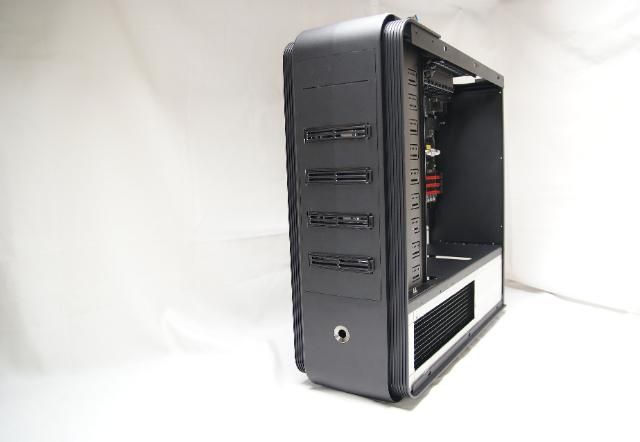
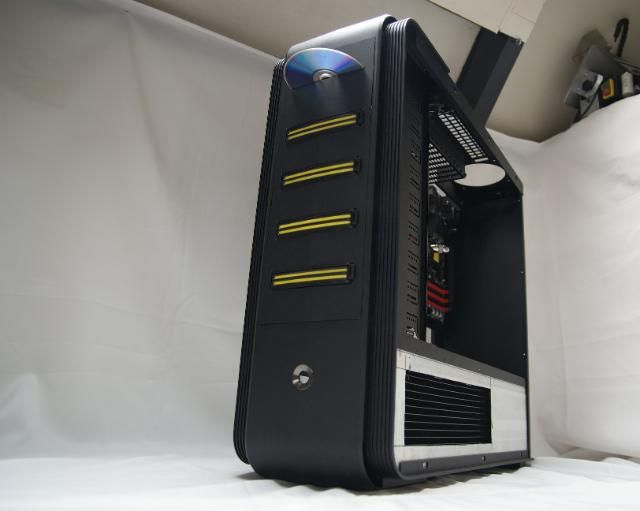
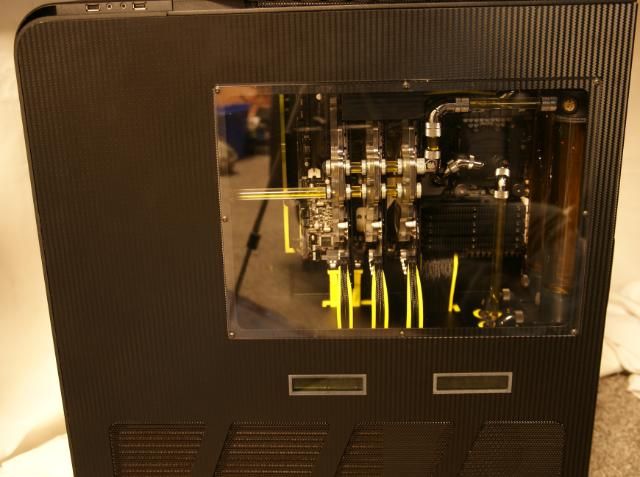
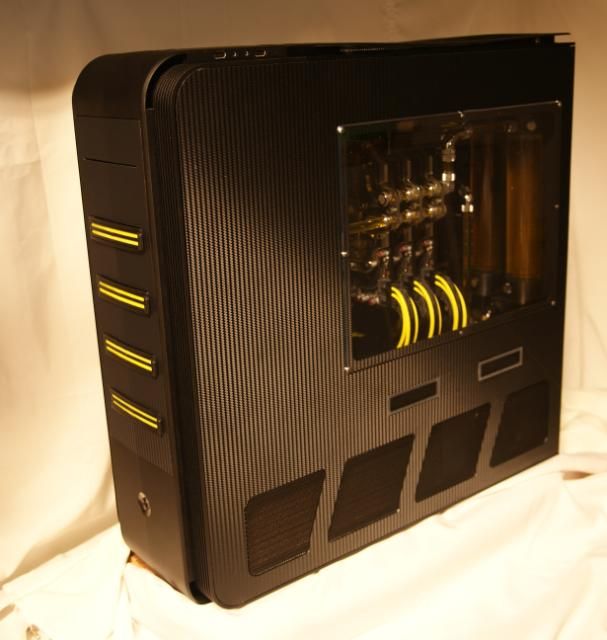
But now it is here ......... a new build, with a beautiful case, the Silverstone TJ11
When I first saw the case I had something like "I to want to mod this one"
I must admit that a number points are not so nice at this case.
This "negative" points I will certainly adjust. But they have also a lot of beautifull things renewed.
The main hardware and other materials
De hardware:
Case: Silverstone TJ11
PSU: Coolermaster 1200w
Motherboard: I’m not quite sure, but for the fitting and measuring, gonna use a EVGA Classified E759
Processor: i7 930
GPU: 3 x GTX 480
Memory: 6 x 2GB Corsair DDR3 1600
HDD: 2 x SSD 120GB And some sata
Cooling:
Water cooling of course, but have to gather and brainstorm what best suits the TJ
So it’s a bit of a gray area. But I have some great ideas.
For now:
2 x EK 360 radiator
EK HF Supreme plex
EK Ram cooler plex
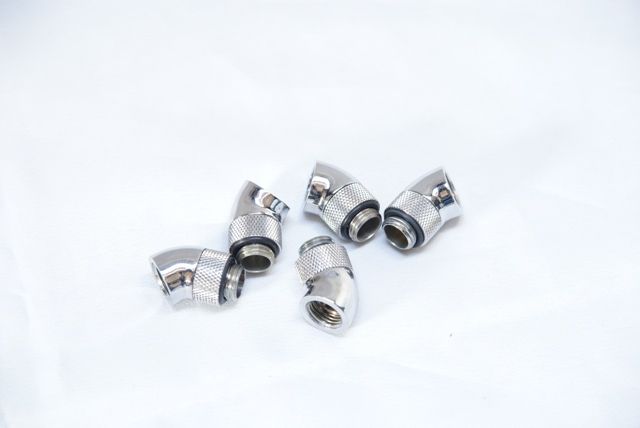
BitspowerSilver shiny
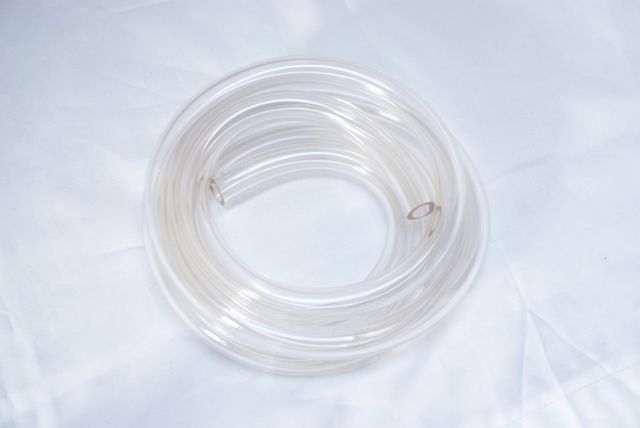
Tygon tube Transparant
And more…….
Other products/ materials:
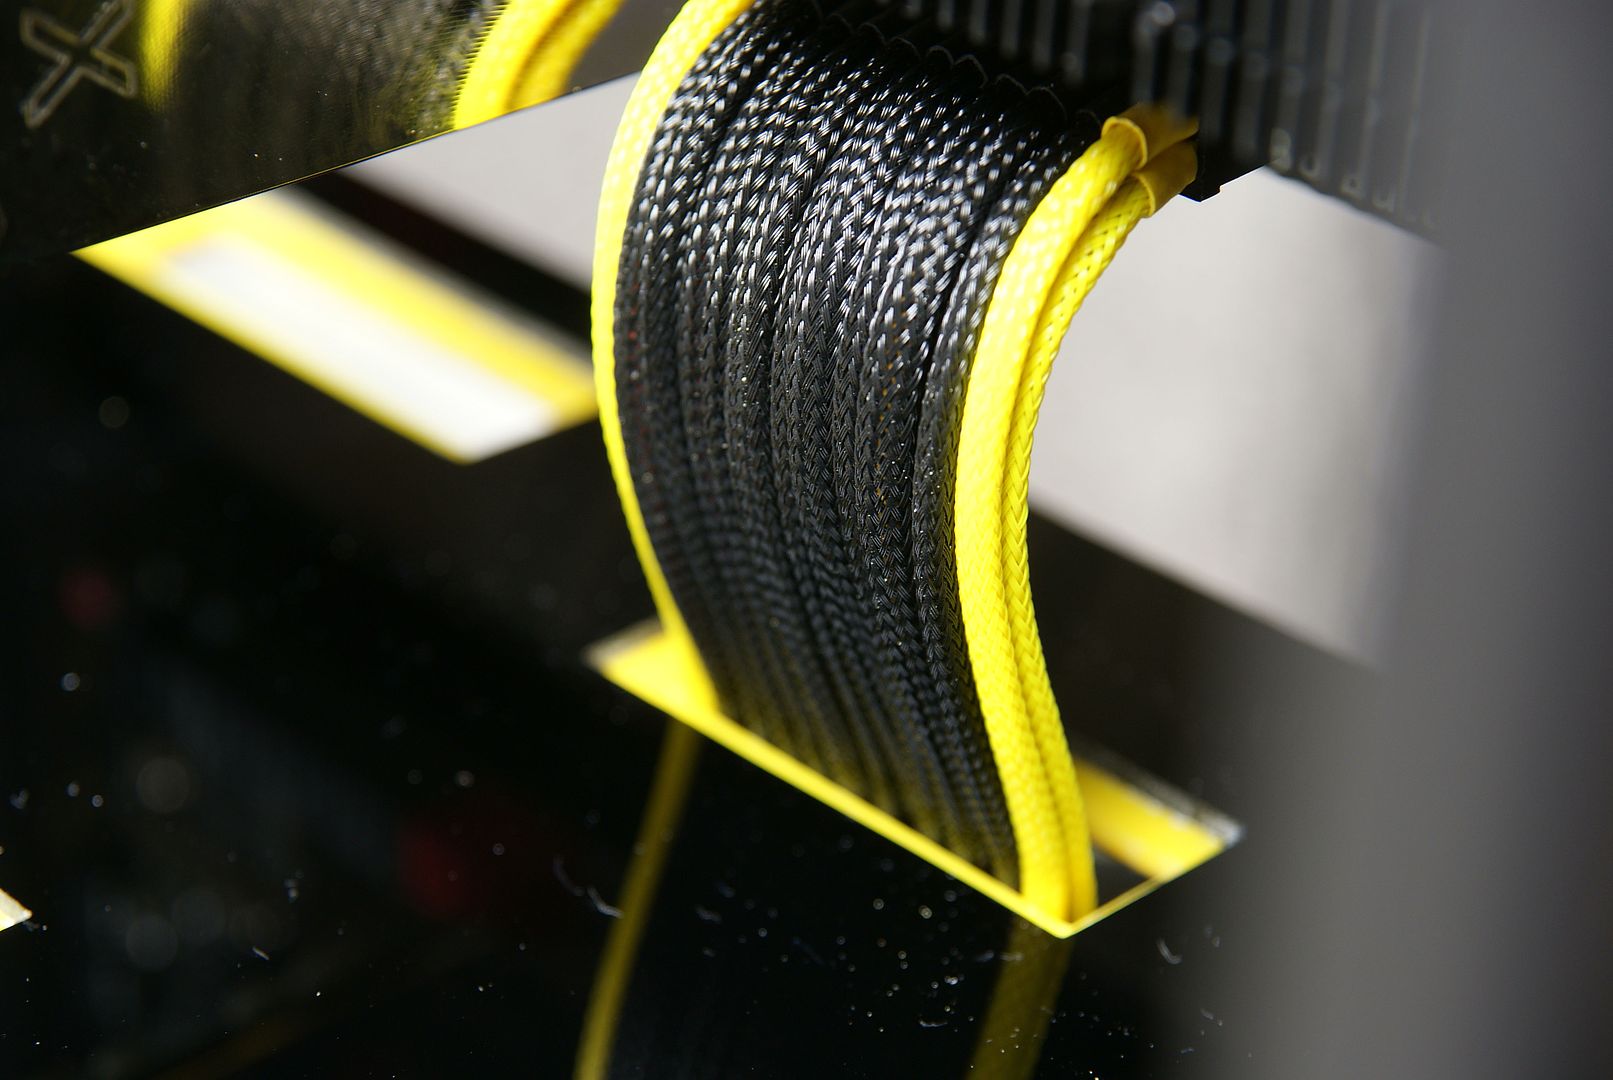
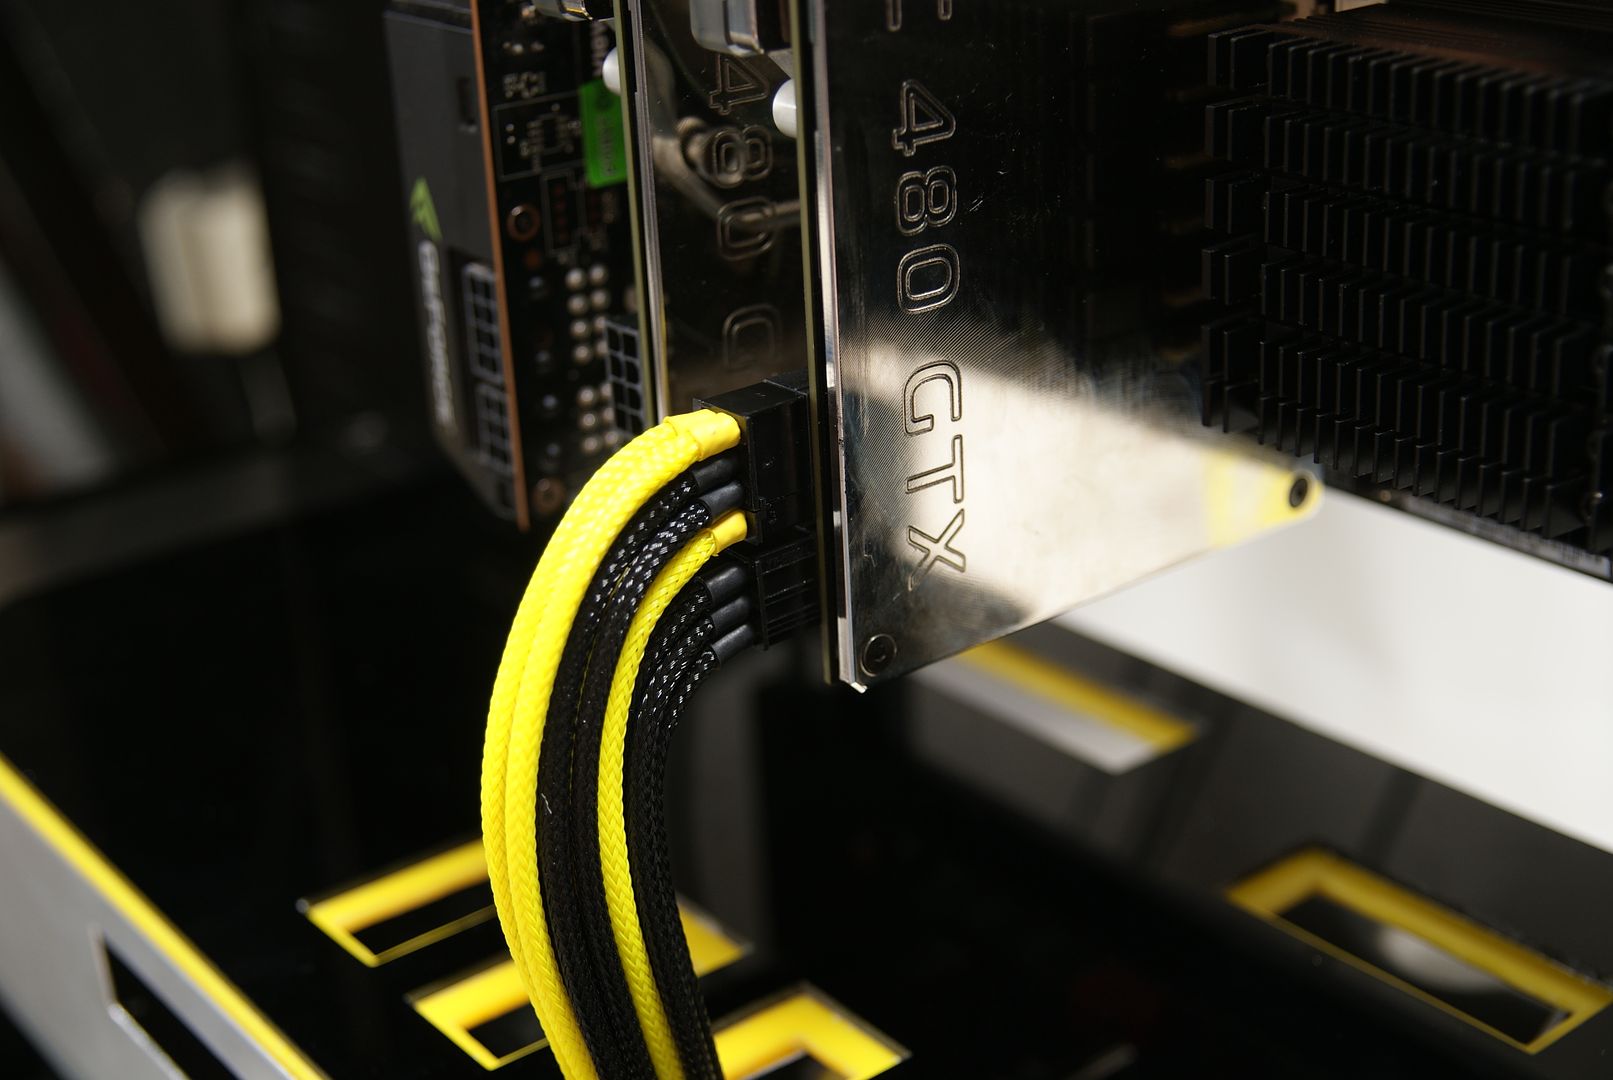
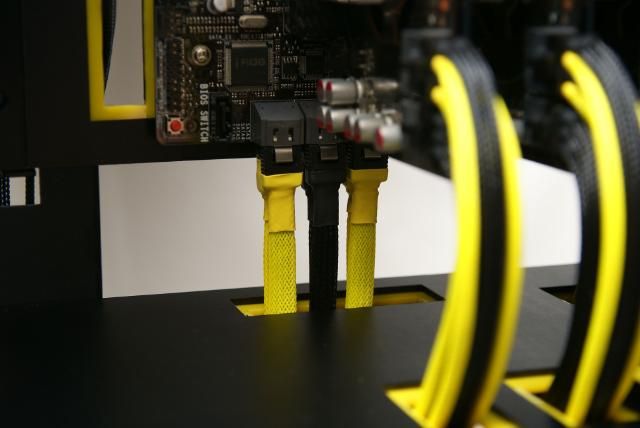
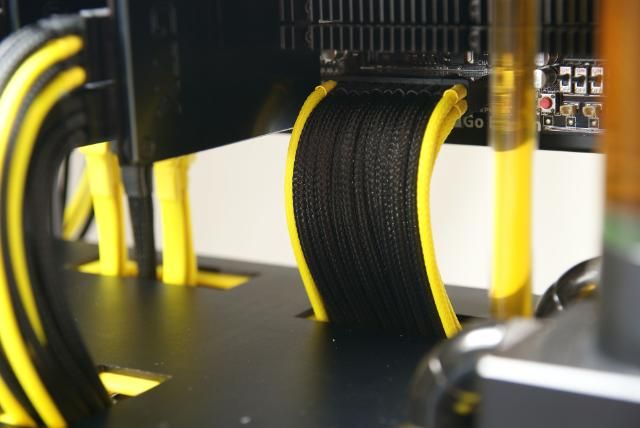
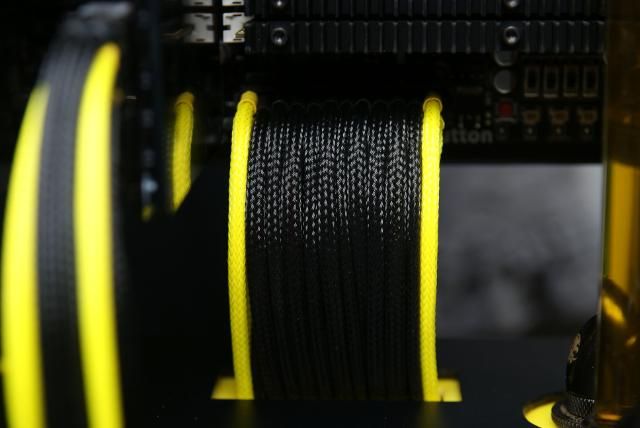
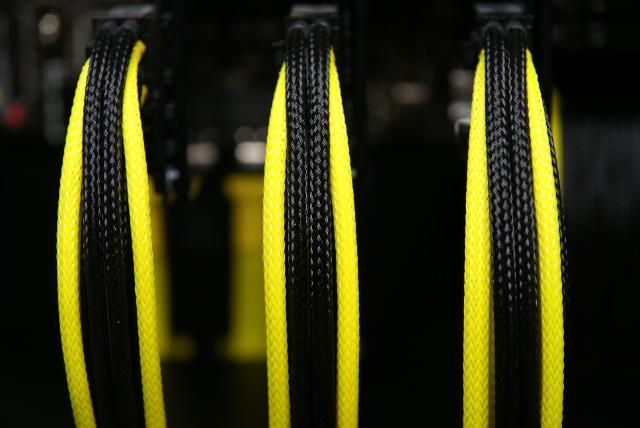
MDPC Sleeve, colors: Black and...........yellow
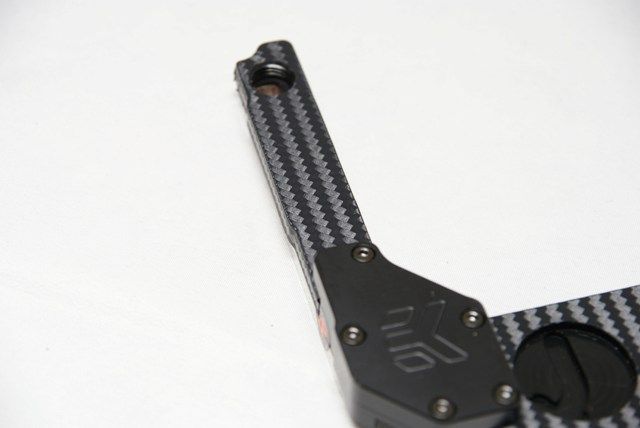
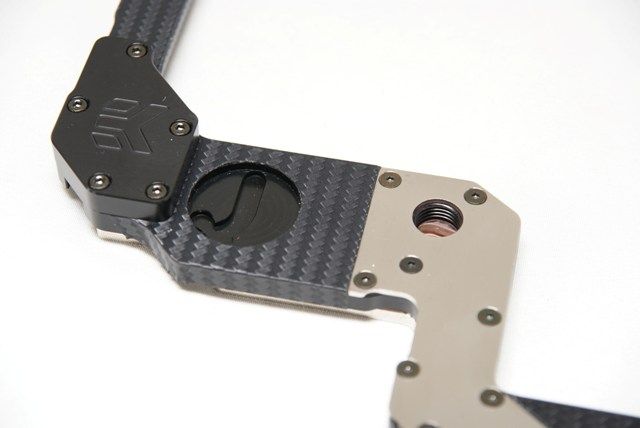
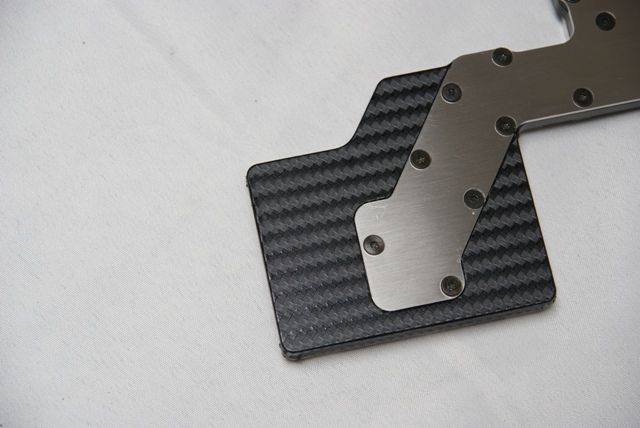
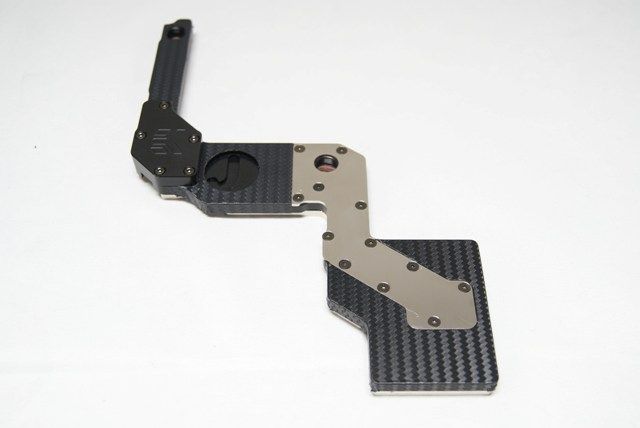
Carbon fiber film
SMD lighting I think, but not too much this time
Some Acryl, yellow and black
About what exactly will happen, I will not say too much for now. I have a lot of ideas;)
The beginning:
My hero the guy of GLS, delivered the package of highflow.
Luckily, he treats the case with love and the TJ is without damage.
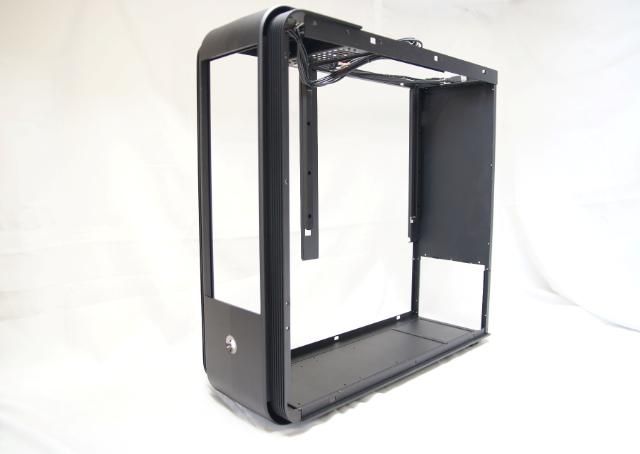
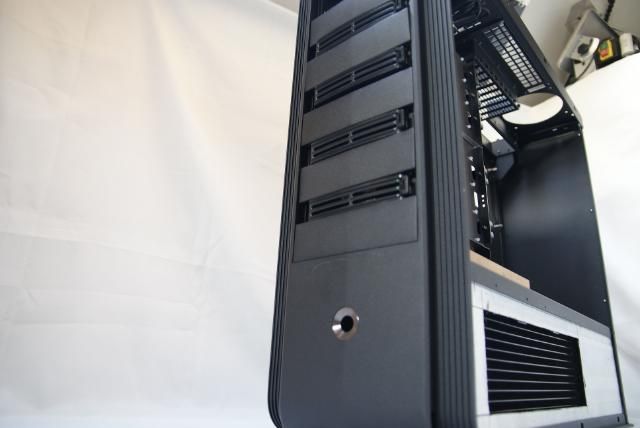
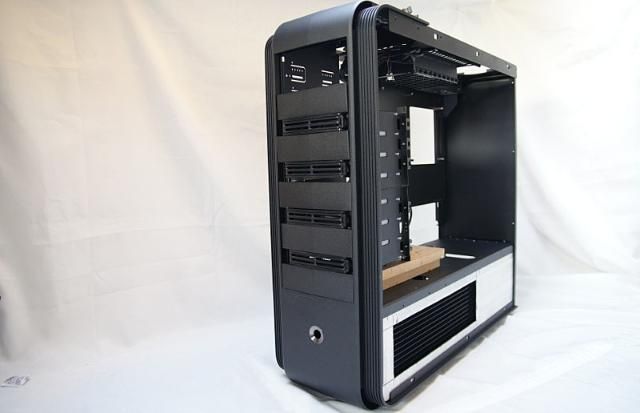
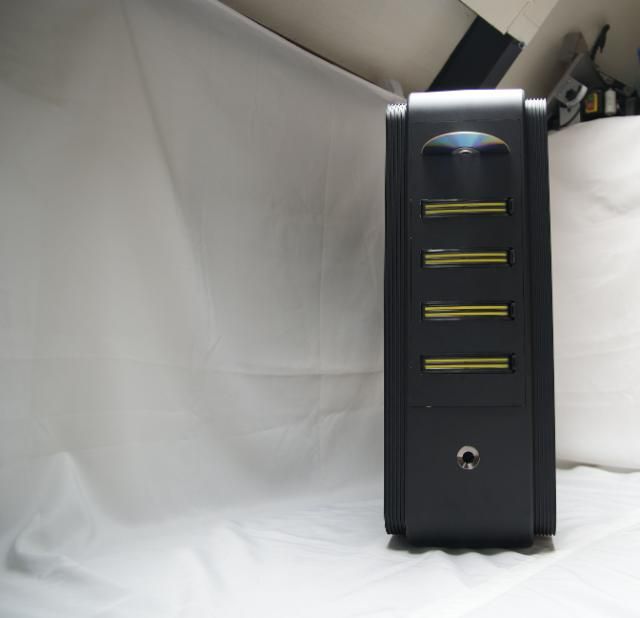
It’s big, really big…………..but beautifull
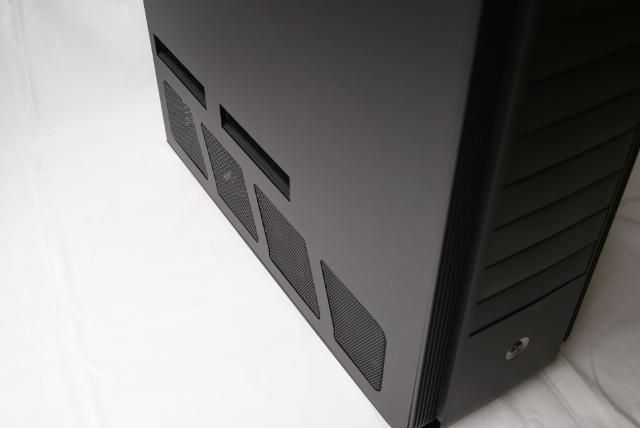
De Silverstone TJ11
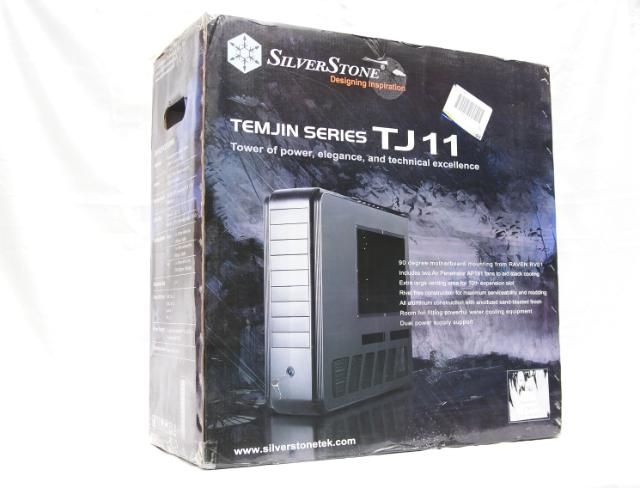
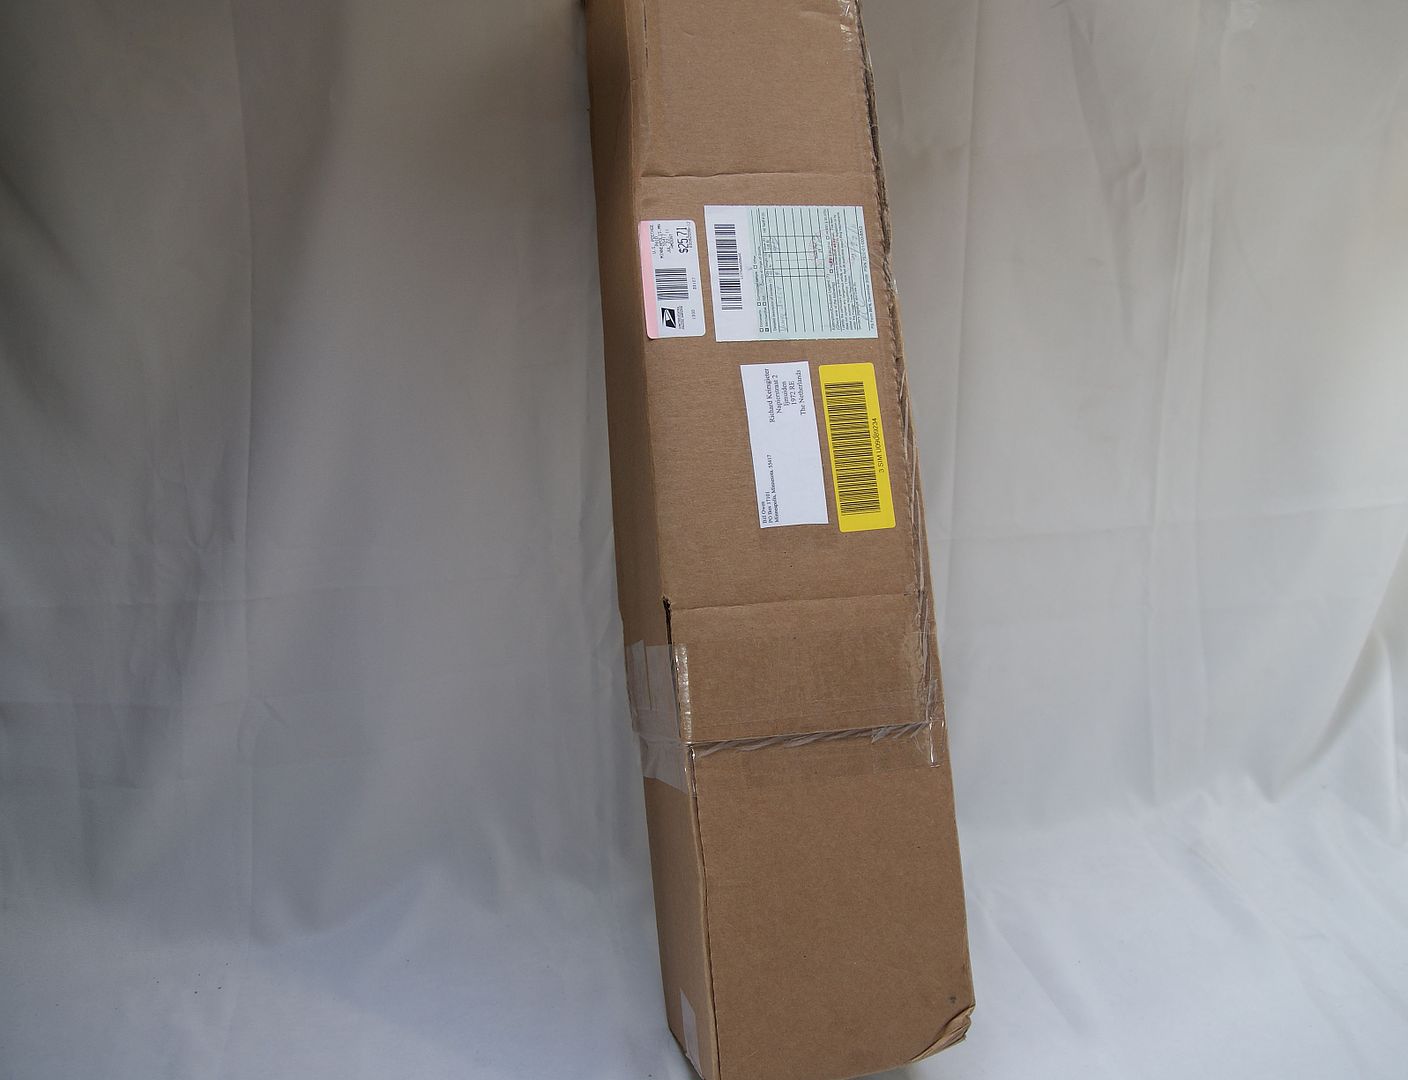
The box
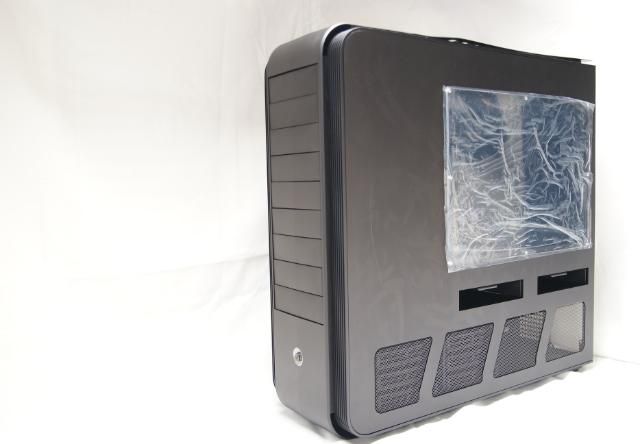
Out of the box
Inside
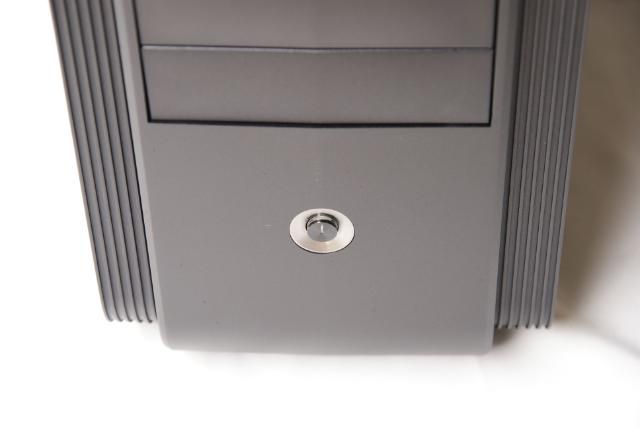
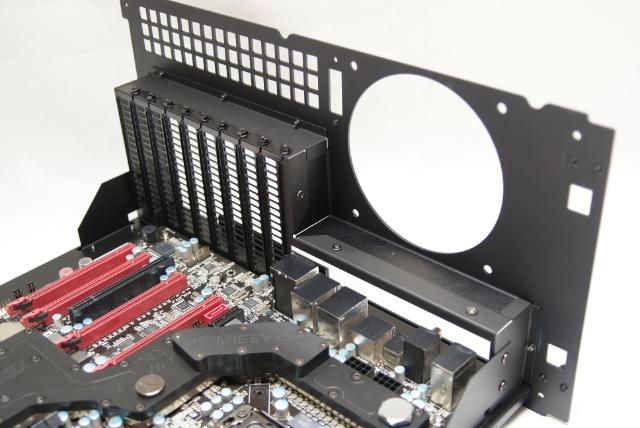
Top-mounted slide out motherboard tray
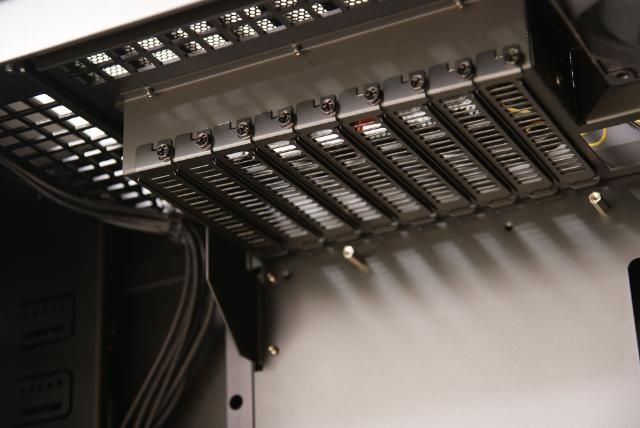
9 uninterrupted 5.25” drive bays
9+1 expansion slots
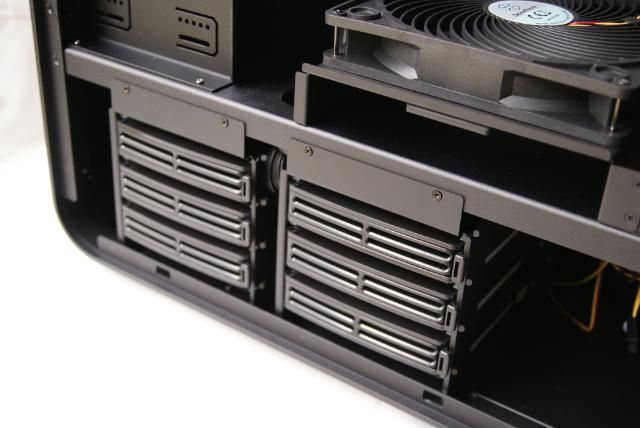
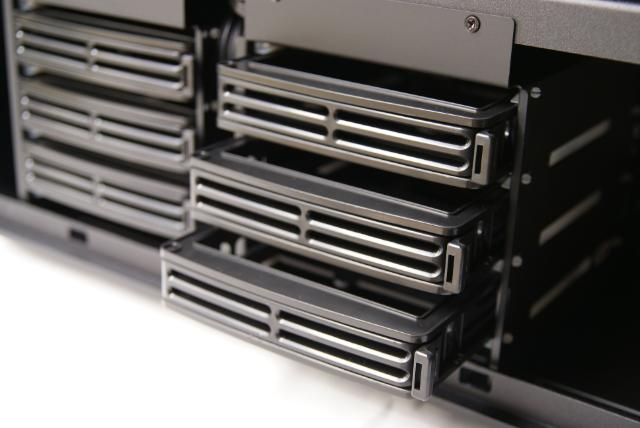
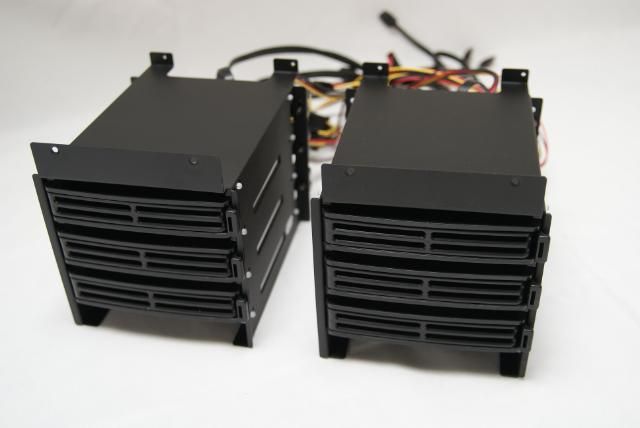
6 x 3.5” hard drive trays
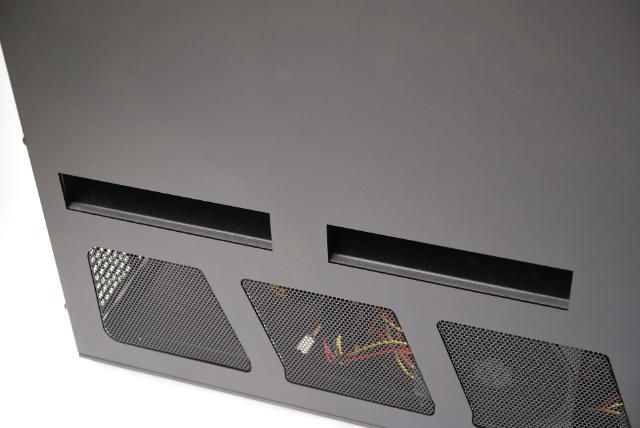
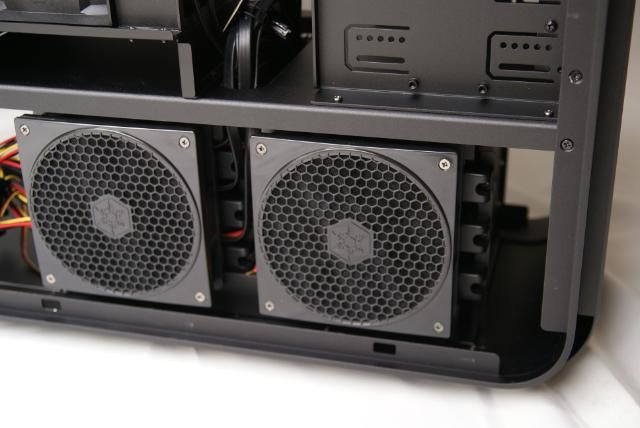
Dual see-through air intake vents
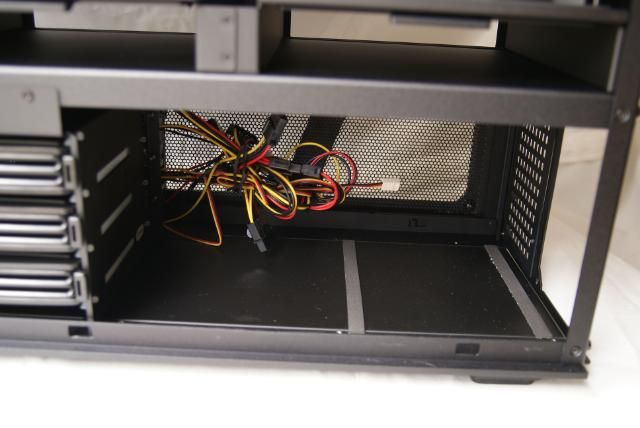
Dual ATX/PS2 PSU compartment
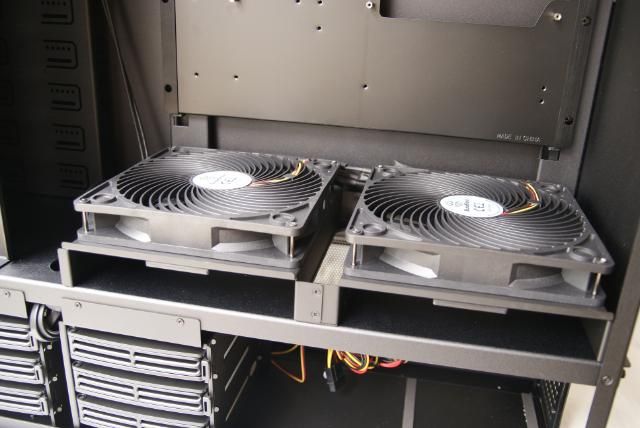
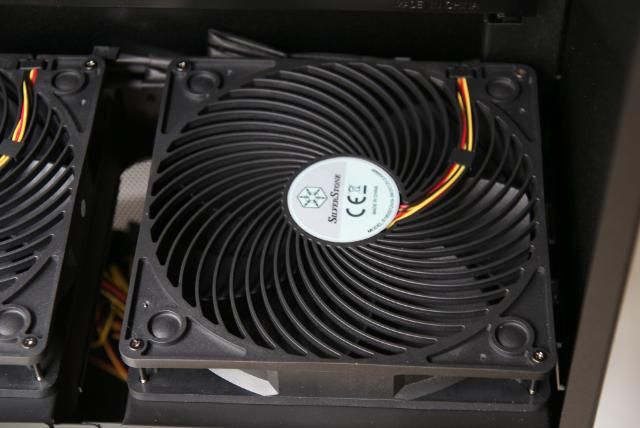
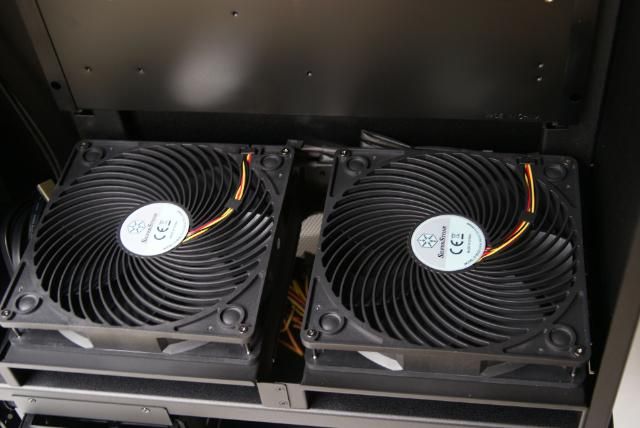
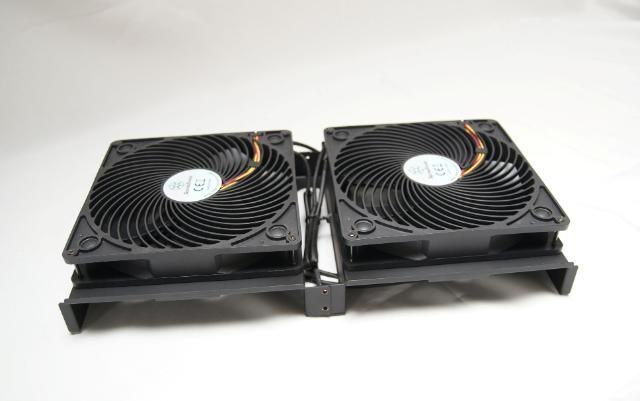
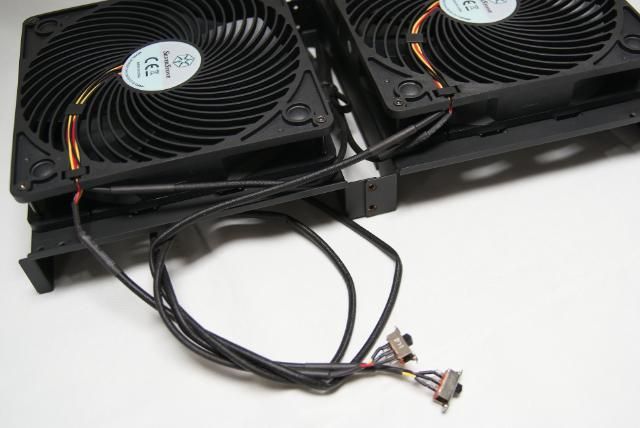
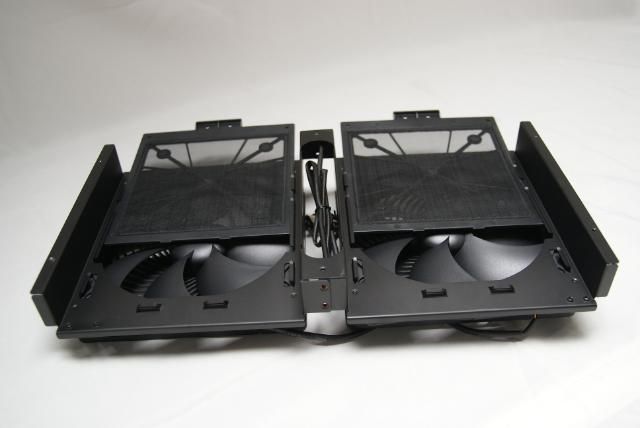
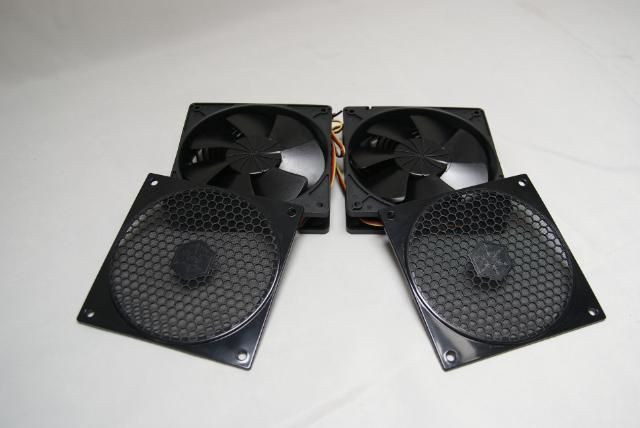
2 x AP121 fans with hot-swap adapters
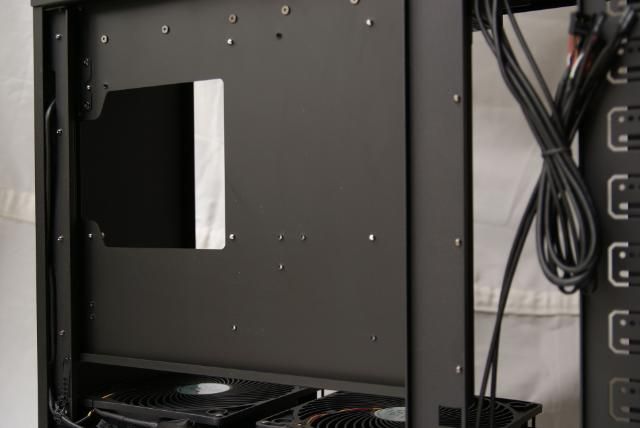
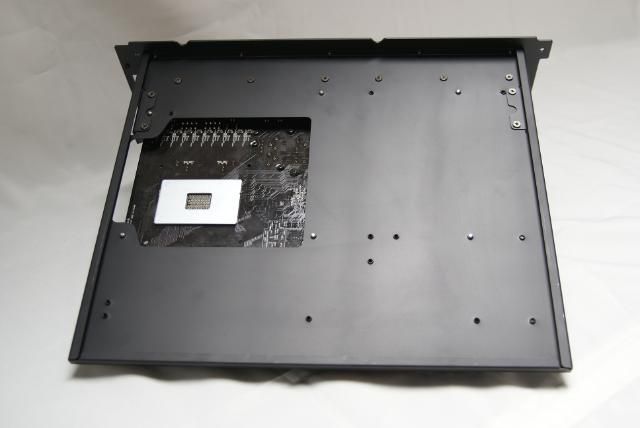
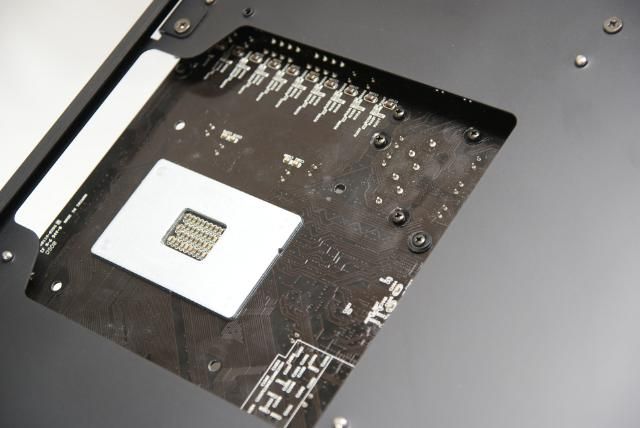
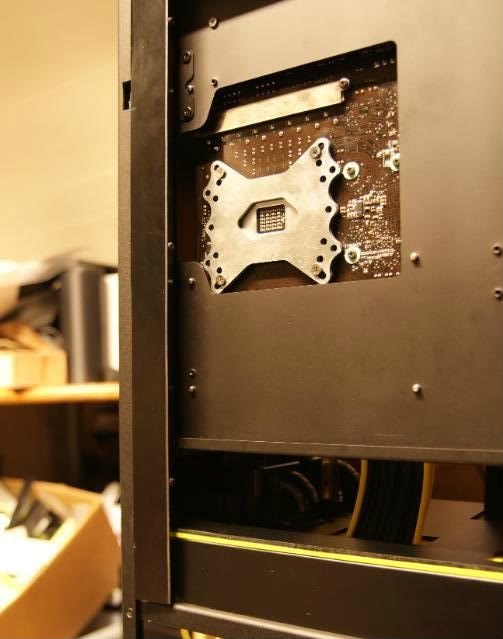
Extra large motherboard tray cut-out for CPU cooler backplates
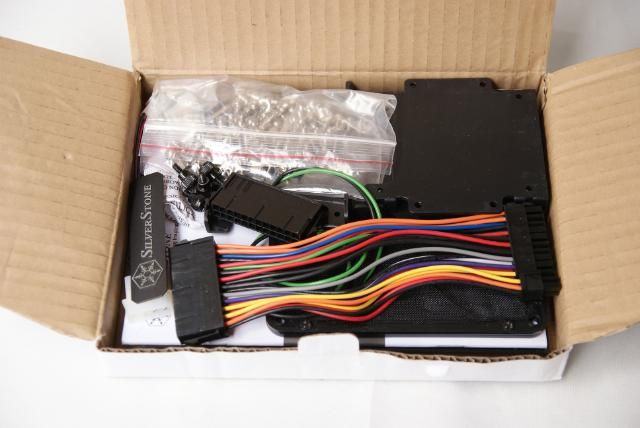
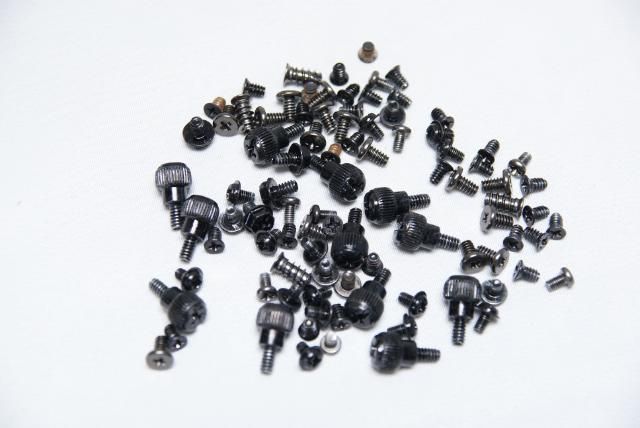
And a little box with small stuff
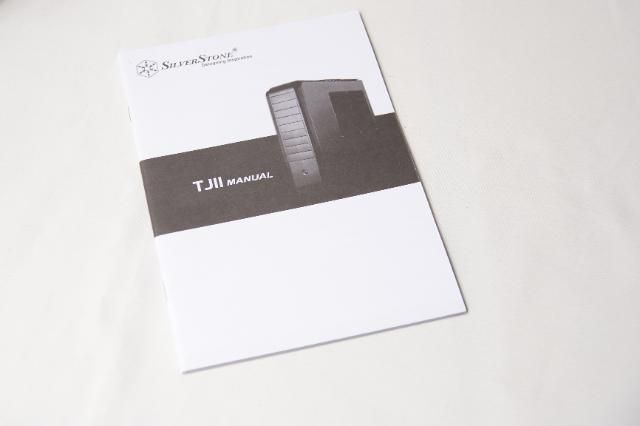
Manual……….lol
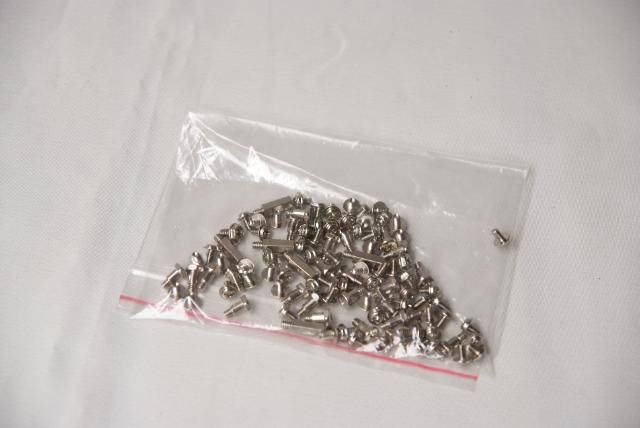
Fasteners, unfortunately silver not black. Missed opportunity
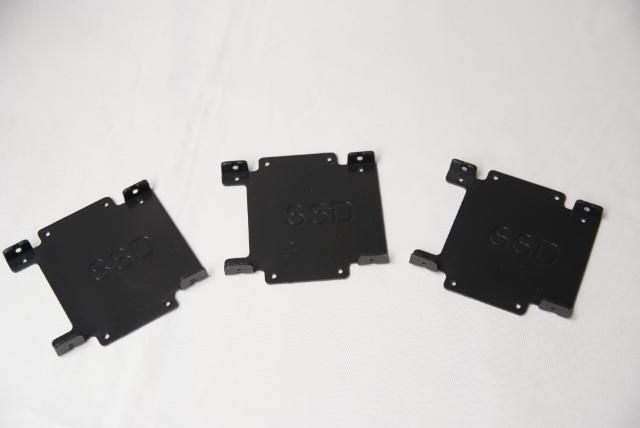
SSD Brackets
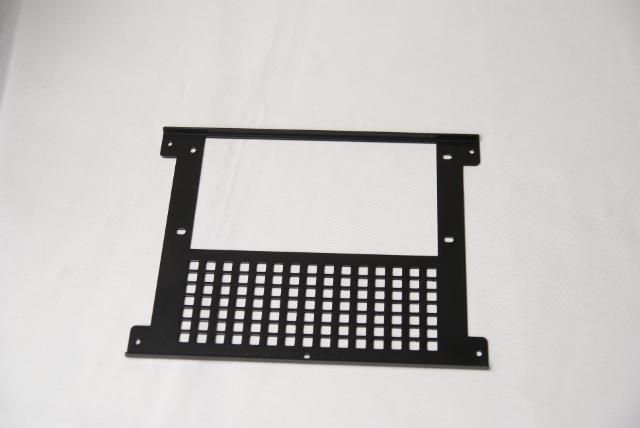
Horizontal mount bracket for the PSU
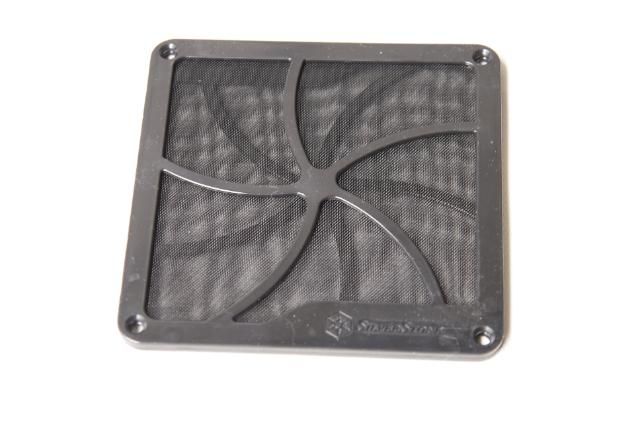
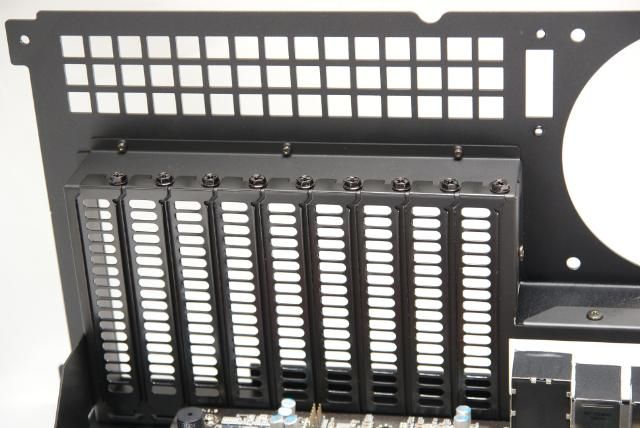
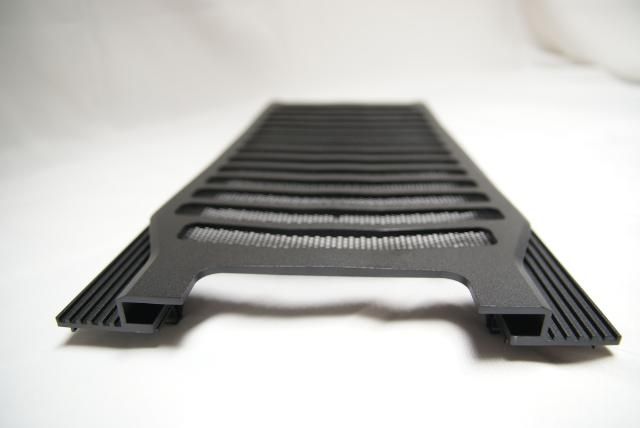
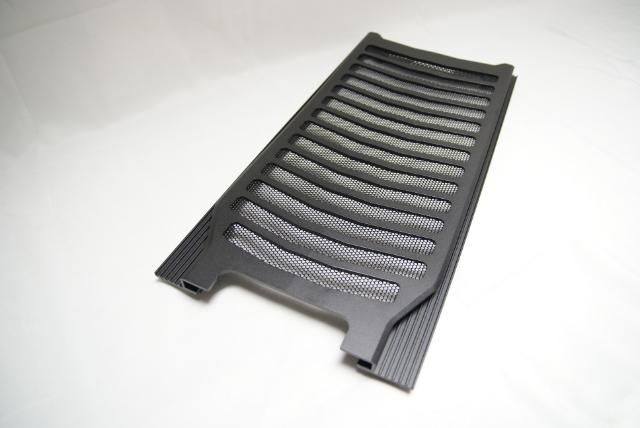
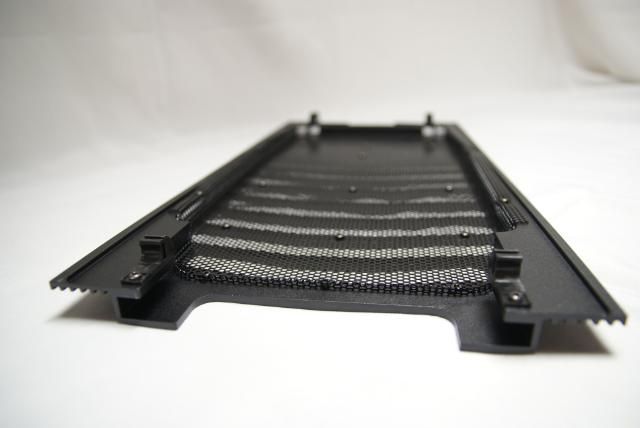
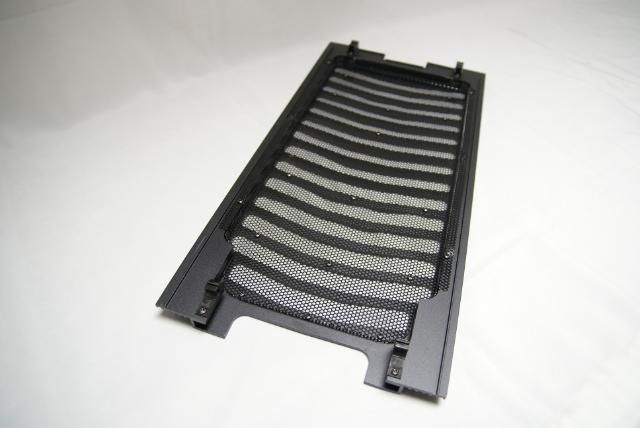
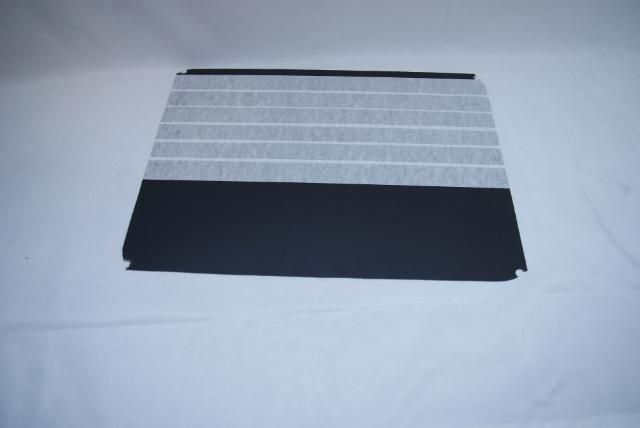
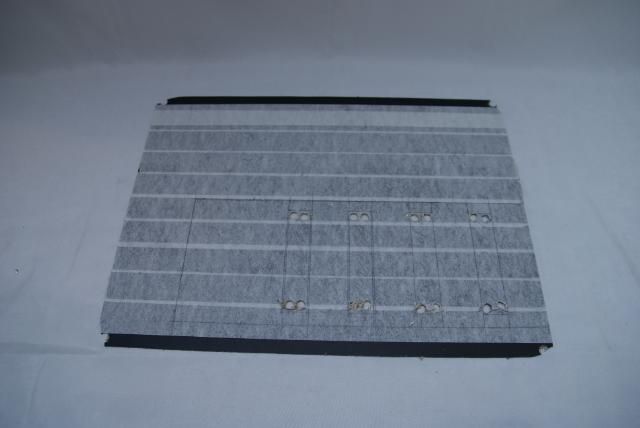
Filter
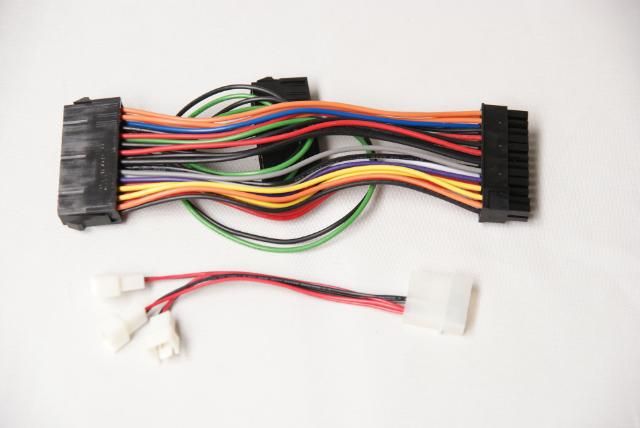
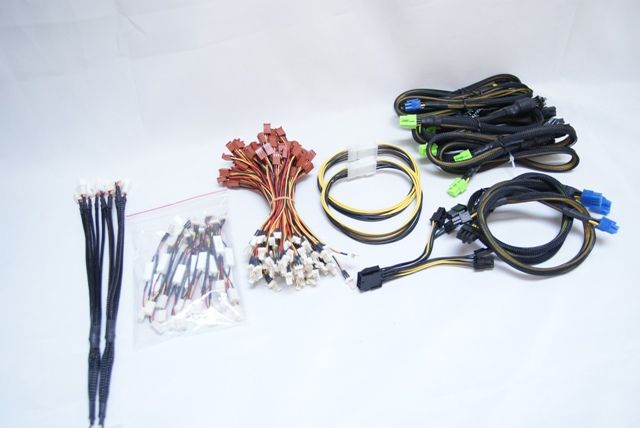
PSU cable
And a Silverstone logo for on the case or something. could laugh about this
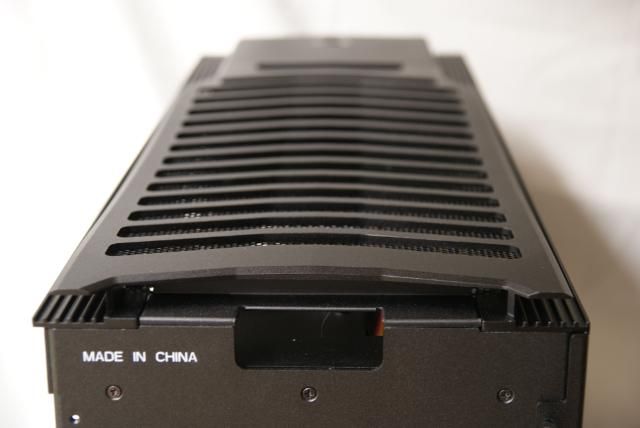
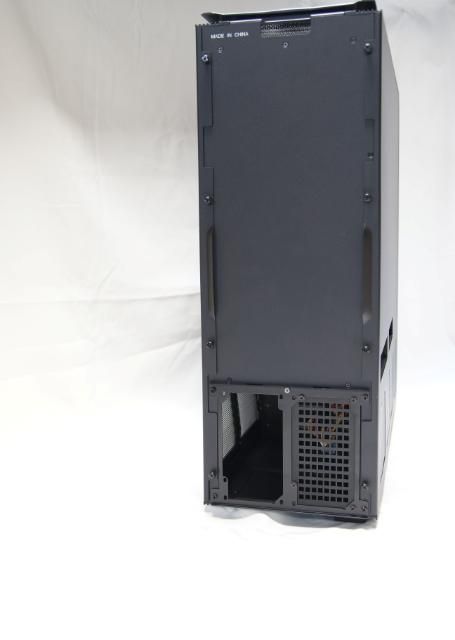
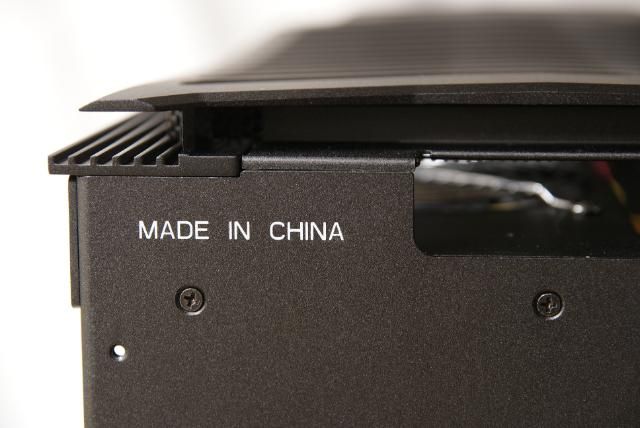
Because the painted this on my beautiful expensive case
Do not mind that it’s made in China, but please don’t do this anymore
This was the case step by step. next challenge is to brainstorm how to install the various components.
New case, new challenges I love it :clap: ............... to be continued;)
Grtzzz.
-
Re: Silverstone TJ11 Carbon
They could have made it one of those little thin clear plastic stickers, but it looks like they chose to silk screen it instead. Especially when they choose to let you put their logo on it, but write the "Made in China" tag directly on the case.
That is just what anyone wants to see on a $600+ case, no? I hadn't even realized China could make something that cost $600+, lol.
Can't wait to see where this is going.
-
Re: Silverstone TJ11 Carbon
Quote:
Originally Posted by
NightrainSrt4

That is just what anyone wants to see on a $600+ case, no? I hadn't even realized China could make something that cost $600+, lol.
They don't, they make a $49 case for Silverstone :D :facepalm:
-
Re: Silverstone TJ11 Carbon
Update: dismantling the TJ
What a pleasure, I didn’t need this today. No rivets in this case
Only used this one
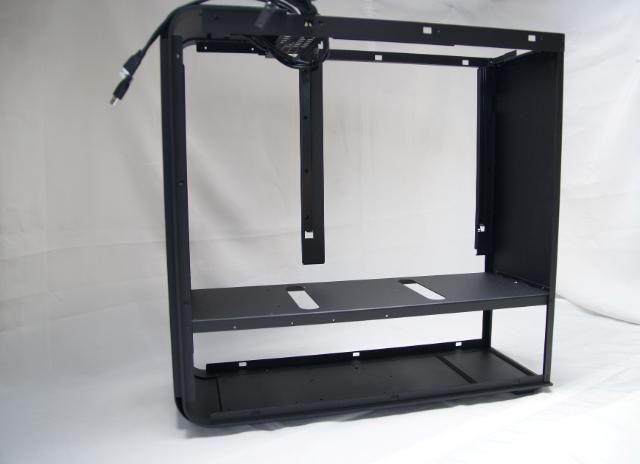
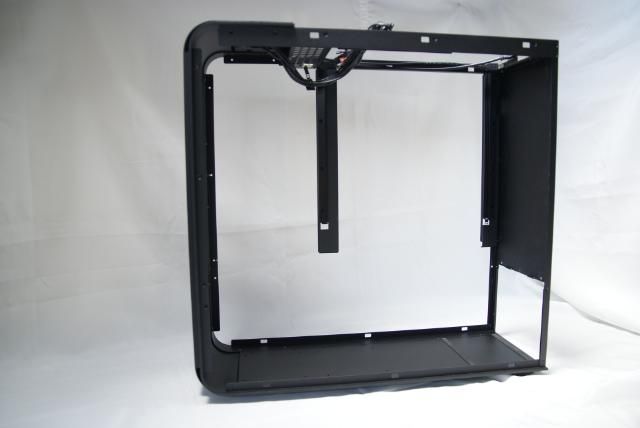
Have almost the entire case apart and this is what’s left
First removed the air intakes what was quiet easy apart from one thing
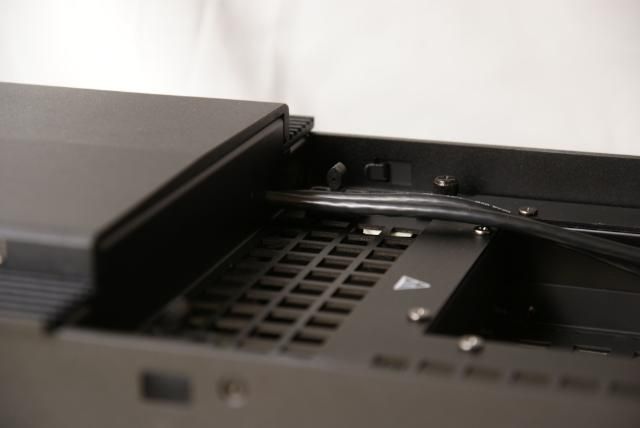
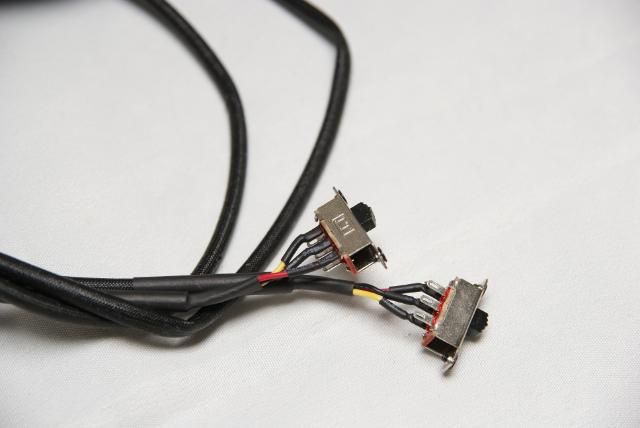
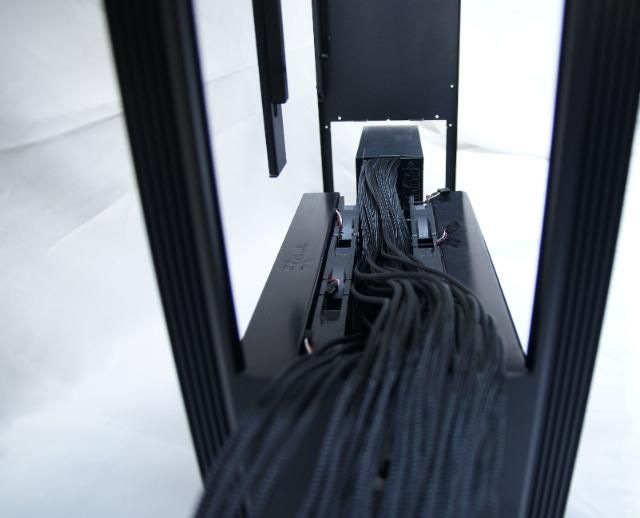
The speed controllers on top are not with a connector, so had to remove it from the case
Back side with the filters
Hotswaps also removed
These will still be used
The fans from the bays
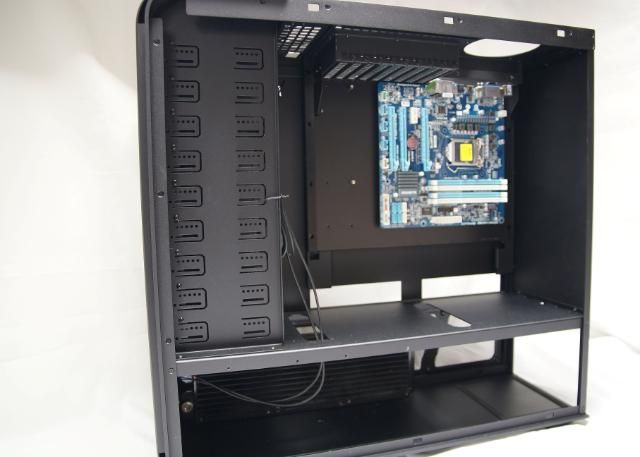
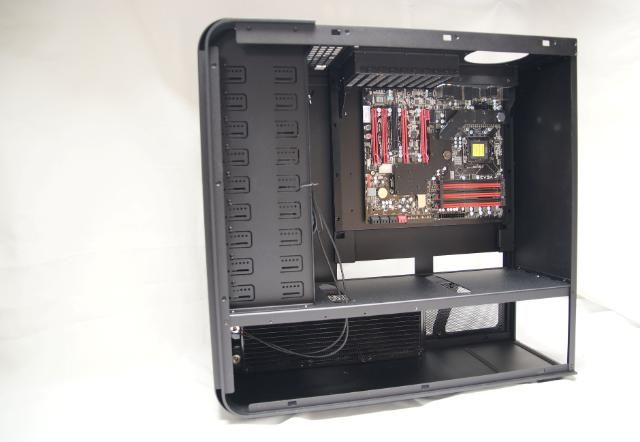
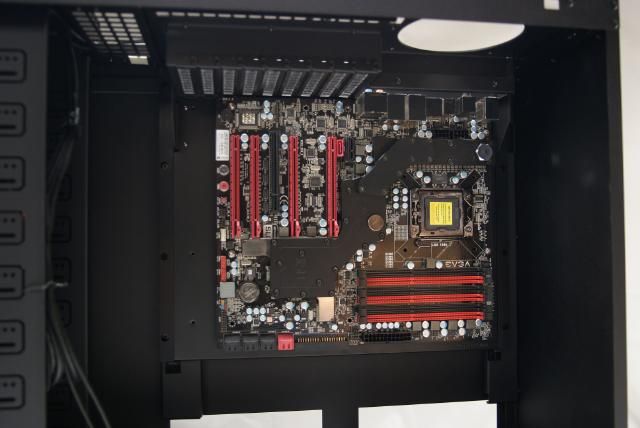
When this was out, had playtime with some motherboards
Find the board
Small isn’t it, can you see it?
No, not this one......... but for now this one
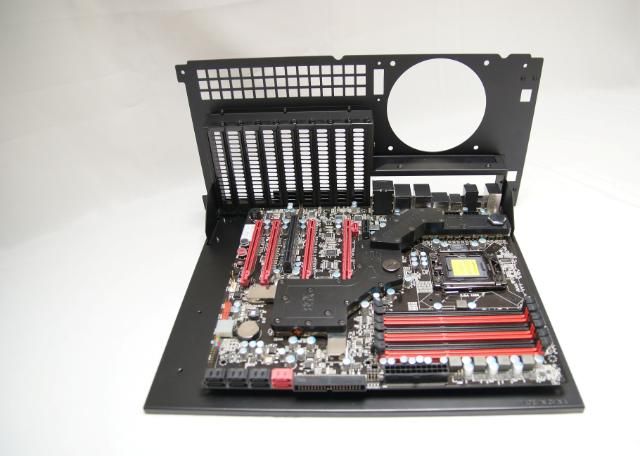
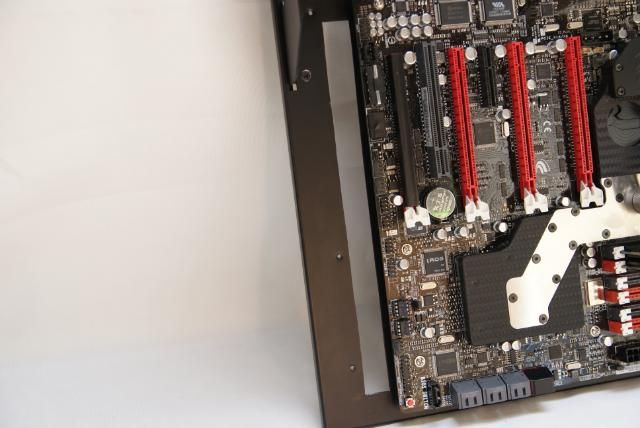
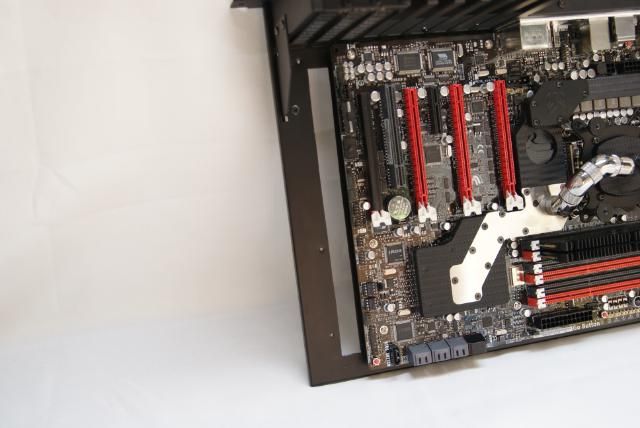
Still is a nice motherboard with the EK blocks. Maybe it willstay with some changes to the red, but I’m still not sure
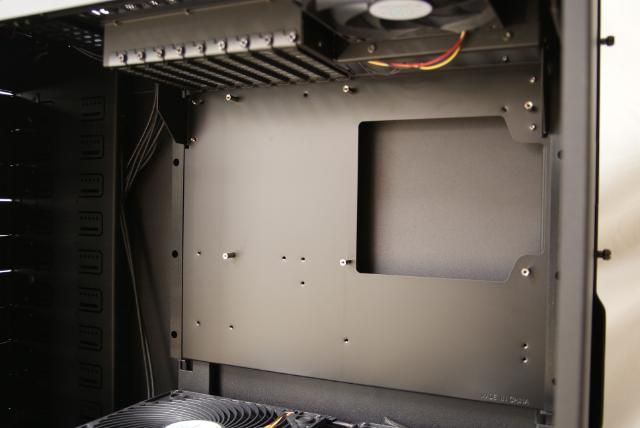
Back of the tray. Enough space for swapping the backplate
Enough slots
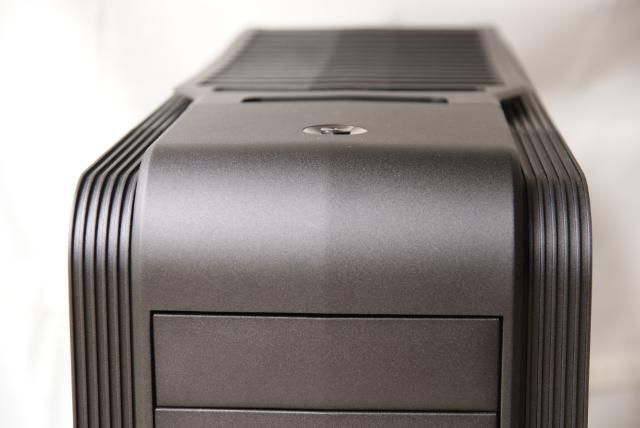
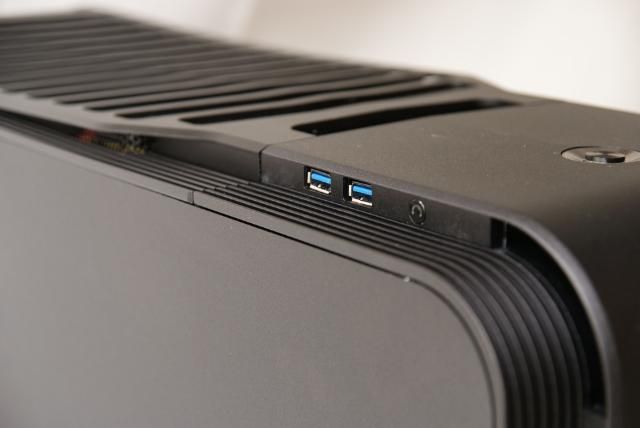
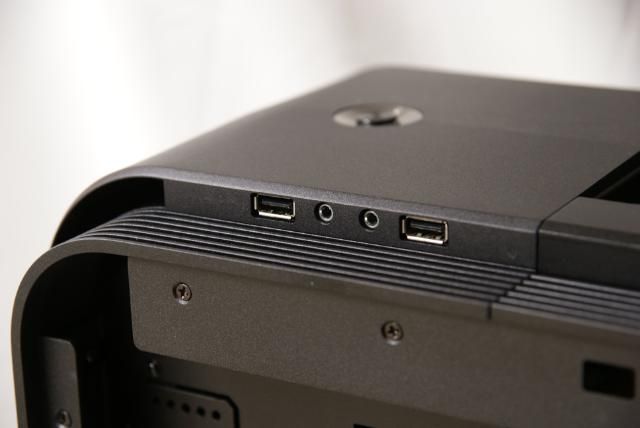
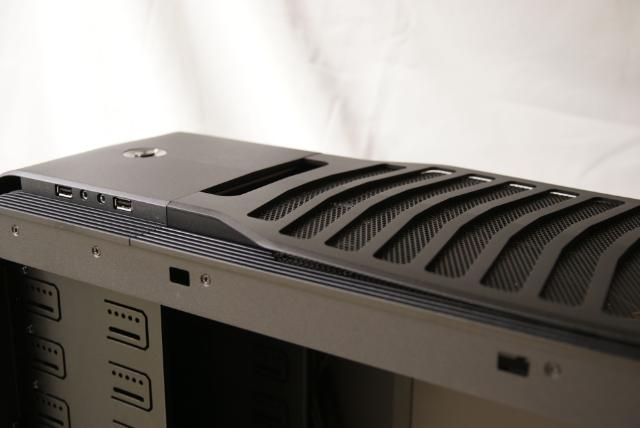
Continuing the dismantling. The top panel is simply push / click, but it’s a very nice design, therefore some pics;)
Other side
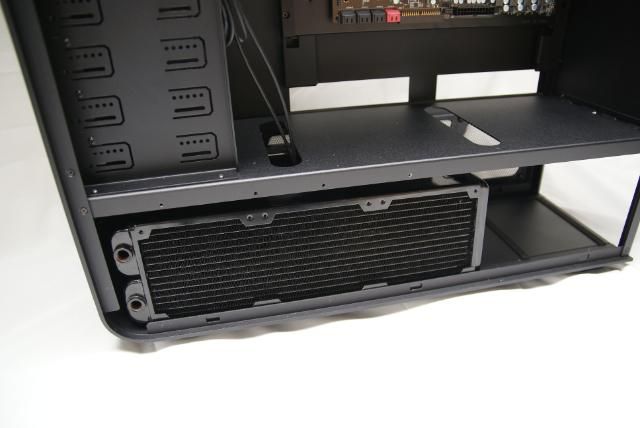
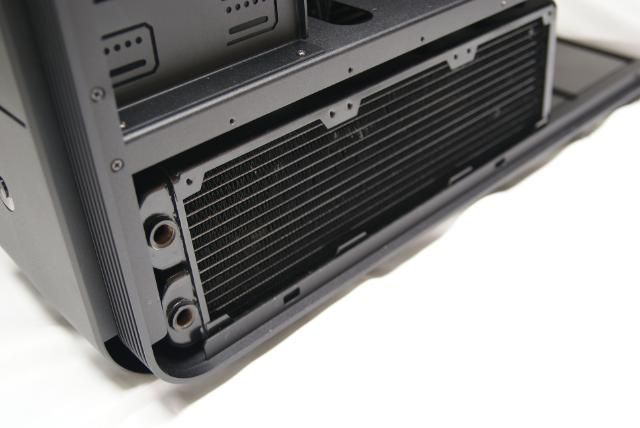
Quick look at how it’s gonna be with a 360 radiator
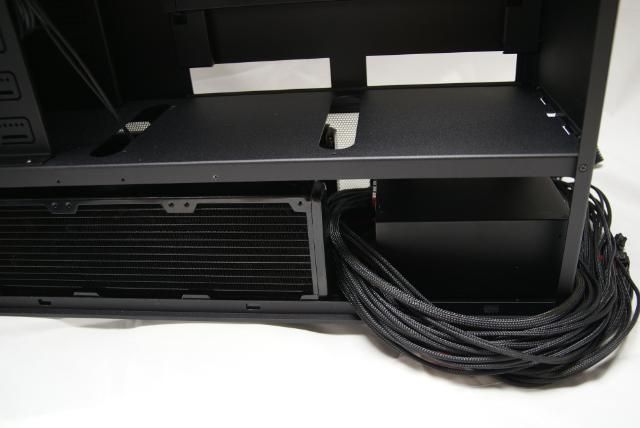
PSU in..........lots of space :)
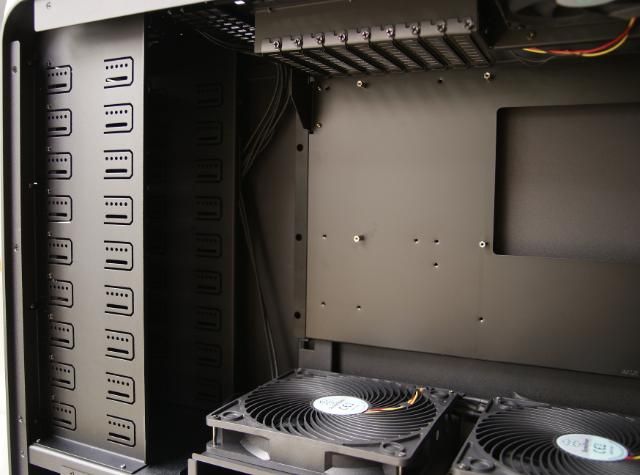
Further......still with my Phillips screwdriver, the drive bays. Very easy to disassemble
Had to disconnect the power switch because it is connected to the switch on top
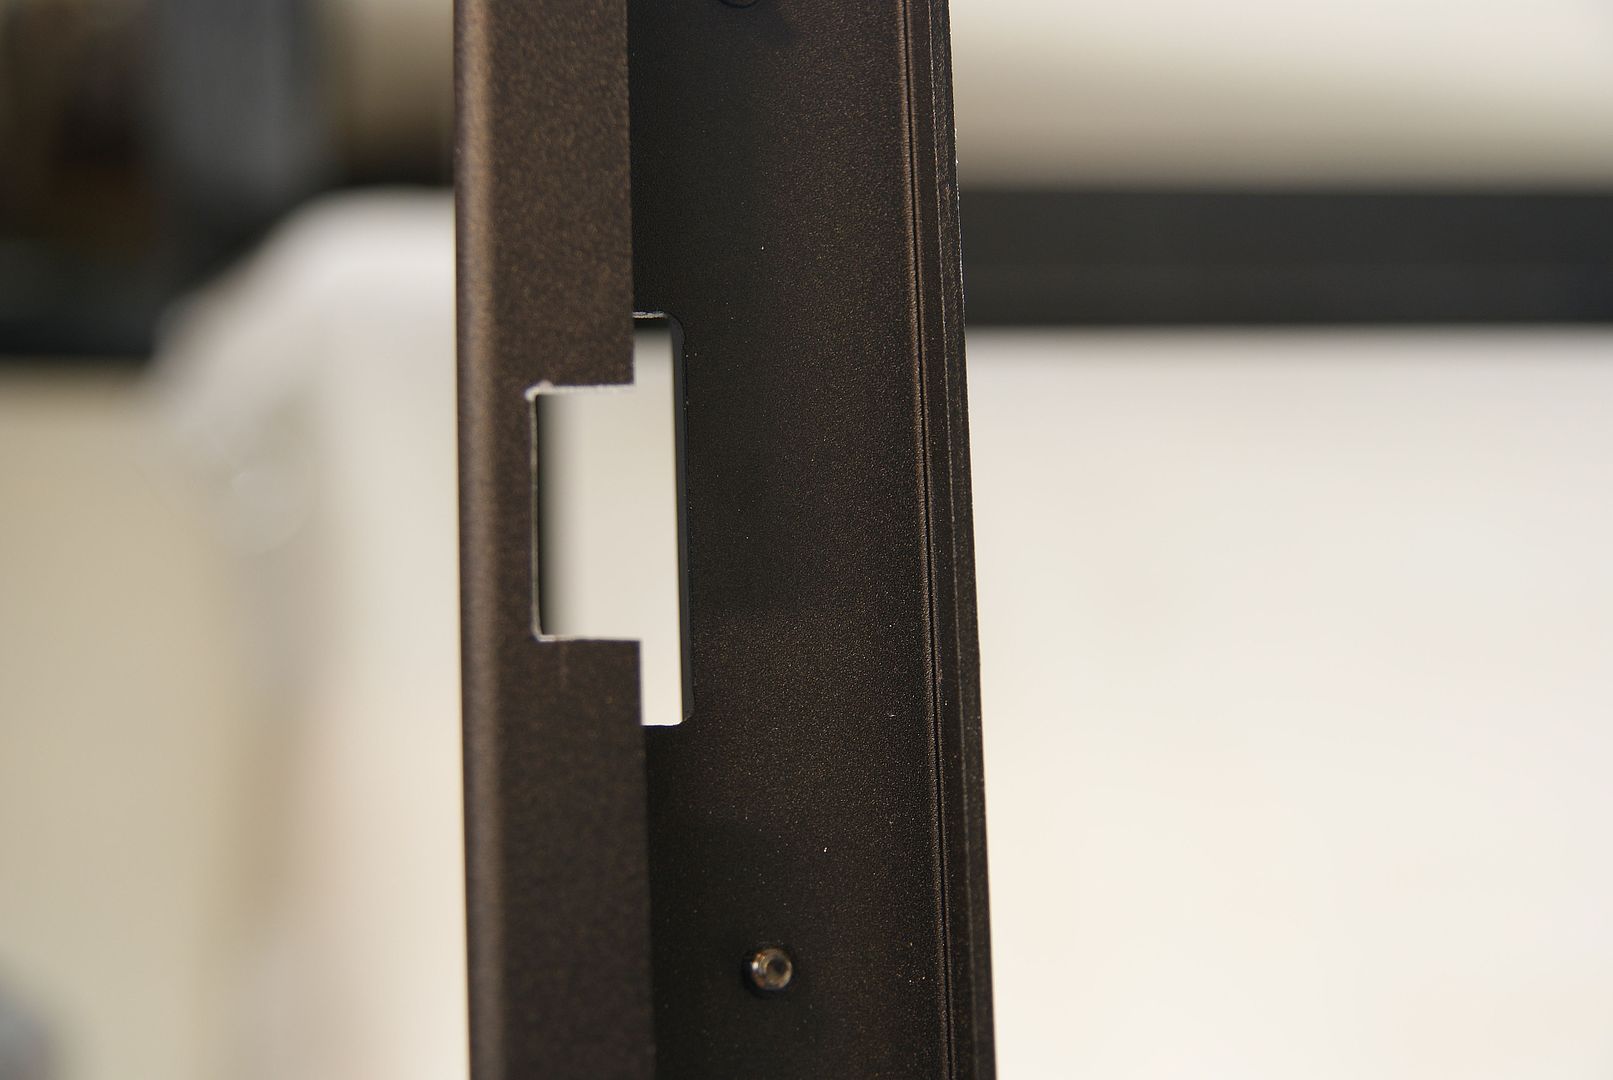
Nice hole can be adjusted
Omg where is the TJ?
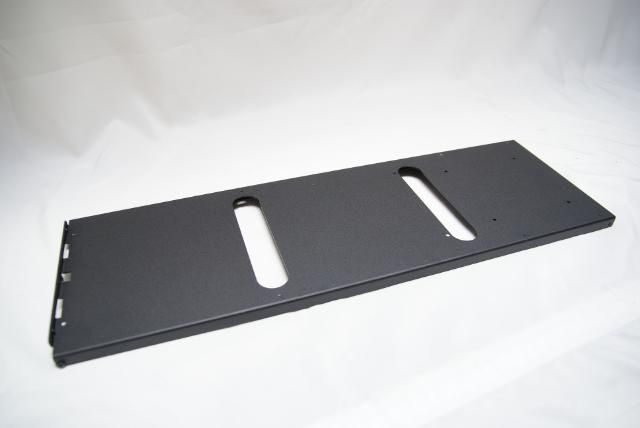
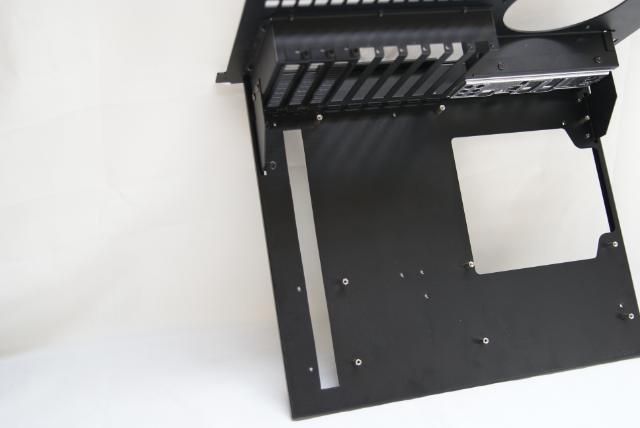
Midplate. This was a bit more difficult, I had to remove the motherboard slide
But still managed without too much trouble
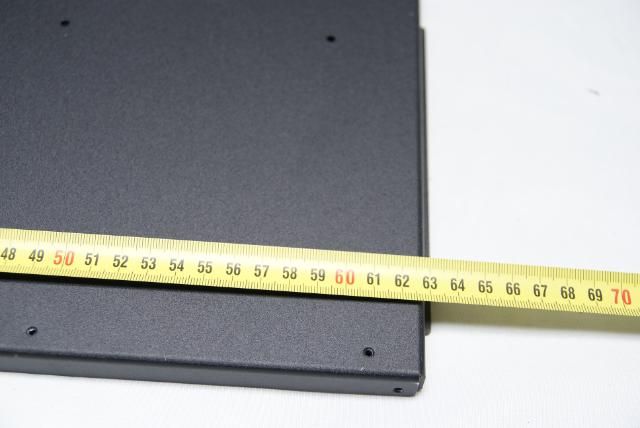
It’s huge ……..63 cm
Hmmm, not much left of it
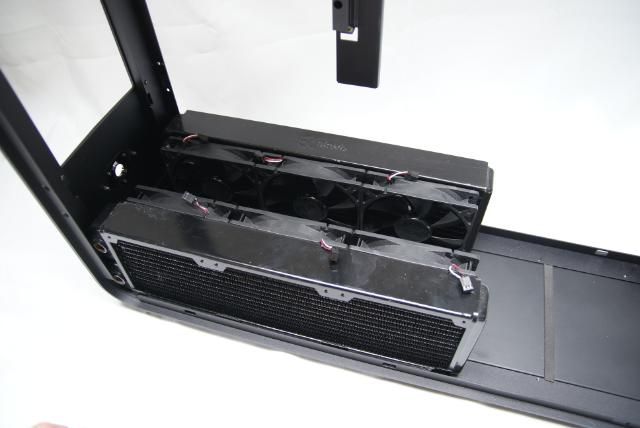
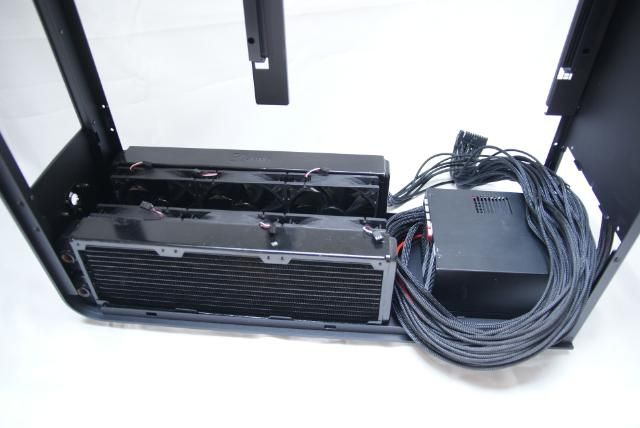
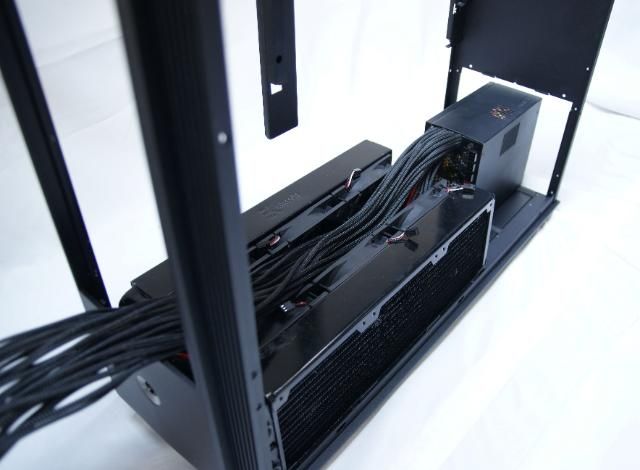
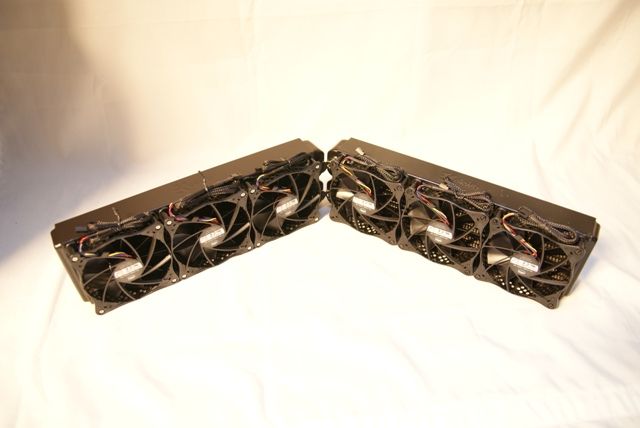
And again placed the 2 radiators inside with the fans on the inside pulling air through the radiators
Like this I have enough space between radiators for the tubes
psu in it. Not the psu that is finally coming in, but I had this one lying around
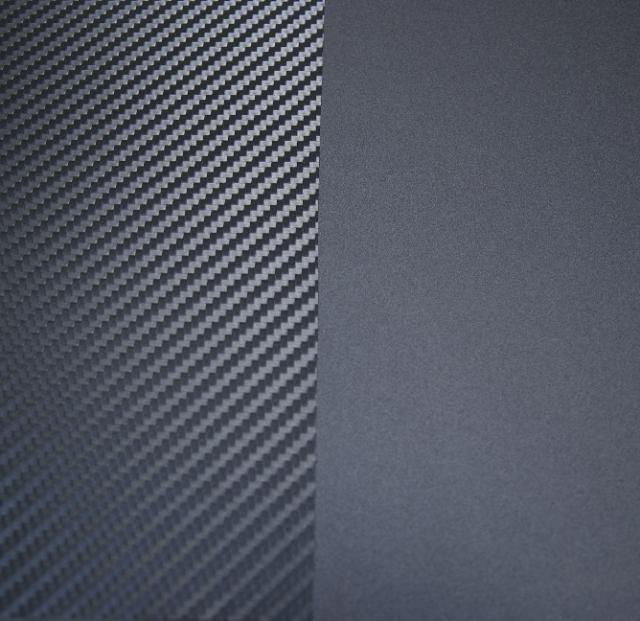
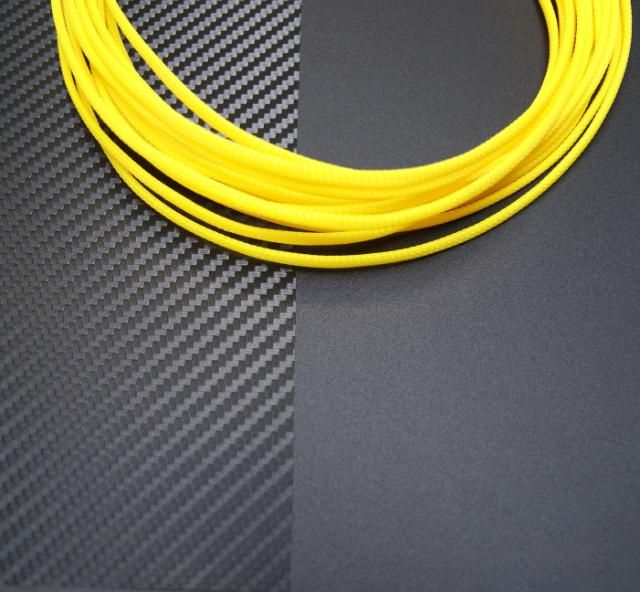
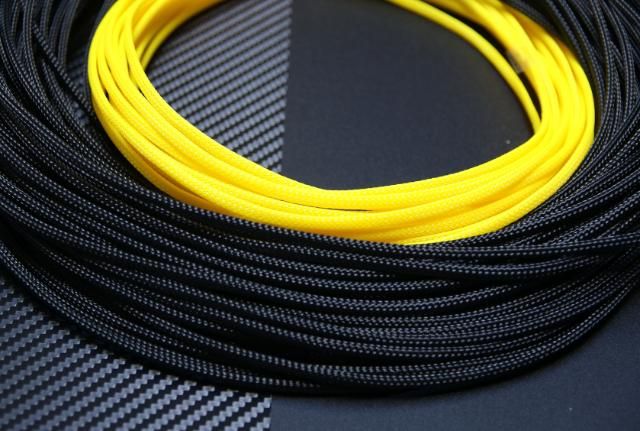
And some pictures of the color combination
Carbon and black
Yellow sleeve with it
And always nice..........the black one
Looks nice!!!
Just ordered some stuff for the case itself. I will keep you informed ;)
Grtzzz.
-
Re: Silverstone TJ11 Carbon
You sir.
Have a very nice camera what ever it is.
-
Re: Silverstone TJ11 Carbon
Thank you sir ;)
Not really a special camera
A Sony alpha300 with a Sigma 17-70mm F2.8-4.5 DC Macro lens, but most important ...........daylight
-
Re: Silverstone TJ11 Carbon
Update: First carbon practice
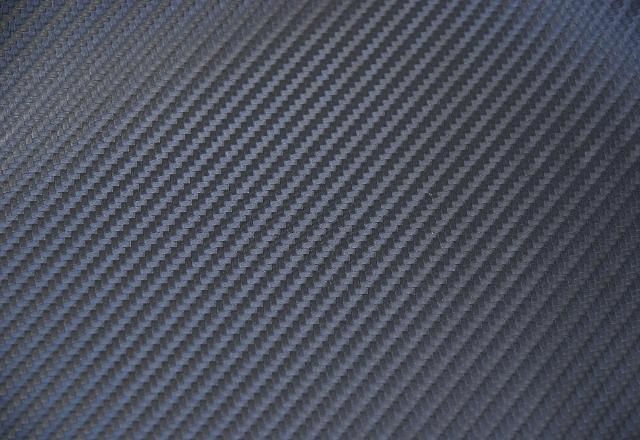
3M Di-Noc CARBON FIBER FILM
Yesterday been playing with the carbon film
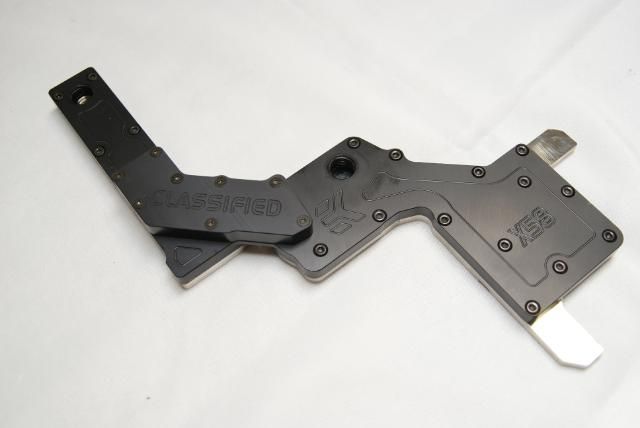
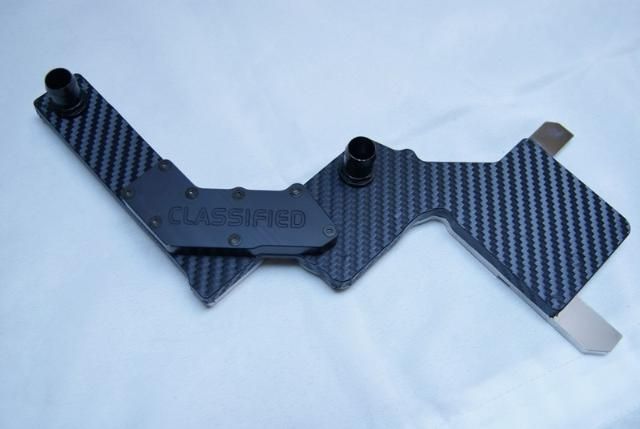
To test my skills, I have coated my classified block with the film
before
And after
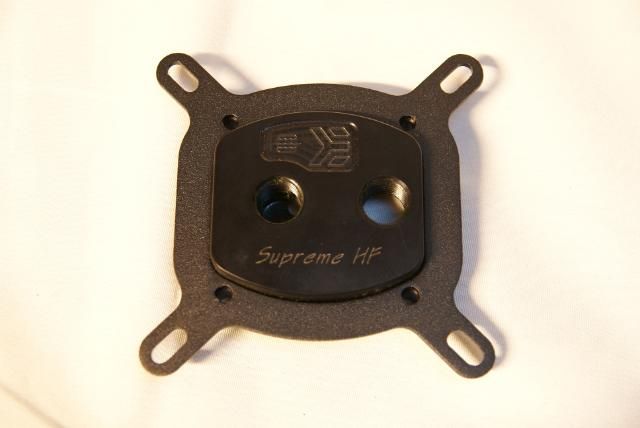
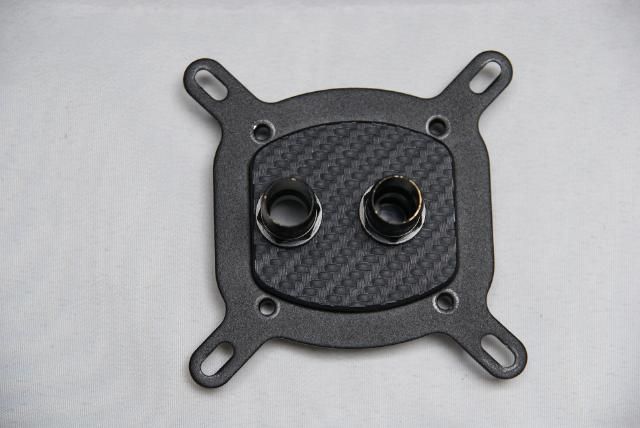
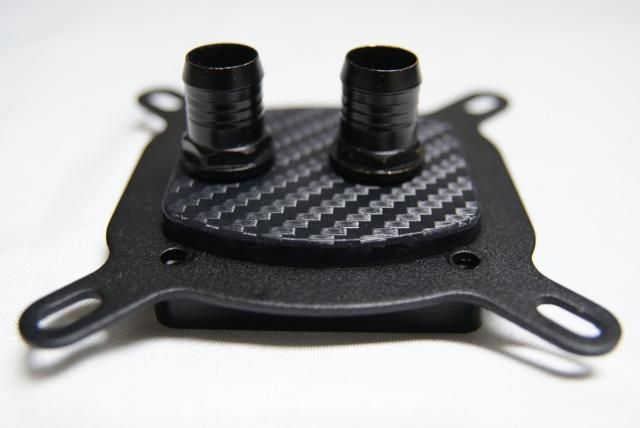
Also my Supreme HF coated. Again before
And now with carbon look
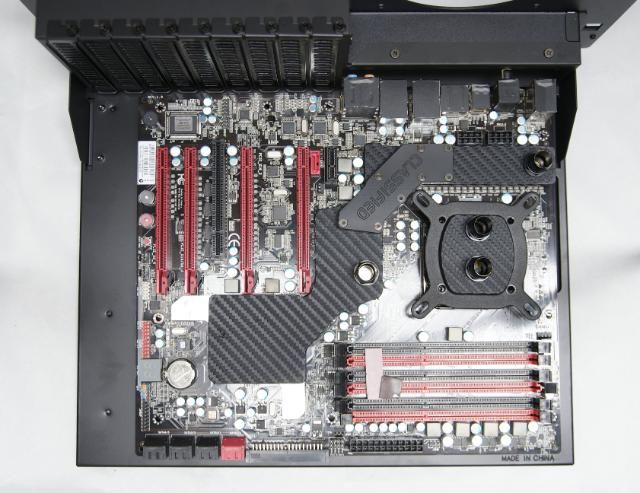
Put everything on the motherboard
Also did the laptop
Just kidding
The waiting is for the materials now, but luckily I have some stock
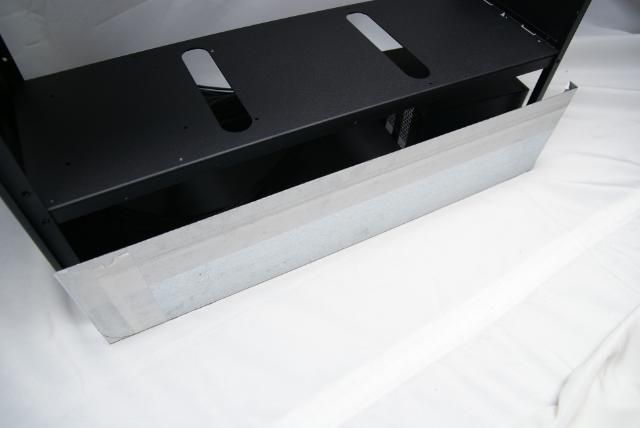
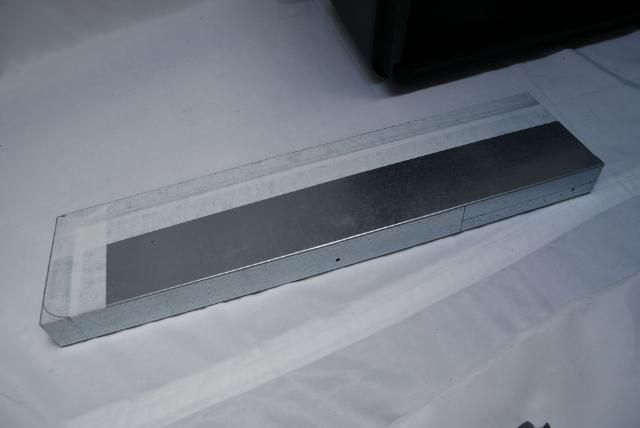
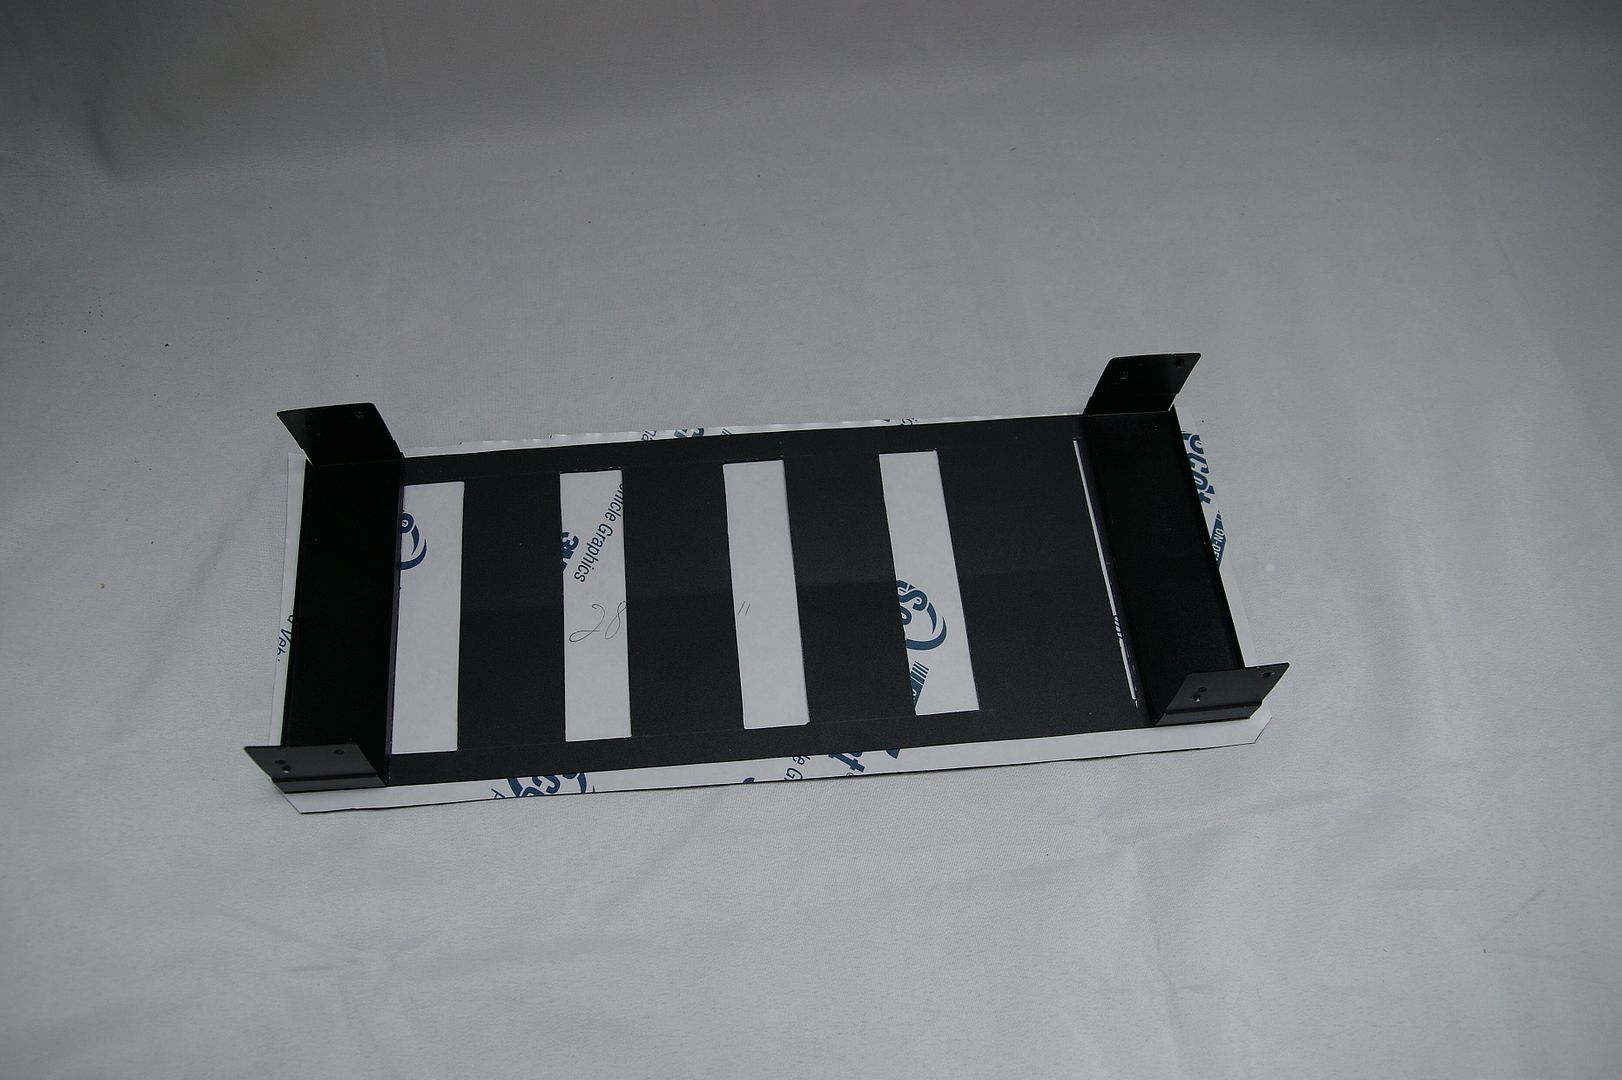
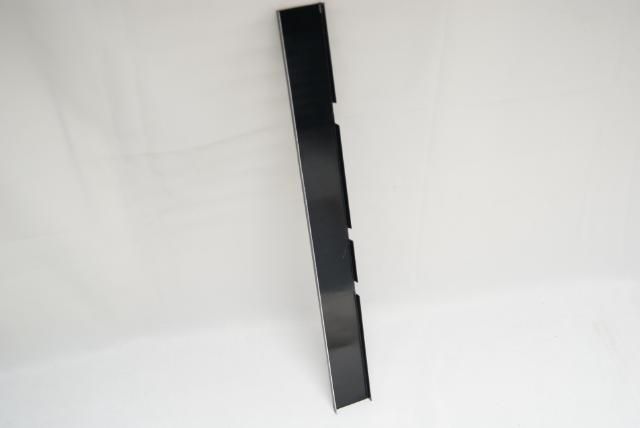
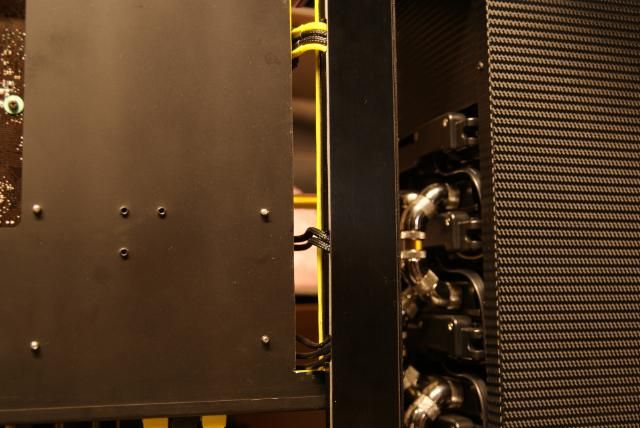
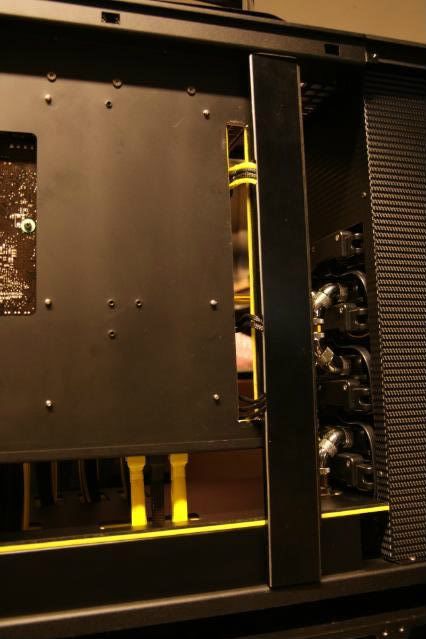
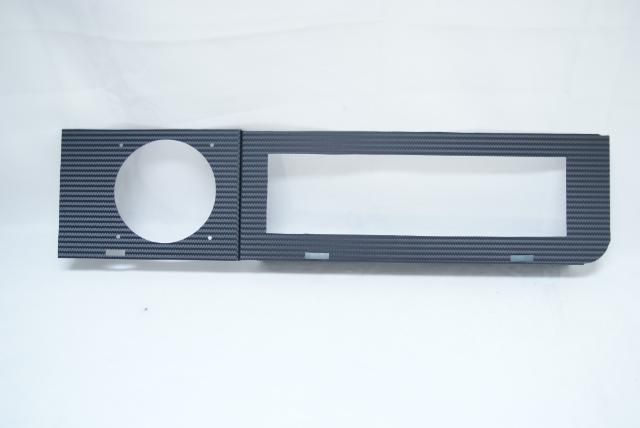
For the radiators I’m gonna make a sort of bracket, from beginning to end of the case, at least on the visible side
other side gets an open area for cables and other purposes
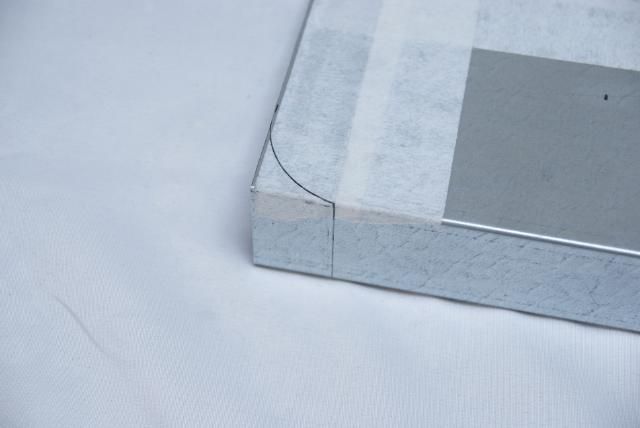
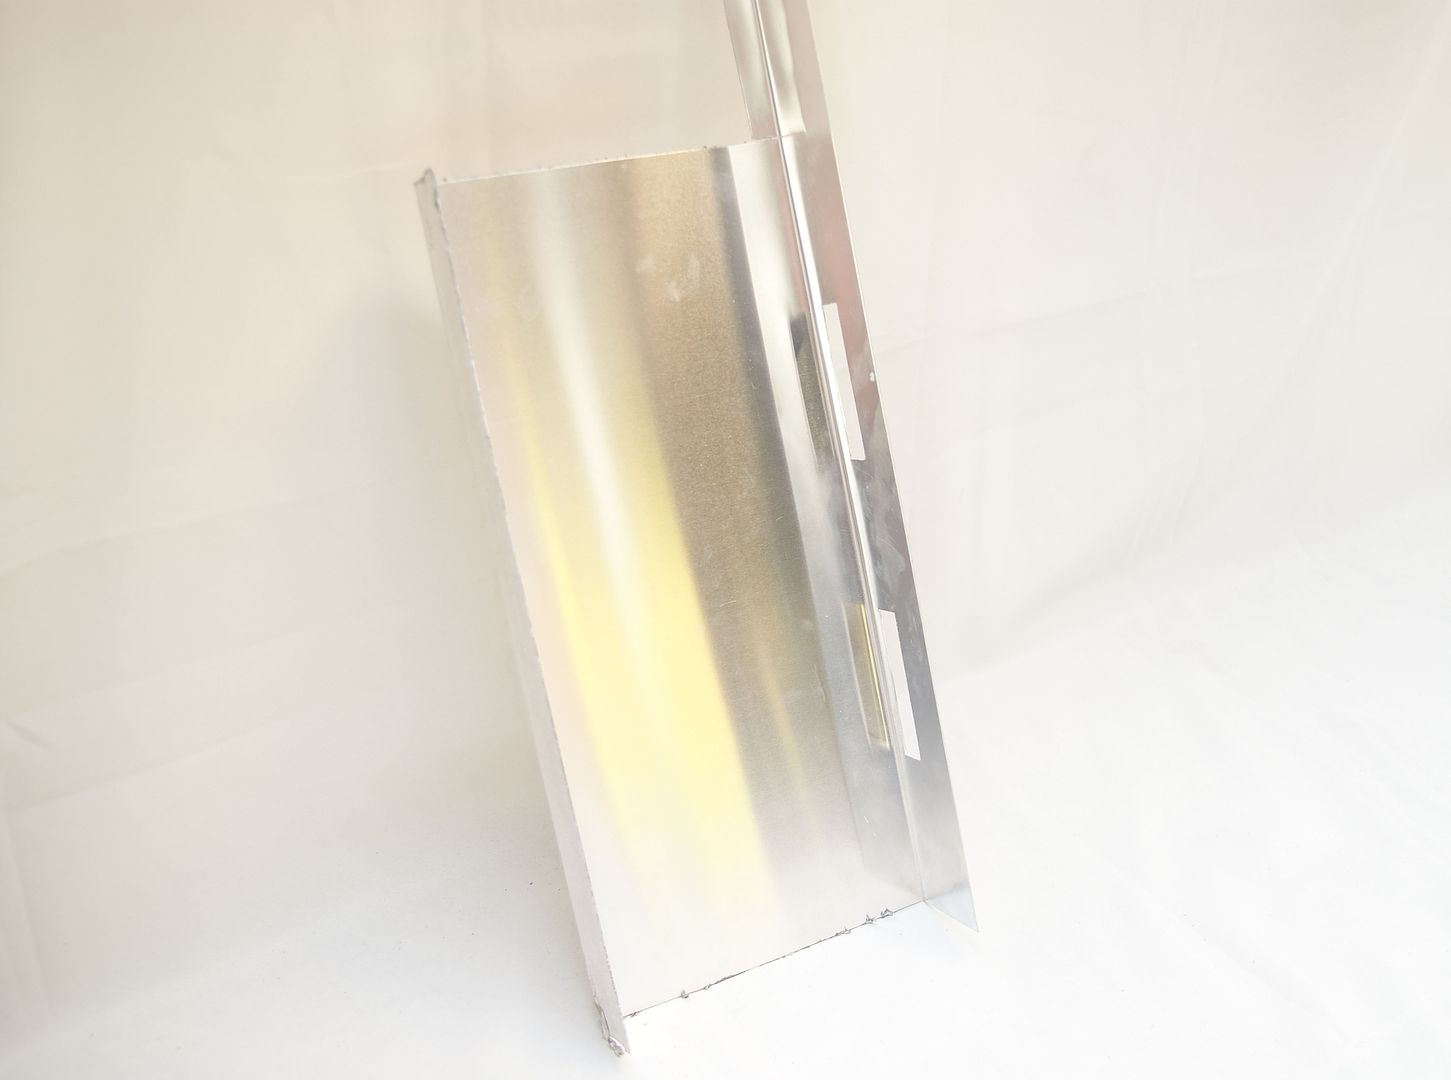
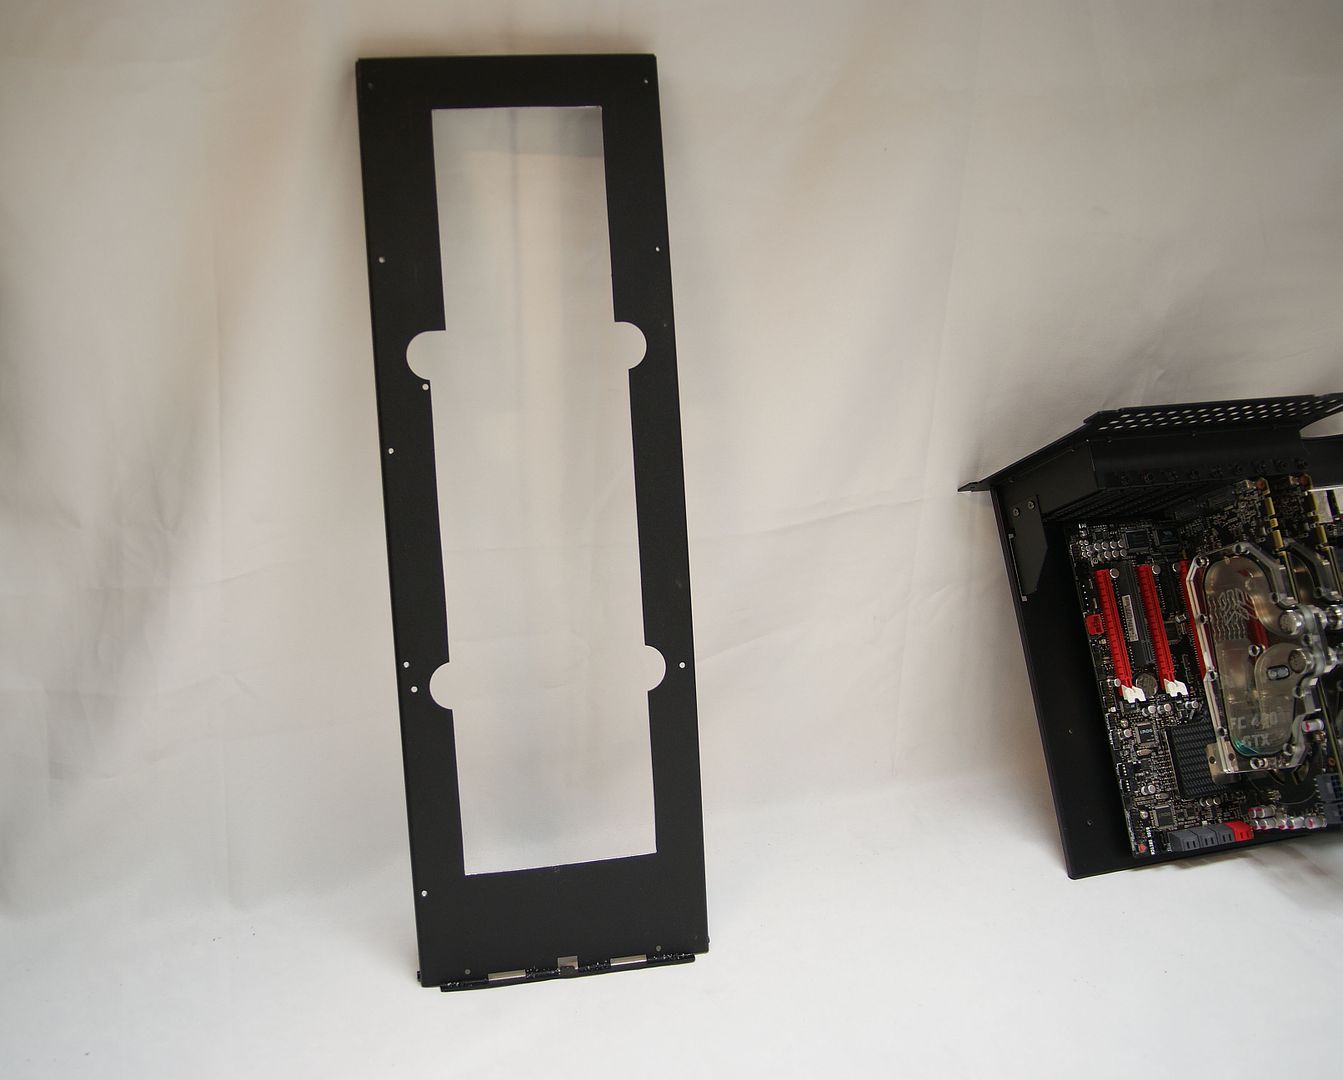
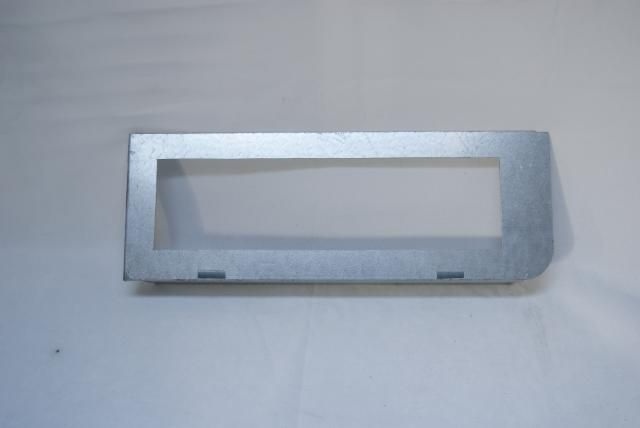
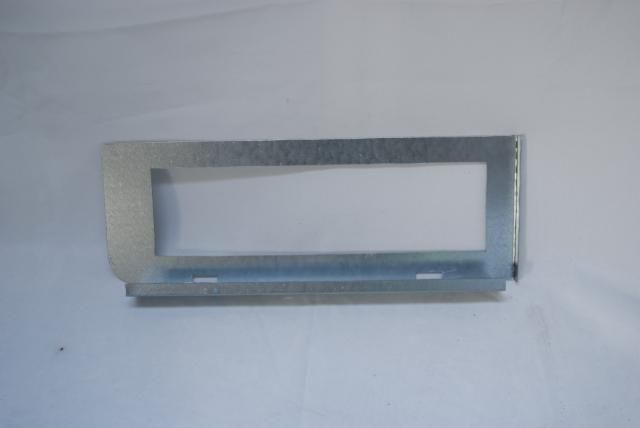
Piece of iron plate with the angle to cut
Round edge marked
Cutout for the psu
And here the custom plate, perfect fit
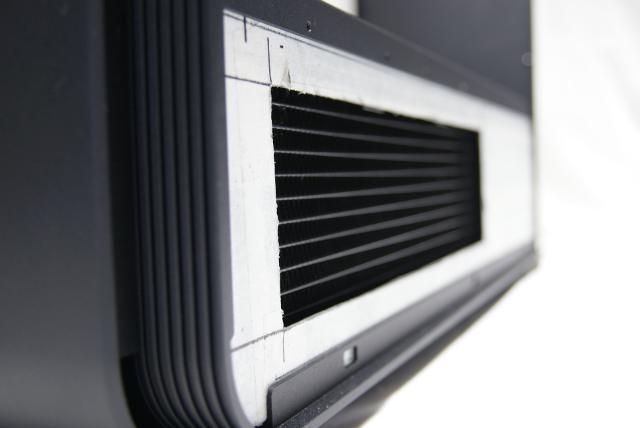
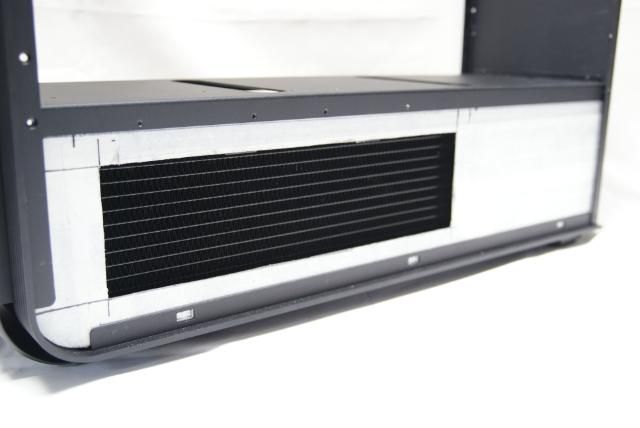
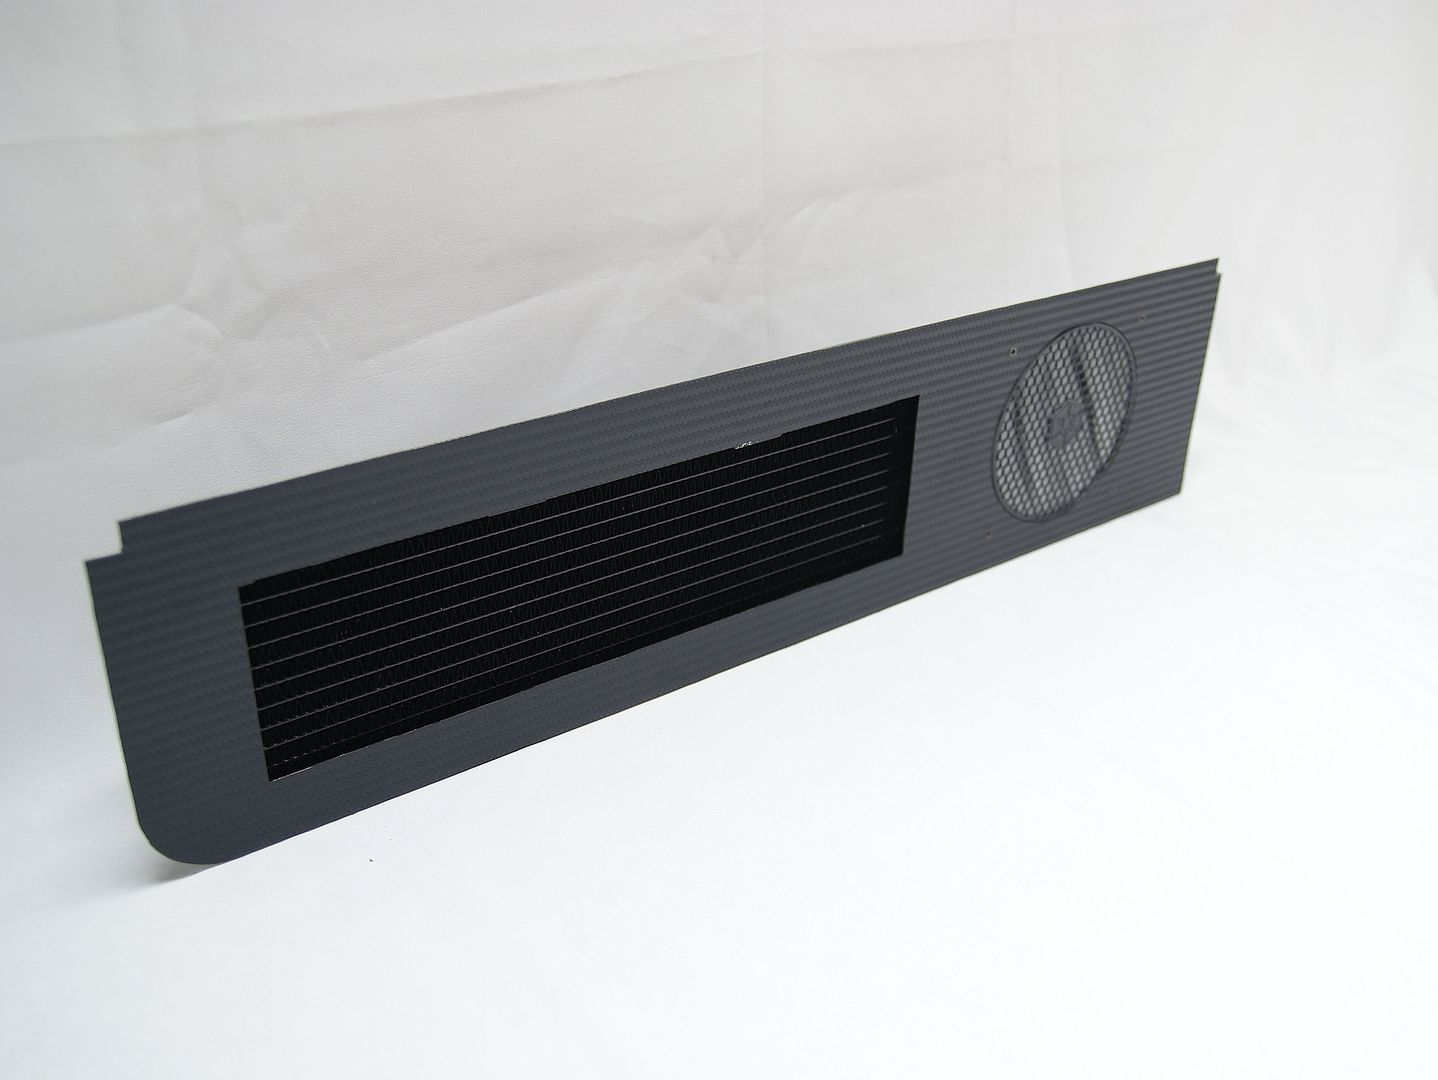
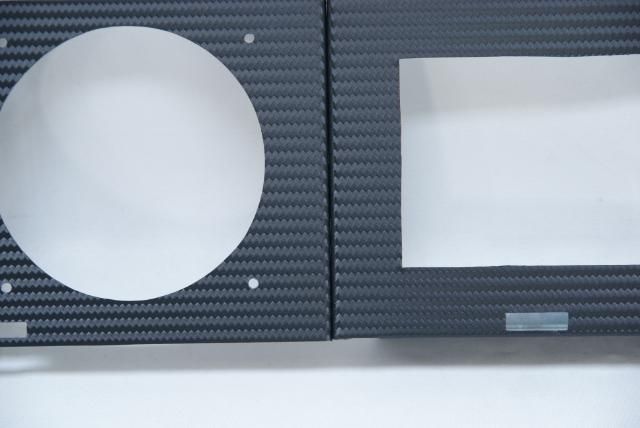
Opening made for the radiator, so that you don’t see the mounting holes and just straight to the air intake of the sidepanel
Sidepanel on it
Rear intake is gonna be closed and the whole will be covered with carbon
That’s it for today.
Bye bye
-
Re: Silverstone TJ11 Carbon
Update: Front plate
Fortunately i’ve received some products this week, modding time !!!
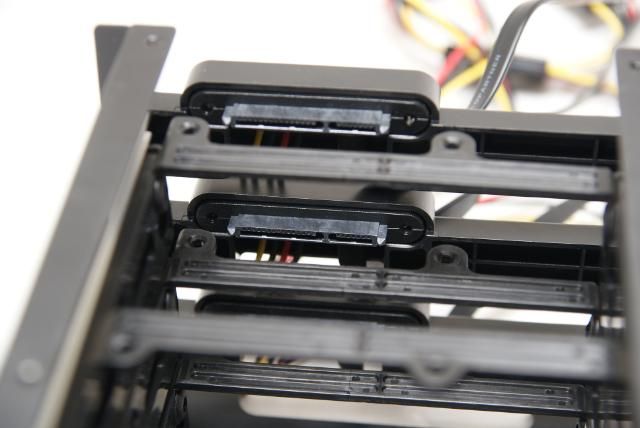
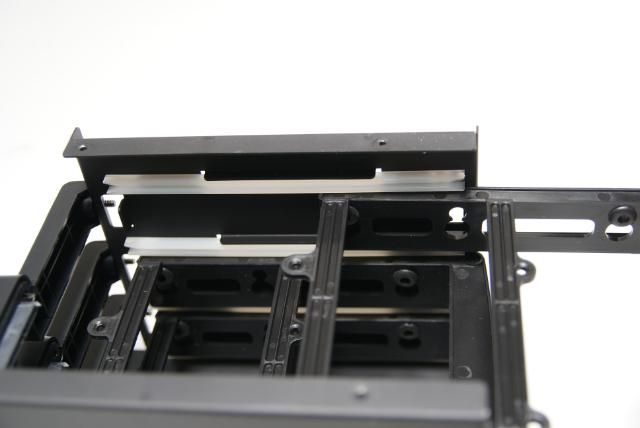
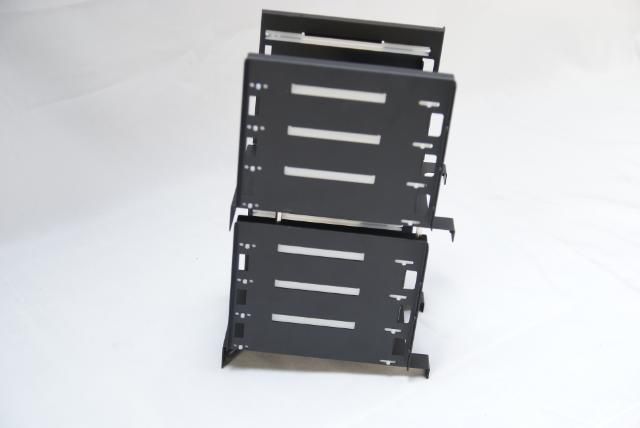
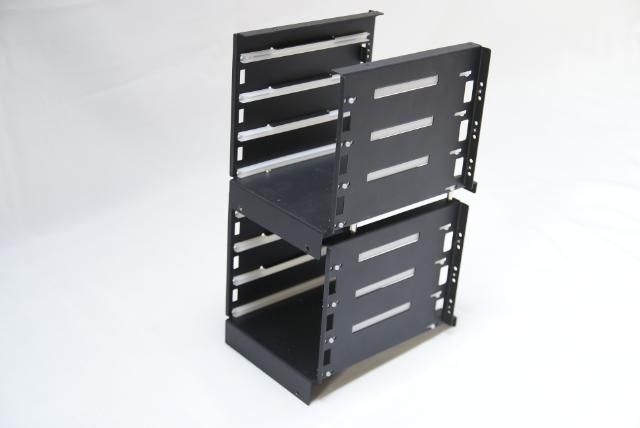
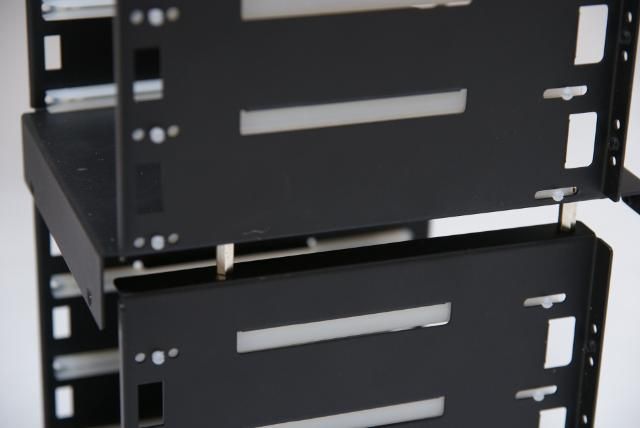
To place some hdd’s put the hdd bays together
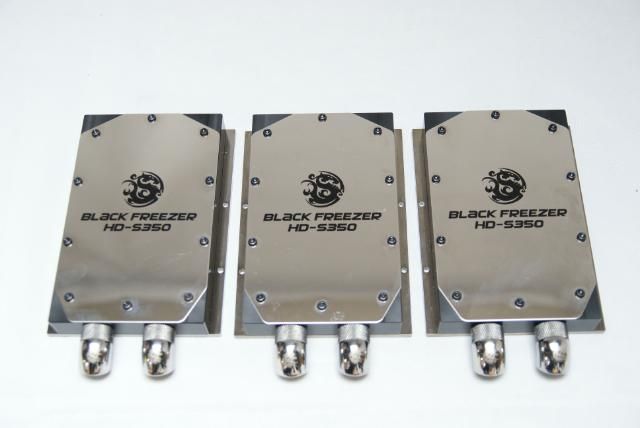
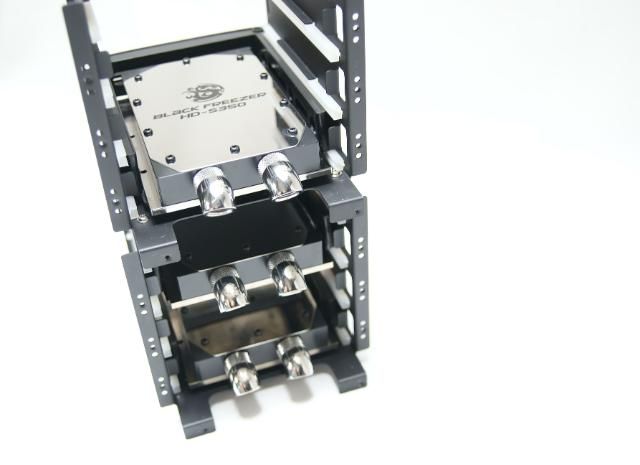
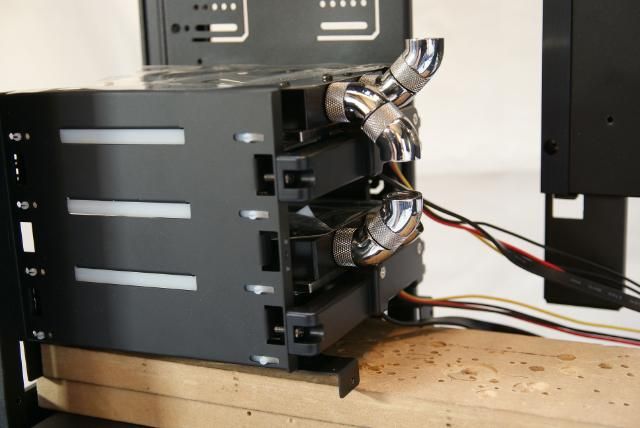
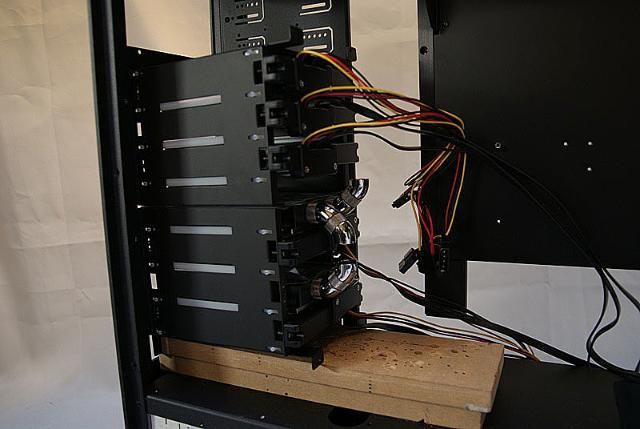
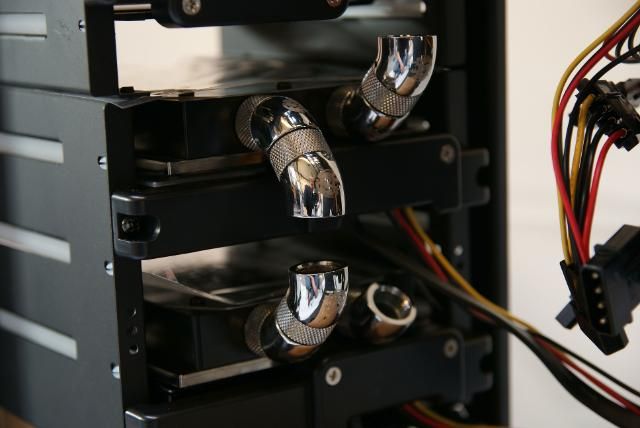
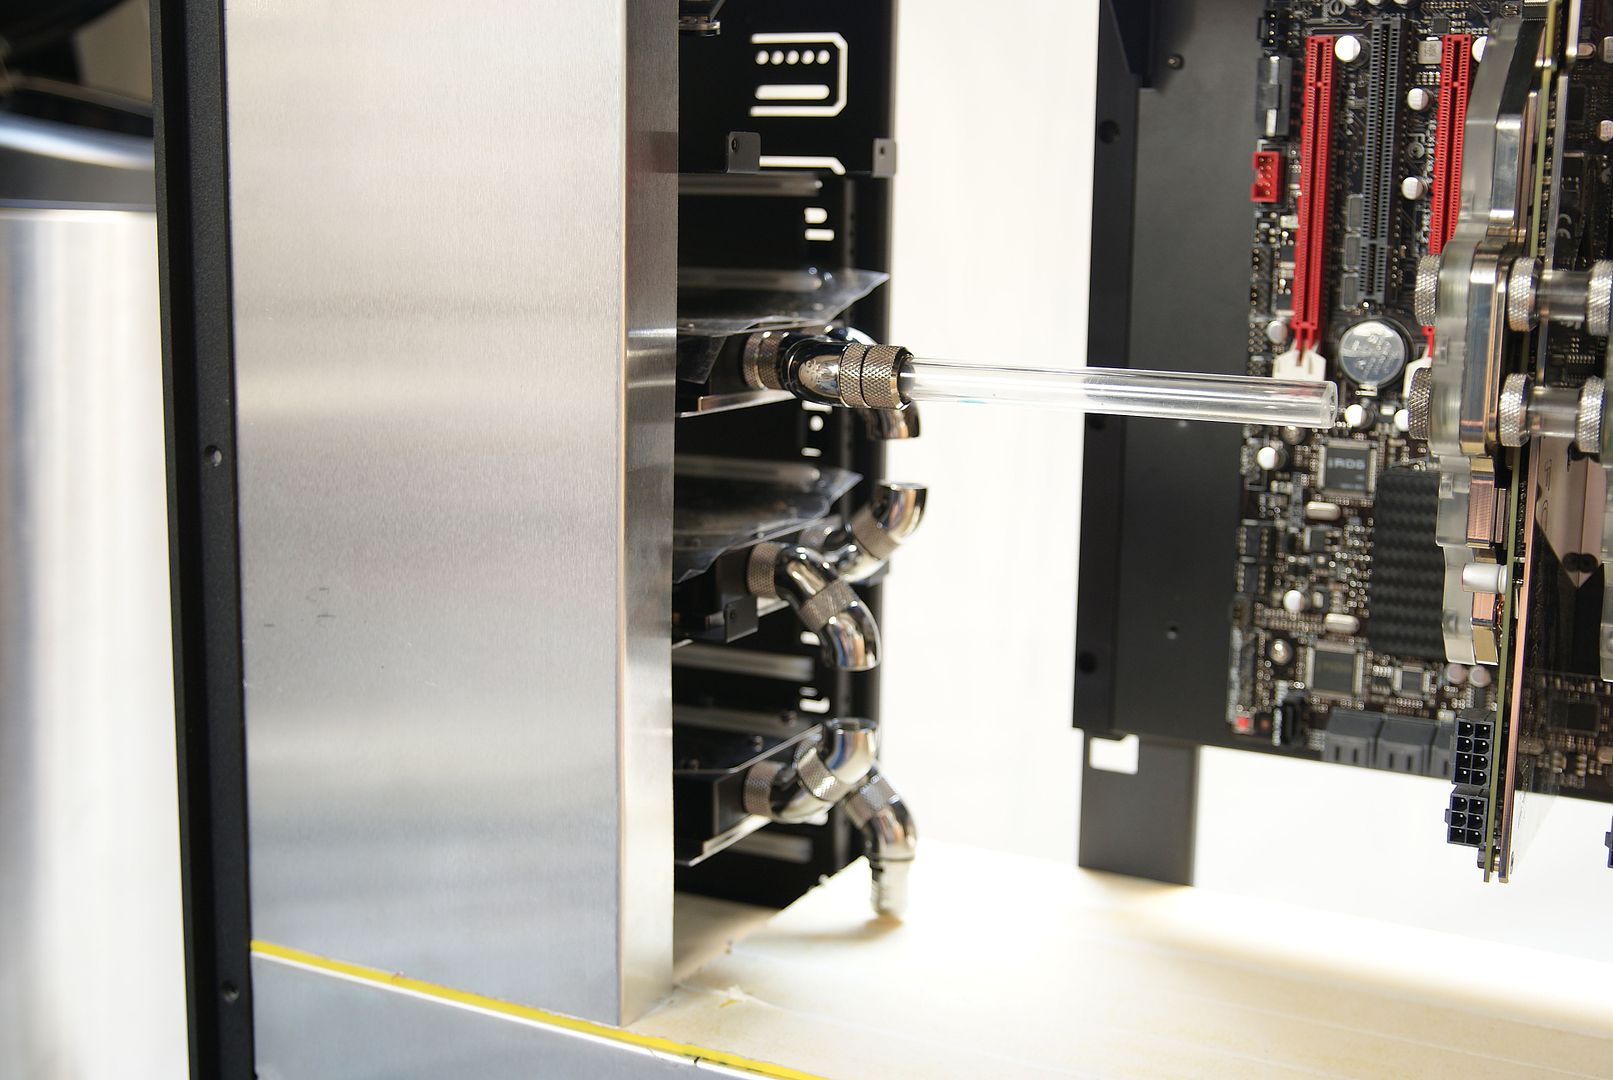
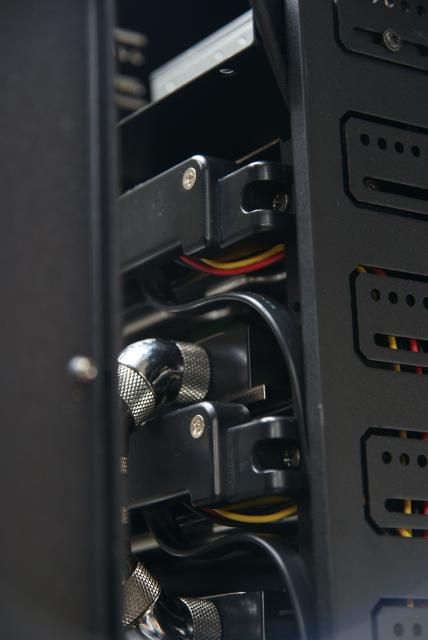
To get this build a little over the top I’m gonna put in 3 BP hdd coolers. A while ago I had two from L3p bought for a future build, but this is the perfect case for the coolers. So This week i’ve bought the third. L3p Thanks man!
Later on hdd's underneath with some support at the sides
The bay is accessible and gonna be placed like this
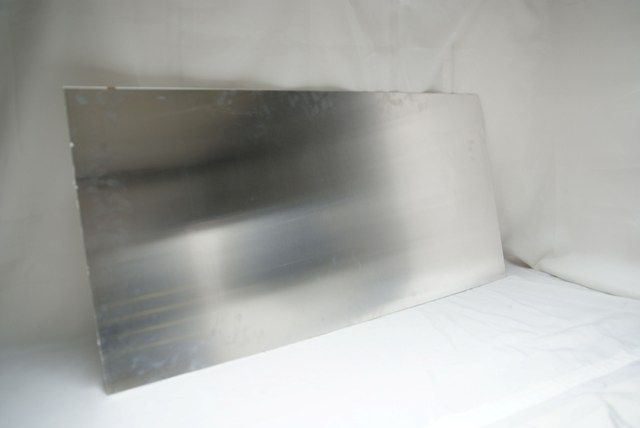
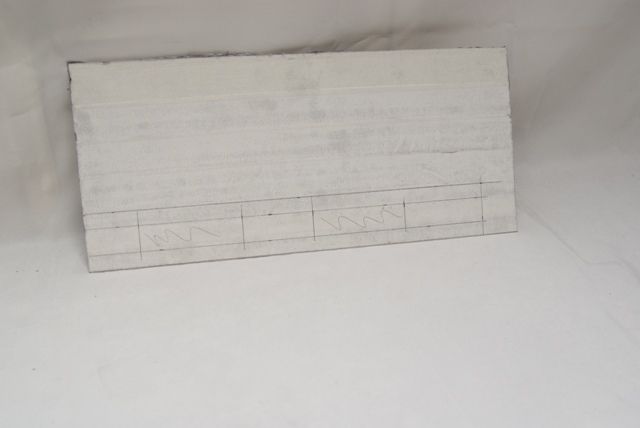
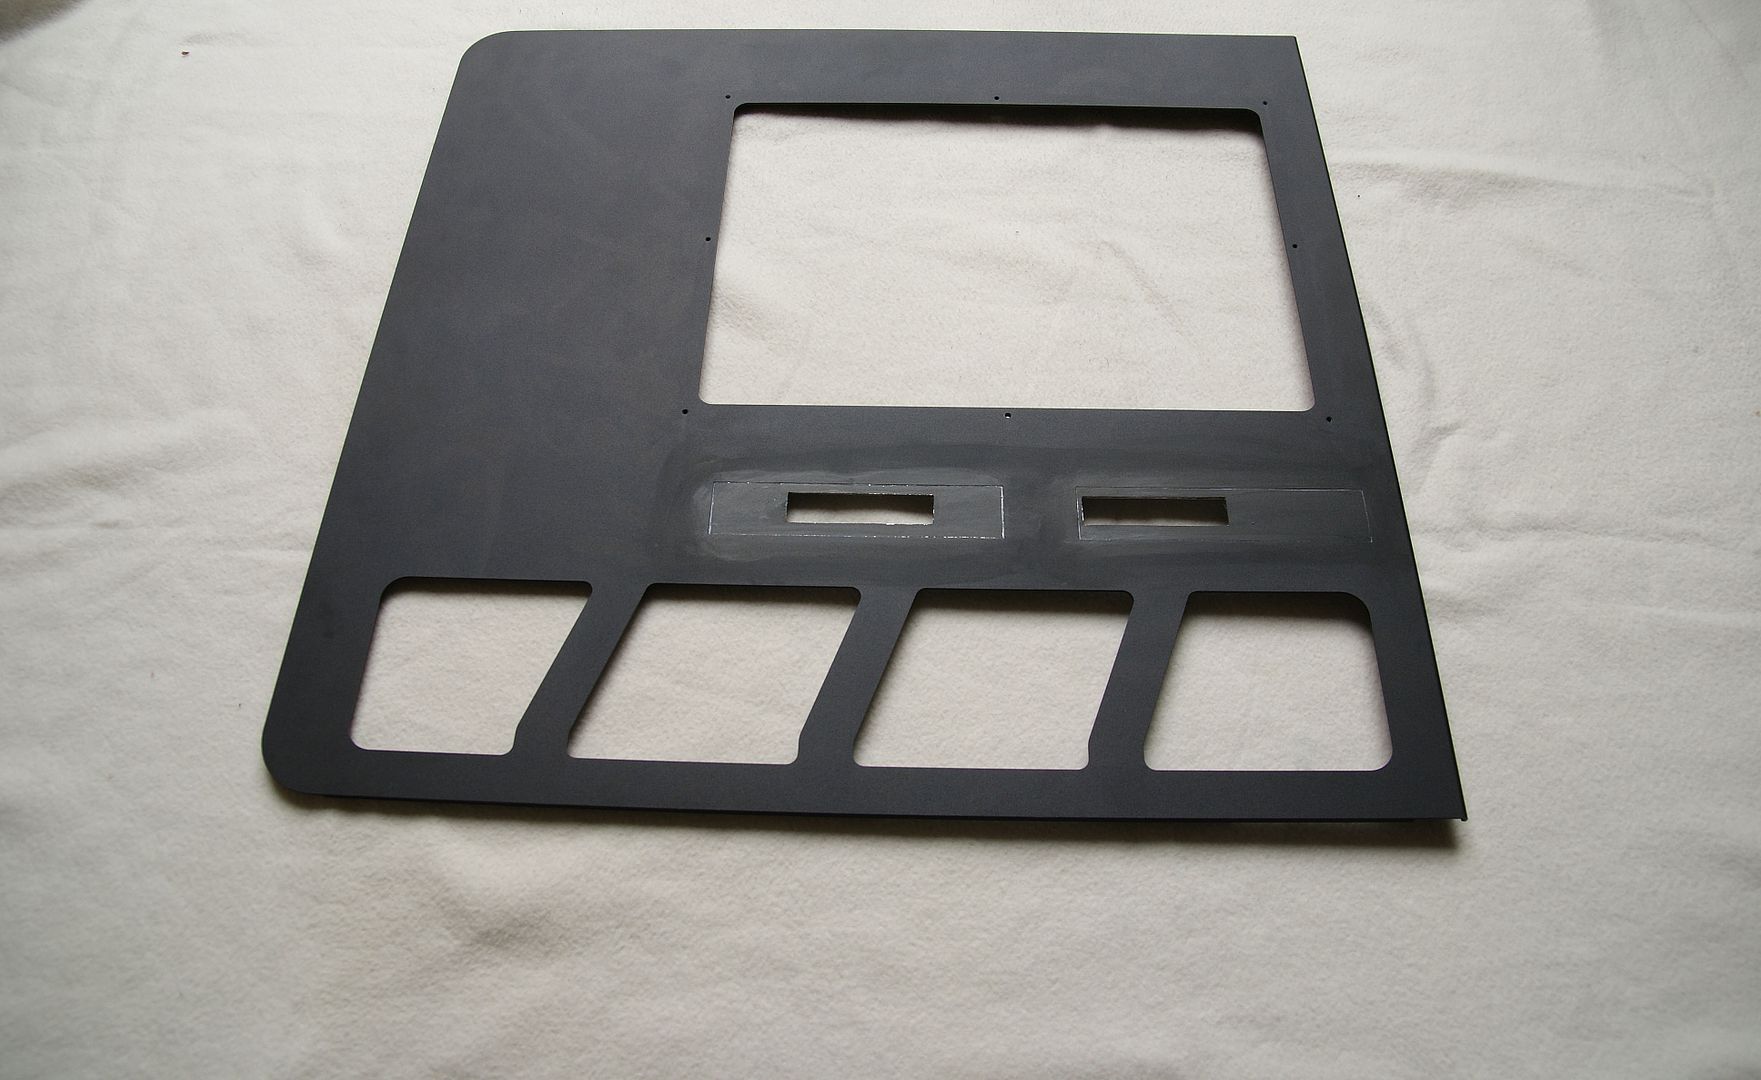
And i’ve used an old piece aluminum panel that I had left after a window cutout ........ never throw something away
Draw some Lines for the jigsaw
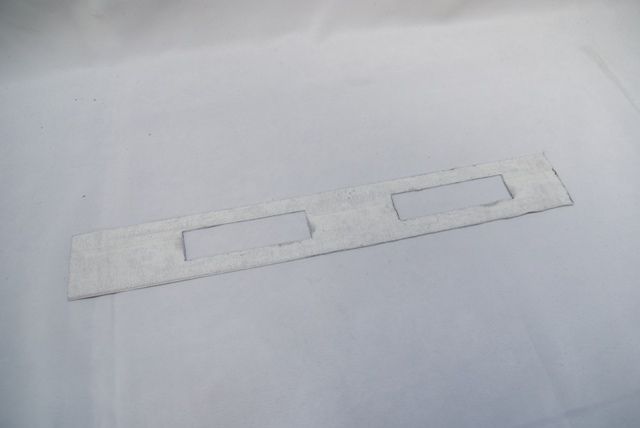
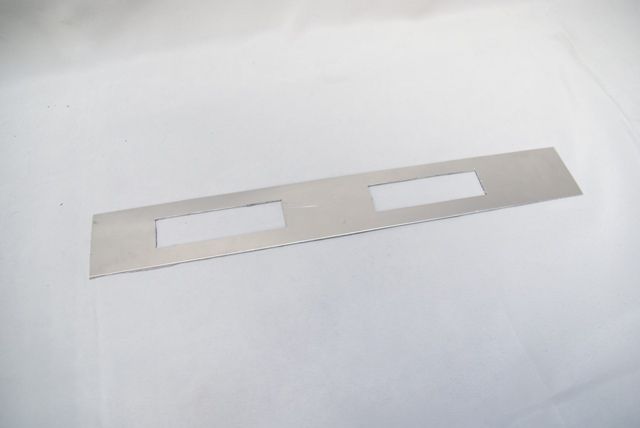
After some sawing and filing it already starts to take shape
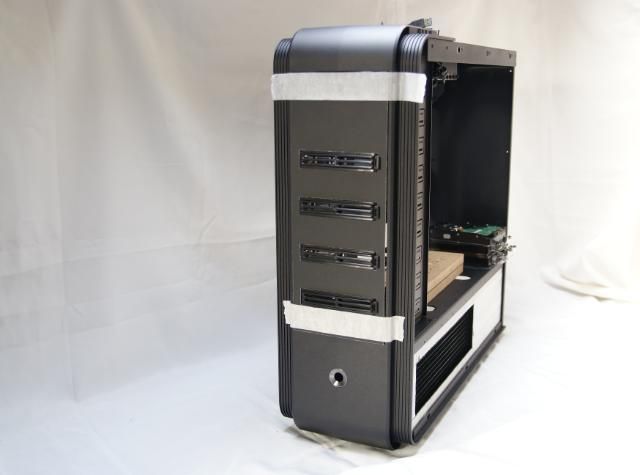
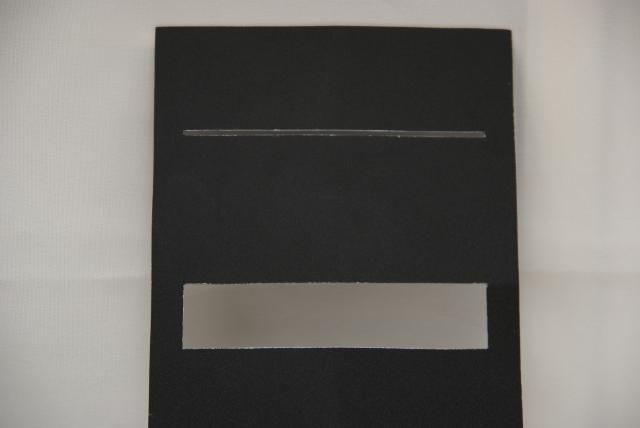
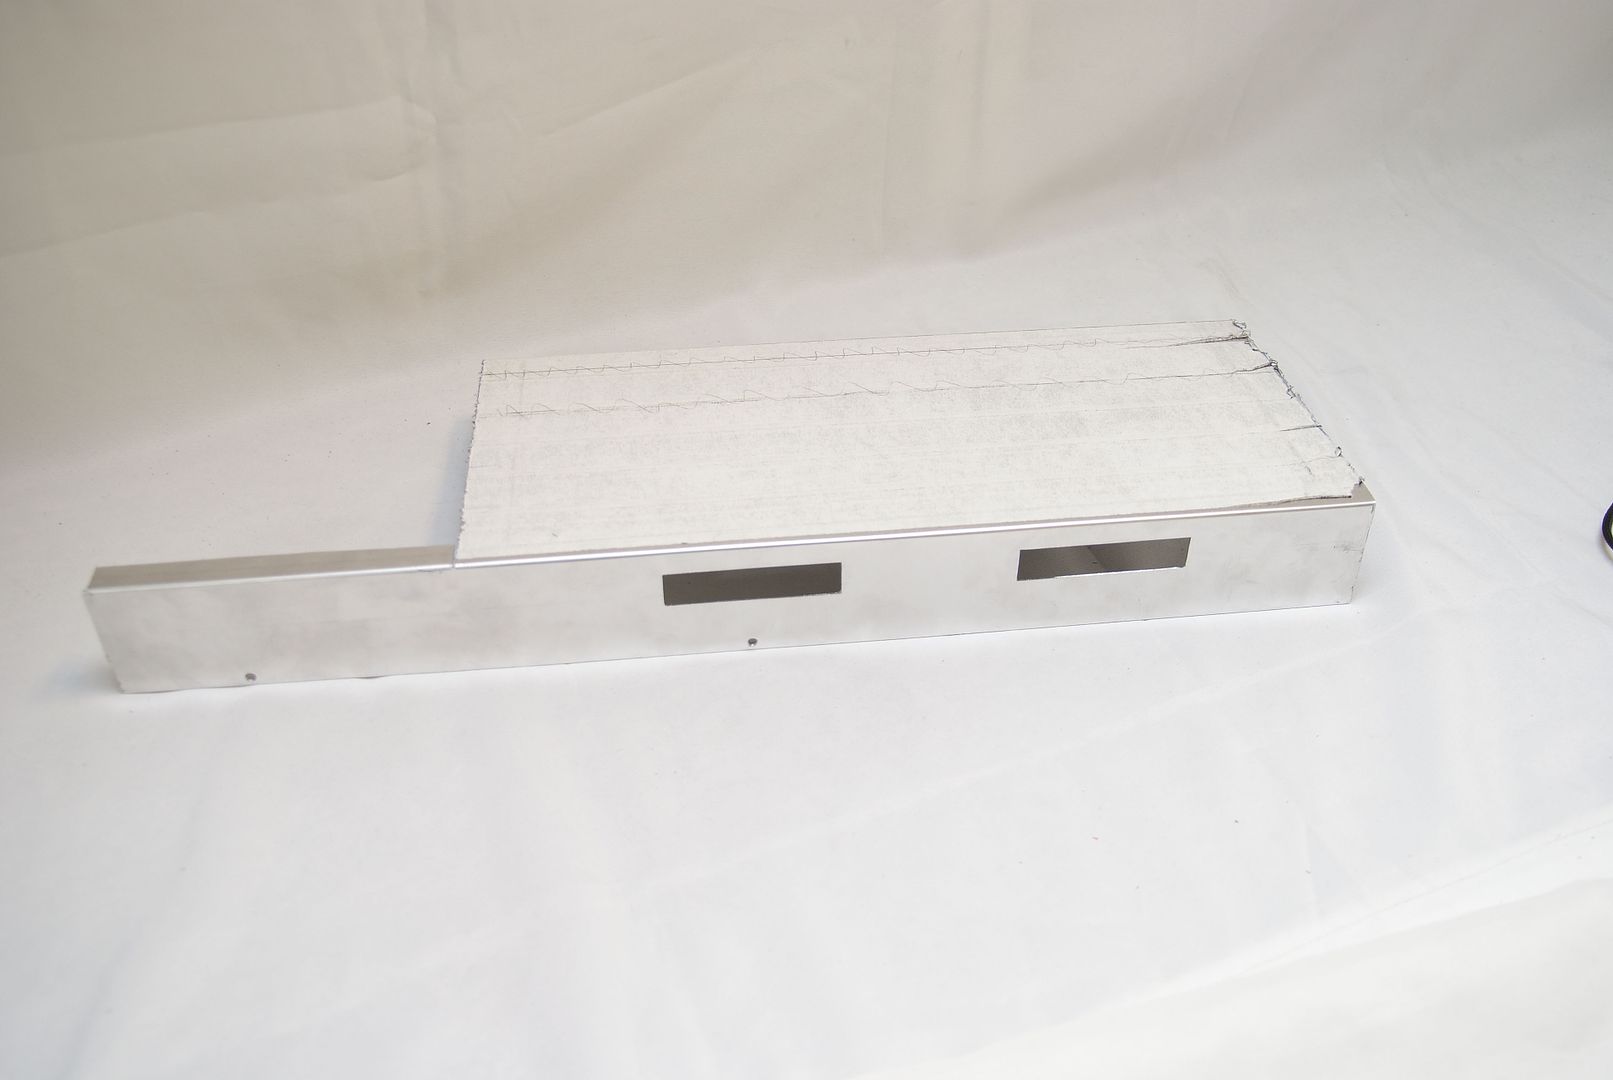
Adhesive tape over it to see how it is going to be
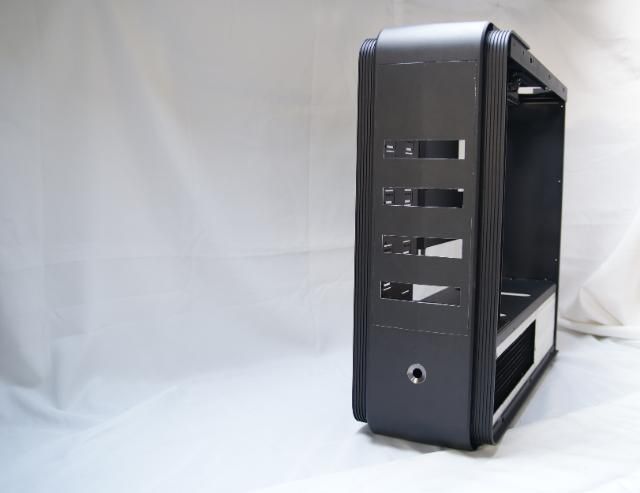
And tried without tape
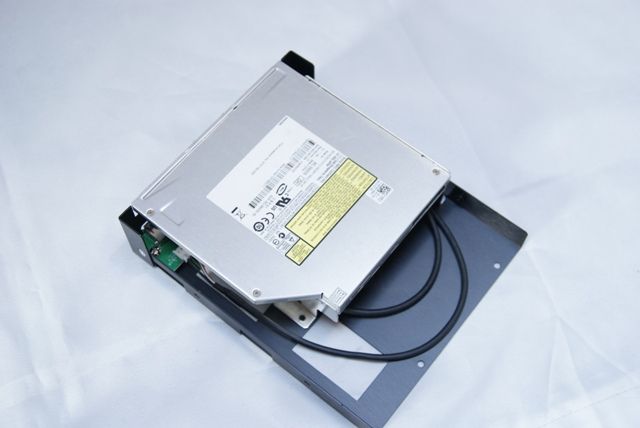
After that the slot for the slim-line DVD-RW
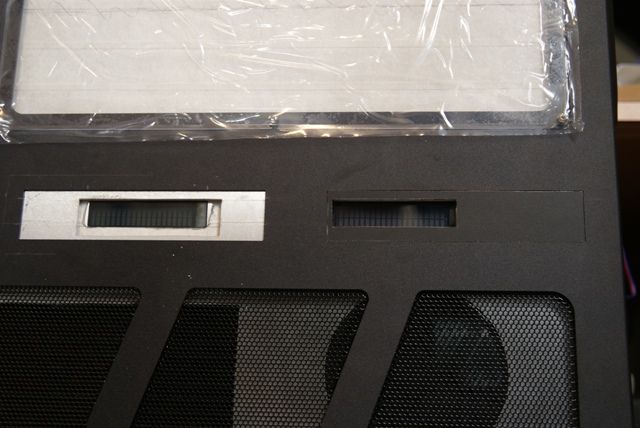
And then put the plate on the upper and lower bay cover with
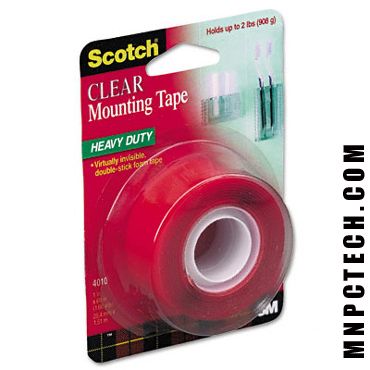
3M Scotch Clear Mounting Tape #4010
And put everything back
But not finished yet ....... missing something.
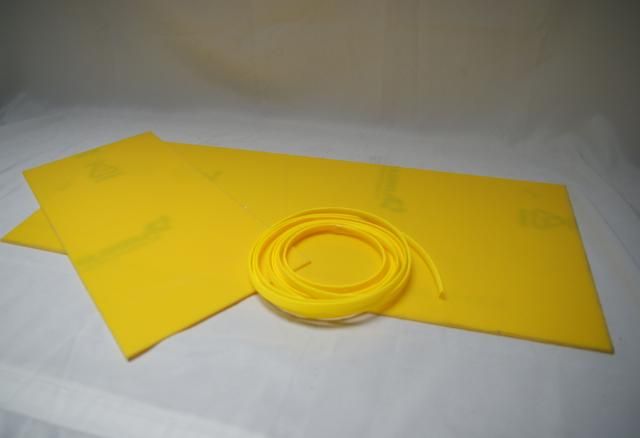
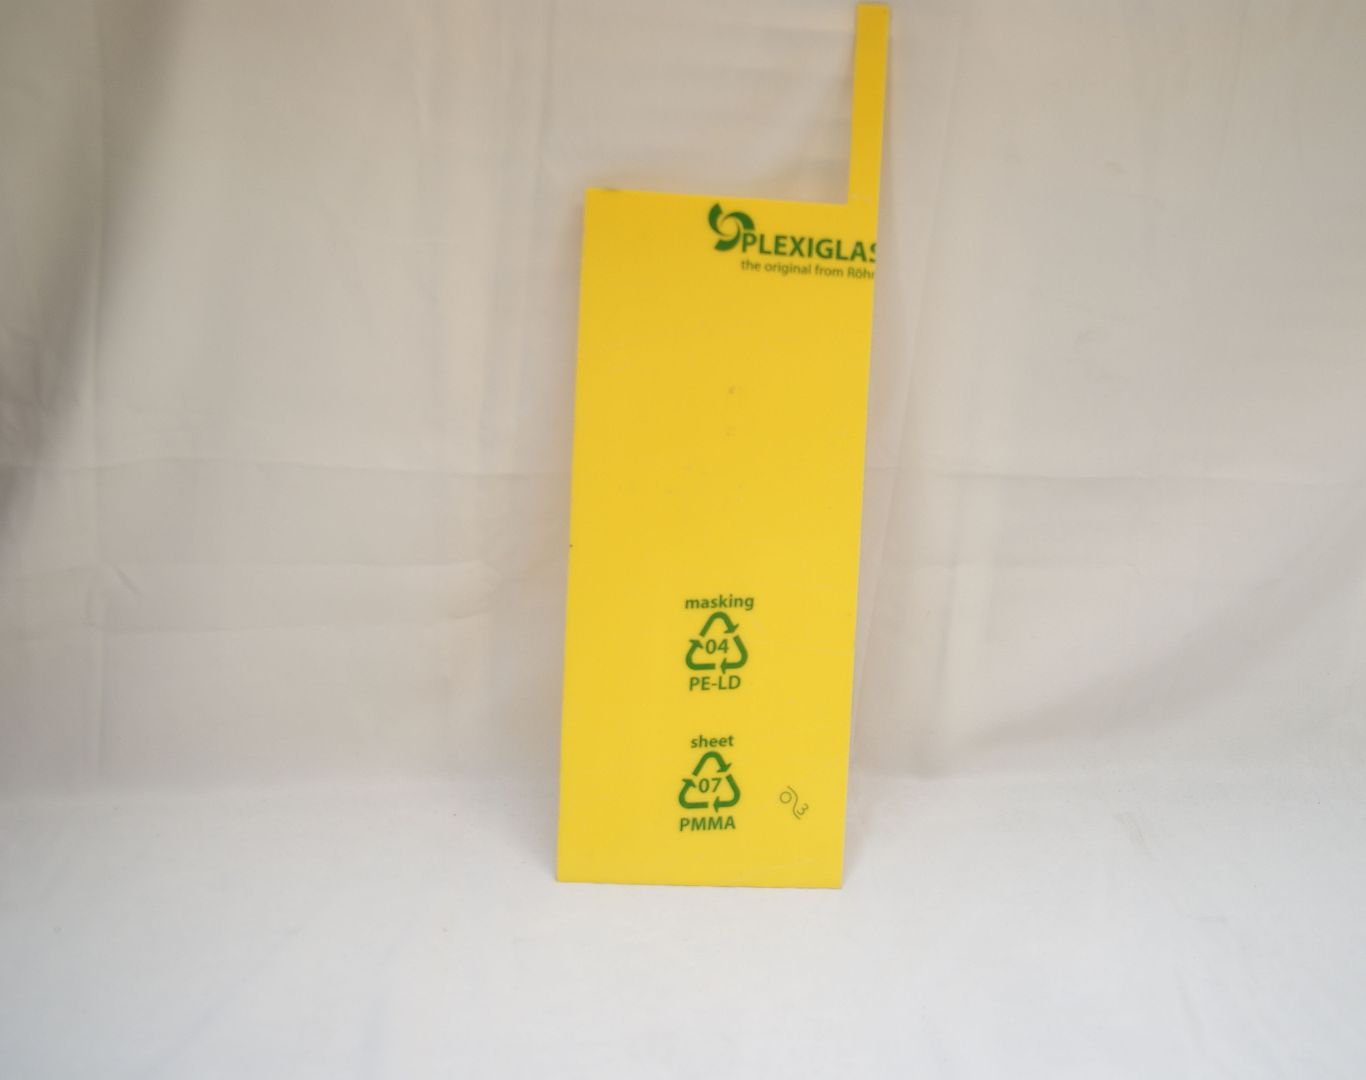
I ordered some yellow acrylic. Really a gamble because no pictures were there of the yellow color
But fortunately it is just the right color that fits with my yellow sleeve
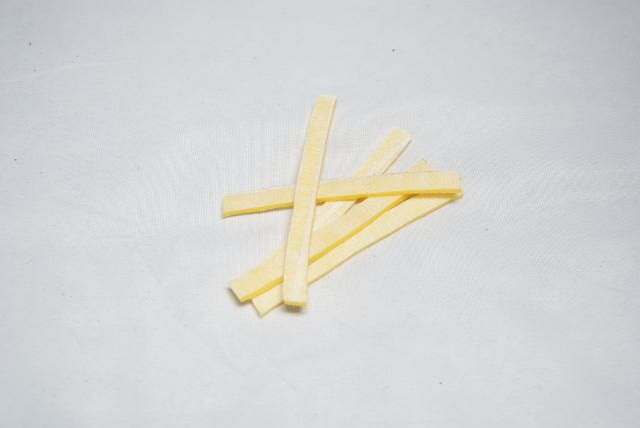
Made some french fries
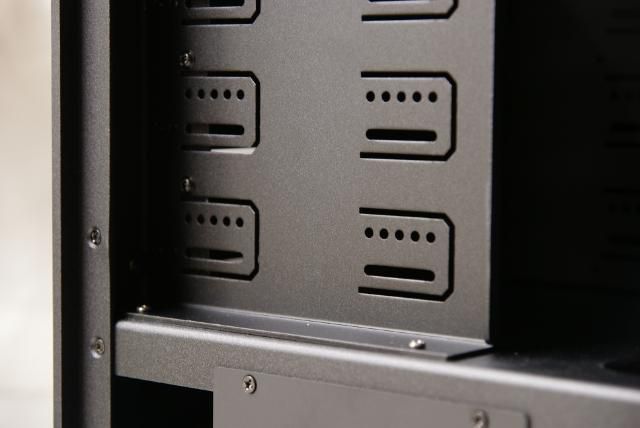
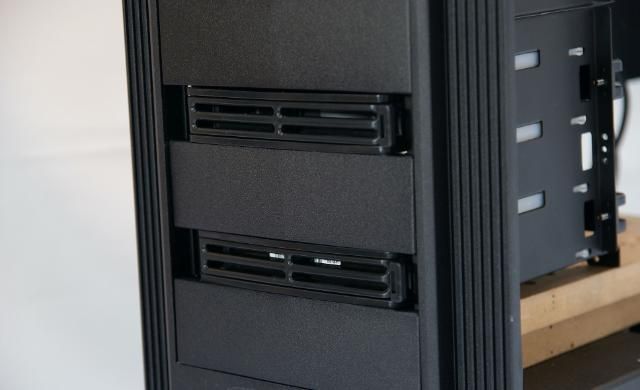
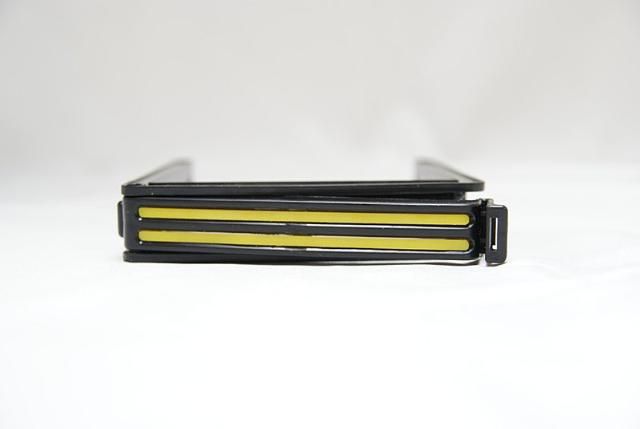
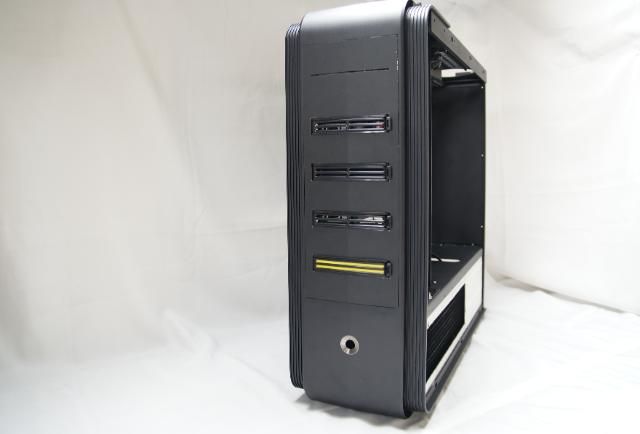
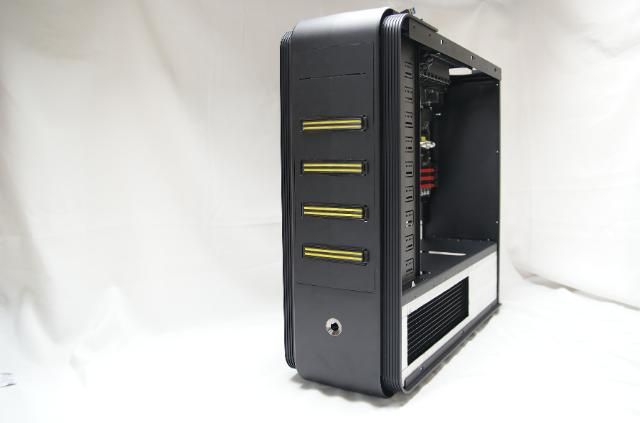
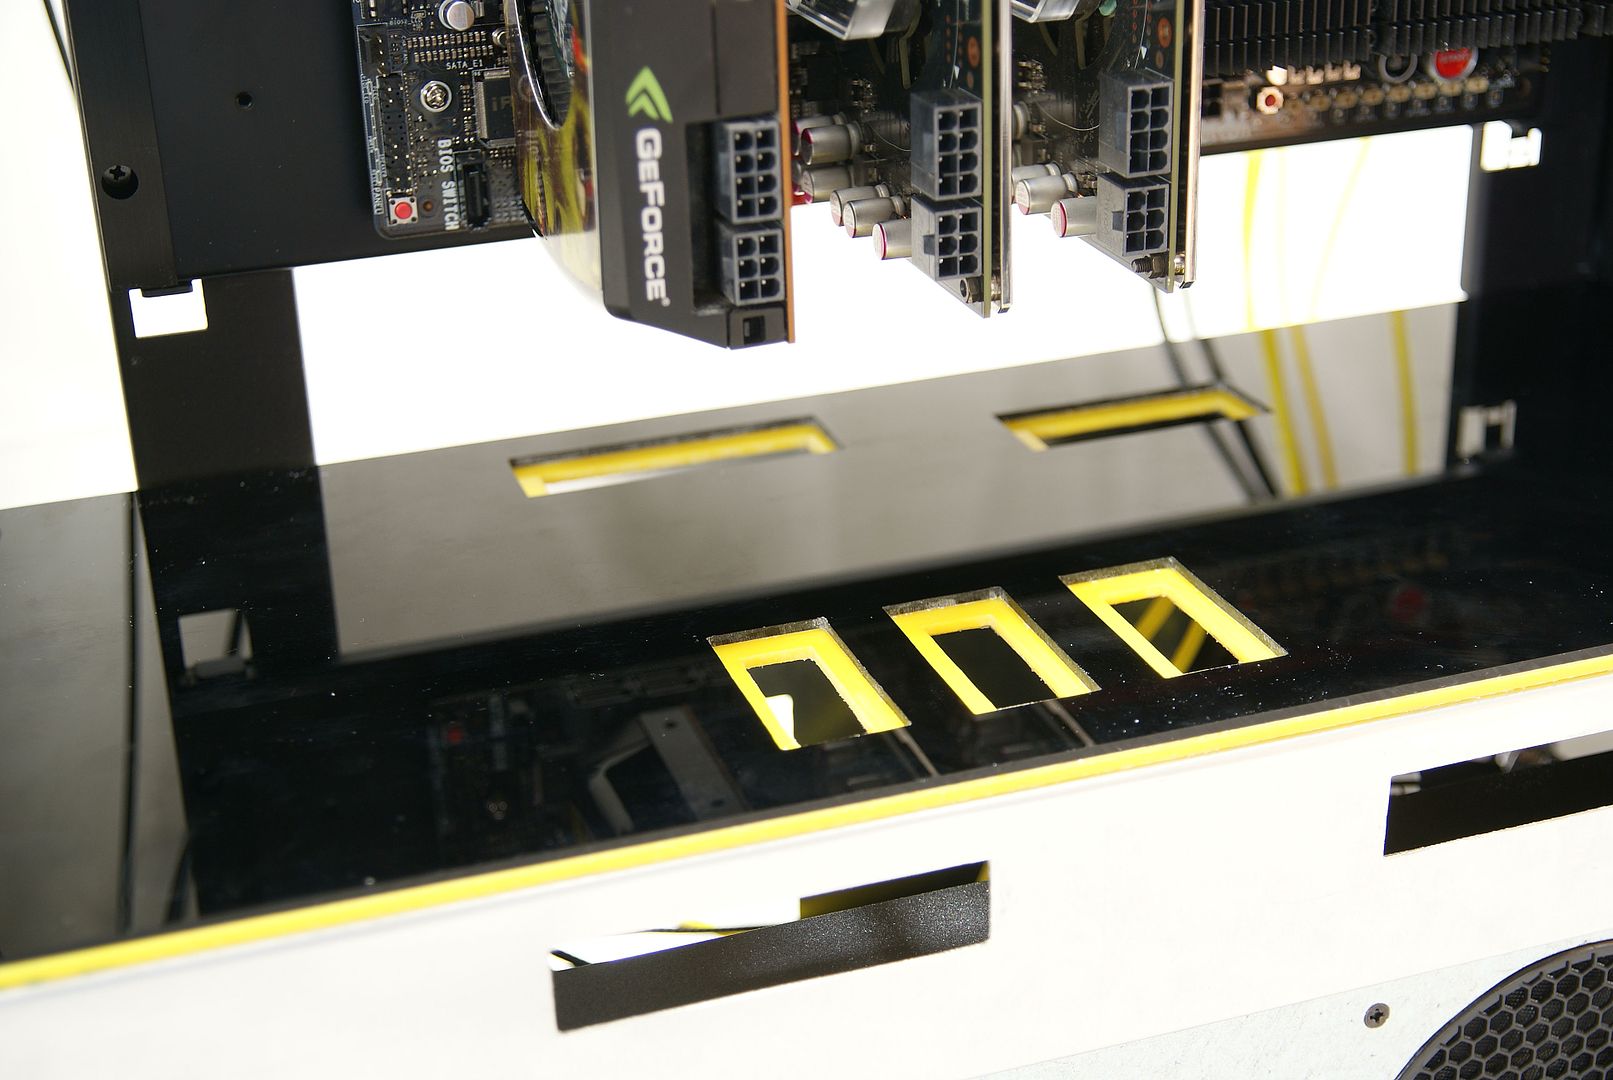
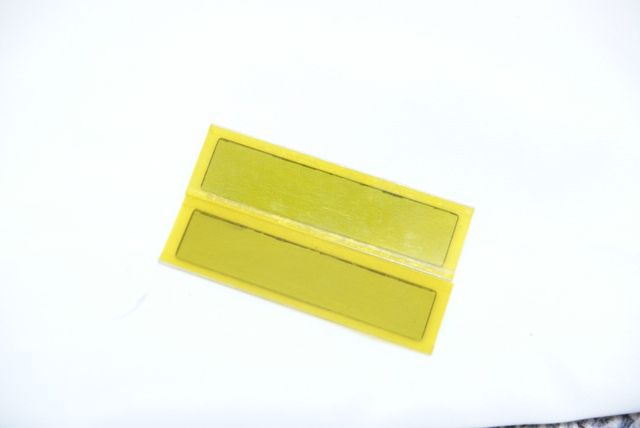
And made the yellow lines in the slots of the hotswaps. Don’t have to be open because the water cooling. And the yellow lines will come back more often in this build
And the remaining three hotswaps finished
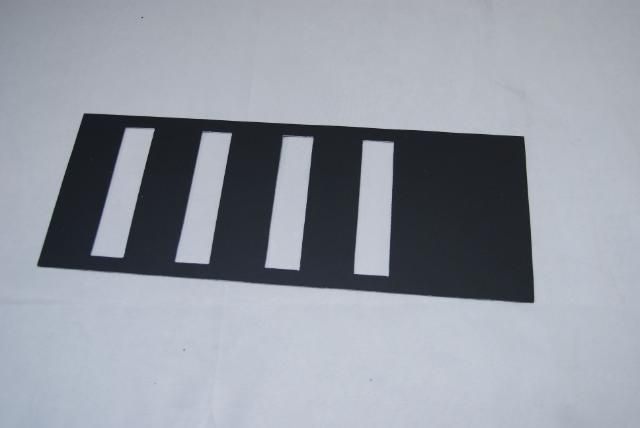
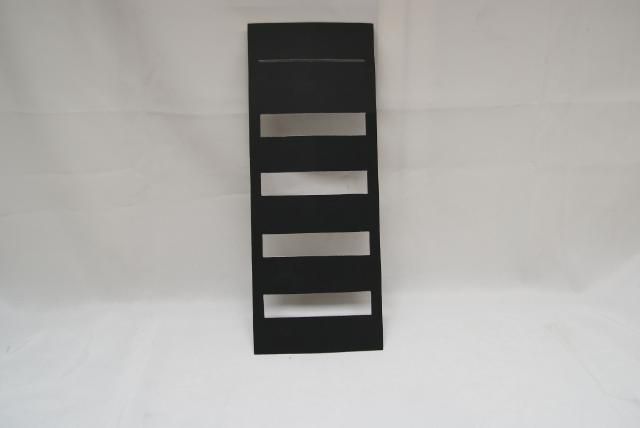
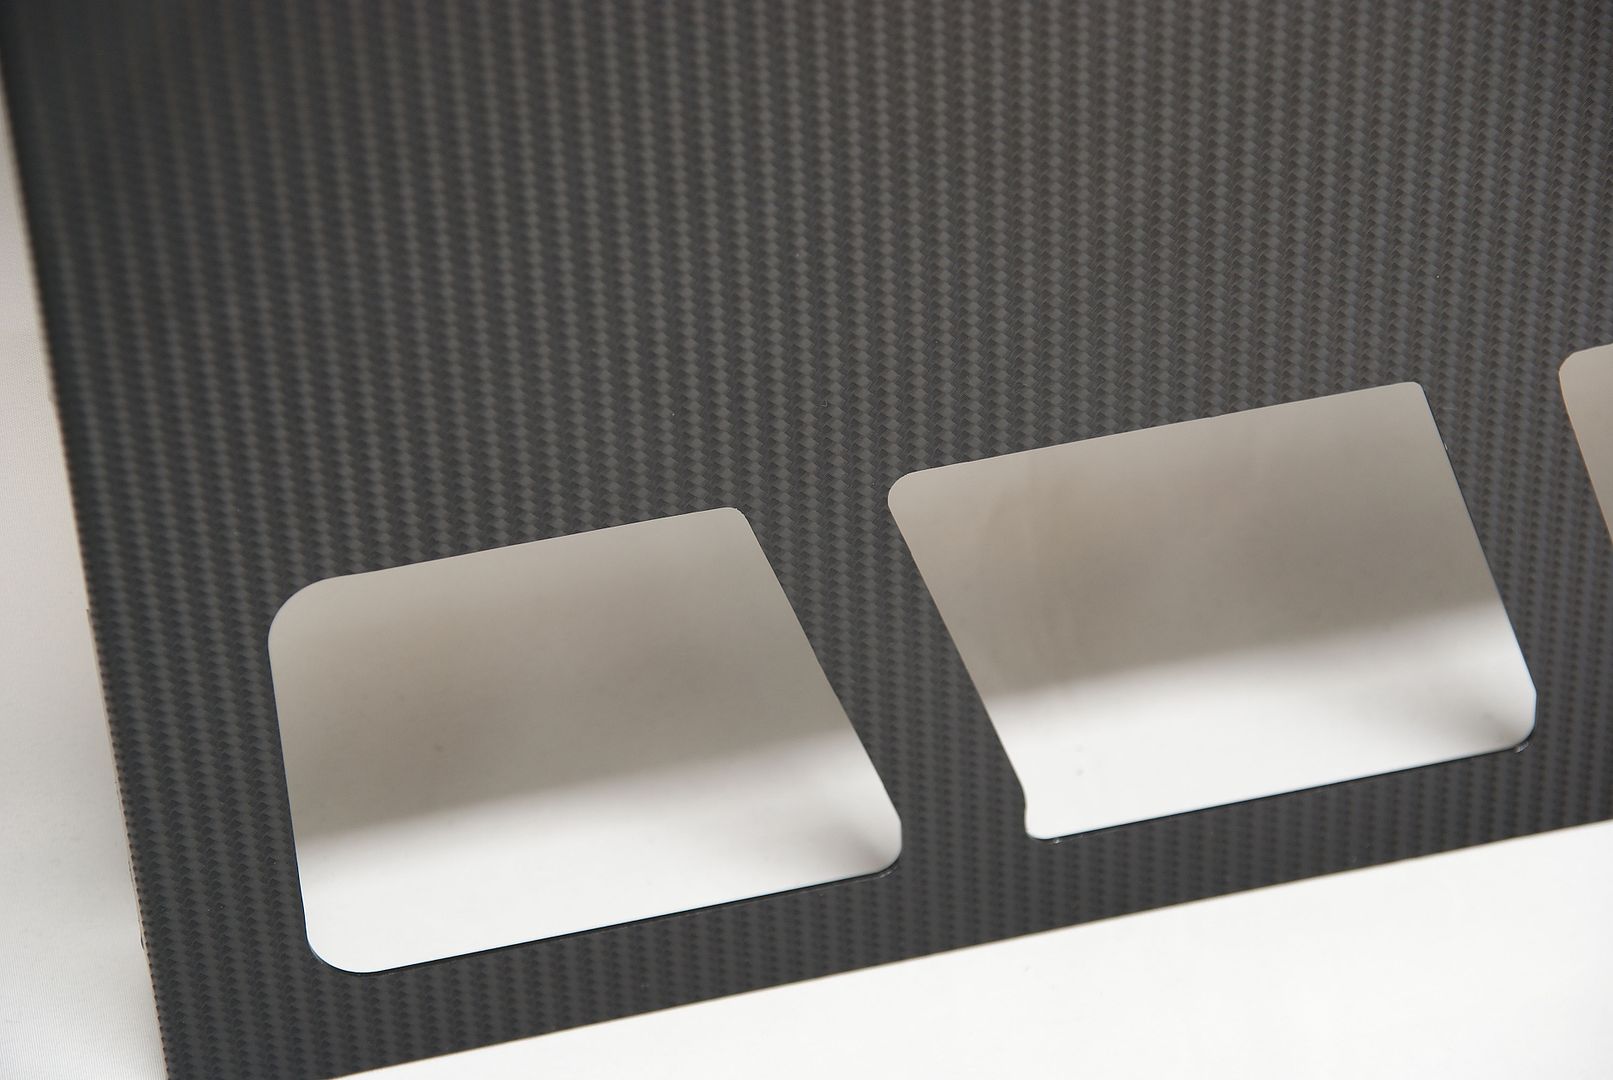
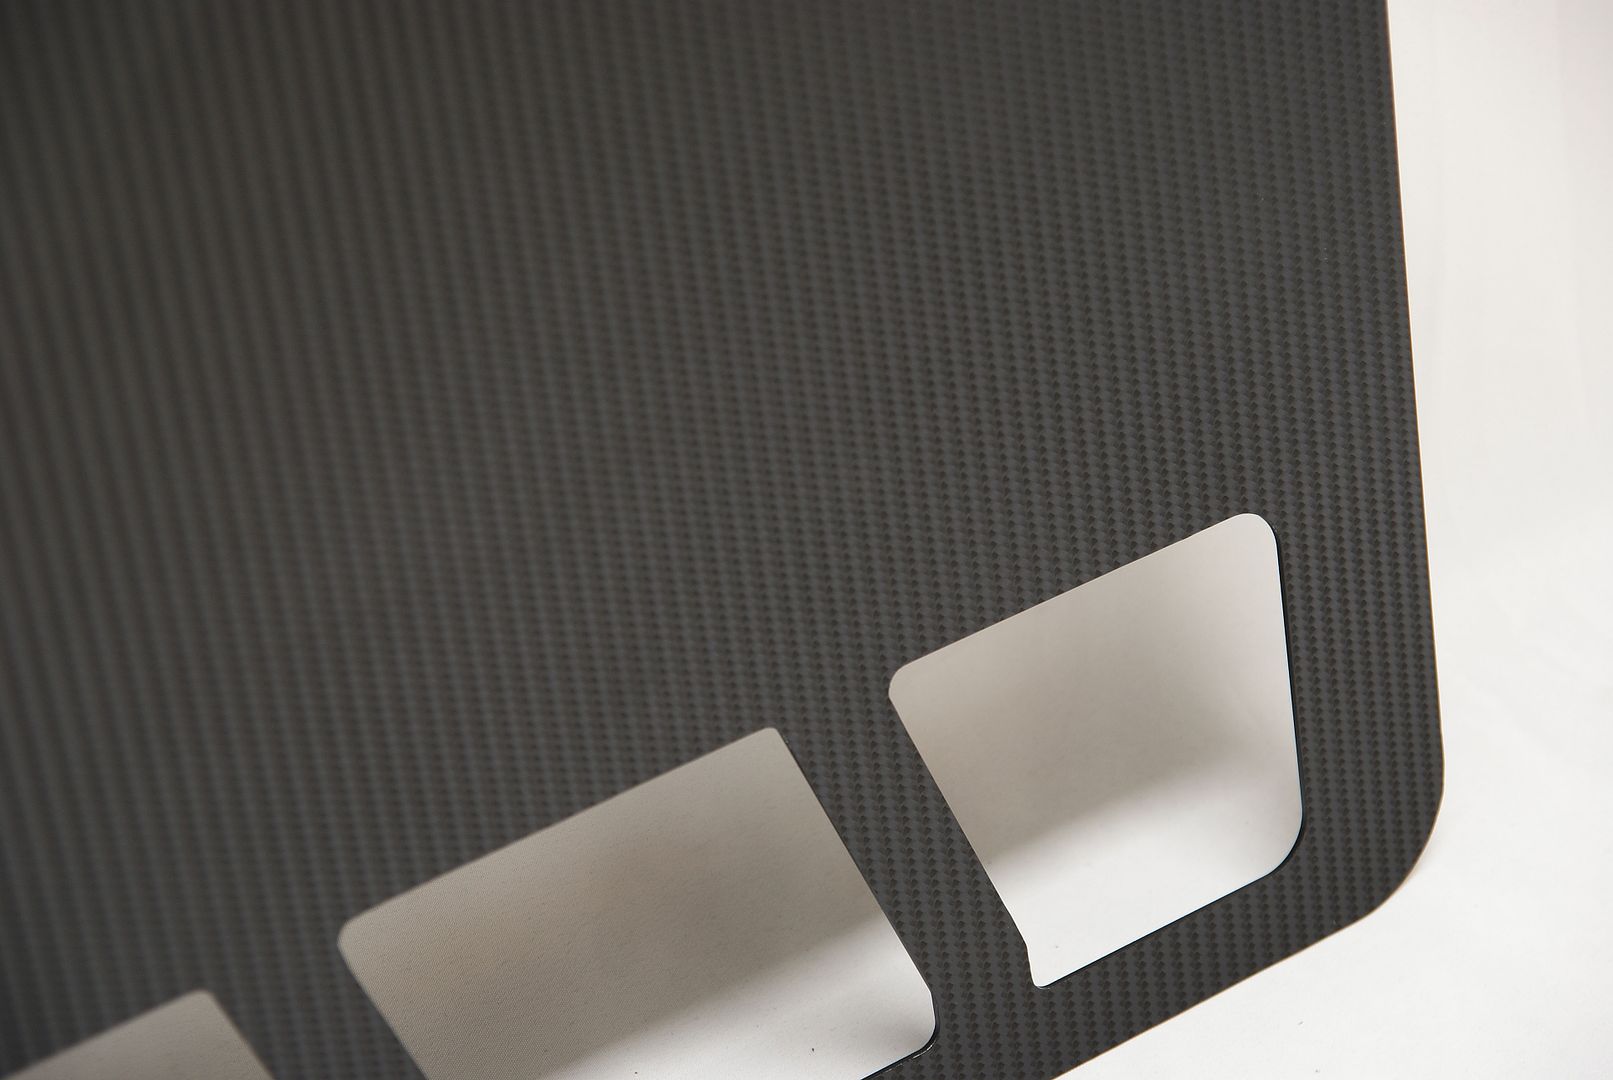
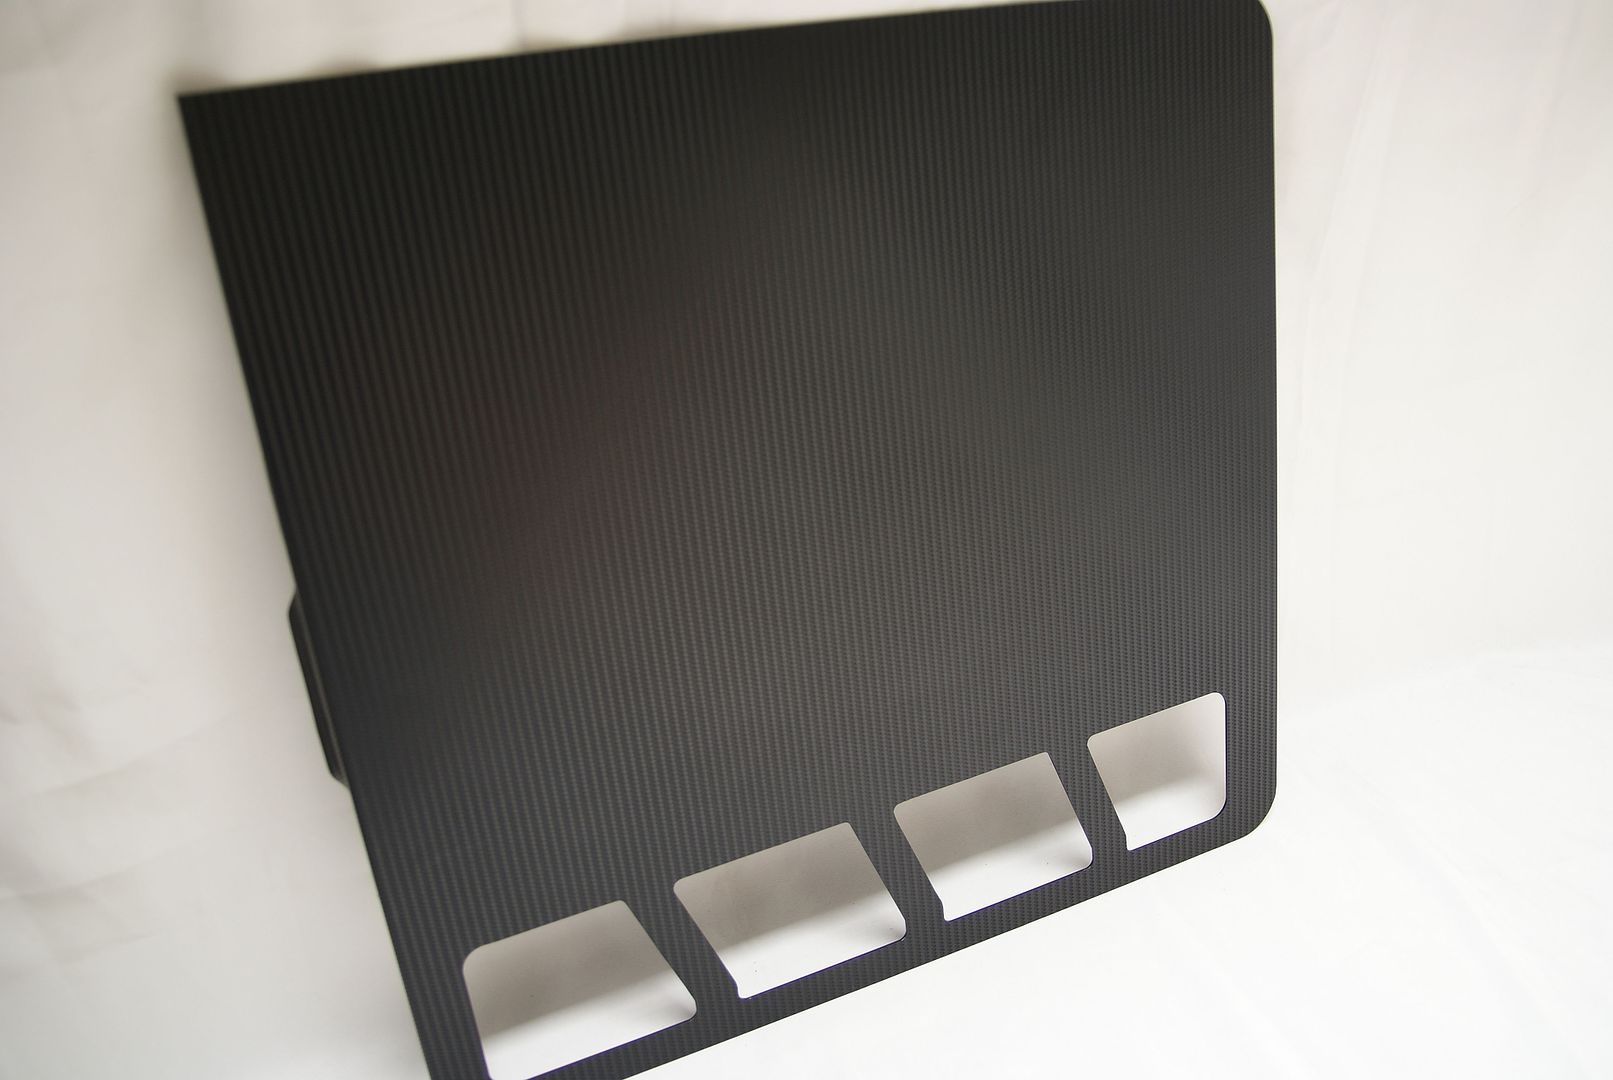
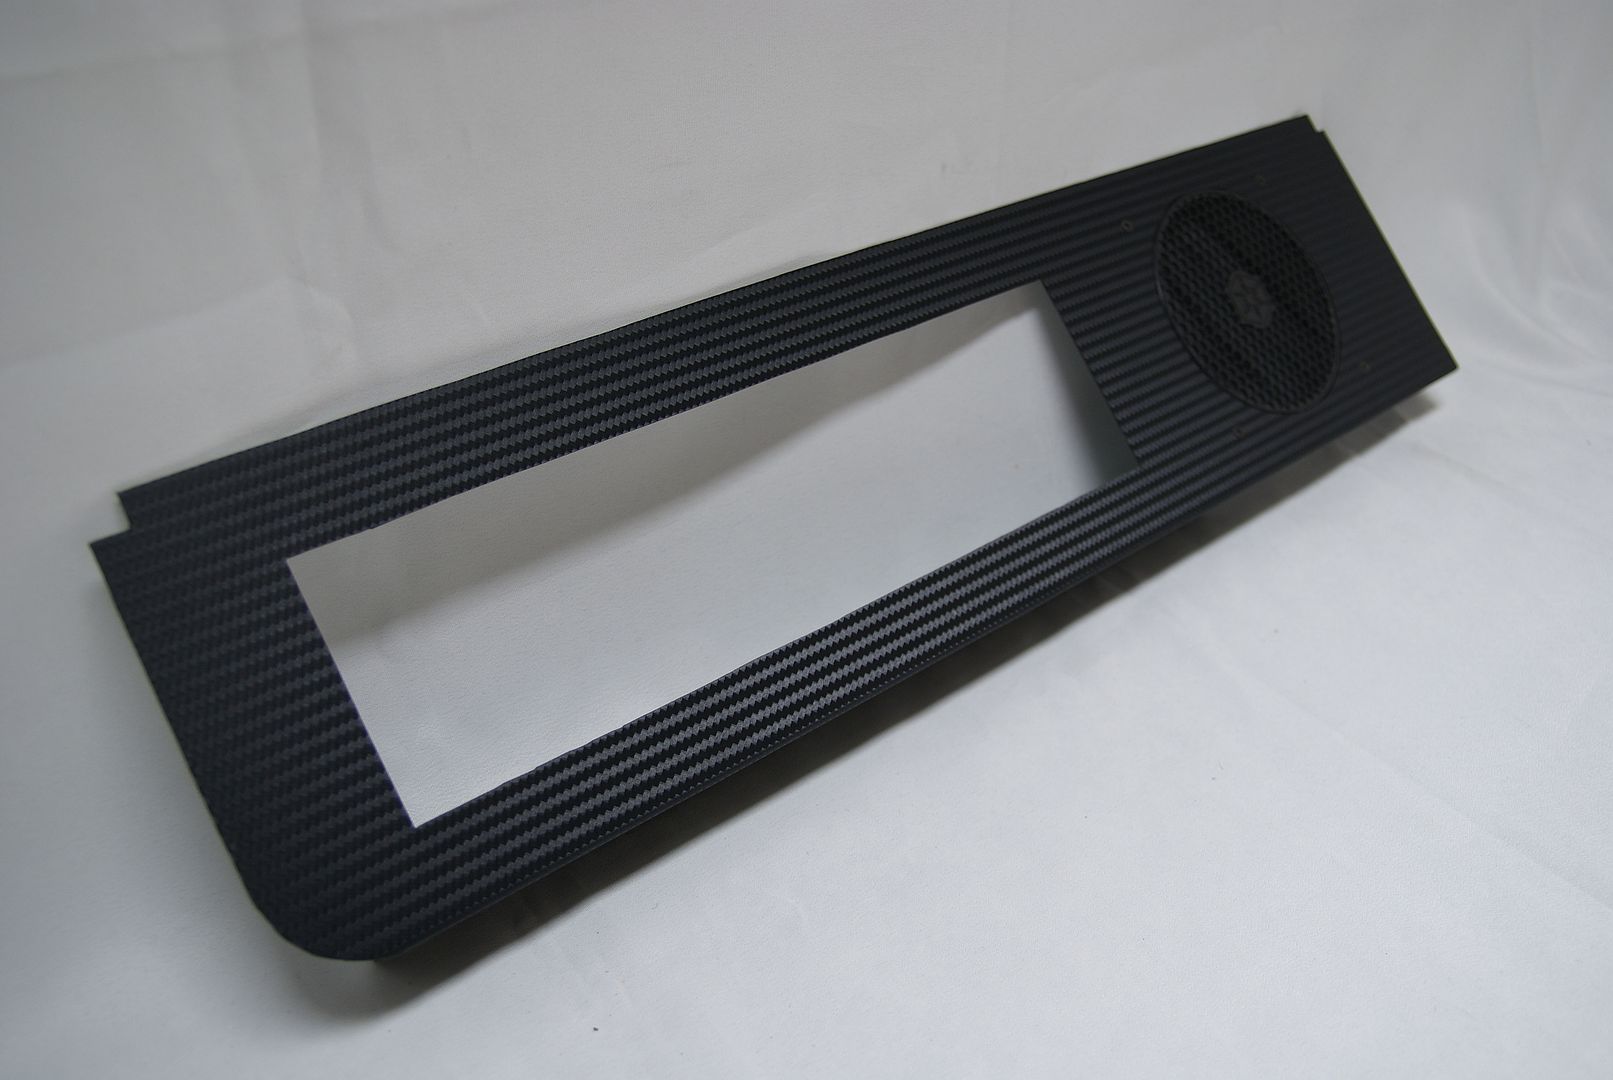
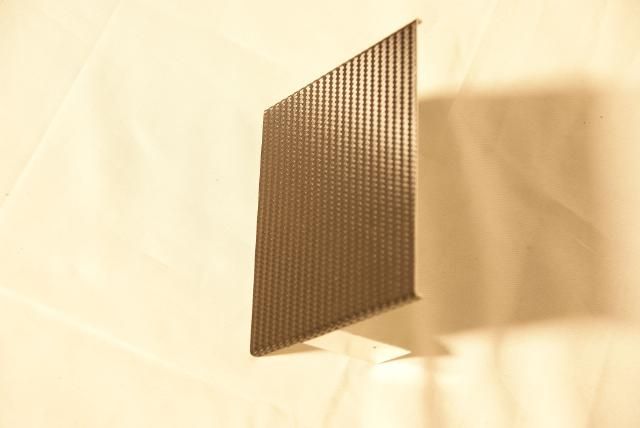
Imagine the front plate with carbon film (vertical straight lines)
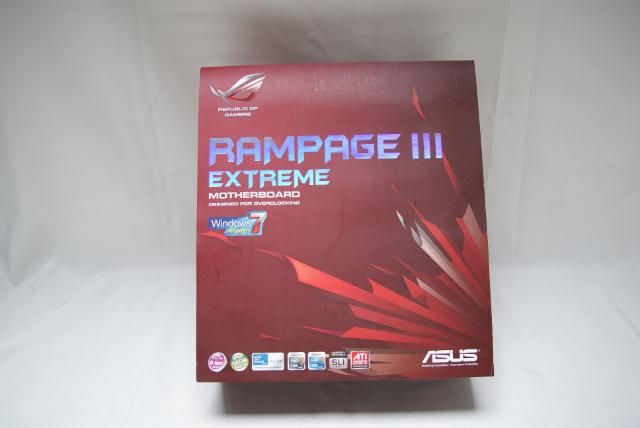
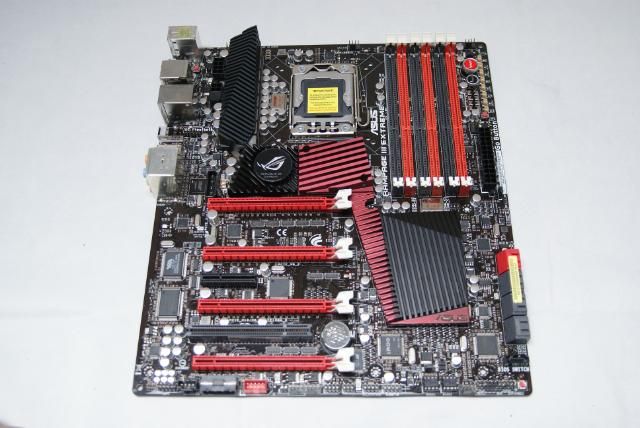
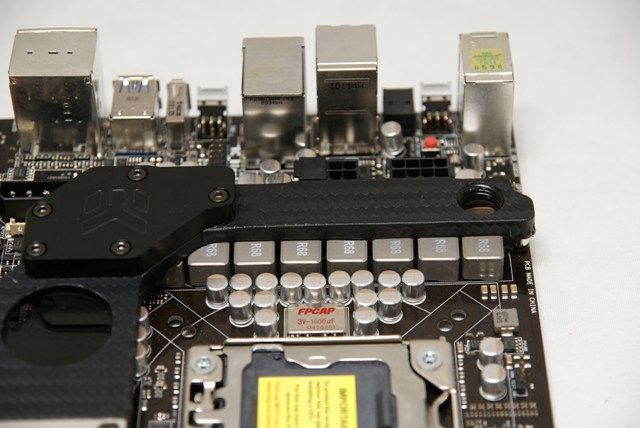
And finally a hardware exchange. The Classified goes out the to a buddy of mine, he was in love with the carbon blocks. And I got an nice opportunity
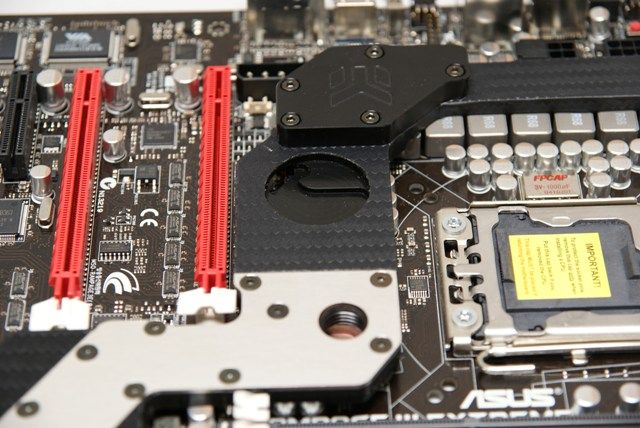
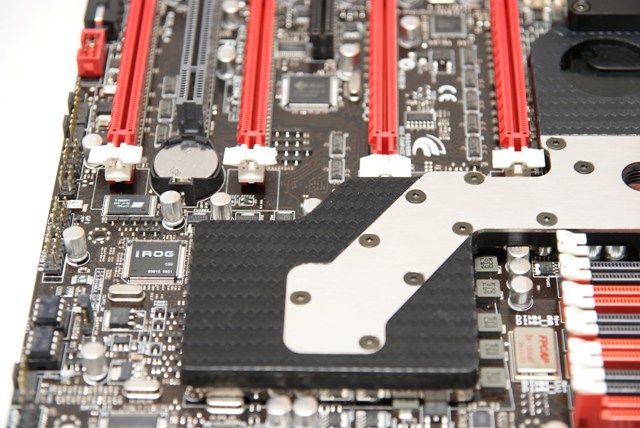
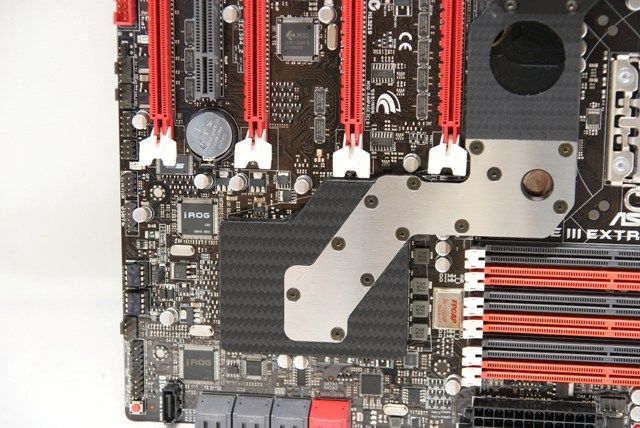
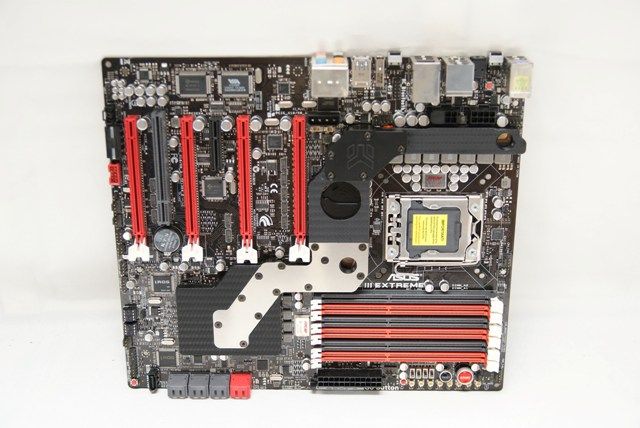
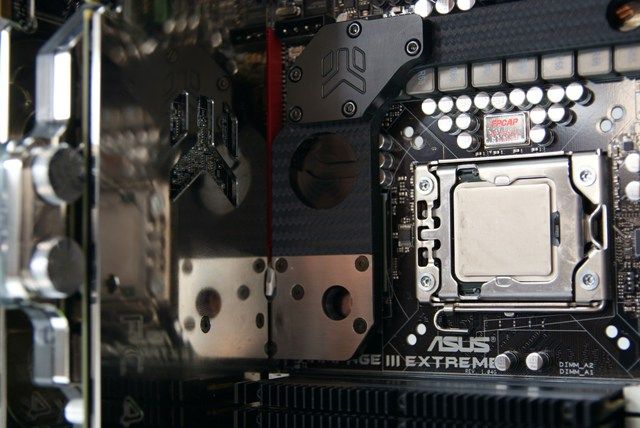
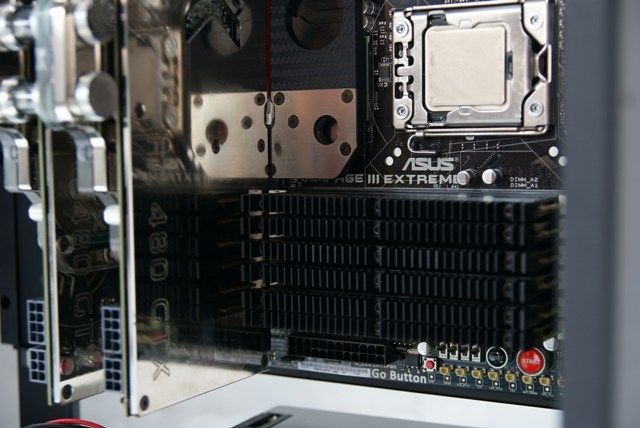
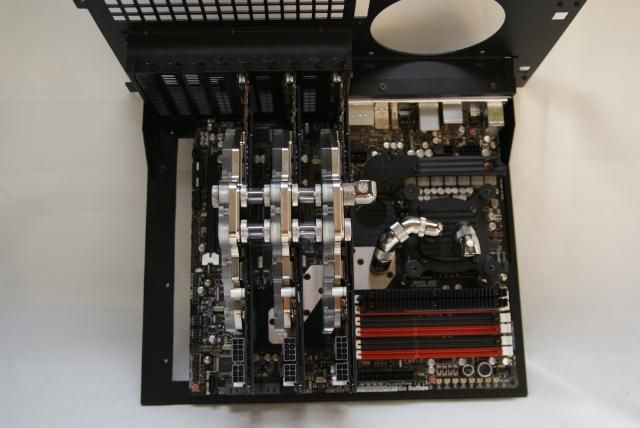
Rampage III Extreme
With EK full cover block
This will also be covered with carbon;)
That's it............Grtzzz
-
Re: Silverstone TJ11 Carbon
Looking good. :up: The new front panel really cleans it up.
-
Re: Silverstone TJ11 Carbon
Update
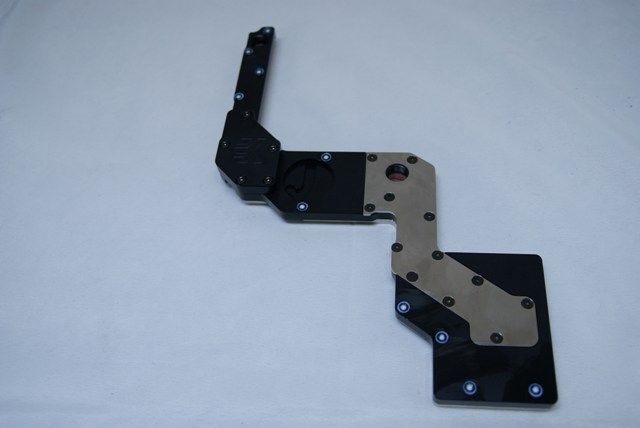
Now that I have the REIII I can not stay behind in order to coat it with carbon. Before I'm going to do this, there is some treatment needed.
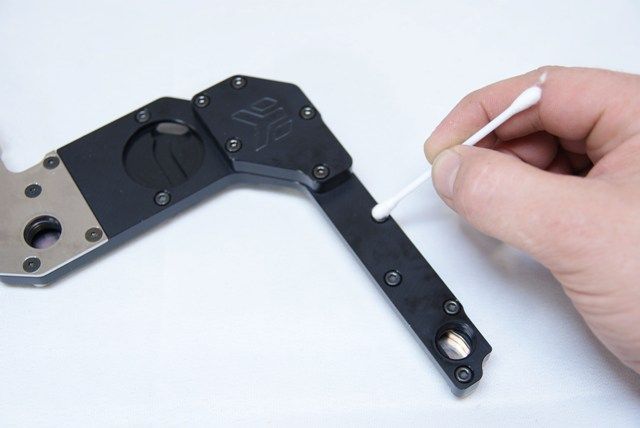
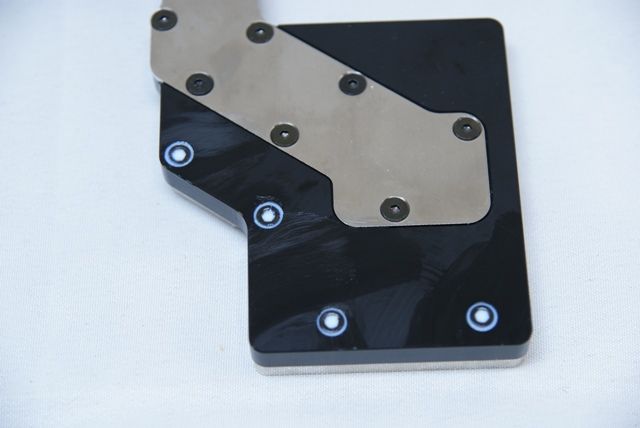
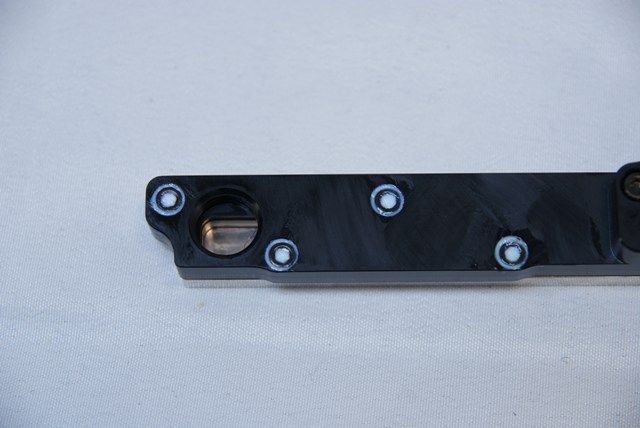
If I stick the carbon film without doing this, you will see the holes where the bolds are in
That's why I’m gonna cover the holes. What we need:
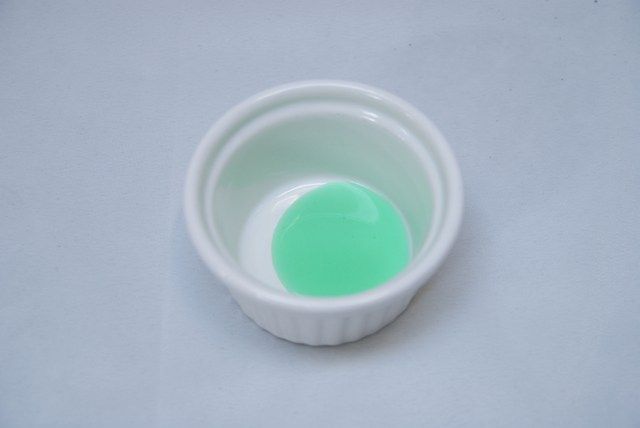
Detergent
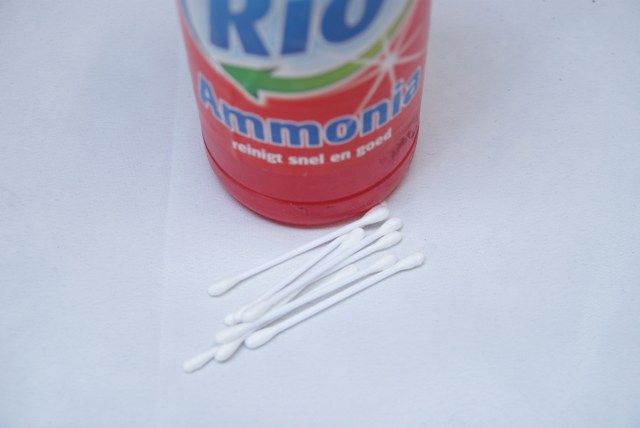
Ammonia with some cotton swabs
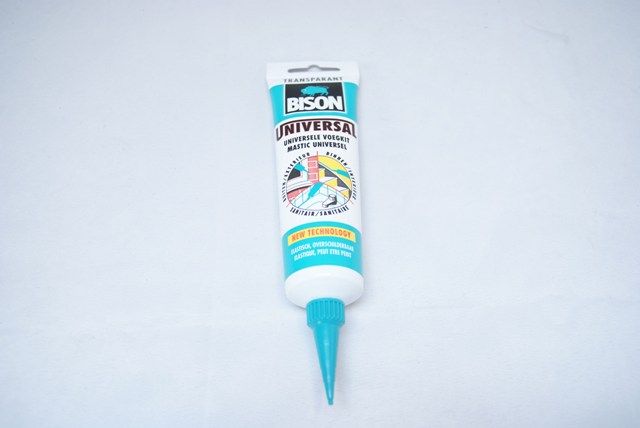
And some silicone sealant
First I have cleanedand degreased the holes and bolts
Then the put the sealant in it and smoothed it with detergent on the finger
When everything was dry I put the carbon on. Heated the carbon with the heatgun to get the Straight edges
Cut the edges and lines with a sharp knife
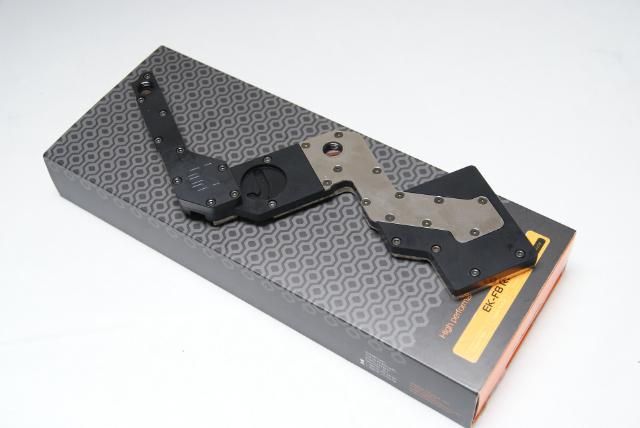
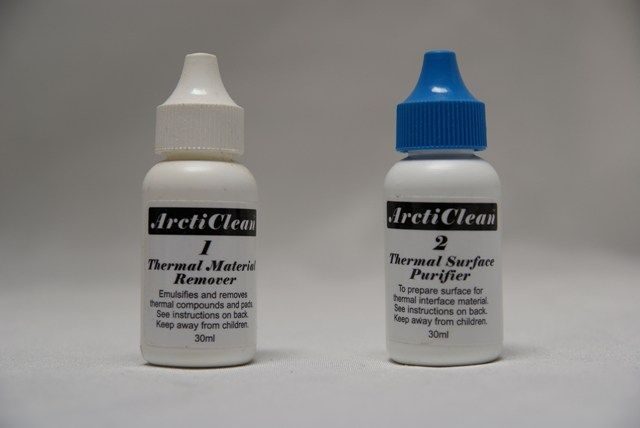
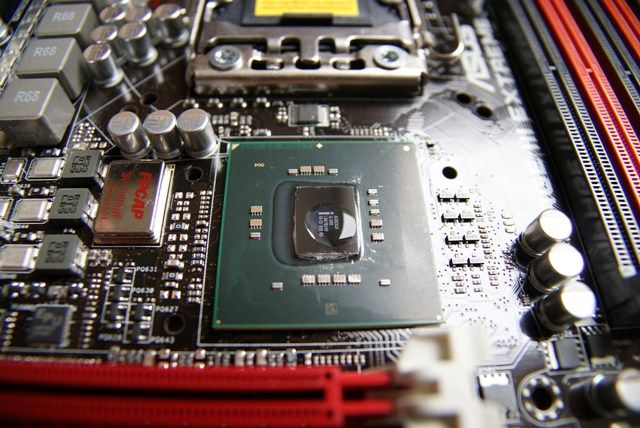
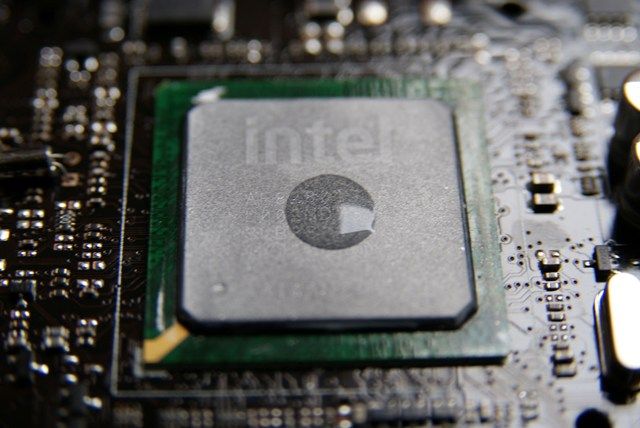
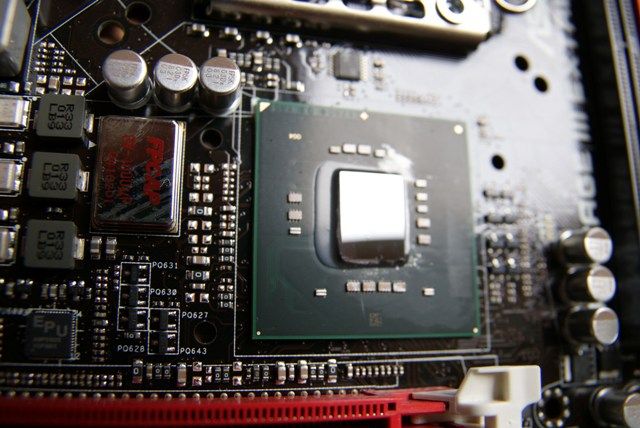
Then it was time to treat the motherboard. Screwed the The original blocks off and used a cleaning kit to clean everything
Arctic Silver ArctiClean Reinigingskit
A few drops
And it's clean
Placed the Waterblock
Finished
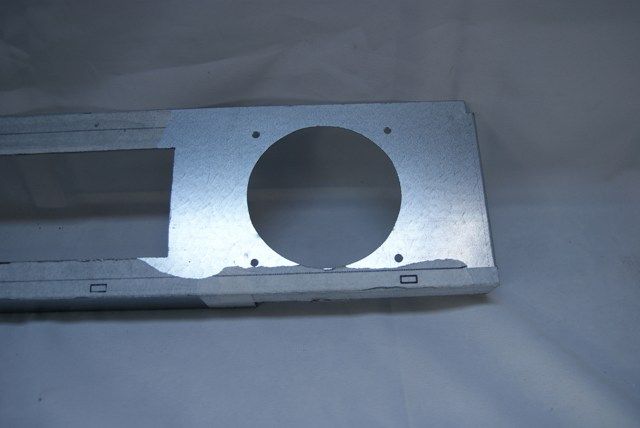
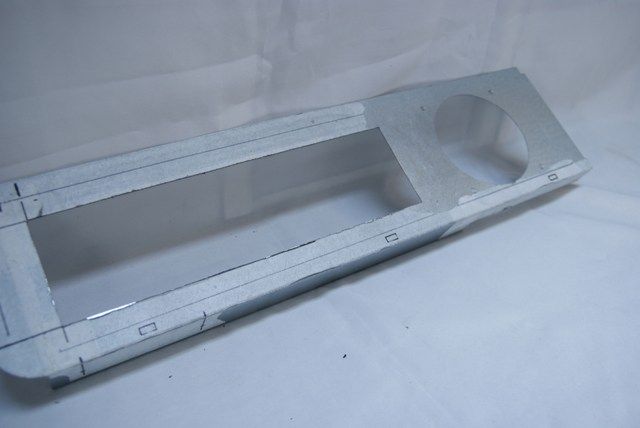
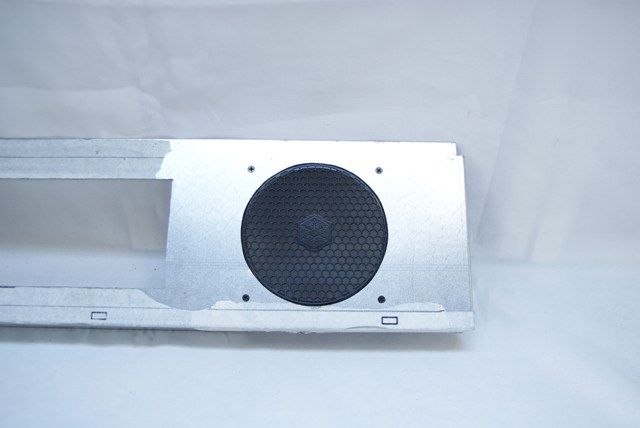
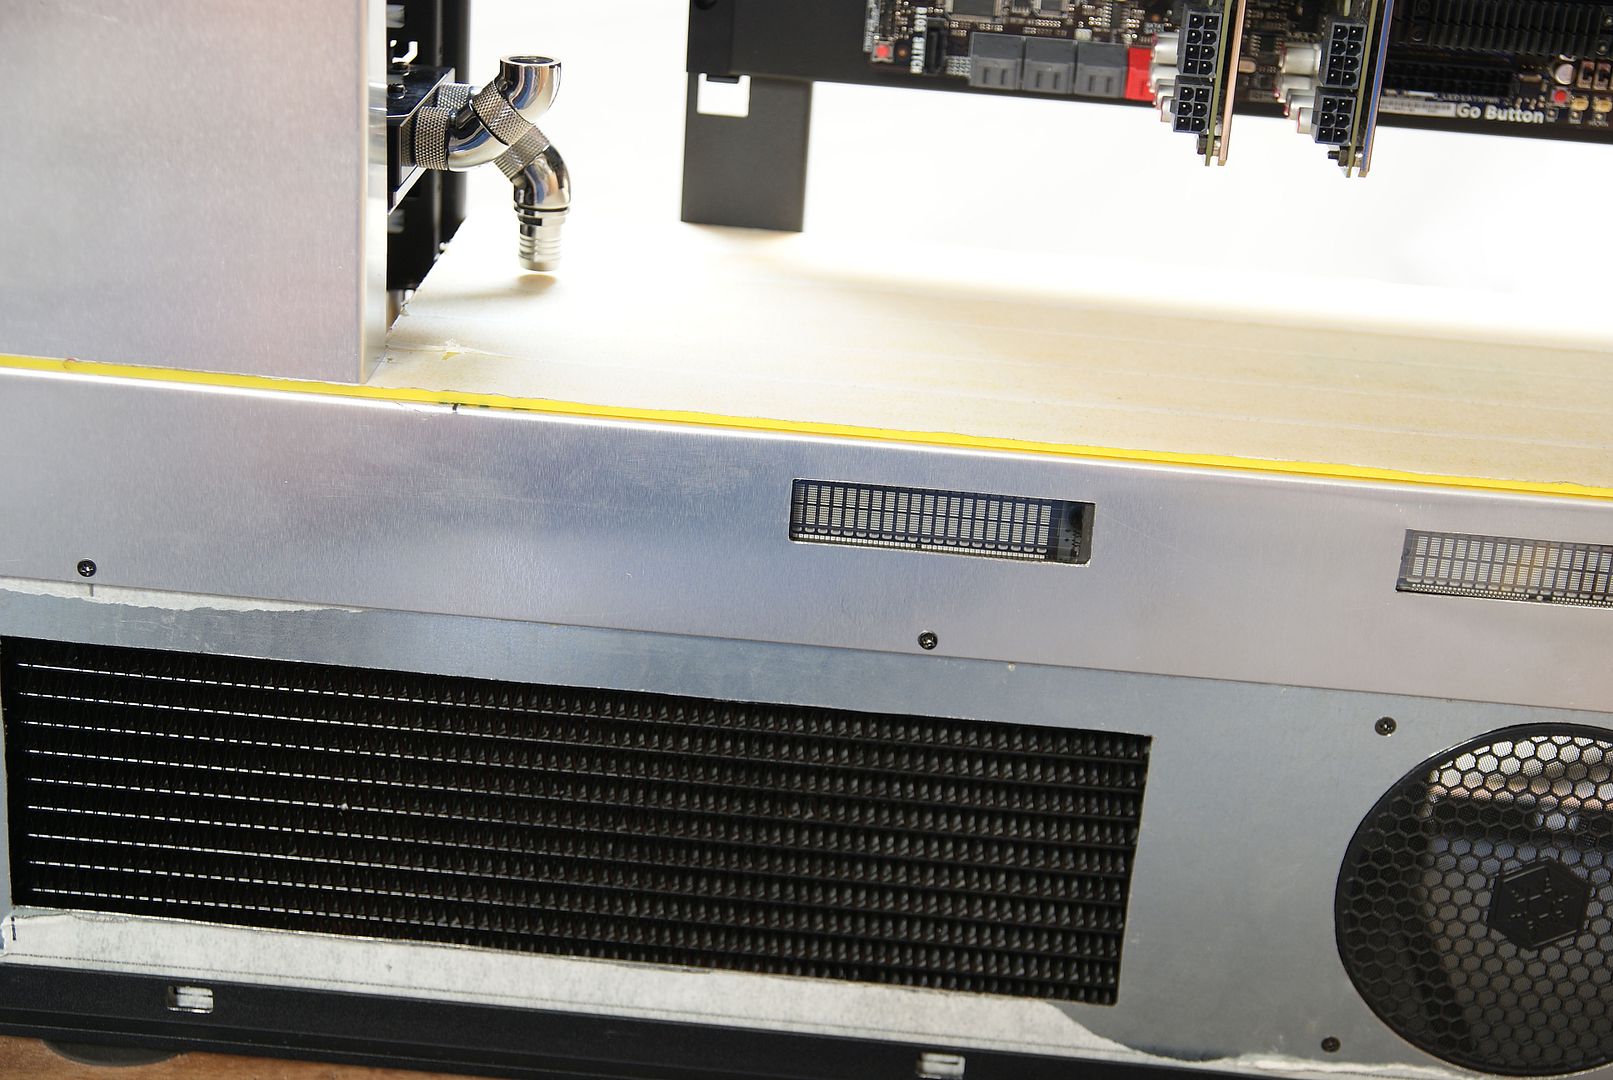
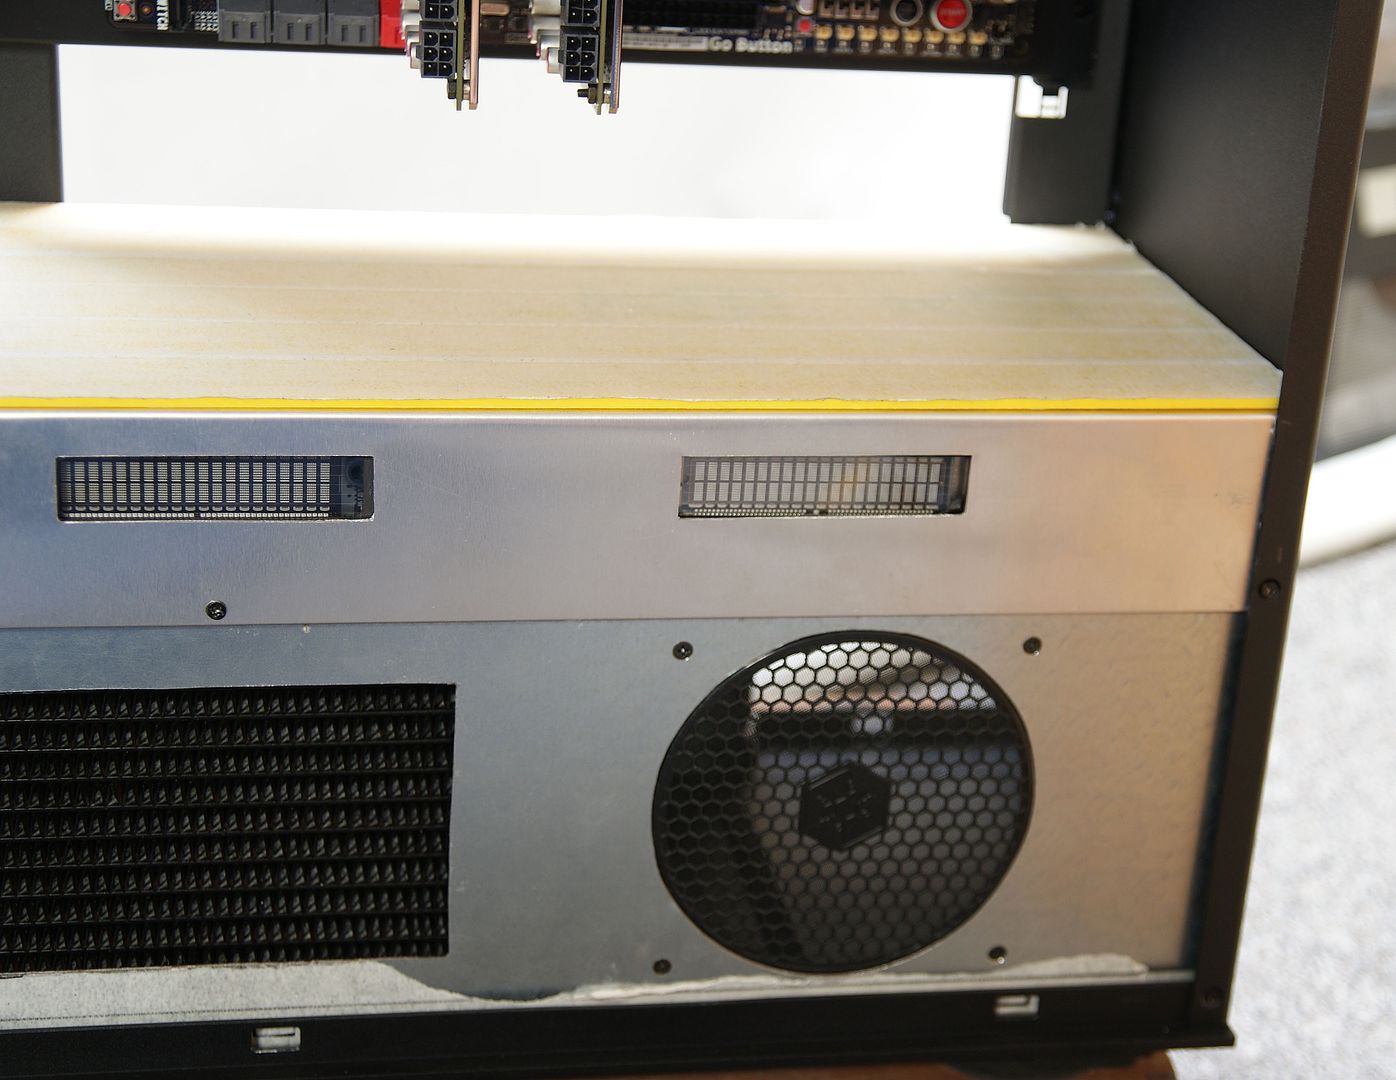
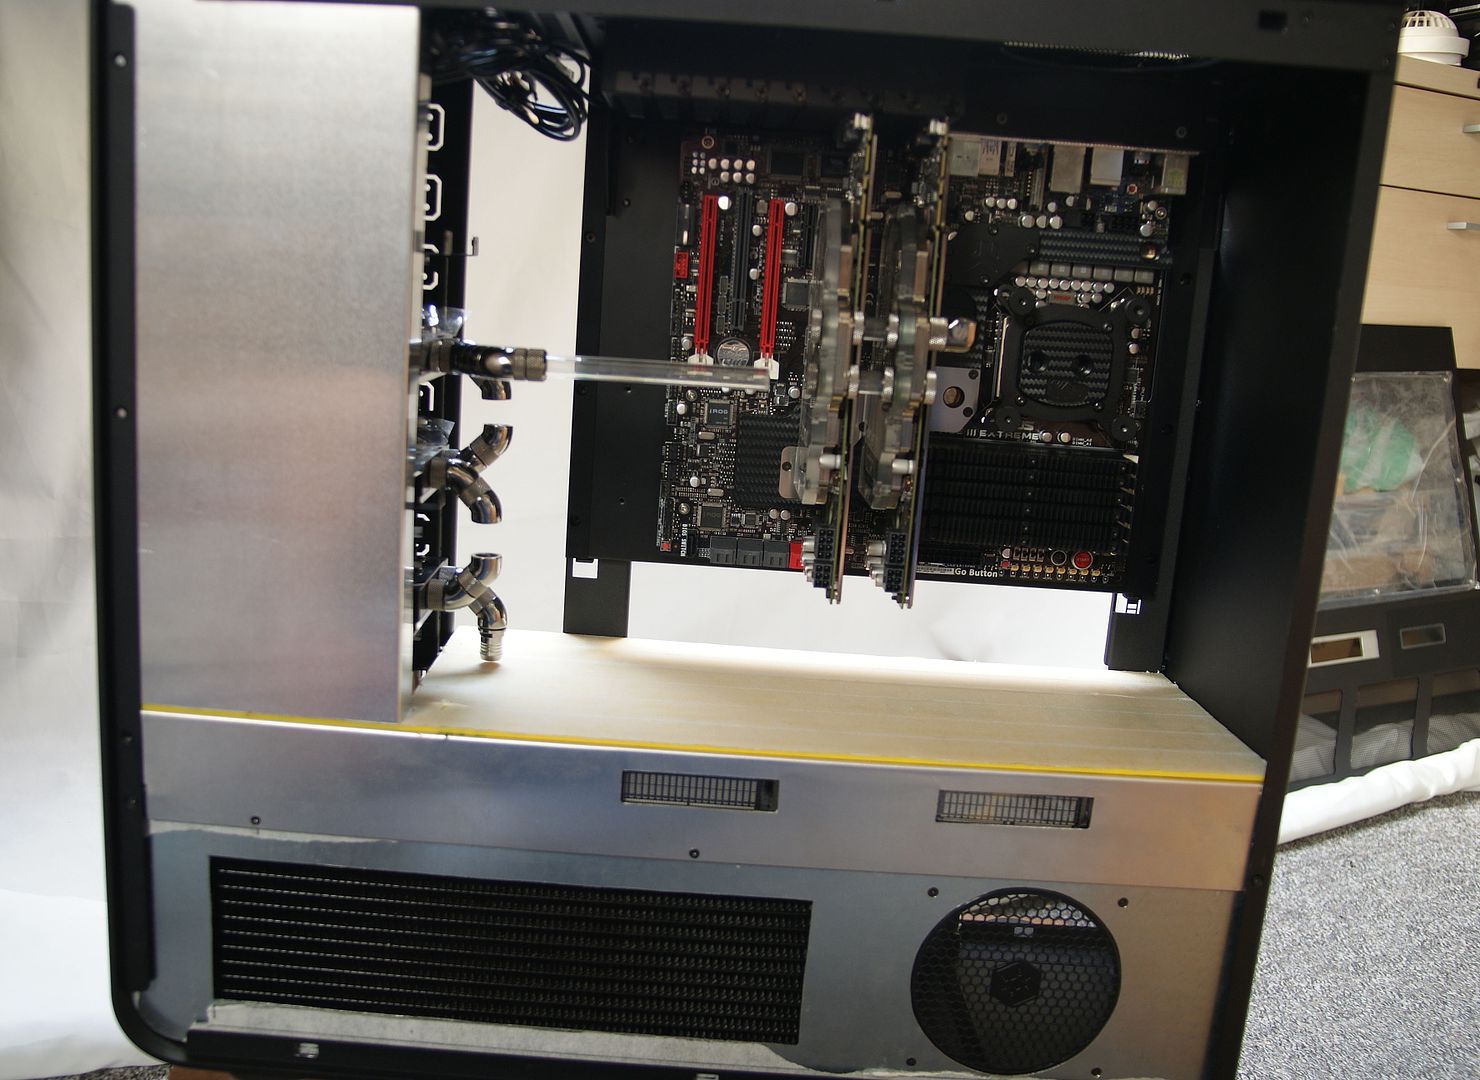
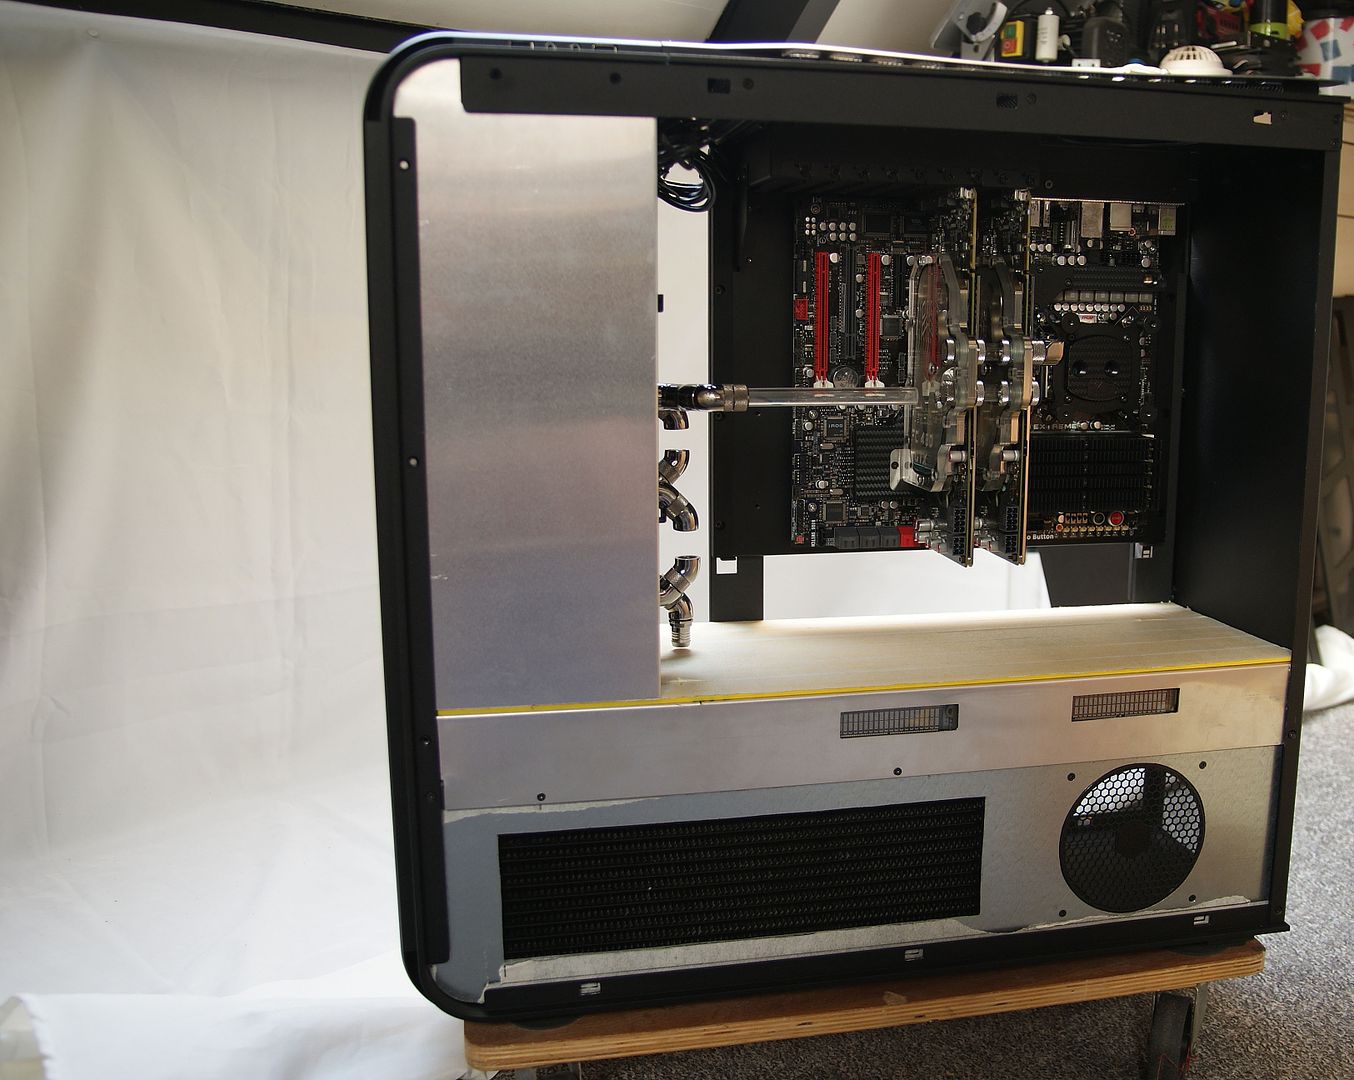
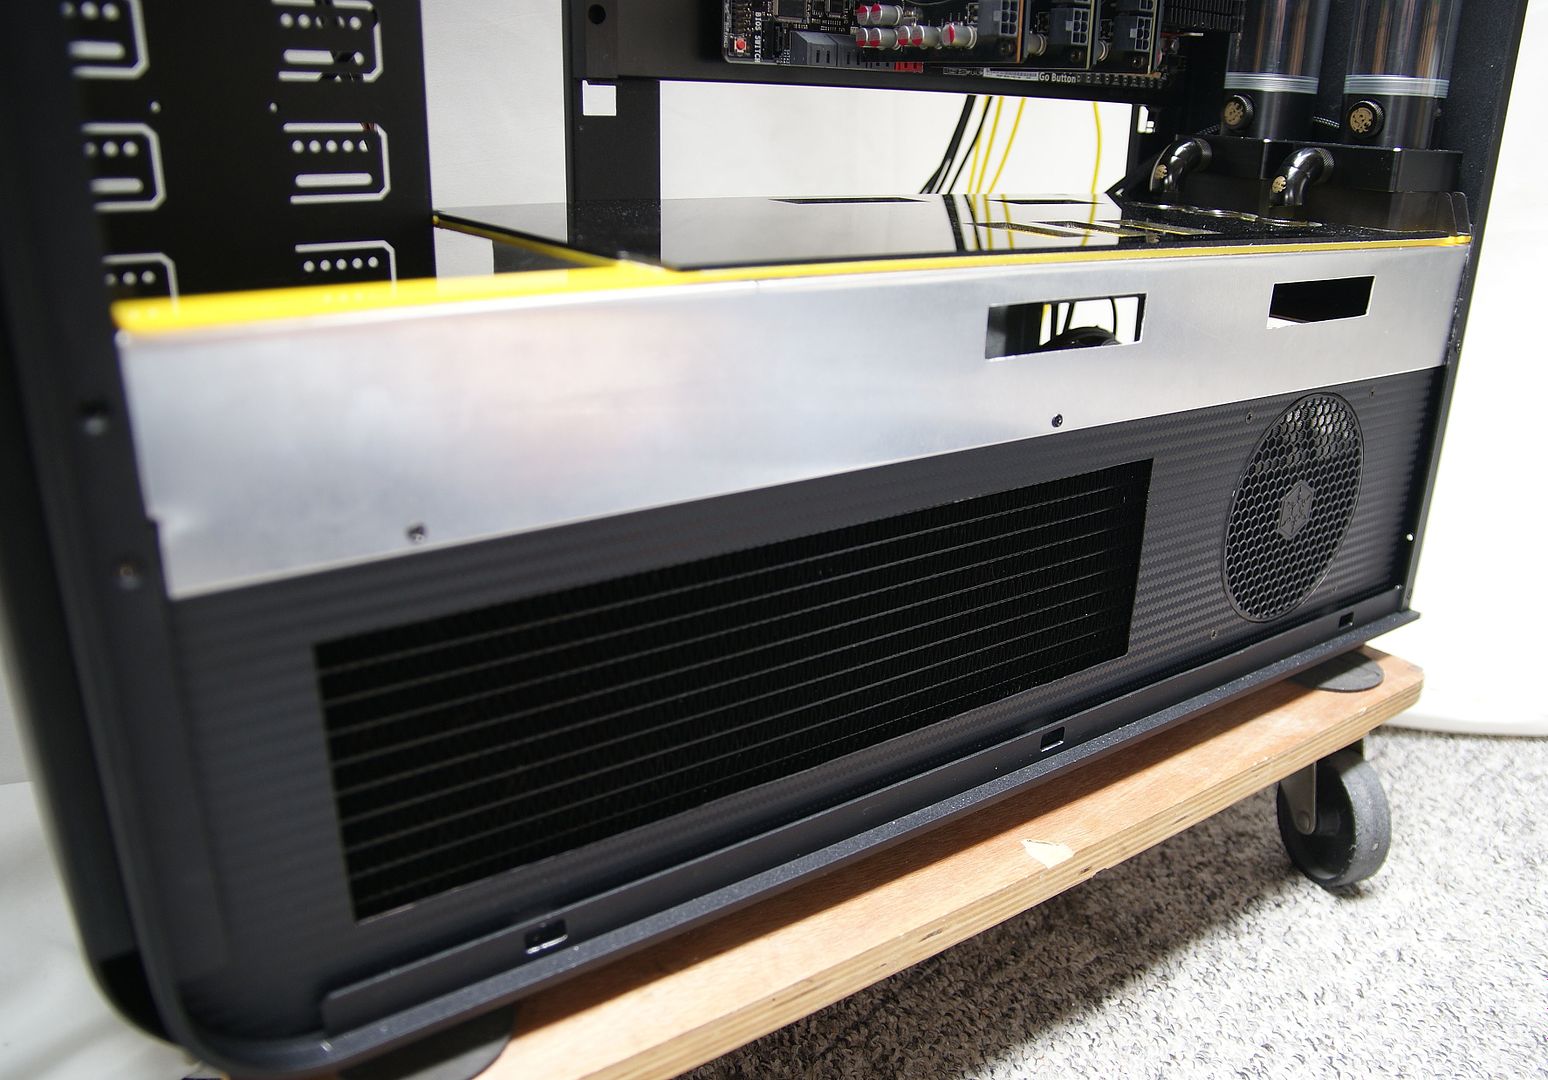
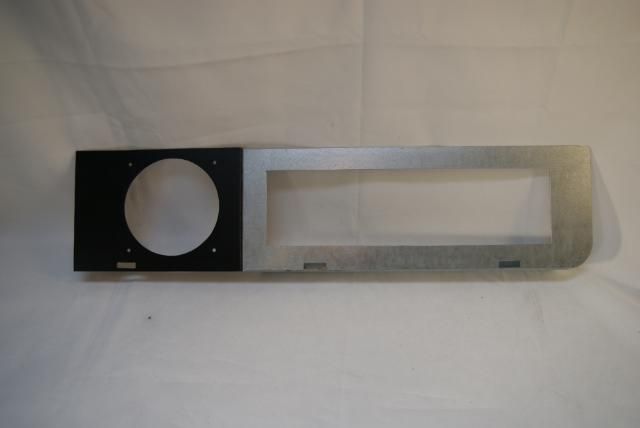
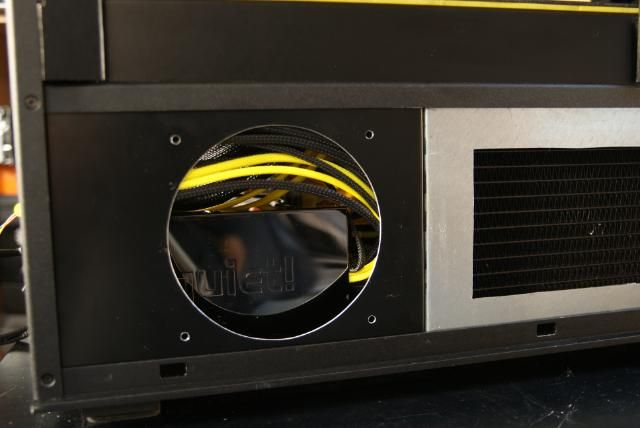
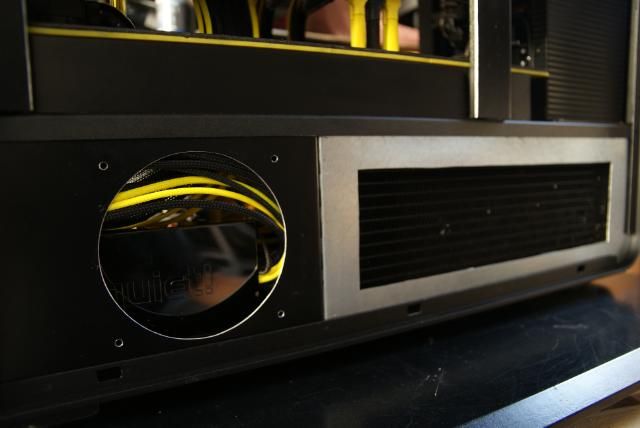
I also changed the cover of the radiator, as I need to have optimum heat dissipation. That's why I cut a 120mm hole next to the radiator
.
This fan will blow the hot air out from the lower compartment
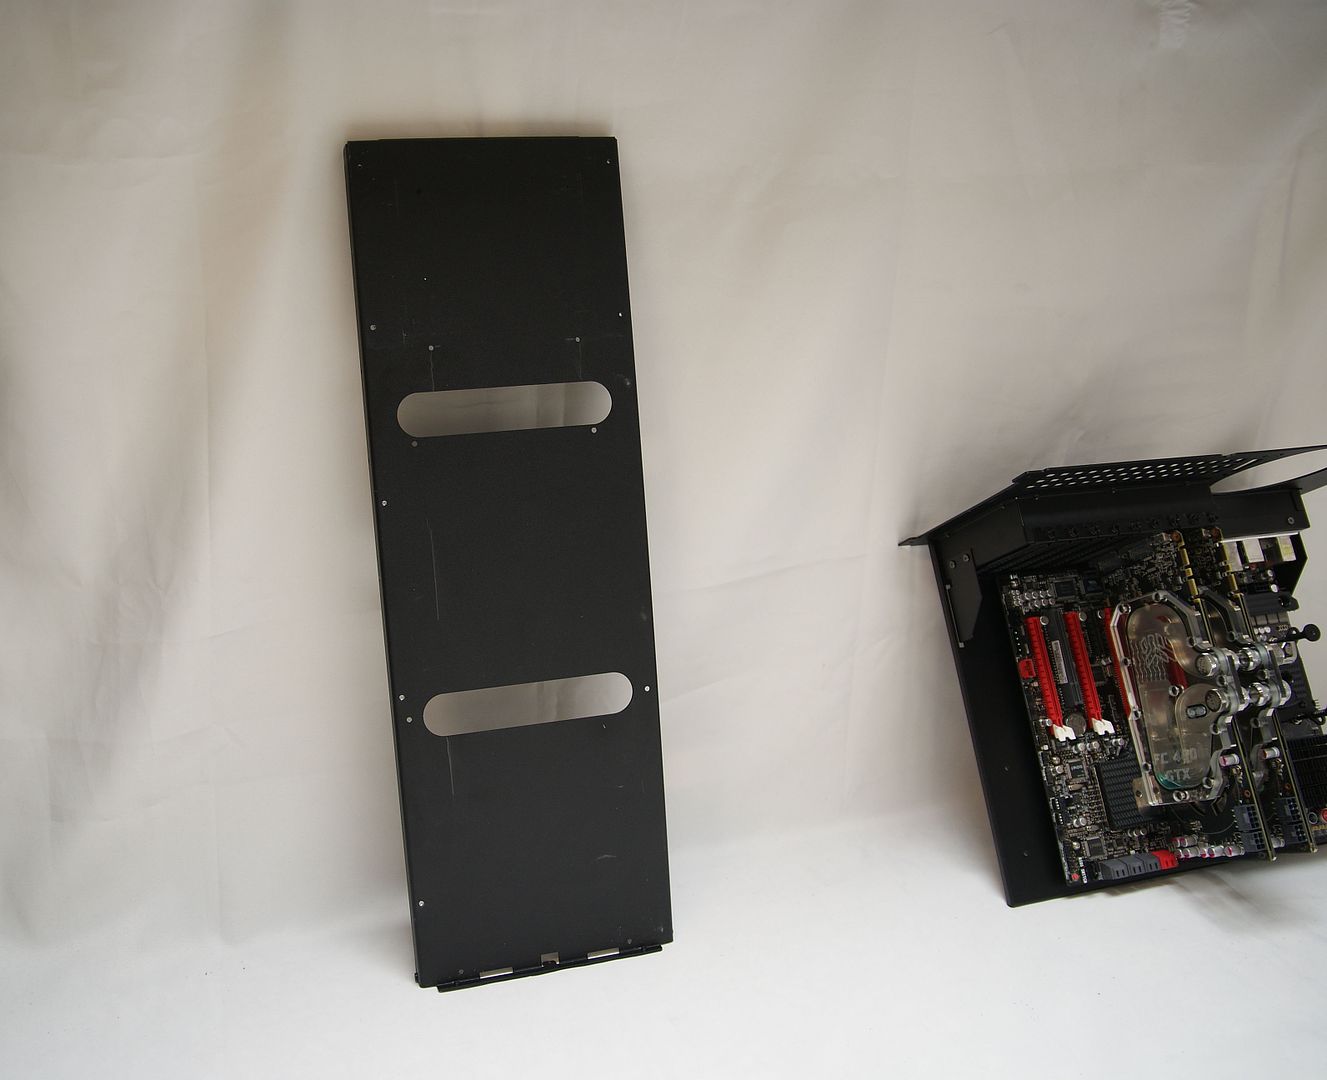
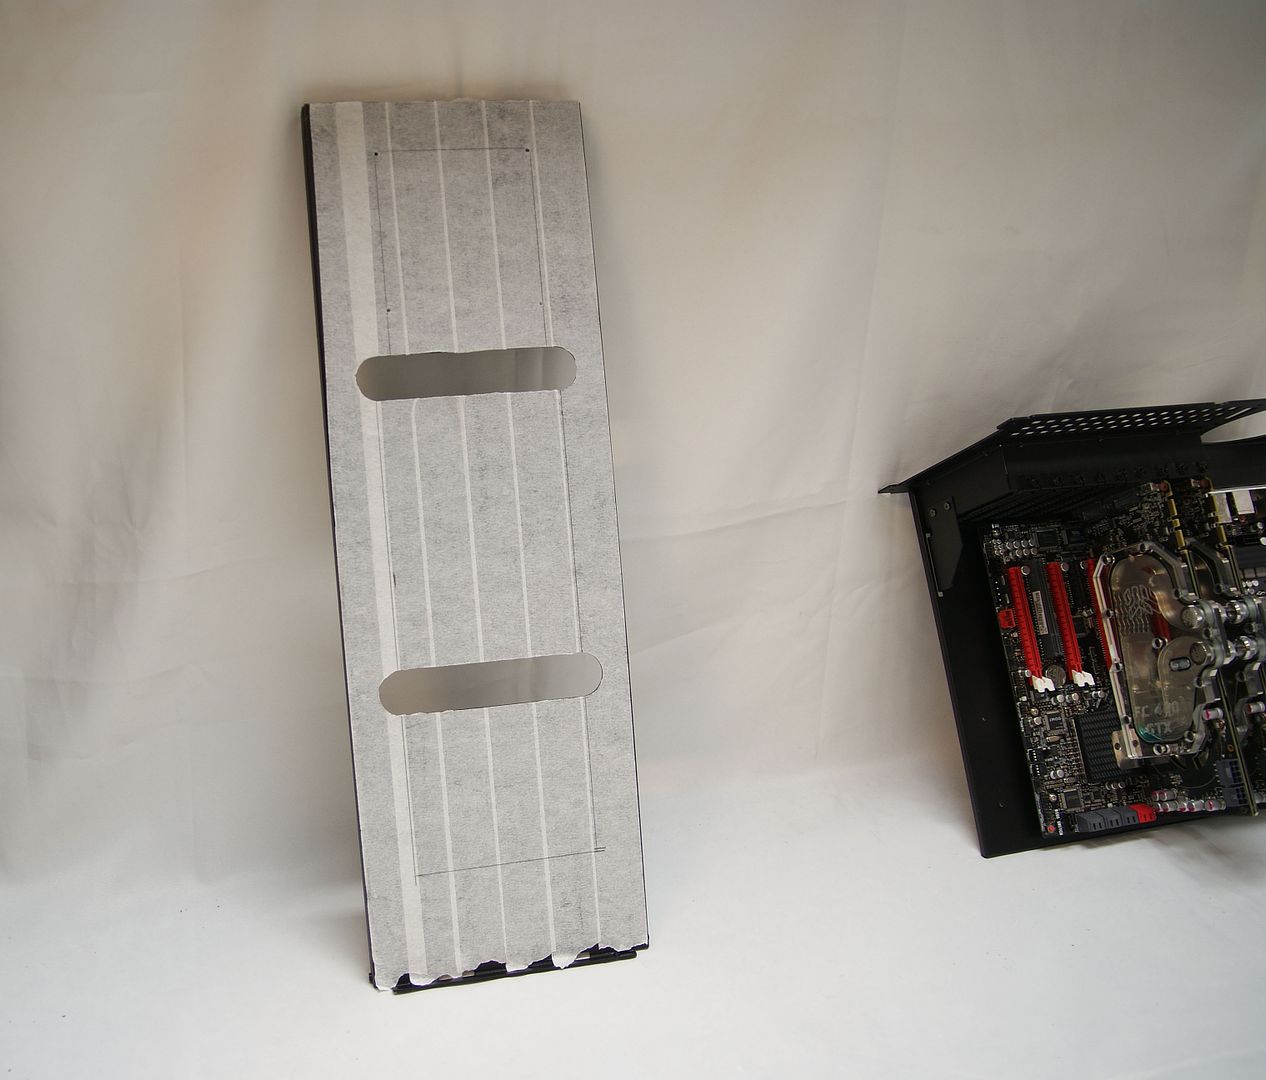
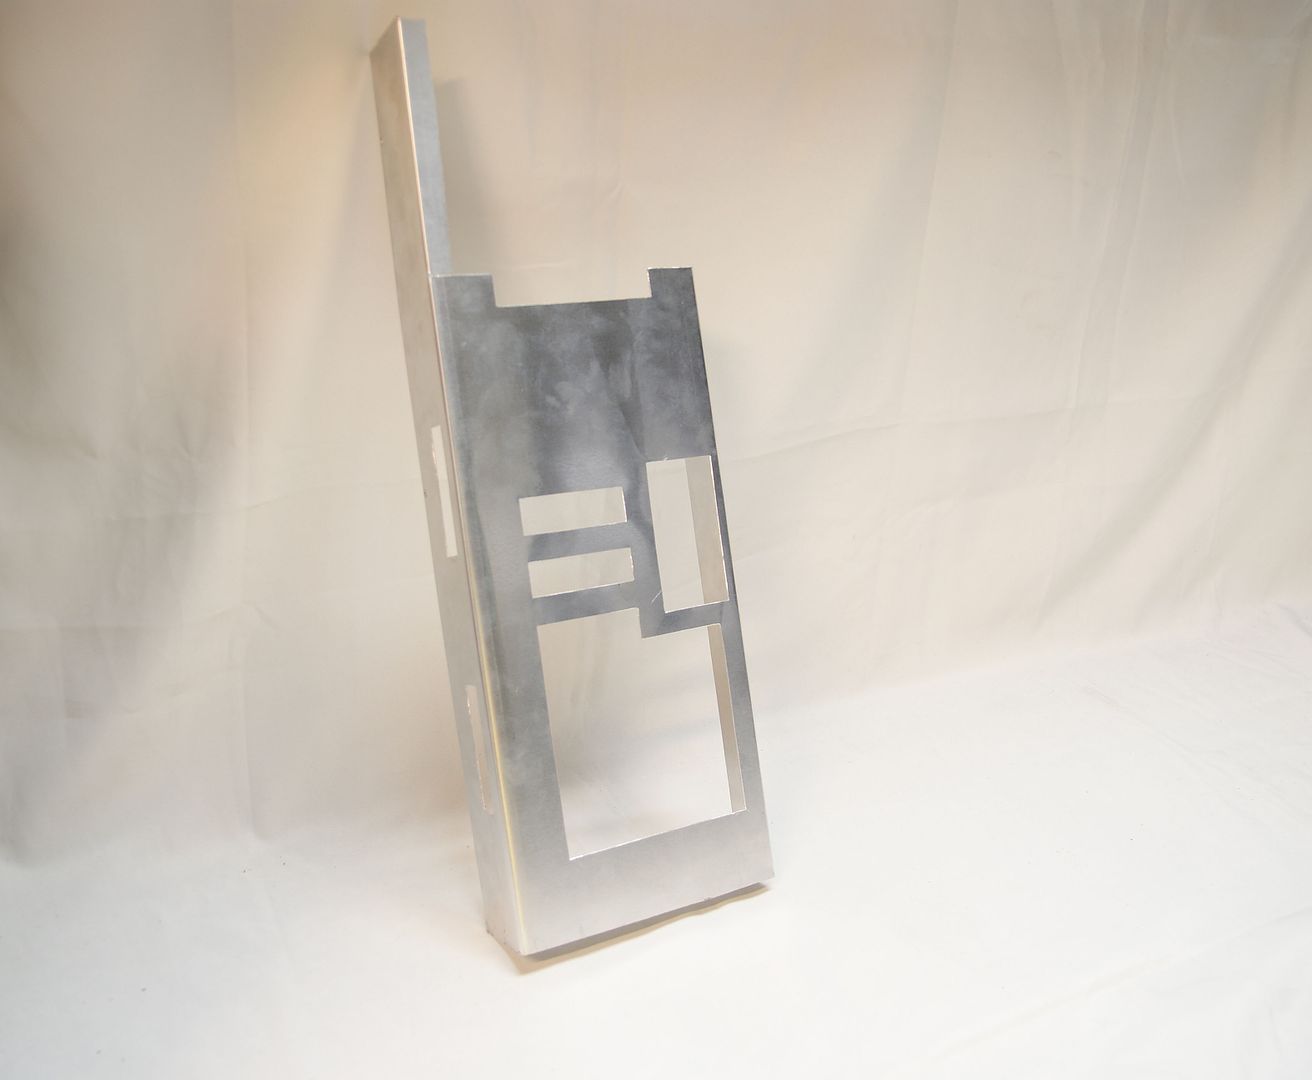
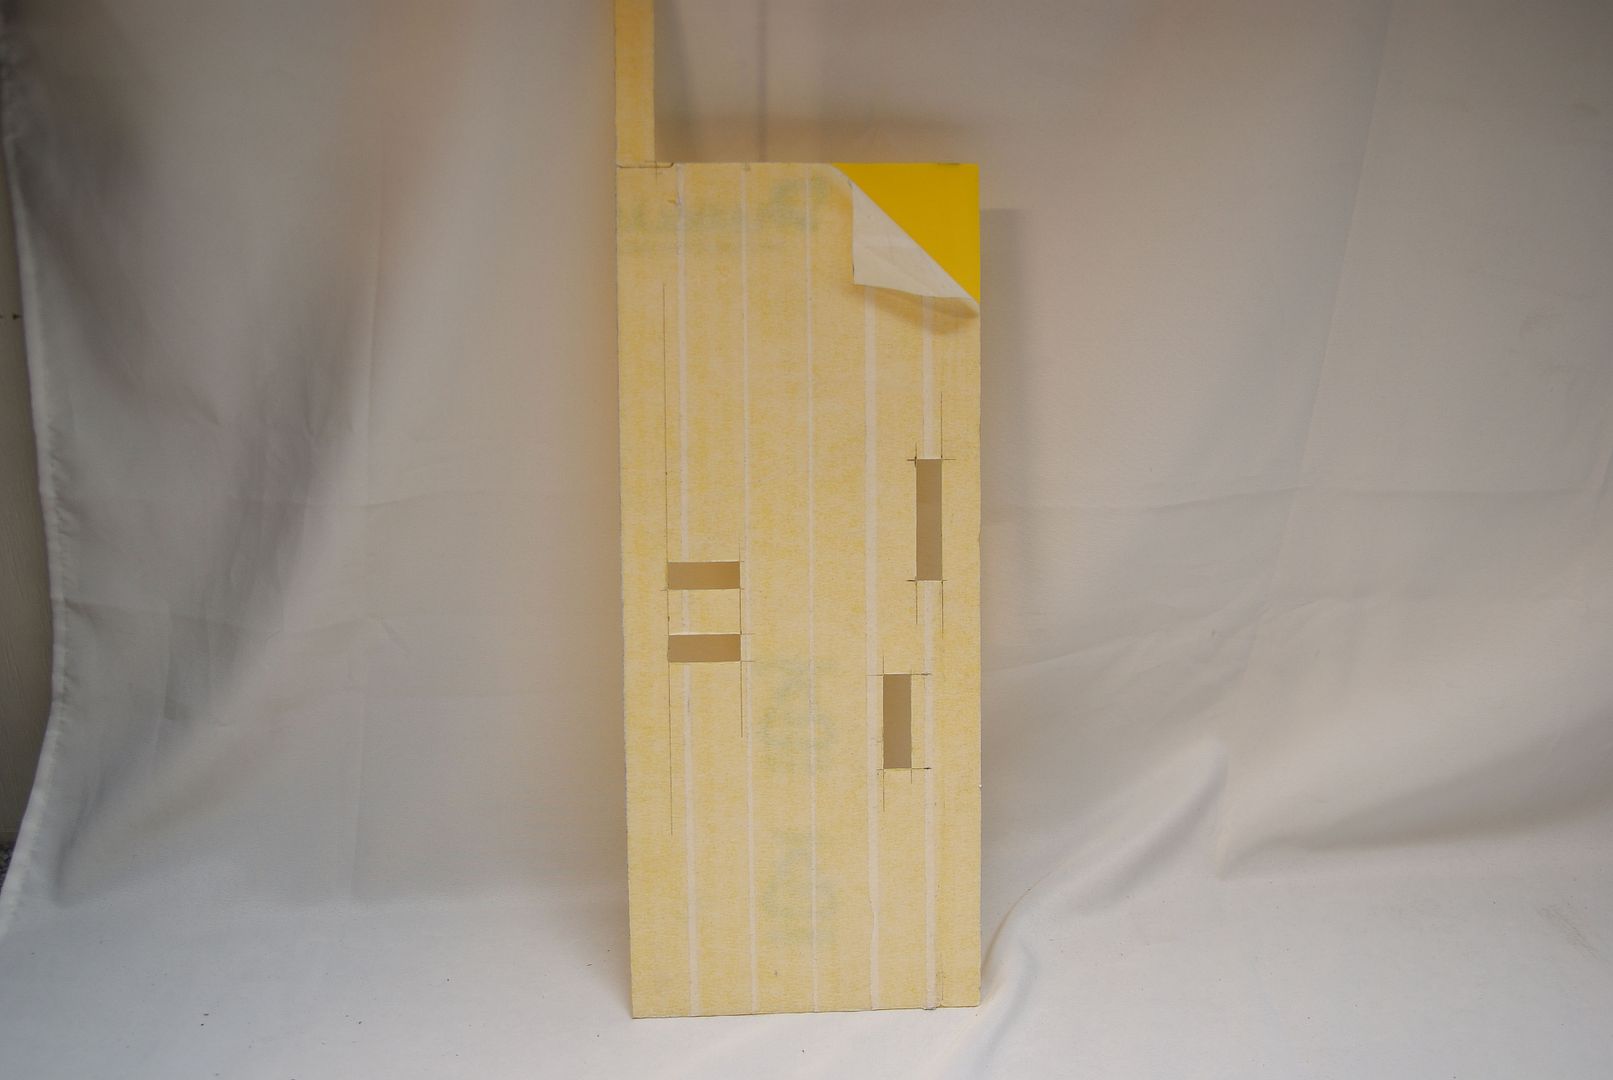
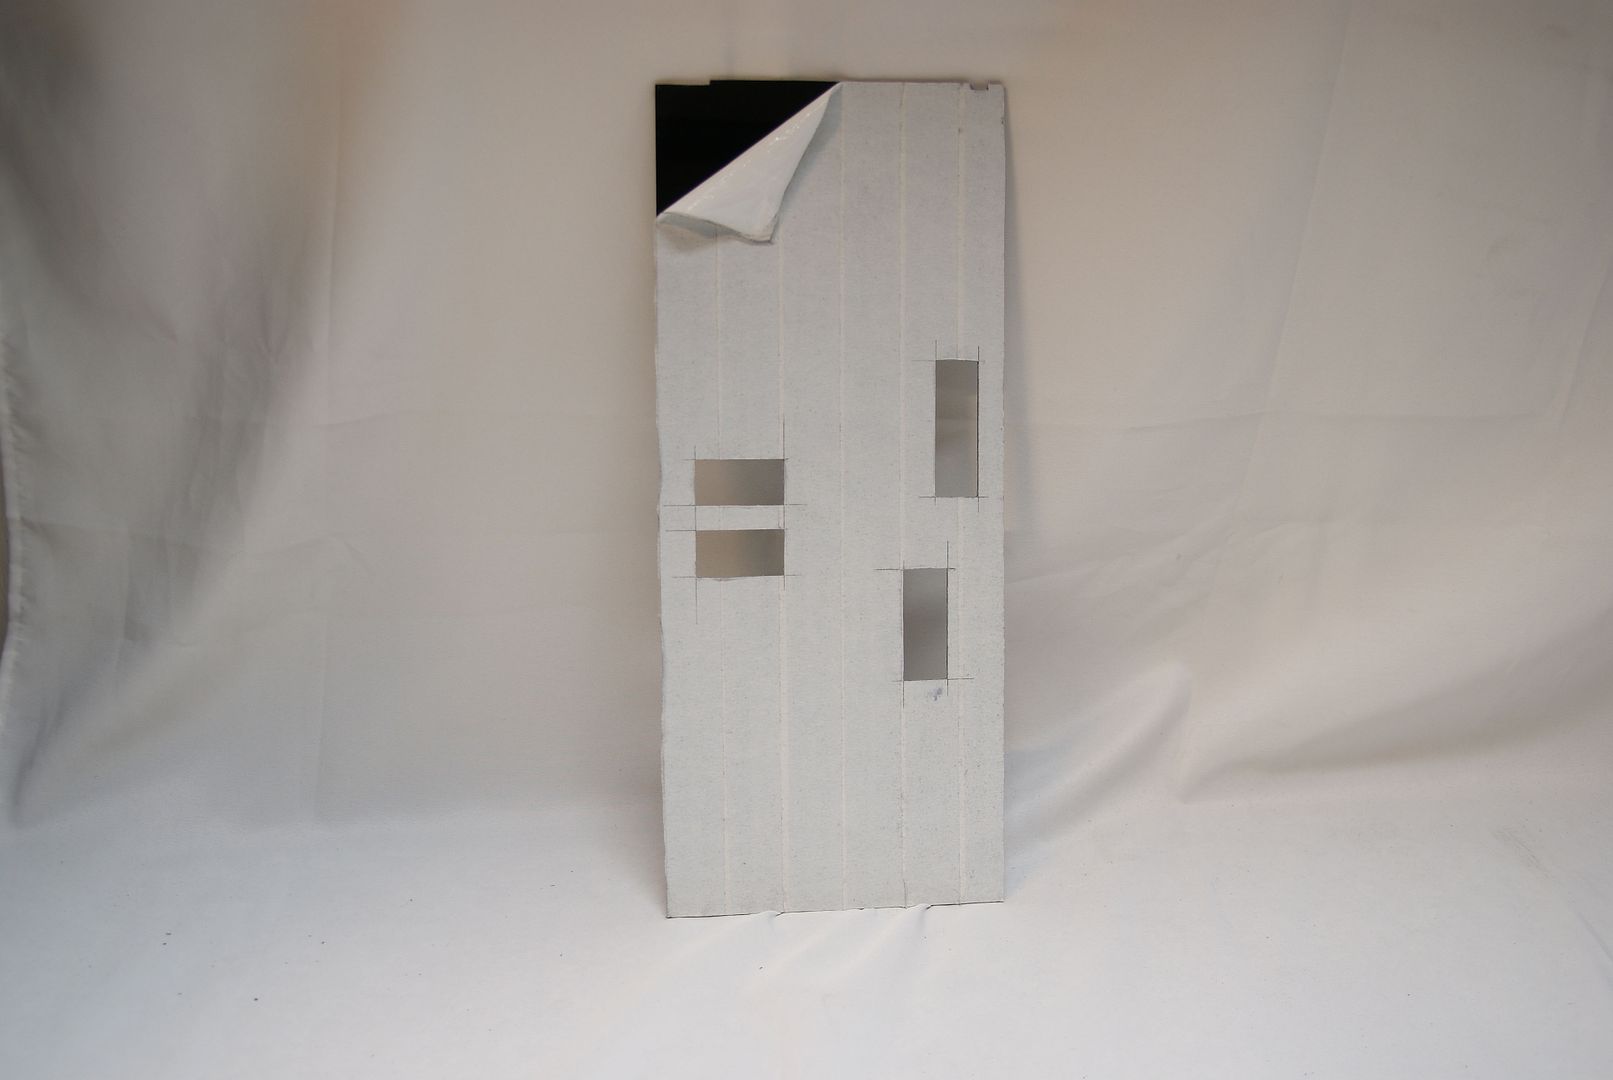
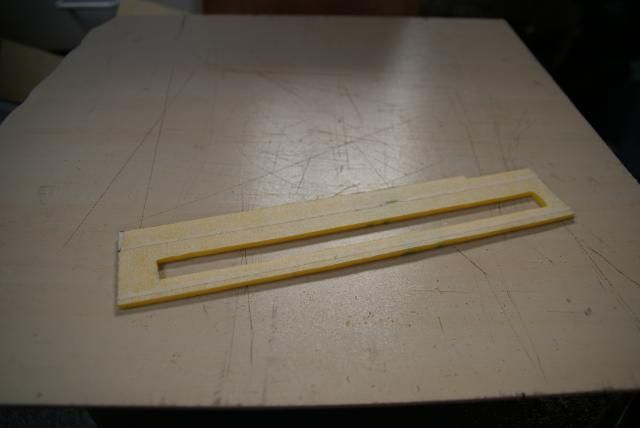
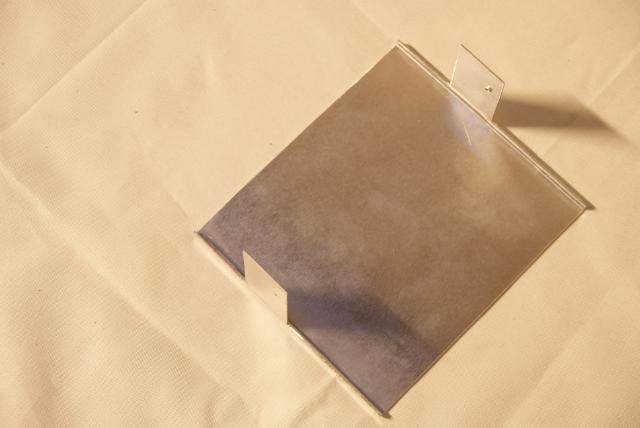
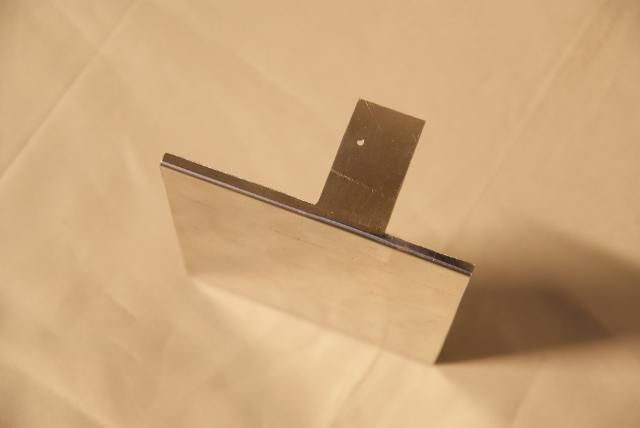
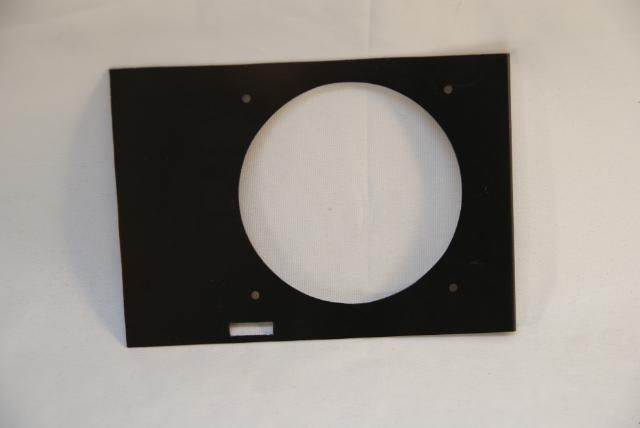
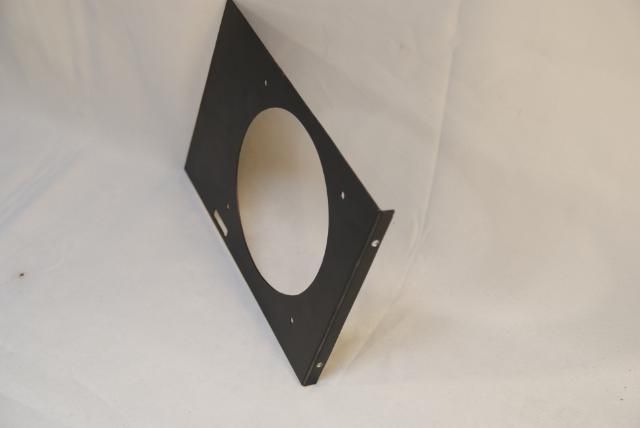
To still stay a little original , I’ve have made a custom midplate, this will be covered with yellow acryl
1mm Aluminum plate
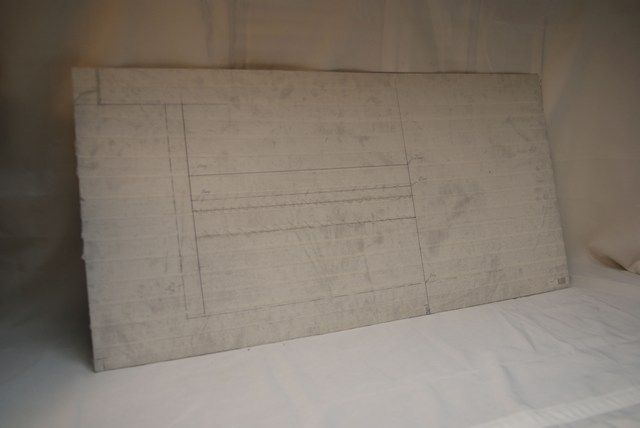
First tape it and marking it
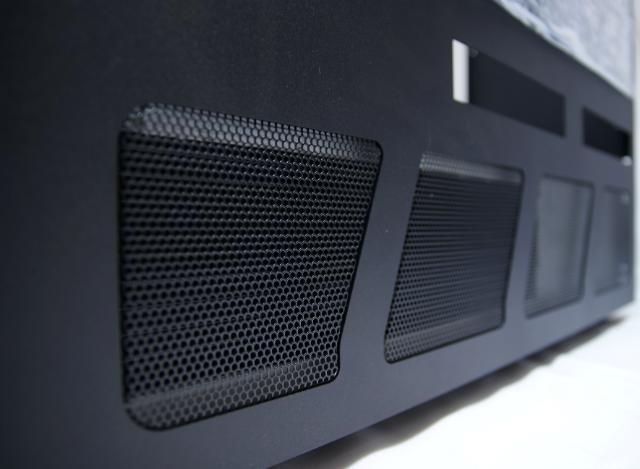
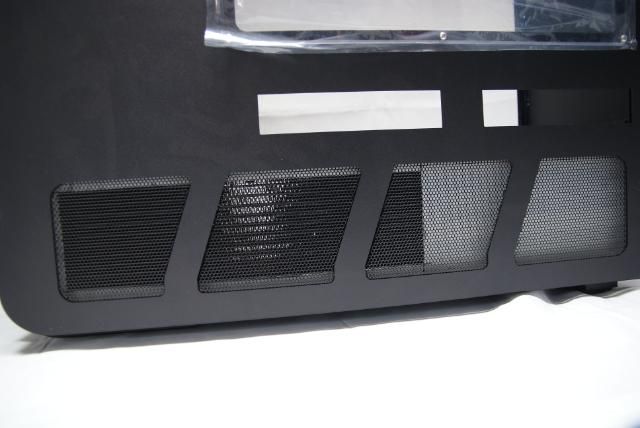
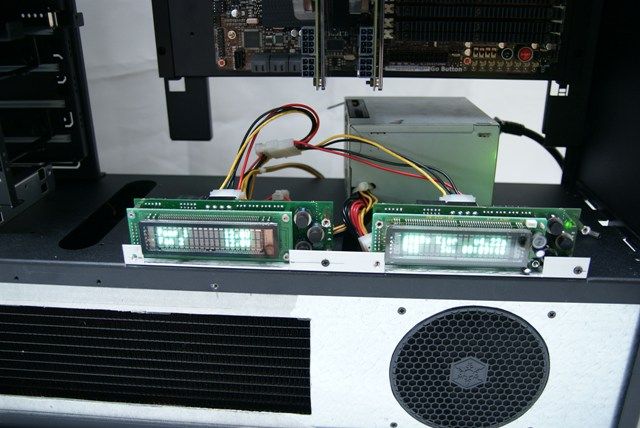
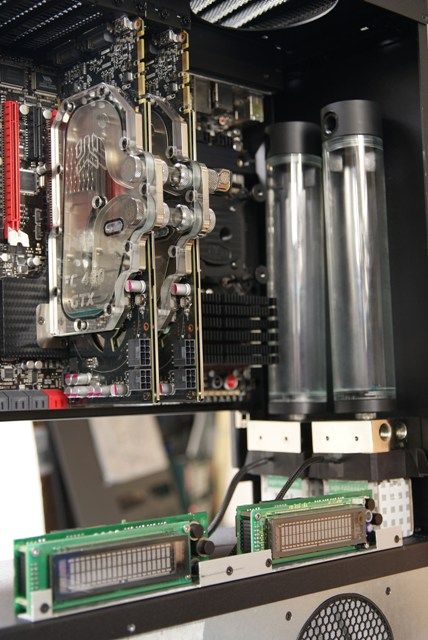
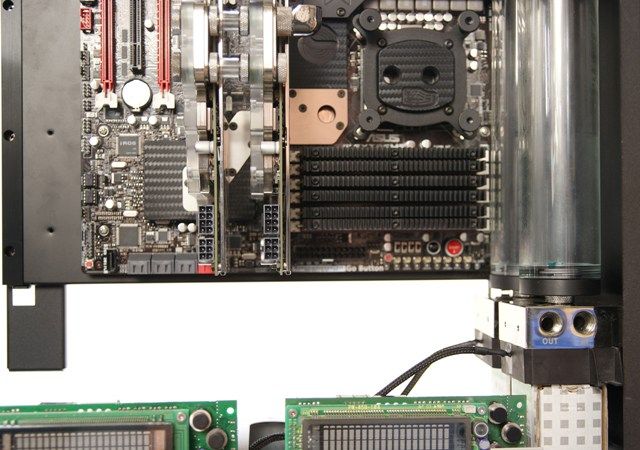
Total shot coming up. The air intakes in the side panels are in my opinion not pretty, but it offers a possibility to use it for 2 aquaero's
Made a bracket and fitted it with an old Aquaero
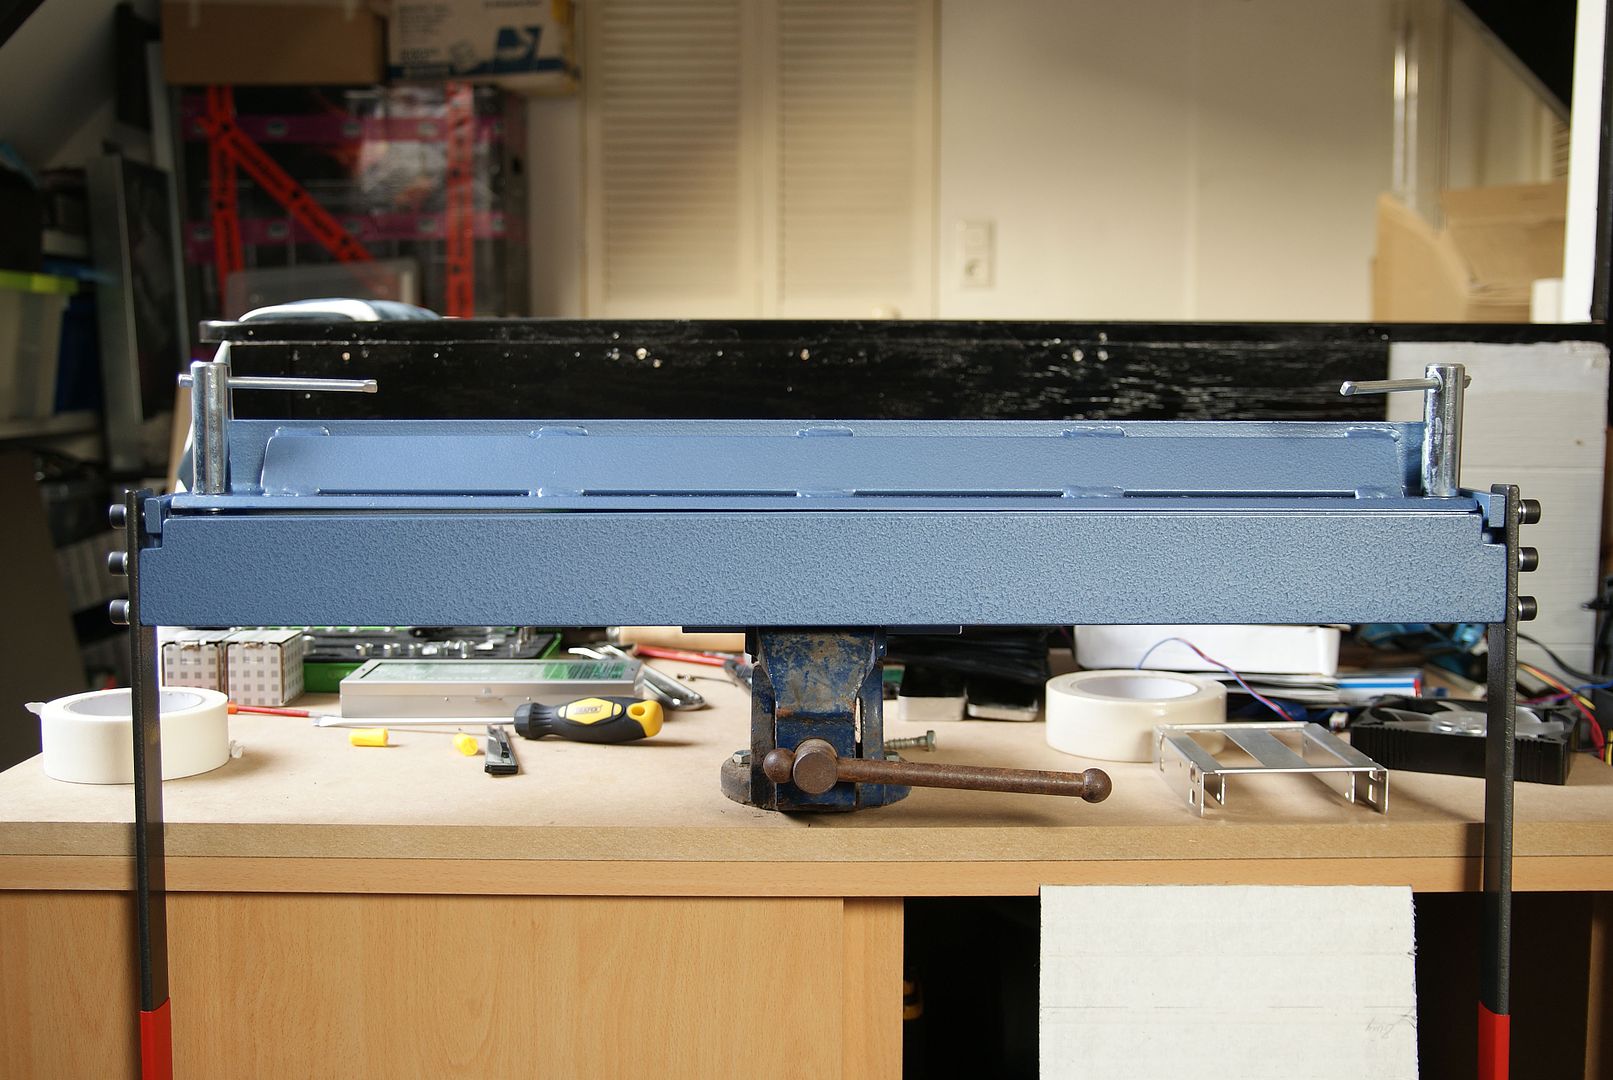
For this one also created openings for the midplate that still has to be bent. I had hoped that I already could showed, but I'm still waiting for my new little folding machine
Then placed the two Aquaero's VF
Placed the midplate in front
Also placed the side panel
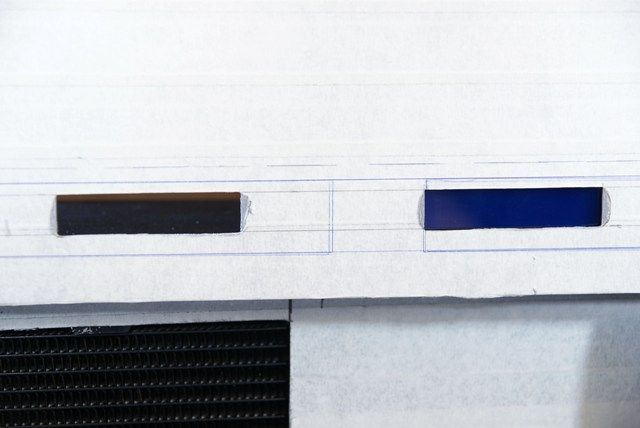
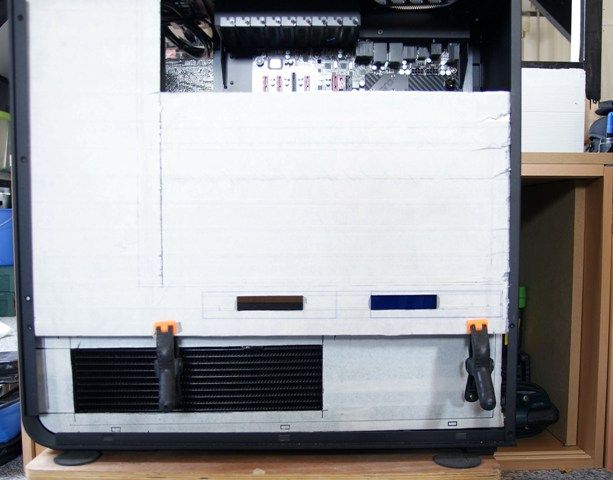
To get smaller recess in the side panel I have a made a piece of aluminum and marked it
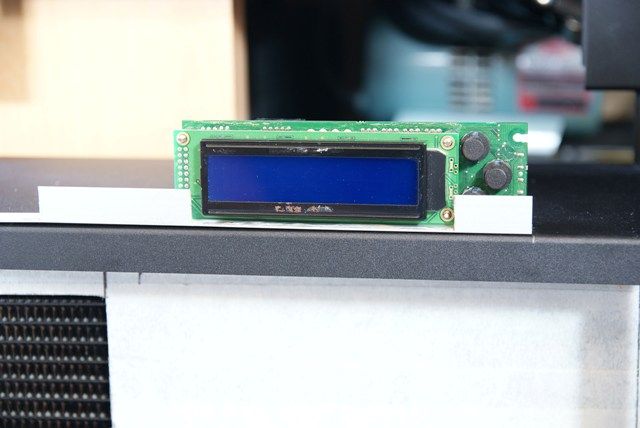
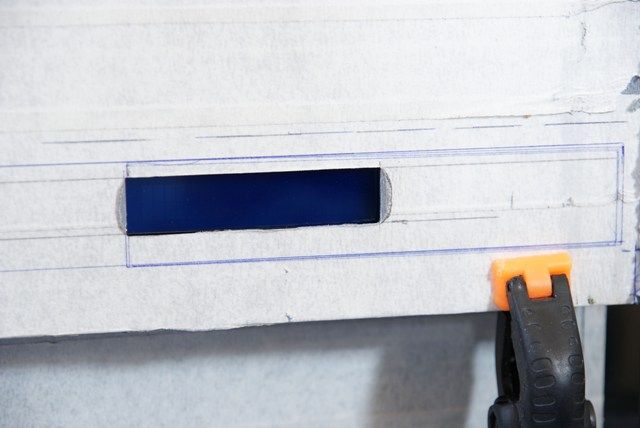
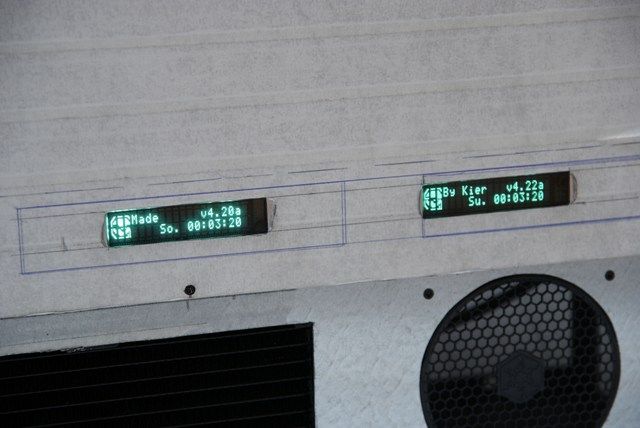
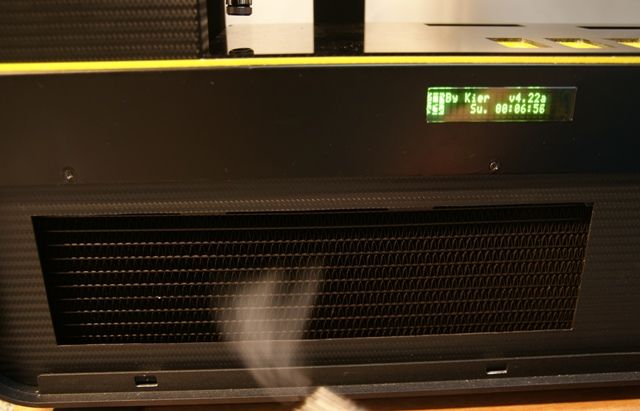
And made this also with openings in the size of the display of the aquaero, s
These I put on the inside and on the outside I have made another piece
This I have made as tight as possible because there wil be later on carbon on it and I do not want to have ugly edges visible. Just put a little bit carbon on it to show what the intention is
Soon as I'm going to do the whole panel, and maybe I’m gonna place another acrylic display for it
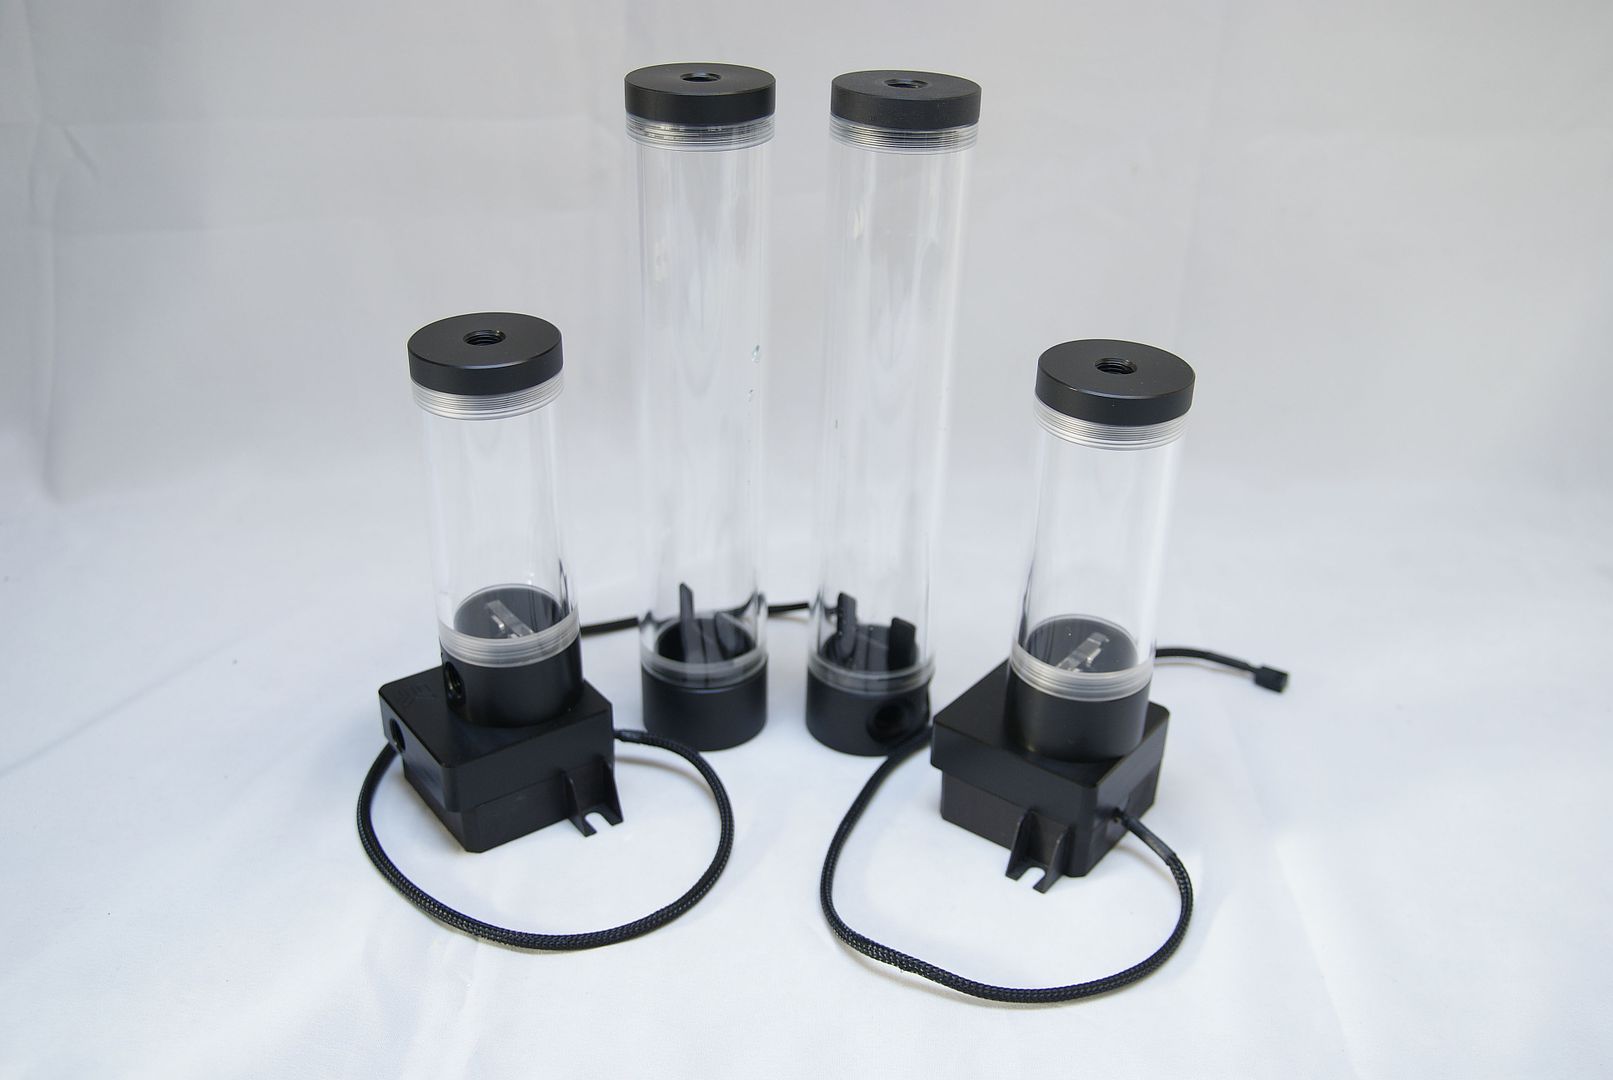
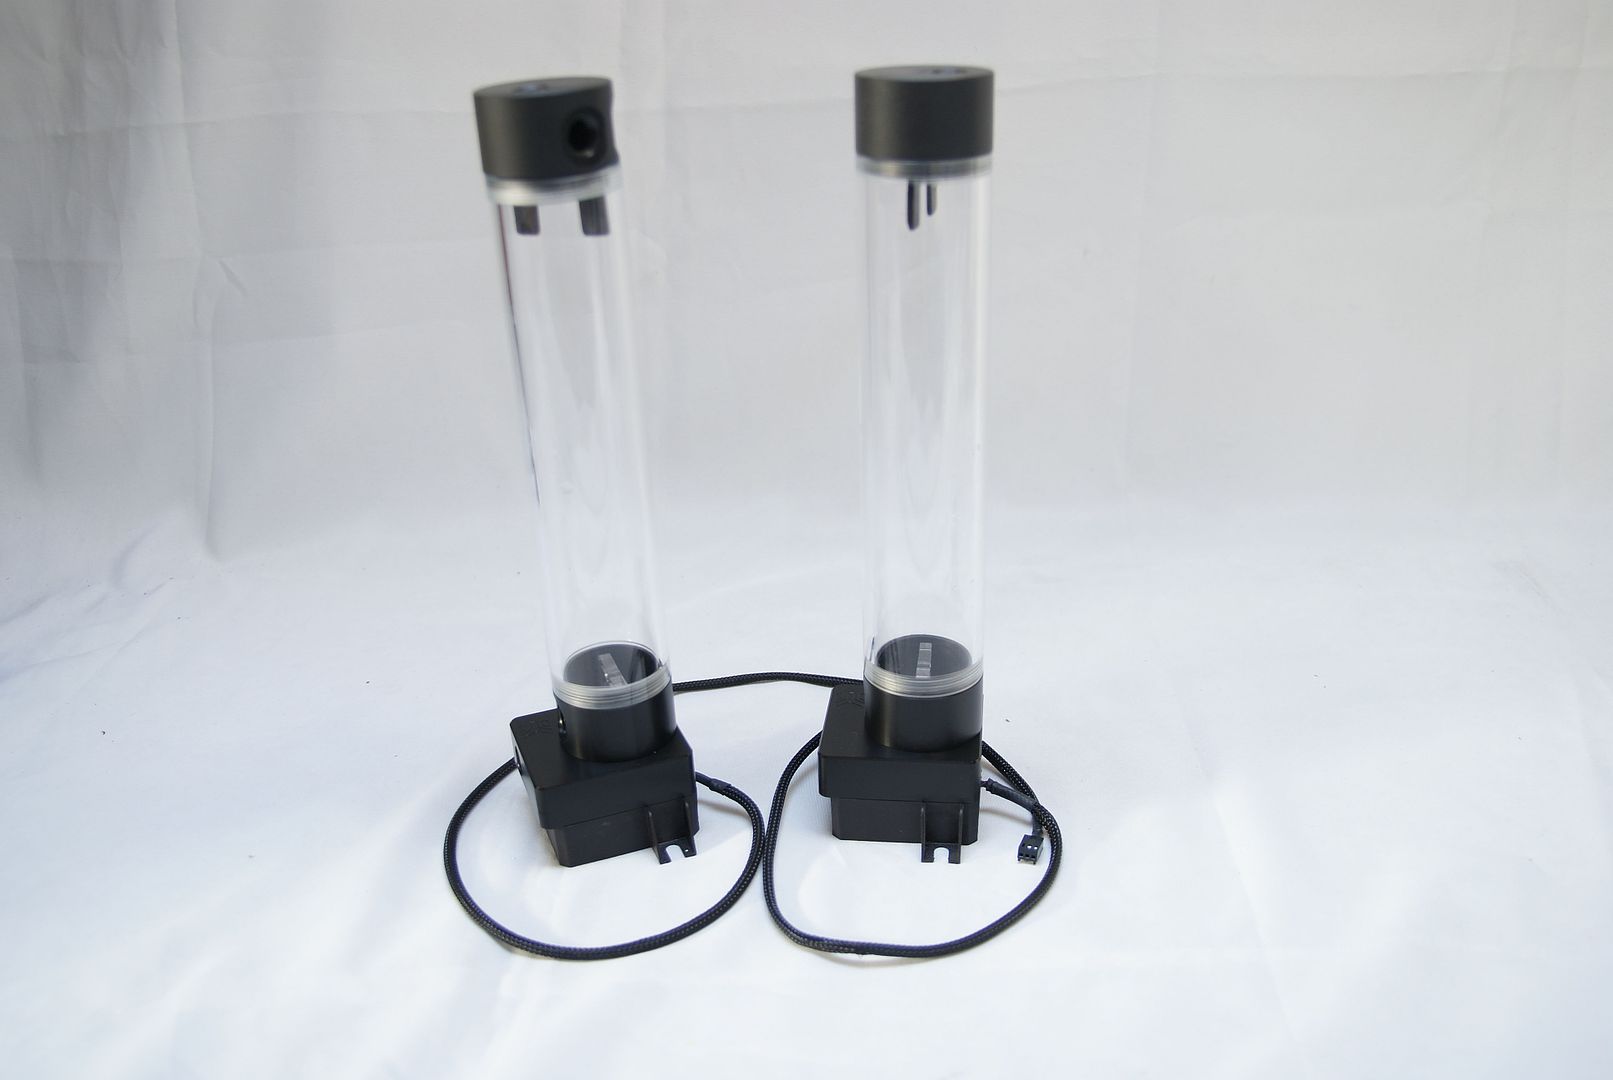
Am also has been busy with the hardware and the WC stuff. Gonna place the reservoir at the back. For this there are coming 2 x EK-DDC X-RES with 200mm reservoirs
To see how it will look i’ve placed them like this
Fits tightly next to my Corsairs
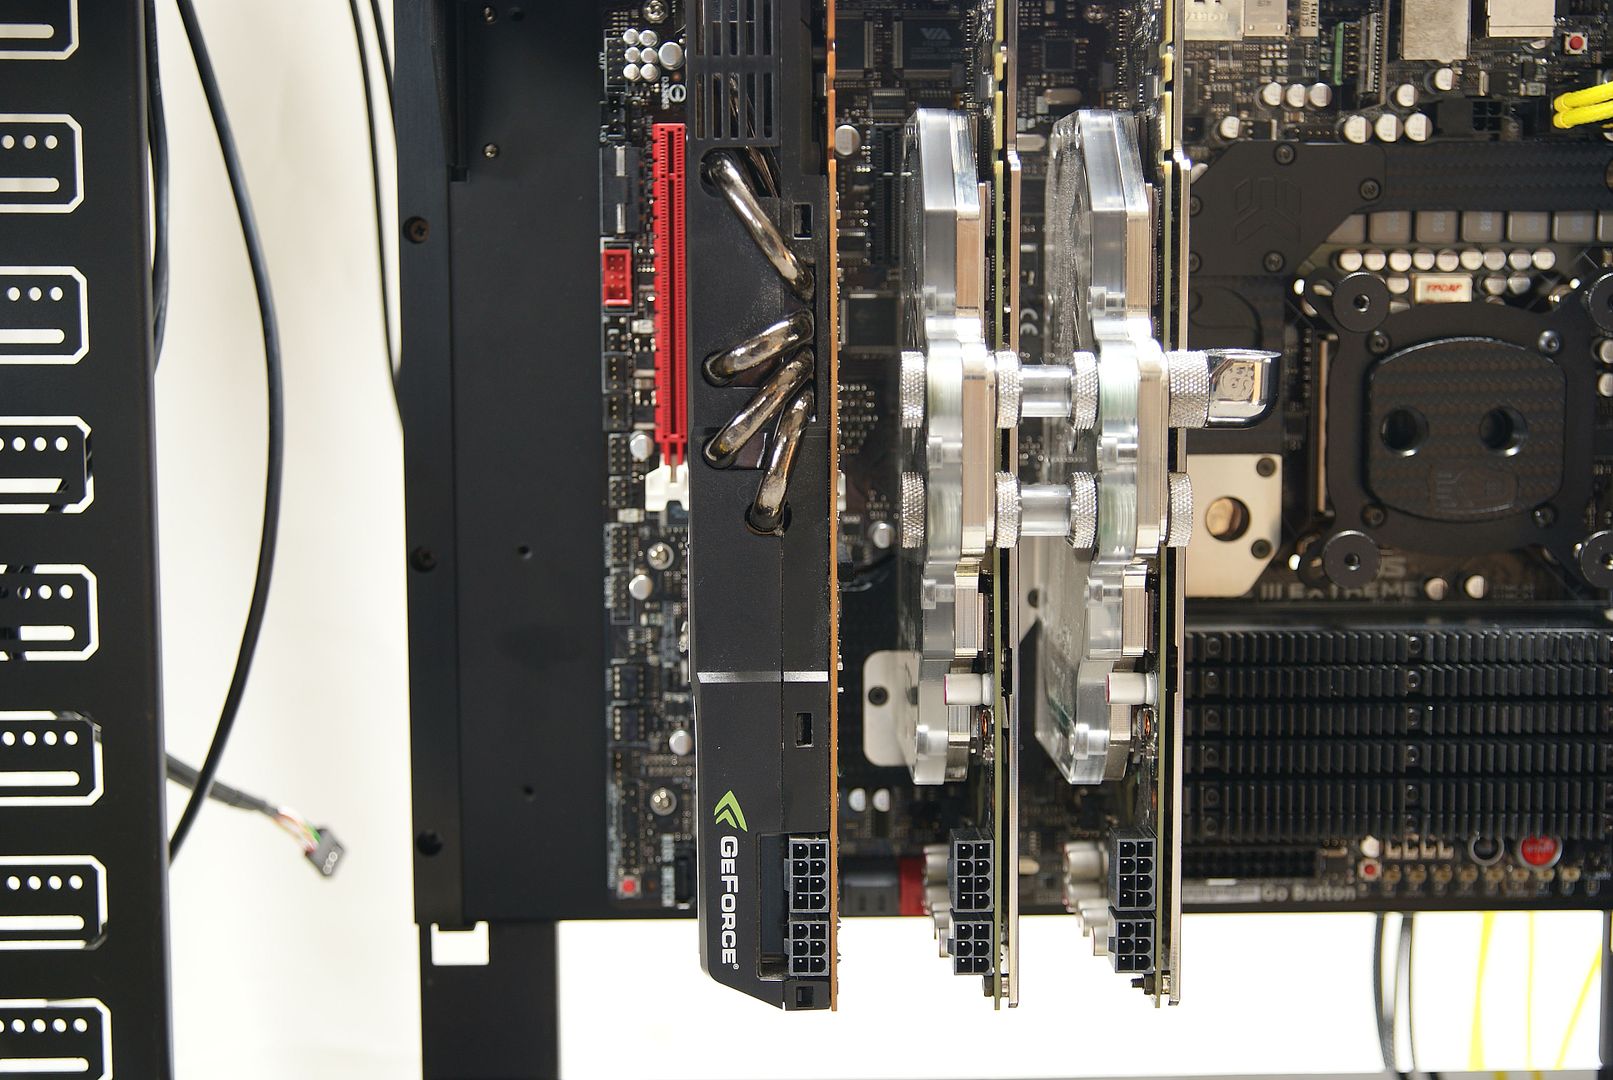
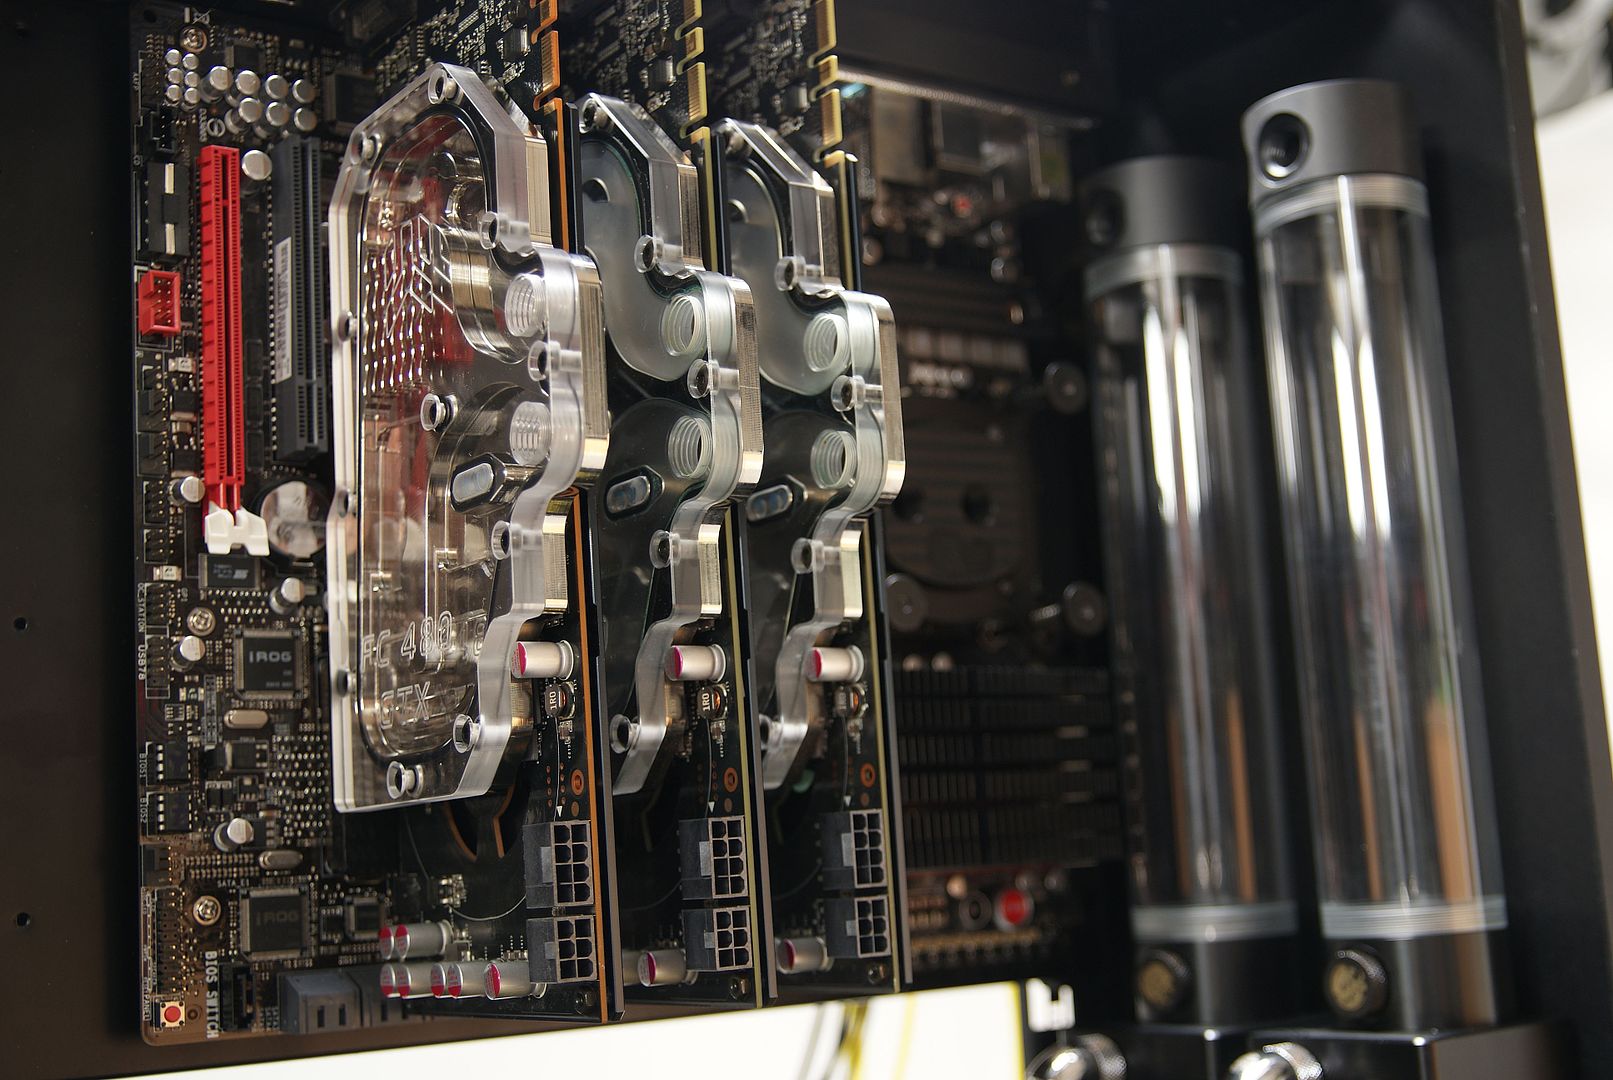
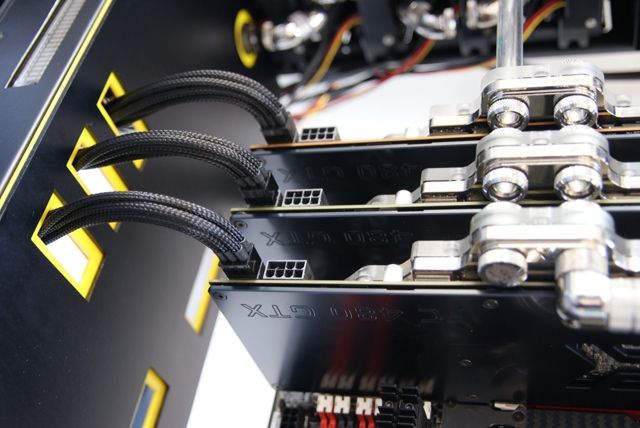
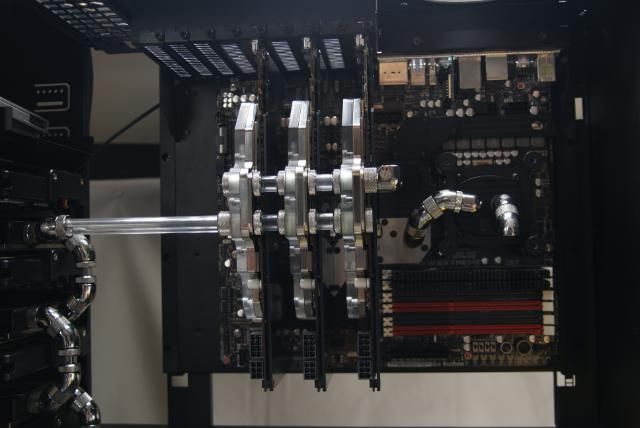
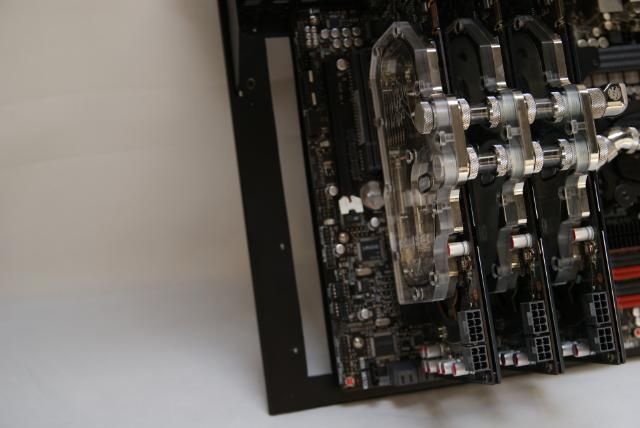
Placed the two GTX480, third one is coming. Still gonna do someting with the gpu’s
Now there are nickel backplates but these will be exchanged with black ones
Nice to have Corsair
Tuesday my folding machine is coming and I can finish the midplate
That's it on my last day of my vacation, tomorrow back to work ........... unfortunately
Updates will now take a bit longer
Grtzzz.
-
Re: Silverstone TJ11 Carbon
Small Update:
This week i've got my little hightech folding machine, real nice addition to my tools
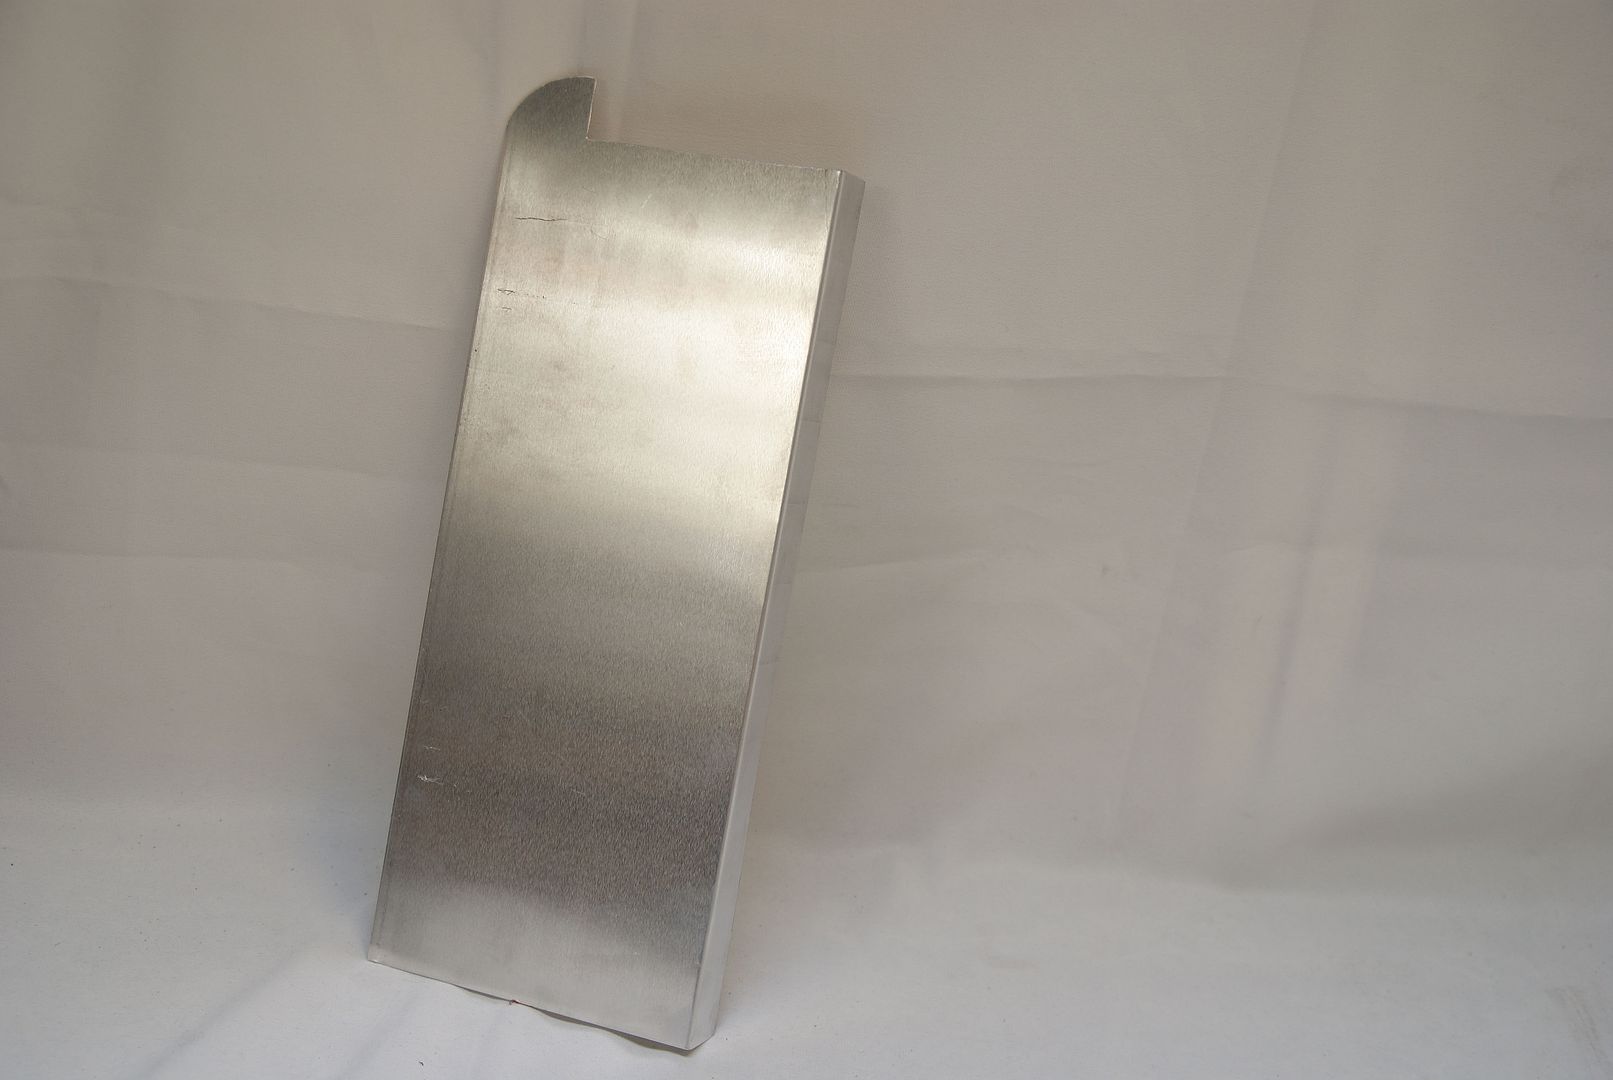
Ok, lets bend something,
And the midplate part one
And sawn the midplate part two from the yellow acryl
And put it al together
Everything is gonna be poadercoated later on
And next step is to measure al the slots for the cables and the WC
To be continued ;)
-
Re: Silverstone TJ11 Carbon
i need a metal break. looks good.
-
Re: Silverstone TJ11 Carbon
How much was the bender? And what materials will it bend?
-
Re: Silverstone TJ11 Carbon
Looking really good! Your attention to detail is impressive. I like how you mounted the digital readout a page back. I also like how you cut out the layover material. The finished product will look really good. I dig it! Very nice! I've been browsing case mods all night, you guys are making me wanna go bonkers and get back into this stuff. Been SO long since I've done a serious mod on a case... but it's very very tempting.
-
Re: Silverstone TJ11 Carbon
Quote:
Originally Posted by
Fuganater
How much was the bender? And what materials will it bend?
€130. Work-width 630mm and can fold steel sheet up to 1.2mm and similar materials up to 1.5mm
Quote:
Originally Posted by
CorsePerVita
Looking really good! Your attention to detail is impressive. I like how you mounted the digital readout a page back. I also like how you cut out the layover material. The finished product will look really good. I dig it! Very nice! I've been browsing case mods all night, you guys are making me wanna go bonkers and get back into this stuff. Been SO long since I've done a serious mod on a case... but it's very very tempting.
Thanks a lot, why did you stop? cant imagine to stop, have so much ideas
Sleeve Update:
Today there's rain in the netherlands, a lot of rain, so a good excuse to go sleeving
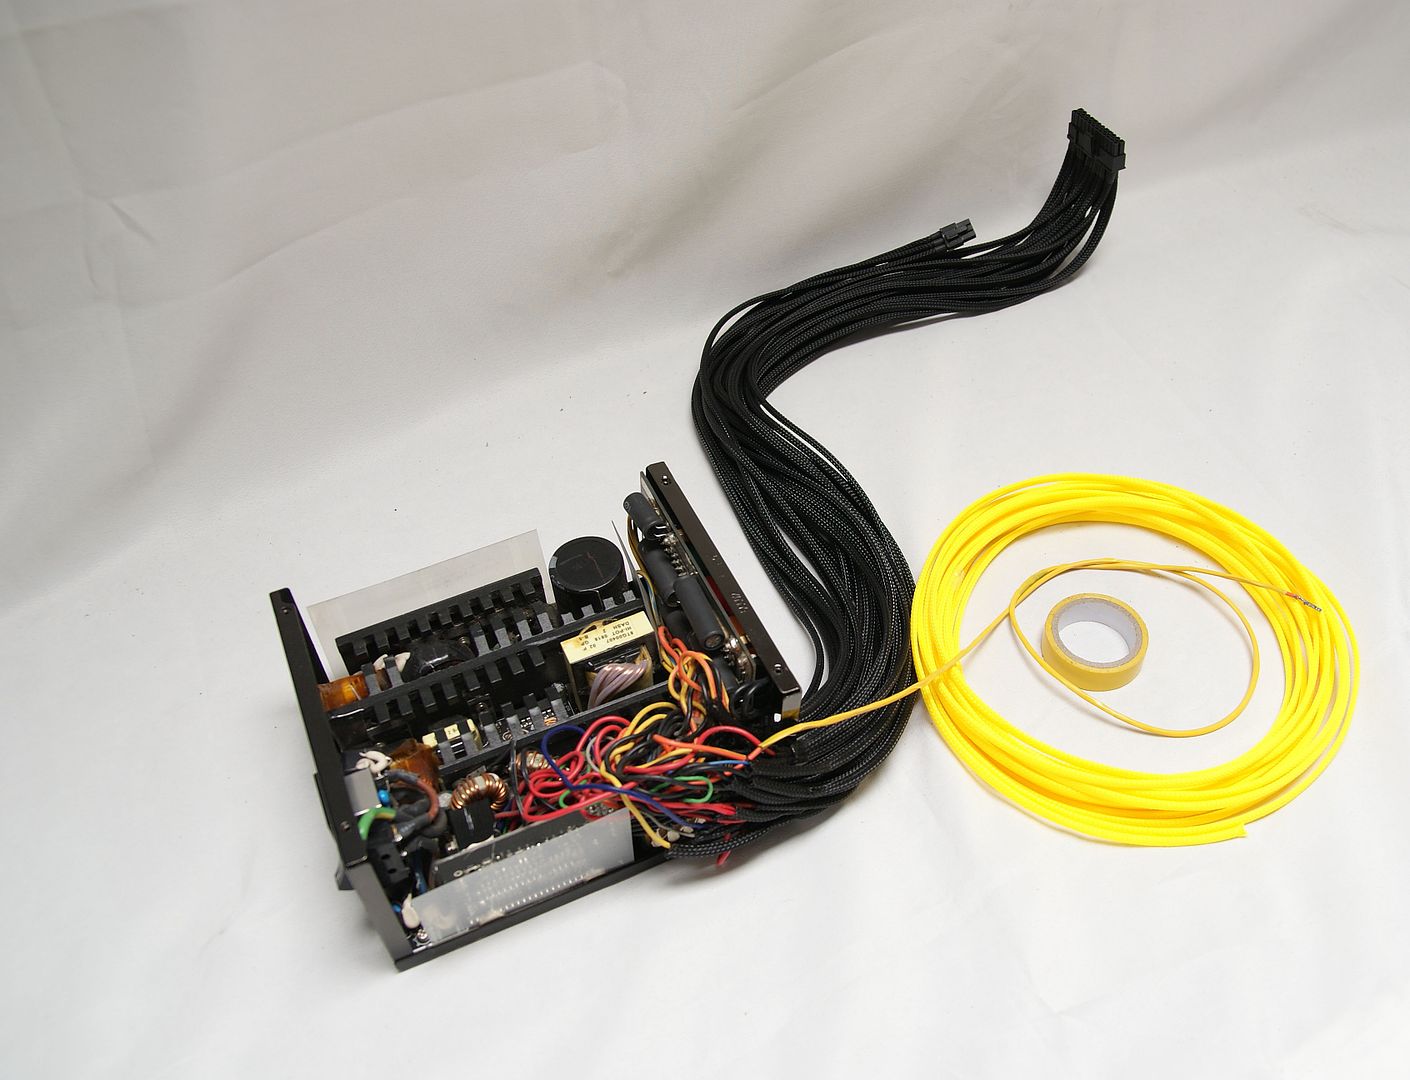
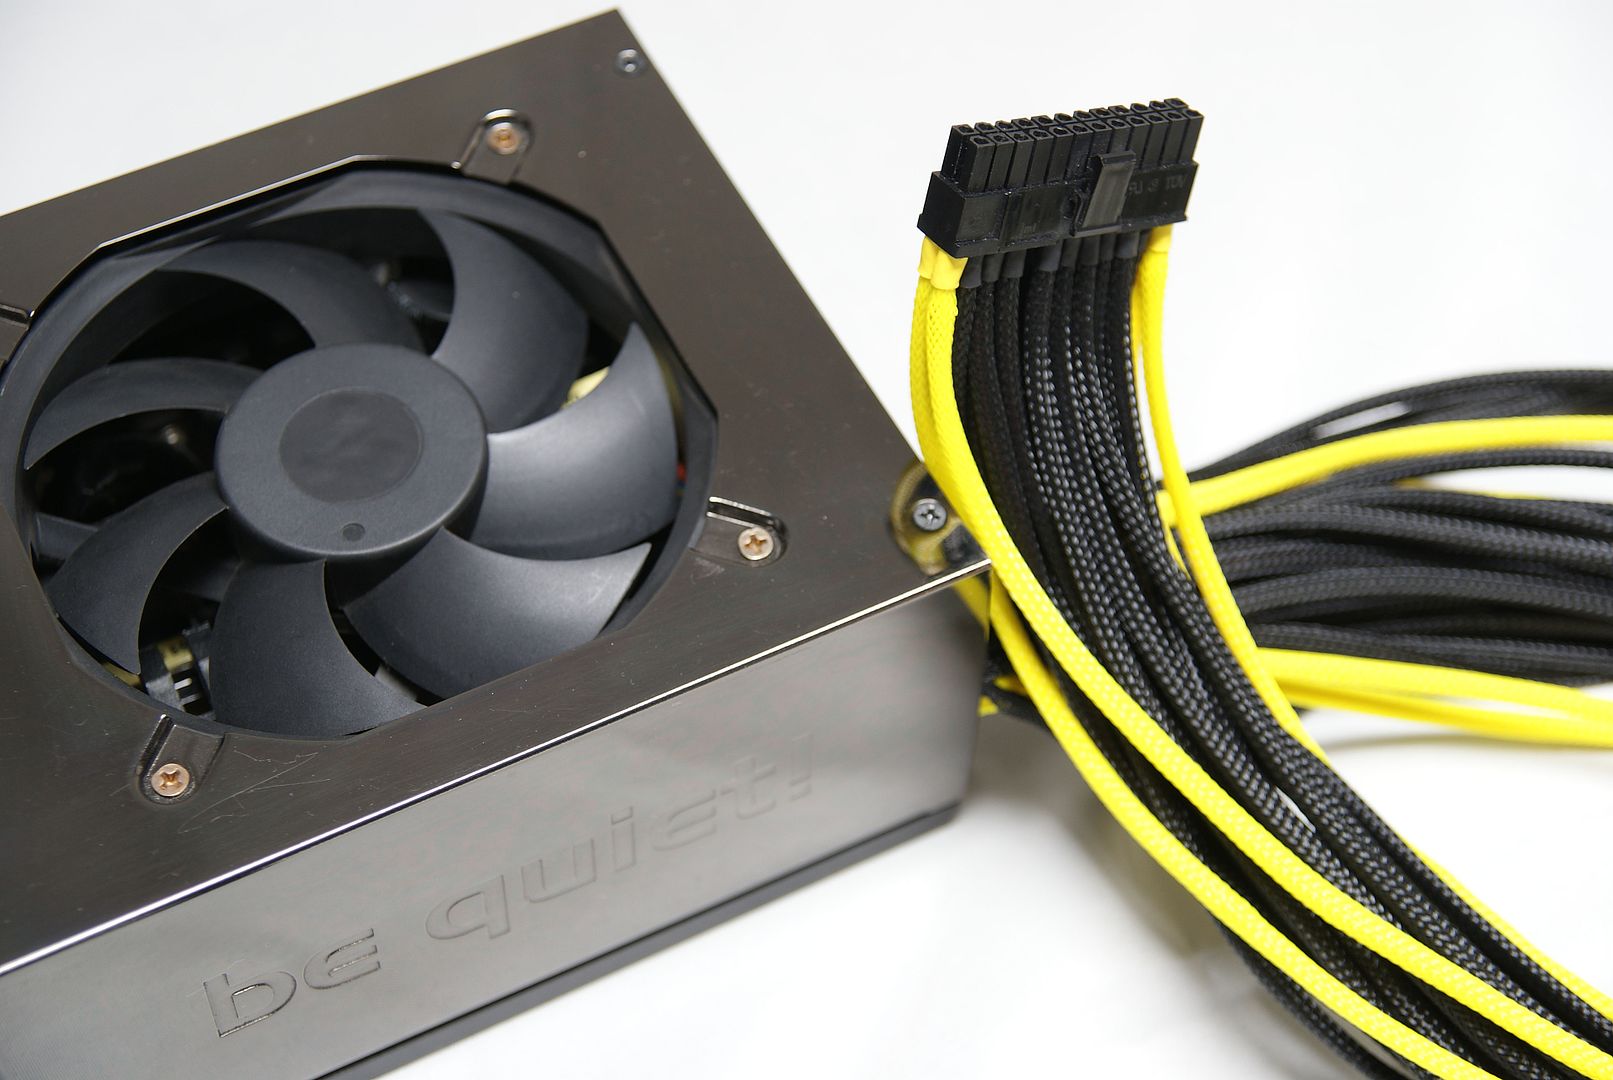
For this I'm gonna renovate my Be quiet my 1200w power. This was one of the first PSU I've ever sleeved. And in the meantime, I've learned some things to do a beter sleevejob
Renovation work includes: giving cables the same size, heatshrink equal size, tighten the sleeve on the wires and add a color.
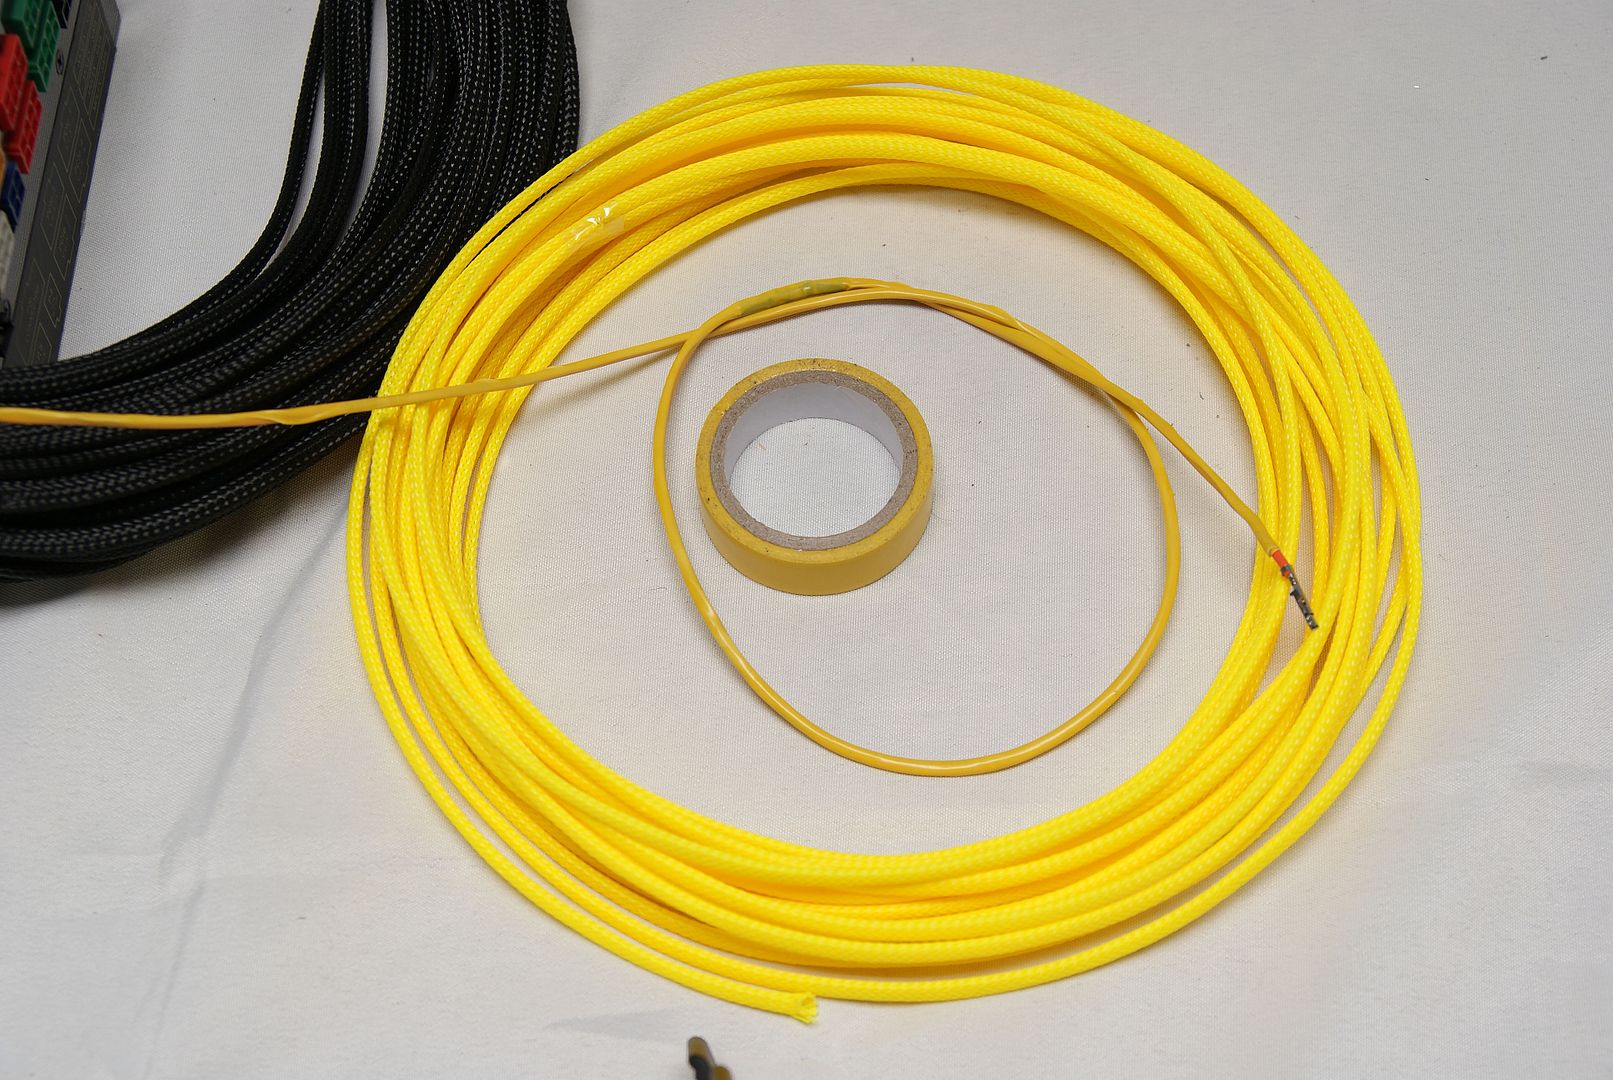
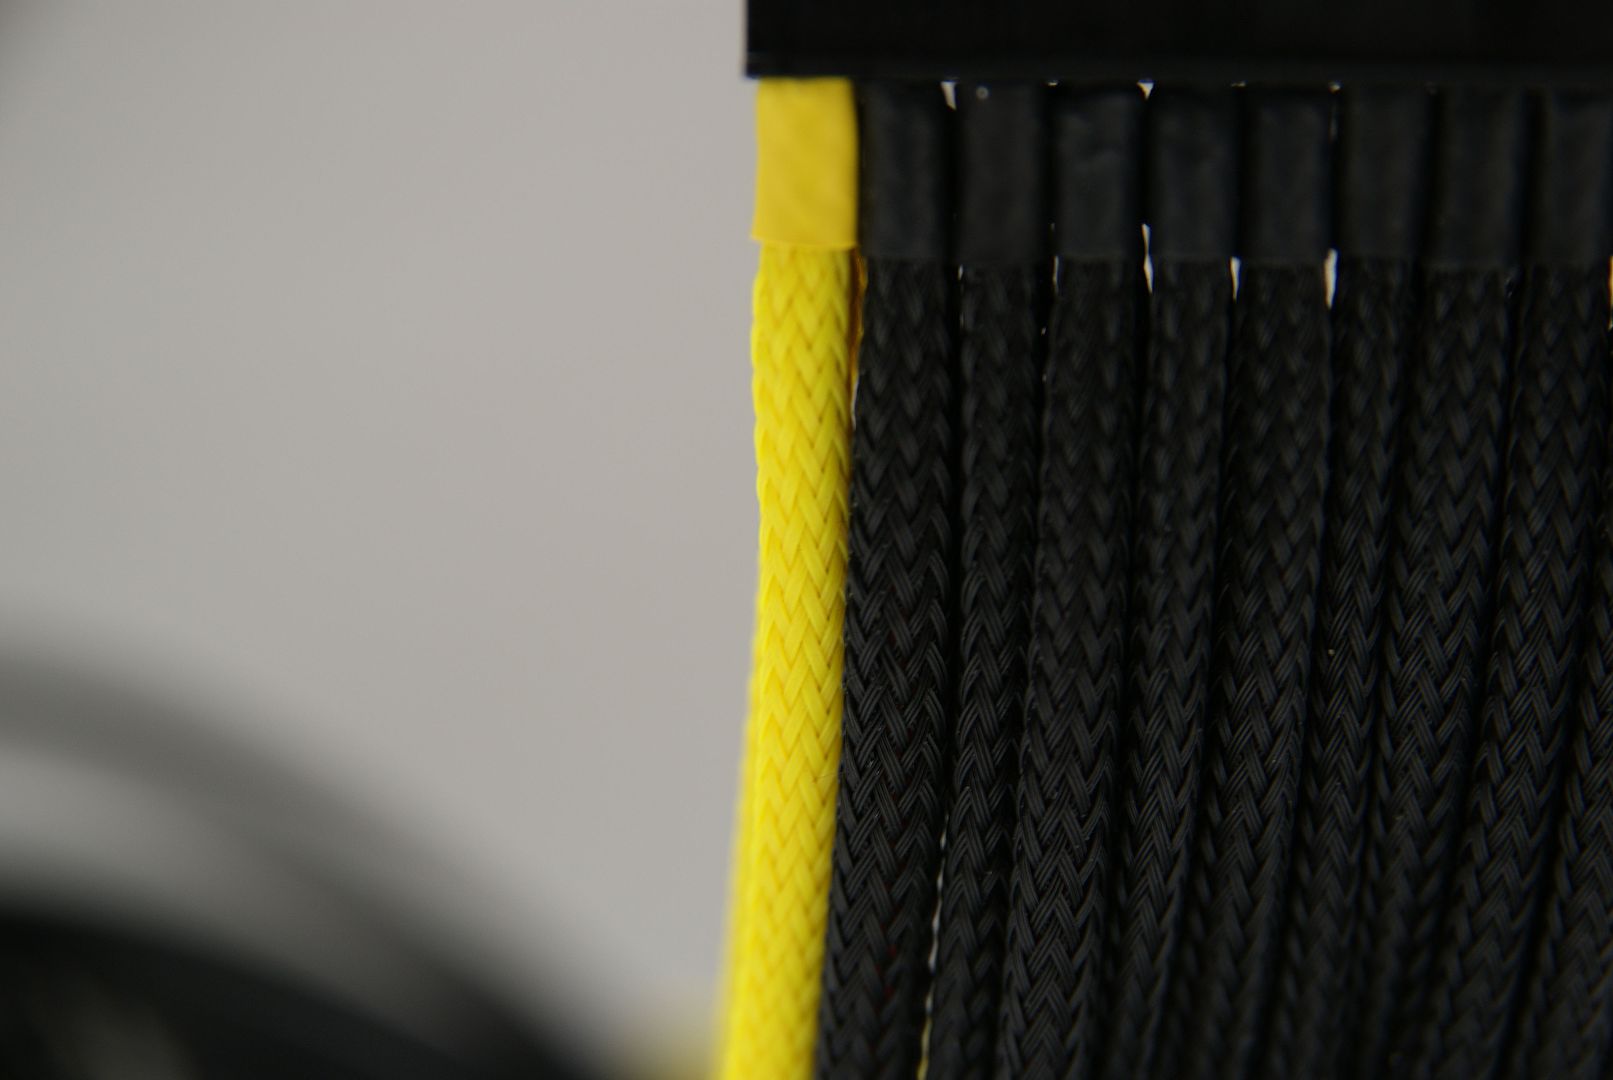
Just a little tip, if you start using a light color sleeve, it is best to use same color electrical tape around the wire as the sleeve color
This is because the color of the wire always stands out. Orange, black etc. you can see the color through the sleeve
Not shocking but "no compromise";)
Yellow sleeve............ yellow insulation tape
Now you see no other color through the yellow
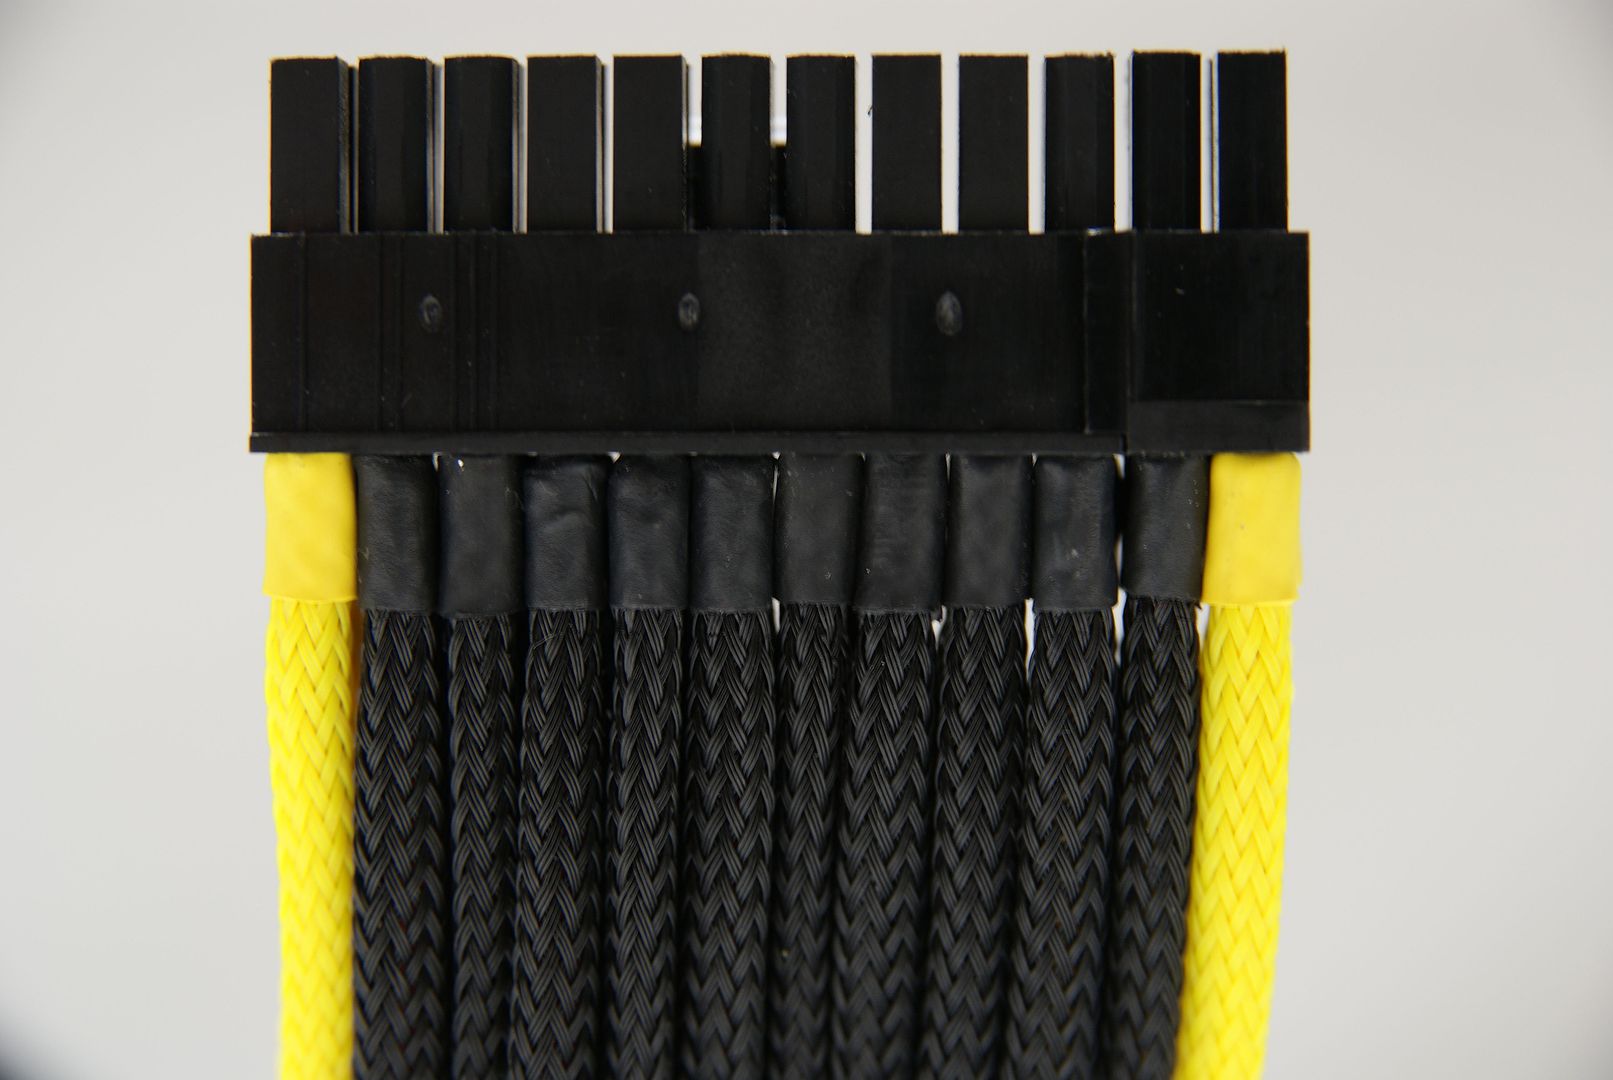
All black heatshrinks renovated
And the wires of the PSU are finished, did also extend the wires for this big case
placed and arranged
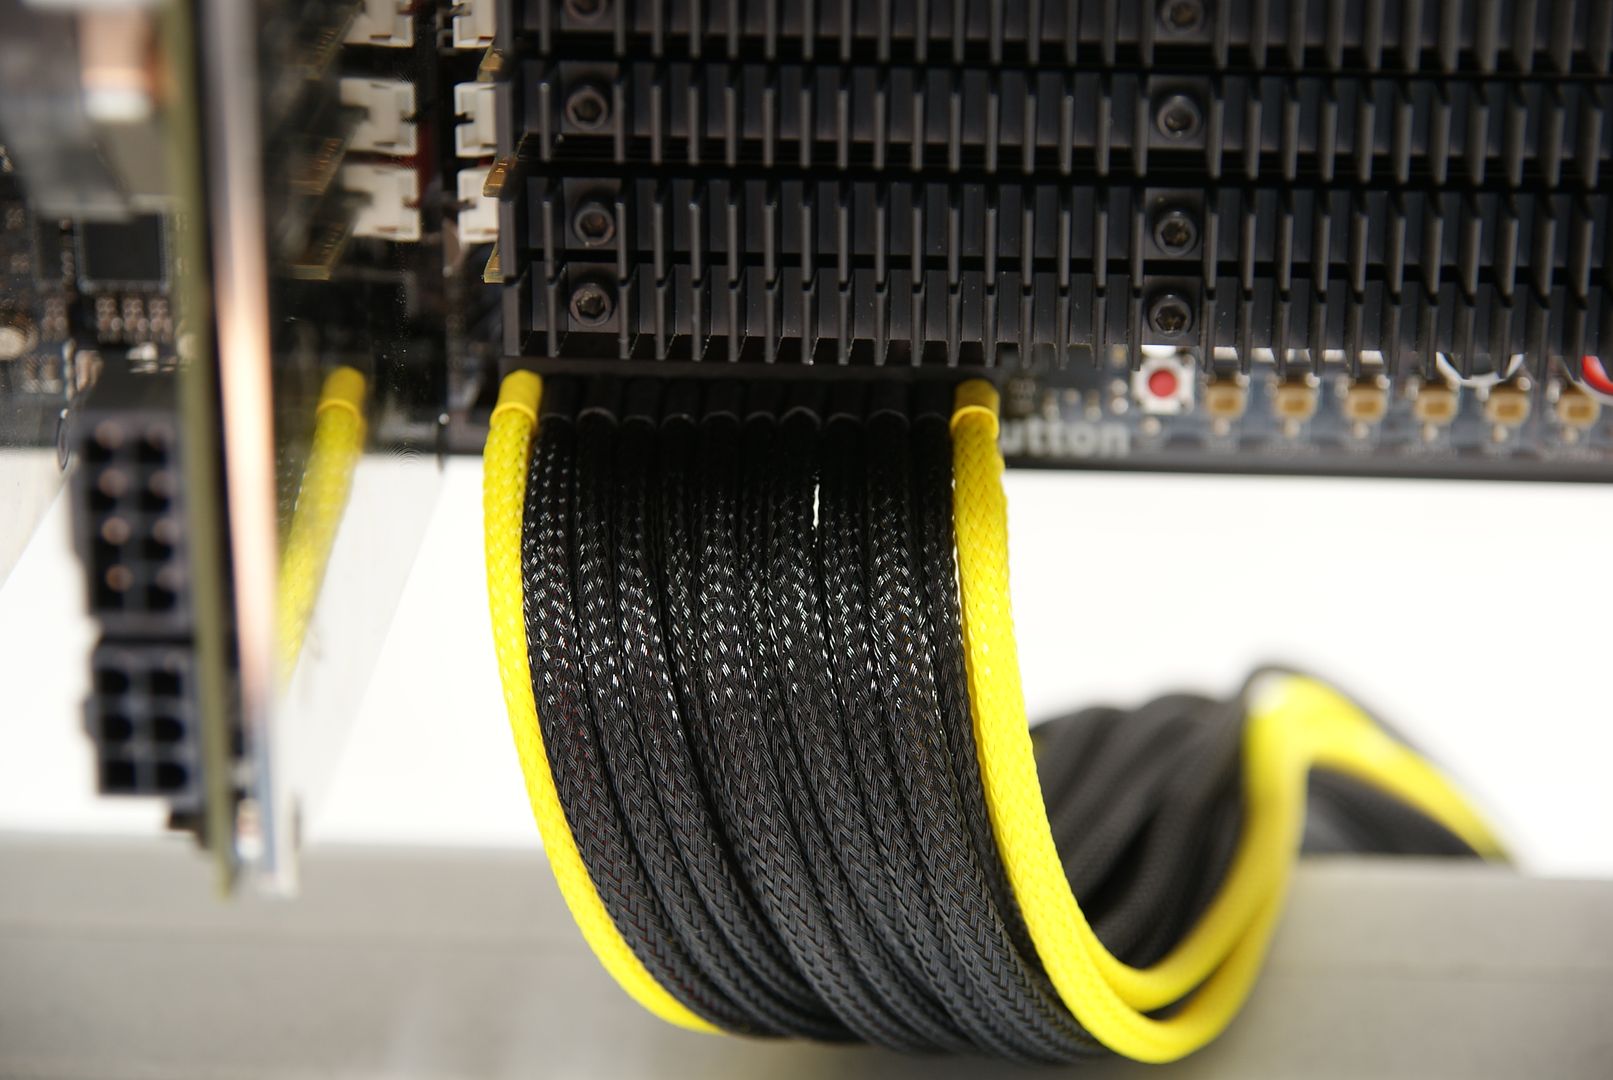
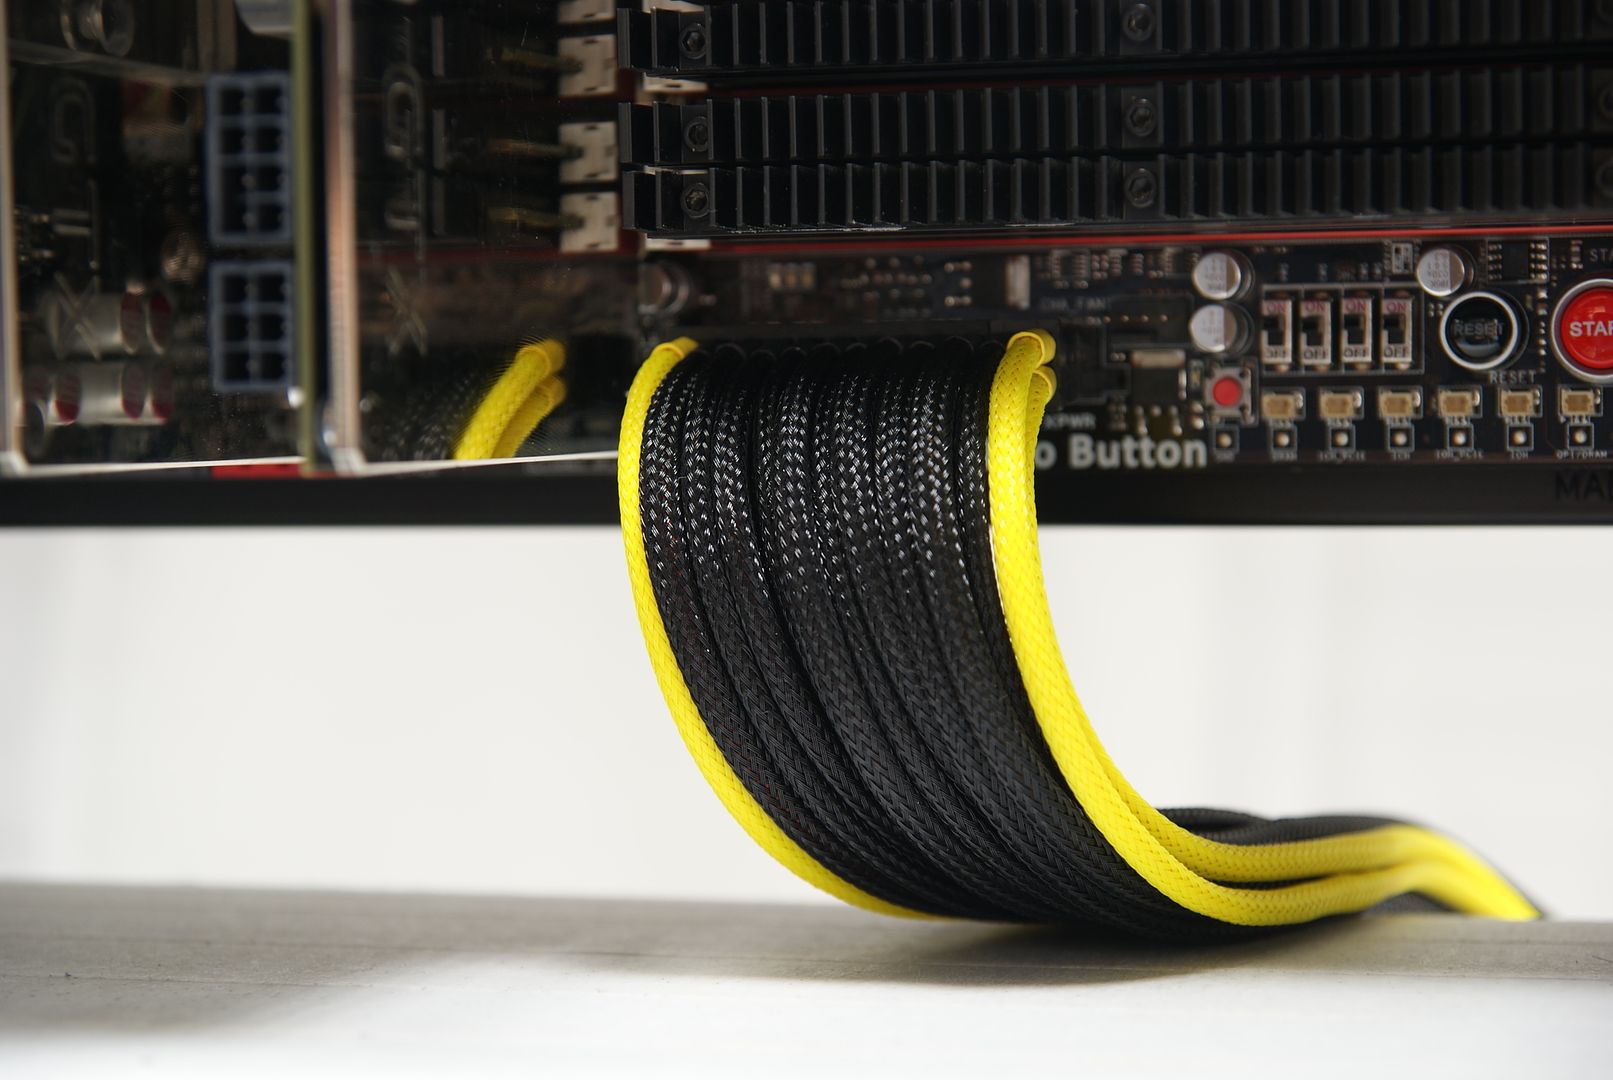
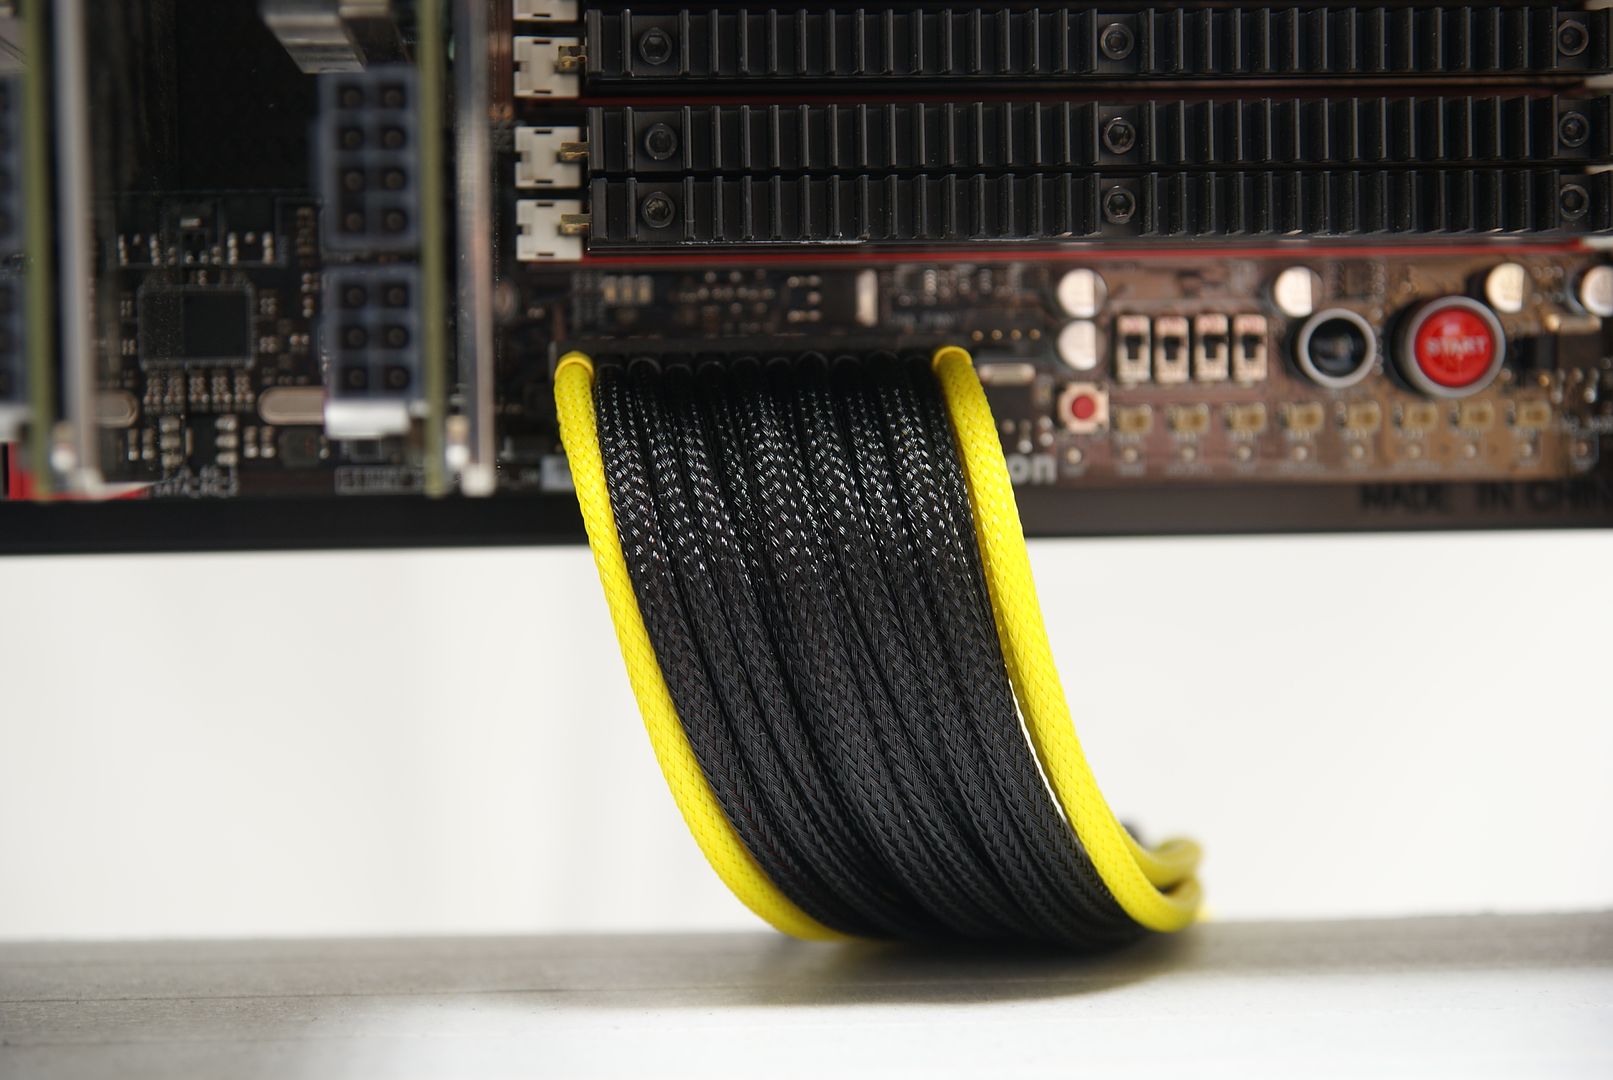
Now the modular cables, with the same color scheme
More to come ;)
-
Re: Silverstone TJ11 Carbon
Quote:
Originally Posted by
kier
Thanks a lot, why did you stop? cant imagine to stop, have so much ideas
Most of my interests moved away from the pc modification side of things and ended up in the car world where most of my hobby work goes. However, in the past year or so... I've started to get back into it. I started a basic mod on my computer case and got sidetracked. However I plan on an upgrade soon. Probably within the new few months. More than likely when I do I'm thinking a computer mod may end up being in the works :)
Seeing so many ideas on here and that people haven't stopped doing this has been really cool. I remember wayyyyyy back in the day when I was a part of TMCM and really enjoyed the hell out of it so it's really cool to see people still doing this stuff.
By the way, nice update! This project is really coming along!
-
Re: Silverstone TJ11 Carbon
Update: First cut in the TJ
Hi my modding friends. Did my first cutout in the TJ
For the cpu power, needed to make the hole bigger for the connector
Now it fits trough
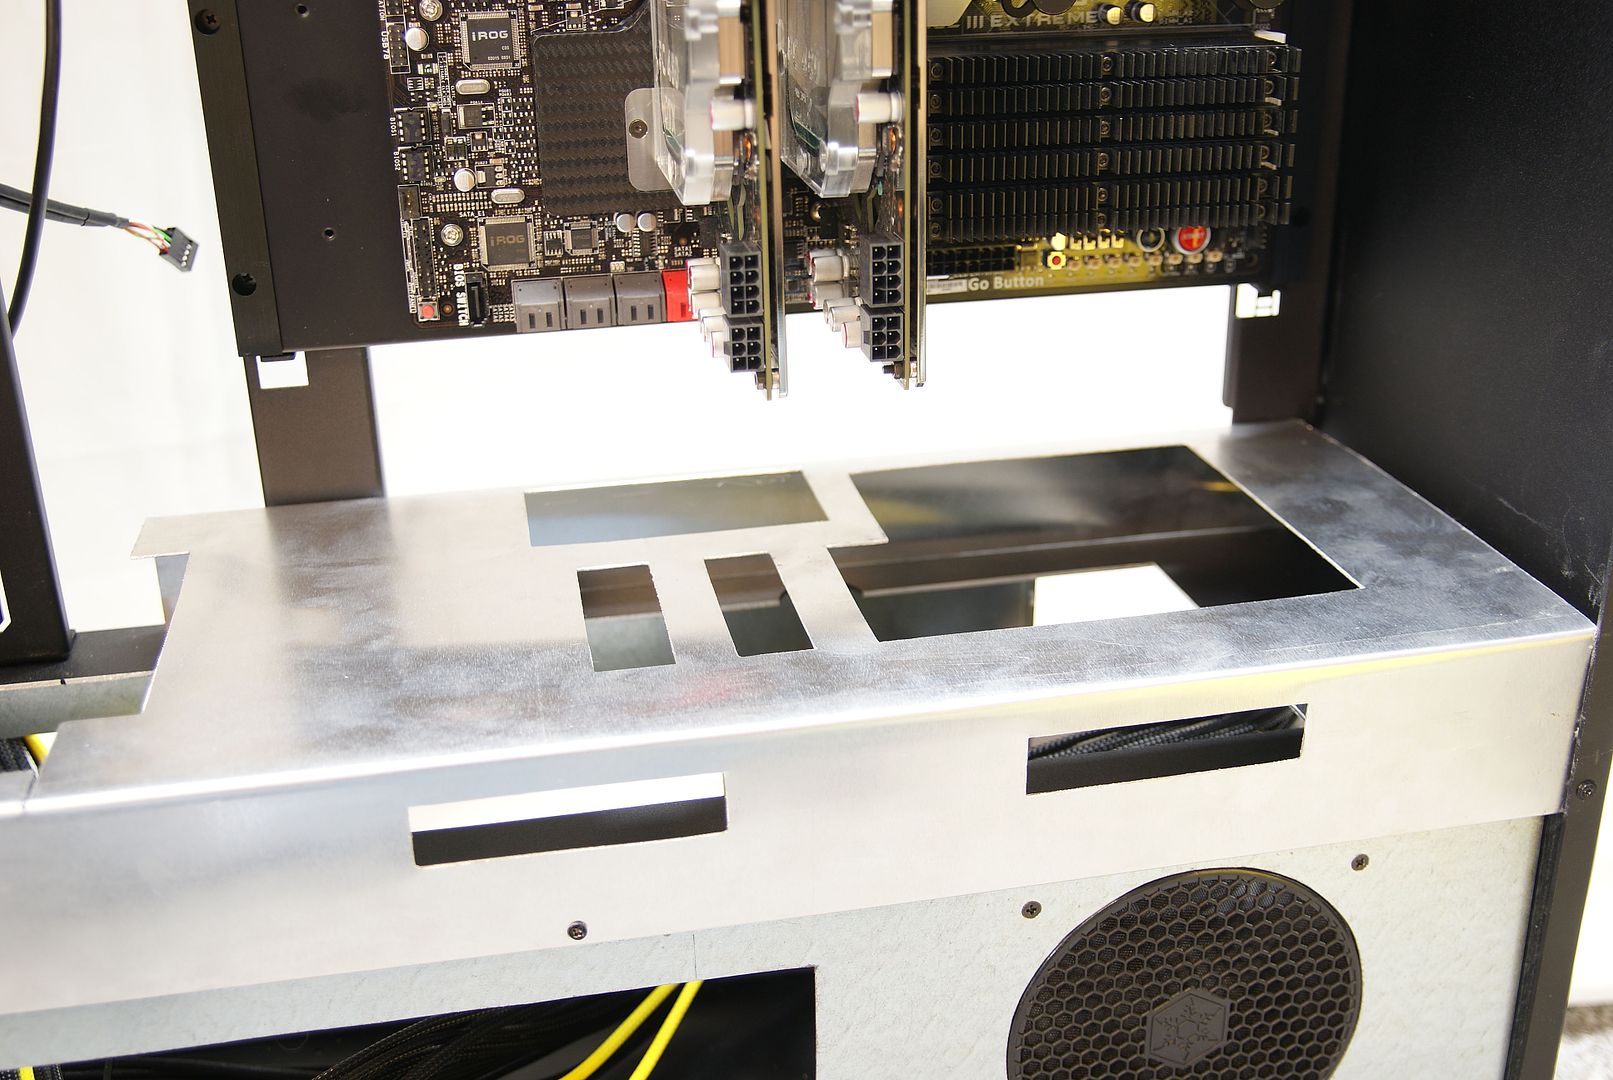
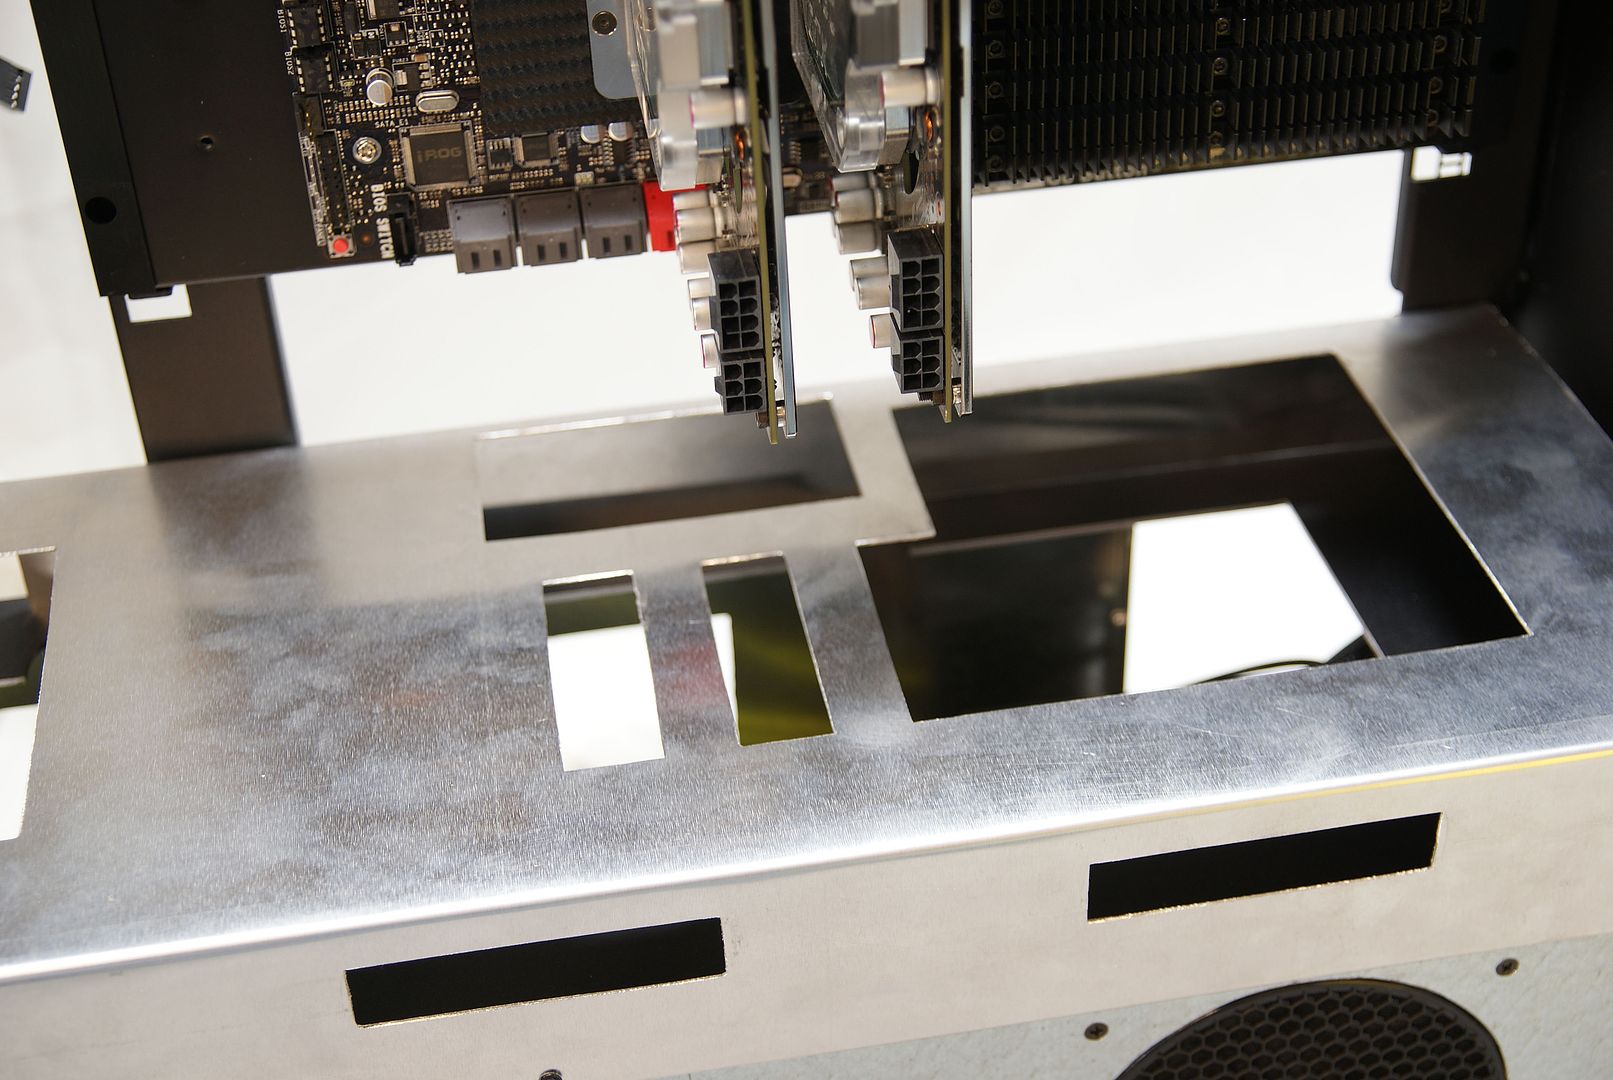
Also did some nice things for the midplate. Second cutout in the TJ
There goes the midplate :naughty: second part for the midplate is the aluminium cover
Made some slots for all the cables
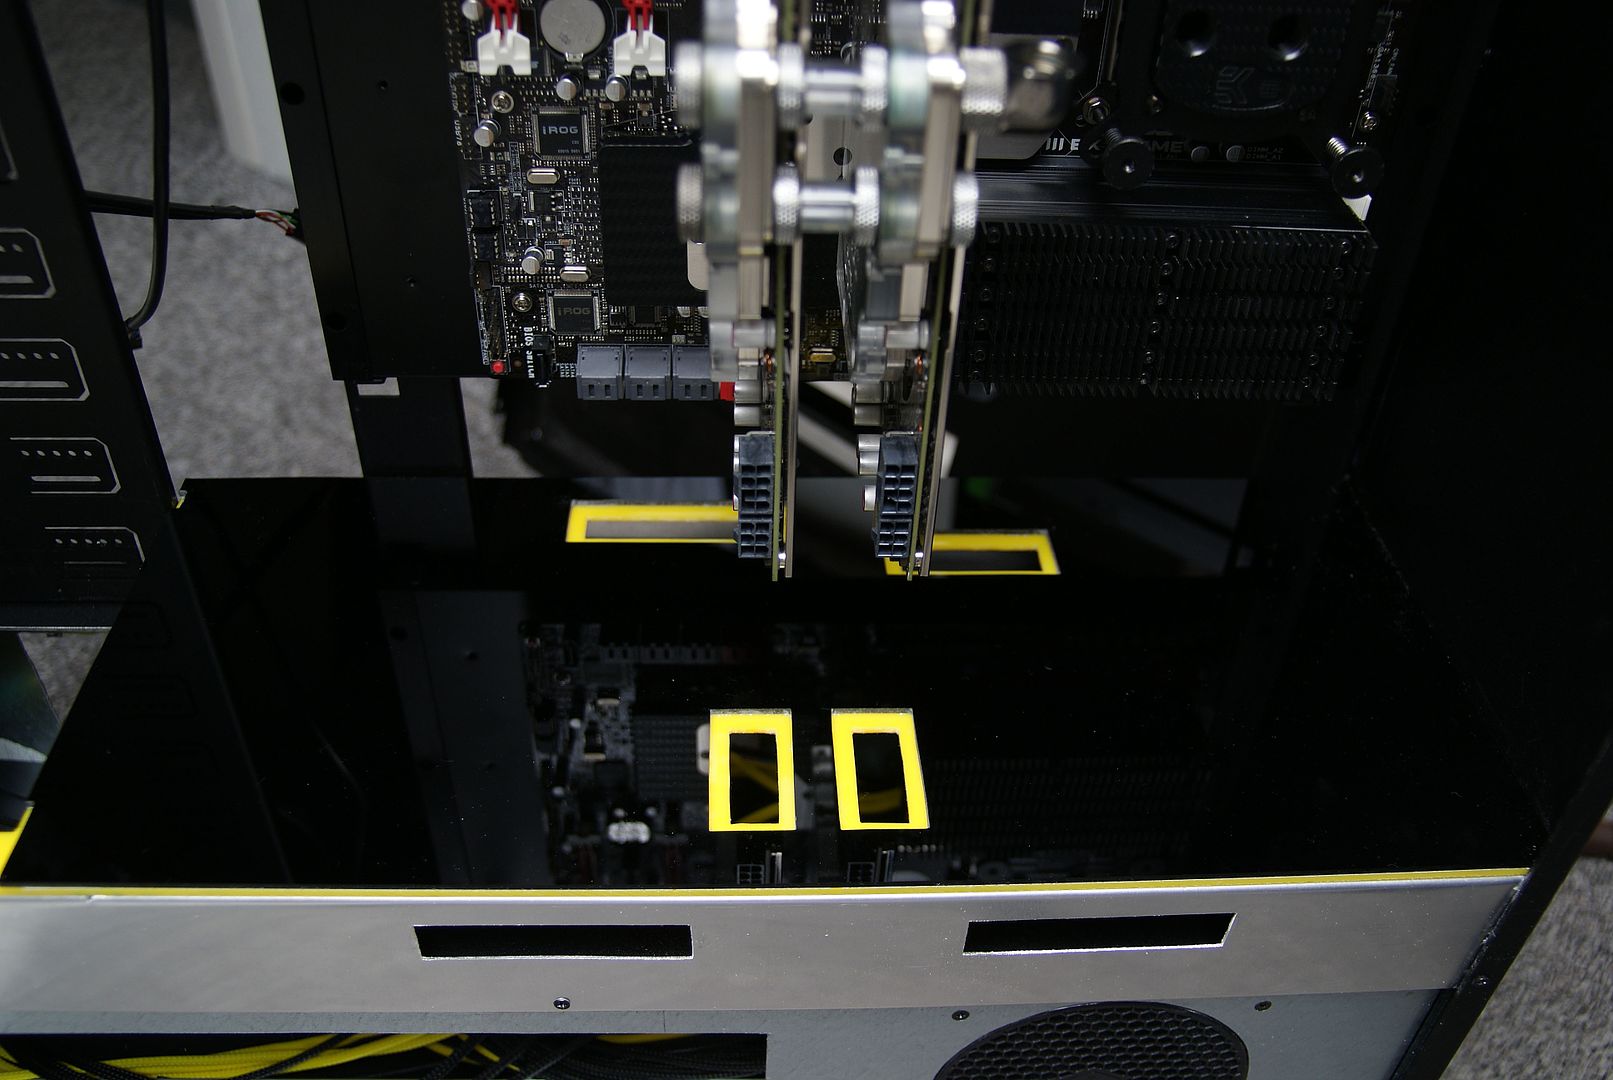
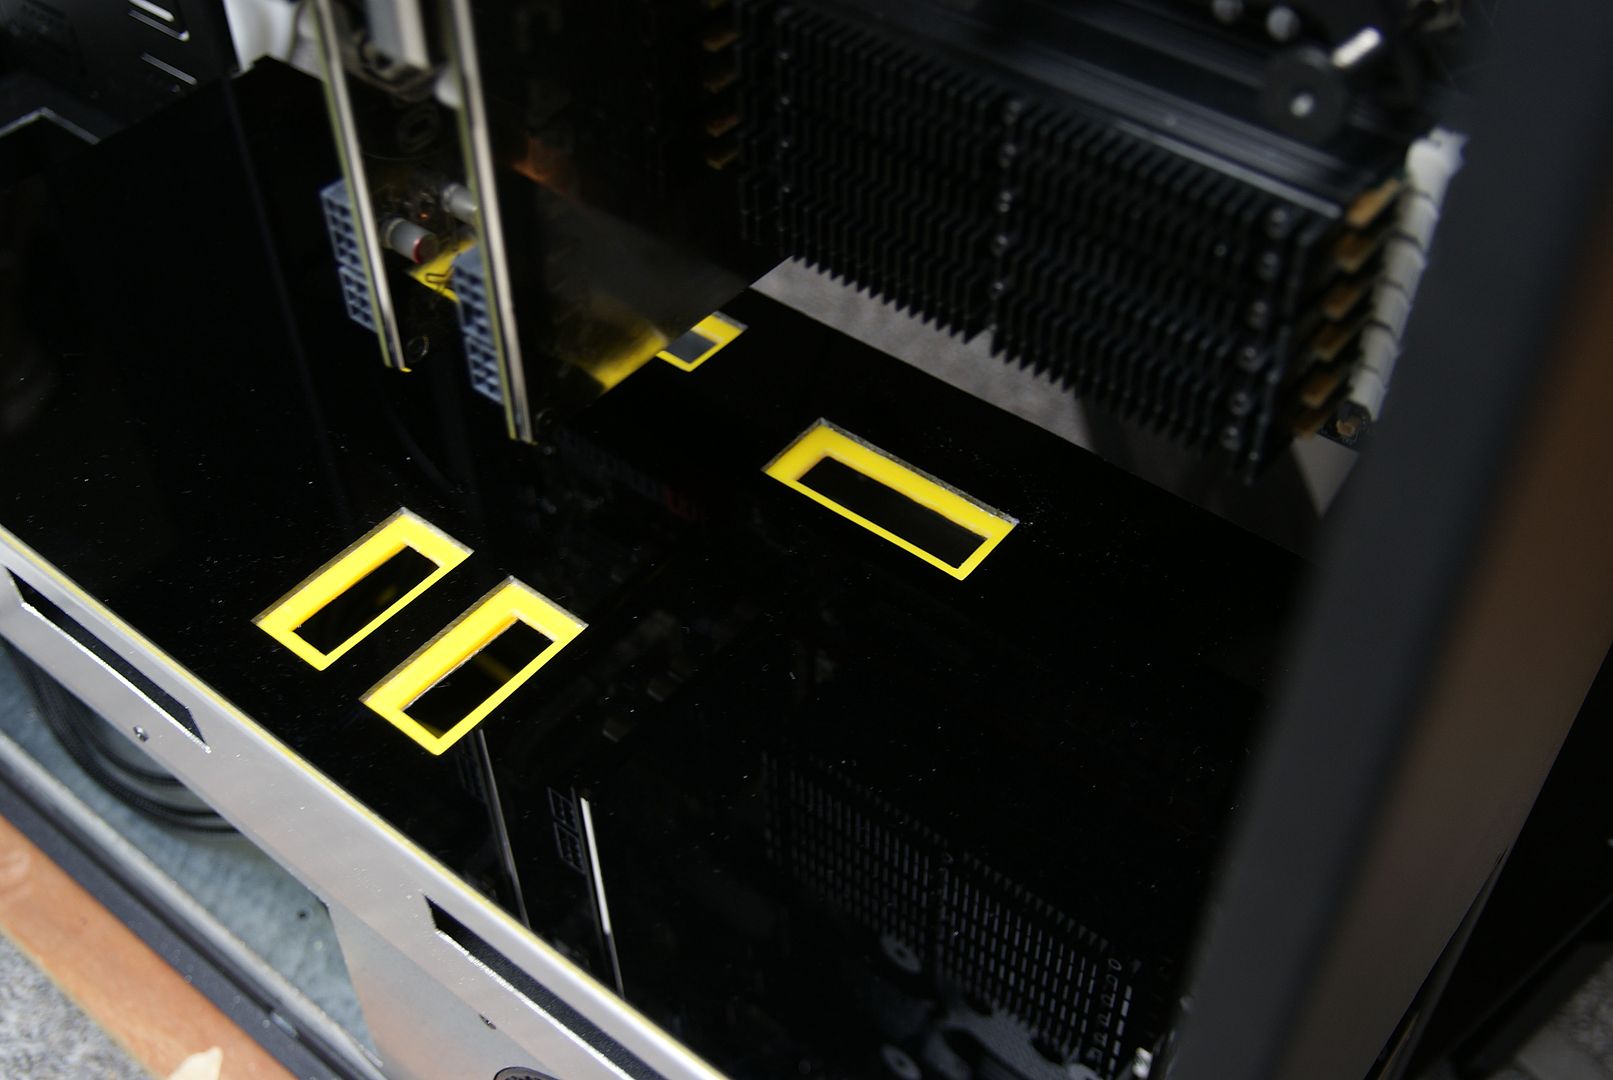
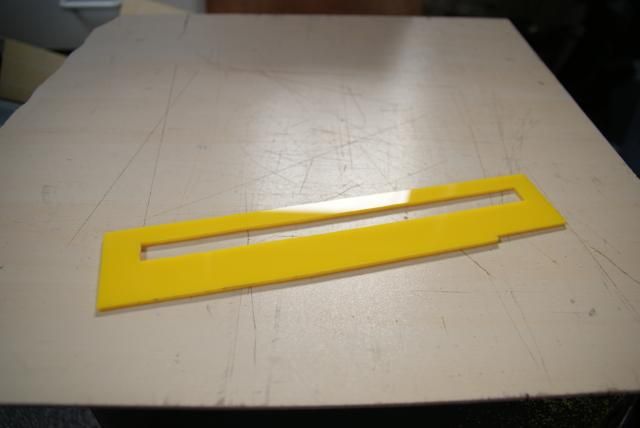
Third part is the yellow acryl, also made some slots in it. There's gonna be more, but for now only where the cables goes through
And the last layer......... the black acryl
Still need to do little adjustments to the acryl, but looking good allready
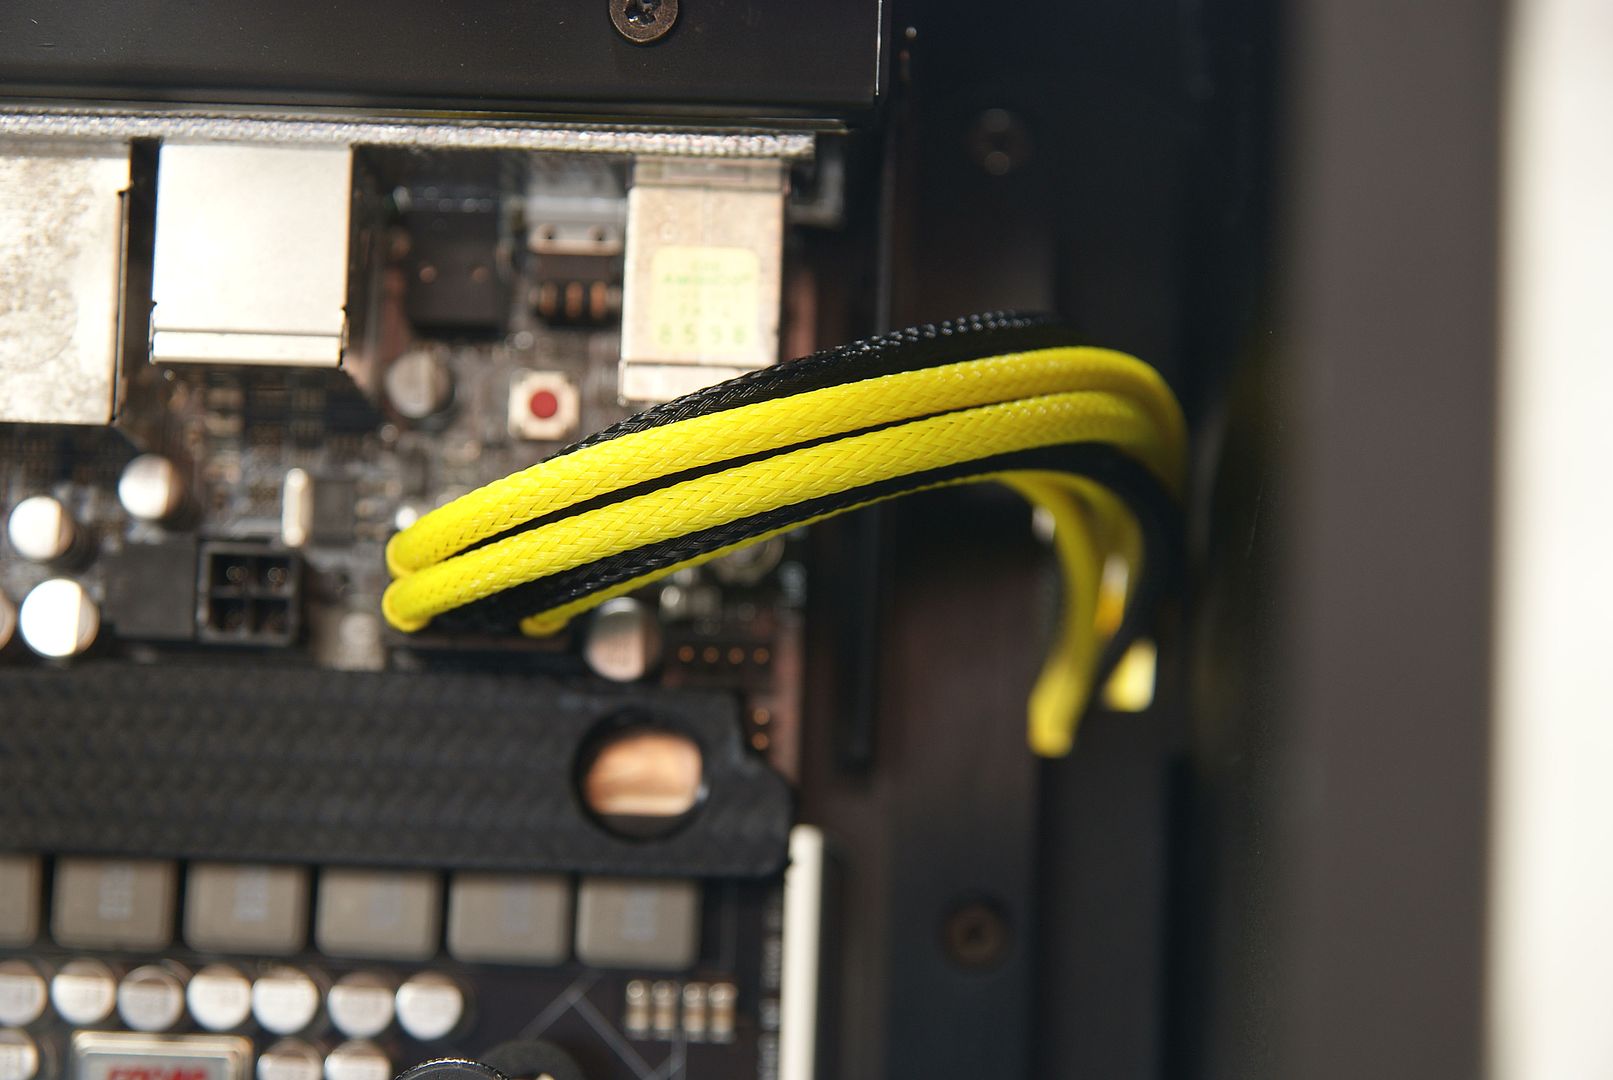
Put some cables through.
Today my next GTX480 was coming in, so placed it. For now without the WC block
EK has given my the third block with some other beautifull stuff, so this one is still coming
So made the last gpu slot
I know, a lot of black and yellow............hope you like it ;
Hopefully my EK products and the MNPC Carbon is coming in this week, to let you show some more great stuff.
-
Re: Silverstone TJ11 Carbon
Looking good, love the color scheme!
-
Re: Silverstone TJ11 Carbon
Sponsor Update: EKWB
This week I received a very nice package with even beautifull products in from EKWB
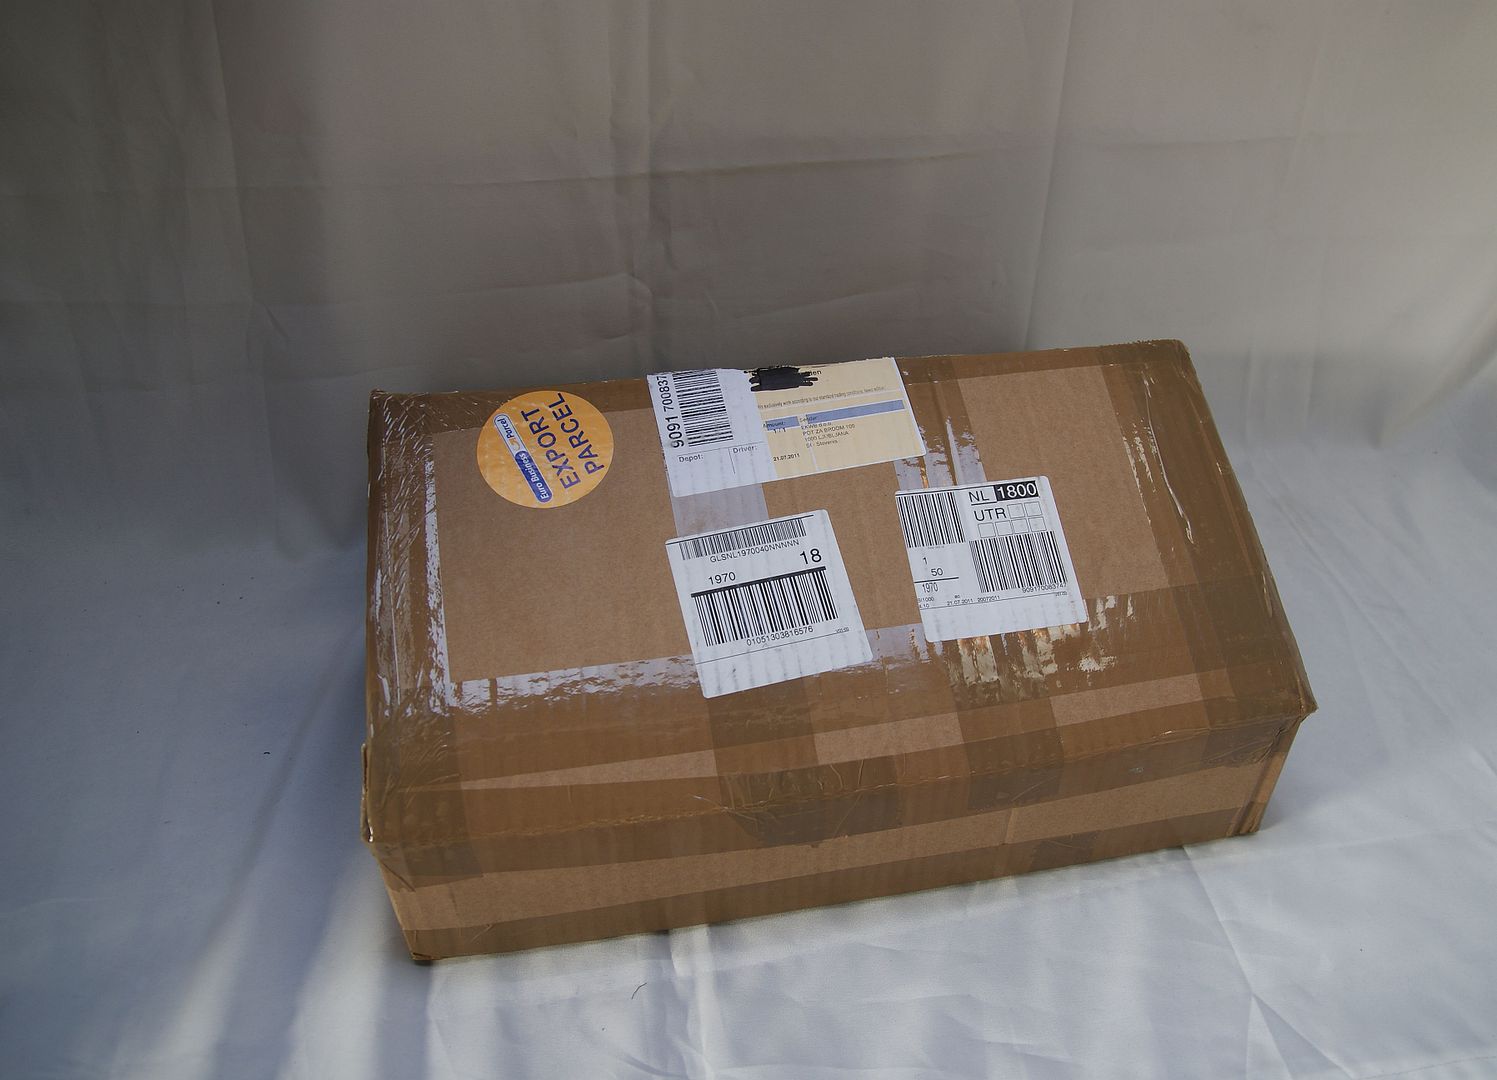
The package (always nice to receive packages)
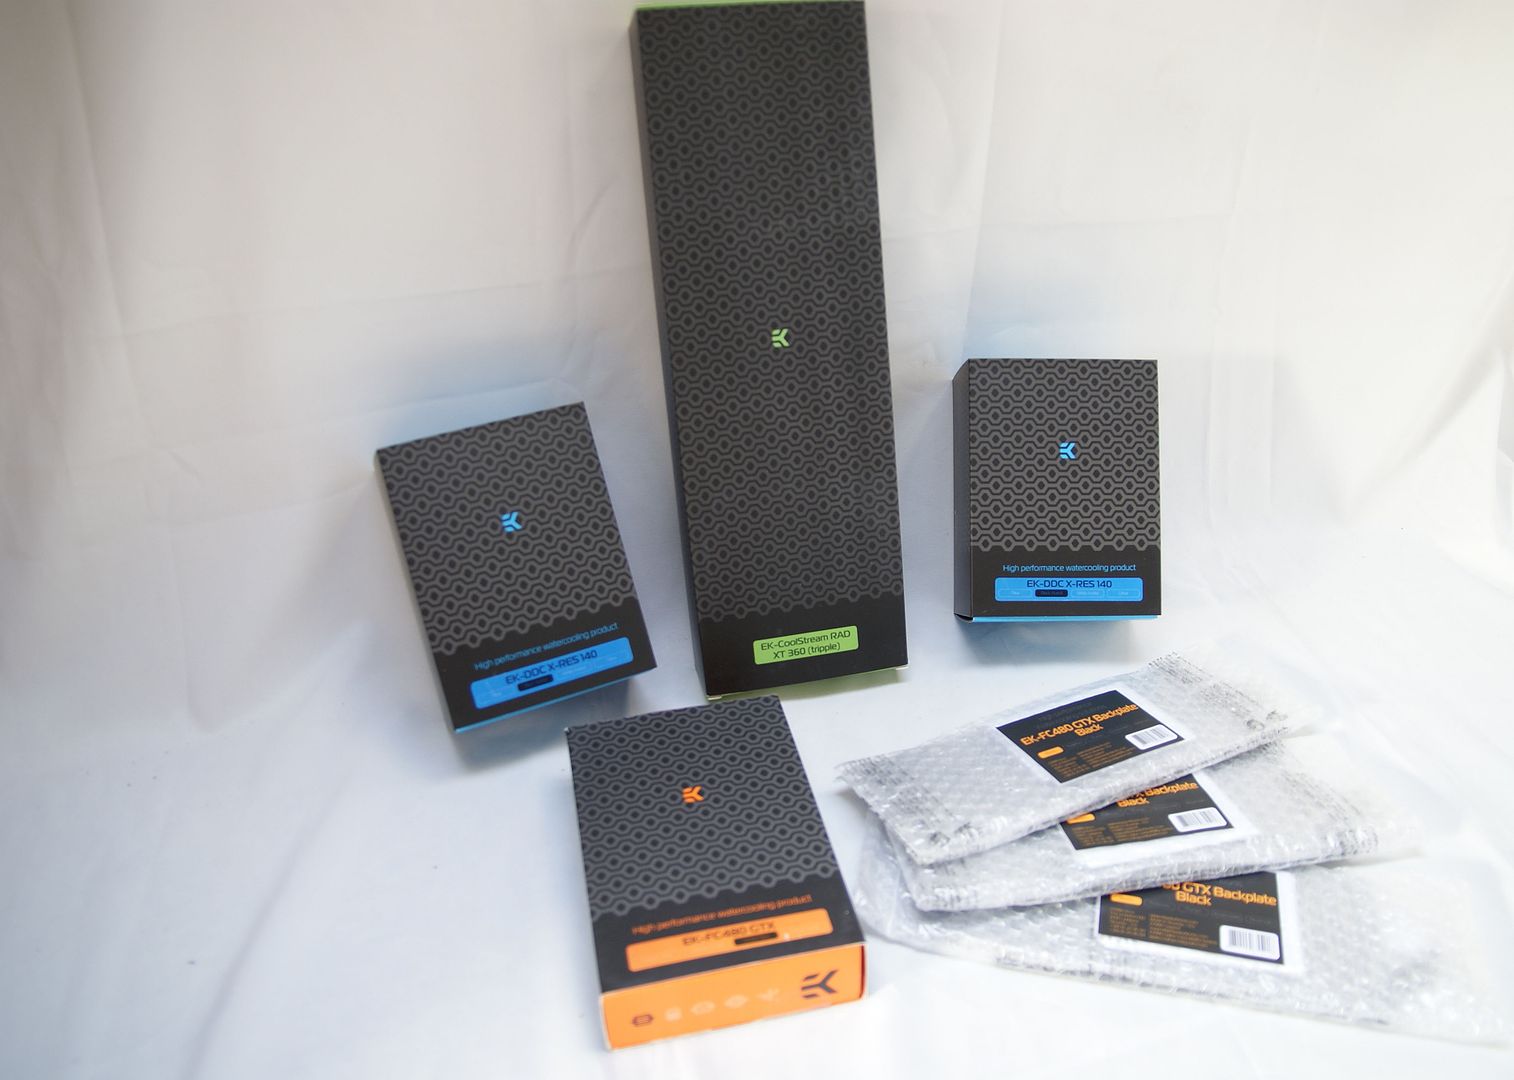
Containing a fine collection of WC stuff
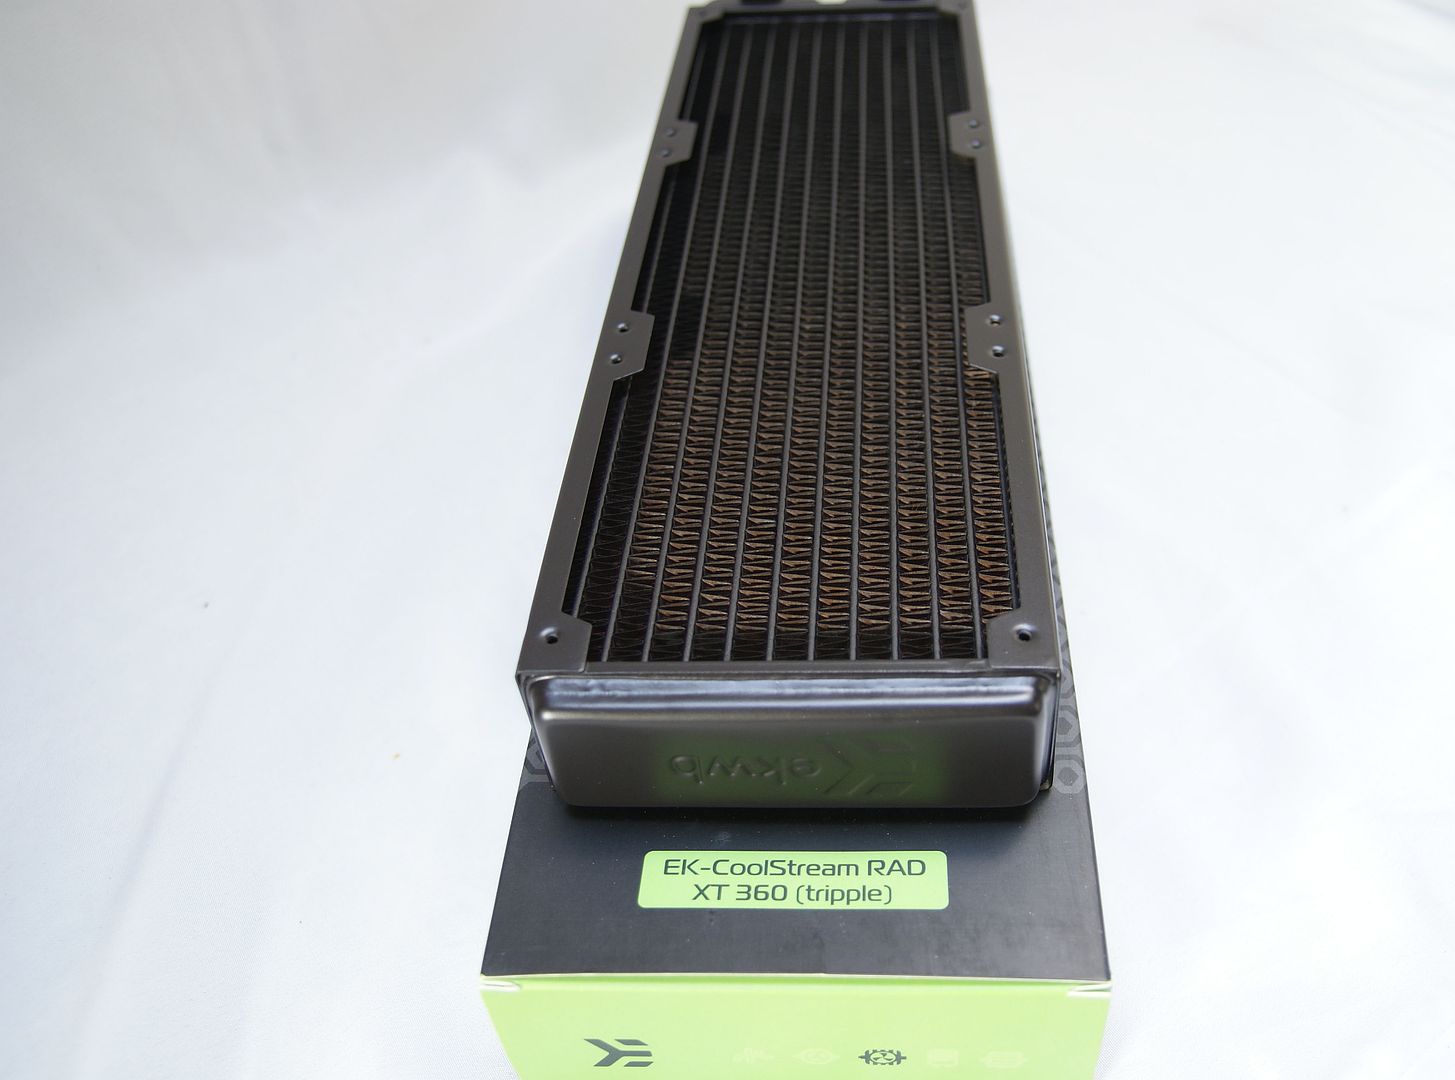
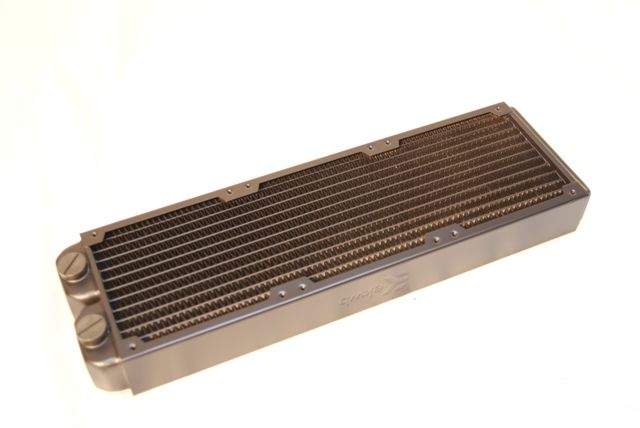
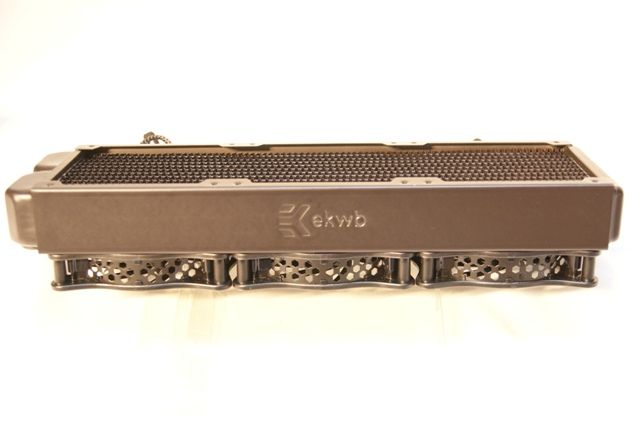
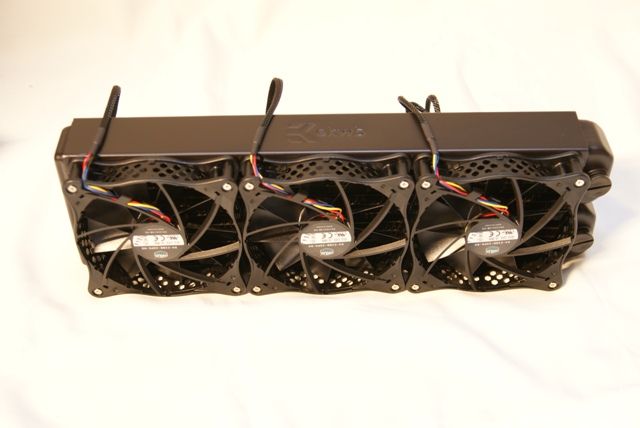
First a nice Coolstream360 radiator.
EK-CoolStream RAD XT (360)
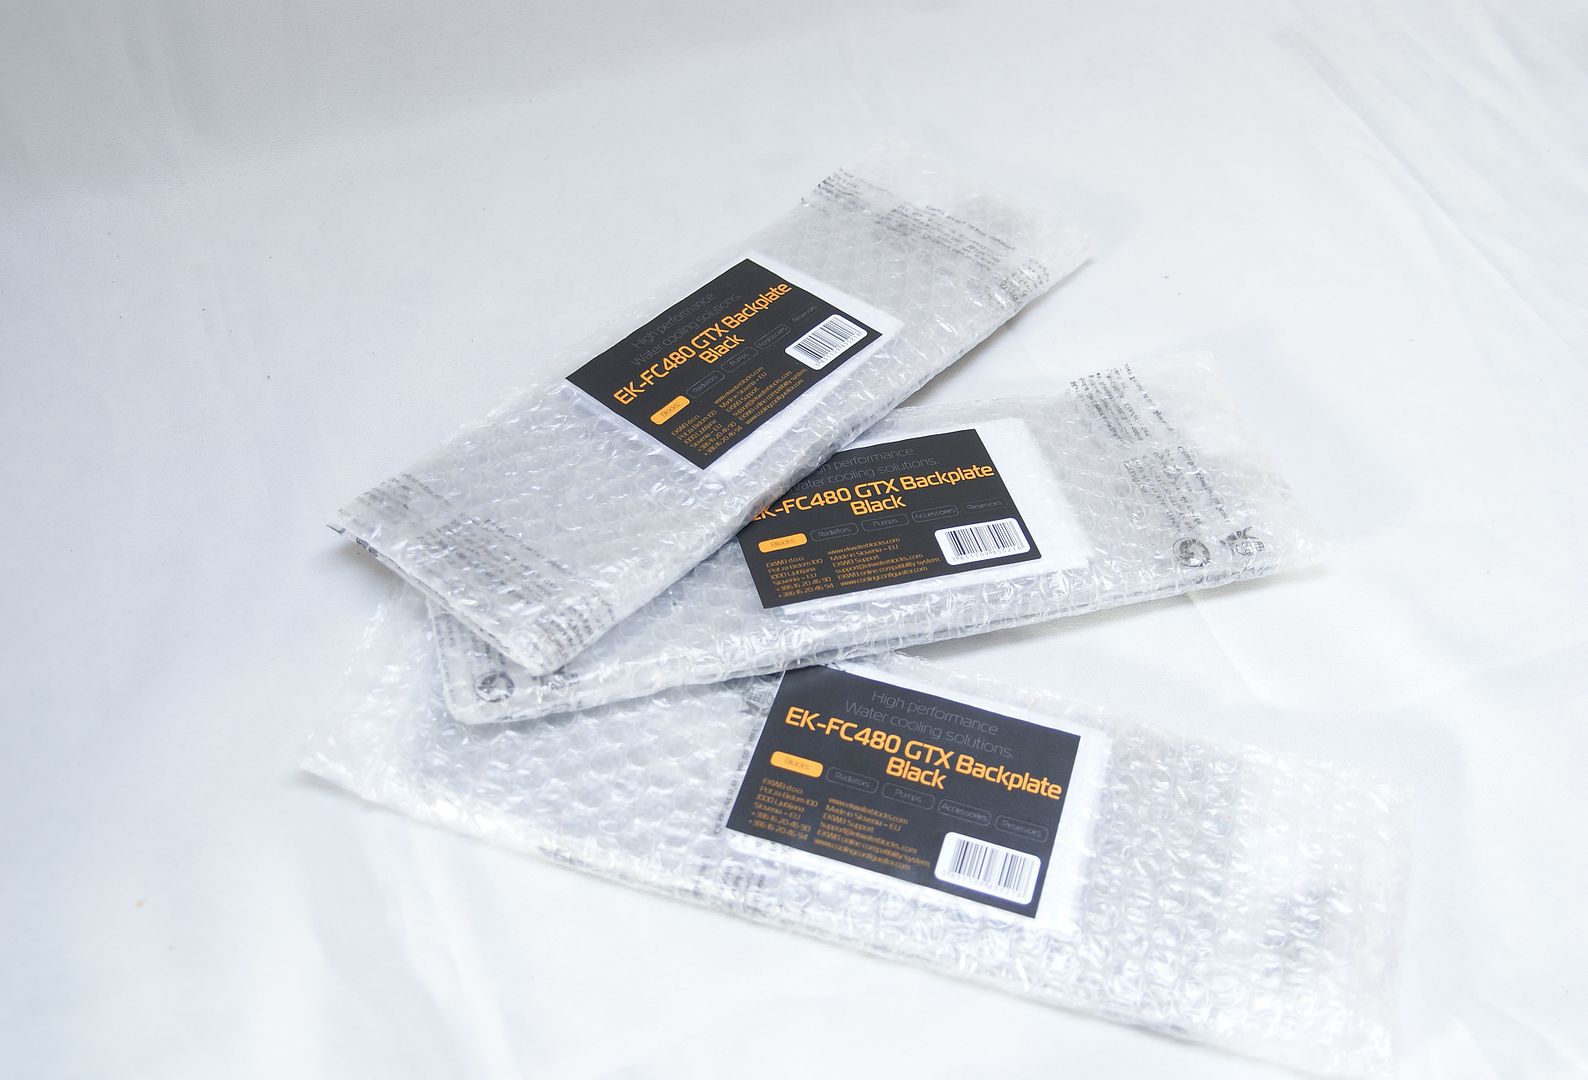
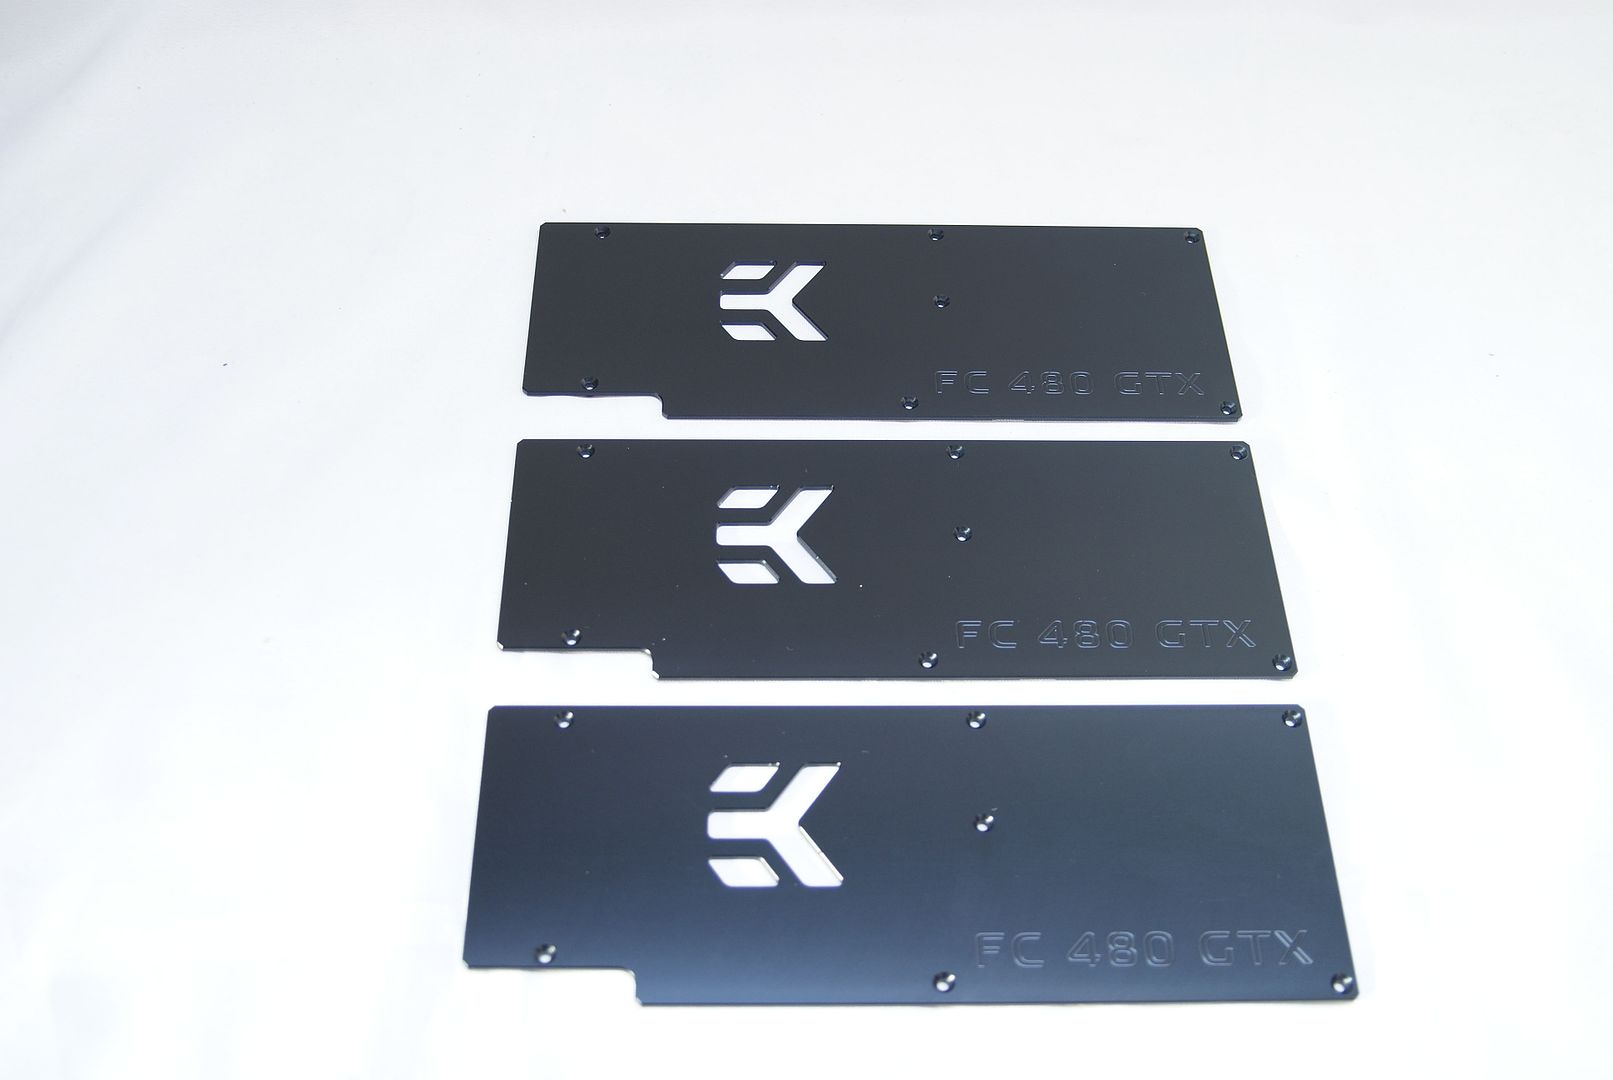
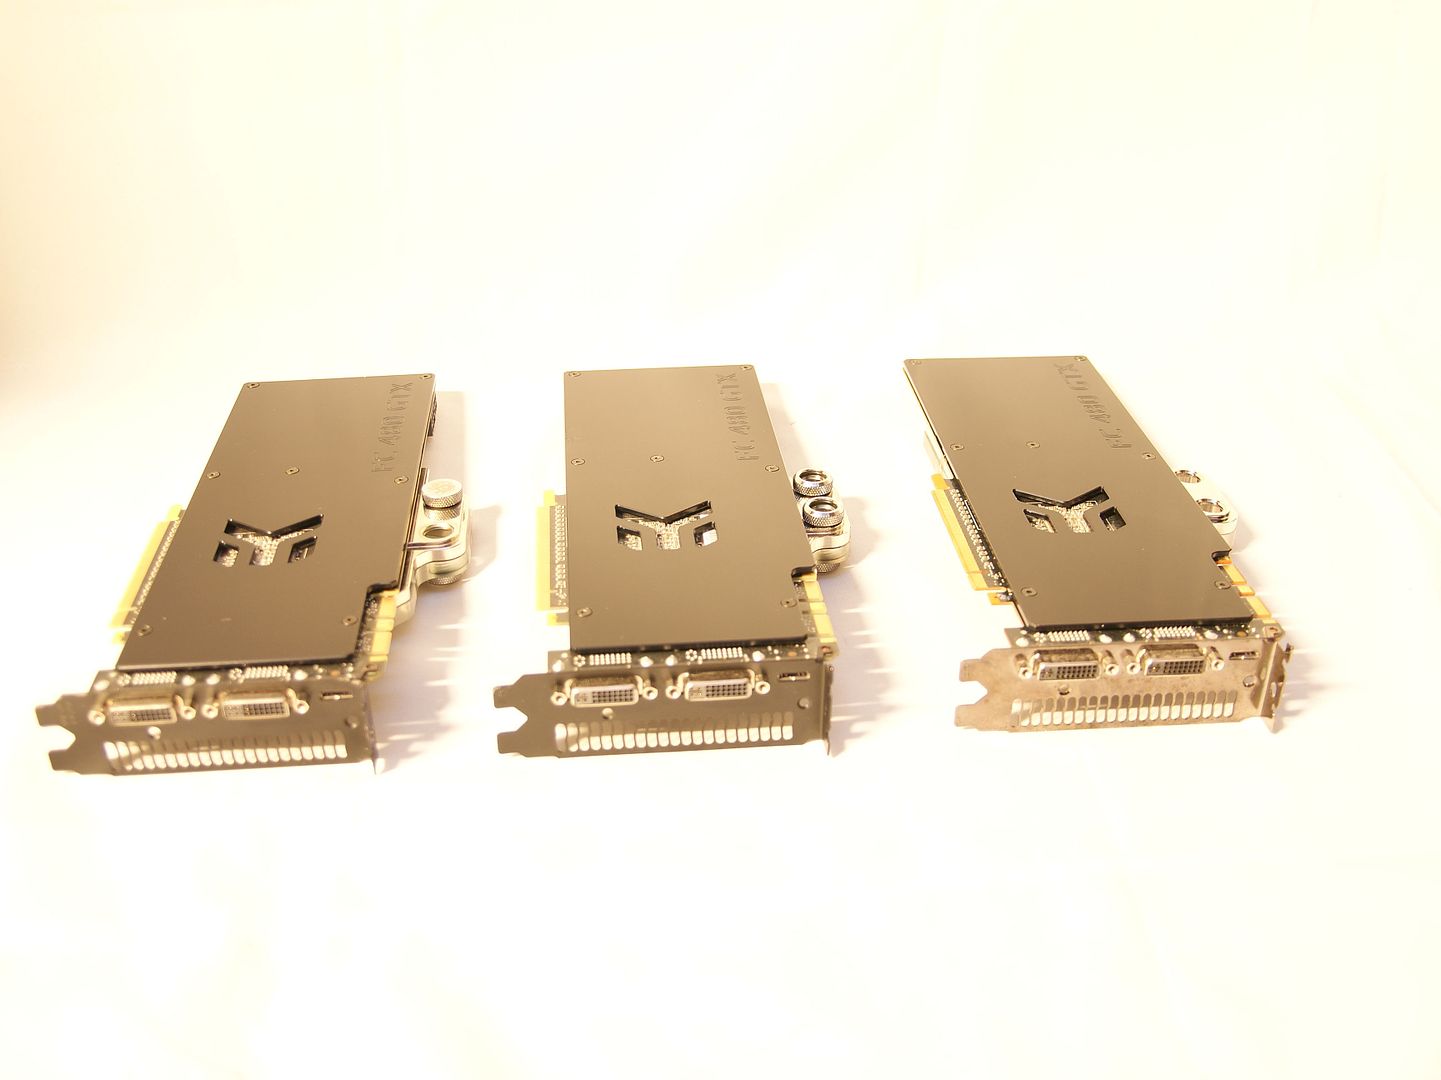
3x EK-FC480 GTX Backplate Black
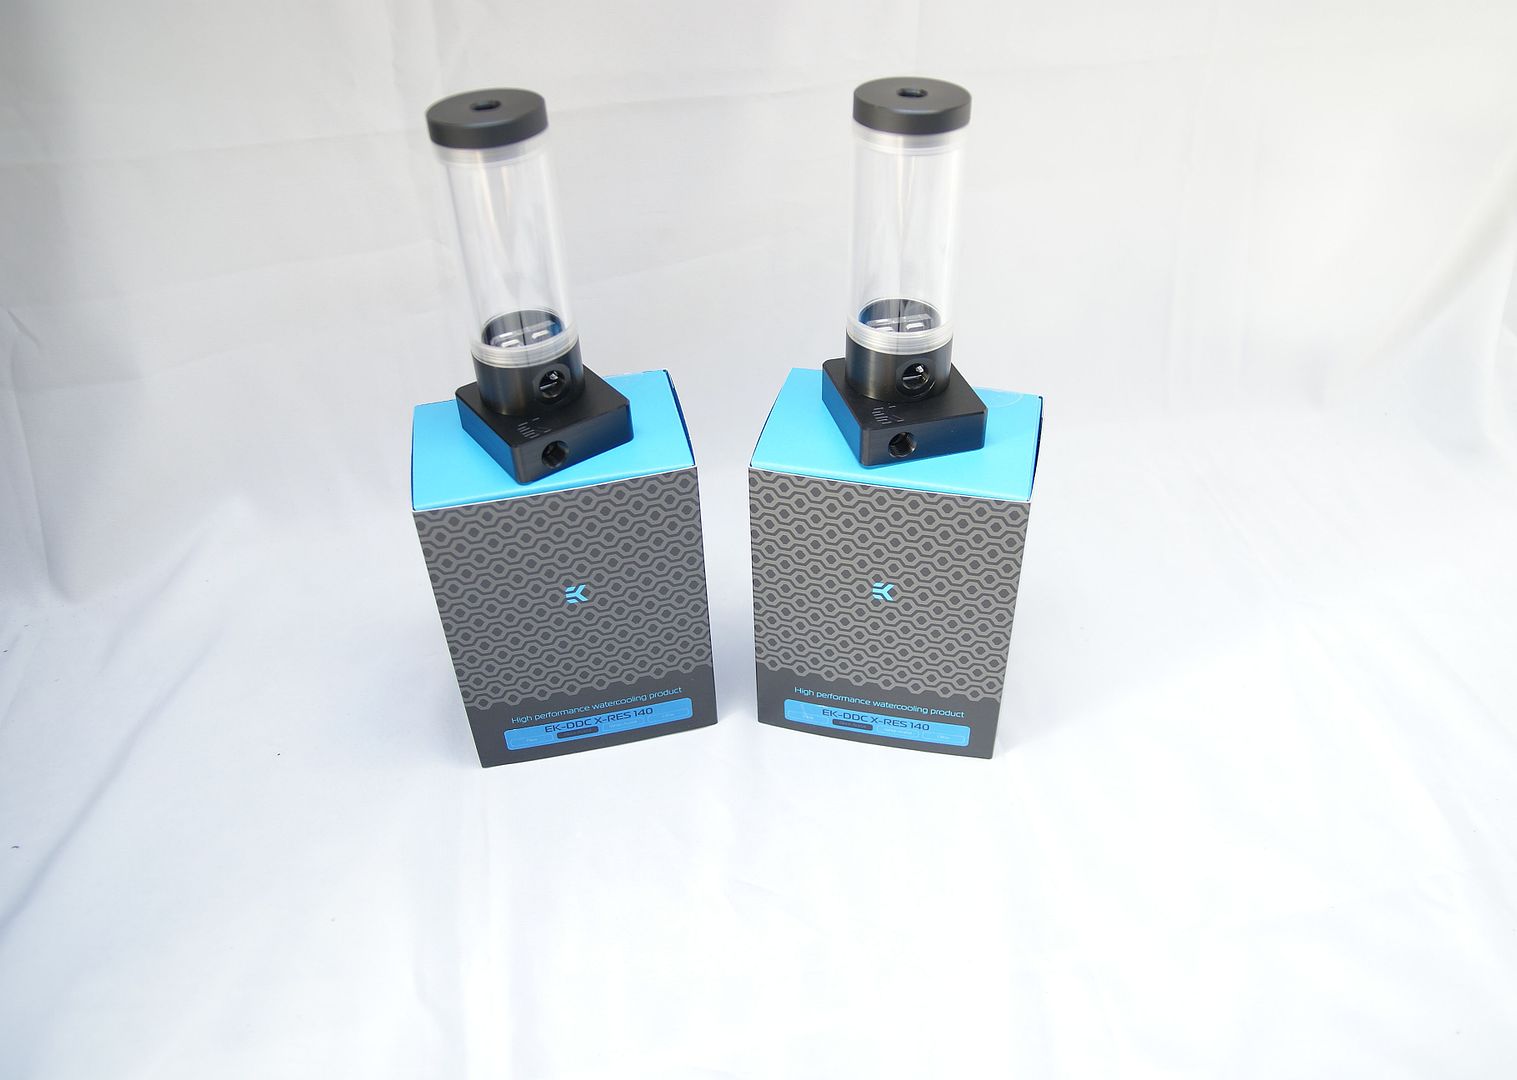
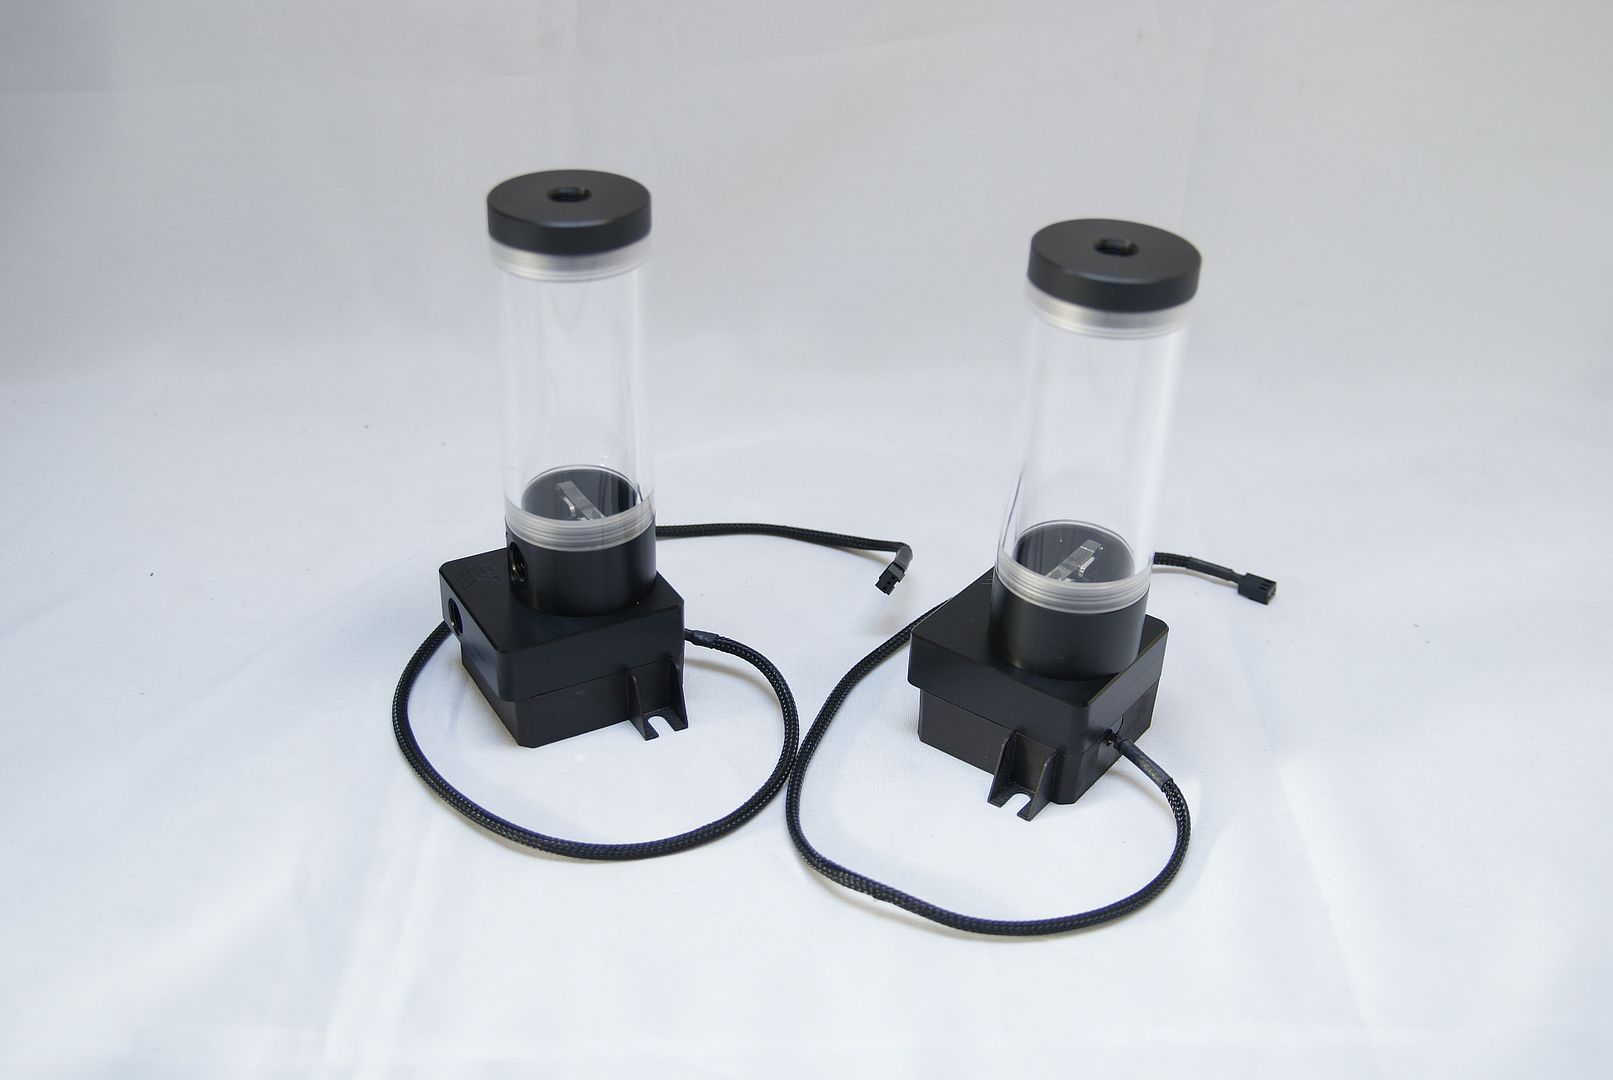
2x EK DCC Top with 140 reservoir
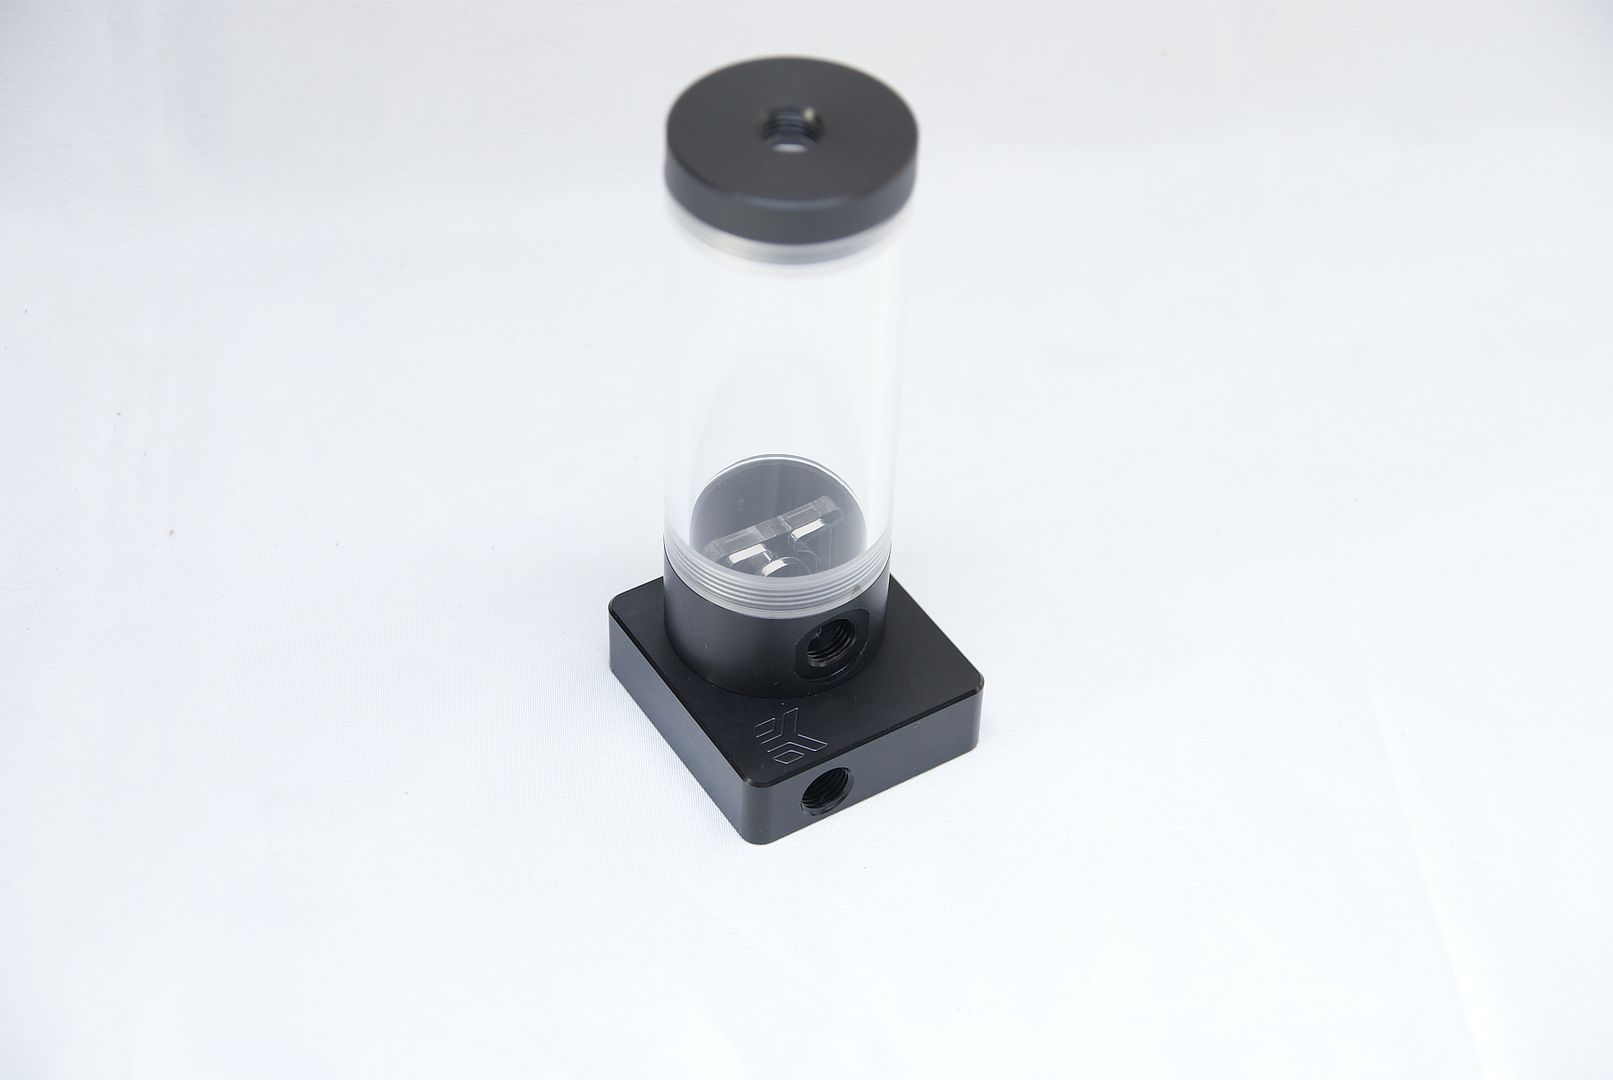
EK-DCC X-RES 140
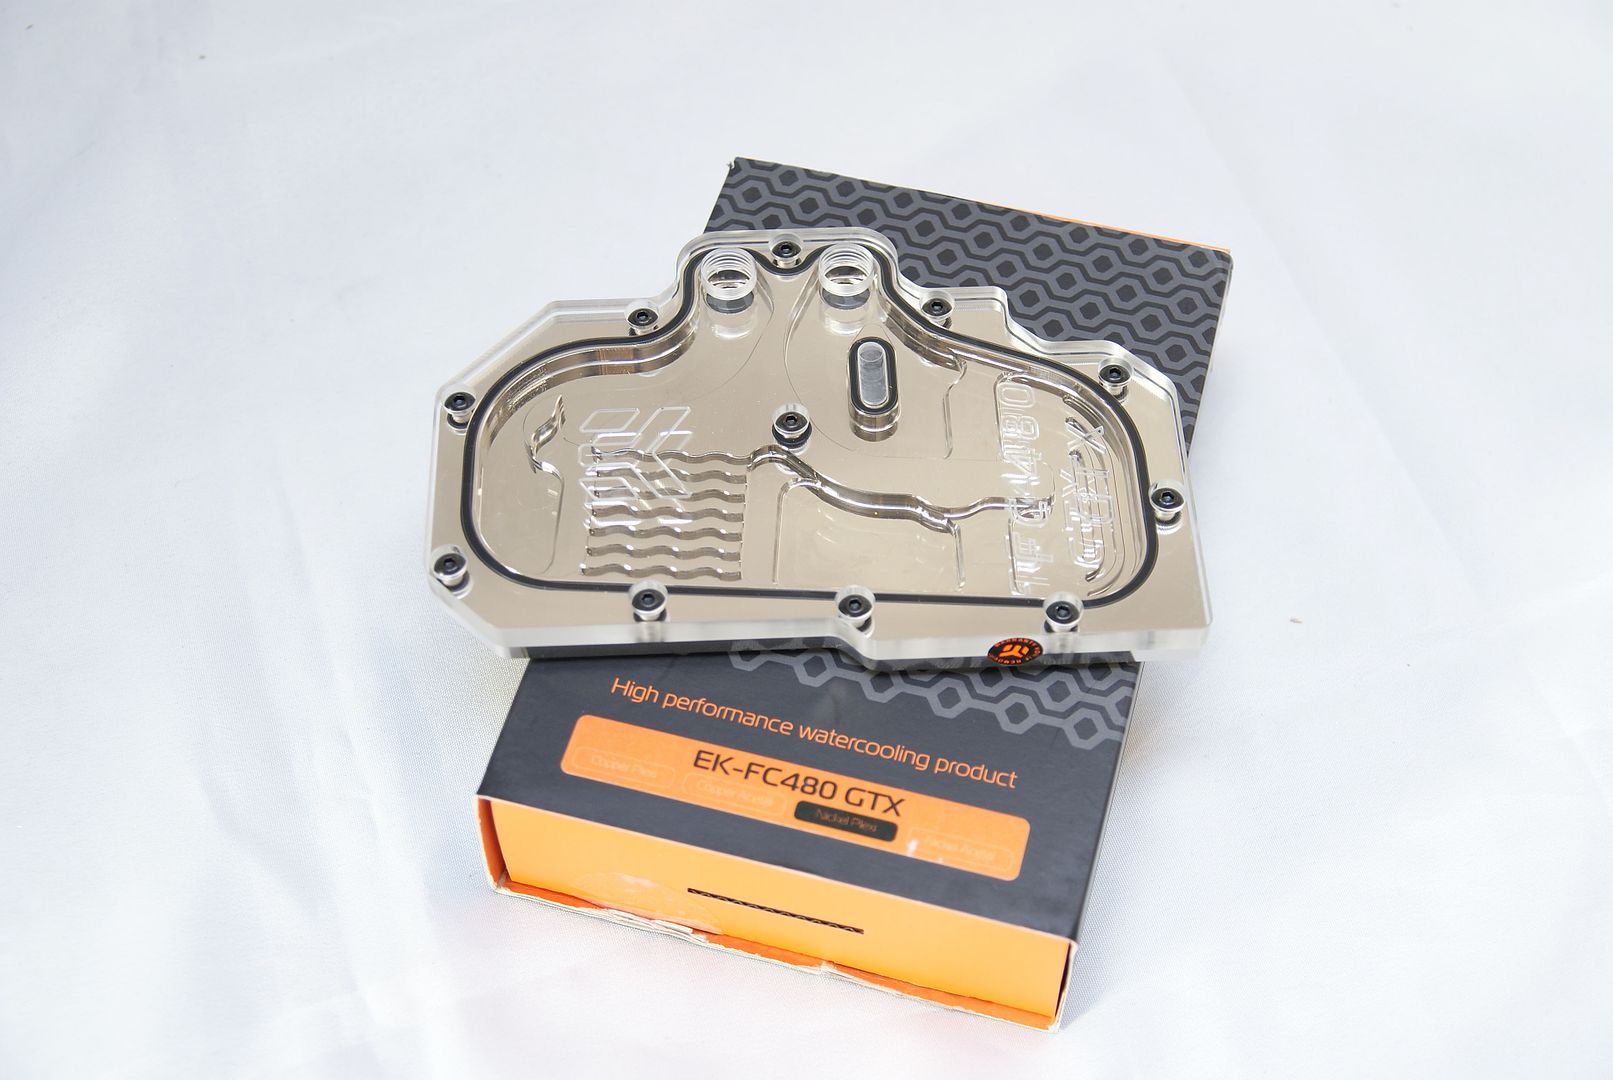
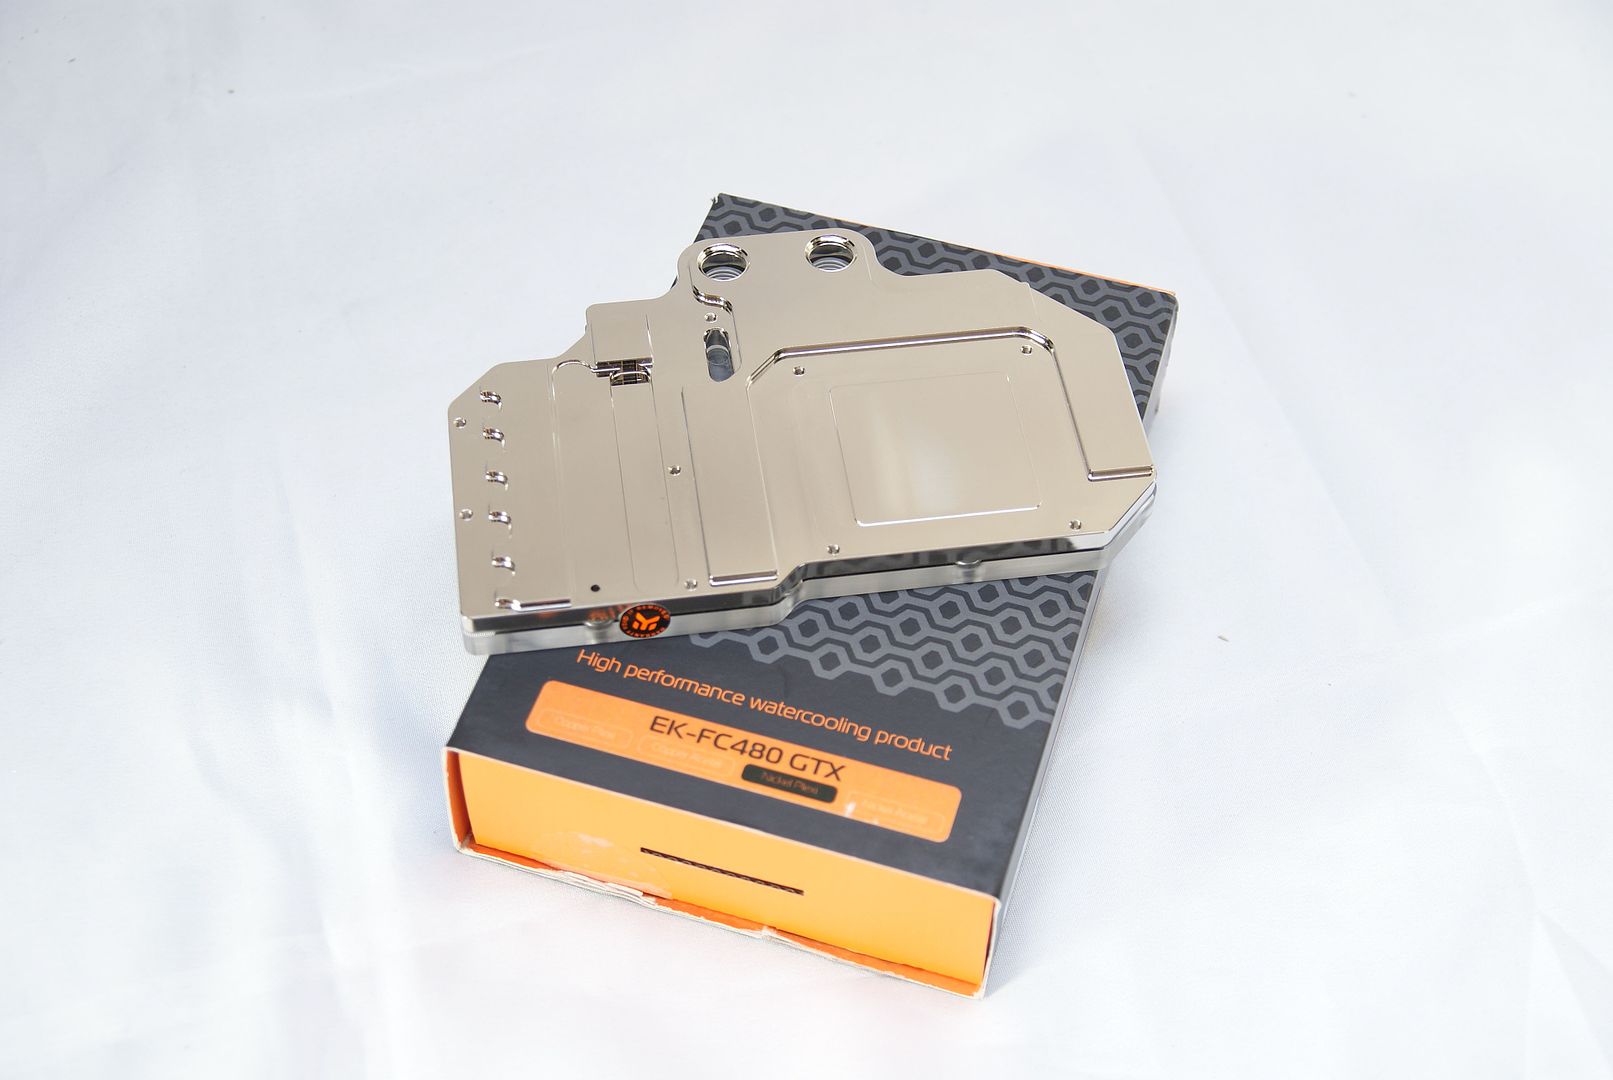
The last Block for the GTX480
EK-FC480 GTX
Placed the DCC tops on the MCP355
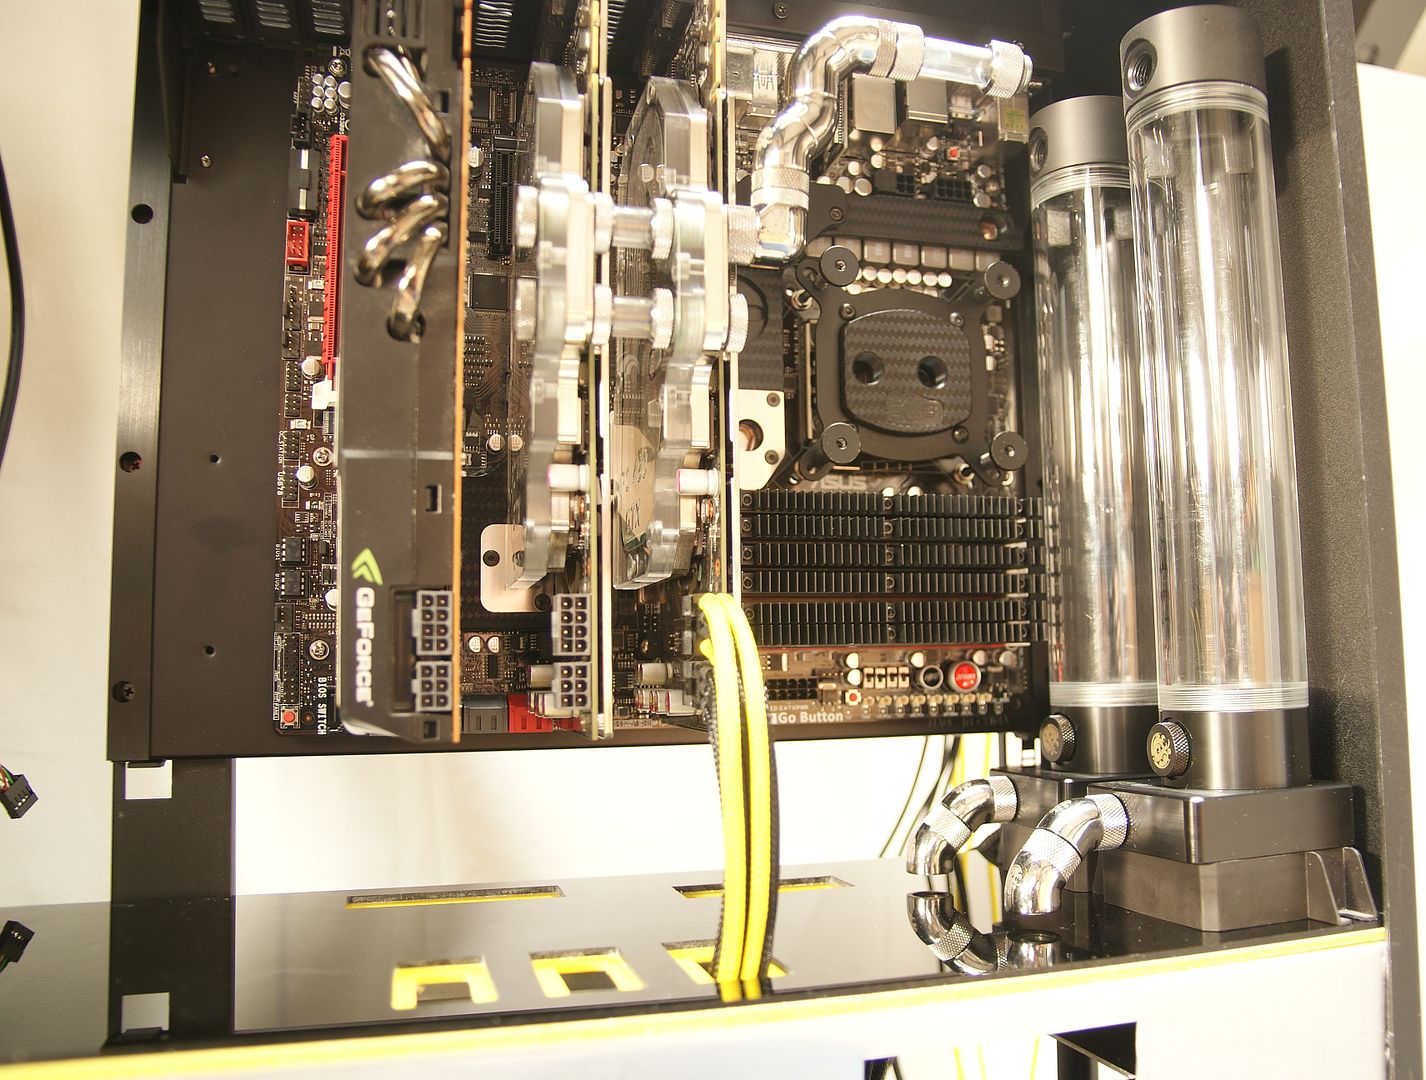
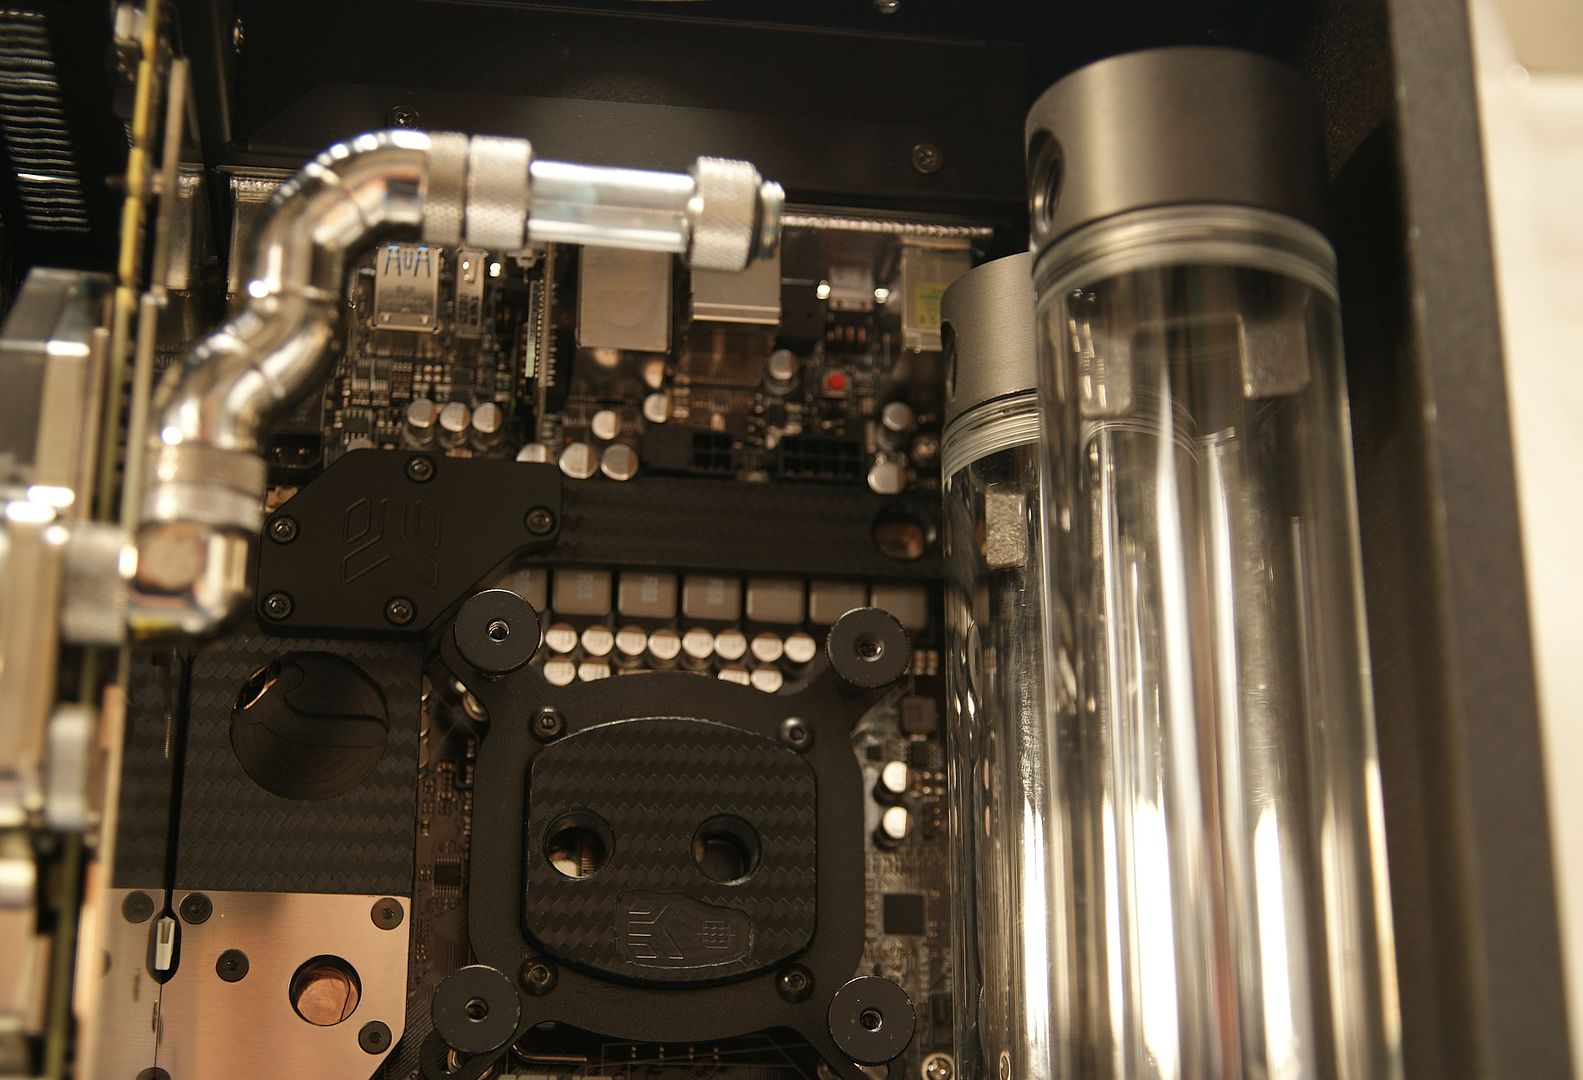
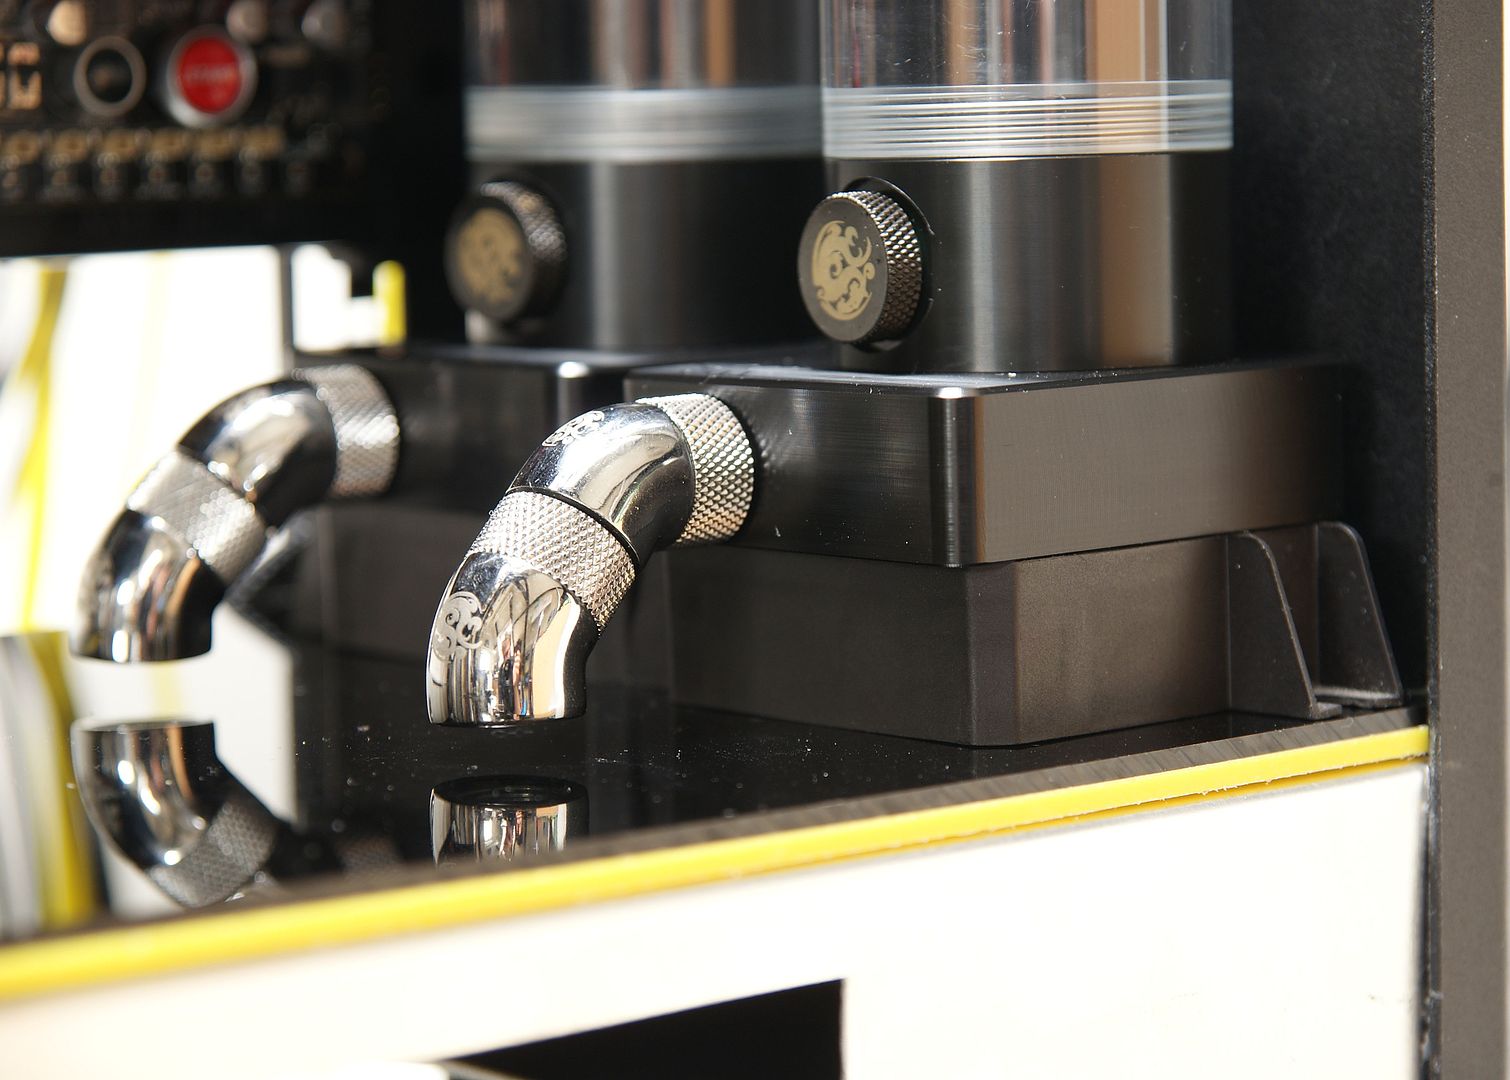
Instead of 140mm reservoirs I’m gonna useEK-Multioption RES X2 - 250 Basic
Like this
The GPUs will be connected to the front res, need to adjusting the black acrylic to get a straight line to the inlet of the reservoir
The outlet of the pump is going down through the midplate to a draining point, and so on to the radiators
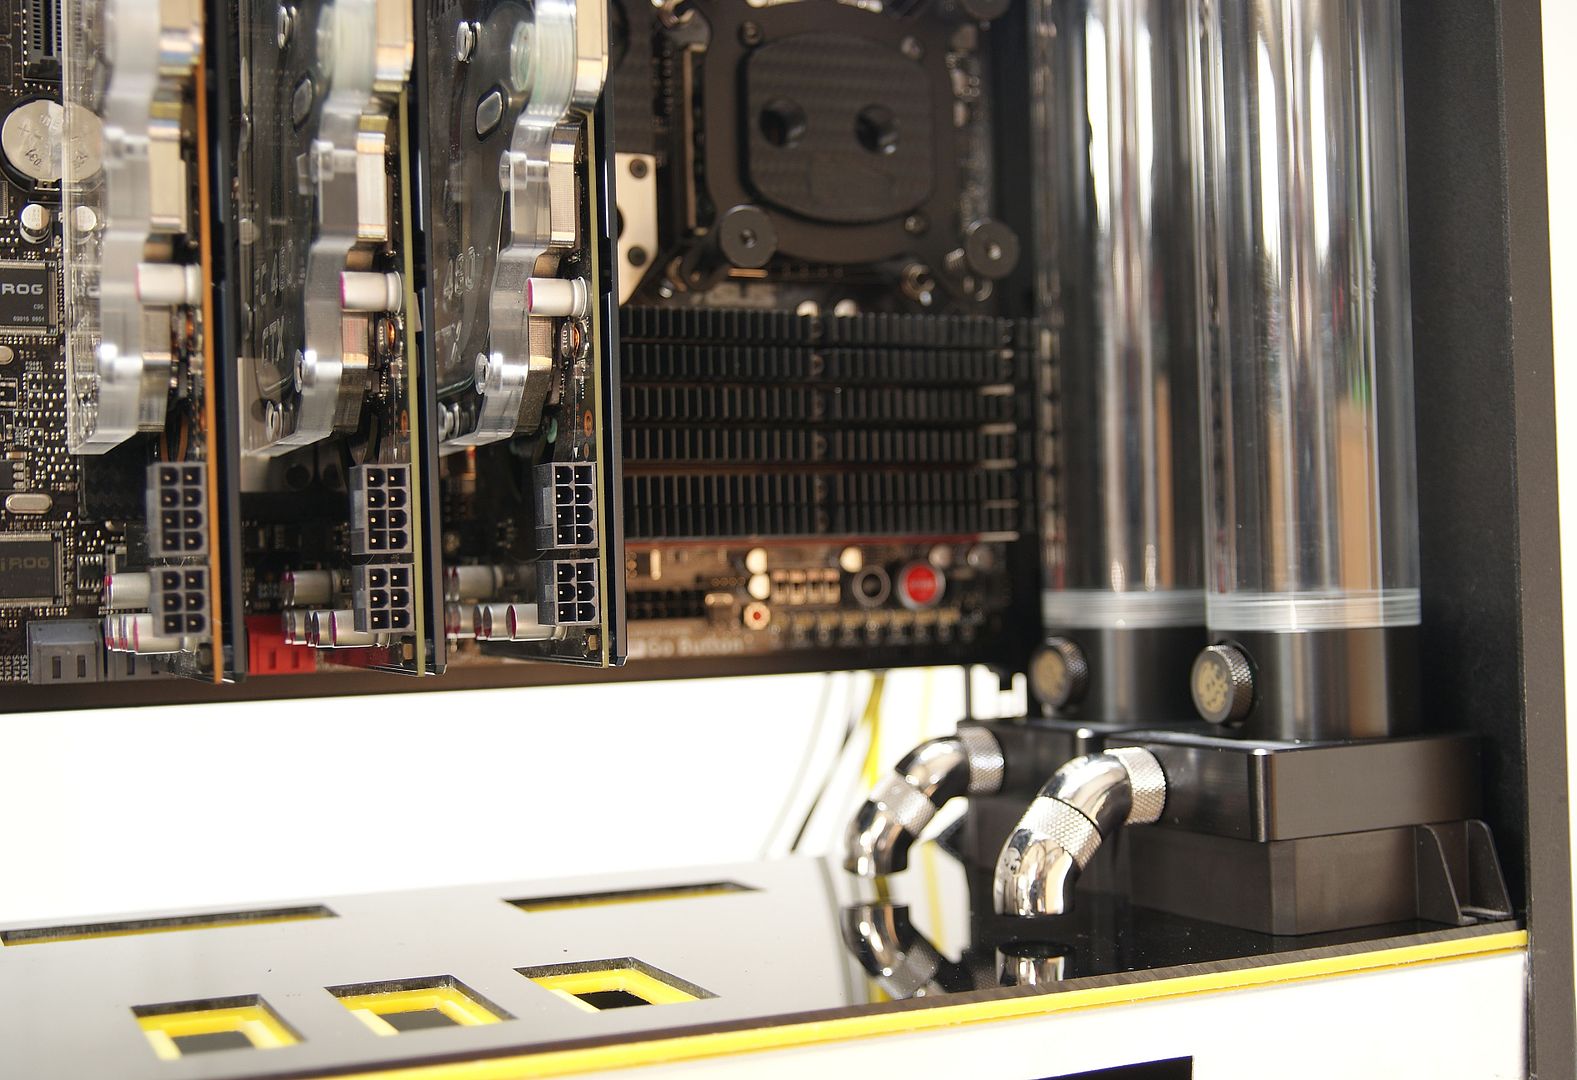
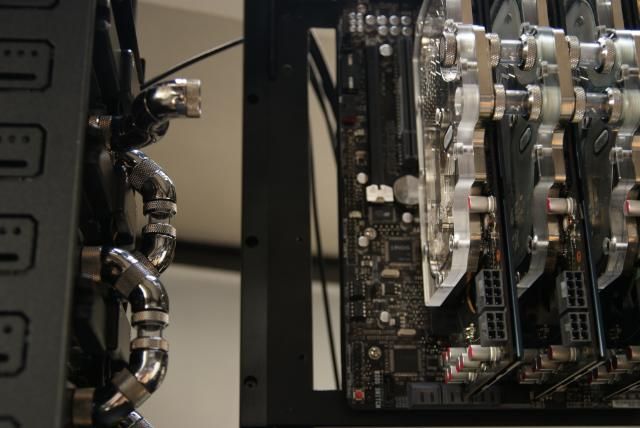
I also have placed the back plates and installed the last block on the GPU's. Always looks nice
And placed everything
EKWB thank you for making this update / build possible
-
Re: Silverstone TJ11 Carbon
WOW!!! Looking good. Why not get some single slot covers for the GPUs? It would help add to the clean look.
-
Re: Silverstone TJ11 Carbon
Sponsor Update: Mnpctech
This week was a special week, received the package from Bill from Mnpctech
With a an important part for the TJ11.
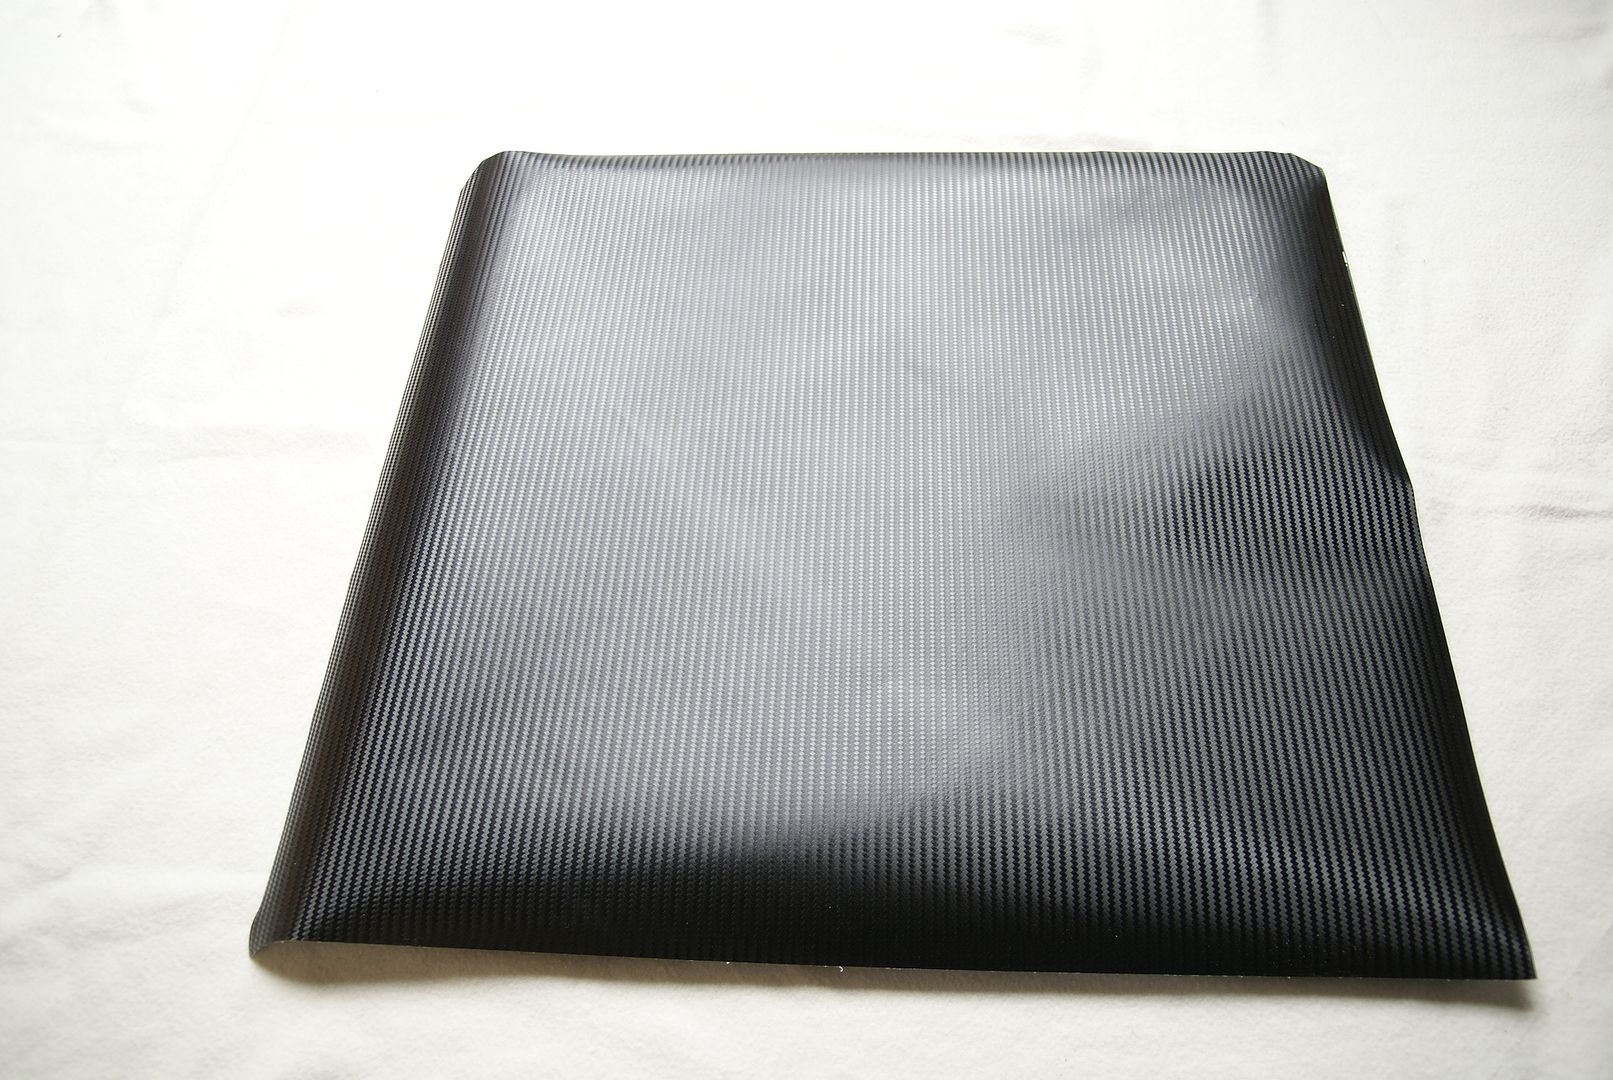
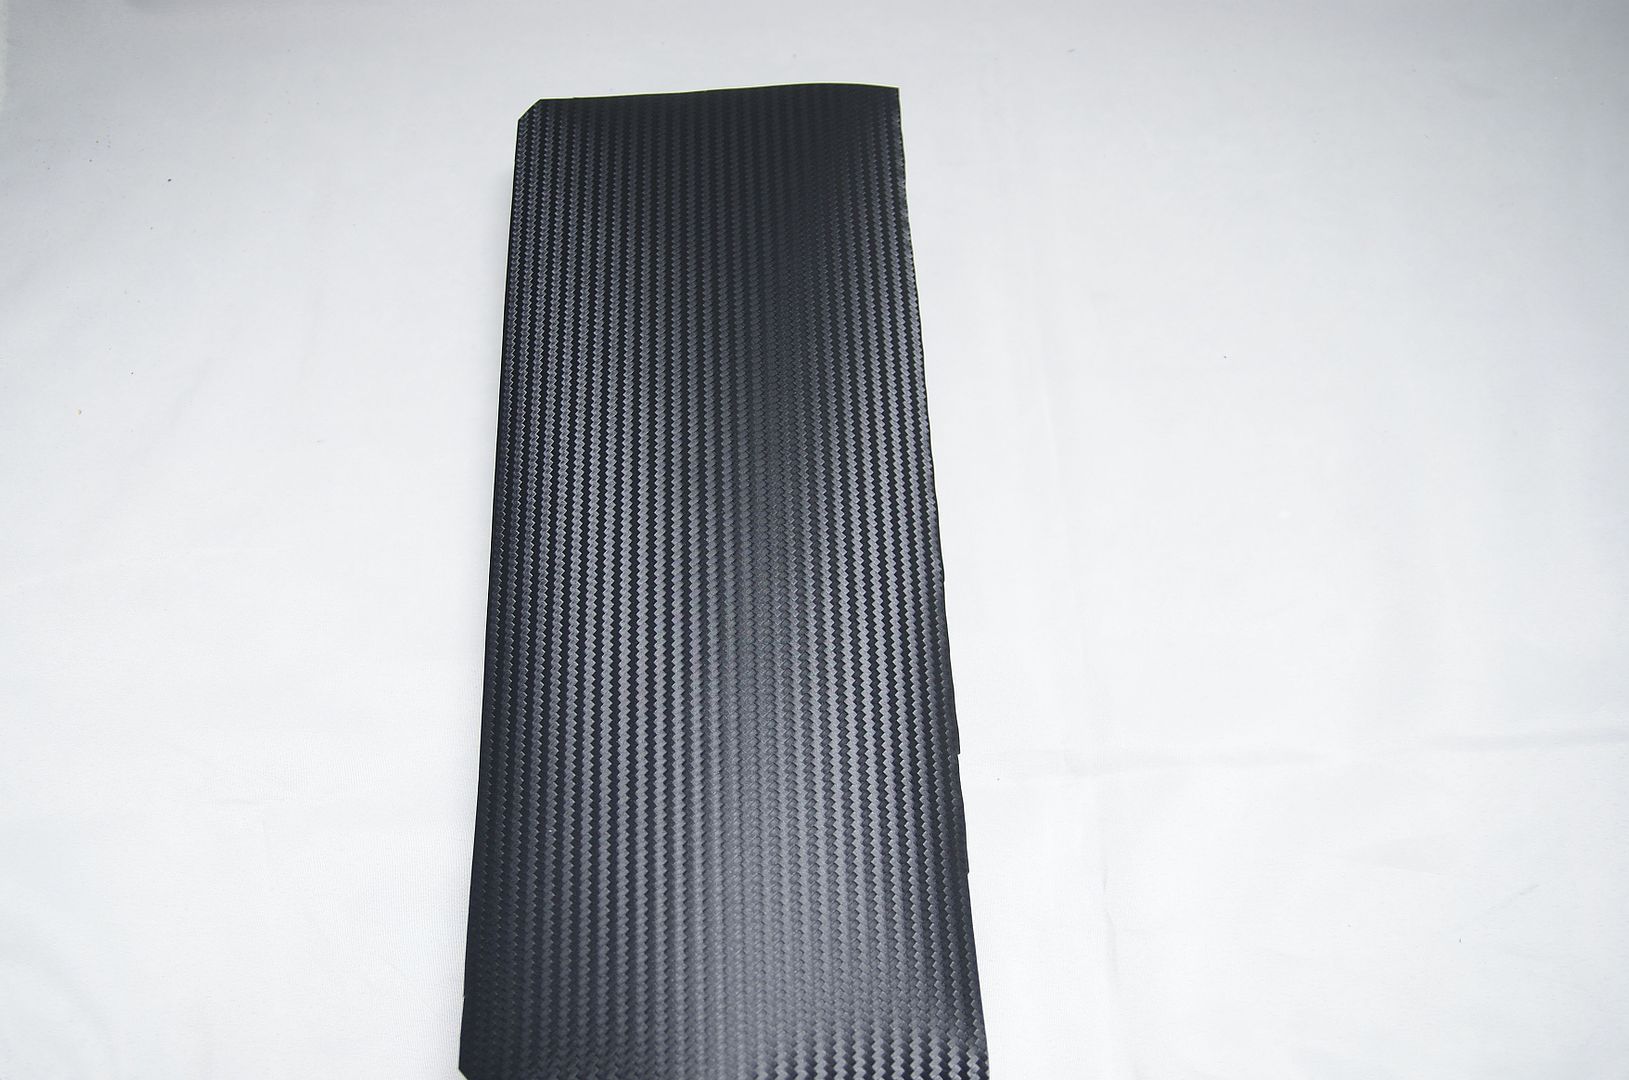
3M Di-Noc CARBON FIBER FILM
The package
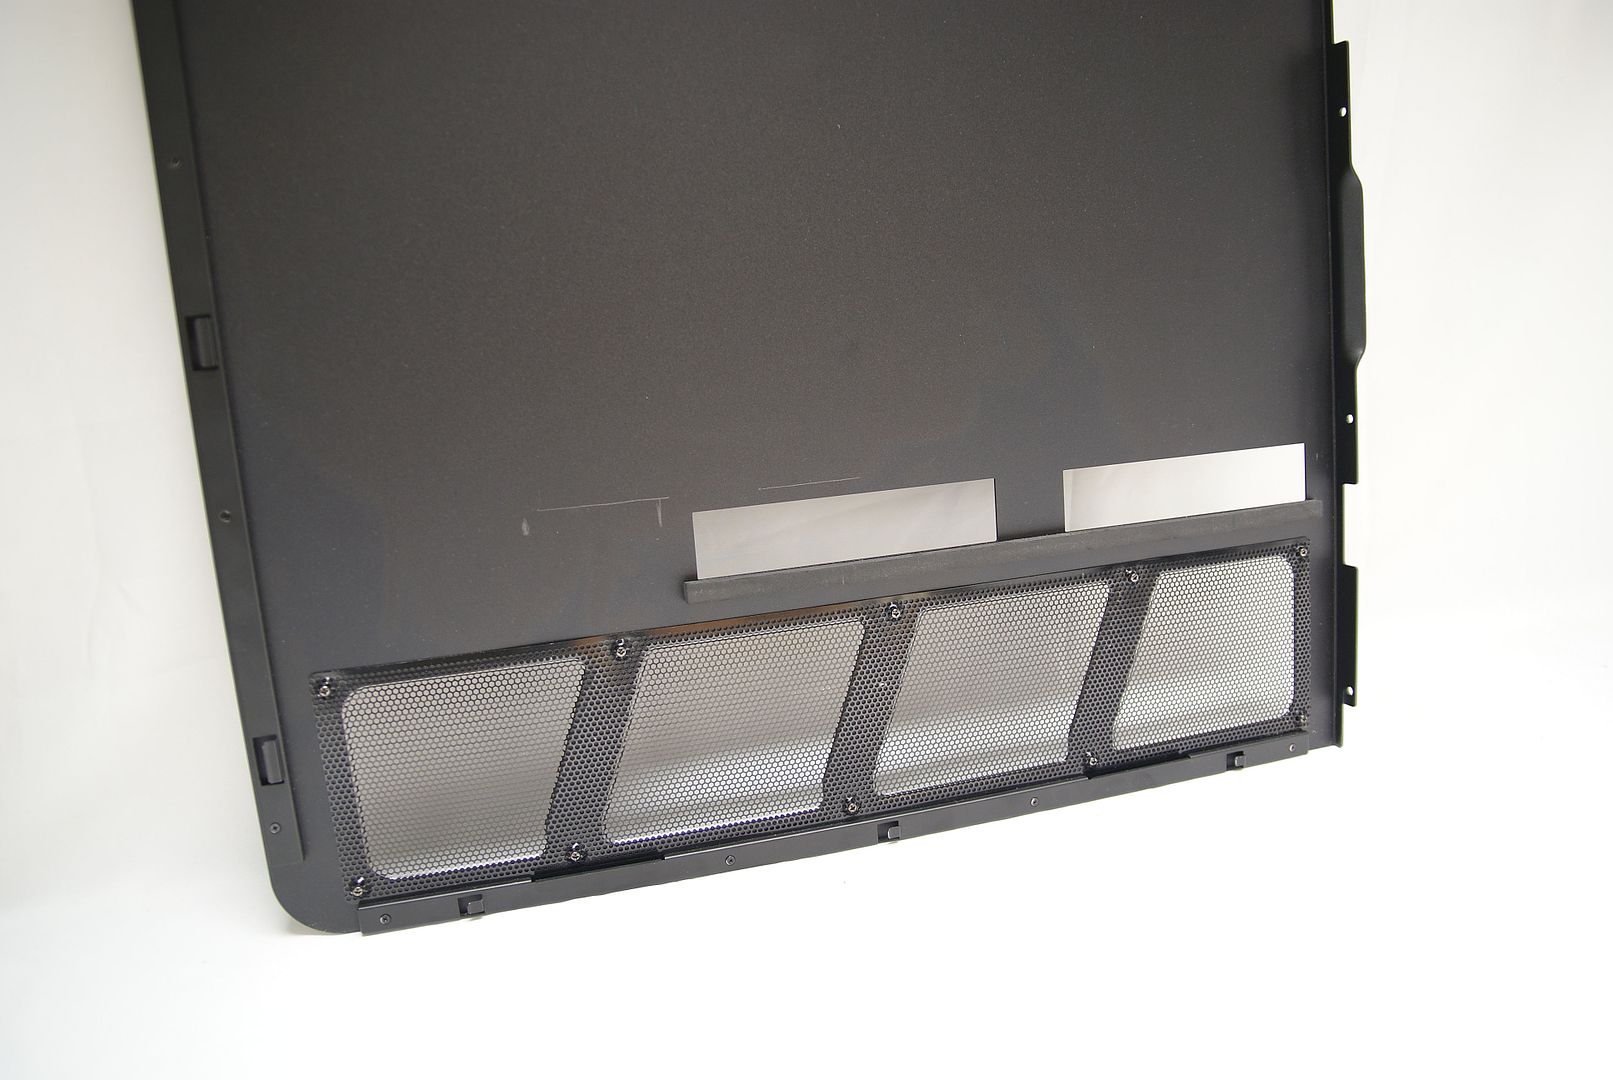
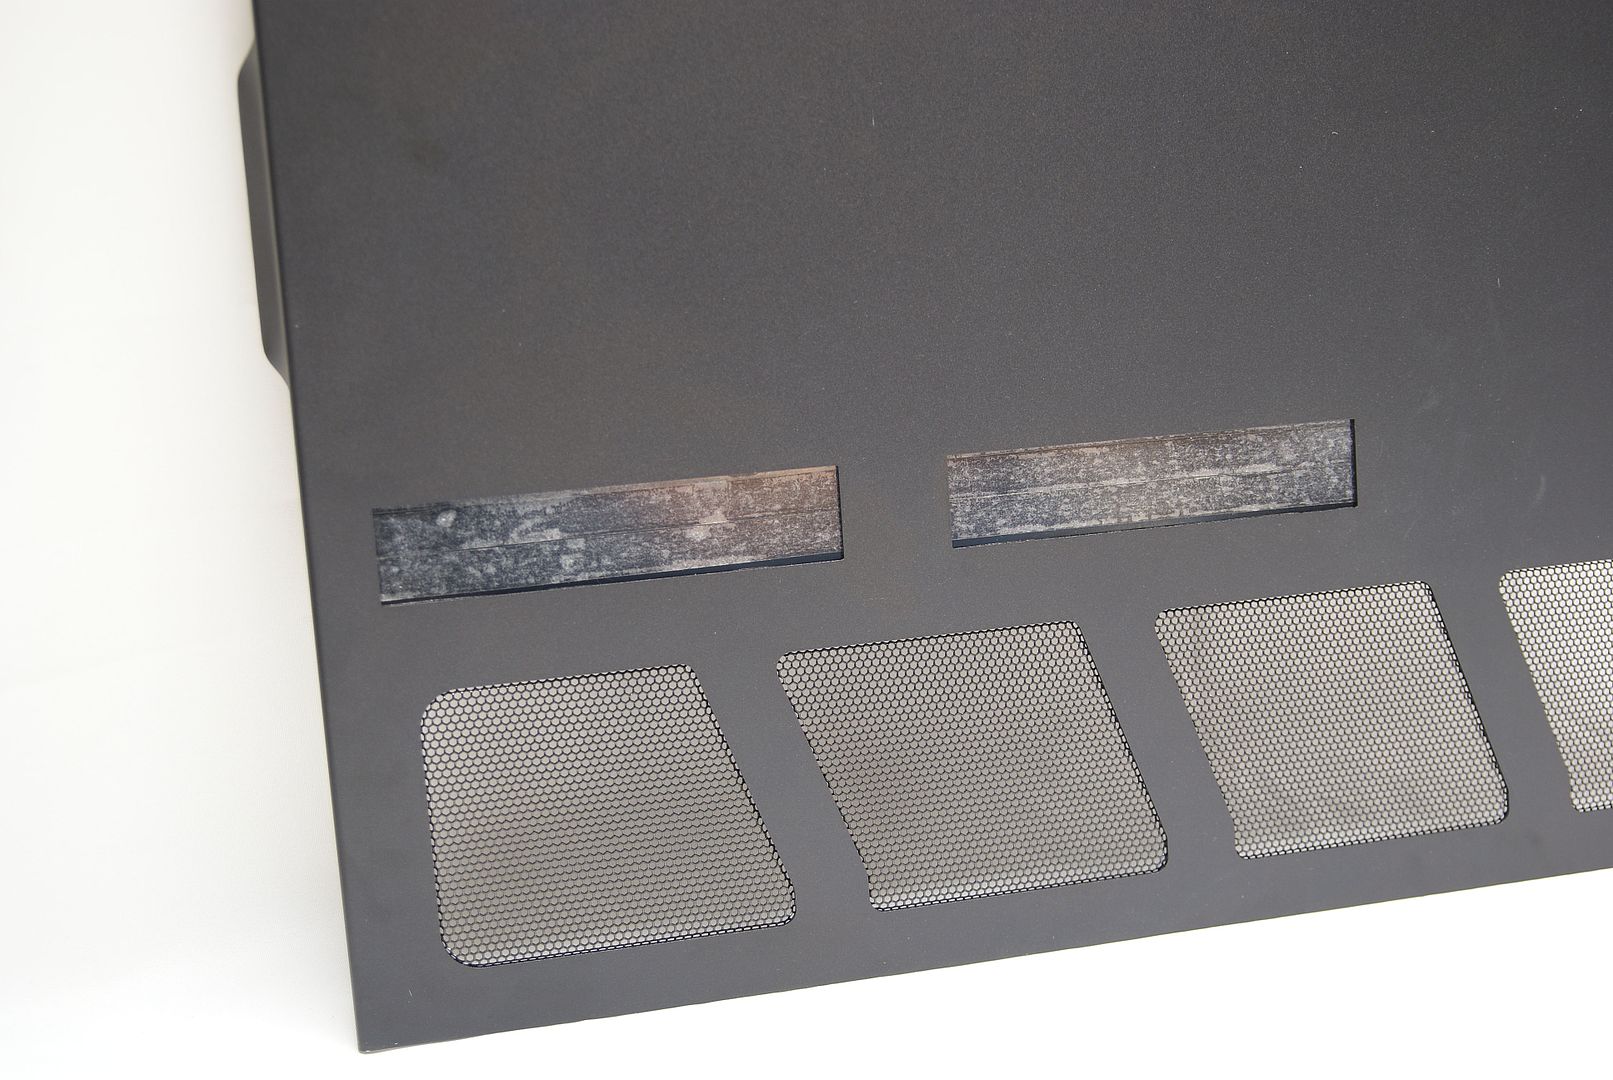
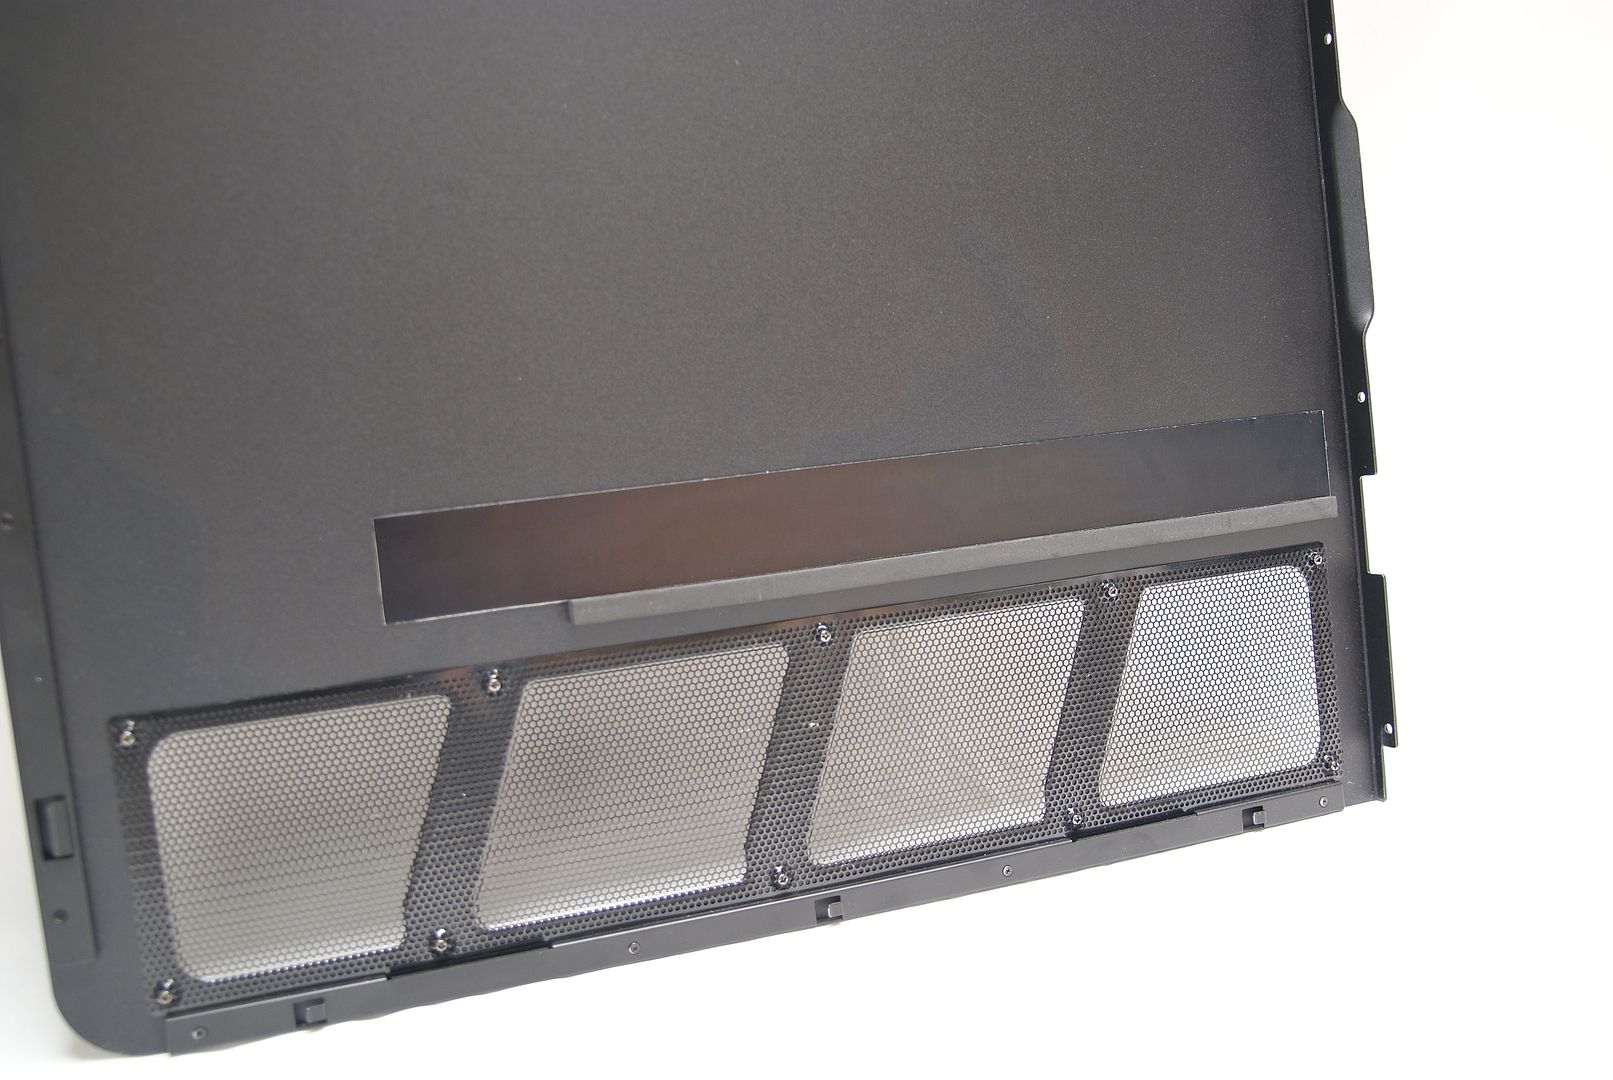
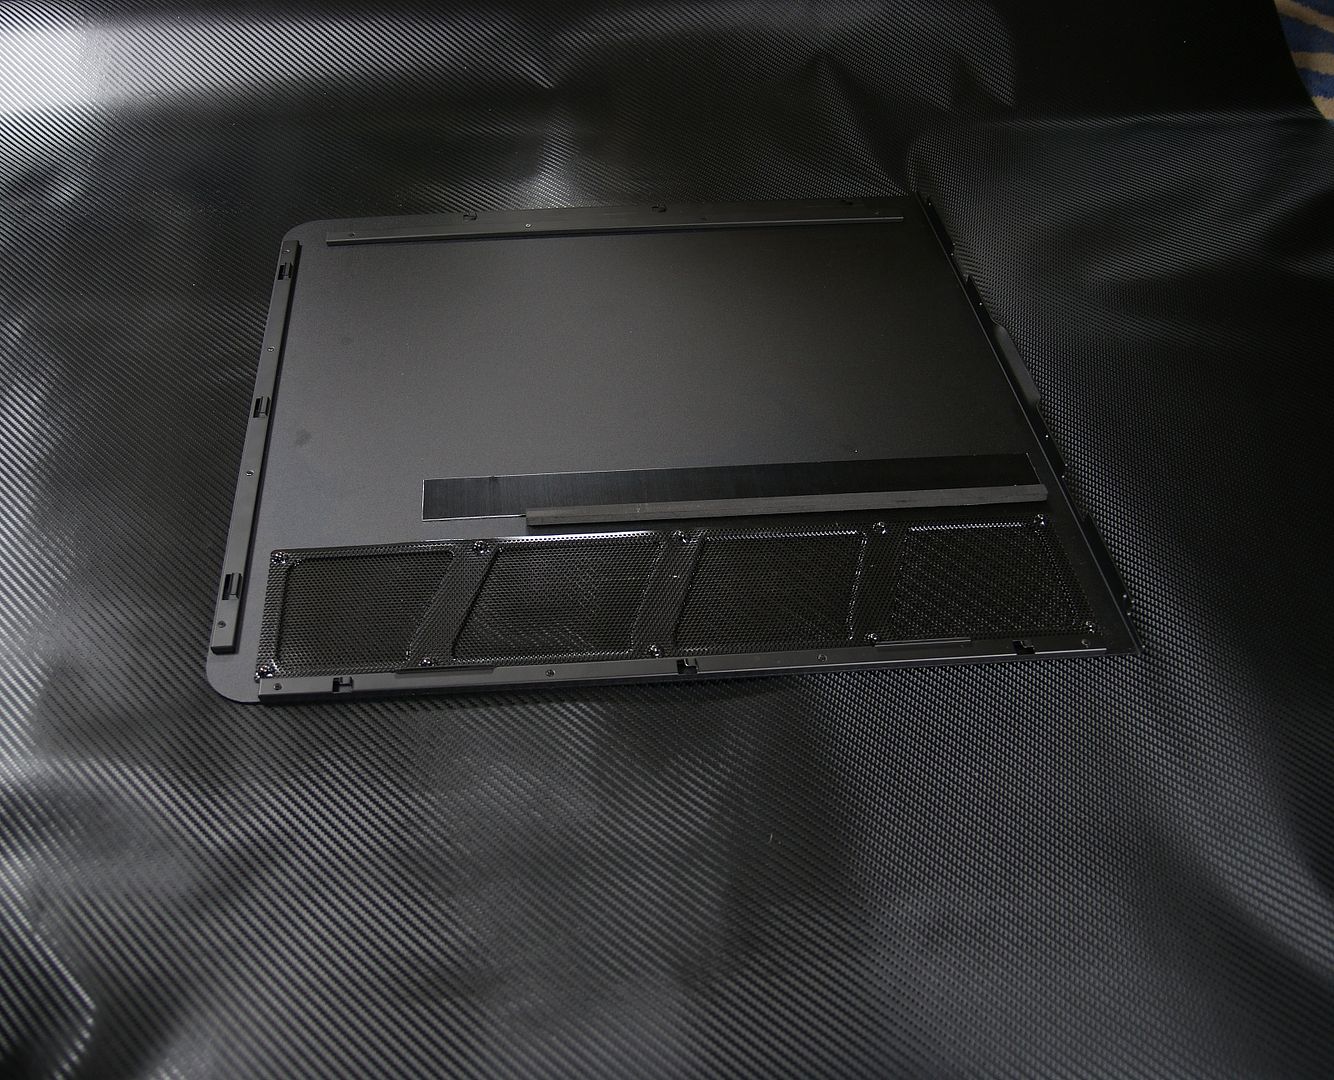
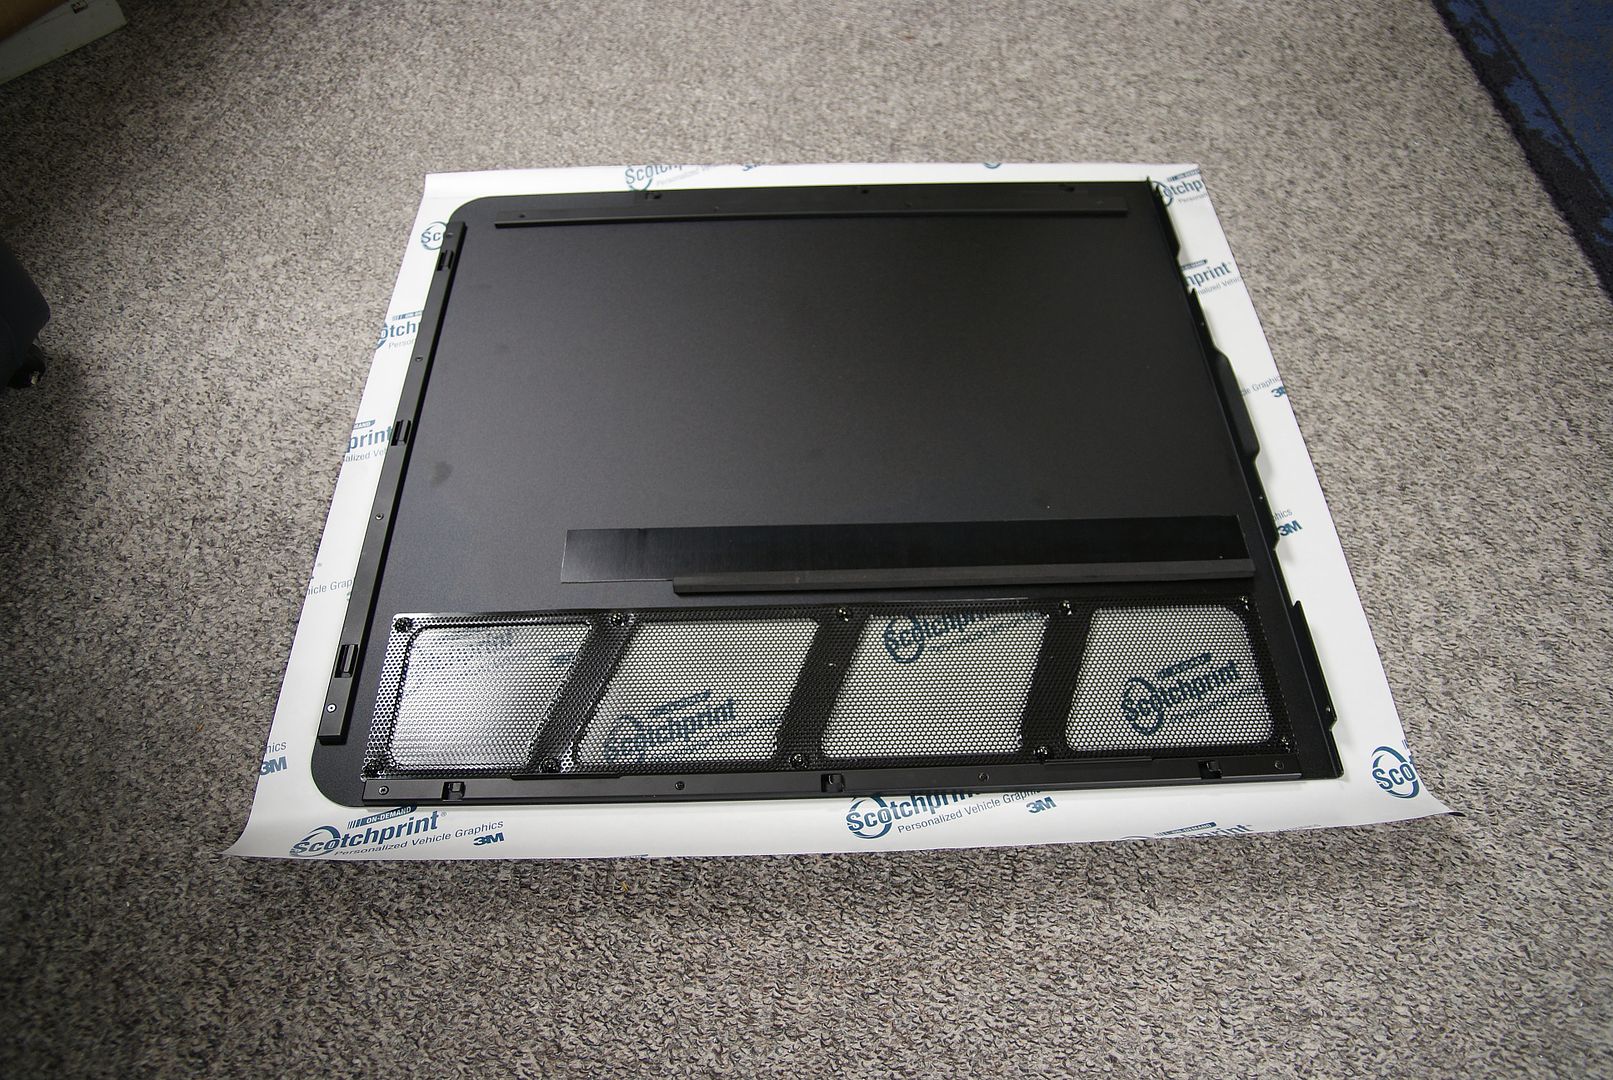
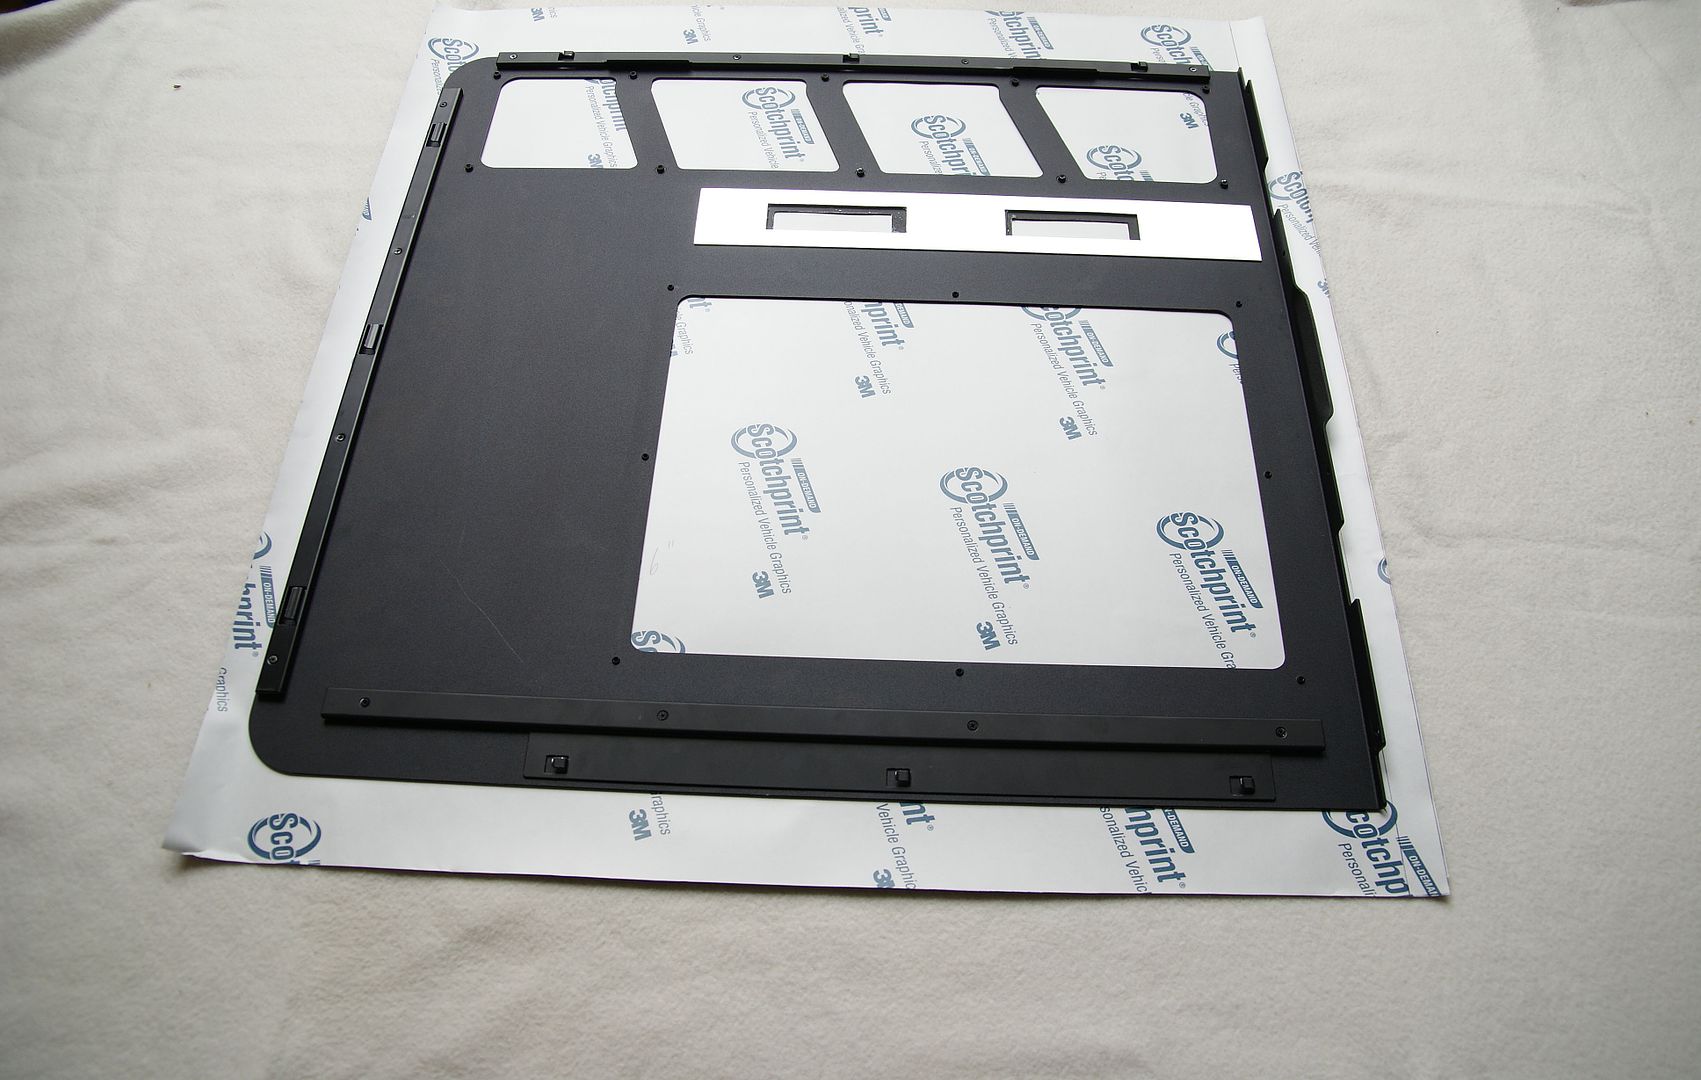
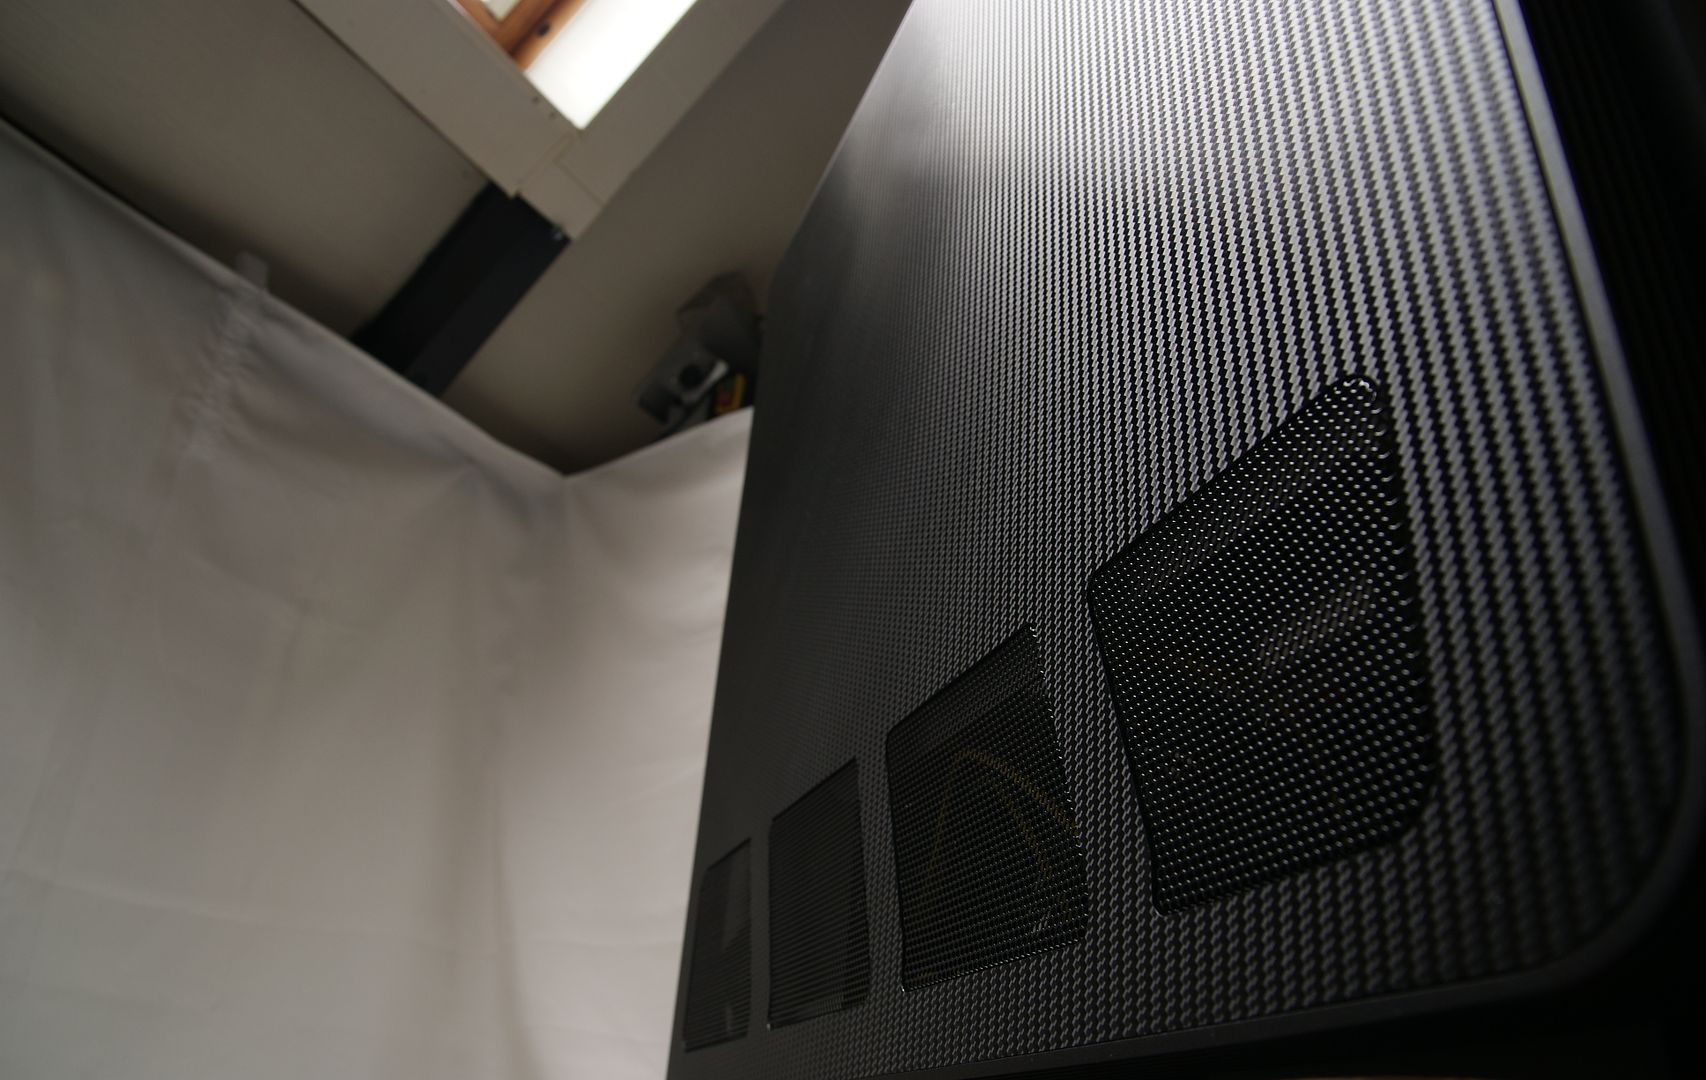
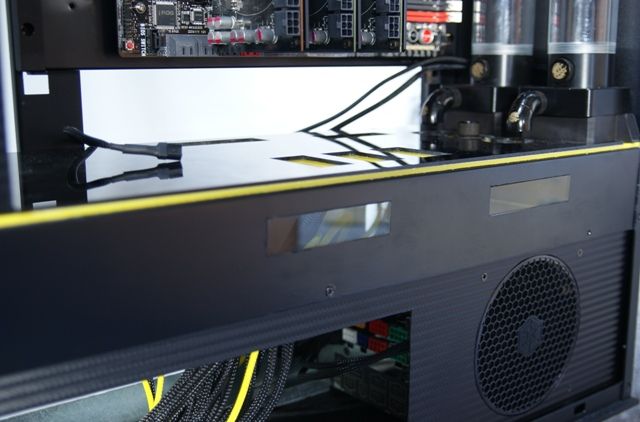
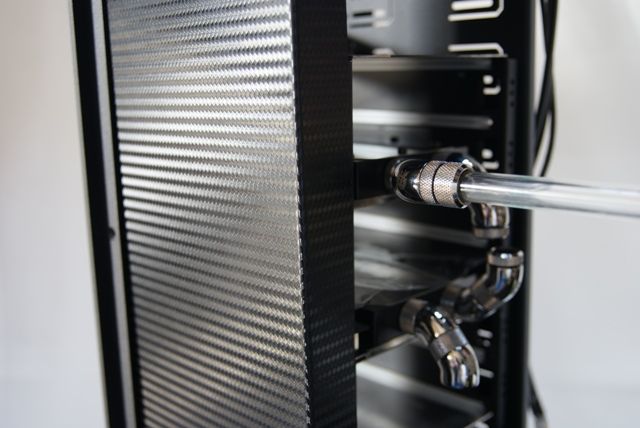
To begin I’ll need to cover the air intakes from the sidepanel. Dont want these to be seeing.
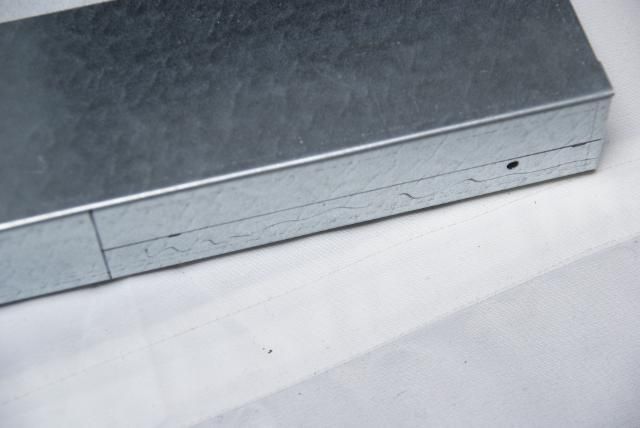
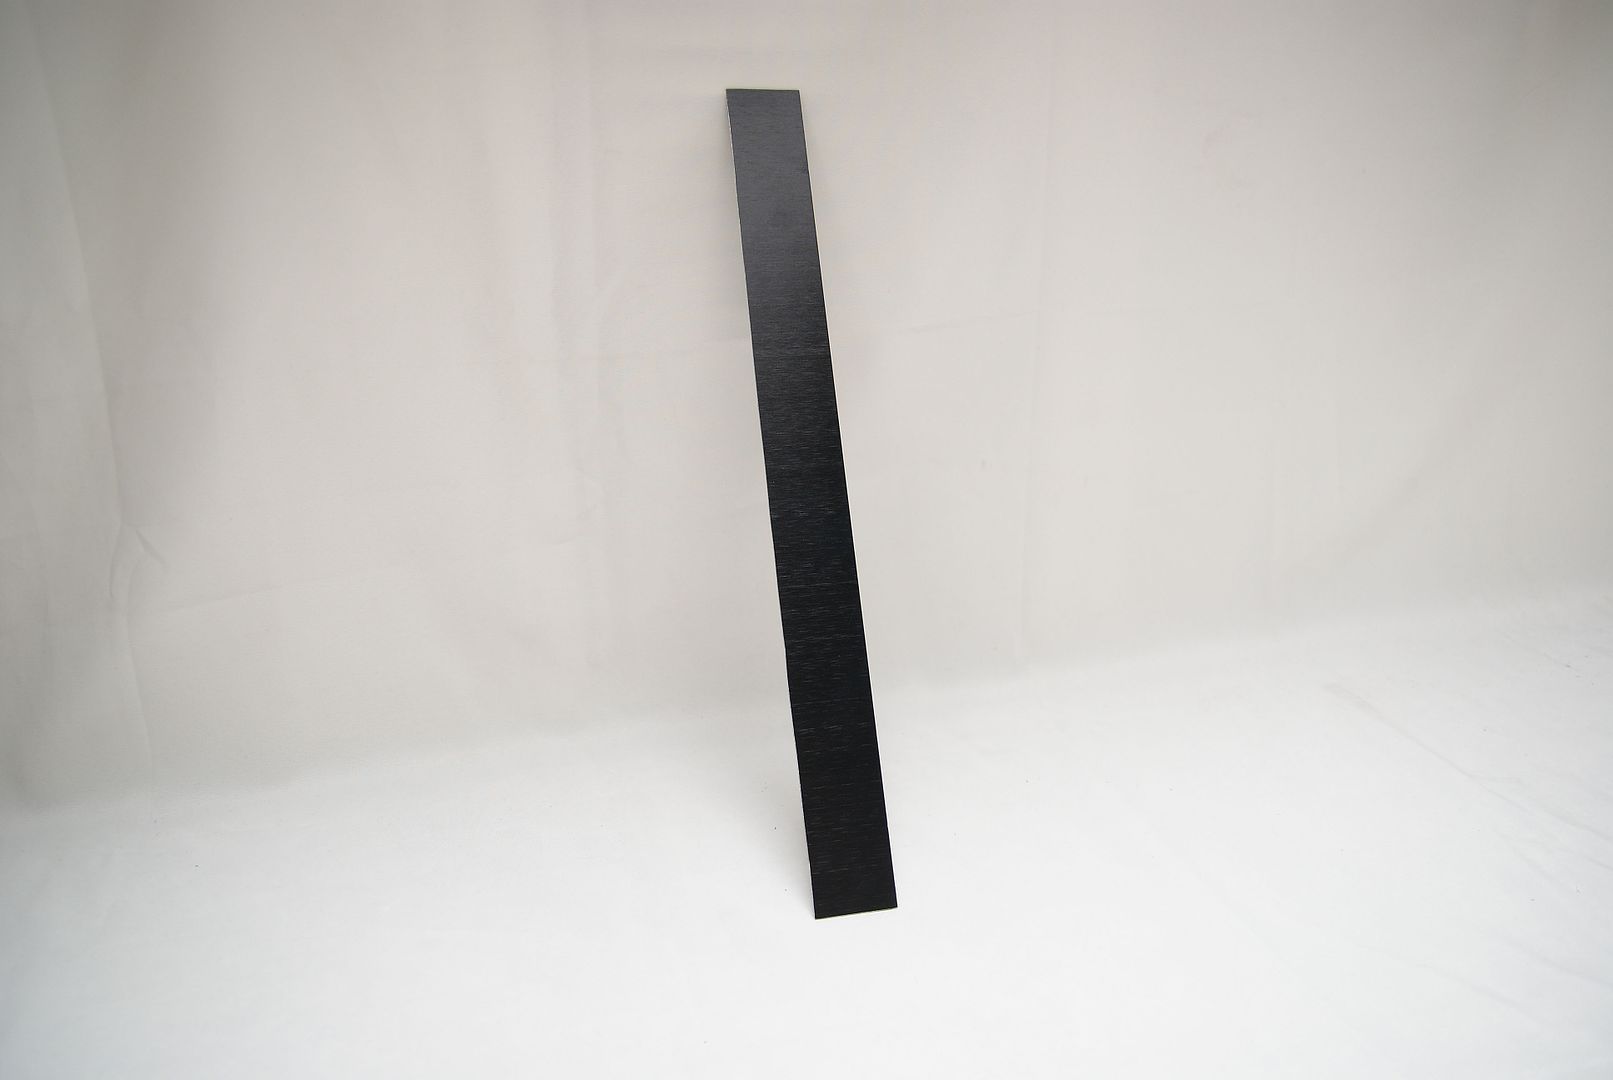
So cut a strip of 1mm aluminium
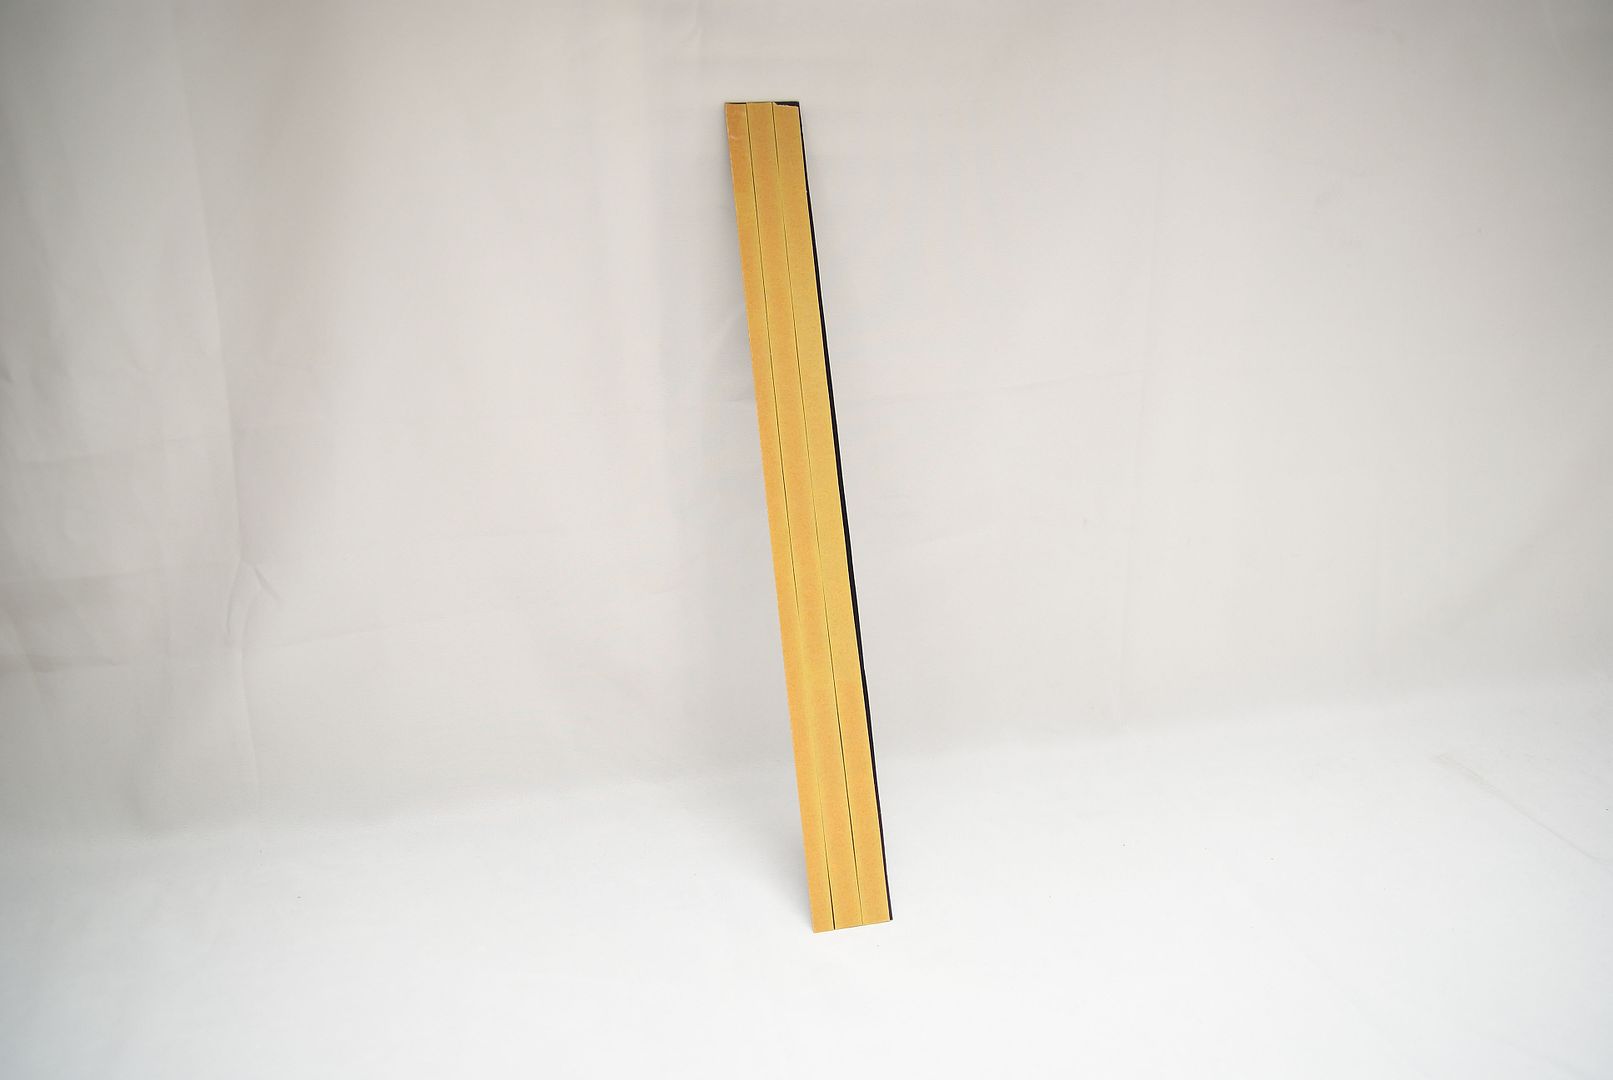
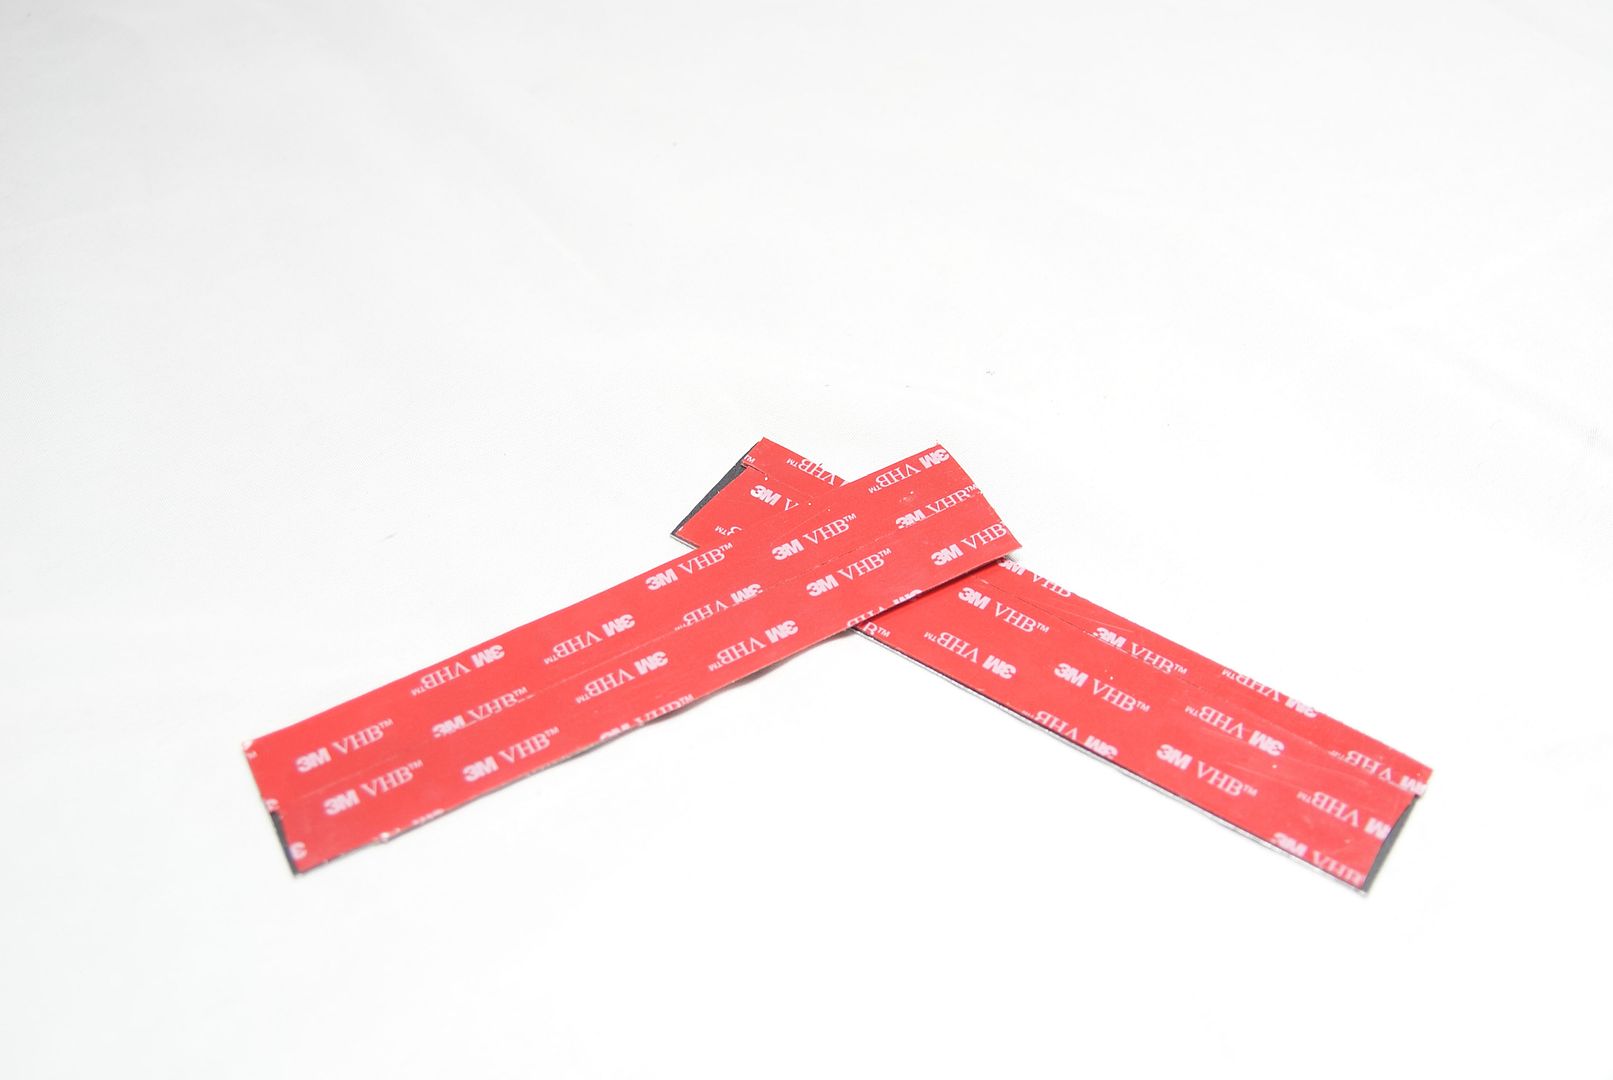
And put thin double sided tape on it
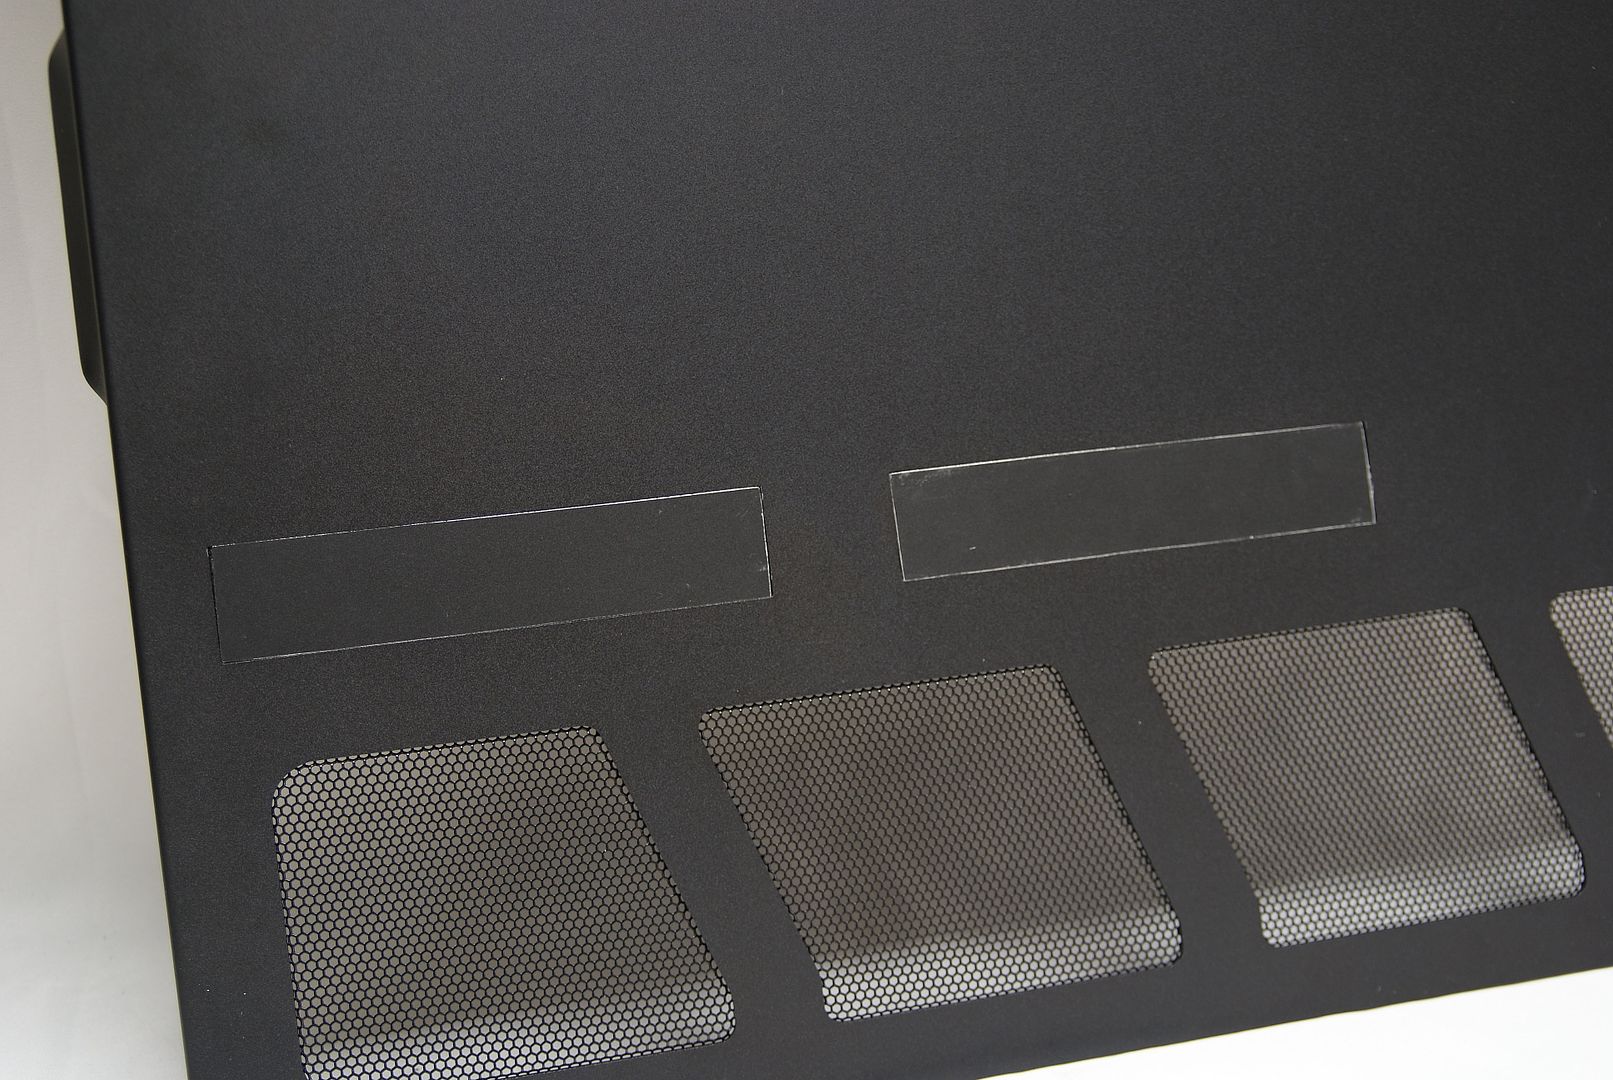
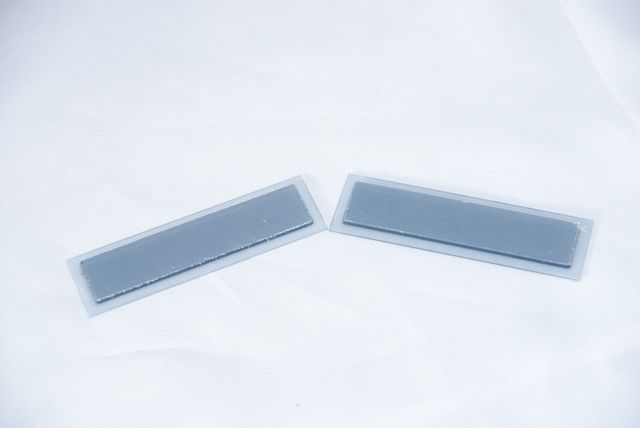
After this I’ve cut two pices of 2 mm aluminium, exact the size of the slots
3M Scotch Clear Mounting Tape #4010
Used the tape of the gods to put these pieces on the strips and also to increasing the pieces
Put them in
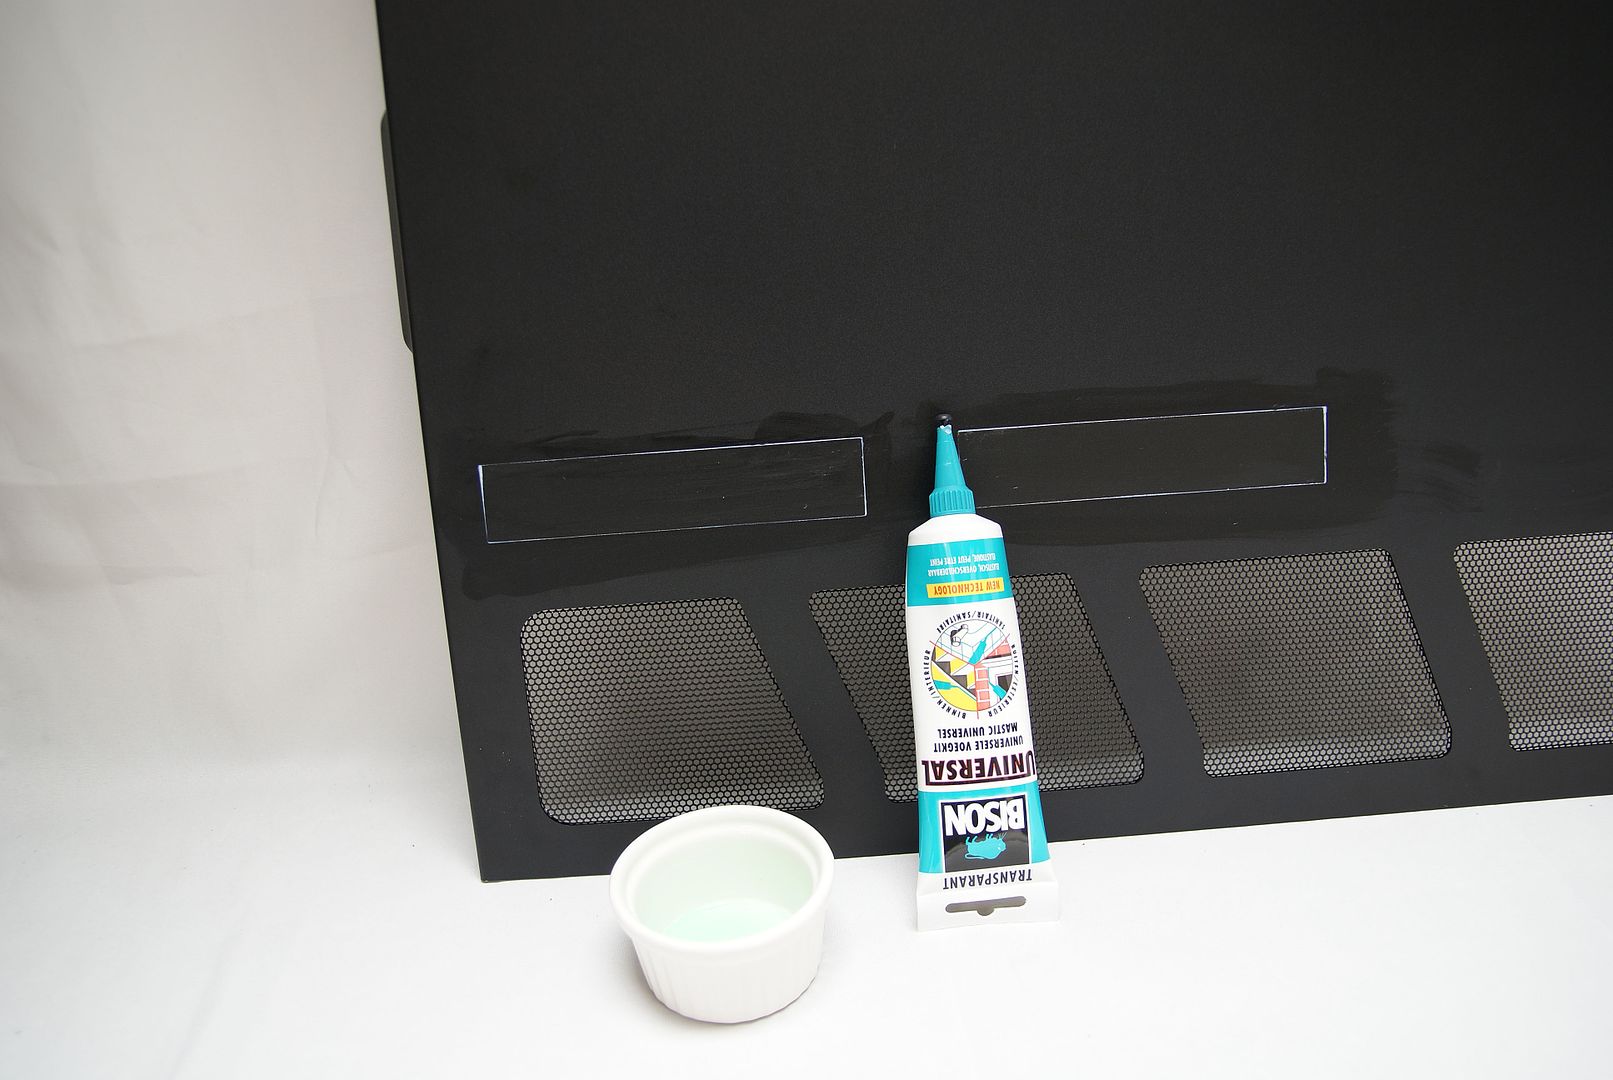
After this I want it all to become flat without cracks, so I did use some silicone sealant
Next measering and cutout, what did I use:
-3M Di-Noc CARBON FIBER FILM
-X-acto knife with sharp blade
-Cutting surface
-Heat gun/ Hair dryer (heat gun is to hot so take distance with this)
-About 60 minutes of time
Measured the sidepanel
Cut it out and left about one inch on all sides.
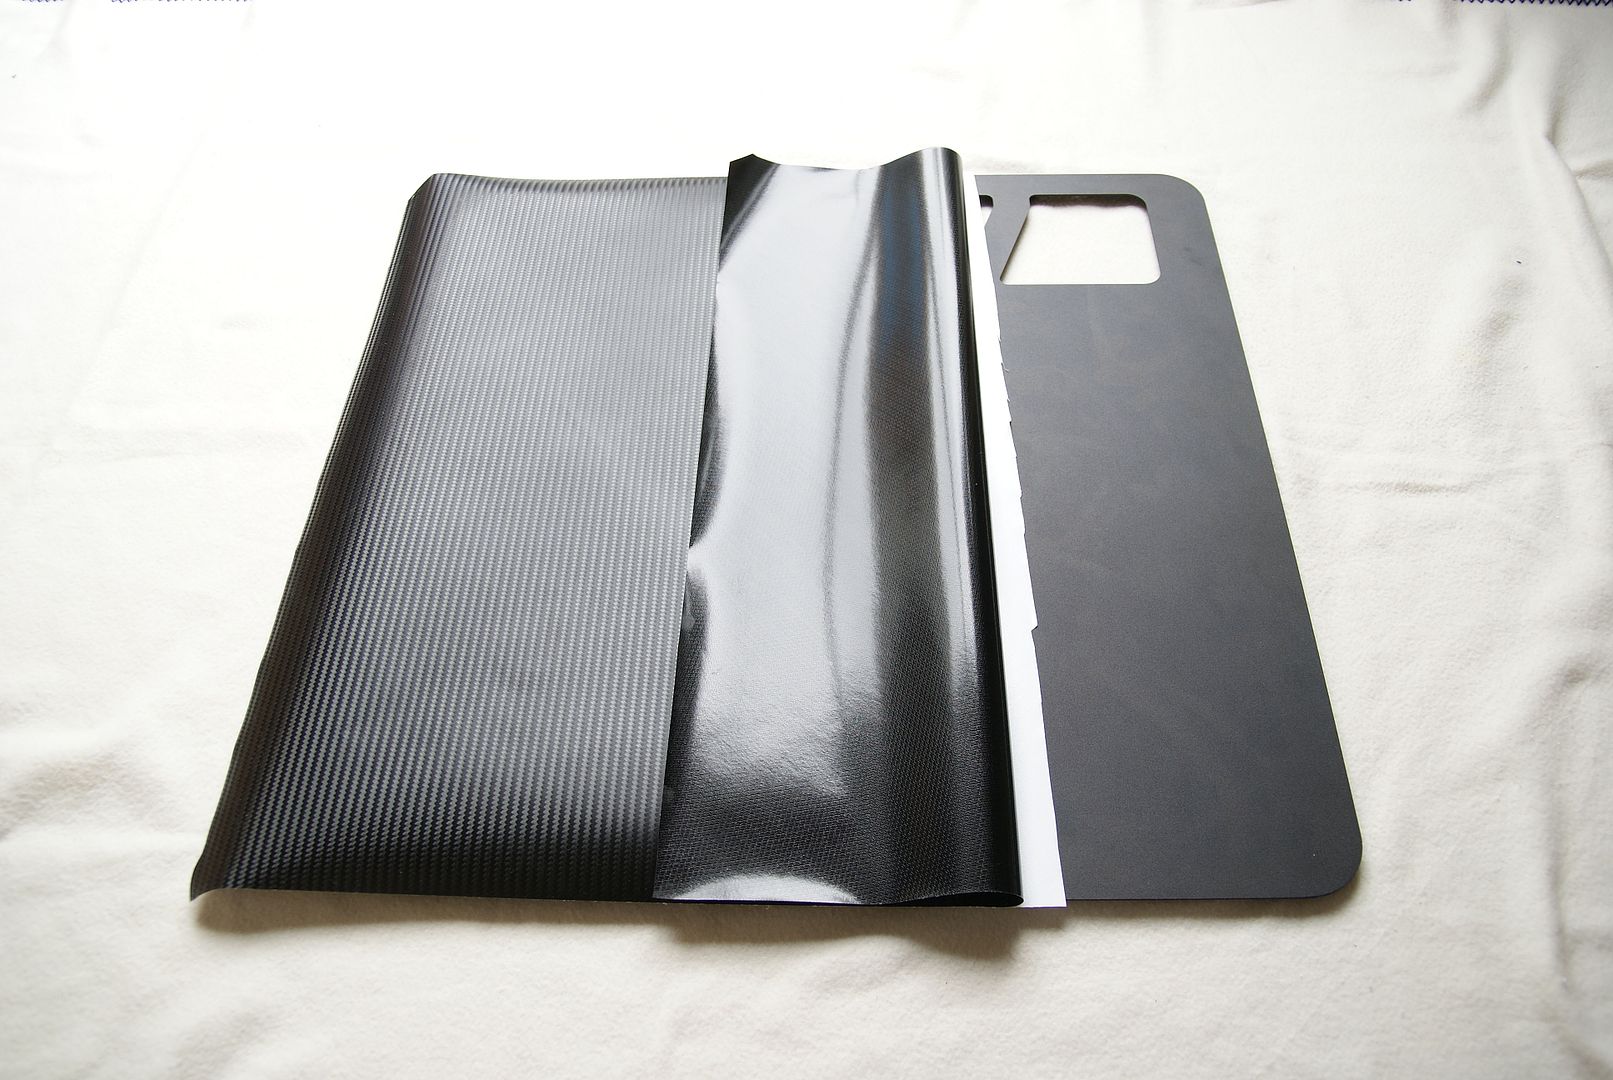
Here we go………….. I’ve cut about 5 inch of the paper off and past the first half,
After this the other half
Make sure the sidepanel is clean and free of any grease or dirt.
Align the vinyl with the case, remove the backing and then place it on as smoothly as you can. I used a credit card to smooth any bubbles out
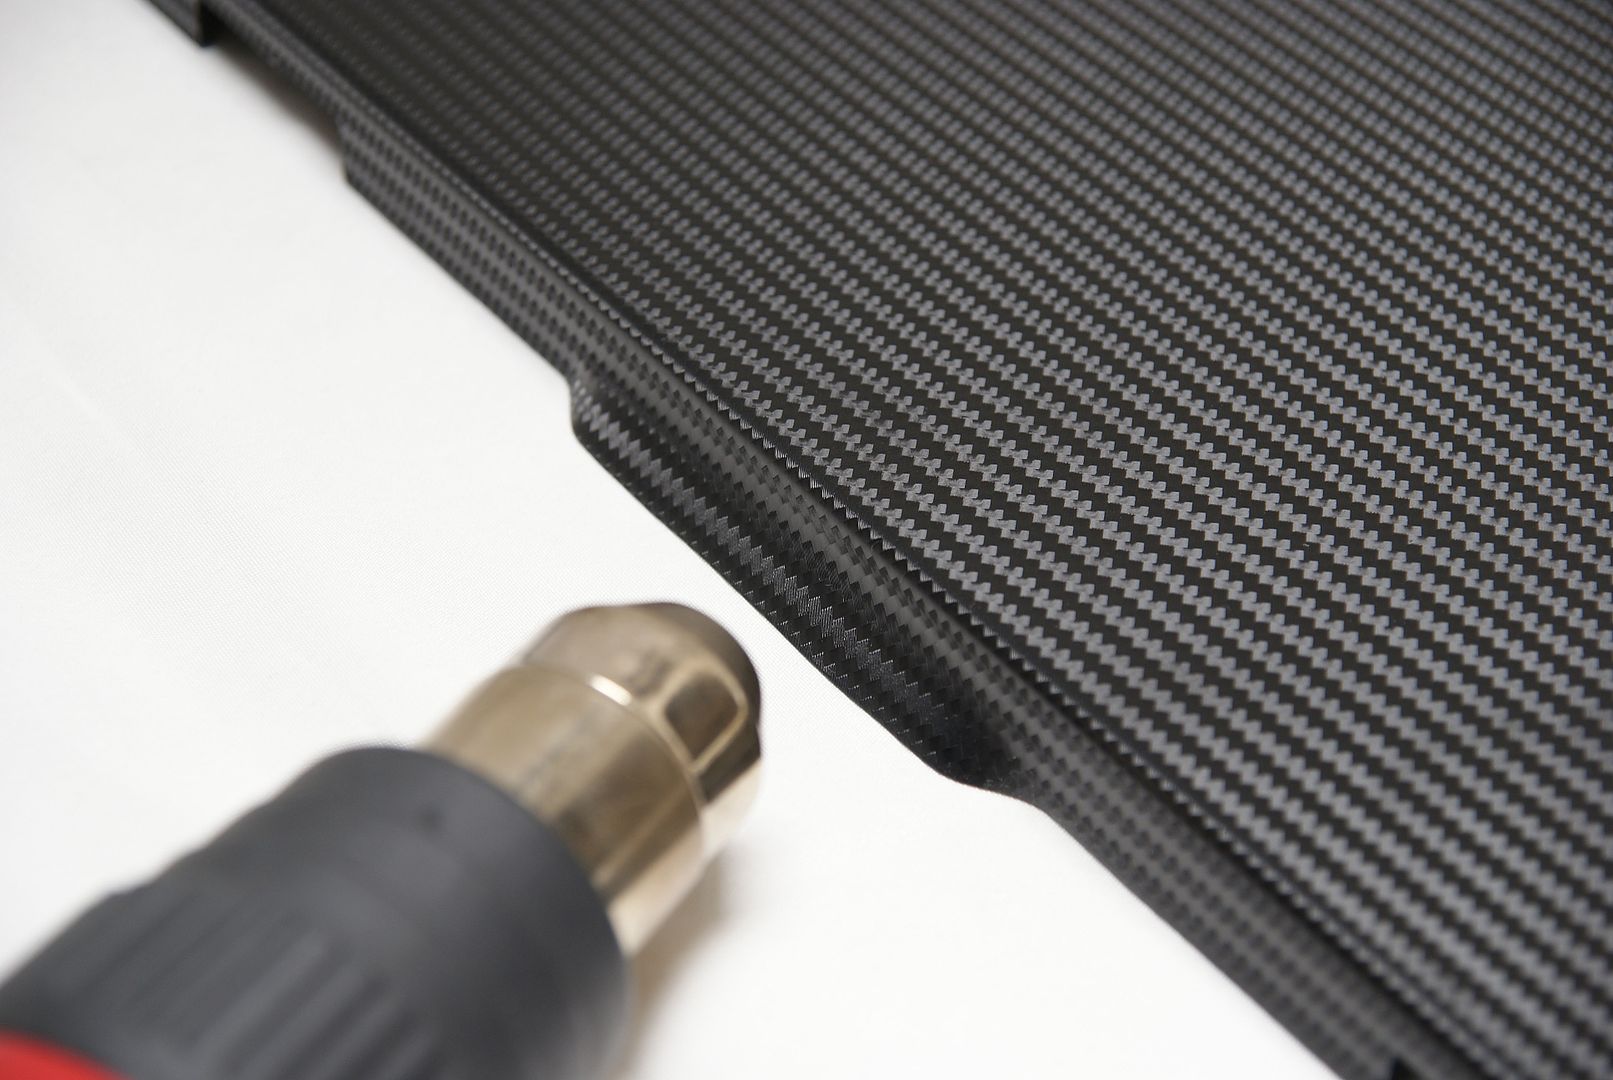
For the round edges I’ve used my heat gun. Turn the heat gun on and proceed to slowly and evenly heat the vinyl, whilst doing so, smooth it outwards with your thumb and down around all the edges.
Take your x-acto knife and use the lines as your guide. Go slowly and make sure of where you’re cutting before you cut, hopefully preventing any miscuts or scratches to the side panel.
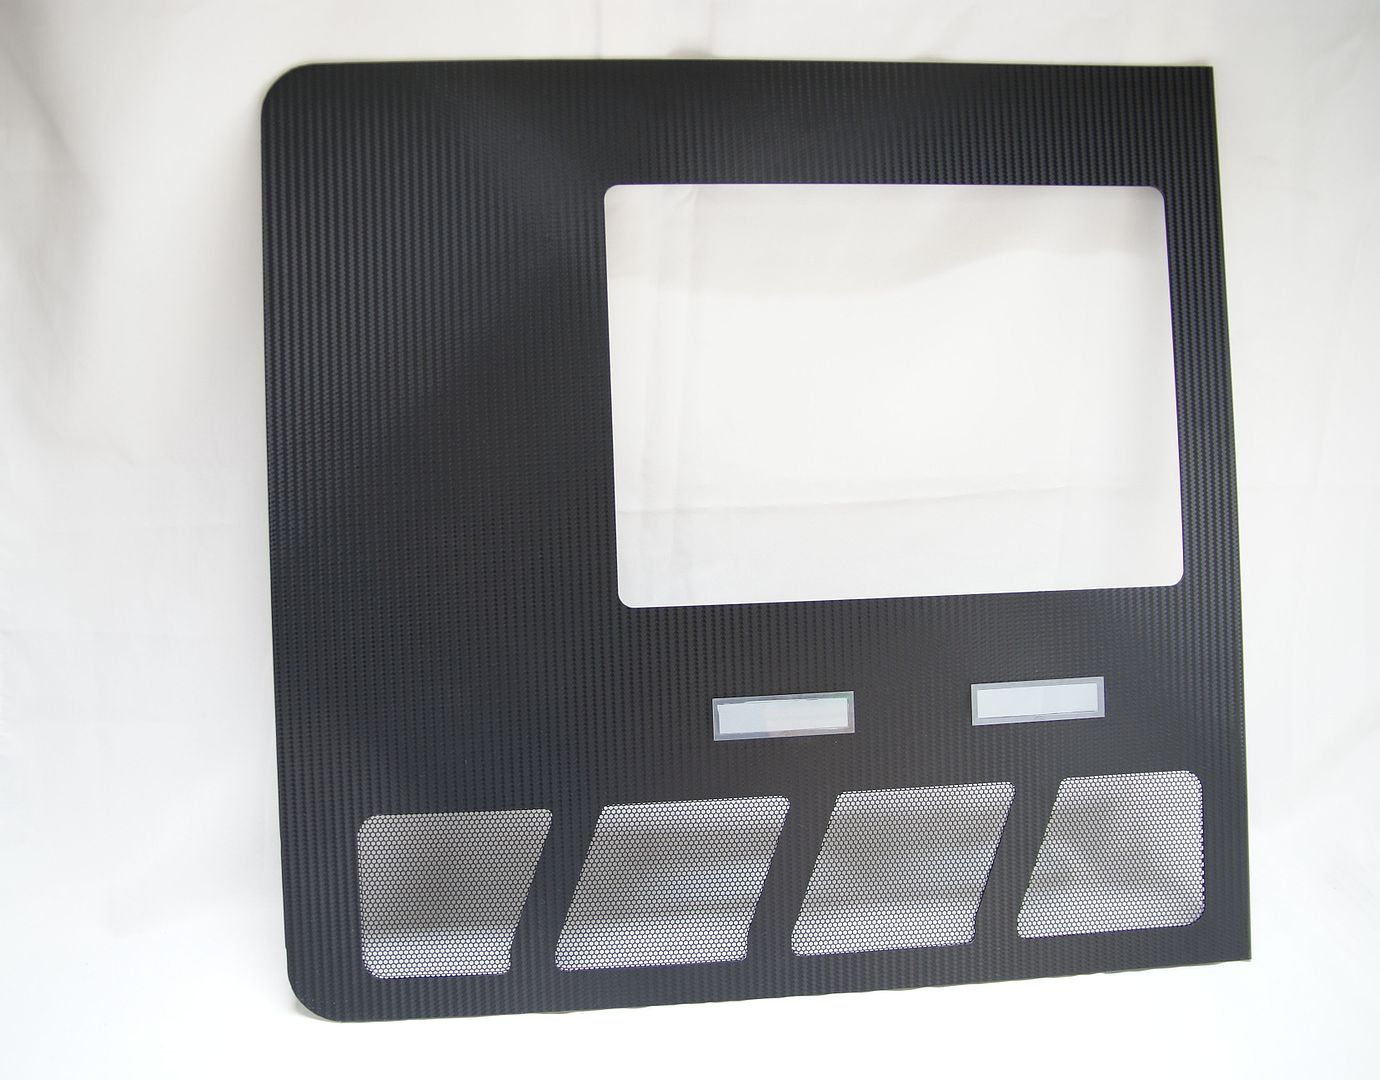
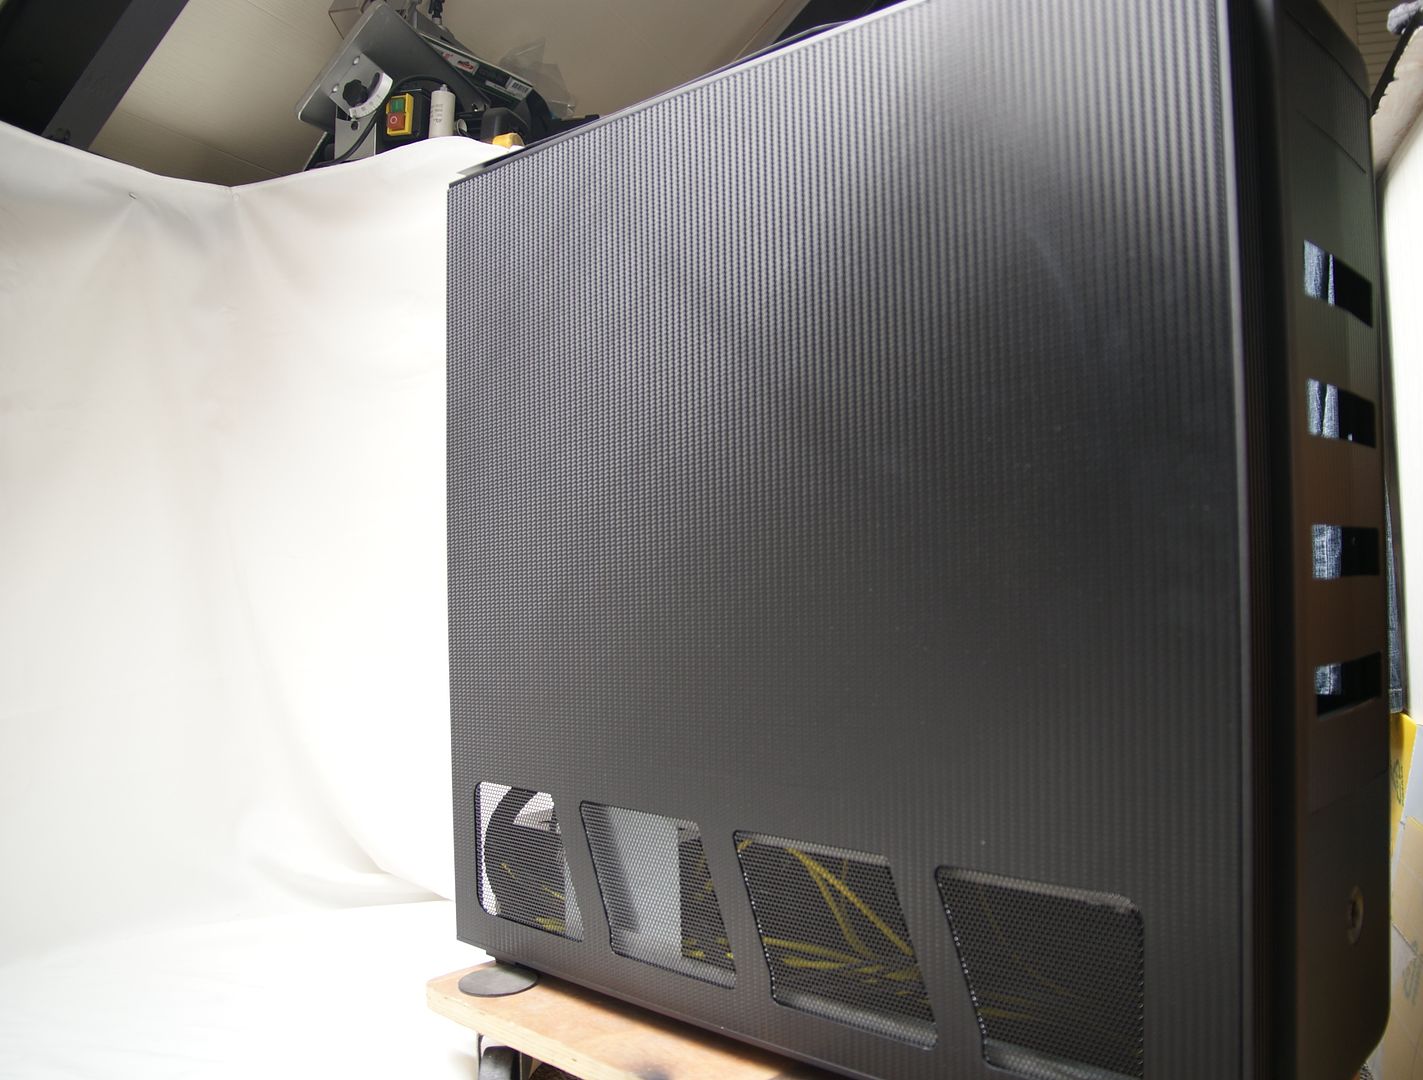
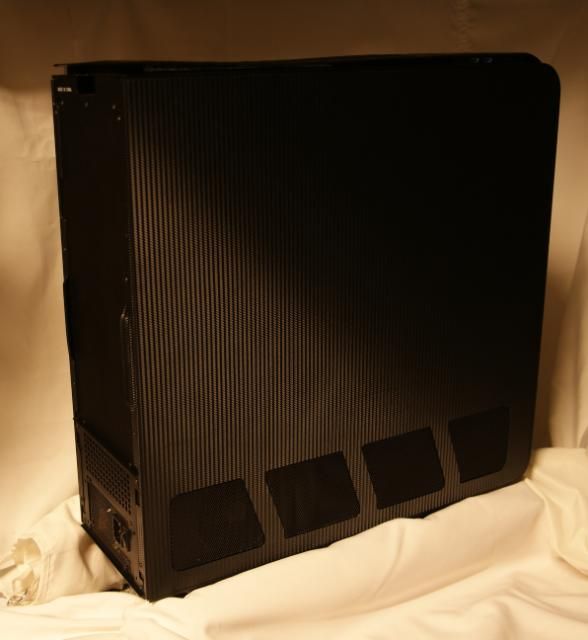
And one side panel finished
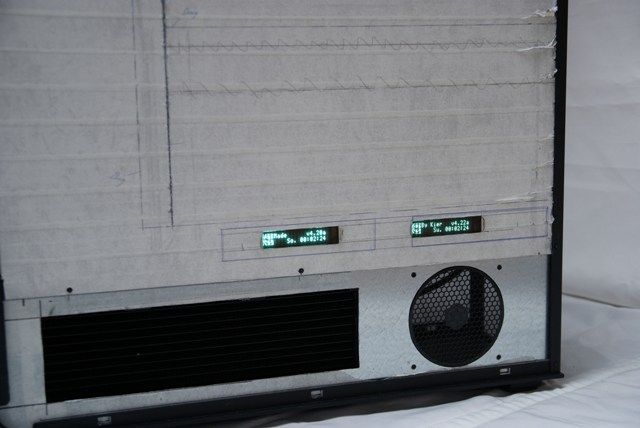
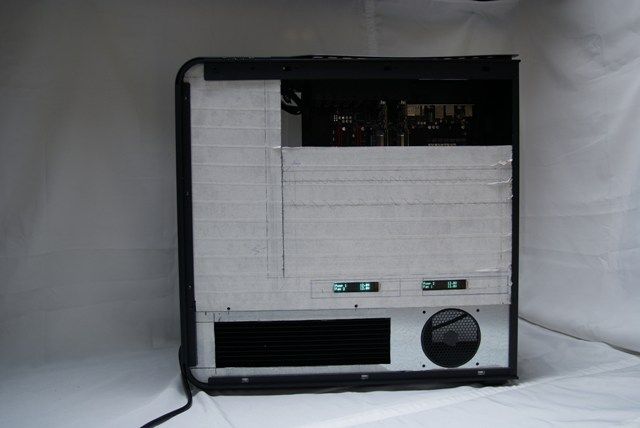
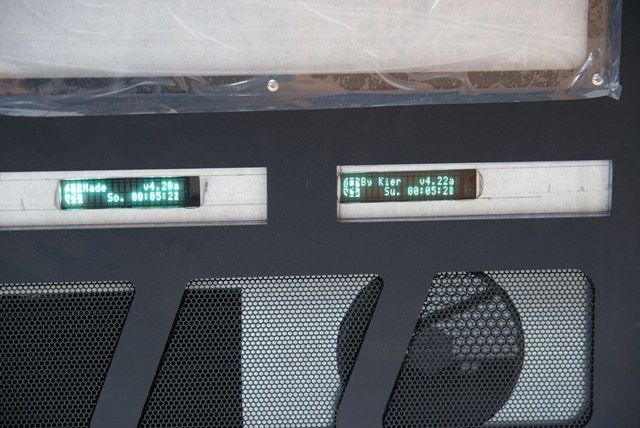
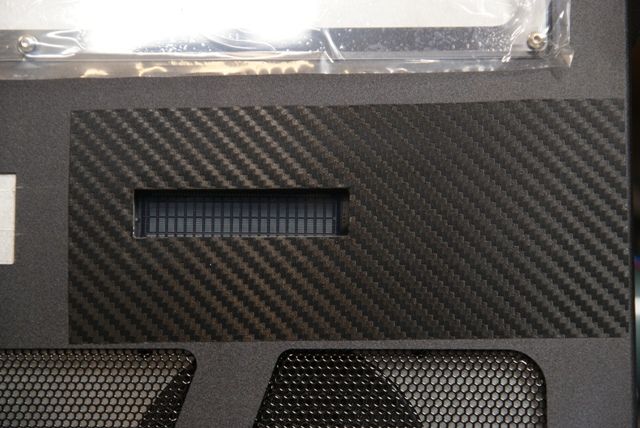
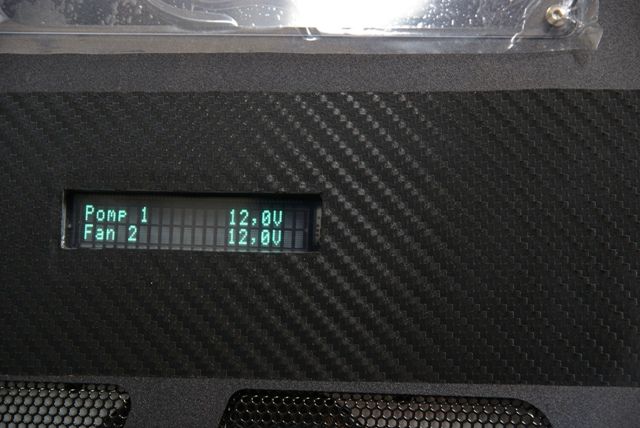
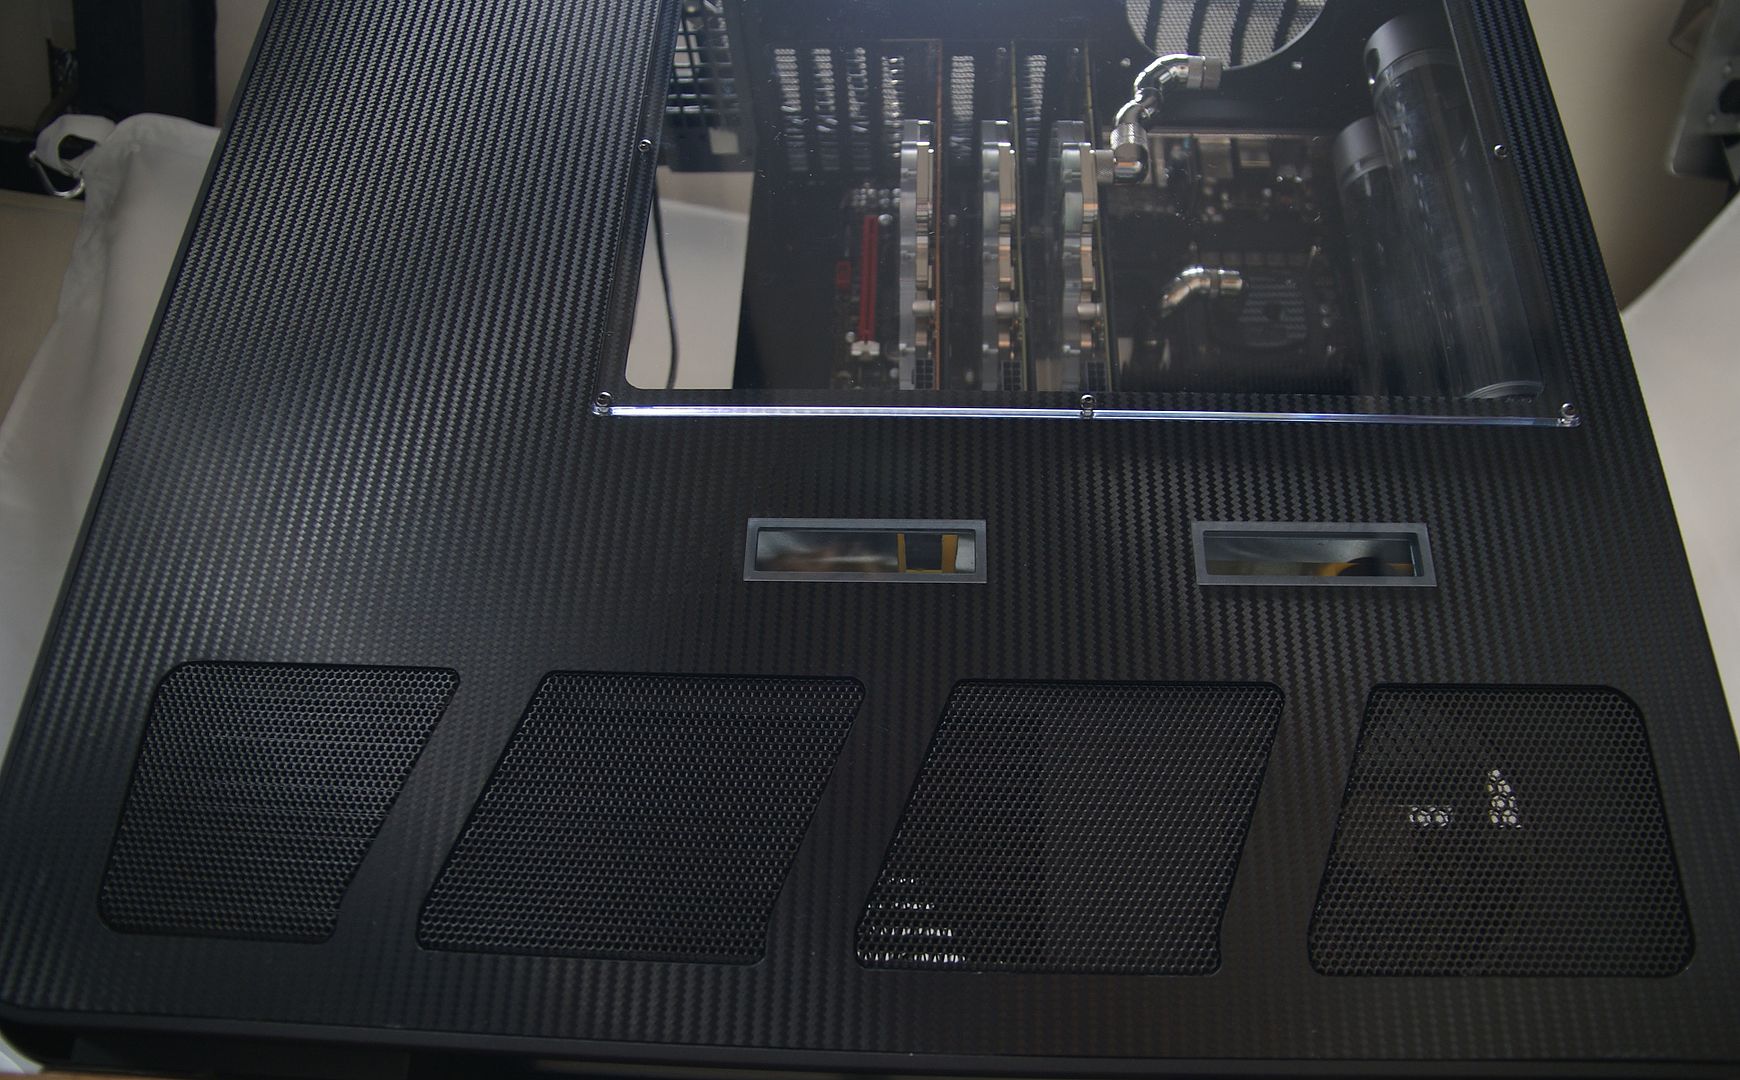
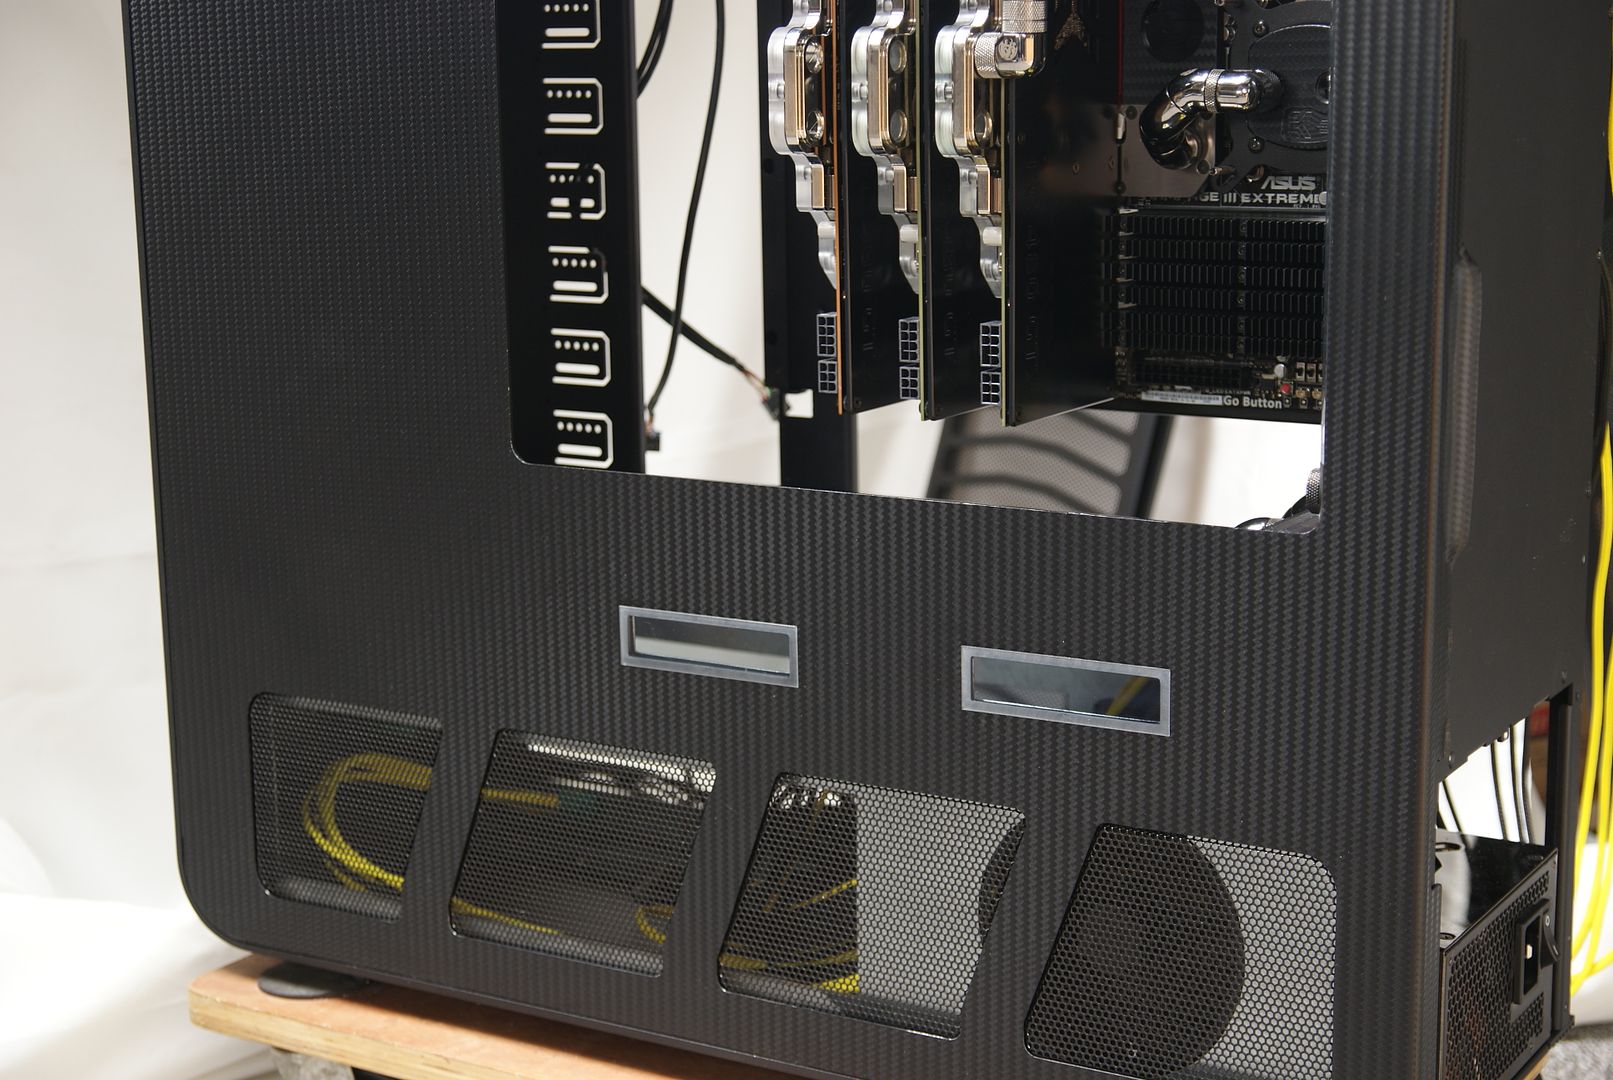
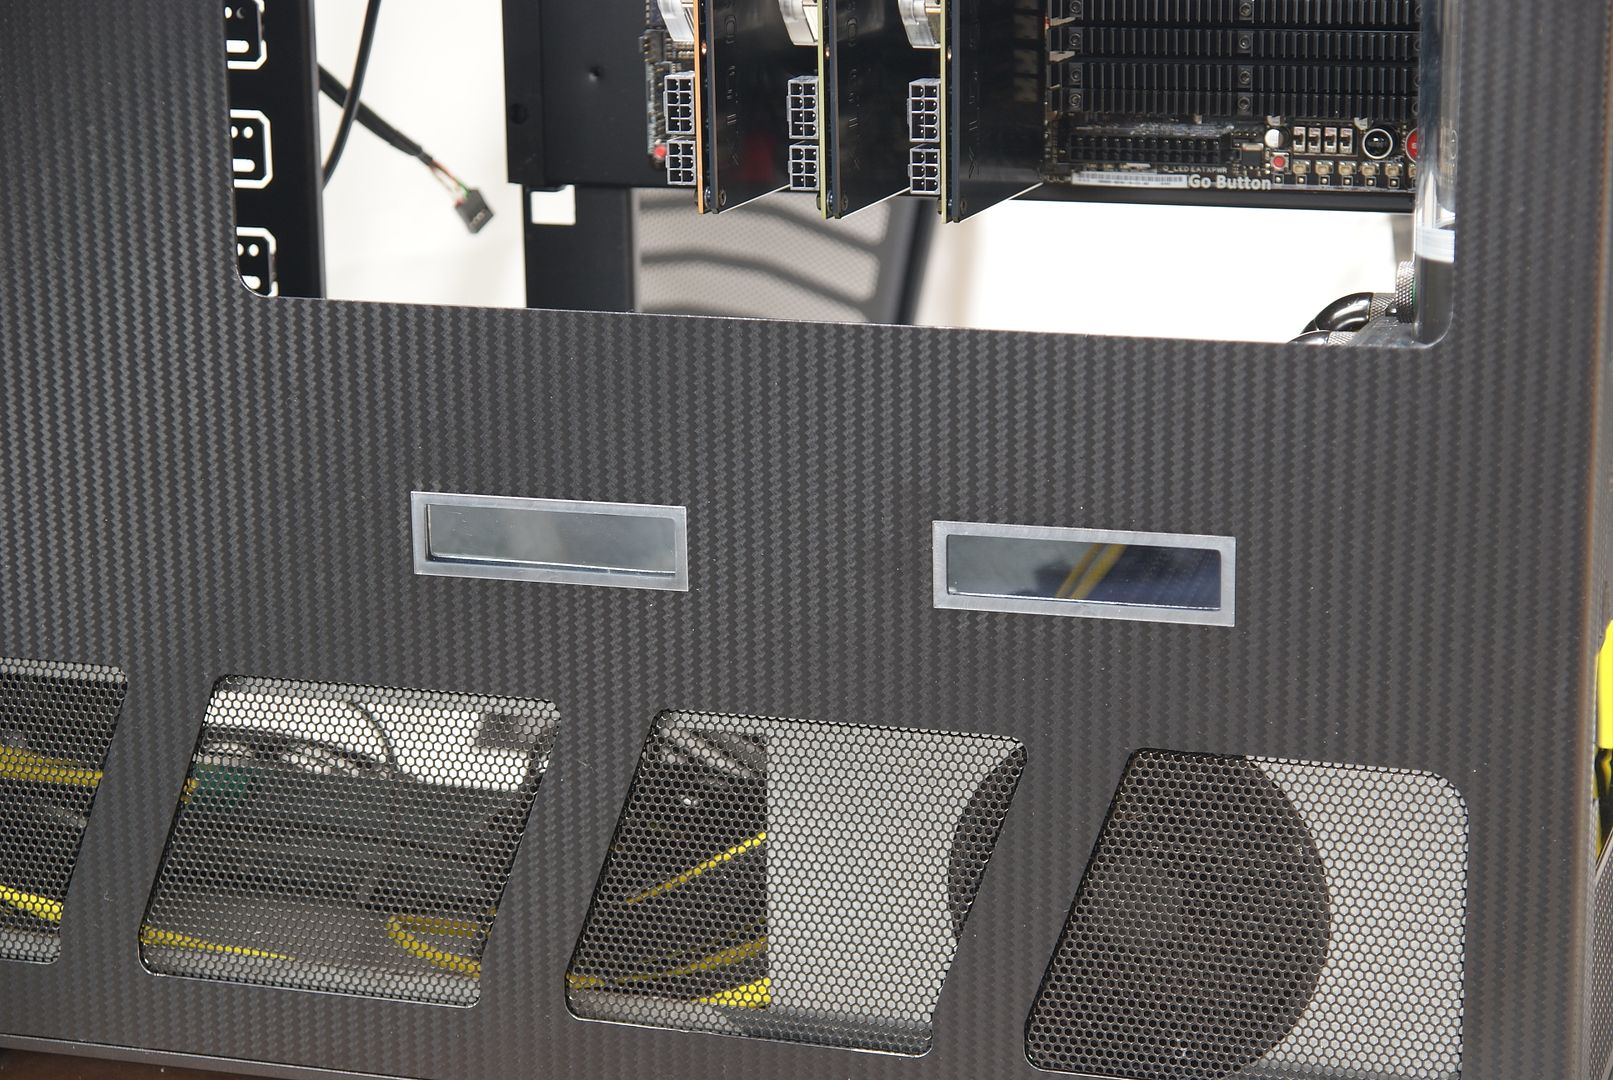
Also did the other panel with the slots for de aquaero displays
Cut out the window, displays and the fanholes
And the front of the TJ. Again cut a piece larger then the front
Paste it
Just a little heat
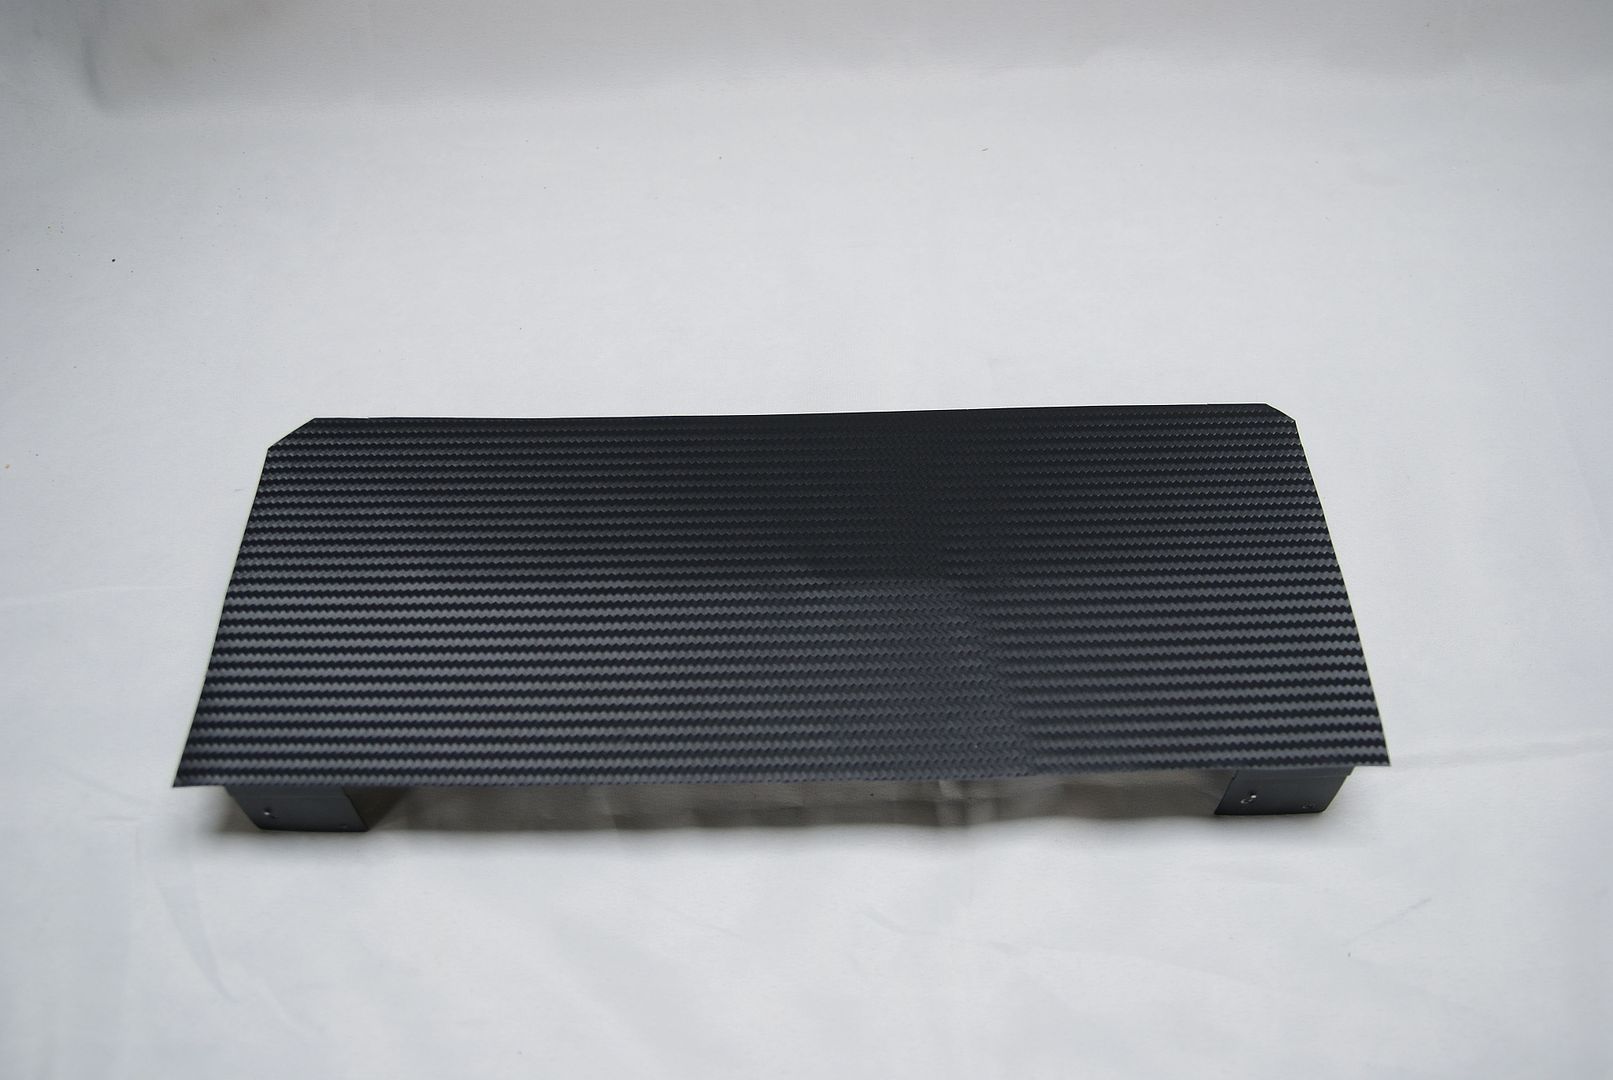
And cut it out
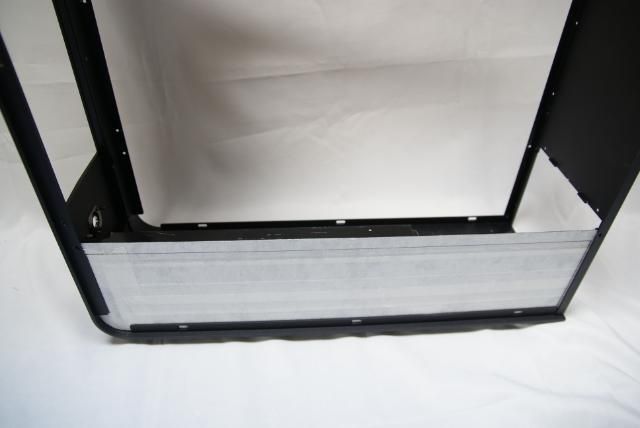
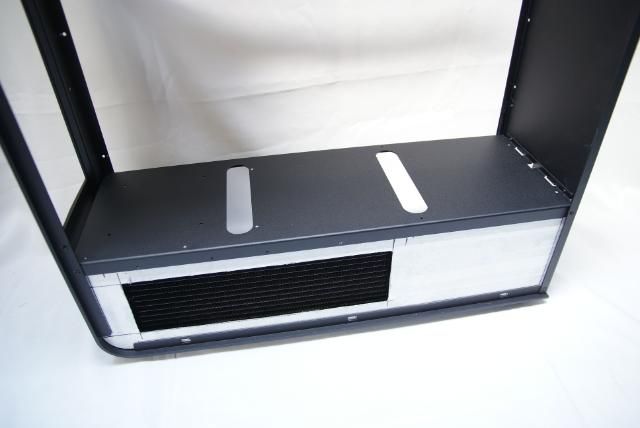
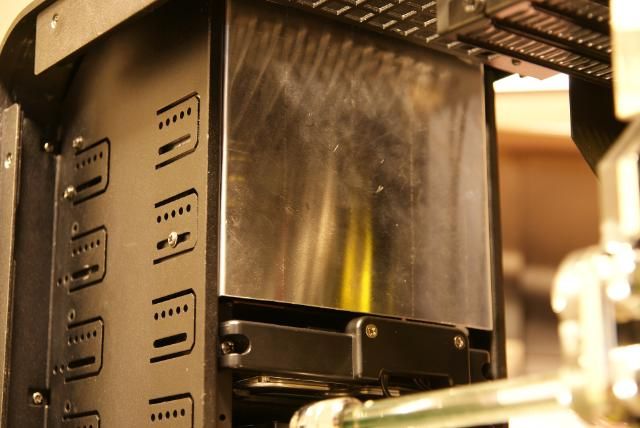
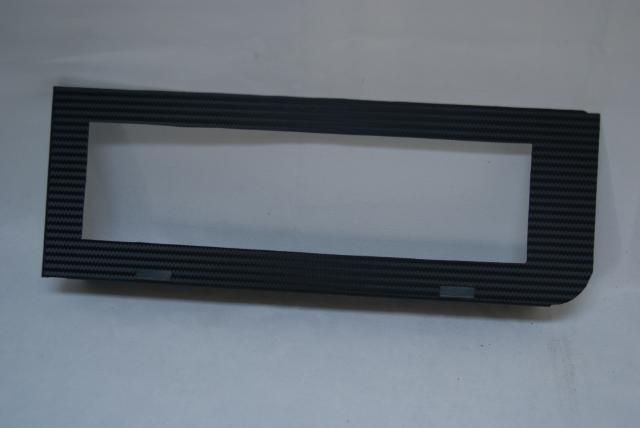
Also did the radiator bracket
Everything placed back
And installed it in the TJ
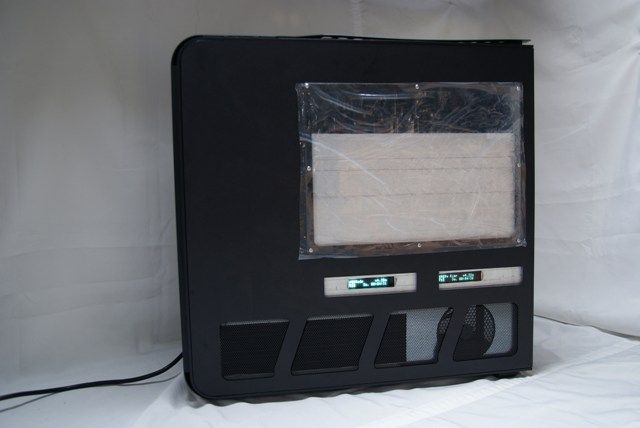
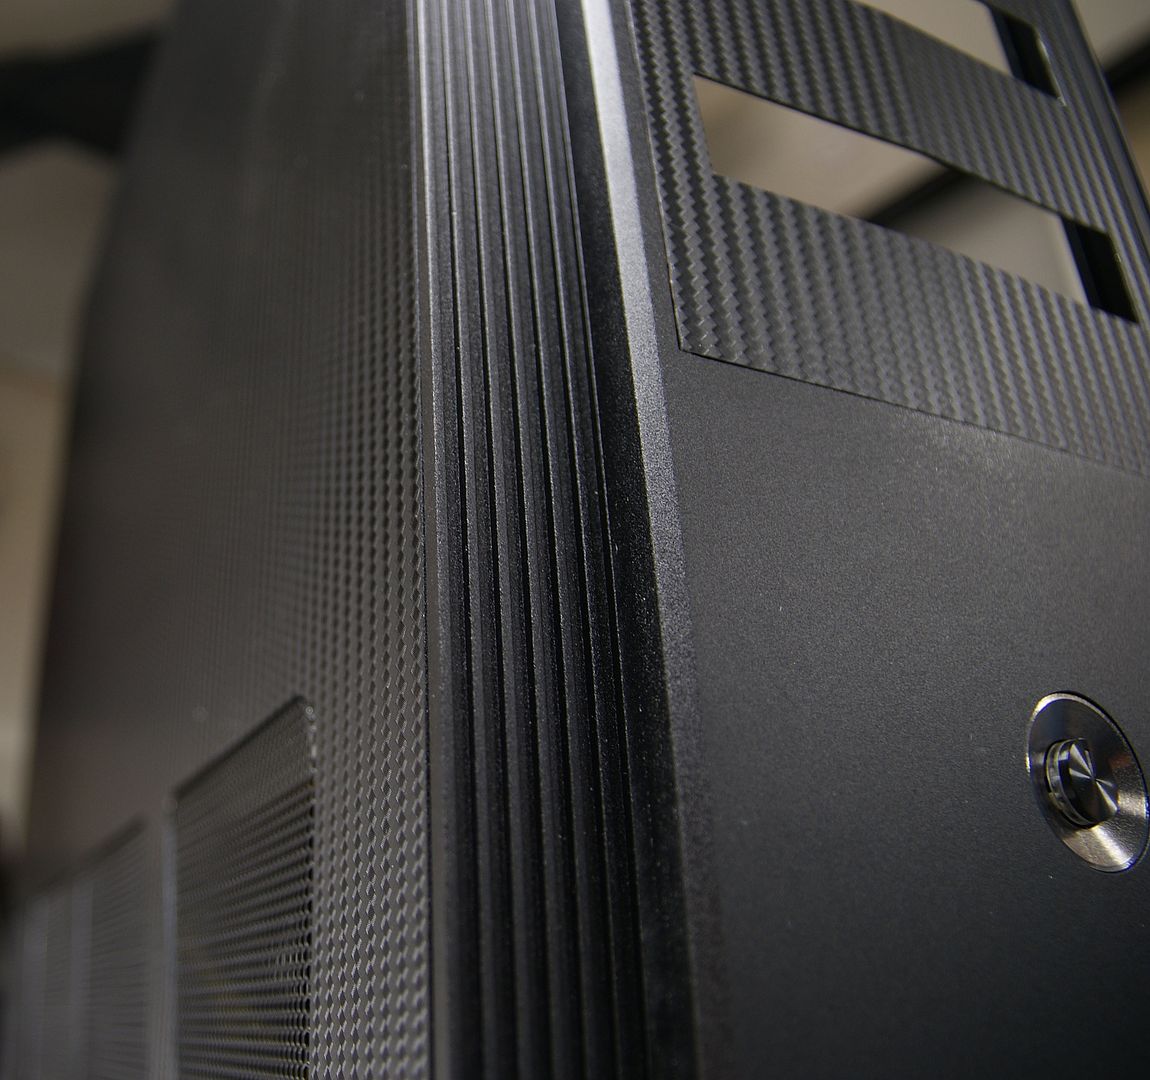
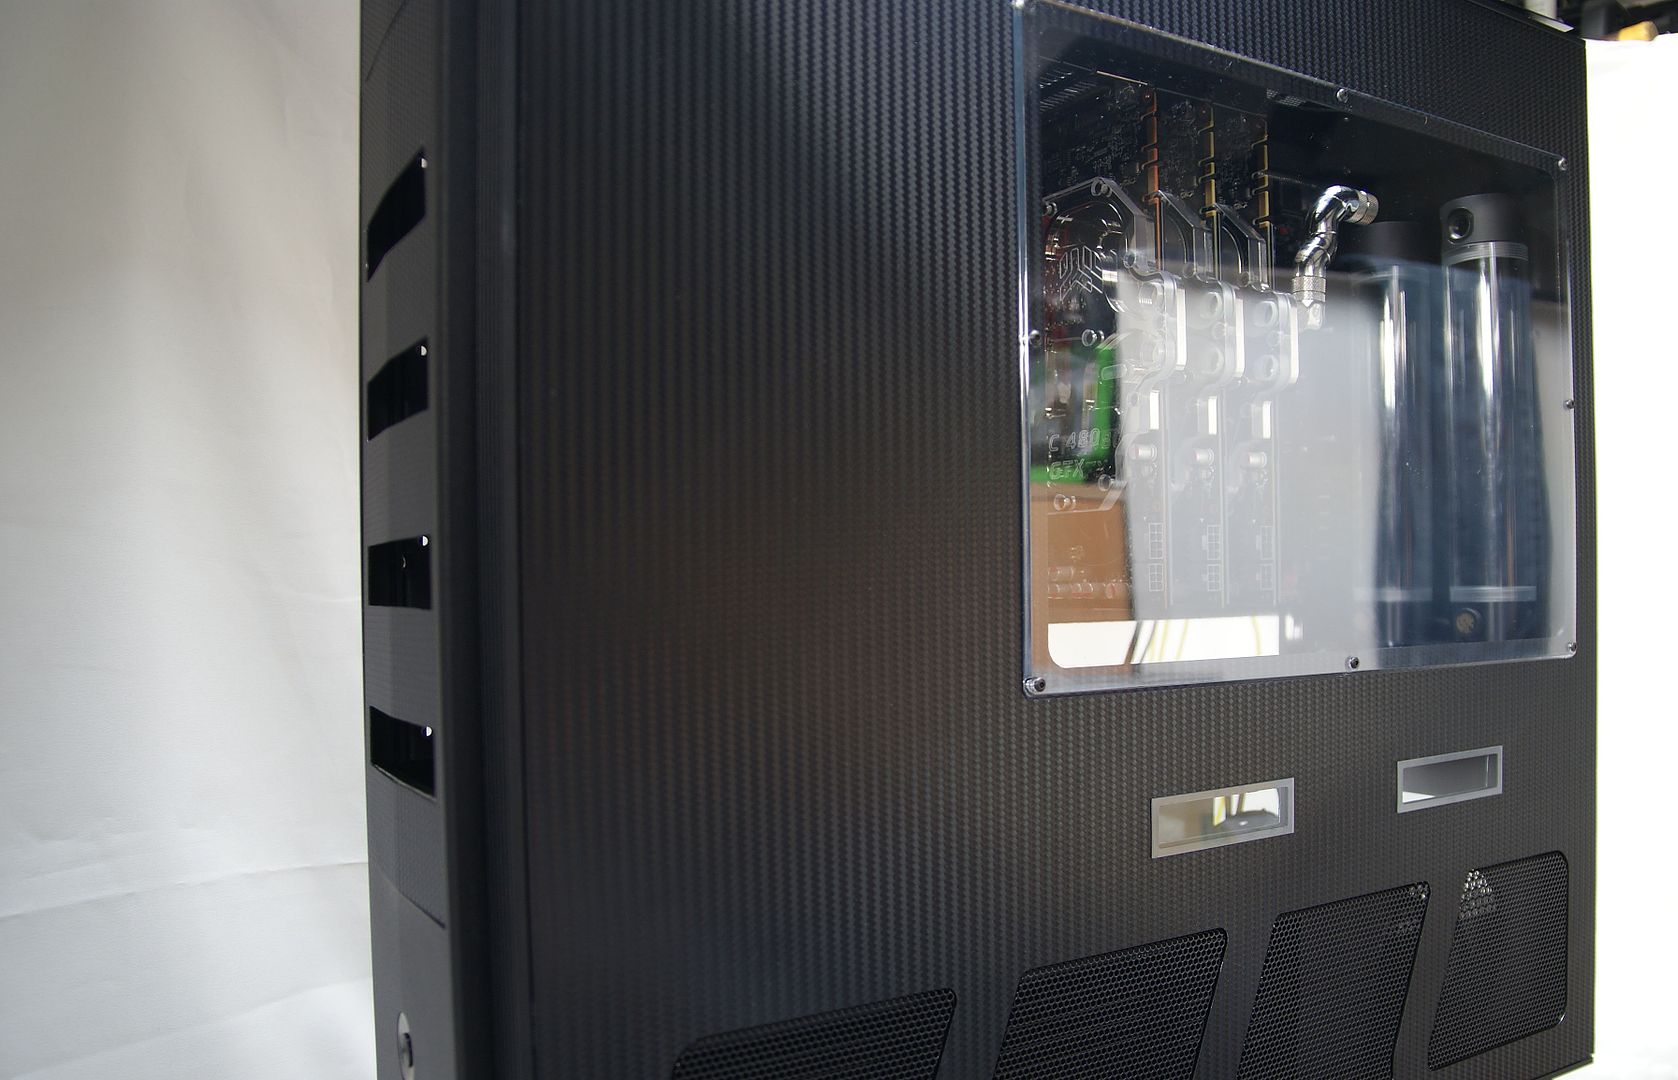
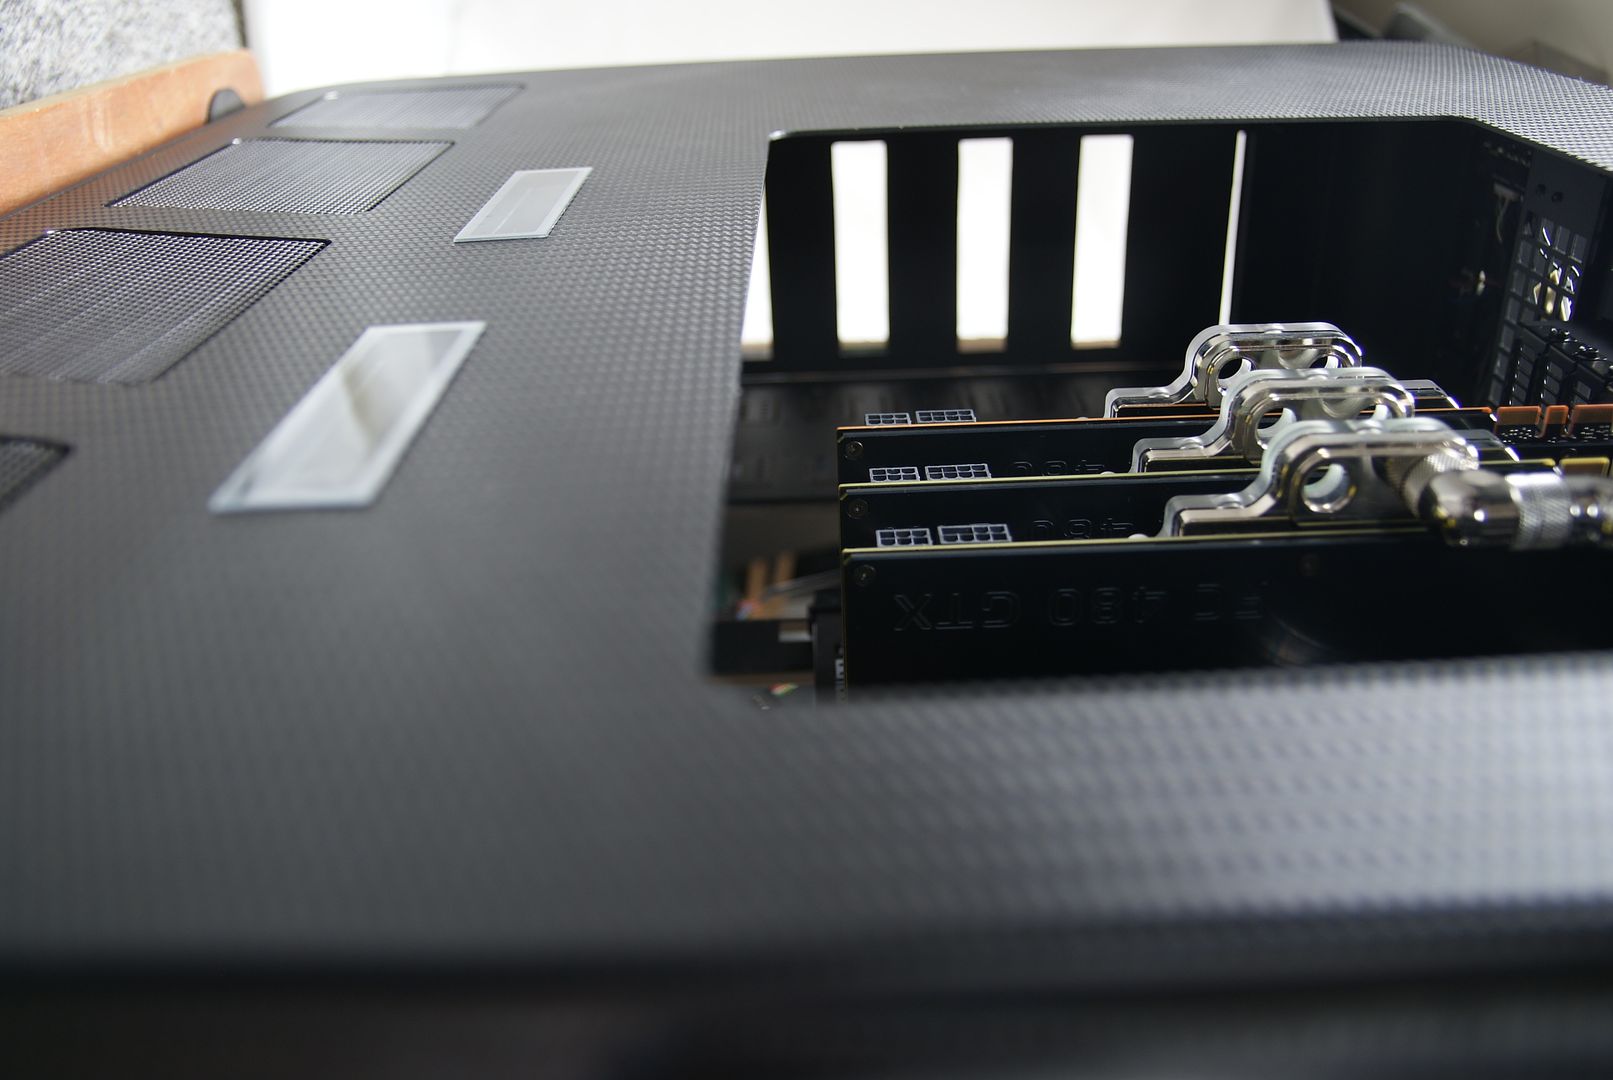
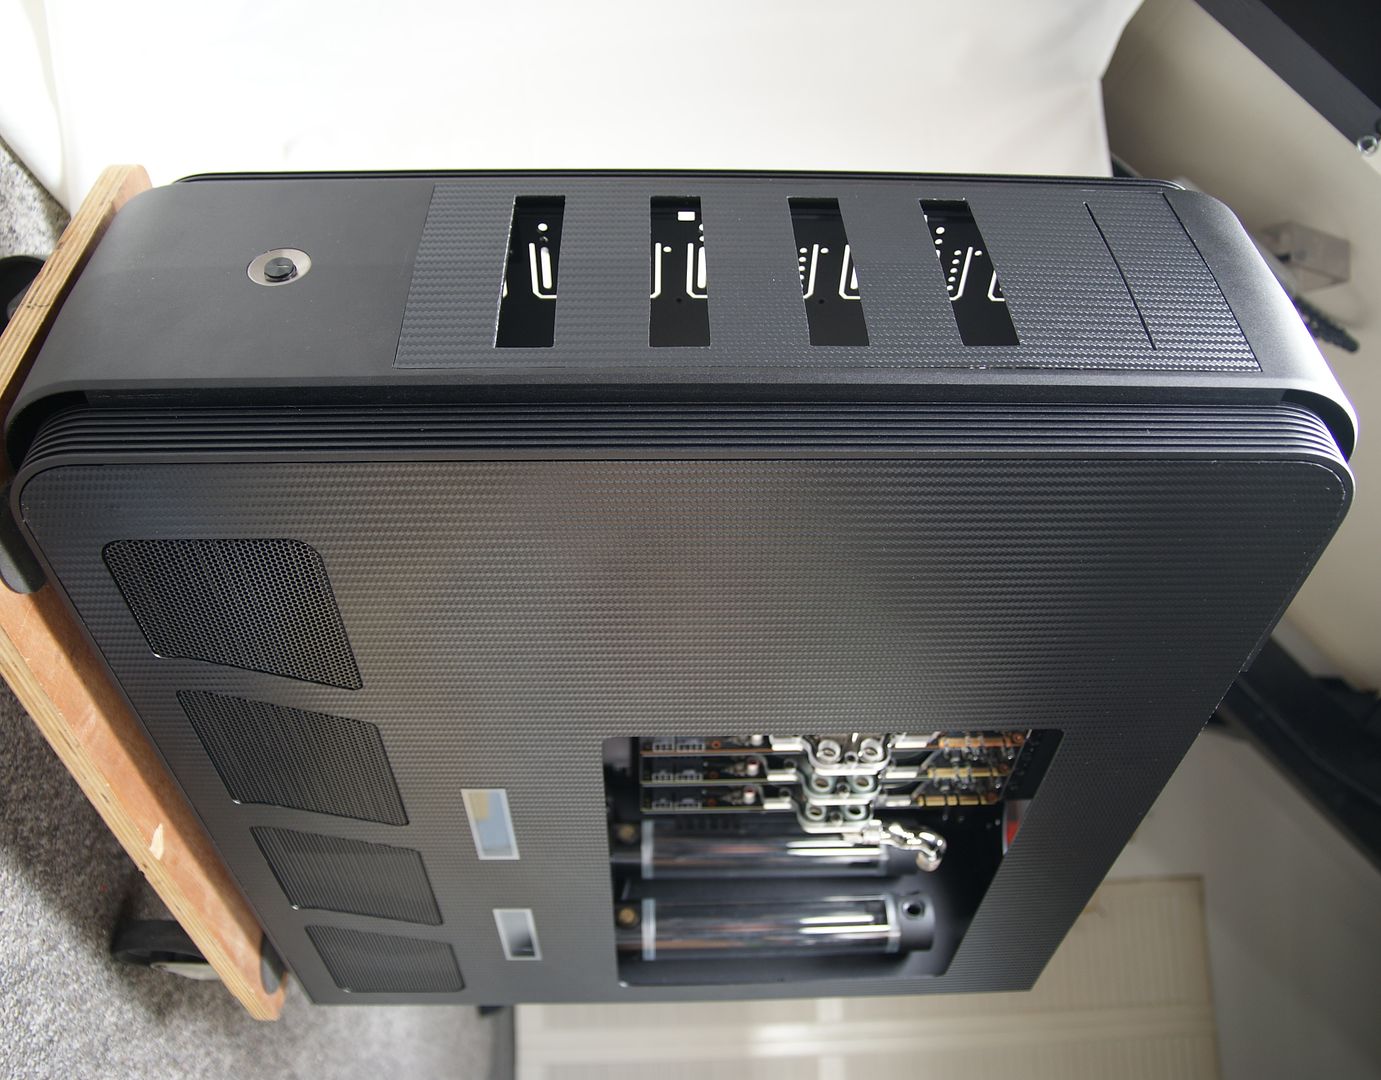
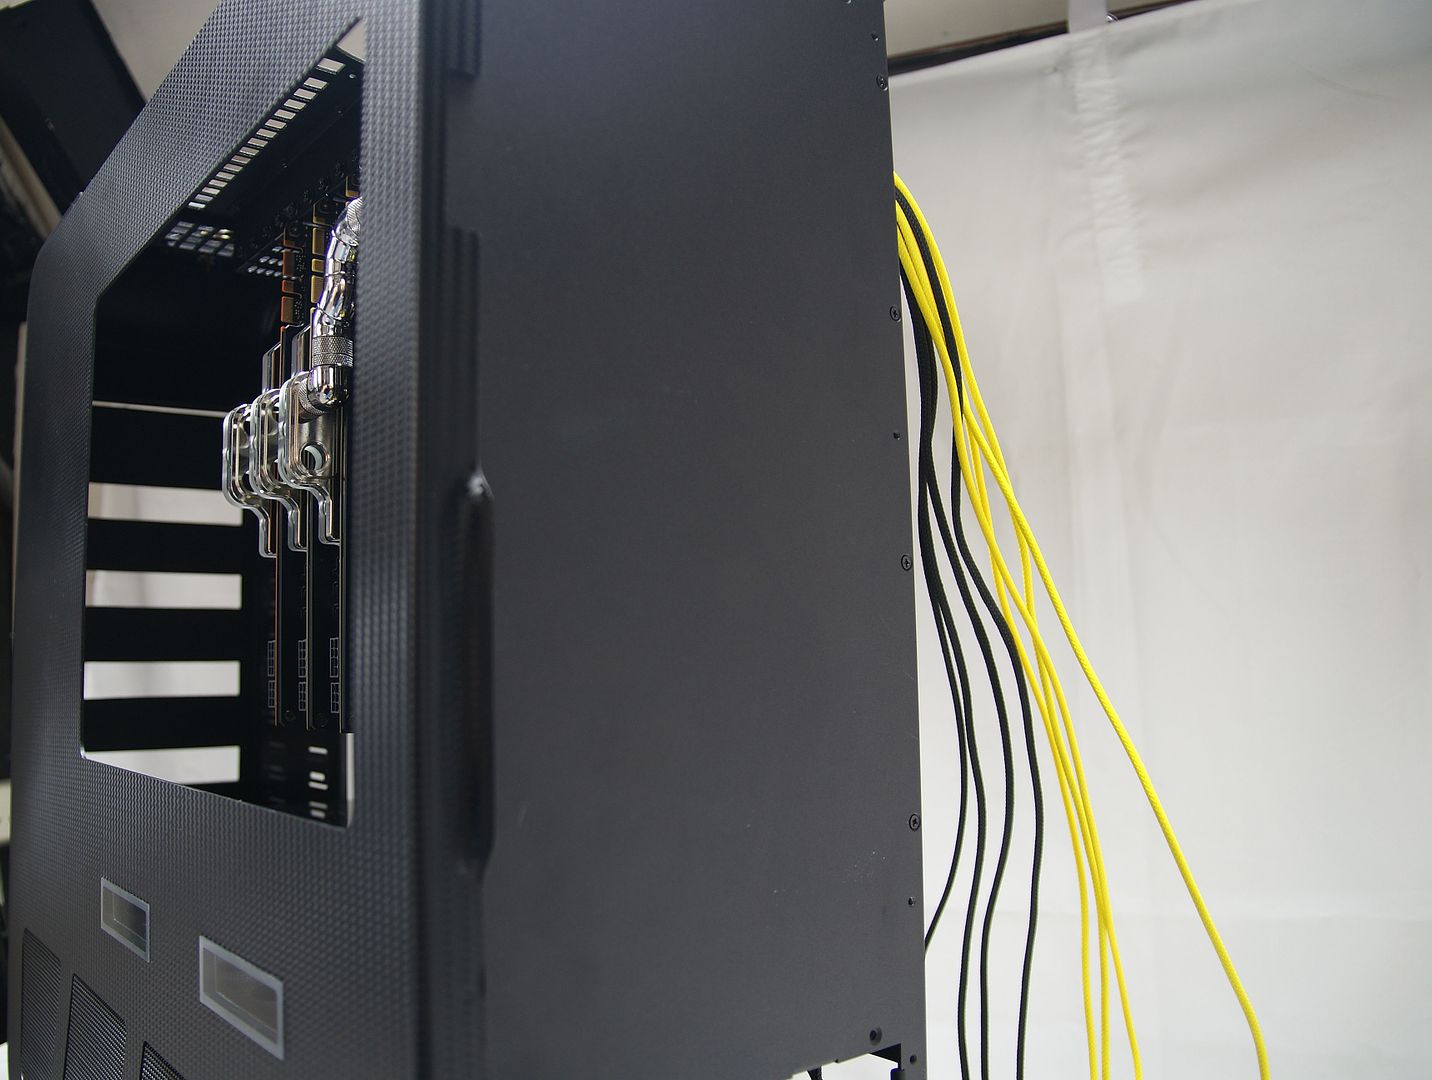
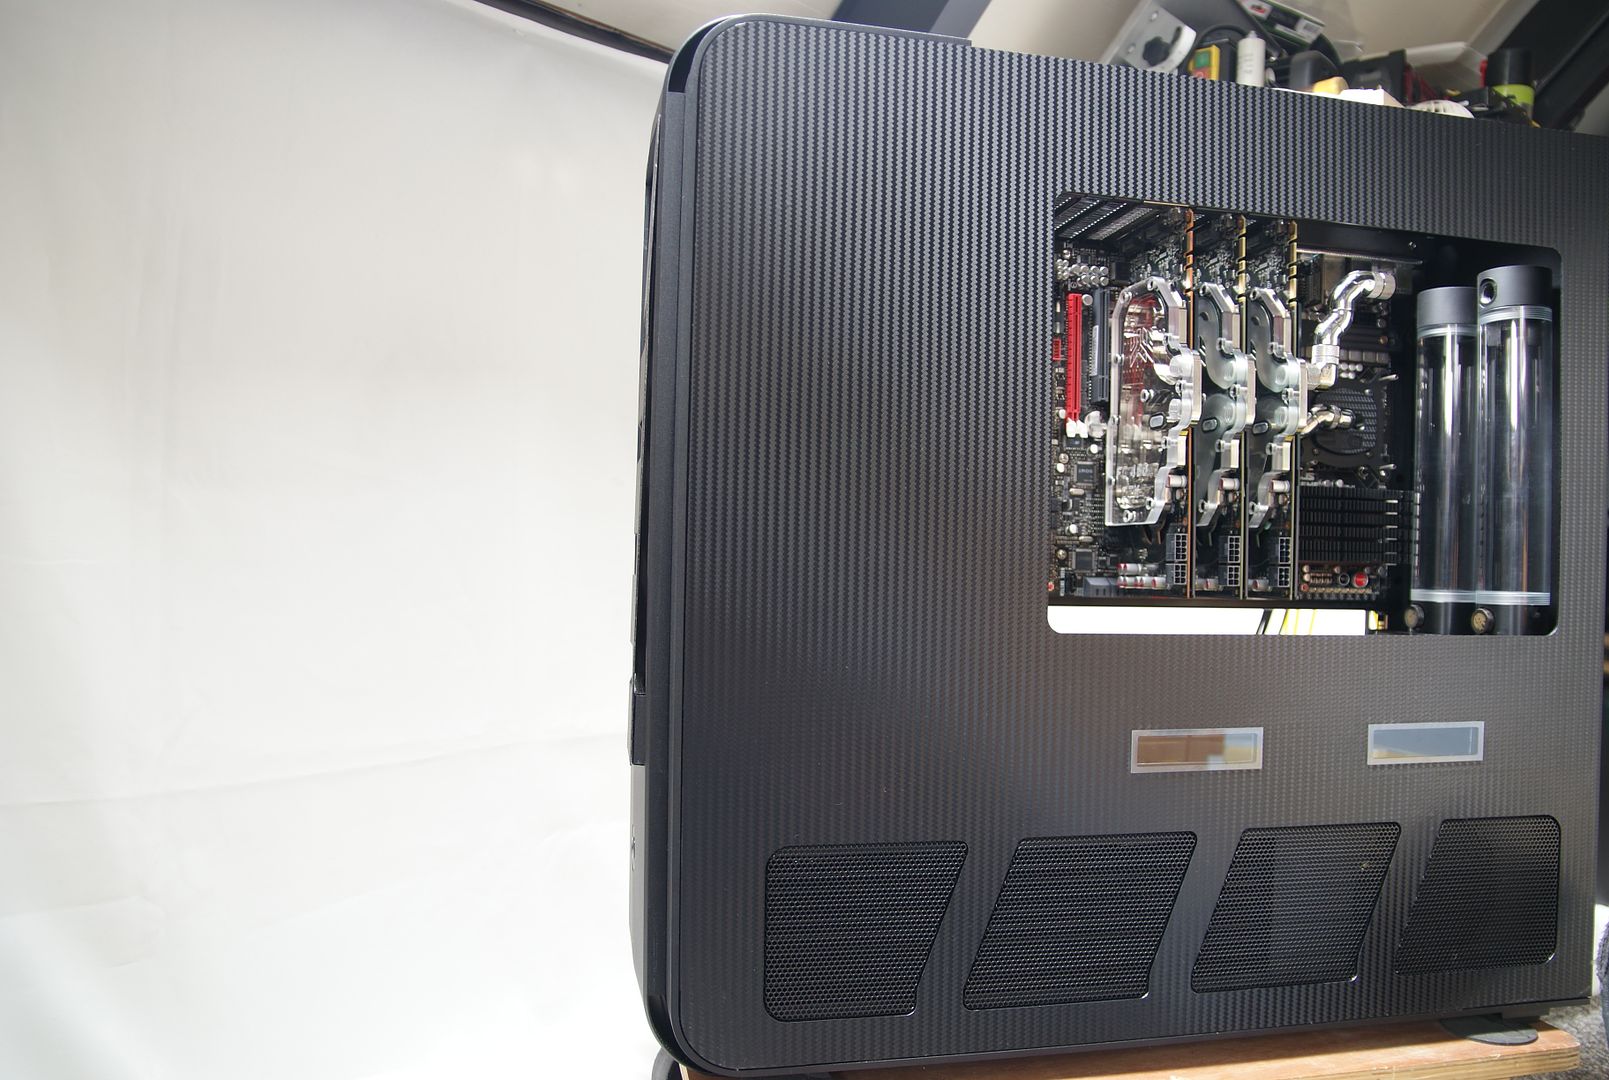
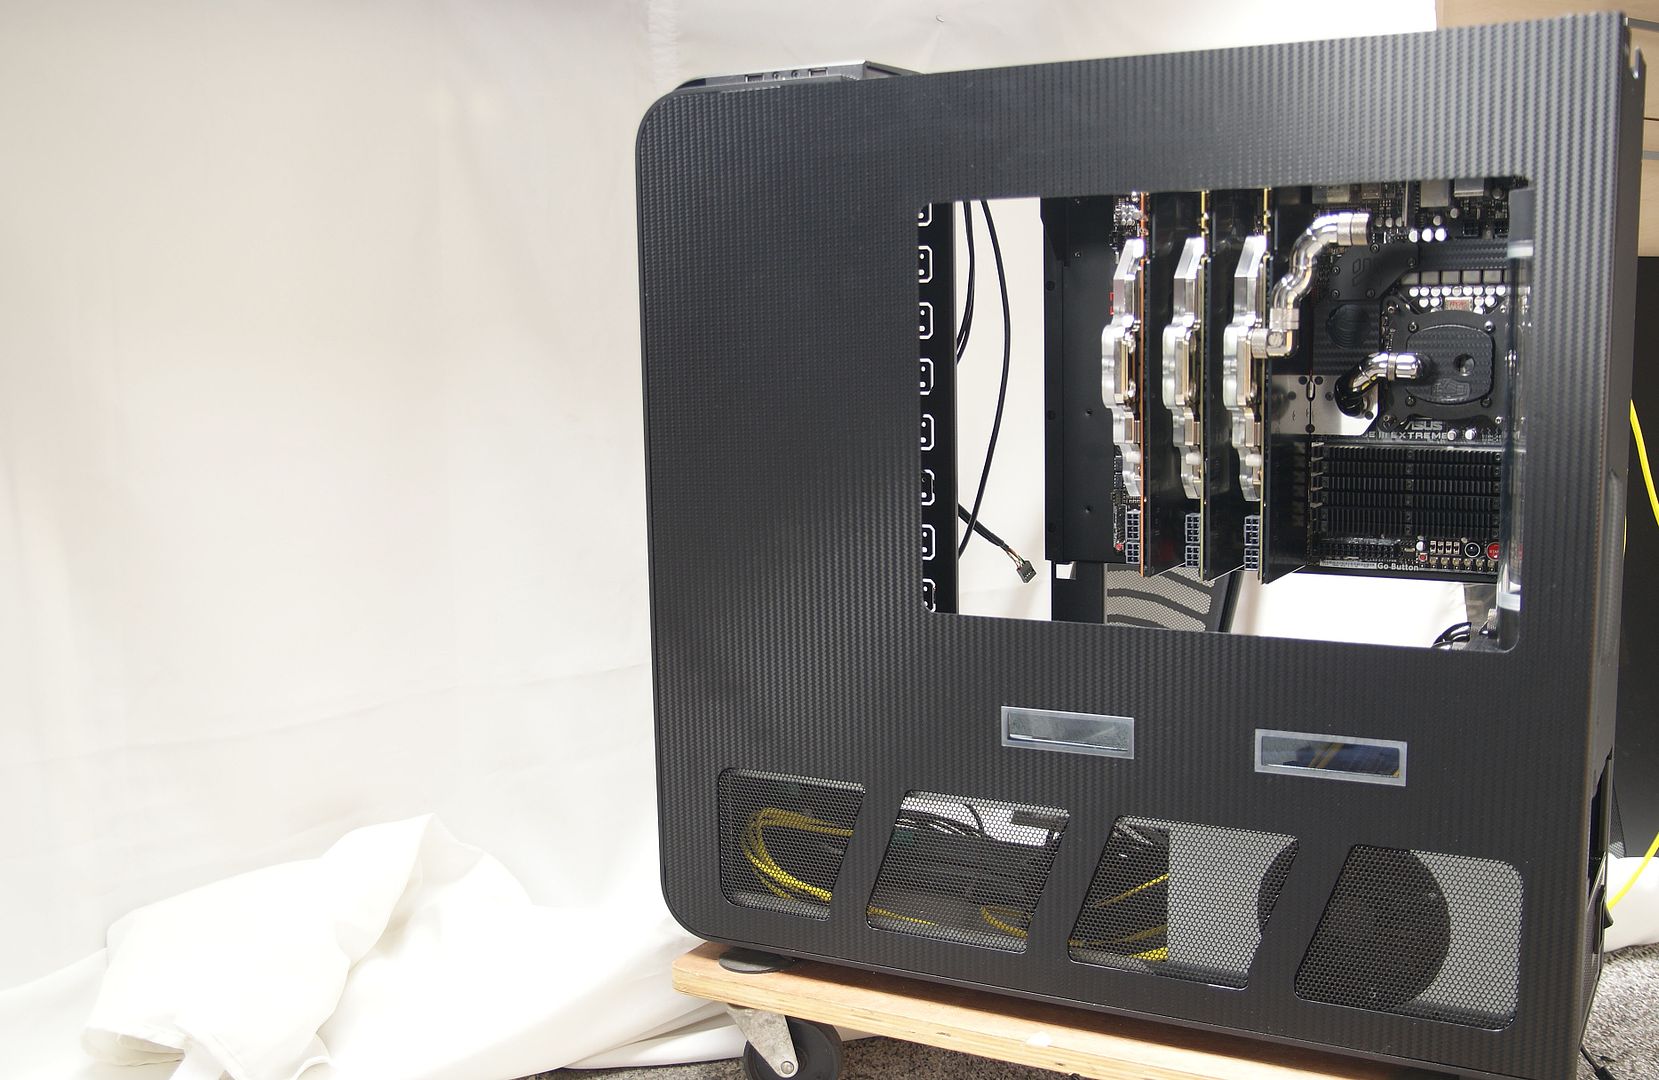
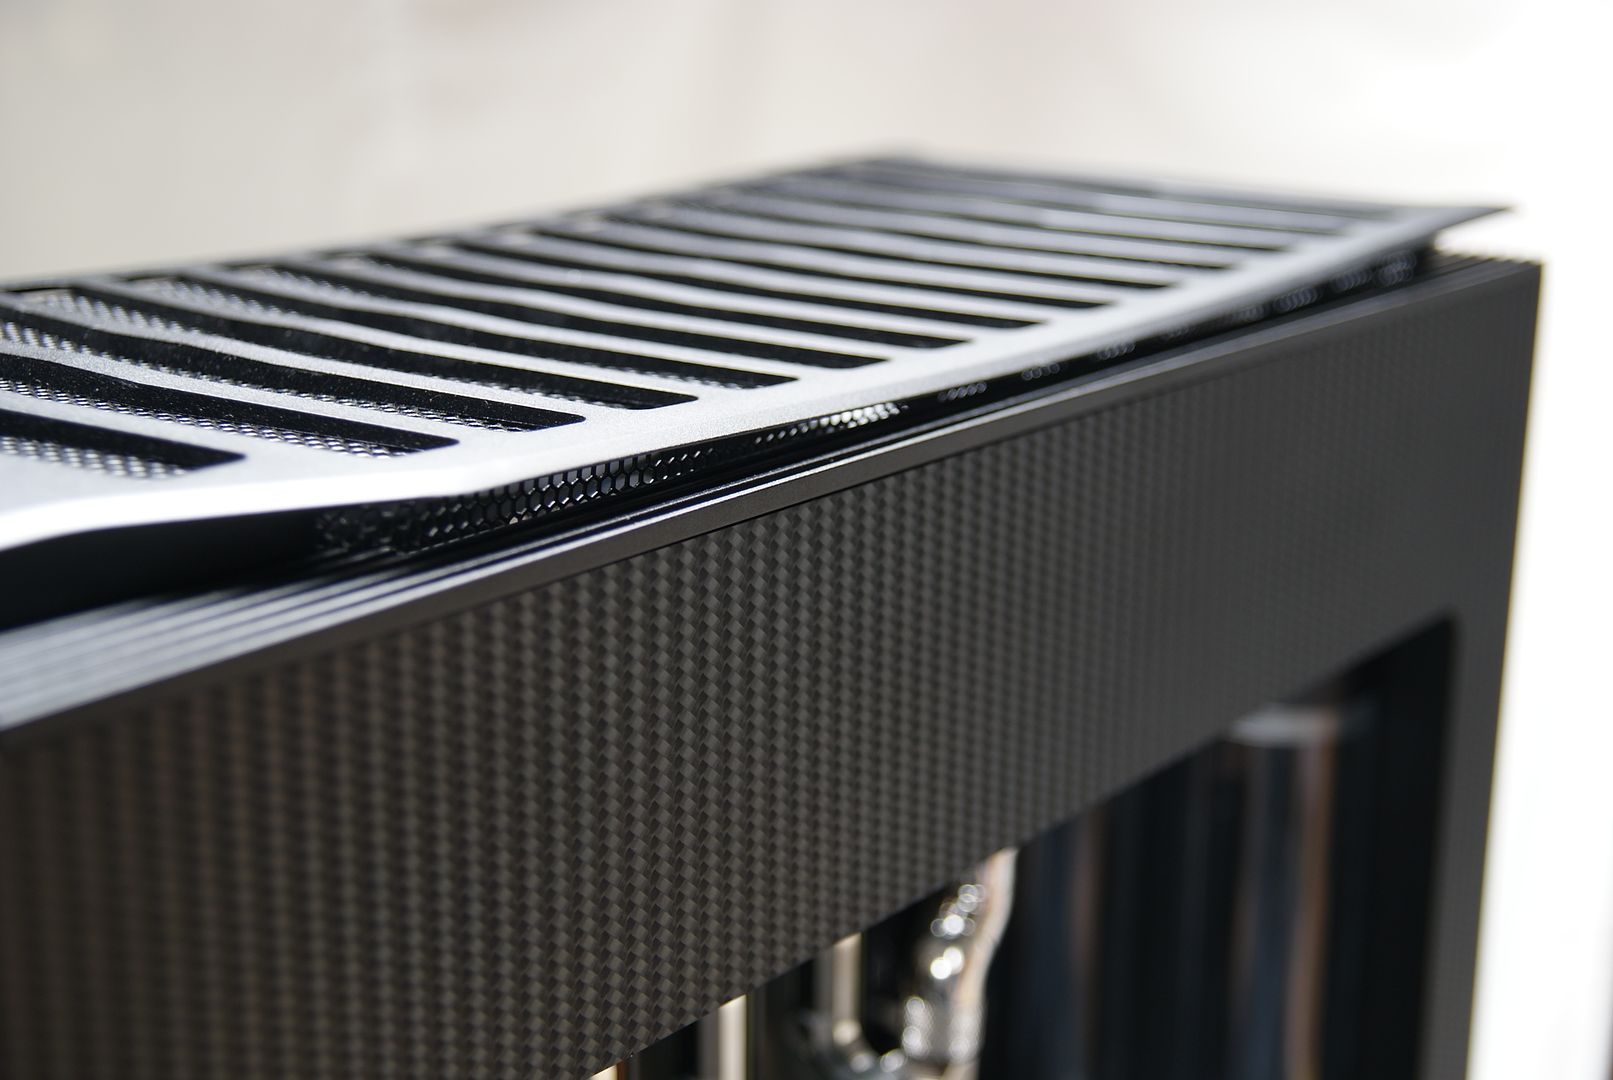
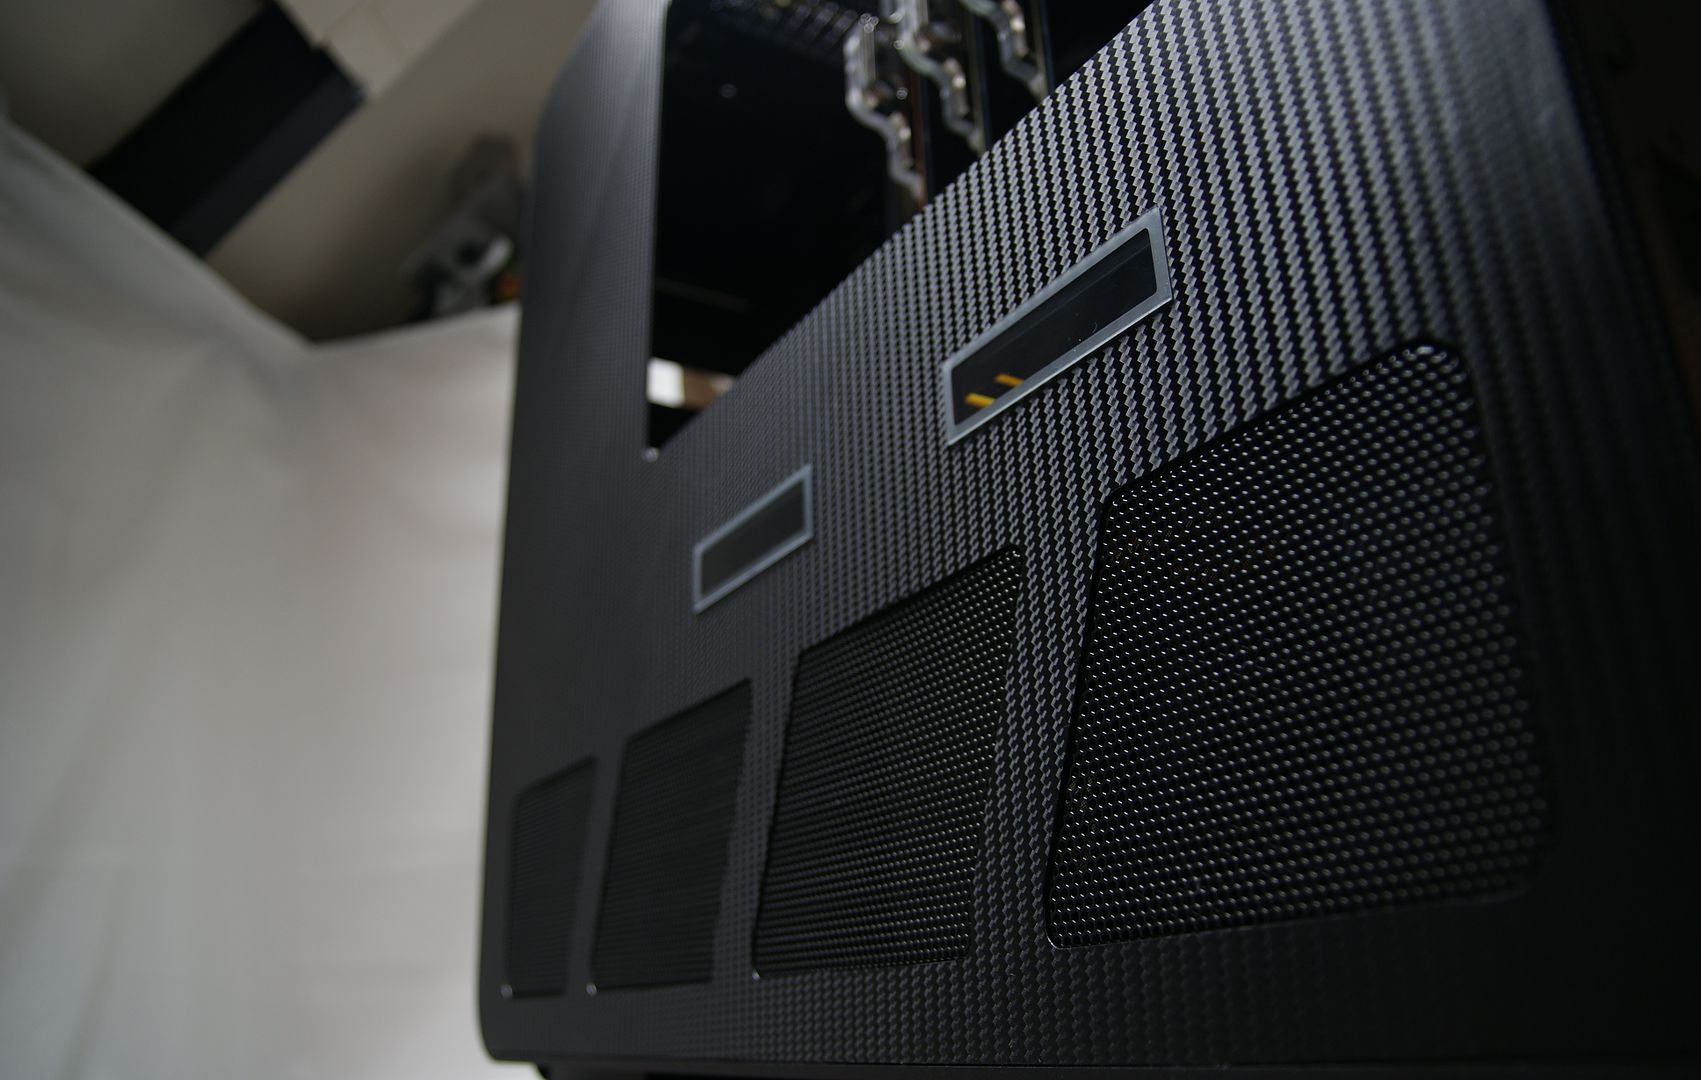
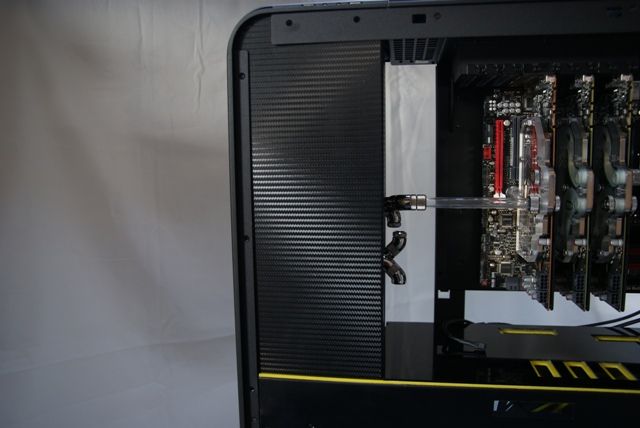
So did a lot of pasting this week. Here some pics how this is becoming a real carbon TJ
Left side
And the vertical lines from the TJ and from the carbon
Other side, the most important side
Some detail shots
That´s it for now my friends………see ya and keep on modding
-
Re: Silverstone TJ11 Carbon
SWEET!!!!! Came out looking amazing. :up:
-
Re: Silverstone TJ11 Carbon
looks nice! I used some of that stuff to do the gold chevy bowtie on my truck. I found that if you coat that stuff with a clearcoat it looks even more realistic :)
-
Re: Silverstone TJ11 Carbon
That turned out fantastic!
-
Re: Silverstone TJ11 Carbon
-
Re: Silverstone TJ11 Carbon
-
Re: Silverstone TJ11 Carbon
whoop, the pcb on that 480 doesn't match the rest, better ship it to me! JK, looks awesome
-
Re: Silverstone TJ11 Carbon
Give me the chance to pick between your build and a american chopper as a prize...
I'd have to say i'm going with this.
-
Re: Silverstone TJ11 Carbon
-
Re: Silverstone TJ11 Carbon
The aircraft?
Or the motorcycle?
-
Re: Silverstone TJ11 Carbon
Update
Great news......did almost all the sleeving, a hell of a job. Only a few more sata and usb
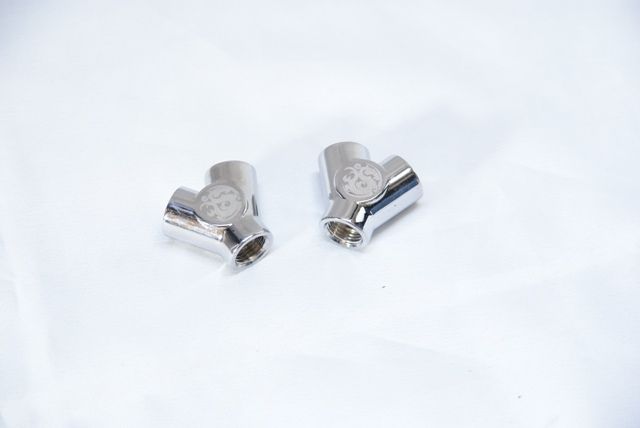
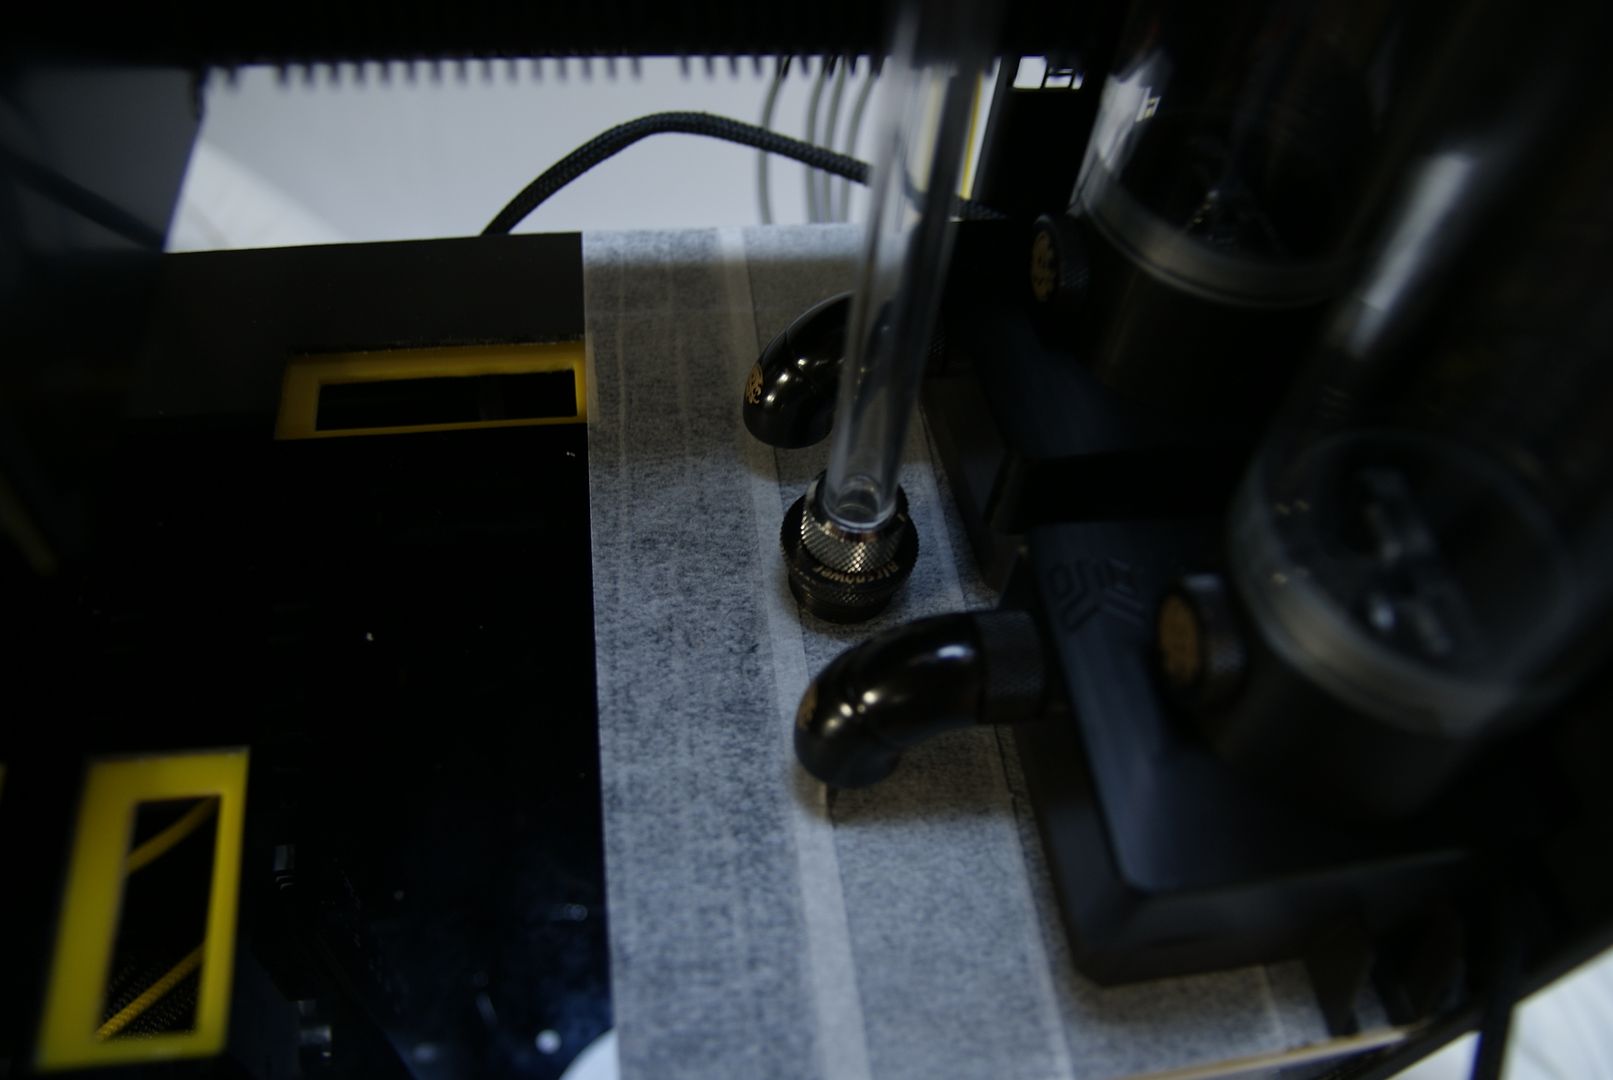
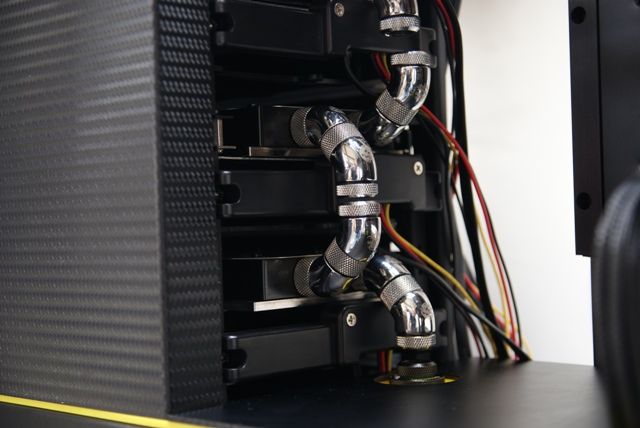
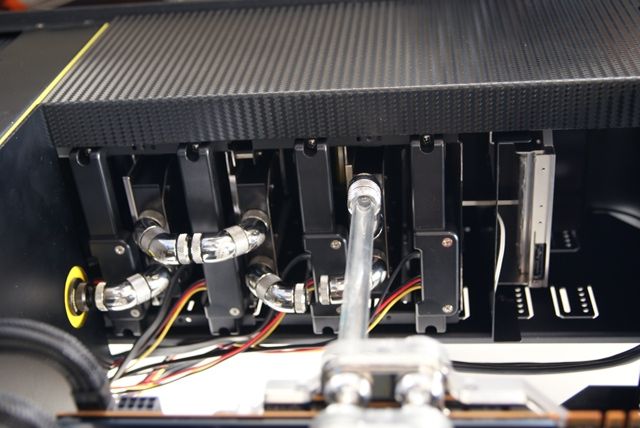
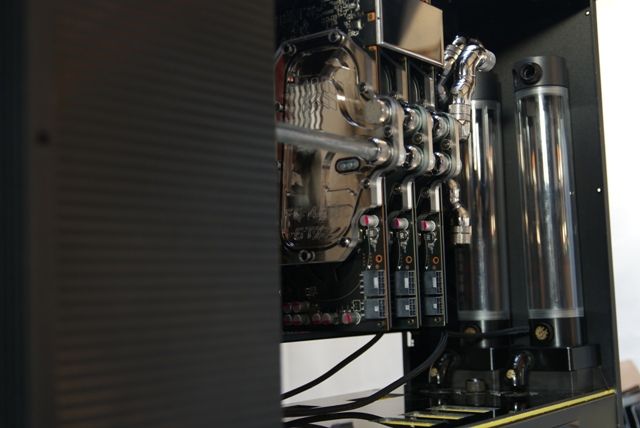
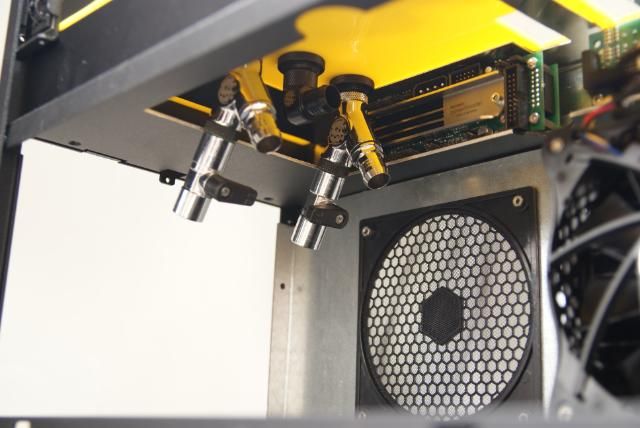
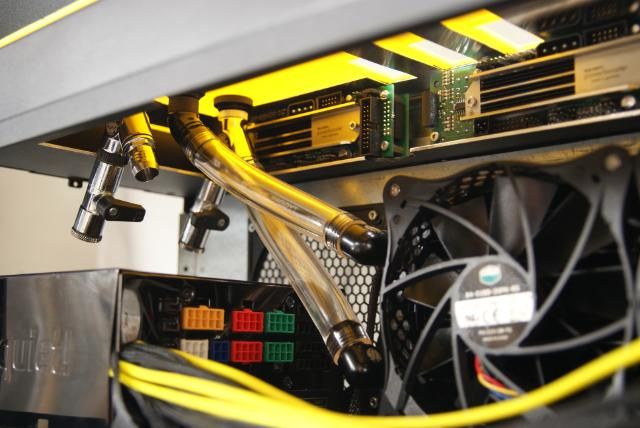
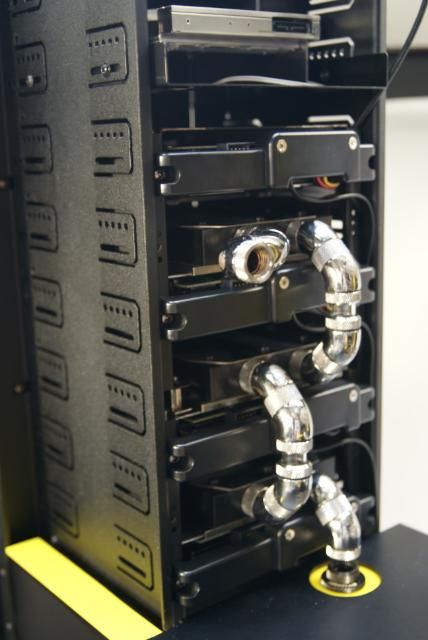
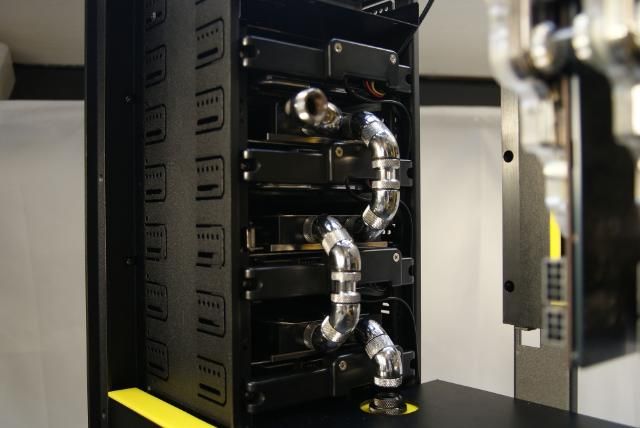
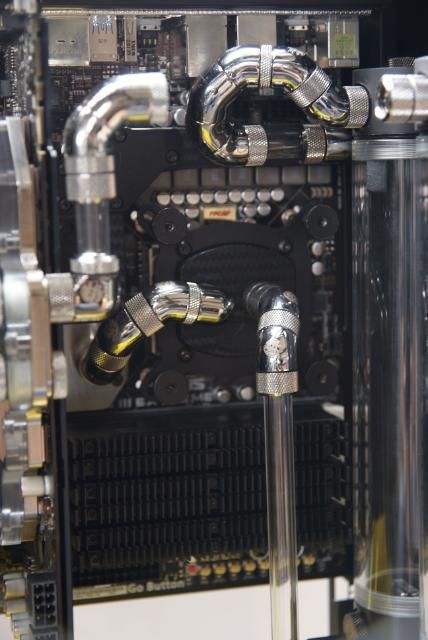
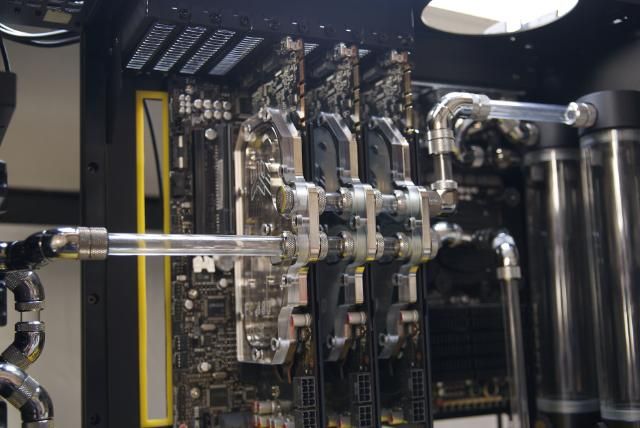
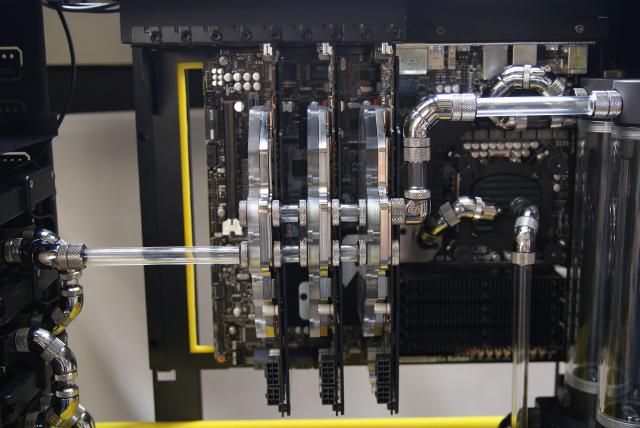
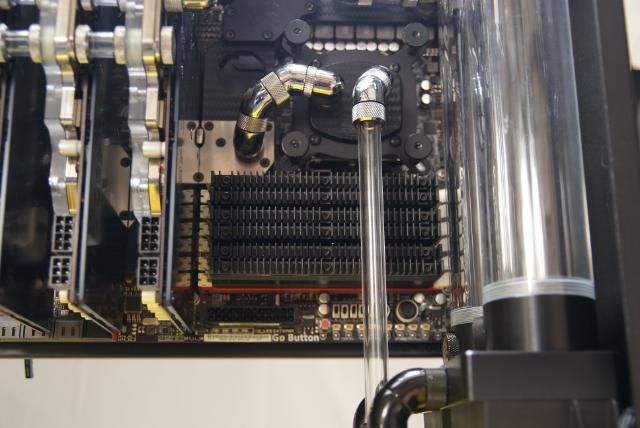
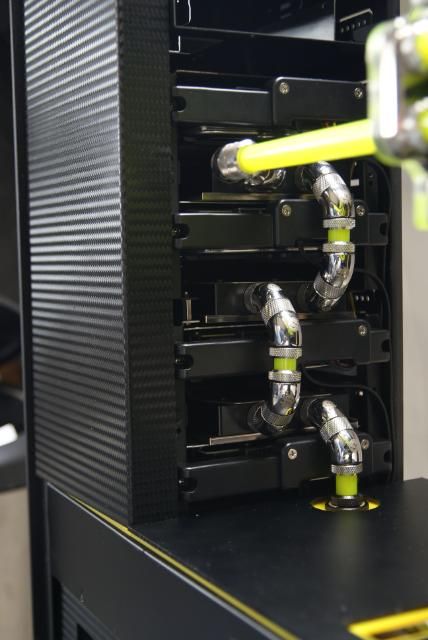
And I was busy with the loop in the lower section. used the Y fitting for draining and to the rad
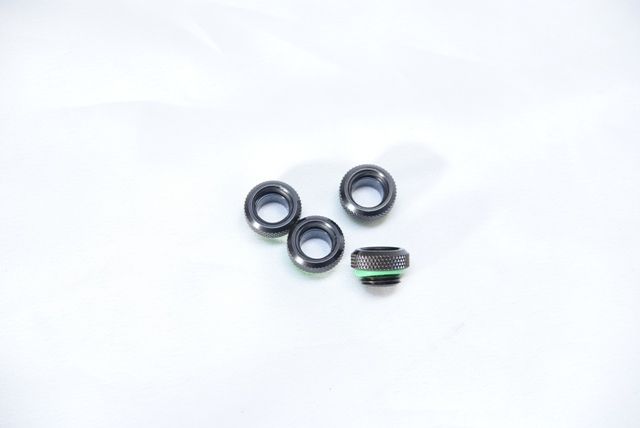
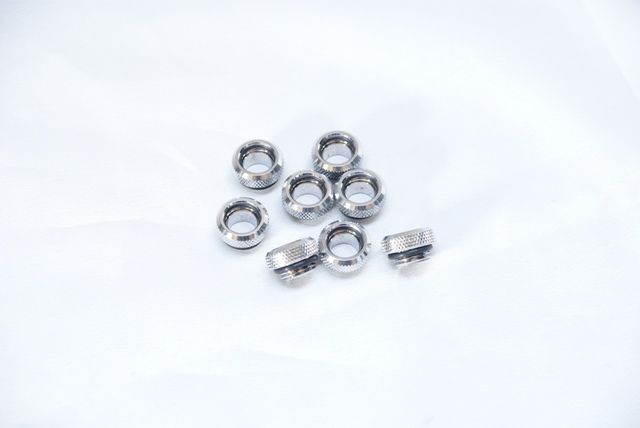
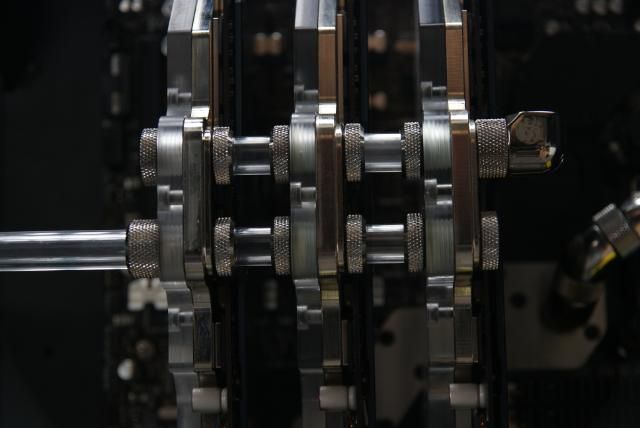
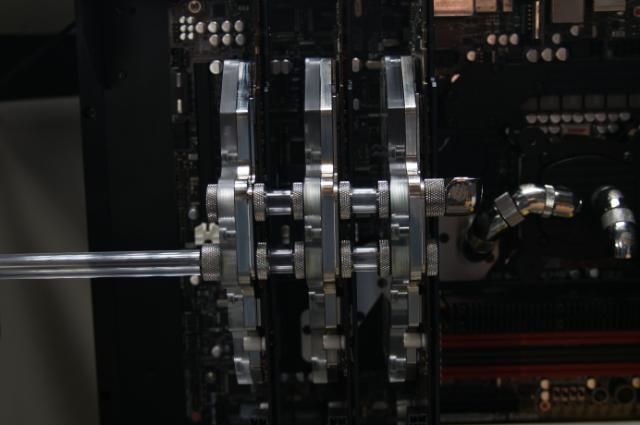
Almost finished with the BP links
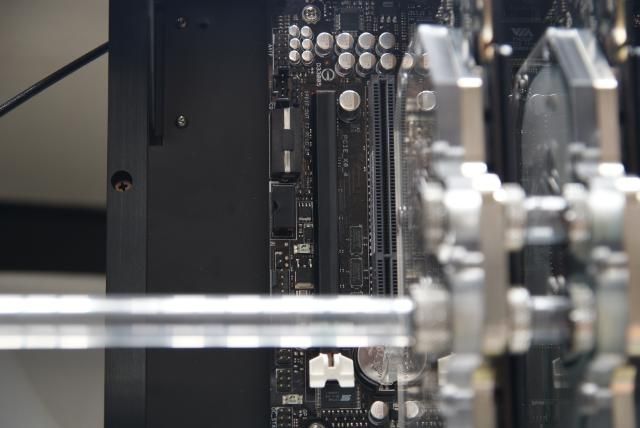
Maybe you've noticed but almost all the red on the motherboard is gone......pci-e, red button and the red sata. Did this with black film
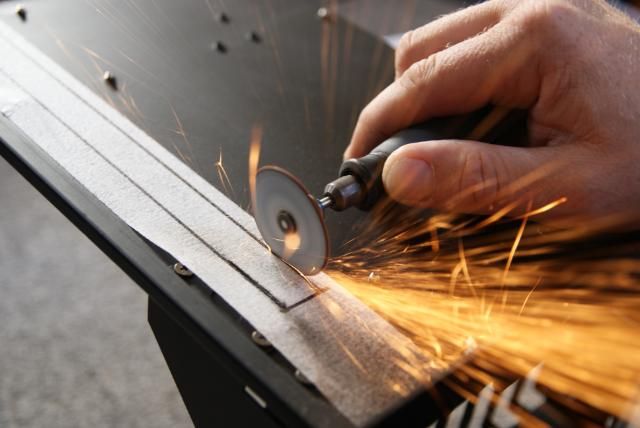
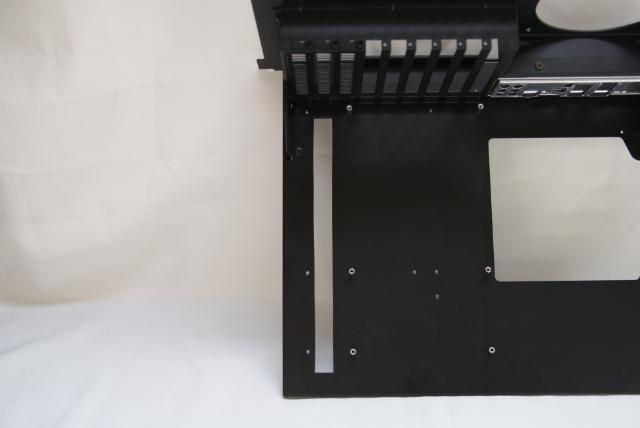
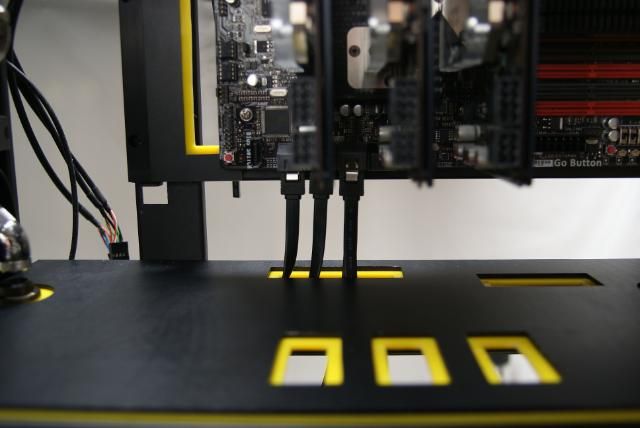
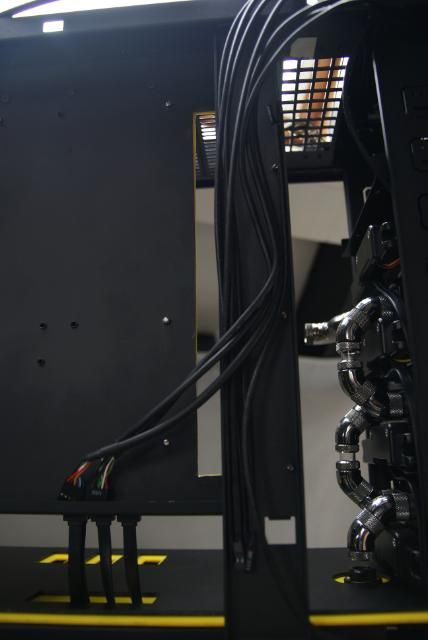
Next step is to make a slot in the tray for some cables like the power led, switch, usb and other stuff
So time for Dremel action
And finished
Placed the hardware back
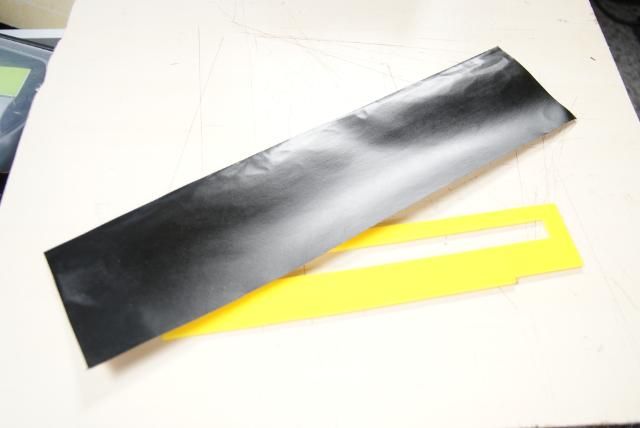
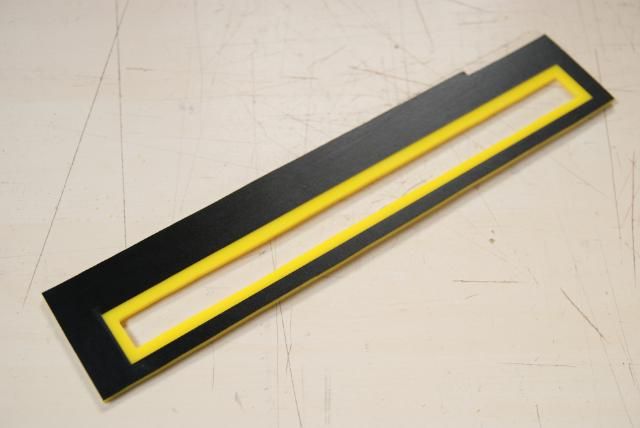
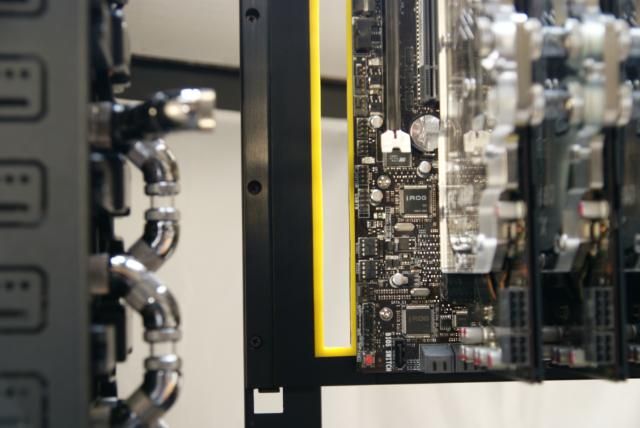
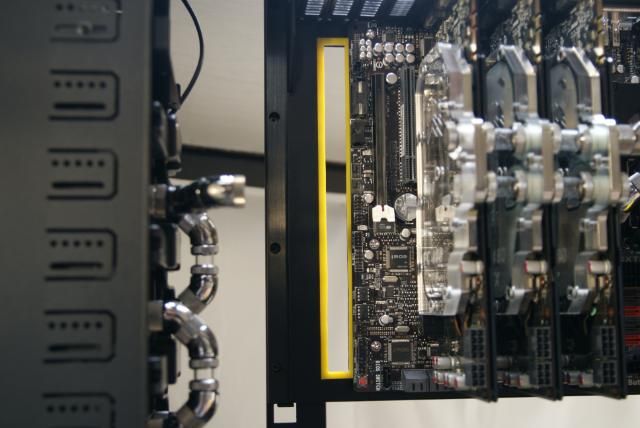
Not finished yet, I mis the yellow line
So I've cut a piece of the yellow acryl
Again used some black film
Paste it and cut out the lines
And placed it on the tray
Still waiting for the last fittings, hopefully next week and then.....................fill up the TJ ;)
Grtz.
-
Re: Silverstone TJ11 Carbon
Just a little small update about the cables and the hdd's
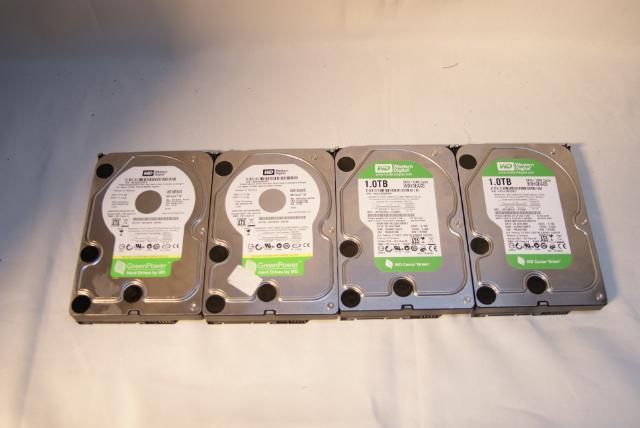
Finally I got my hdd's in, 4TB is enough for this build
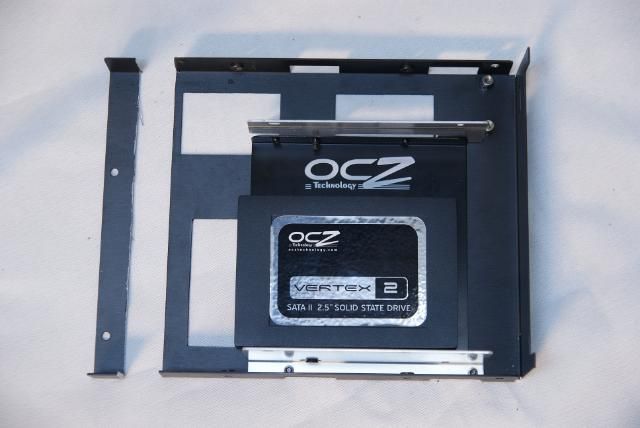
There's also a OCZ vertex 2 ssd 120 GB coming in for the OS
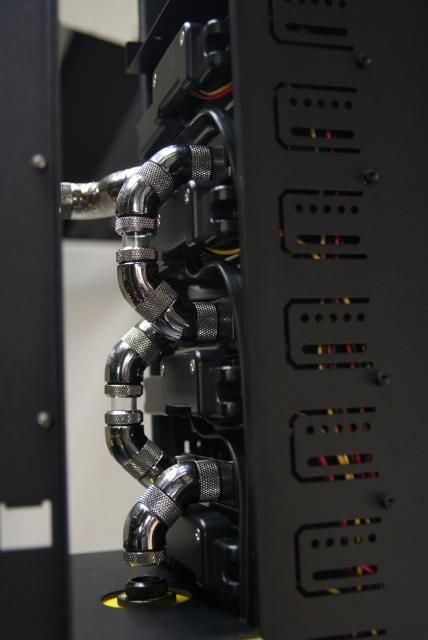
So installed all the hdd's and routing the sata and power cables
A small piece of the power is visible, but this is gonna be sleeved
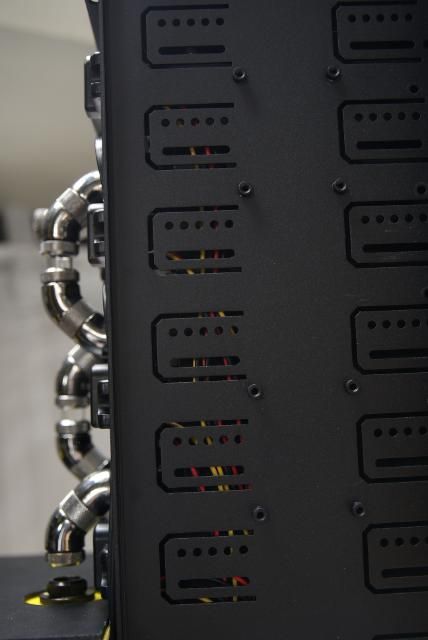
All the power cables are between the hdd bracket and the drive bay
So almost no cables visible
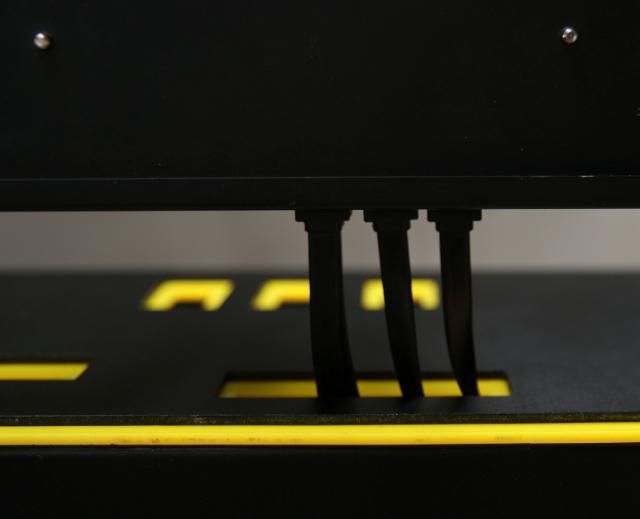
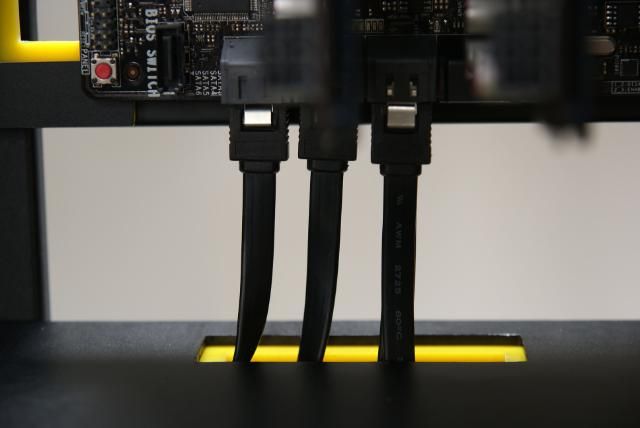
All the sata's are going to be sleeved and placed like this
The power led, usb and other cables are placed behind the slide-out bracket (dont how it's called)
This is it for the weekend. Greetings my modding friends
-
Re: Silverstone TJ11 Carbon
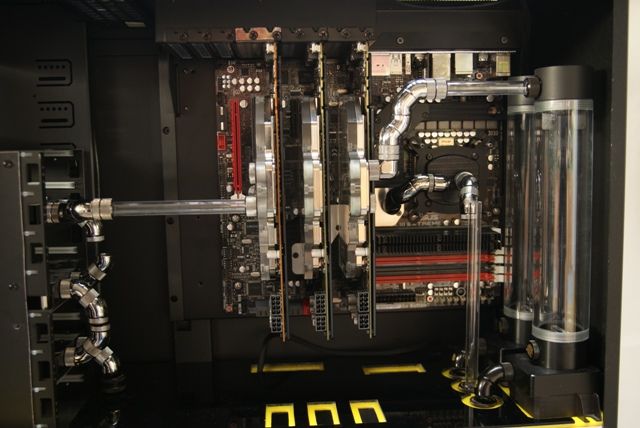
Update: First loop filled
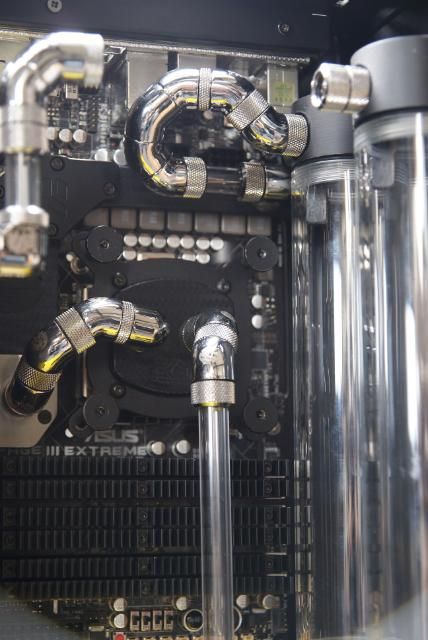
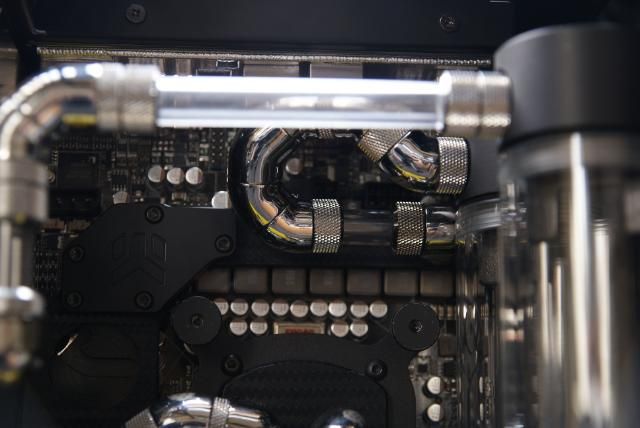
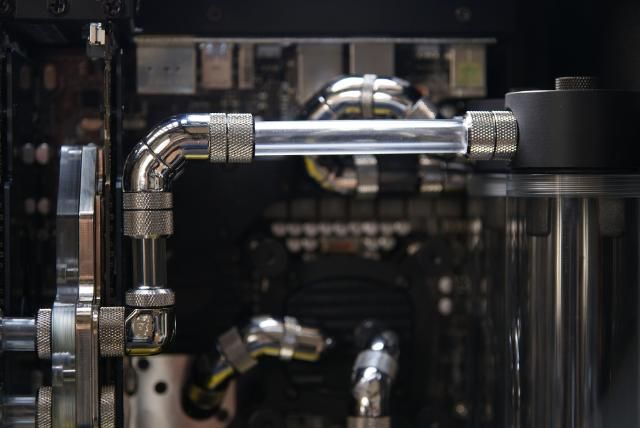
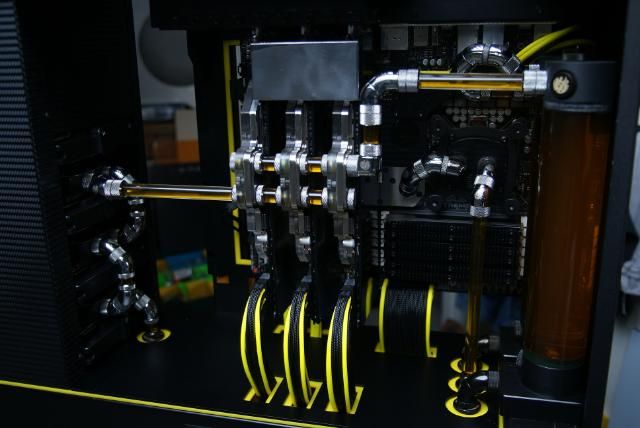
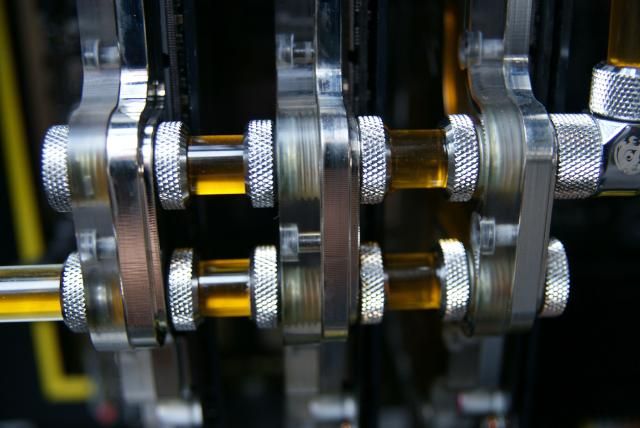
Finally all the acryl pipes are connected. Had some difficult issues with a few fittings
but it came out fine
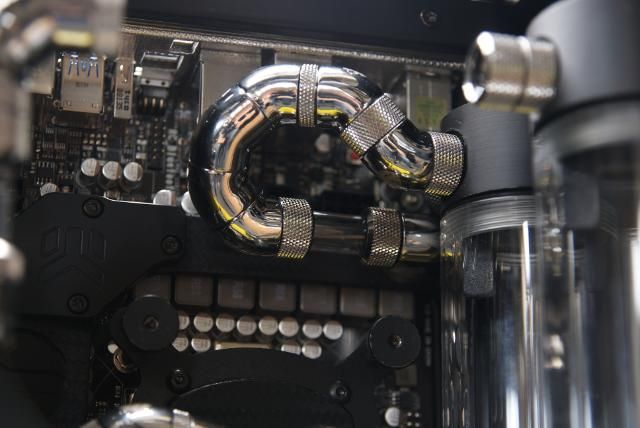
Like the connection on the full cover block
But..........everything is connected now
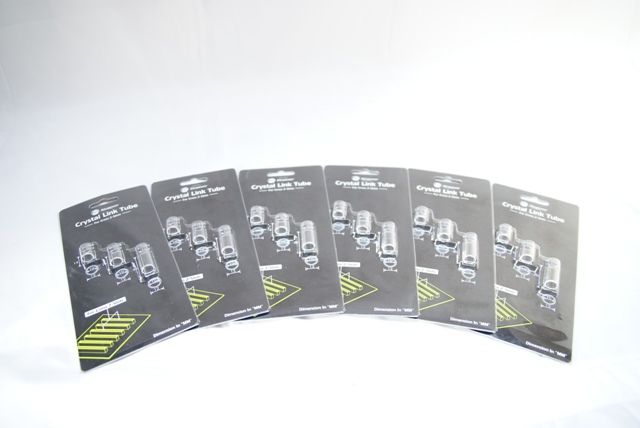
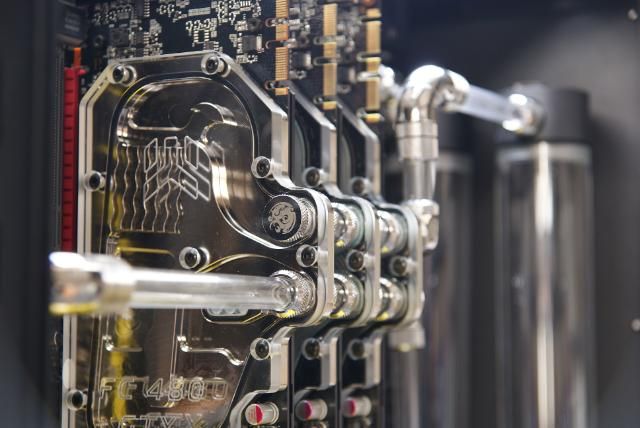
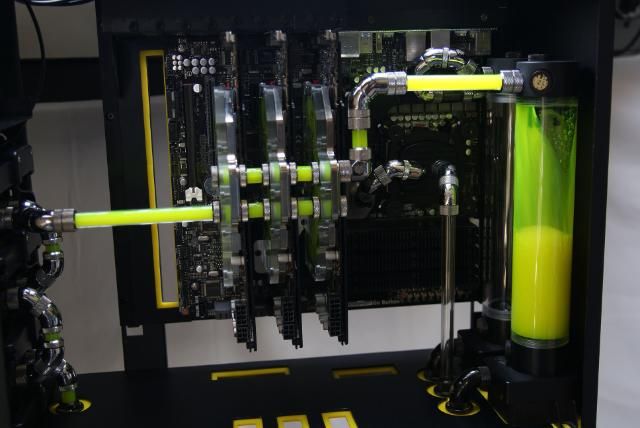
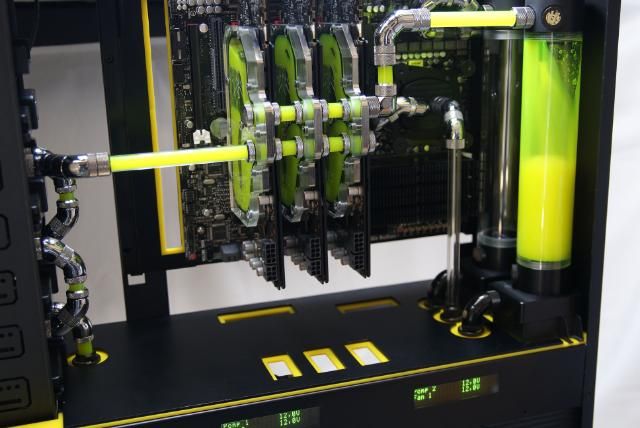
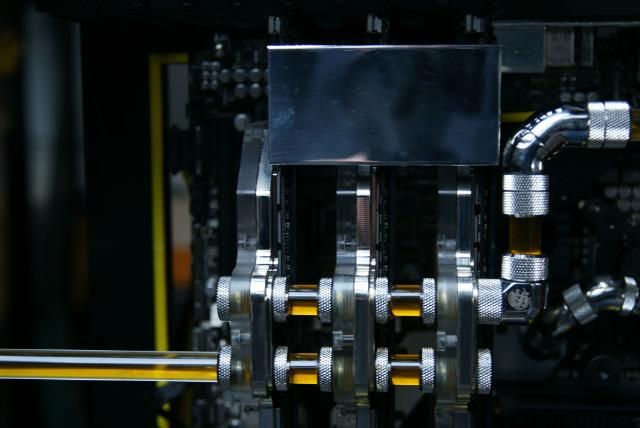
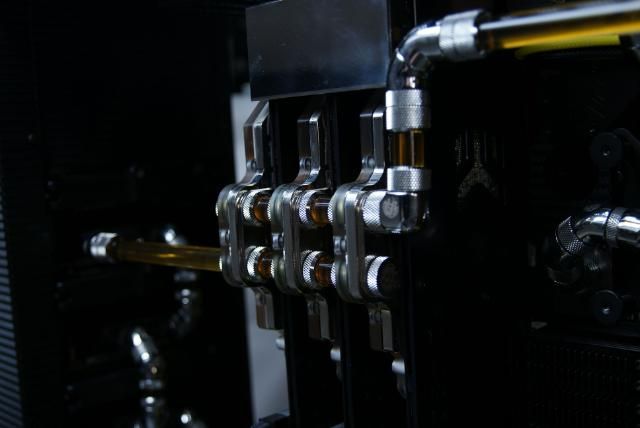
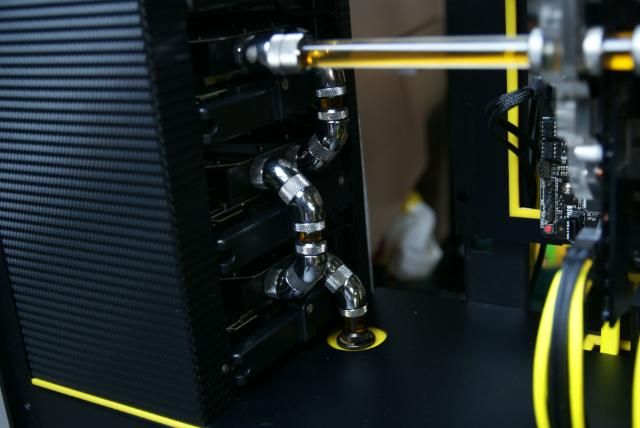
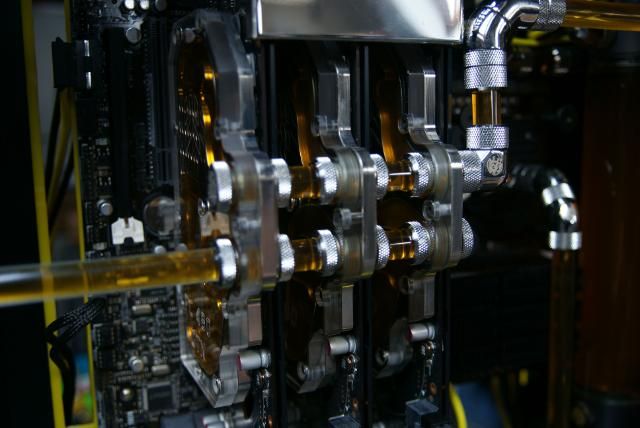
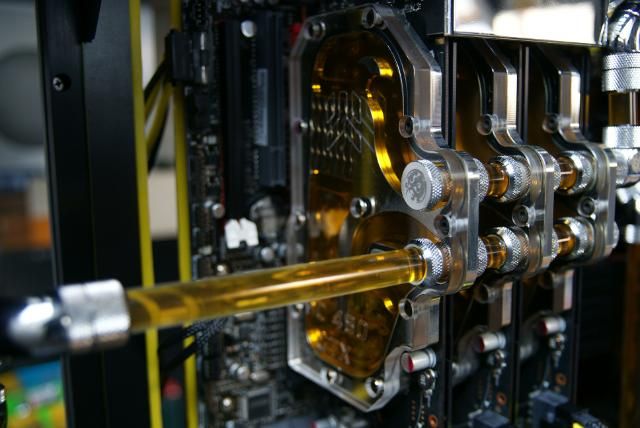
Made some changes to the GPU loop, instead of the BP rotery snake I've used some more crystal link tubes
Time for the liquid.
And one loop filled.
The plan was to do the second loop also............but made a mistake
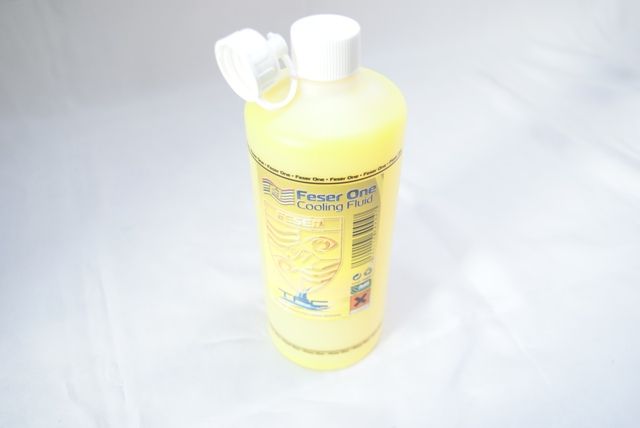
Need to order some more Feser because I dont have enough for the second loop
So to be continued
-
Re: Silverstone TJ11 Carbon
Small update!!!
Last two weeks I didn't do much because I was sick and had the same color as the liquid
But where back again ;)
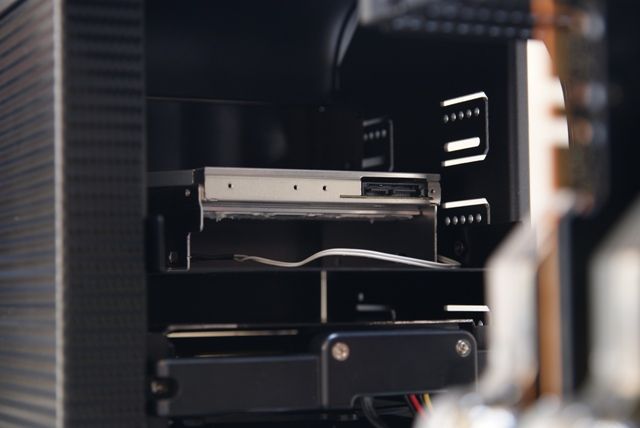
I adjust the Lian Li bracket for the ssd and the slimline dvd
Cut and bent a piece of aluminium
This for the cover to hide the Lian bracket
Paste some carbon again
Placed it with the side plate
And made the same piece for the other side
This week I hope that I can get the TJ up and running...............more to come
-
Re: Silverstone TJ11 Carbon
Update: New liquid and last sleeve update
Hi modding friends, sorry for the long waiting but finally I,m done with the liquid
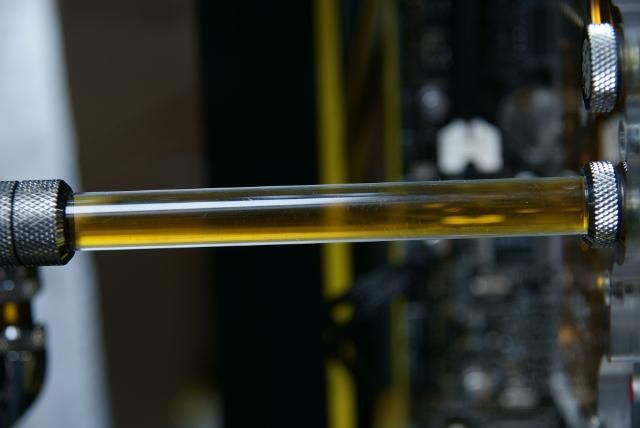
I,ve chosen Aqua-computer DP Ultra yellow
Turned out to be yellow/ orange but much better then the green Feser
And I must admid...................I'm done with it ;)
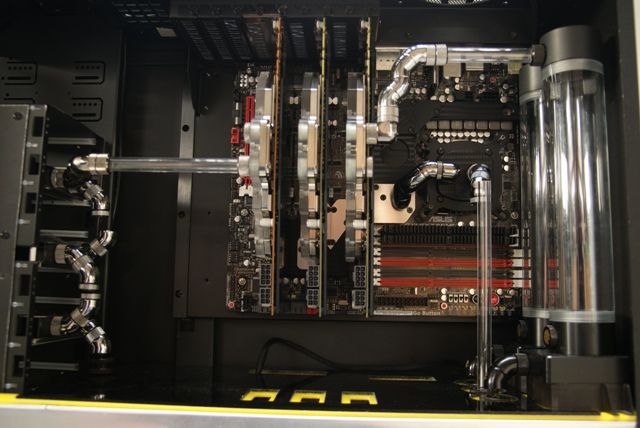
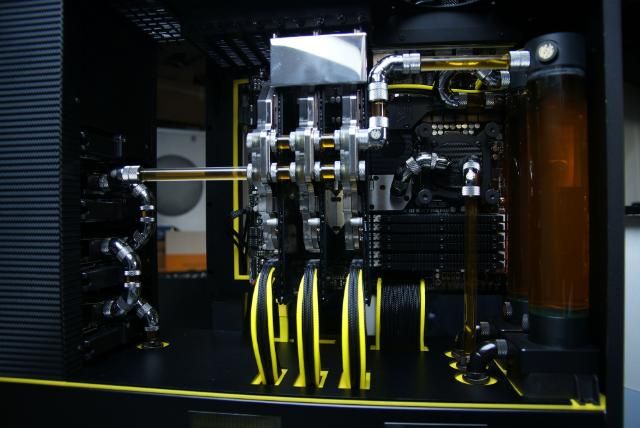
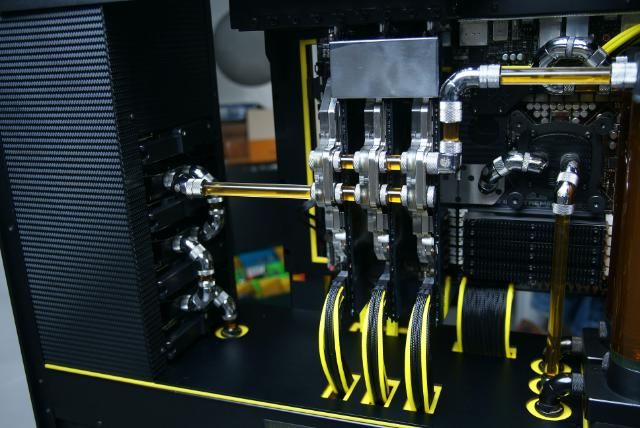
The TJ is finished now for 90% and I really want to finish the build now. So here some pics
before the finishing touch
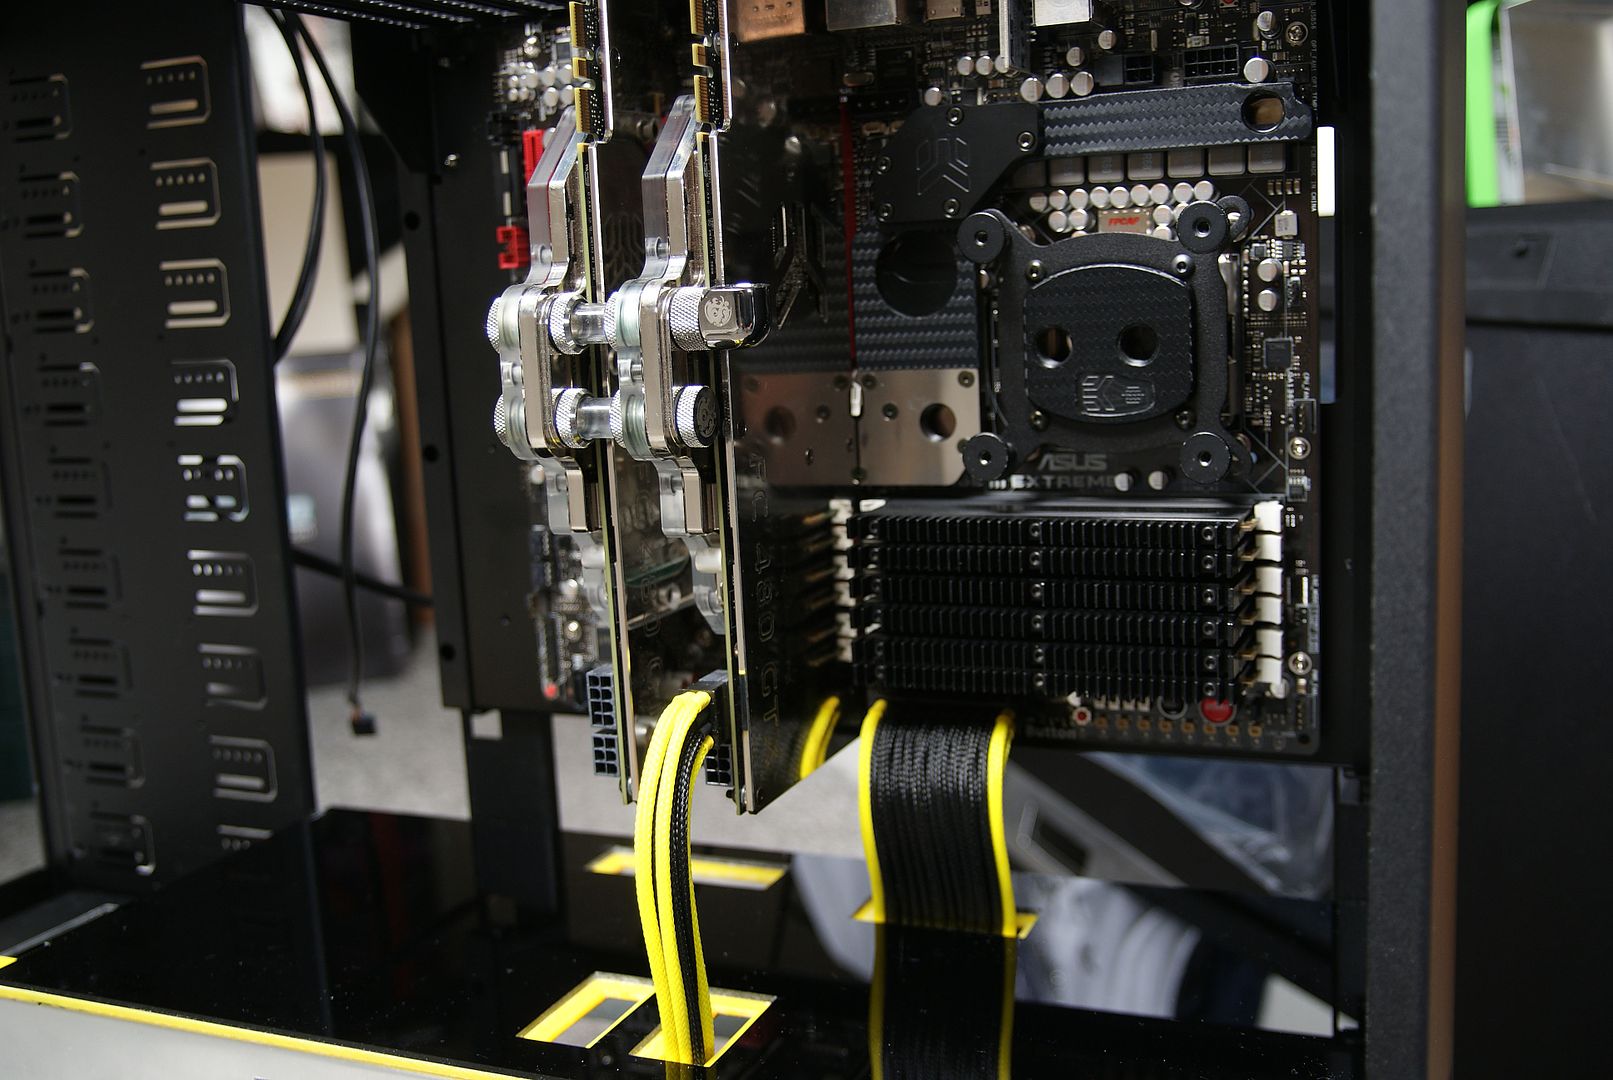
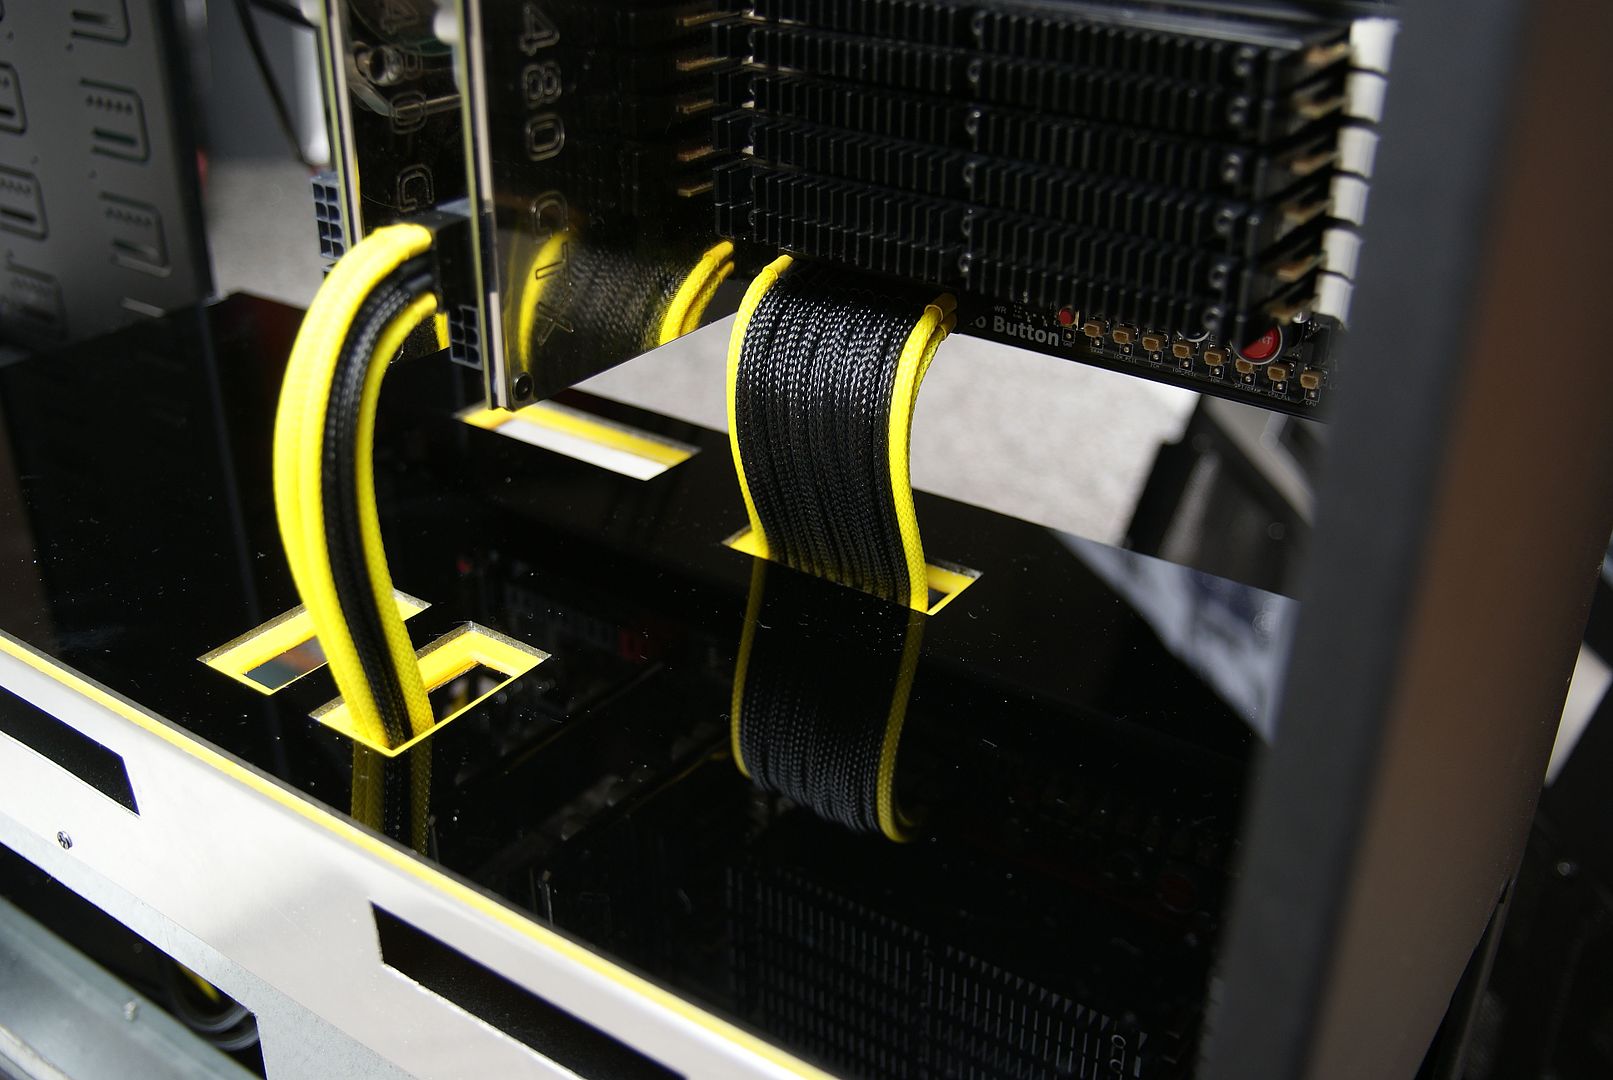
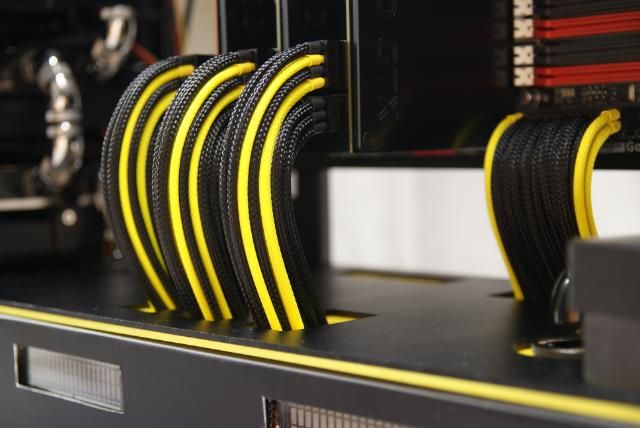
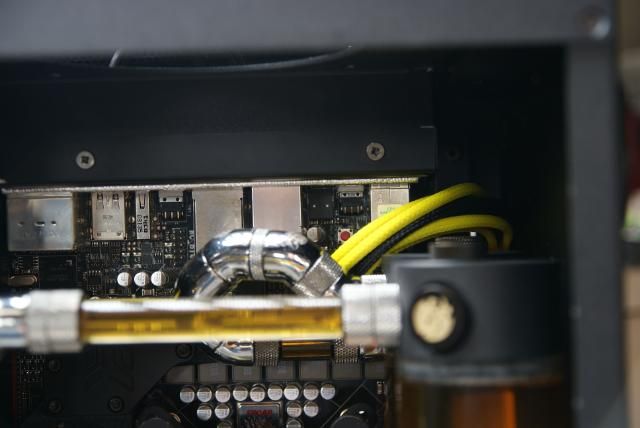
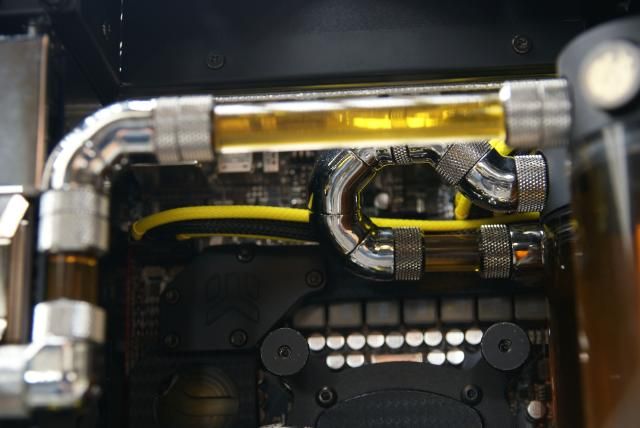
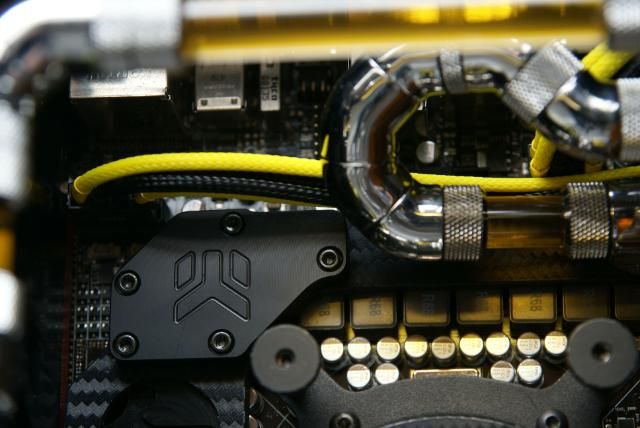
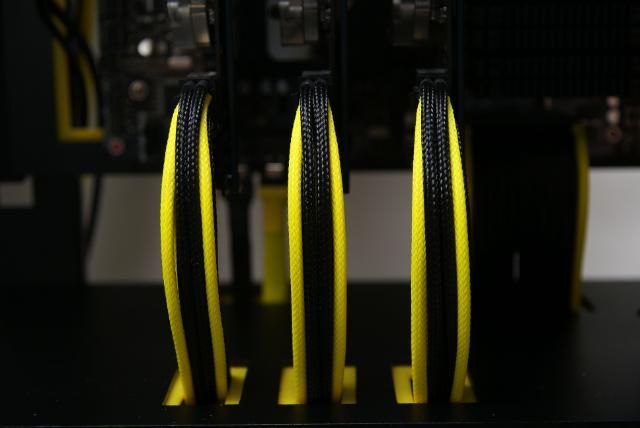
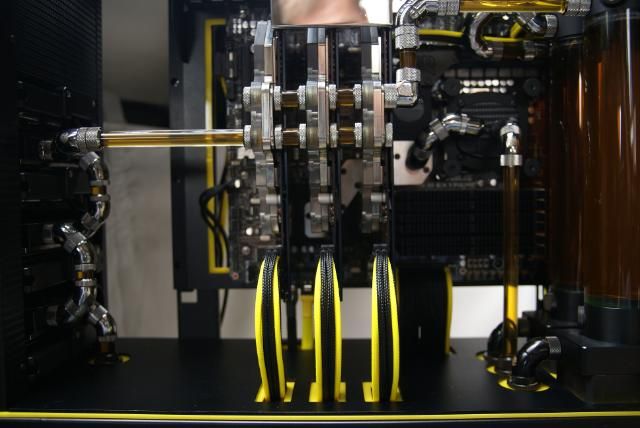
Also finished with the cables for the power cpu/gpu
And the sata cables
And some more sleeving pictures
That's it for now
-
Re: Silverstone TJ11 Carbon
:bowdown: Your plumbing and sleeving are AMAZING!!! :bowdown:
I like the new coolant much better, but then I've never been a fan of REALLY bright colors.
-
Re: Silverstone TJ11 Carbon
Question:
Does anyone even MAKE a motherboard with 9 parallel slots on it???
I understand 8 for quad graphics, but 9???
-
Re: Silverstone TJ11 Carbon
I would finish the TJ this weekend, but my boss needed me for a major error in a cooling installation.
So instead a small update...........sorry you guys
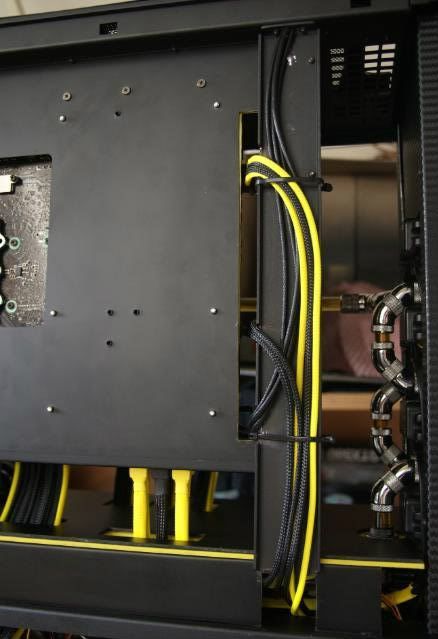
Like you know now I don't like to much cables in sight
Bent a piece of aluminium on two sides
And the cables are gonne ;)
Other side also done
I'm thinking of taking some days off...........every time when I wanted to finish this build, something came up
-
Re: Silverstone TJ11 Carbon
But your boss will pull you out of your break because it will be something only YOU can fix...!
The Curse of the Modder.
-
Re: Silverstone TJ11 Carbon
did take some free hours today, and it worked
Update!!!
Finally the TJ11 is finished. Did the last things today
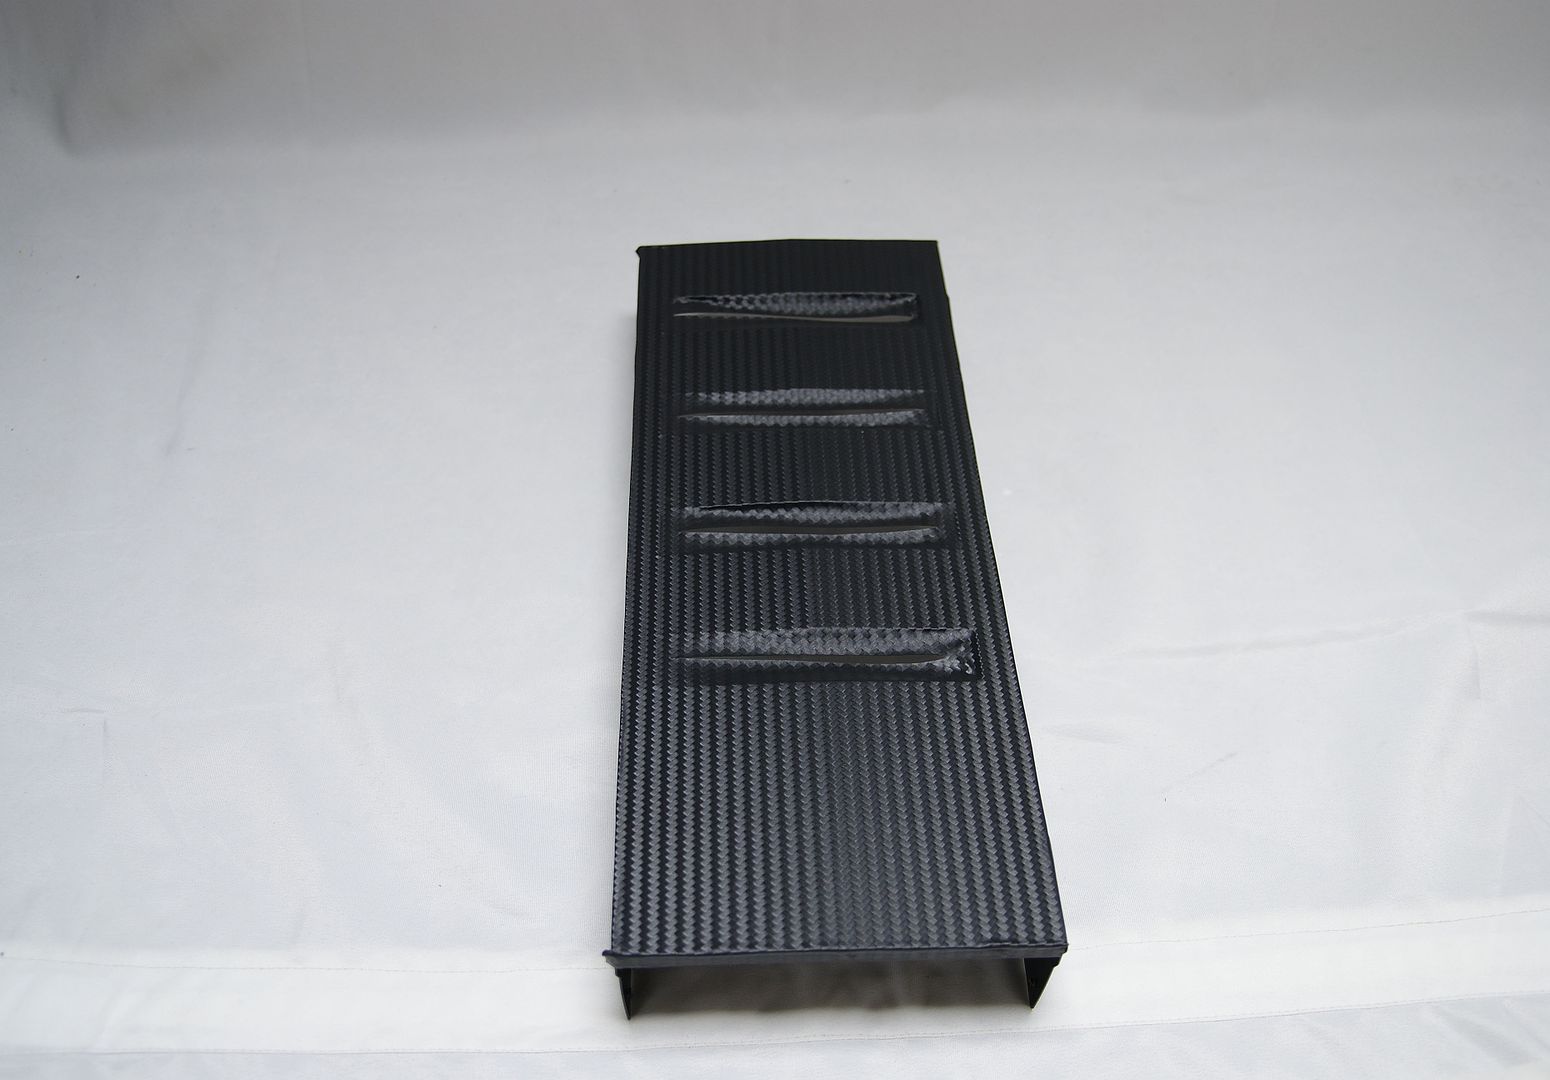
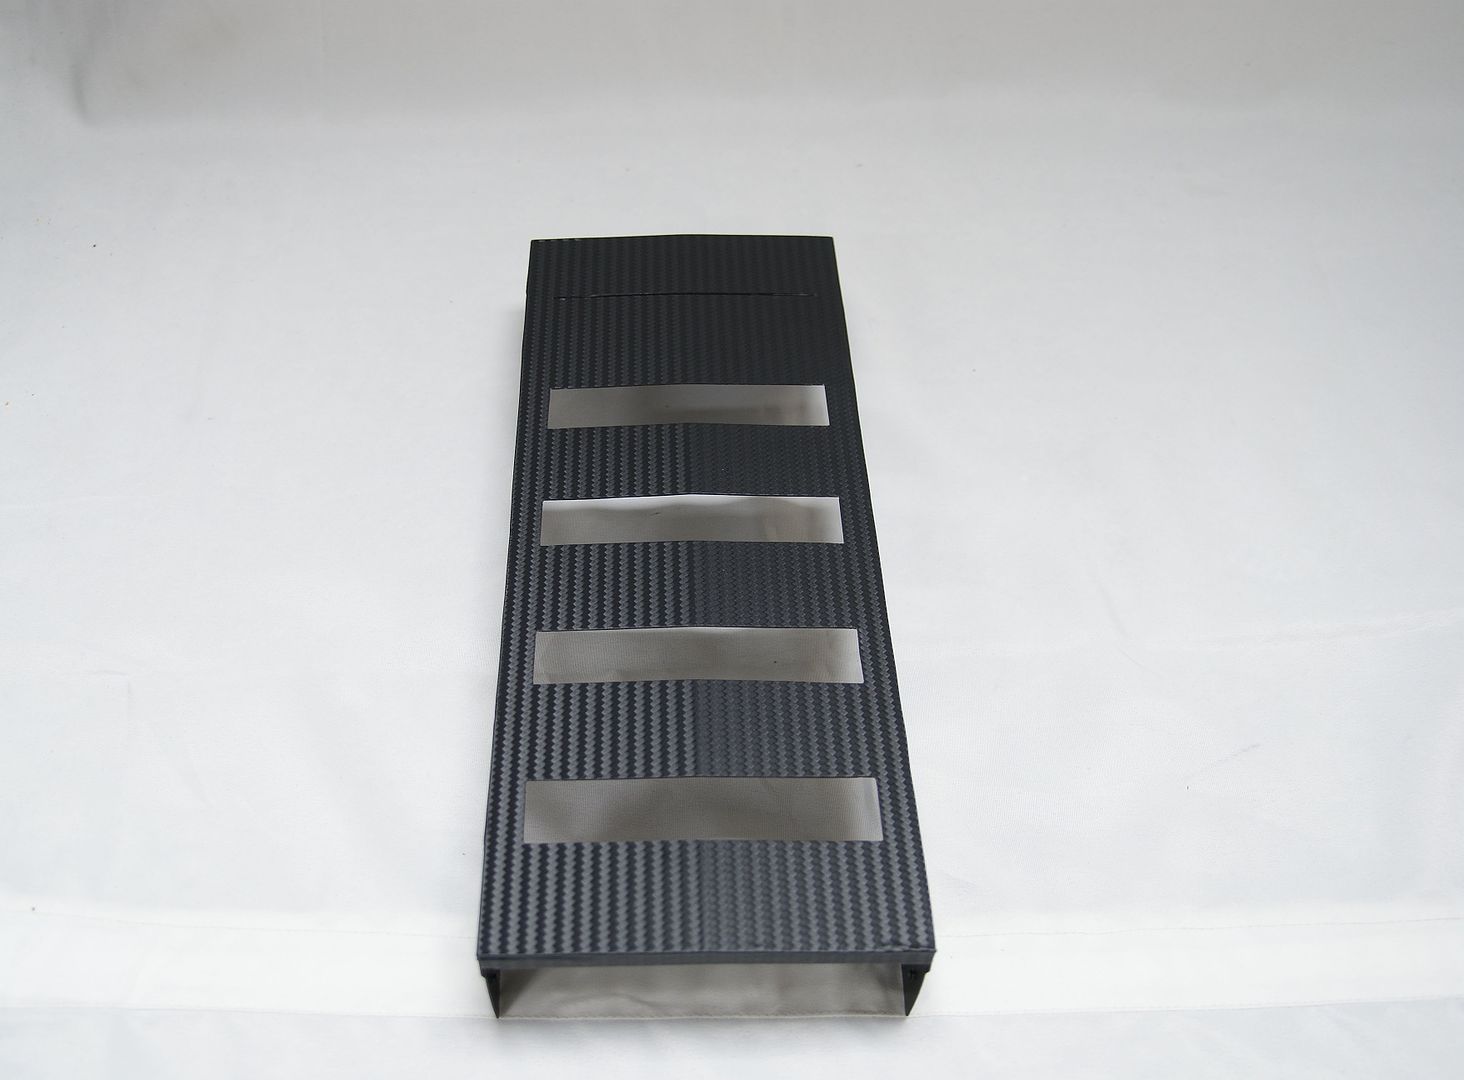
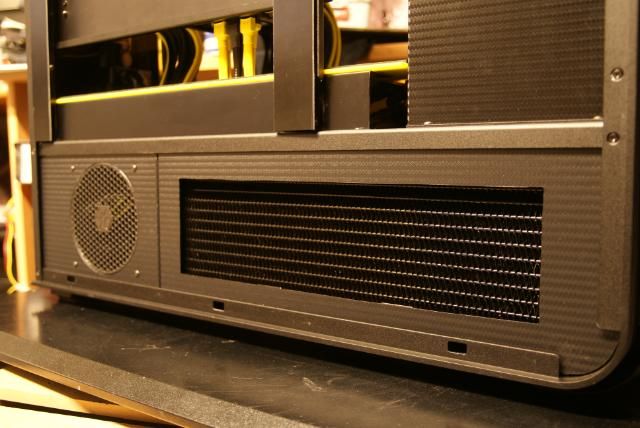
Sawn and bend the radiator cover
Also made a small cover for the outtake
And put it together
Past the last piece of 3M Di-Noc CARBON FIBER FILM
And a little preview from the TJ11 finished
Offcourse more and better pictures are coming your way ;)