-
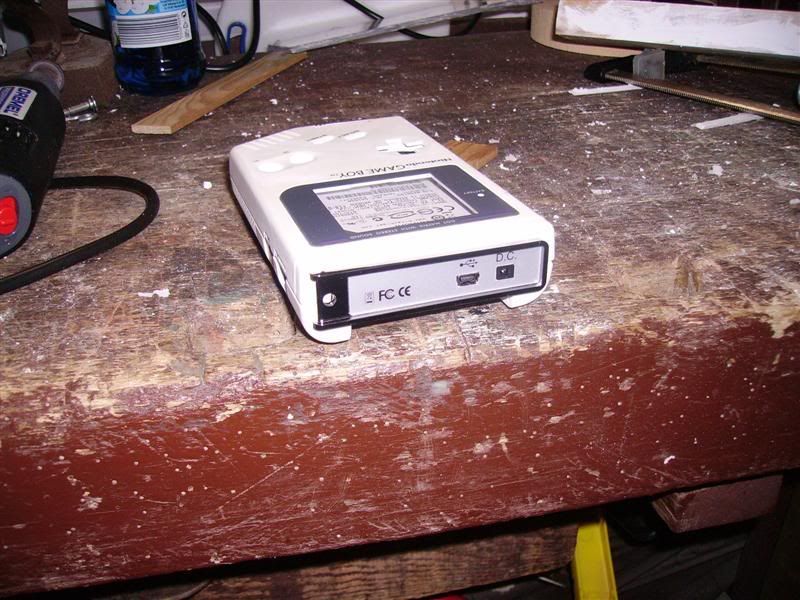
GameBoy as external HDD
Hi everybody.
I watched this forum for a while now and got this feeling of modding something myself. I thinked for some time what to mod, because I use a laptop and don't want to touch it. ( Yes there is much fear :D ) Then I saw this article about someone putting a winXP pc in an old gameboy. I had two old ones lying around and thought: You want a new external HDD, you have a gameboy, you like the idea, why not give it a try.
Cutting this long speech short, I decided to mod one of the gameboys into a new external HDD. I put this in the idea zone because i did not start yet. Hope it is right in here.
If someone here did this already please share you knowledge with me, because this is my first mod. I will appreciate any kind of helpful information or idea.
Oh and please forgive my mistakes, but english is not my native language. But I will try to write it the best I can.
Here are some pictures of the two Gameboys
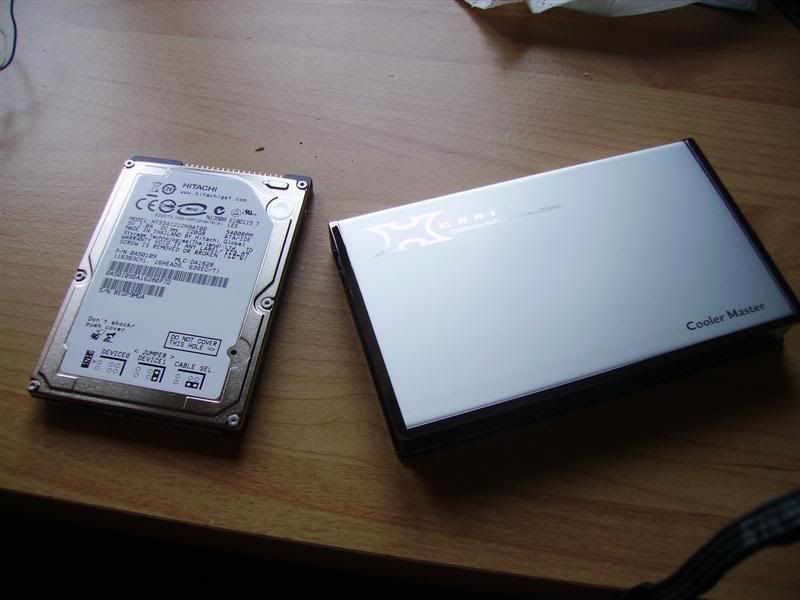
This is the kind of HDD I want to install in it. Note this is just an example. Not sure about the actual one that I will use.
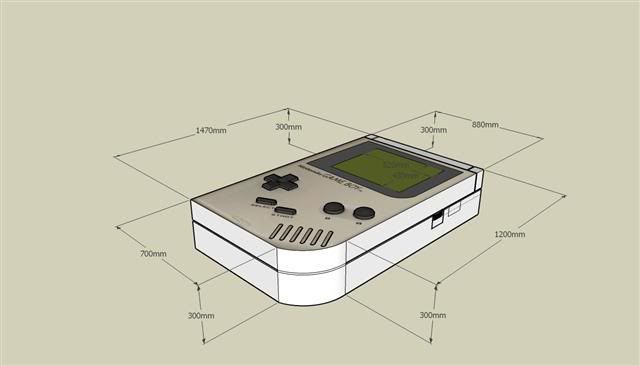
This is a sketchup model i made for this project. It's not very detailed or useful in the moment, but i will do most of the planing with this. It will be improved in the next days.
All mesurements are in Millimeters, because i'm form germany.
To make it more complicated i want to add a nice feature to the gameboy. I use a remote controll to switch the power to my pc and all the stuff on and off.
The switch
I want to mode some of the buttons to the original gameboy buttons to control the power. I will post better pictures of the remote later. Have to separate the parts first.
Please comment on the idea and/or give tips. I appreciate every help i can get.
mfg doesi 87
-
Re: GameBoy as external HDD
That's a pretty cool idea...rest assured no-one else will have one at least!
Jump in there dude.
-Dave
-
Re: GameBoy as external HDD
Thanks Dave. I think it will be a nice feeling to have something not built for you somewhere far away.
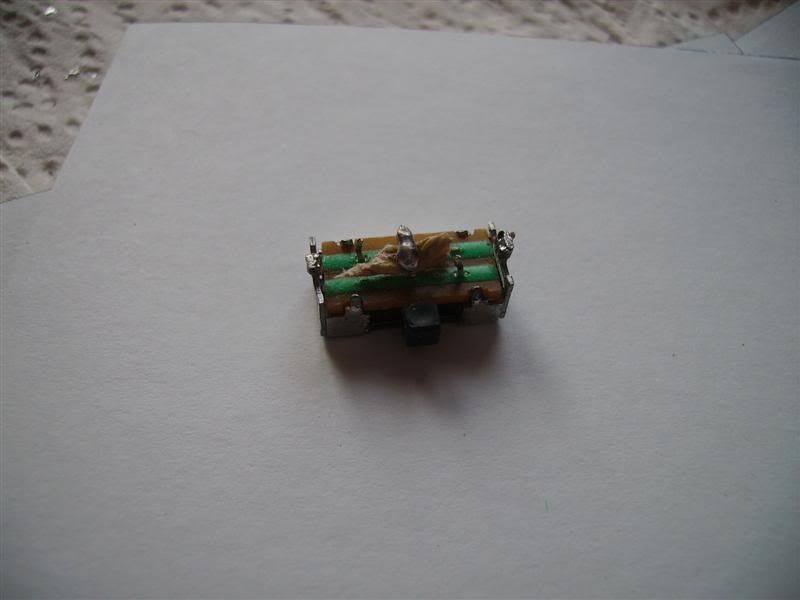
I separated the remote unit and got an idea how it works.
The remote unit
Thats how i think it should be possible to connect a different switch to the unit
I will solder some cables to the marked points and connect them to a test switch to be sure it will work. There is just one problem. The remote uses one on and one off switch for each channel. But i want to have an on/off switch. Not sure how to make that, but it is still time to solve that little problem.
-
Re: GameBoy as external HDD
You don't need to solder a wire to all the three blue pins, as they're already connected.
As for making it one switch for on and off, I think that depends on the receiver. What are you using for that?
-
Re: GameBoy as external HDD
Welcome to the boards doesi!
This is going to be pretty cool. I wonder if you could still use the screen for something? That, would be killer.
-
Re: GameBoy as external HDD
Quote:
You don't need to solder a wire to all the three blue pins, as they're already connected.
As for making it one switch for on and off, I think that depends on the receiver. What are you using for that?
You may laugh, but i realized this in the same moment i unplugged the soldering iron. Will have this in mind when it comes to the real soldering.
Quote:
I wonder if you could still use the screen for something? That, would be killer.
Yes, that would be cool. But i have no idea how i could use it. But i will think on this.
Quote:
As for making it one switch for on and off, I think that depends on the receiver. What are you using for that?
I want to controll a simple powerplug (?). Here is a picture that will explain what i mean:
It is not really a remote for the notebook but for the power. I need this, because i can't reach the plug without crawling under my desk and breaking me every bone i have :) .
But i might found a solution for the switch problem, if it is not possible to get an on/off switch. I use two of these plugs at the same time. And there is a button to control all plugs at the same time. I could use this one and connect the on function to the A button on the Gameboy and the off button to the B button on the GB.
Thanks for your suggestions and interest.
-
So i decided to open the gameboy and see what is inside. But the thing is screwed with very strange screws. They have a triangular shape. So i have to wait till tomorow or maybe tuesday to go to the local hardware store and pick up a screwdriver for these screws.
Because of this i had the time to do a little 10 min mod i found in here. Change the light of your mouse sounded pretty nice for the beginning. Since all of my viewable hardware is black with silver and all leds are blue i wanted the mouse to be the same.
I opened the case of the mouse and fought my way down to the LED.
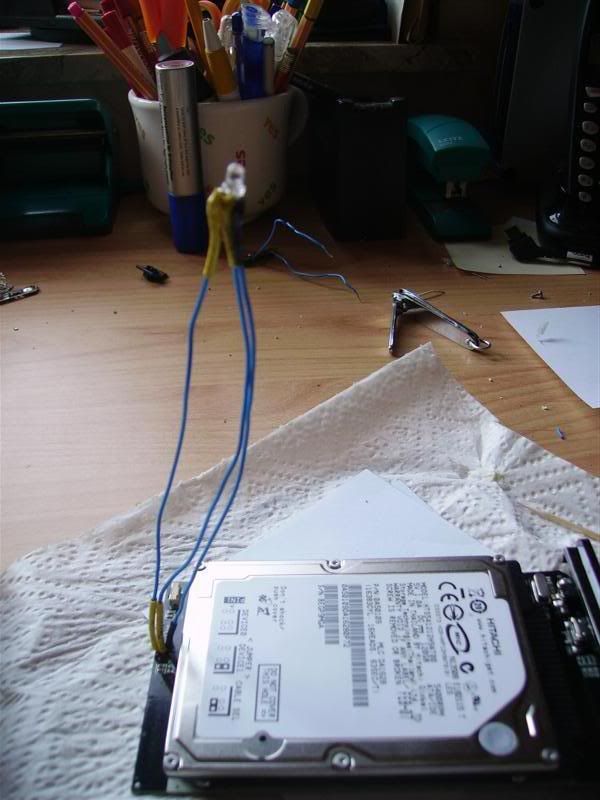
Then i soldered in a blue LED lying around and guess: It worked. I know you've seen this many times, but it still makes me proud that my first attempt destroyed nothing. So here is the final result:
I know it has nothing to do with the gameboy mod but i got bored not being able to open the gameboy and just wanted to something else.
-
Re: GameBoy as external HDD
Love the idea dude. I'll be watching this one
-
Re: GameBoy as external HDD
Yea, Nintendo and their weird screws :)
Oh, and I love that mod idea. And your speakers, cause I got the same sub :) which model from Logitech you have? I got the Z-340, and I love them :)
-
Re: GameBoy as external HDD
Thanks for your interest. I'm using a Logitech Z-640, but both rear speakers are broken. So it's only a 3.1 system. For 5.1 sound i use my medusa headset. But the Logitech system was great when it was complete.
-
To solve the screw problem i bought this nice little thing at the hardware store today.
But to open the last two screws on the gameboy i had to drill their holes a bit bigger, which caused them to burst. But thats not a big problem, because i can't use the screws to close the case when it is done, because i have to remove the screw-housings to have enough space for the HDD.
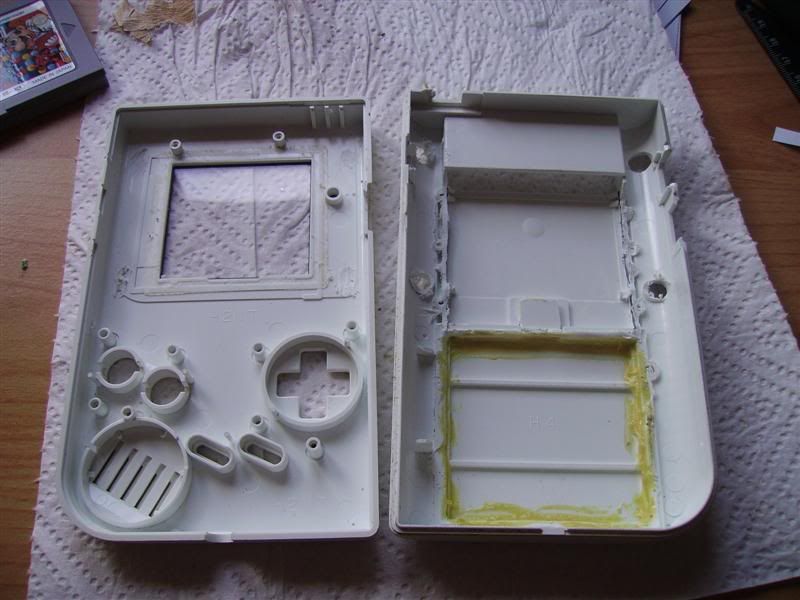
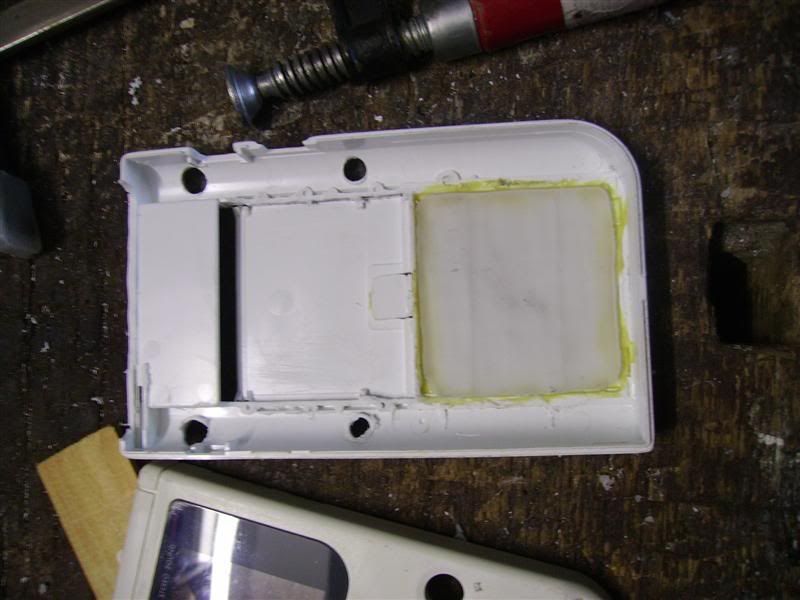
The i removed the inner parts and cleaned the case.
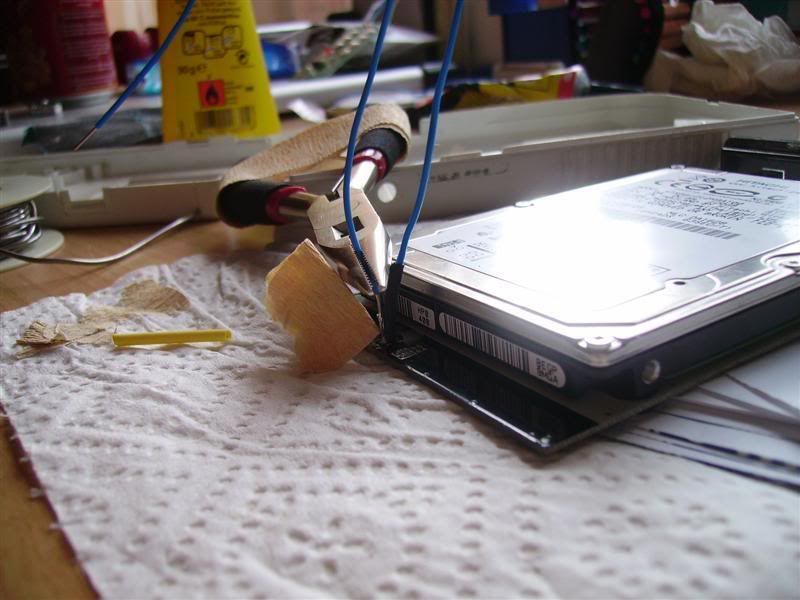
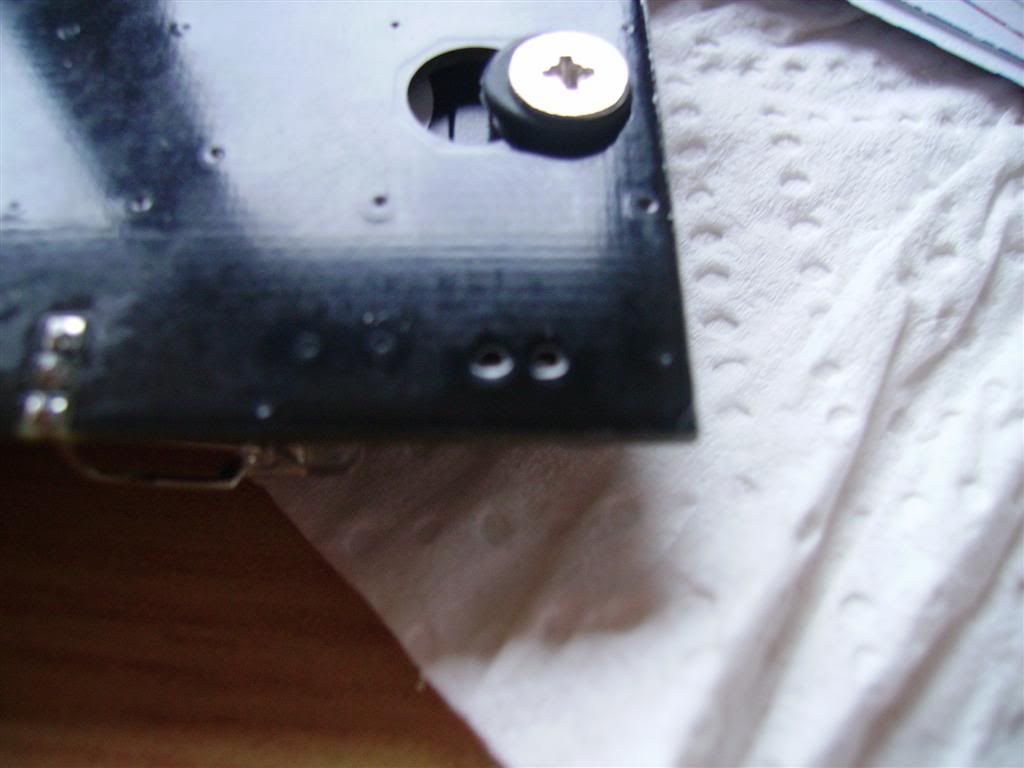
I tried to keep some parts of the 'mainbord', where the button-controls are. To get these parts i drilled some holes around the area i wanted to keep and cute the rest with pincers. The i drilled small holes in the connection points and soldered wires to them. Sorry for the bad picture but my camera couldn't get it any better.
Then i removed the battery-part of the case and glued the backplate in place. I will remove the rest of the unnecessary plastic tomorrow.
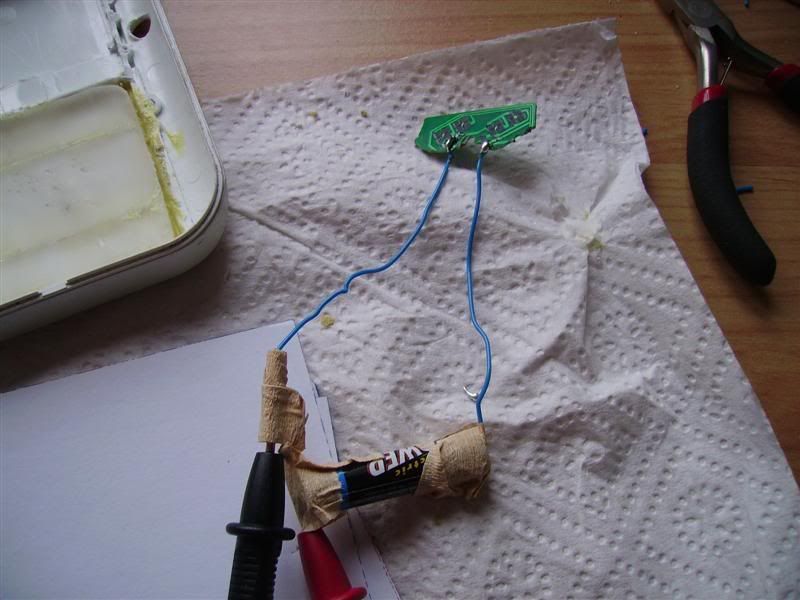
Also i tried to do some work on the remote control but the force wasn't with me. I soldered the unneeded wires out and attached new ones to the right places. It worked for one single time. But when i try it now, it won't work at all. It gets power and doesn't look damaged, but the led won't light up.
Maybe i will find the reason for this behavior later this evening.
I also ordered a 120 GB HDD and an external case today. Hope the things will arrive on wednesday.
This does not realy belong in the idea section any more. Would be nice, If some of the mod's or admins could move it. Thanks.
-
Re: GameBoy as external HDD
Moved to the works in progress forum.
Looks good though!
-
Re: GameBoy as external HDD
HAHA sweet. god i have tons of gameboys laying about.. would never thought of putting a hard drive into one tho,
great idea, cant wait to see the finished product :D
-
Re: GameBoy as external HDD
this idea is awesome, poorly I throw my gameboy in the bin :( you could make the original start button as the power switch, would also be a killer idea ;)
keep it up und grüße aus brühl^^
-
Re: GameBoy as external HDD
Quote:
Originally Posted by
FrooP

this idea is awesome, poorly I throw my gameboy in the bin :( you could make the original start button as the power switch, would also be a killer idea ;)
keep it up und grüße aus brühl^^
Grüße zurück nach Brühl^^. I want to use the original on/off switch as a power button for the HDD.
I soldered it out of the board and connected the two pins which represent the same pole.
Test inside the case.
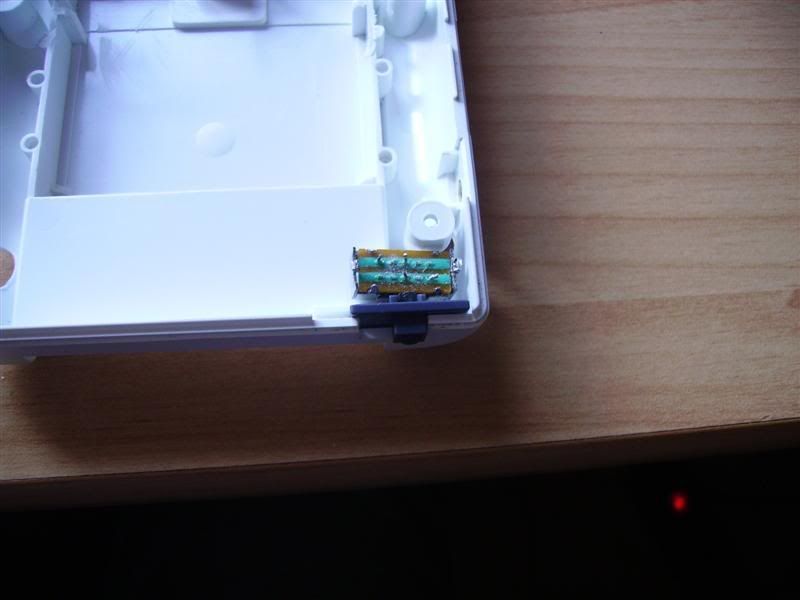
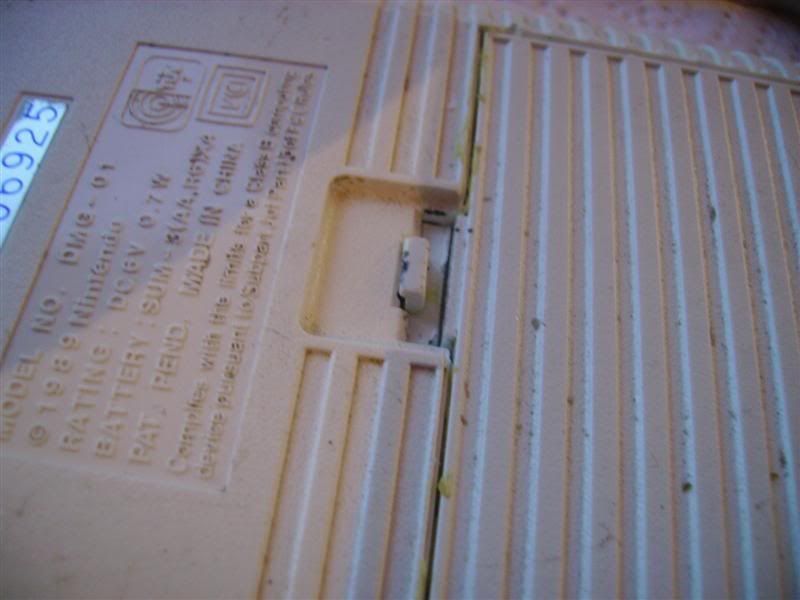
After gluing the backplate back into place i removed the flip thing to open it. But it looked really bad from the rear so i decided to make something simulating this flip thing. I cut out a small piece of the white battery case plastic and fitted it to the gap. Then i cut the top part of the flip thing and glued it to the little piece of plastic. After that both parts are being glued to the case.
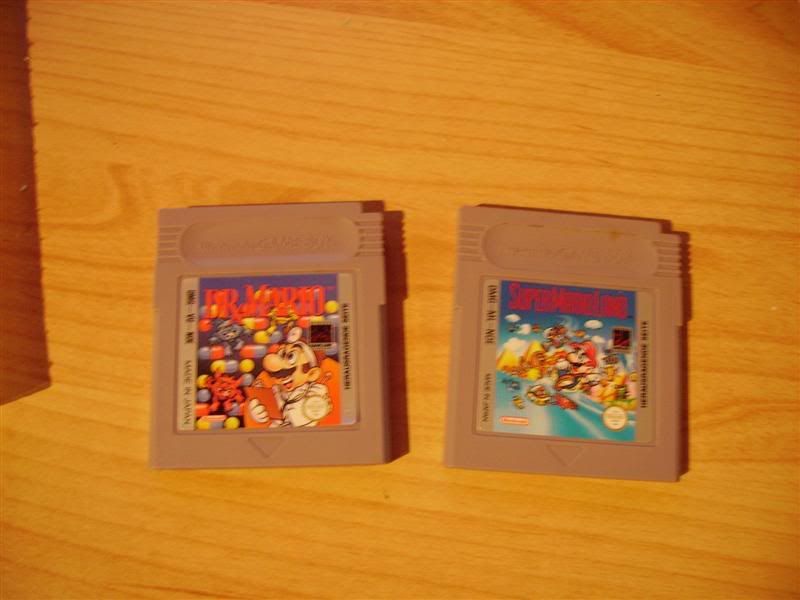
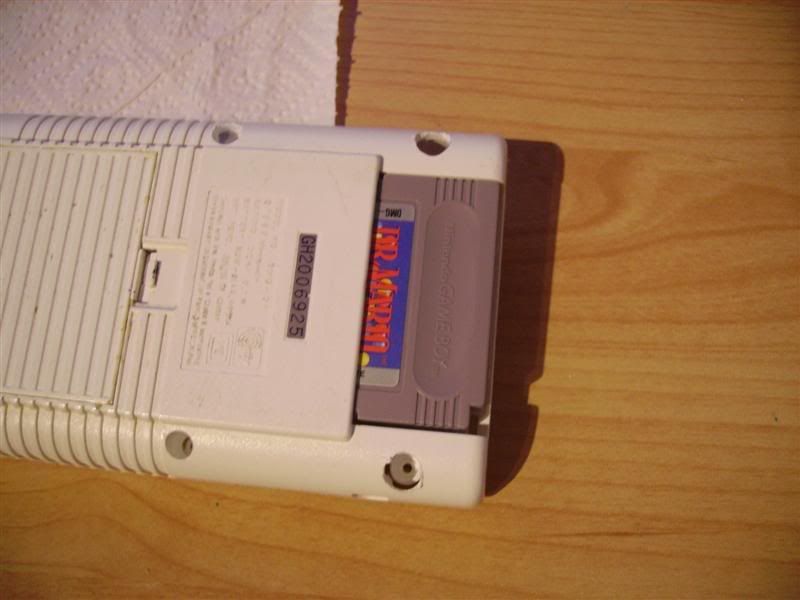
You know this really big gap between the top and bottom part of the case, where the game is inserted? I decided to create a nice vent in that place. So i searched for old games and found these two ones. I wanted one with Mario, because it was the first game i ever played with a gameboy. I also found Super Mario Land 2 but i will go with part one, if i do so.
Don't sure which one i will pick. Super Mario would be nice, because it's a classic. But i don't want to destroy the cartridge. And you won't see much of the cartridge at all.
I will just open the Dr. Mario game to see whats inside and how i can make a nice vent out of it.
-
Re: GameBoy as external HDD
Quote:
Originally Posted by
doesi87
I will solder some cables to the marked points and connect them to a test switch to be sure it will work. There is just one problem. The remote uses one on and one off switch for each channel. But i want to have an on/off switch. Not sure how to make that, but it is still time to solve that little problem.
from my own experience if you have the butten pressed constantly (which you will with a switch, and assuming you leave the switch on) then it will drain the battery. this happened to me twice with my tv remote. i jammed it (not hard) in between my bed and wall and within 4 days it was dead. it took 2 sets of batteies for me to figure why it was doing that.
-
Re: GameBoy as external HDD
Quote:
Originally Posted by
Spawn-Inc
from my own experience if you have the butten pressed constantly (which you will with a switch, and assuming you leave the switch on) then it will drain the battery. this happened to me twice with my tv remote. i jammed it (not hard) in between my bed and wall and within 4 days it was dead. it took 2 sets of batteies for me to figure why it was doing that.
Yeah, that would have been a problem. But i hope to get the original A and B buttons to work as the on and off buttons. If it works it will avoid this problem and look really nice.
I opened the game cartridge to check if it will work. To my mind it will, so now i have to decide which type of vent i want. I might just go with holes. Will plan that later this evening or tomorrow.
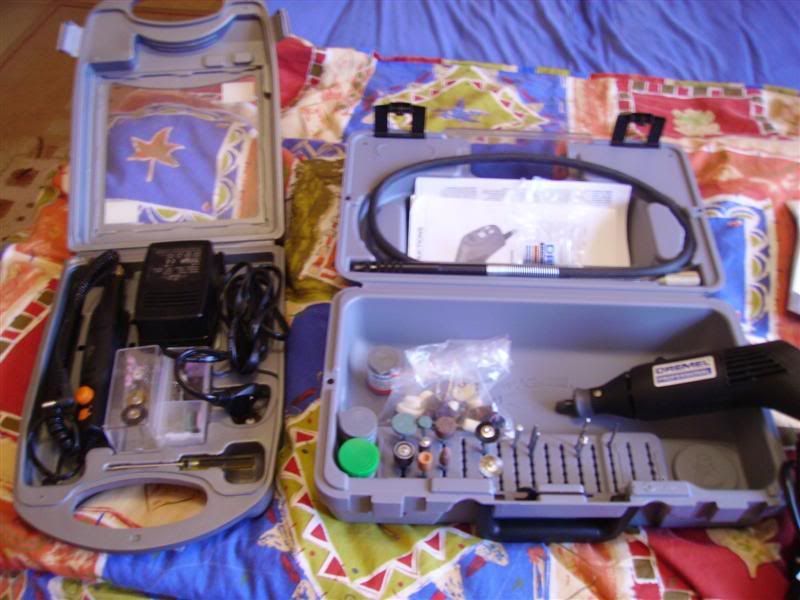
Before telling you about the other work I've done i must tell you a little story. I owned this cheap kind of a Dremel for 30 €. It was a bit annoying to use but it worked. But when i tried to work on the case of the gameboy today something weired and frightening happened. The bit decided to leave the locking mechanism while working and drilled about 2 mm deep into the working bench. This frightened me a bit, so i decided to go and by a real Dremel ( wanted to have one for about 2 years). I got this nice little toy here
On the left is my old one which is in the bin now.
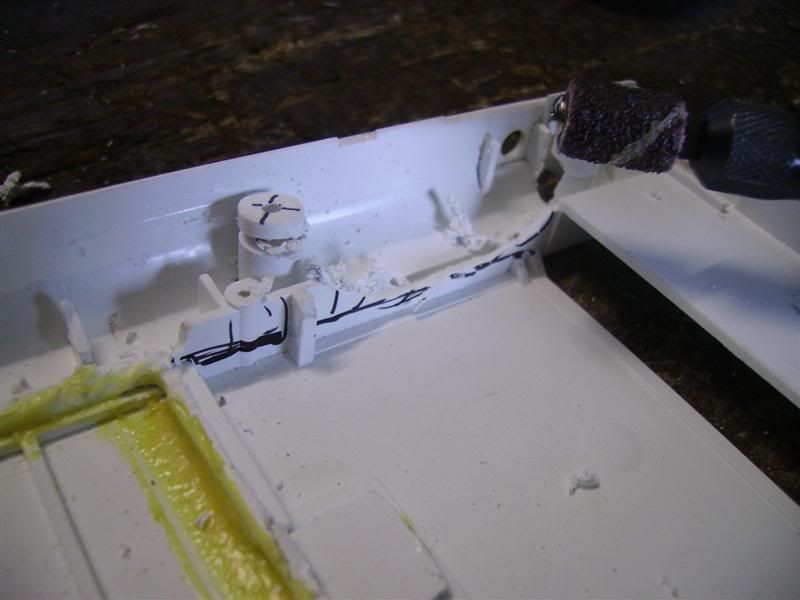
So with being well equipped for now i started working on the case again. I removed the unnecessary plastic to fit the HDD.
Hopefully the HDD and the external case will arrive tomorrow so i can start planing where to put everything.
-
Re: GameBoy as external HDD
Nice man, old school idea here +rep
-
Re: GameBoy as external HDD
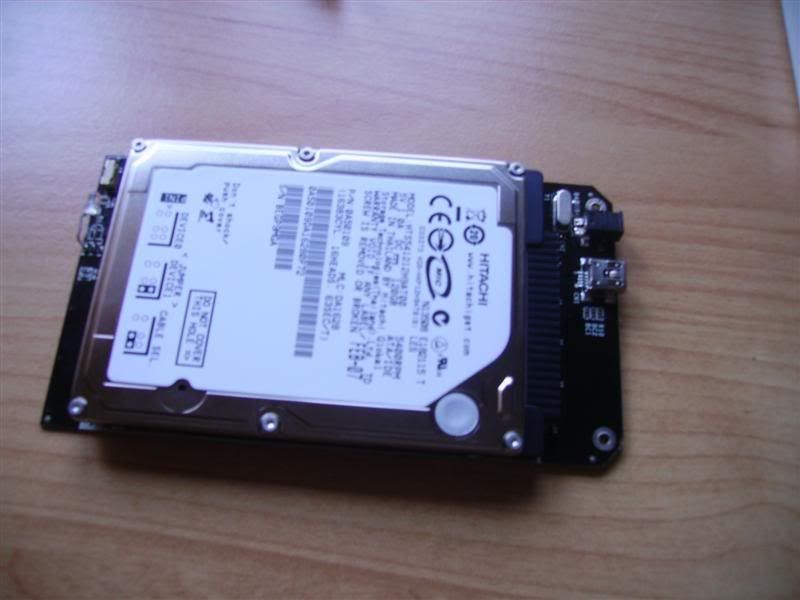
The HDD and the external case arrived today. So i started fitting it into the gameboy. Sadly i can't keep the original on/off switch because it won't fit.
I made a hole for the slot and fitted it.
After that i made a piece of plexi to attach the board and HDD at a straight level. The plexi was then glued in place.
After that i made a little piece of plexi to secure the board in its place. The piece is screwed to the bigger plexi with the weired screws from the gameboy case. They fit m2 holes, so i could screw them into the plexi.
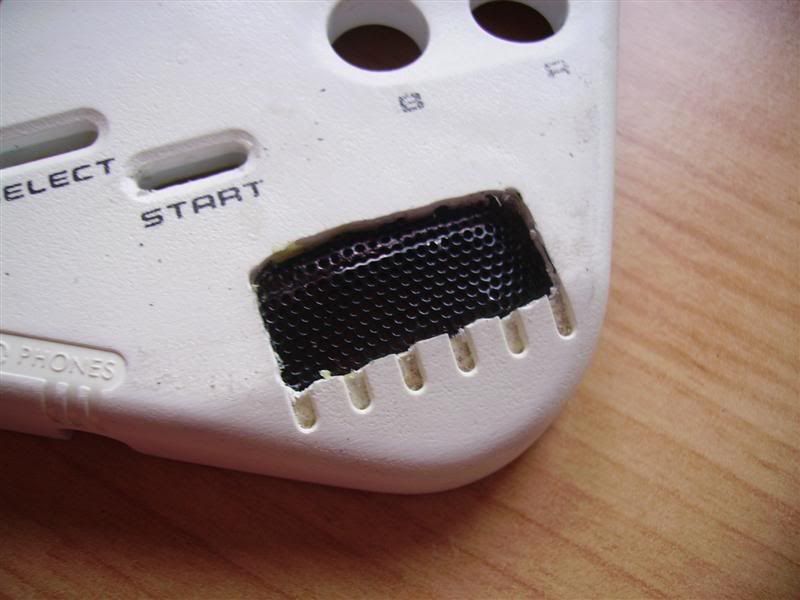
Then i wanted to make the vent in the gameboy bigger, because they were really small. But i made something totally wrong in this part. So i had to remove the complete vent section. I glued some plexi to it. It does not look this great but i will slope the edges to make it look a lot better. Maybe i can illuminate it with power from the status led. Have to see how it will look if two leds are connected to it.
To board has a status led with two colors. It is blue in idle mode and red when there is HDD activity. Like this LED so i will keep it. It will be placed where the battery led is in an original gameboy. I parted the LED from the board and soldered wires to it, so i can move into the right place. I will glue it into place when most of the mod is finished.
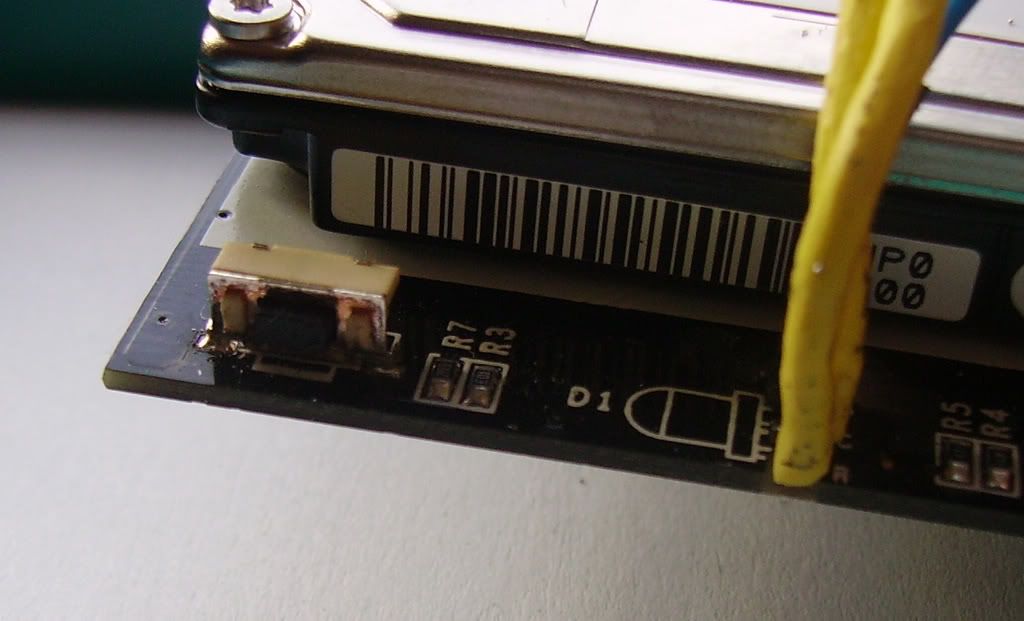
The HDD has a one button backup function which is nice because it will work as a backup disk. Not sure about the software but i want to keep the functionality. So i decided to move the backup button to the original start button. (Nice idea from FrooP) I prepared the start button with wires and tested it. Worked nice.
There's just one little problem about it. I have no idea on how to remove the button from the board. Hope you can help me with that. So here some pics:
I'm a little bit afraid of damaging the whole thing, especially after destroying the remote. So please give me some advice on how to get this thing of.
-
Re: GameBoy as external HDD
SUUUUUUUUUUH-WEEEEEEET
i want one.
-
Re: GameBoy as external HDD
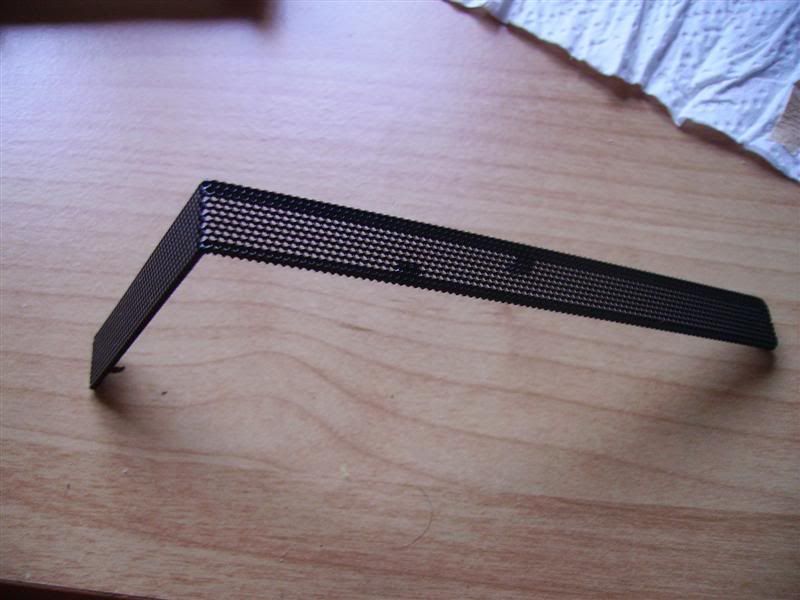
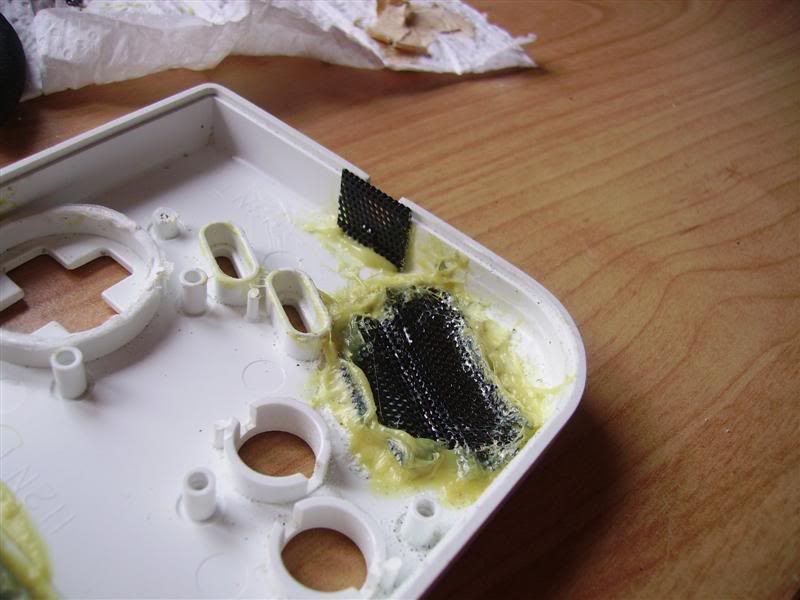
I removed the plexi I added to the vents and used some mesh from the external enclosure. It does not look that nice but I'll go with it, because it's way better than the plexi. So here are some pics about the process:
The mesh:
Making a plexi pattern for bending the mesh into shape:
Mesh from both sides:
I will flatten the edges around the mesh later today to make it look a lot better.
Also I covered the original speaker hole with some of the mesh. I will continue this with the other holes in the case I don't need anymore. Hope they'll give a little ventilation, so disk won't become to hot. Look on the last picture to see the hole. It's right in the middle.
Since I won't be able to use the original screws to mount the case back together, I decided to make a support form this plastic to screw the case together. Can't really explain this in English, so I will post some pics when I did it.
-
Re: GameBoy as external HDD
Argh! It was all going so well! The mesh needs a bit of work dude. It's a real shame because this was looking absolutely great up till that point. :(
I think if you took the mesh out and made the hole bigger, it would make it much easier to work with and you could get it to sit better. Plus, the way you can still see 'bits' of the original speaker grill sort of ruins the effect.
Don't take it the wrong way, you do what you like-but constructive criticism is what you're here for, right? :p
-Dave
-
Re: GameBoy as external HDD
hm guess your right about that. constructive criticism is the most important thing for me right now, because I don't know that much about modding. I will do some photoshop work to design a nice vent and post it here before I go on. But I'll have to buy some bigger mesh then, because the one I'm using right now won't be enough. Will look around to found some nice mesh on Saturday.
-
Re: GameBoy as external HDD
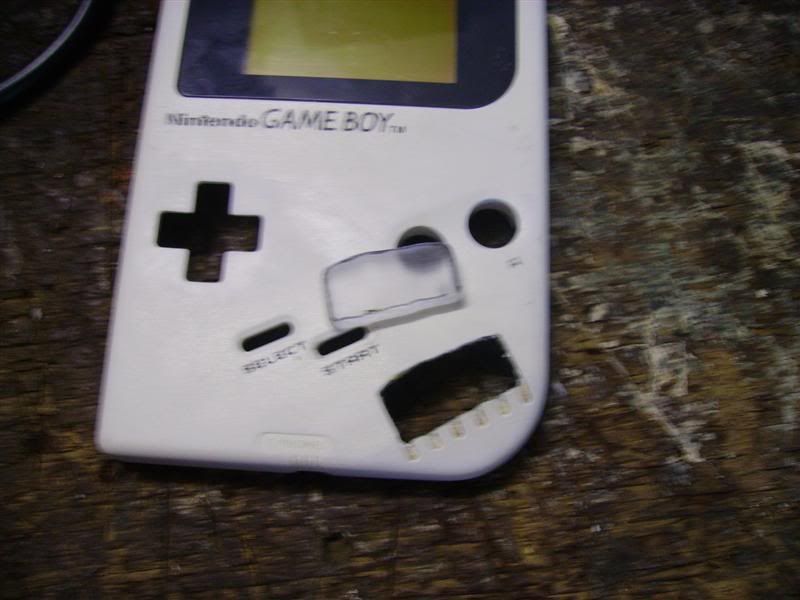
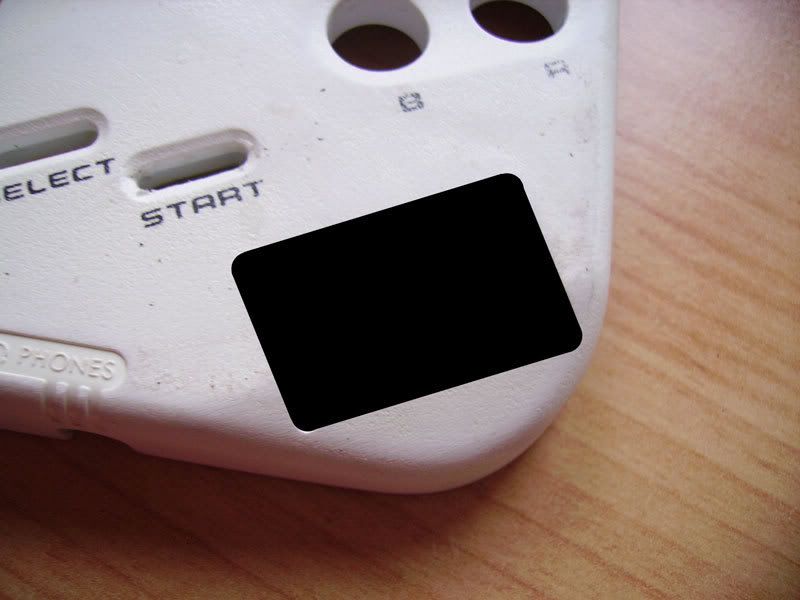
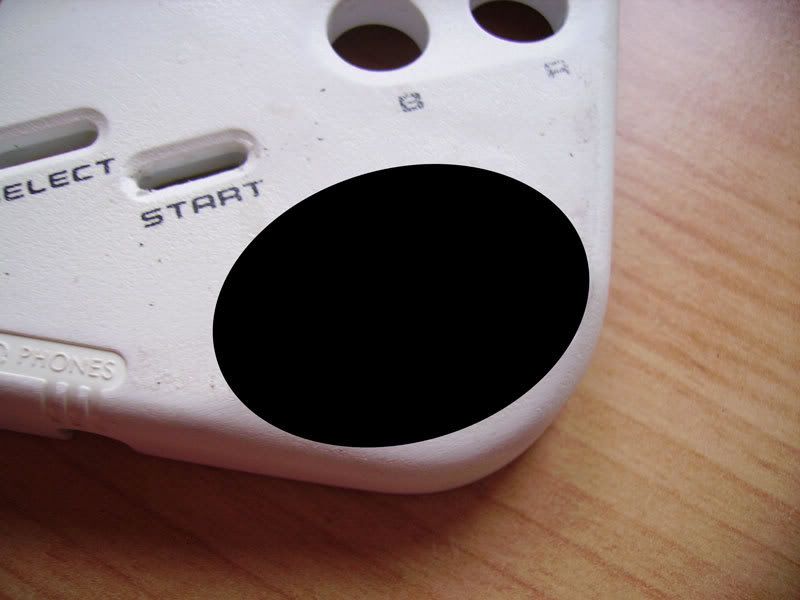
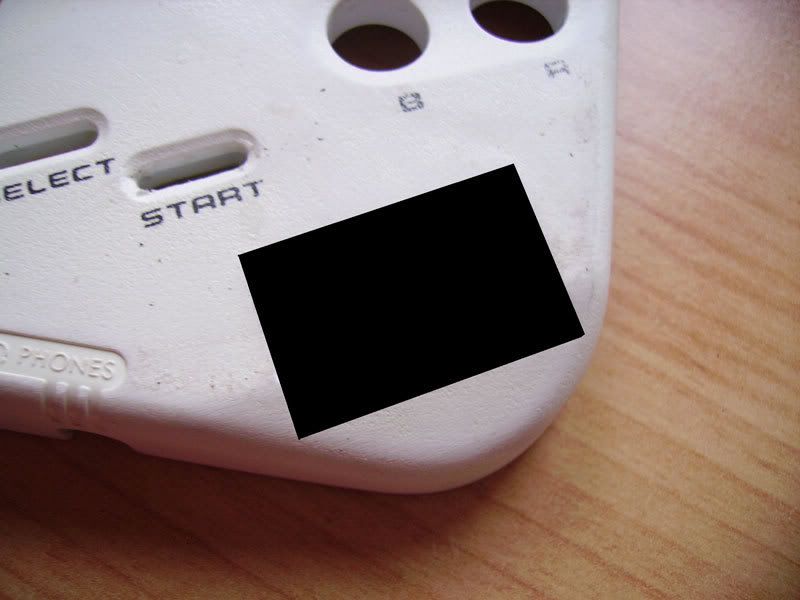
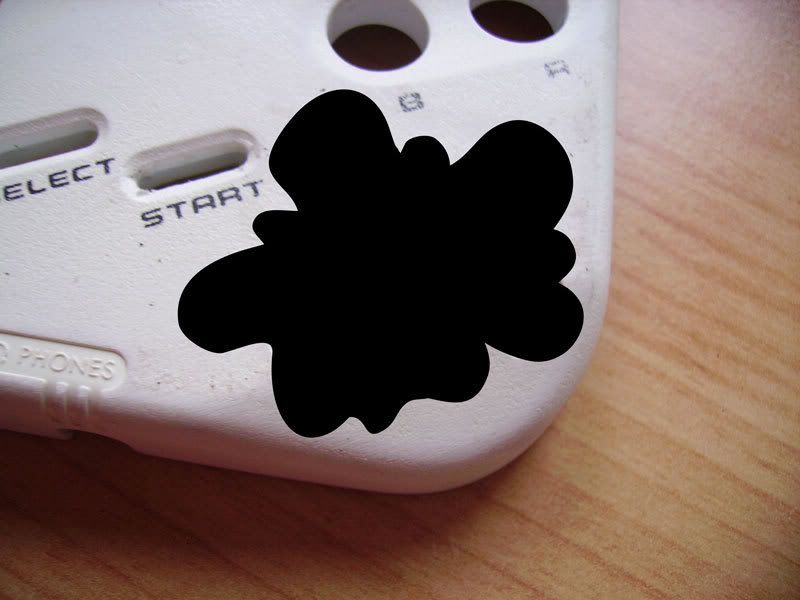
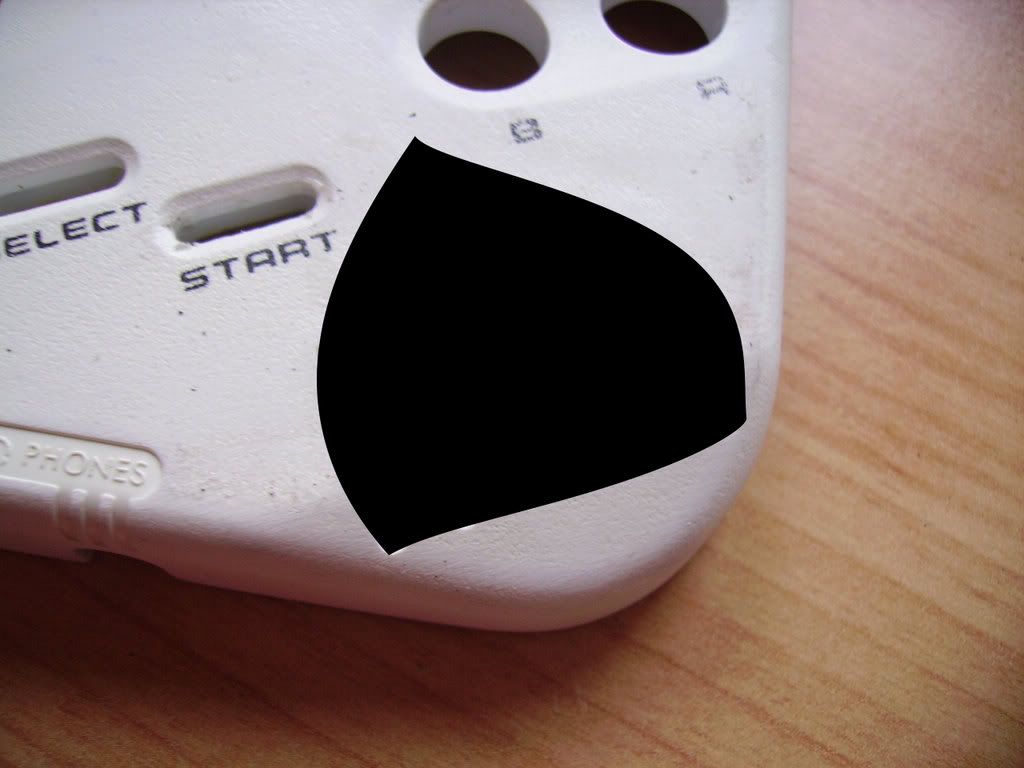
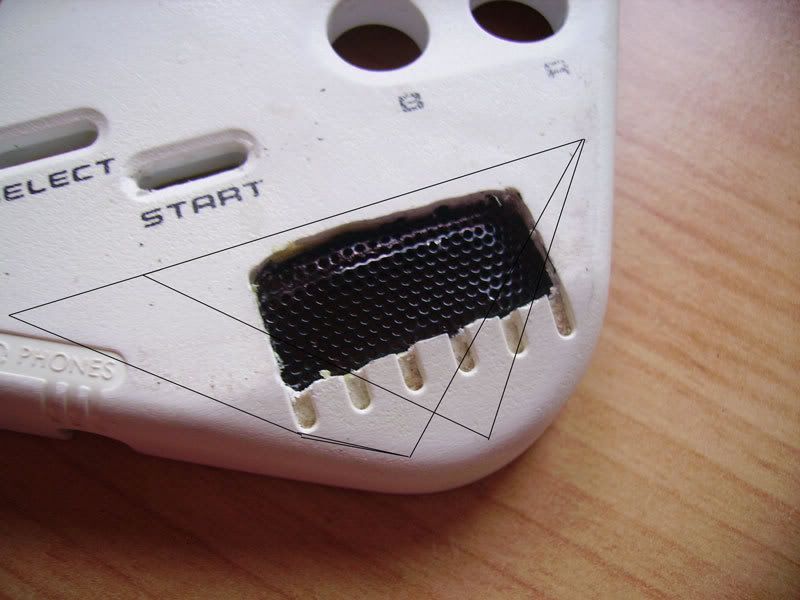
I went to photoshop and created some patterns. Please tell me about what you think about them. Personally i like the last one most but I'm not sure about cutting it out. Will try this on spare material first. So please leave whatever comes to you mind about this.
1.:
2.:
3.:
4.:
-
Re: GameBoy as external HDD
What about a Triangle? I think that could sit quite nicely.
-Dave
-
Re: GameBoy as external HDD
I can't fit a real triangle in there. I would be to big and overlap the buttons. This is the nearest it can be
-
Re: GameBoy as external HDD
I meant the other way around, so the hypotenuse faces top-left and the right angle points towards the corner.
-Dave
-
Re: GameBoy as external HDD
I would look nice, but I don't see a way to fit it. One side of the old vent will be seen. Please correct me if I'm just to blind to see what you mean. I really appreciate that you care about this.
-
Re: GameBoy as external HDD
Hmm, you have a point...you could round the corner, and get it right in to the edge, but the hypotenuse will go over your original cuts unless maybe you arc it outwards-which might not look so bad.
-Dave
-
Re: GameBoy as external HDD
Why not clean up the edges around the hole you made, then take some body filler and fill in those speaker grooves.
Quick trip the hardware store should do it. Grab some sandpaper and one of those small tubes of body filler and voila, beauty. But off course, you will have to paint the gameboy so the body filler doesn't stand out. But you should be doing that anyways imo. Even if you keep the original color, it would look really nice with a fresh coat.
Another option would be to just fill up the entire hole along with the grooves. It would be like, the speaker was never there. ^_^
Hope that helps :)
-
Re: GameBoy as external HDD
Thanks to both of you guys. Don't have the possibility to do something tomorrow, so I will just do some planing about the triangle. I will try to round the edges and the hypotenuse to fit it and maybe make a model of it to see what it looks like. If it won't fit or I don't like it at all I will go with the filling method. Never done this before but read much about it around here. But one question: Could I fill the hole and then cut out some vents in a shape I want them or should I better not cut the filled area?
And yes I will give it a paint. Not sure about the colour yet. Maybe classic white or silver with black to fit the overall scheme at my desk. Have to think about it.
-
Re: GameBoy as external HDD
You should be able to cut the filled area no problems. Good luck dude! :D
-Dave
-
Re: GameBoy as external HDD
I agree with dave, the old plastic speaker grill has to go:). How about a semi-circle with a concave edge facing towards the buttons..if that makes sense.. Or a convex- making it almost a diamond but with surved horizontal edges. If you could only read my mind...
Are you looking for a true shape (ie. square triangle etc) or curl and cut around the buttons, leaving them and their surroundings intact but cut around. I dont know if the semi-circle will work but I personally like the curved diamond idea.. hope it helps!
-
Re: GameBoy as external HDD
Okay will go to the hardware store tomorrow and get some filler. The old vent will go away and I will make something nice. Not sure about the shape jet. I will try to make something with Kristofisis idea. But I'm not sure I totally got it. Will post some pictures later this evening or tomorrow. Thanks for all your help guys.
-
Re: GameBoy as external HDD
You might want to try clamping it down before you use the dremel to cut something out.
Also resting your hand on something helps to keep the cut straight, and Marking the selected area.
Other than that it looks really good! Just cut it out bigger. And a Hot Glue Gun would be better IMO
-
Re: GameBoy as external HDD
im loving this its an awsome idea cant wait to see it finshed.
also what are you gonna do with the screen? it might be a cool idea to get an old screen shot of super mario land or something and get it printed on a decent martrile then put it where the screen is? just an idea.
-
Re: GameBoy as external HDD
I bought some filler today. Will work with it later this evening. Also bought some little clamps to hold the gameboy while working. There were only these huge things around which won't work with the little gameboy. Haven't decided about a color yet. Maybe white, maybe silver and black. I will post some pics about it later this evening or tomorrow. Also got some mesh. It's made to protect trees from animals but it looks nice and was really cheap, 100*20 cm for 3,75 €.
This is what I got done since the last update:
First I made a construction to keep the two parts of the case together. It's just a little piece of plexi with to screws.
Then I made the game cartridge I want to use as a vent under the controller board. I drilled several holes into the front and the top and also removed some plastic inside the cartridge.
After that I covered the remaining holes in the case with mesh. They will also be vents to give the thing a little air. Hope there will be enough cool air to cool the HDD, but since it is a notebook HDD I guess it will be enough.
See you later for the hole/filling/vent problem.
-
Re: GameBoy as external HDD
Very cool project.
-Cool-
-
Re: GameBoy as external HDD
-
Re: GameBoy as external HDD
Hey thanks, glad you guys like it.
Sorry I couldn't make it yesterday evening but I had some serious trouble with the filler. I can't describe how it smells. So I had to move it around the house into the garage and had to protect it from being moved or covered by the rest of my family. Man did I mention the smell? I can even smell it now and it has been in this room since yesterday evening and the window was open. But okay it's not really important. So finally I got most of the hole covered with the filler. It came in two parts, one for bigger holes with textile parts to cover huge gabs and artificial resin to cover it. The second part is finer material to be on the top. I did everything it said on the packing and brought it onto the gameboy.
The Filler
Making the first layer with the resin
Mixing the filler
Filler attached to the hole
After it dried I sanded it down to a nice surface.
But there is one little gab remaining. This morning I filled it but it still has to dry, so no picture of the final surface yet. Here it is filled but not sanded.
-
Re: GameBoy as external HDD
Nice work; cant wait till it is finished
-
Re: GameBoy as external HDD
Thanks ChevronX, glad you like it.
Here is the gameboy with the gab filled and sanded down.
I really like the result and want to thank you all for making me to do this and not stick with the old vent cut. It's much better now. But I'm not sure about the vent I want at all. Pending from no vent to the crazy shape shown early or the triangle ideas. Will do some more planing today to get a better idea of this. I may go with this one, but not sure right now.
But while thinking about the vent I did some work on the remaining holes in the case. I attached mesh to most of them. I put the smaller mesh on the sides and the new bigger one on the bottom holes. There is just one hole on the side which I have to work on, but I have enough small mesh left for this.
But I think I will have to make another support like the one below to close the case properly.
I attached everything and screwed all screws in, but there was a little gap on the left top corner. But I will do something about this.