wow, this project is really turning out! can't wait to see the final project. +sub

Printable View
wow, this project is really turning out! can't wait to see the final project. +sub
Now that it's coming together, this is one mean lookin' mod. I love it!
Quote:
Originally Posted by FuzzyPlushroom
Mmmmm...I dunno. Little this. Little that.
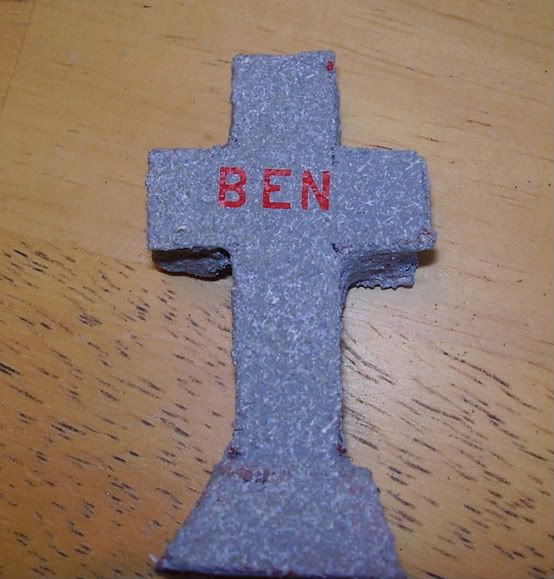
I'm gonna make one for each member of "the family."
Also, I painted the wood slats and such and dry-fitted them:
My original plan had been to stain the wood, however, that changed as I moved along. As the project came together, it developed almost a cartoonish, satire feel. Therefor, I decided to stick with the same color as the trim and foster that feel because that really fits.
Just a little update for y'all.
Looking good. I thing you made the right choice on the wood, staining it wouldn't have fit in with the rest of it. As a side note your build inspired me to rent Night of the Living Dead and watch it again.
Quote:
Originally Posted by mittelmeier
Well, then I've succeeded in the point of a tribute. Thanks for stopping by!
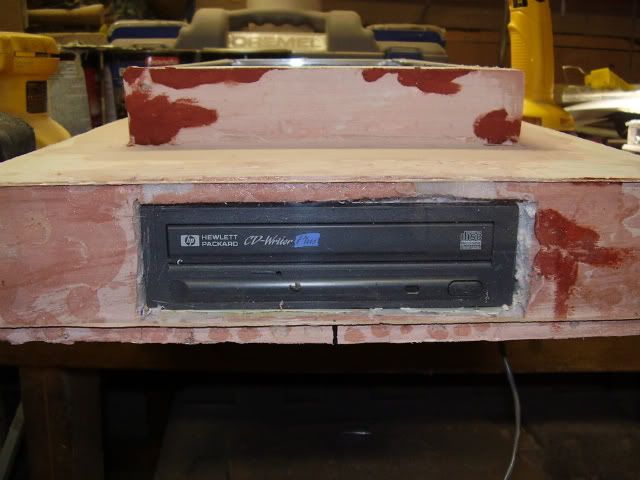
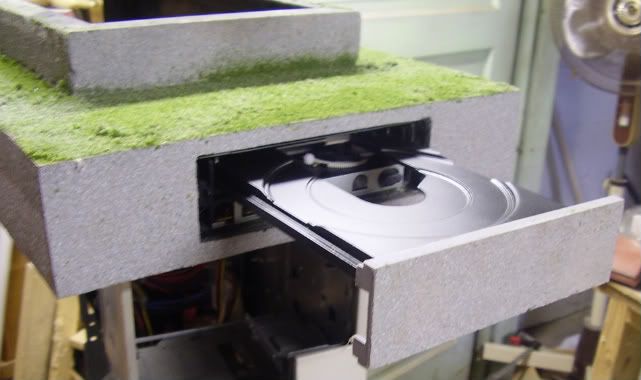
Today's update brings us a steathed optical drive. I love these things. On most cases, they are a very simple mod and they add a really cool look to the case. In this instance, it involved a lot more fabrication because I didn't have a ready-made 5.25 bay. I still think that it turned out well.
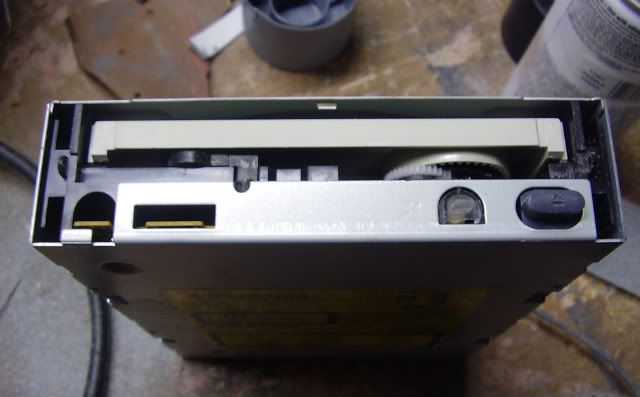
As we see in a test fit from a few days back, I'm using a spare HP CD-RW drive. I chose this because it was the best spare one that I had laying around, and it isn't going to be the primary drive. My DVD drive is going to be going in the main part of the case where one would normally find it. This one is going to mainly be a back up drive for when I am ripping CDs or what not.
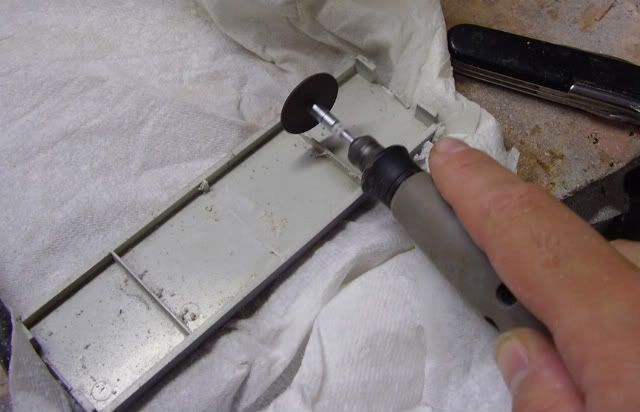
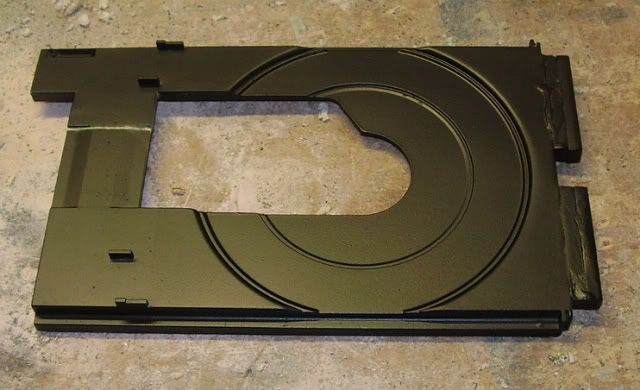
The first step was to remove all of the stuff that I wasn't going to need off the front of the drive. This included the face and the flip-down tray face.
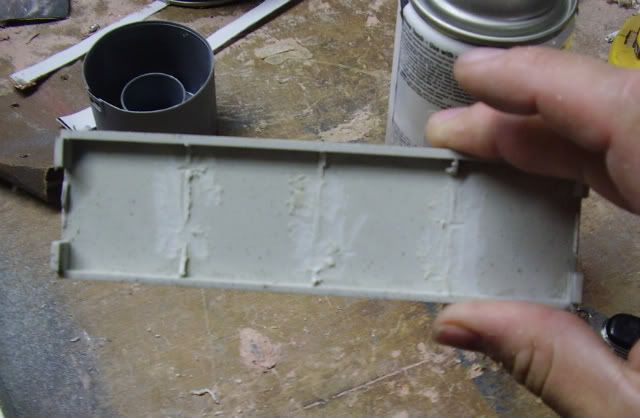
To make the new face, I just used a blank drive cover that you have seen in a number of other pics in this log. It has been painted the same stone texture as the base and the tombstones. The back had some ridges that needed to be cleaned off so that it would sit right.
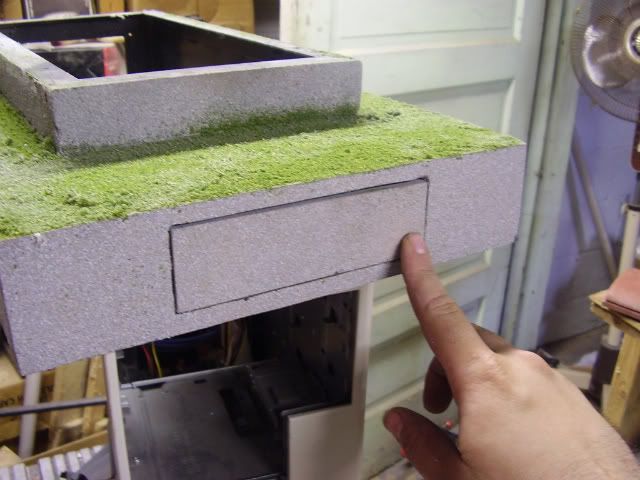
Once this was done, I used some scraps of plexi to make the spacers on the front of the tray. These off-set the face enough that it doesn't rest right on the open/close button. Another scrap of 1/8 plexi makes the touch spot perfectly spaced.
Since the tray itself was the ugly PC Beige, I pulled it out and primed/painted it.
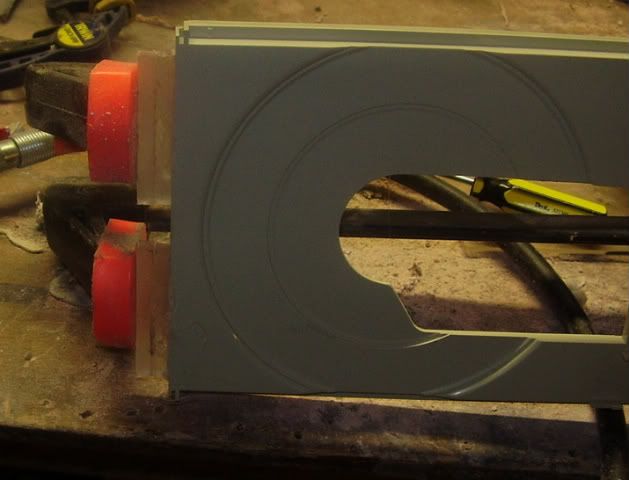
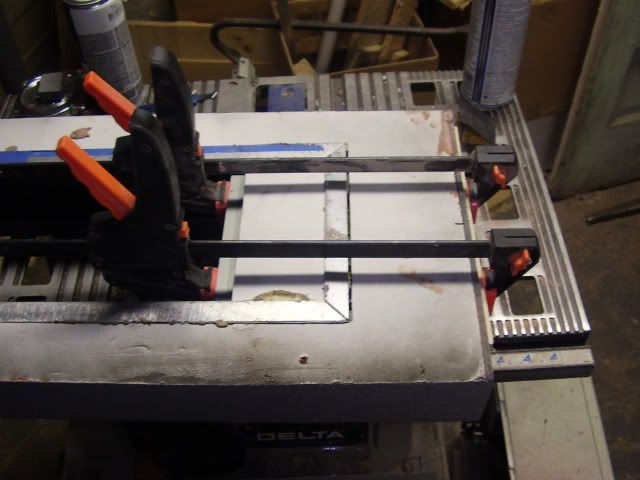
Here, the drive is fitted back in to the base and recessed. (Note: Yes, the base is currently upside down.)
Next was the simple matter of putting some plastic cement in the right spots and applying pressure.
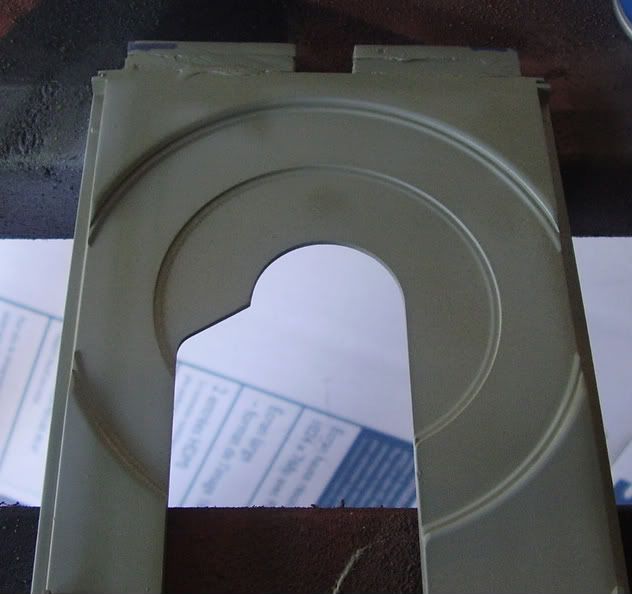
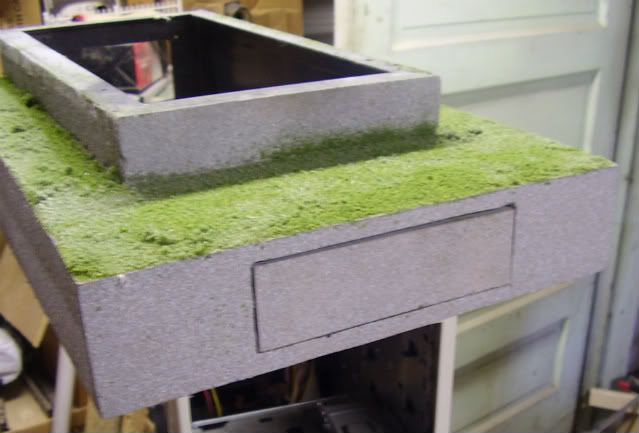
The end result: A graveyard wall stealth drive.
Now, I'm off to the store for some more paint. I'll check back in later.
coool nice work
Thanks, buddy. Hang ten, and I'll have another update up. (I've been busy today.)Quote:
Originally Posted by DonT-FeaR
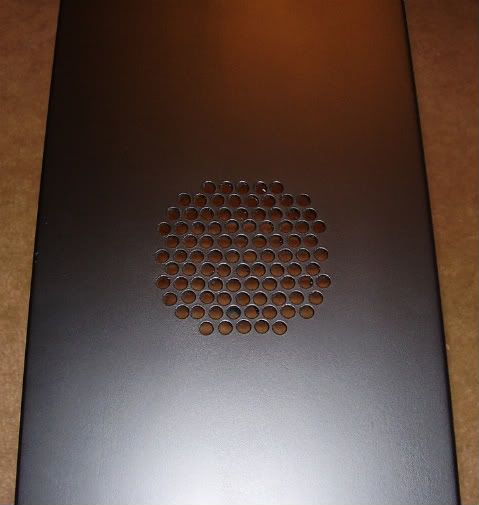
Back from getting paint. I have, once again, redone the top and........success. I may be picky, but I get results.
Now, isn't that nice?
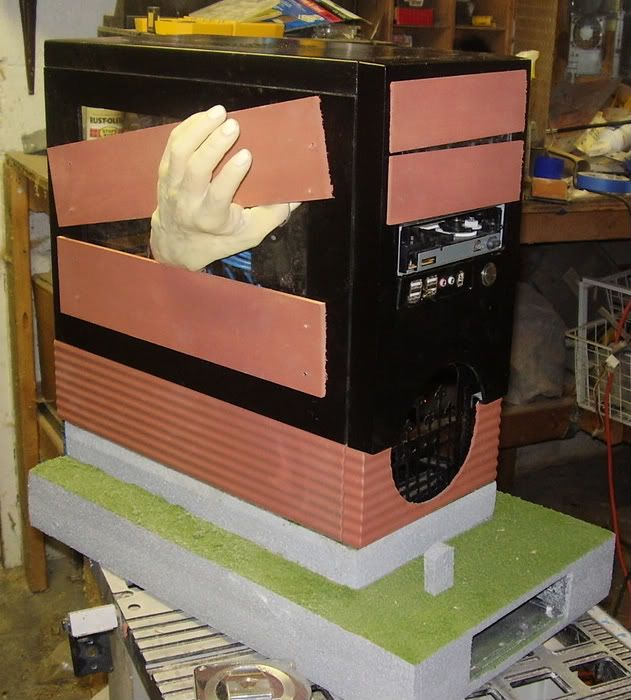
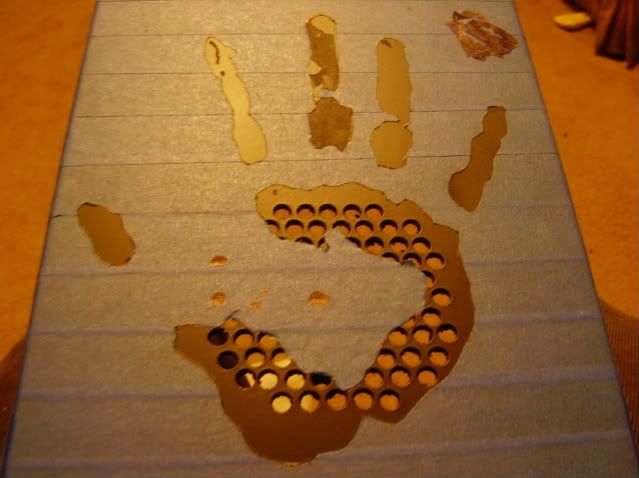
Okay, now the next step: A nice, bloody, zombie hand print. This will go over the vent holes (which will have a red LED fan beneath it) like so:
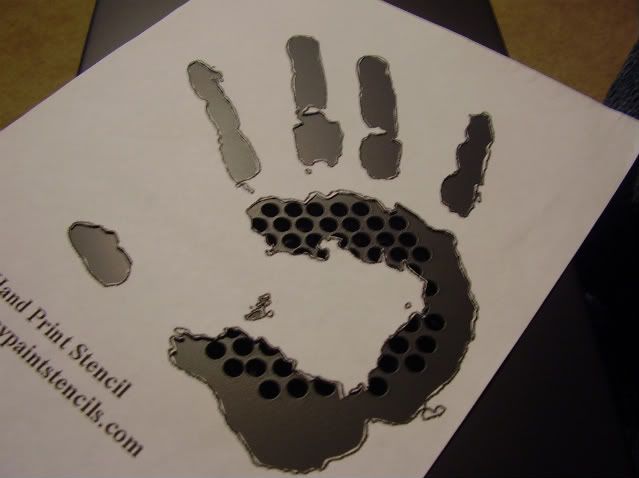
The way that I like to do stencils is to cover the painted object with tape and transfer. By doing this, I first of all save the stencil, but also guarantee that the stencil is fully adhered to the surface.
This may look messy, but it works well. I took a sharpie and went from the stencil to the tape. This keeps the stencil from shifting and gives a solid pattern. It works much better than tracing around the inside.
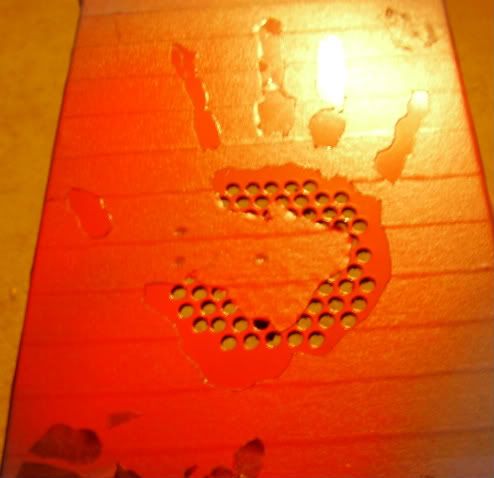
After it is transferred, some careful cutting gets you in business.
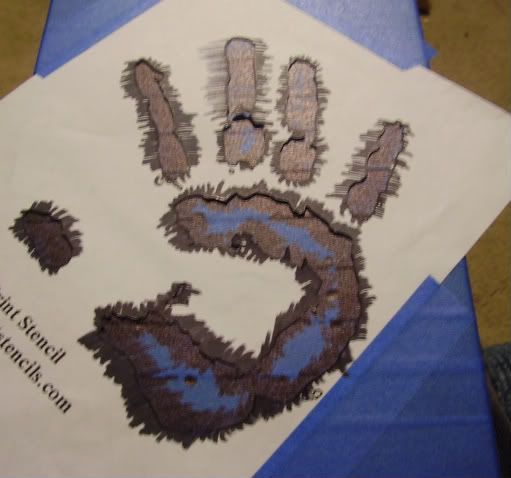
Now I am free to give it a shot of enamel.
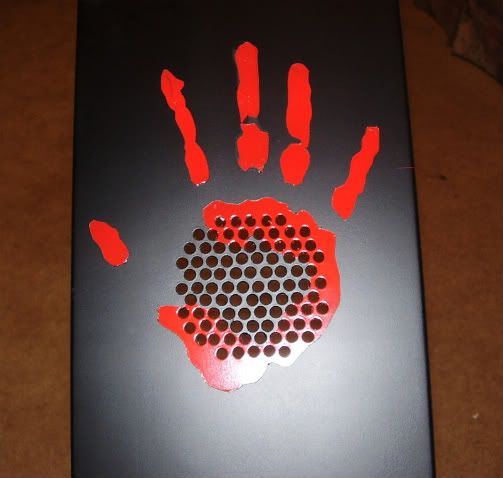
Two notes on the paint: One, I could have chosen something closer to the real color of blood – but again, I'm going for the cartoonish here. Two, I used enamel so that it will have more of a wet shine on the matte black finish.
After drying, here is what I have:
That's a sweet paint job.
nice work man