Re: Project : V for Vendetta
You know, looking at this, I was thinking it would be neat if you could somehow incorporate any of the signs/fliers from the movie with the V spray painted on them. The case itself, could be a wall/facade with the flyers and signs on there. Probably a bit late in the design process to be tossing that out, but yeah. The case just has a very futuristic industrial building feel to me. I can't wait to see this thing assembled.
Re: Project : V for Vendetta
Hi guys! With this whole week off from work I finally got my first full day in on "V" today. It wasn't as productive as I would have liked it to be, but I did manage to get some things accomplished.
Unfortunately as I've progressed further into the project and come closer to cutting the two side panels, I've come to the conclusion that my painstakingly handcrafted hinges are too bulky and will interfere too greatly with the view of the interior. :(
Which of course serves to further remind me that my next scratch-built project will consist of a more conventional shape.
It also means that I wasted A LOT of build time on something I'm not actually going to use. The resultant frustration is probably the reason I didn't get as much done today as I should have.:mad::redface::dead:
Anyhow ... on to the update.
Some people have said they wished they had my shop to work in, and I get the impression that they are overestimating the kind of tools I have at my disposal.
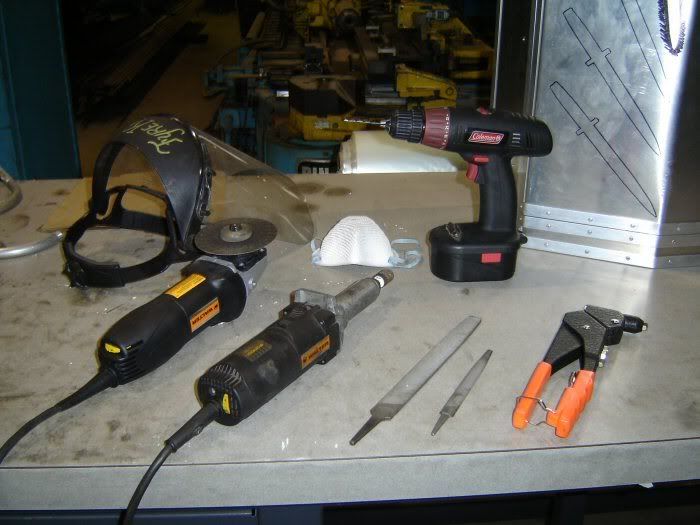
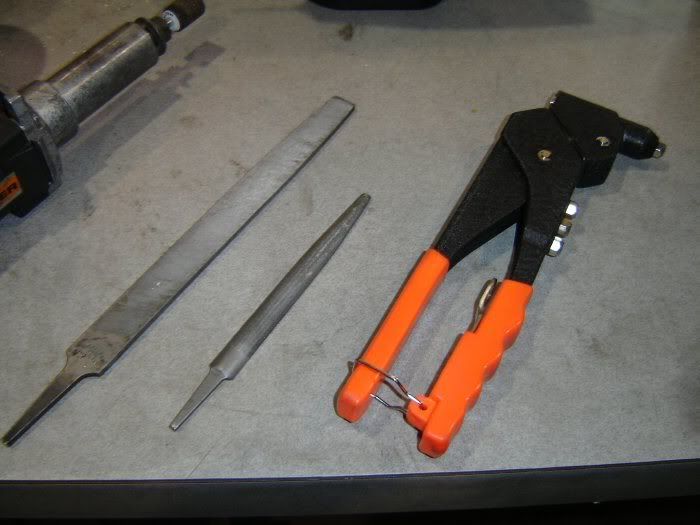
Sorry to disappoint, but for 95% of the work this is what I use...
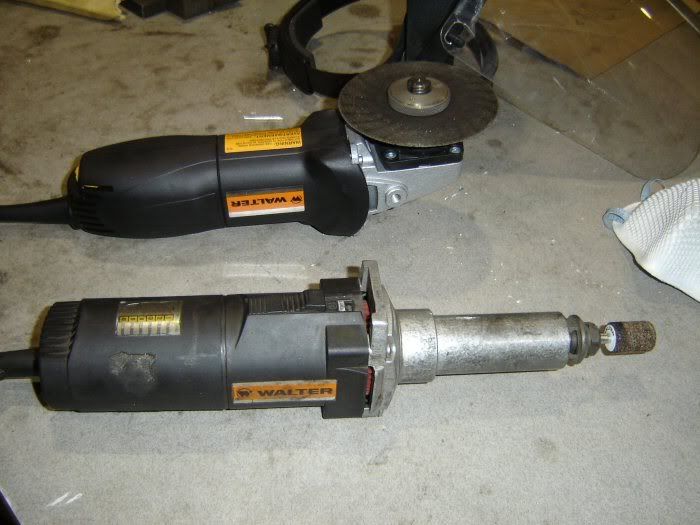
A cordless drill, a couple of files, an angle grinder, and a die grinder. I have various bits for the drill, cutting disks and sanding pads for the angle grinder, and cutting wheels, sanding(flap-wheels), and grinding stones for the die grinder. Of course there's also my trusty pop rivet tool. :)
I also have a band saw (made for cutting metal) which I've used to do some of the notching and angle cutting, and a drill press which I used to stack-drill the hinge plates.
The majority of the work is done manually.
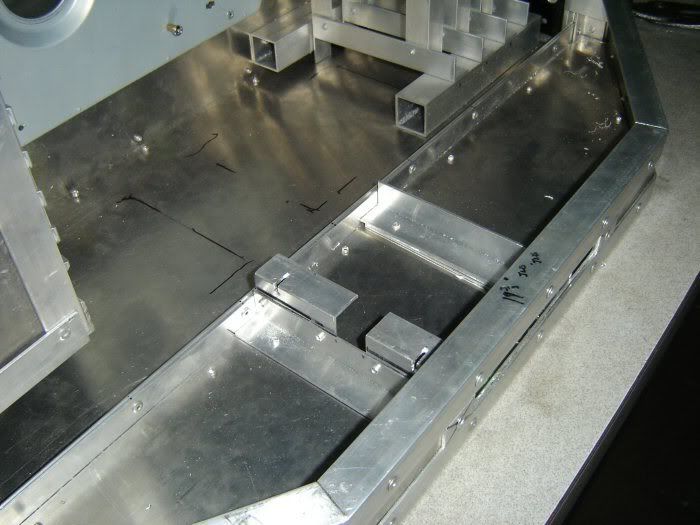
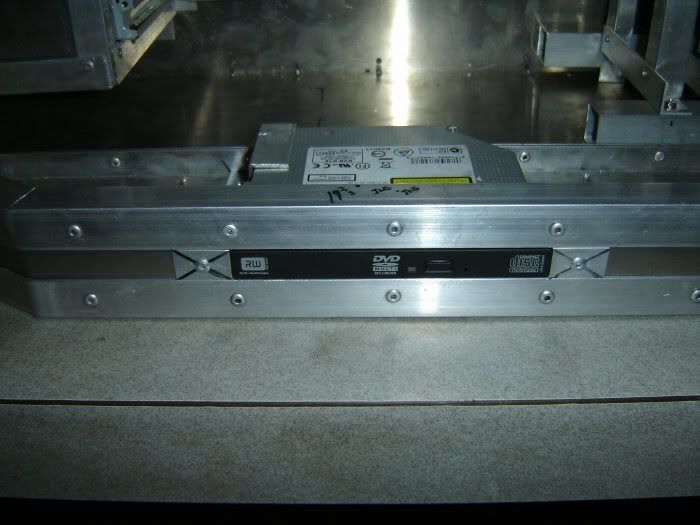
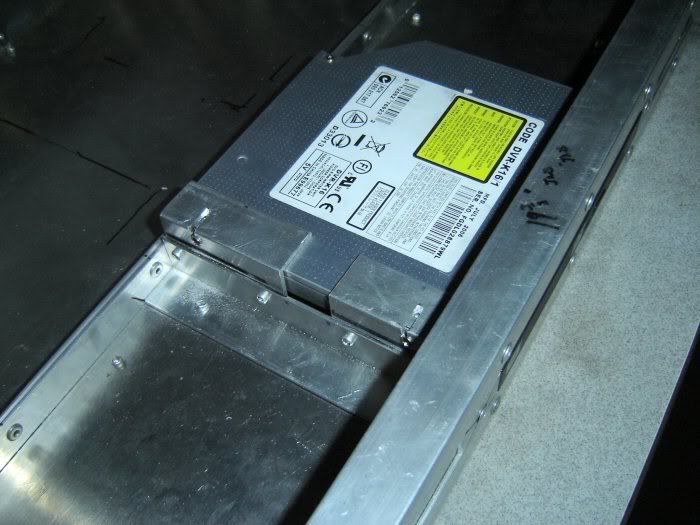
Today's work involved taking apart and removing all of the hinge assembly, cutting the hole for the slim optical drive and building the mounting for it, and planning/mounting the water pumps. I also spent a fair bit of time trying to plan the case wiring, and design a mount for the LCD that will let it remain in the case when I remove the front. (that way I don't have to disconnect it constantly) Tomorrow I will try and implement those plans and perhaps finally cut the window panels (which I still keep modifying :P )
And ... here are the pics. Sorry for the lack of WIP pics, but I just don't seem to be good at getting those.
There's still so very much to do, at times it seems like it will never get done... but I still have high hopes for it looking halfway decent when it's all finally finished.
Once again I'd like to thank everyone for all of the comments and encouragement. For my first mod I think it's coming along ok, but sometimes I think you guys are viewing it through "rose-colored-glasses", 'cause when I look at it I see all the things I don't like. :)
Someday I'd like to be able to make something as awesome as Paul's "Mars City" or Franklin's "AlumaxX" ... or any of the other AWESOME projects I've seen on this site that just blow my mind, there are just too many to list. For now however, I'll be happy if I can make this thing 1/4 as good and get it completed without going completely mad. :P
That's it for today ... thanks for takin' a look, and thanks for listening to my inane ramblings.
Peace all.
FyreKnight
Re: Project : V for Vendetta
i love your work man keep it up i wait like all week to see a update and they are always good.
Re: Project : V for Vendetta
with how awesome this case is...im surprised it hasnt hit featured yet....
lots of excellent craftsmanship went into this case...looks like its gonna be beautiful when done......kinda rare (but becoming more popular) to see scratch built cases like this
Re: Project : V for Vendetta
Haha, I was suprised slightly at the fact that you're using an angle grinder (however, that would be my first option as opposed to dremel due to their power).
Much respect, man. The case looks great. Just goes to show what some bored geeks can do with power and hand tools. Oh, and easy access to aluminium.
+rep.
Re: Project : V for Vendetta
Quote:
sometimes I think you guys are viewing it through "rose-colored-glasses"
First off, most everyone I know who produces art is less impressed with their own work than other are impressed by it. May look simple to you, but we see some very complicated structural design that is very well built. Nice theme, bonus for the added technology (LCD screen) and the best part was already mentioned...scratch built is always impressive to me.
Re: Project : V for Vendetta
Looks fantastic so far! One question though:
With such a large case, why are you using a laptop optical drive? You may have considered a Plextor with SATA connection and much better performance. The MTBF for laptop drives is also a consideration. Just an observation.
Thanks for bringing this great project to the folks here!
Re: Featured: Project : V for Vendetta
OMG, I nearly had a heart attack ... logged in and "V" wasn't where I left him. I was like "What the....??? I posted yesterday, how could he be bumped to page 2 of the "Works In Progress" already?", so I went to page 2 .... nothing!! I started to panic. "What happened?" I thought, "Did I do something wrong and someone erased "V" as punishment?".
Then a thought struck me "Featured? No way?!", so with a faint hope that my worklog had not been wisked away into the ether never to be seen again, I clicked on the Featured Worklogs link...and...BAM!!, there was "V".
I don't know what to say except thank you guys, and OMG!!! I don't know how I fit in with mod-gods in this section :redface:, but now I'm gonna have to work extra hard to feel worthy of being in here. OMG OMG OMG!!!
Now ... it's a late post for me as it's currently 4:30AM, got home an hour ago from the shop working on "V". I'm dead a$$ed tired but I had to post what I accomplished, and what I didn't. :(
First the "didn't"... I did not get the windows cut out today, much to my dismay, nor did I manage to construct the support for the LCD. Although I did get this >< much closer to figuring a way to do so.
What I "did" get done today was kind of like one step back and two steps forward. I have a feeling that there's going to be a lot of that as I get closer to the end of this project, the result of too many "on the fly" design changes. C'est la Vie!
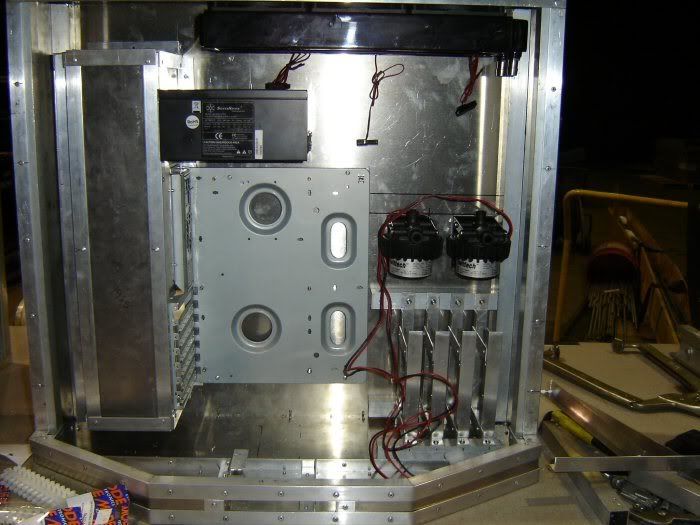
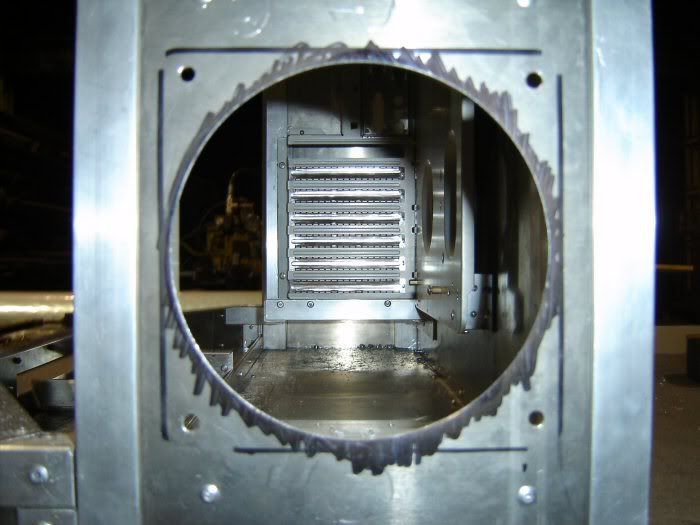
First, I decided I didn't like the placement of the HD rack, so I repositioned it more to my liking, then I cut a new fan opening behind the rack to help keep 'em drives cool. After that I was trying to envision the placement and routing of the resevoir, waterlines, and power wiring... which needless to say was difficult since I still don't have my resevoir. So I decided to make my own. :)
And now ... the pics! I even managed to take some WIP shots this time. :) :up:
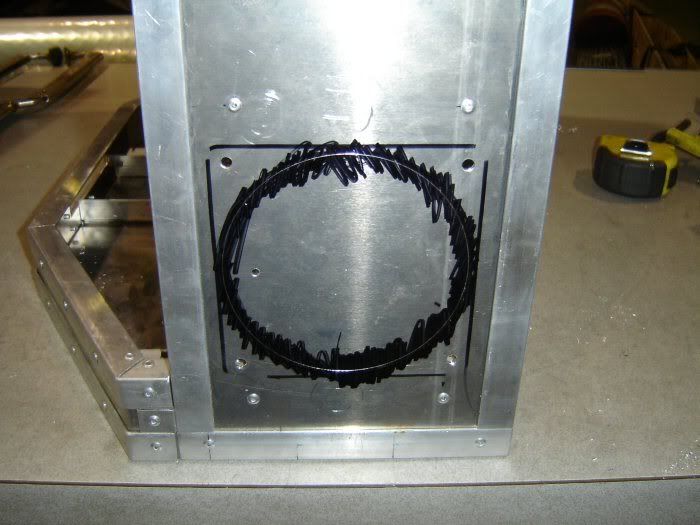
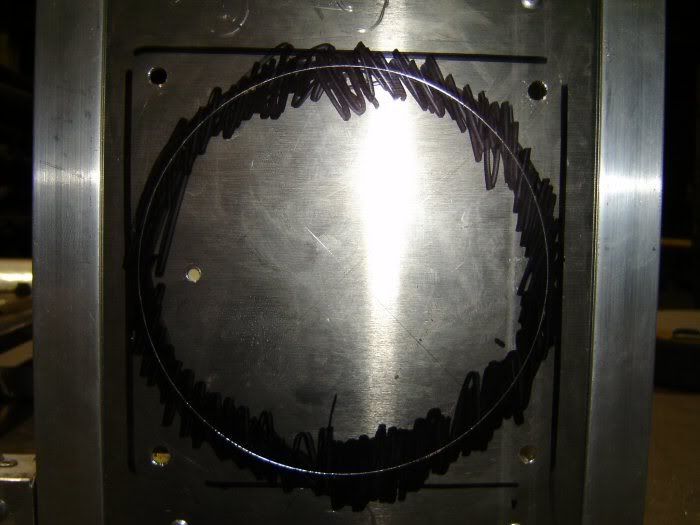
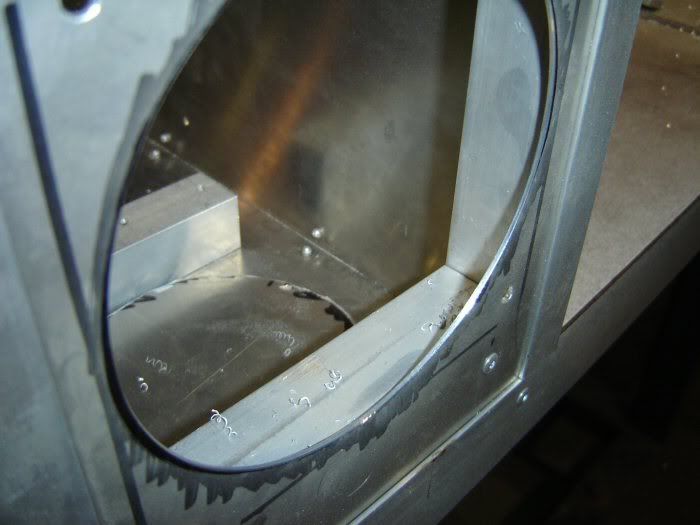
Here you can see I've drilled the mounting holes for the new fan and marked out the circle for cutting.
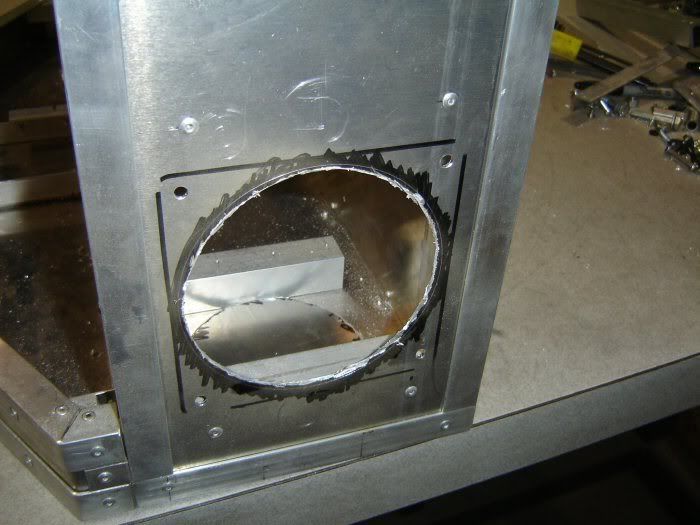
And after the initial cutting ...
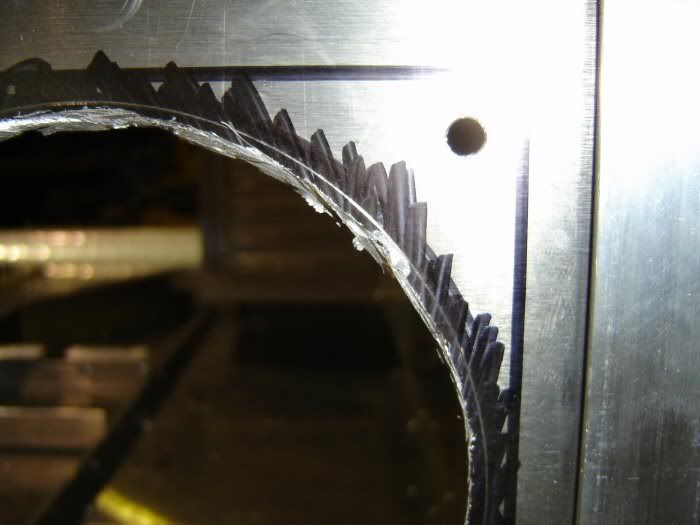
And finally, after careful carving with the cut-off disc, grinding with a die stone, and smoothing with a flap-wheel. (all bits for the die-grinder)
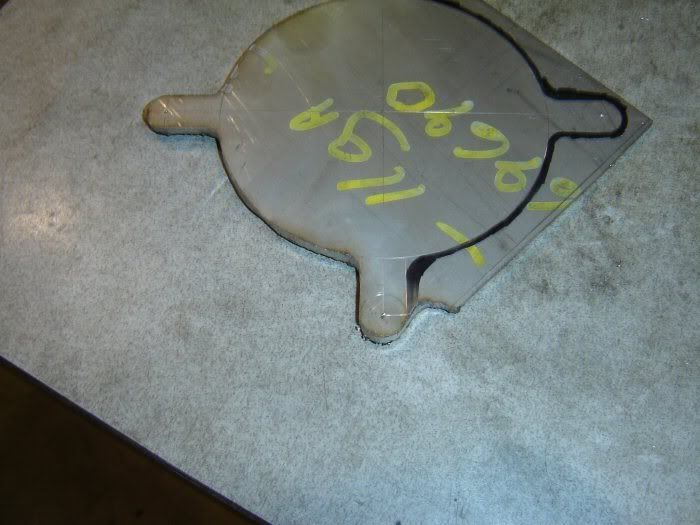
And here's the pics for the Res... for this I brought out some of the "special equipment".
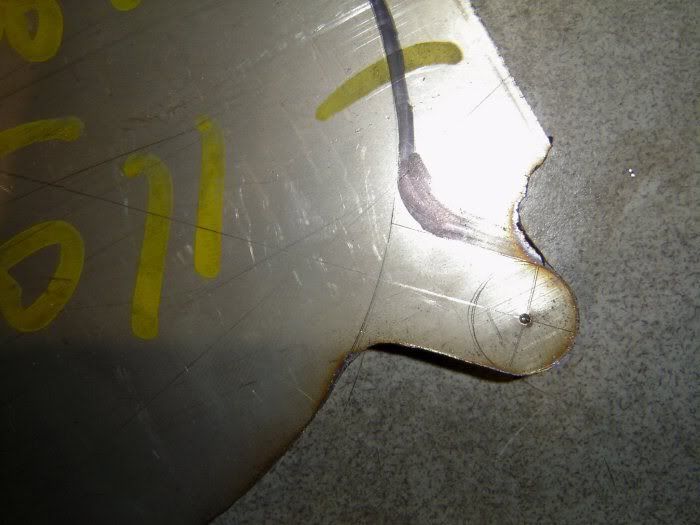
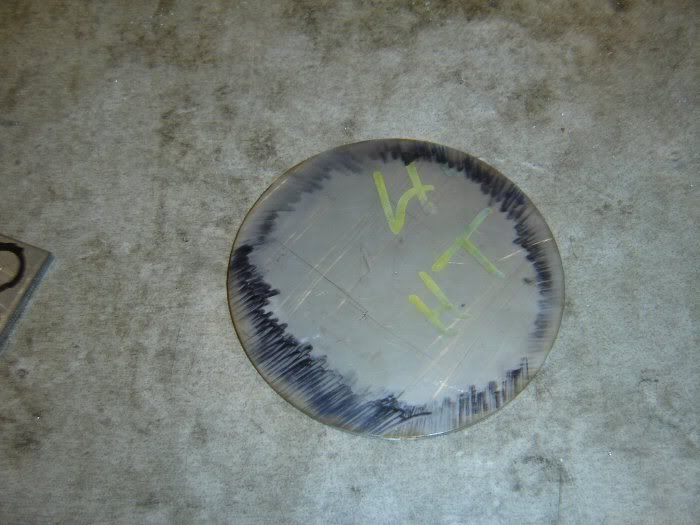
First marking out the shape for the base on 3/16" stainless steel plate, then grinding away the excess with the angle grinder...
Same thing for the top ...
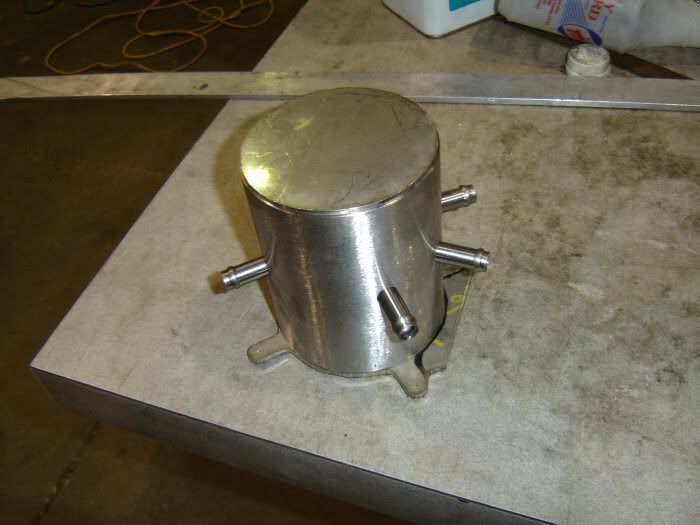
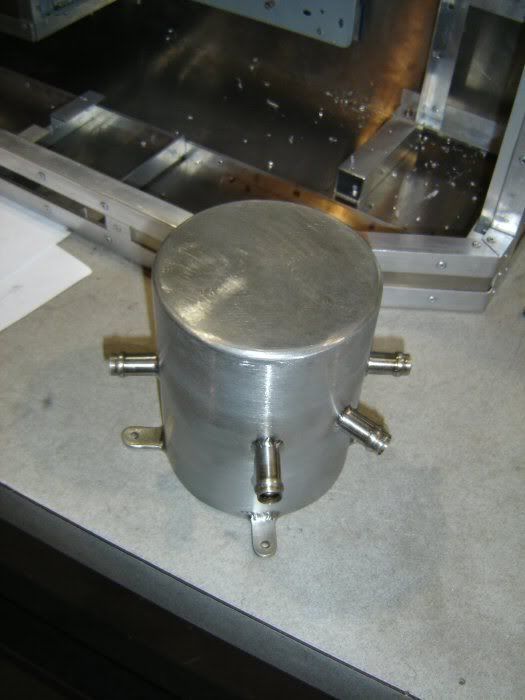
Grinding complete, cut a piece of 4 1/2" OD stainless pipe, drill holes for barbs...
Made the barbs out of 1/2" OD stainless tube, beaded the ends to make for very secure hose fitting... test fit it all together...
Tig weld the whole mess together and polish it up a bit, and tada I have a nice shiny new water resevoir ... yes it is a little big, but I like it. :)
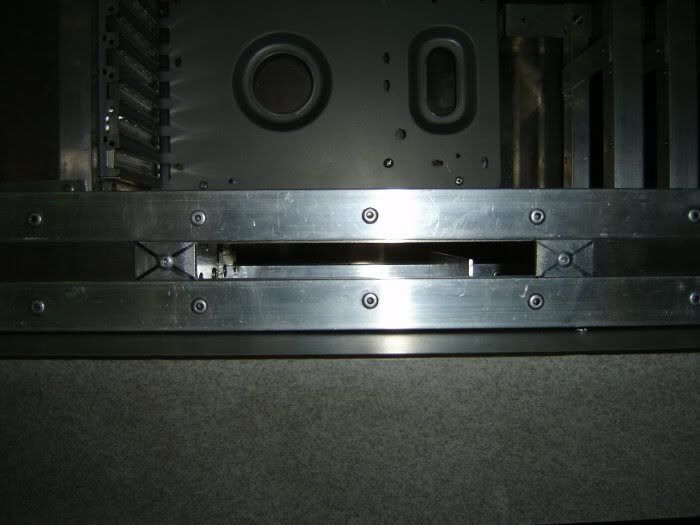
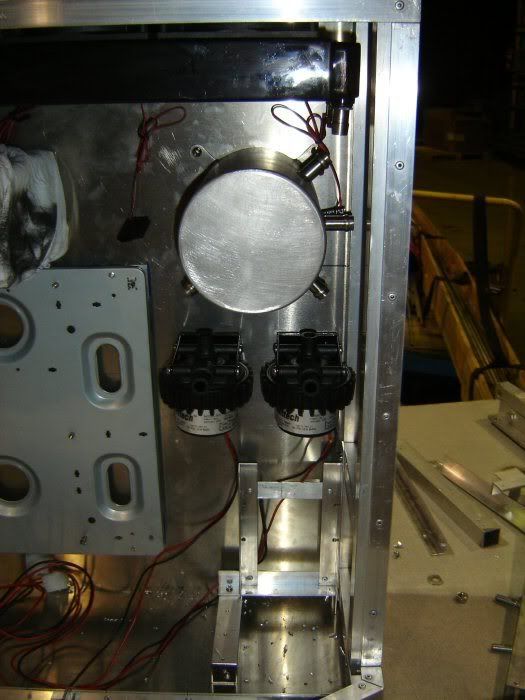
And here's a trial mount of the finished product, the orientation is not right and I may yet decide to change it's location a little but there you have it.
You can also see in this pic (kind of) the change in the HD rack position.
Now, I'm about falling asleep at the keyboard here so I'm off to bed. I'm taking a break from "V" tomorrow (today now), but I might be able to squeeze in another day or two over the weekend and New Years Day.
Thanks for all the great comments and suggestions as always, it keeps me going at times like this. :)
Peace all.
FyreKnight
Oh yeah ... Crimson, I used the lappy optical because it fit where I needed it to. Although the case looks and actually is big, there is surprisingly little functional room inside of it because of A: the irregular shape, and B: the rear access box which takes up a huge amount of space. The MTBF of the drive doesn't concern me greatly as I don't actually use my optical drives very often, and the performance difference is well ... meh!?! What's another 10mins on a program install? No biggie. :)
Re: Featured: Project : V for Vendetta
I hate you. I hate that you can weld aluminum in the shop. But I LOVE the reservoir! damn thats cool.
Re: Featured: Project : V for Vendetta
Quote:
Originally Posted by
Crimson Sky

I hate you. I hate that you can weld aluminum in the shop. But I LOVE the reservoir! damn thats cool.
I am with you on this Crimson, and in awe. I love the work on this!