Sometimes everything goes as I want ... sometimes not.
That next to my 2 jobs at the moment, got some problems finding time :)
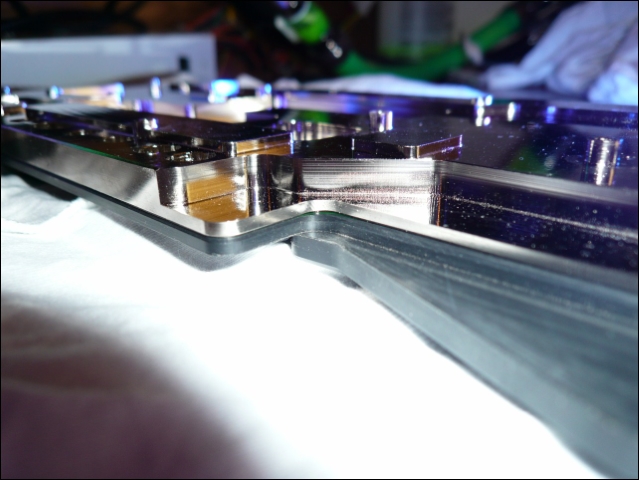
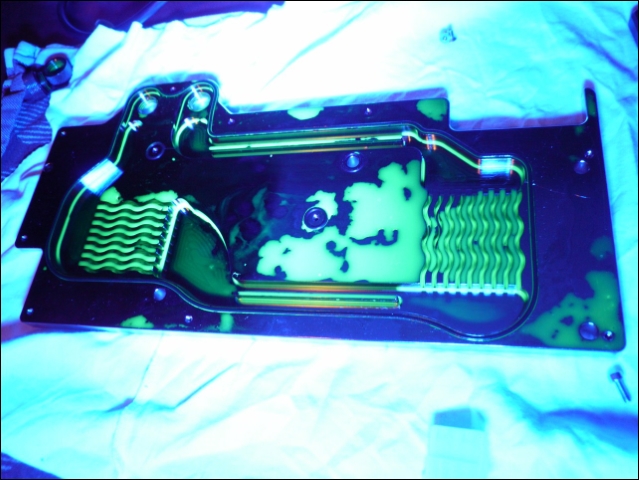
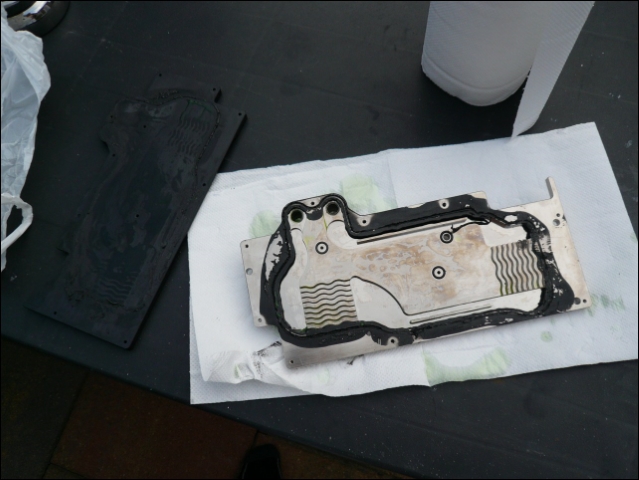
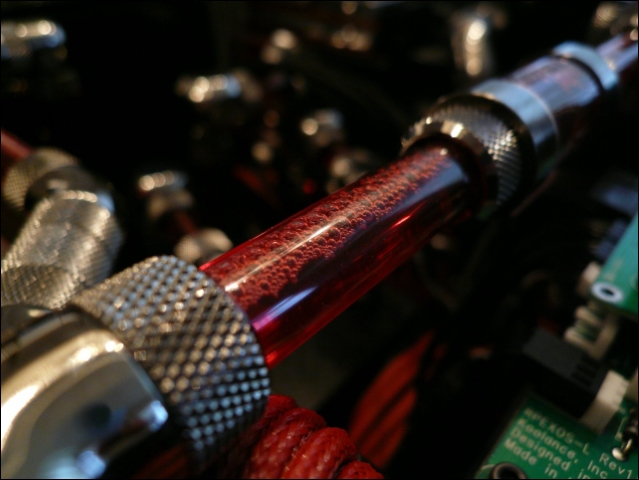
Last week after a 3 hour test I noticed this ...
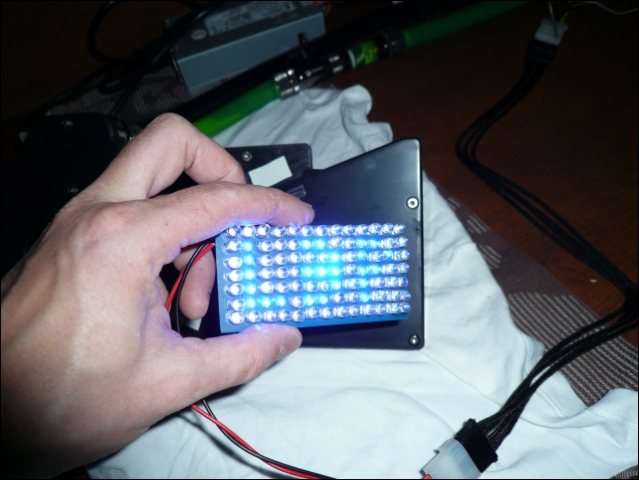
So time to get my UV light, maybe I can discover more.
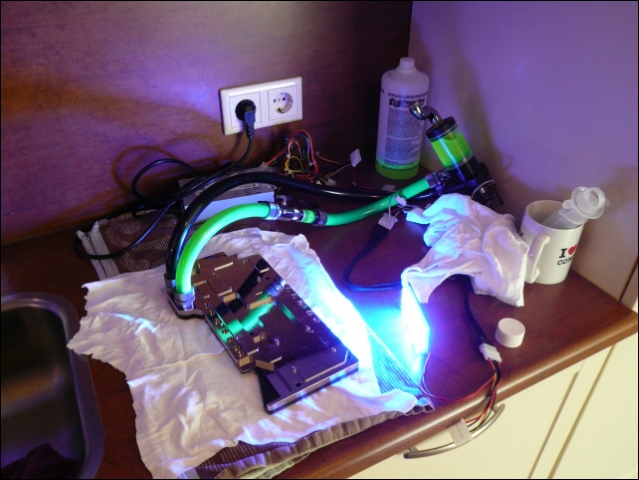
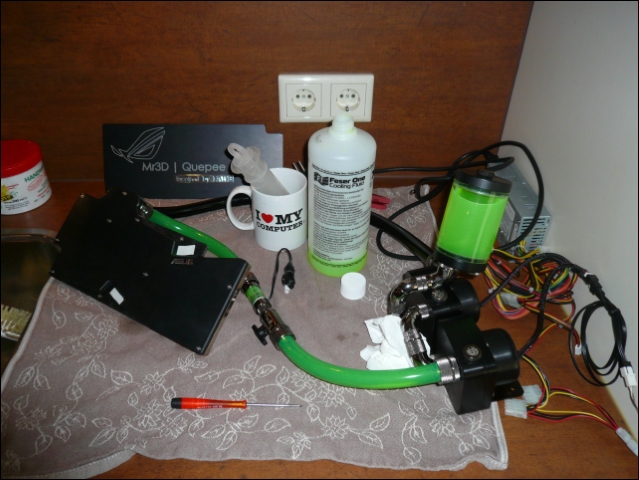
Setup.
Lights off.
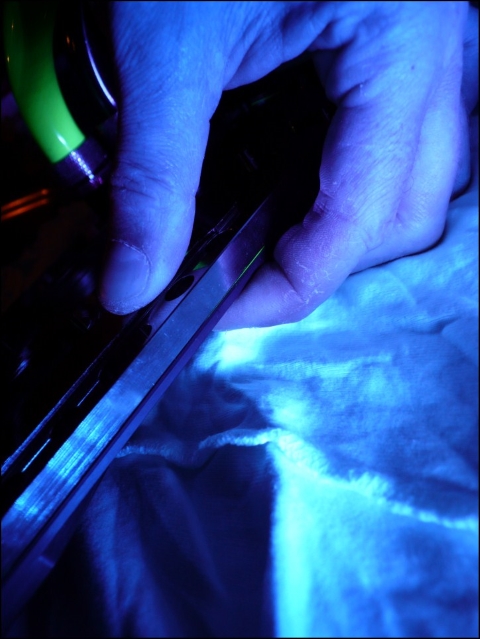
Probably 2 small leaks.
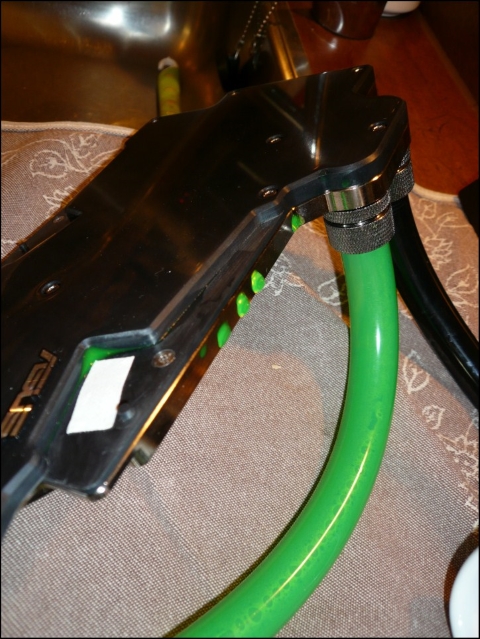
So opened it carefully again, maybe I can see more.
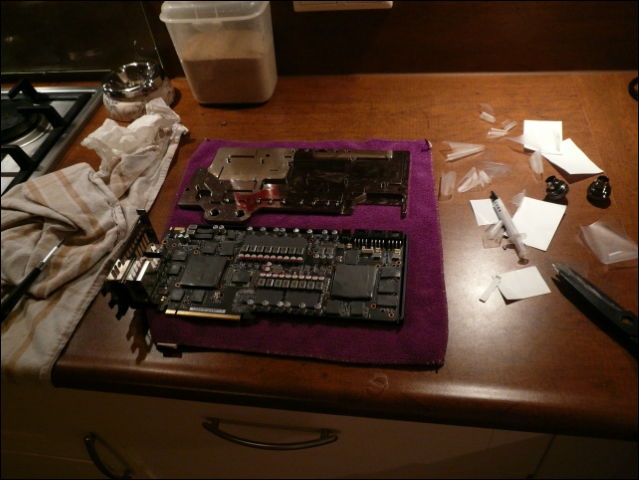
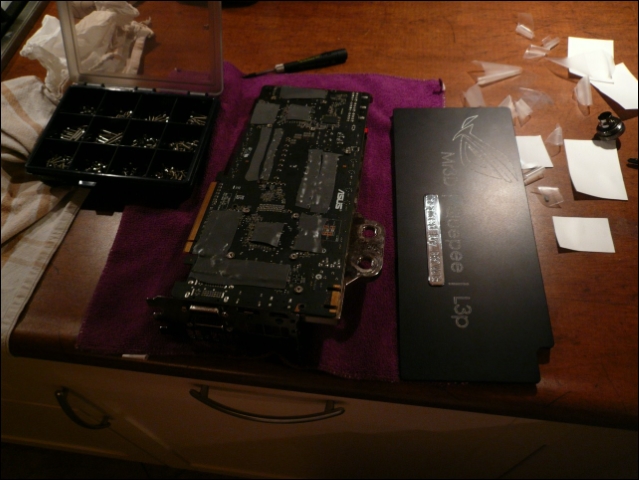
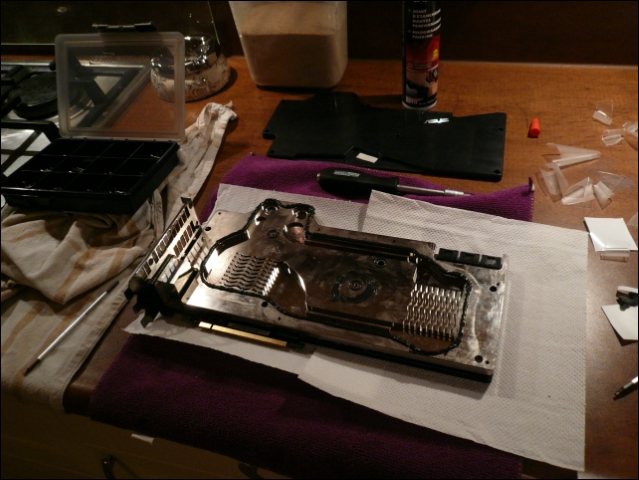
Going to test it once more with a POM remount and 2x serial connected D5's. (This to be really sure)
This time with a new glued big O-ring and small cast O-rings.
Problem could be the distance between some of the M3 bolts (6-7cm) to keep the POM really flat on the copper.
It does seem it's completely flat..
Or ... I'm going to add some M3's ... and probably polish the POM again. (I will succeed!! :P )
Anyway, learned something again :)
07-08-2012, 06:41 PM
L3p
Re: Project: L3p L4n
Second remount + leaktest was a failure too :(
So .. ordered the Loctite quick gasket
Met Rogier from Asus last friday for a coming project and ..
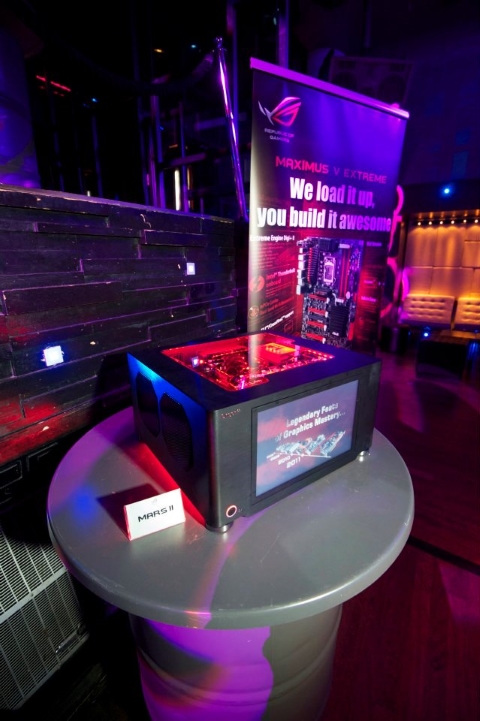
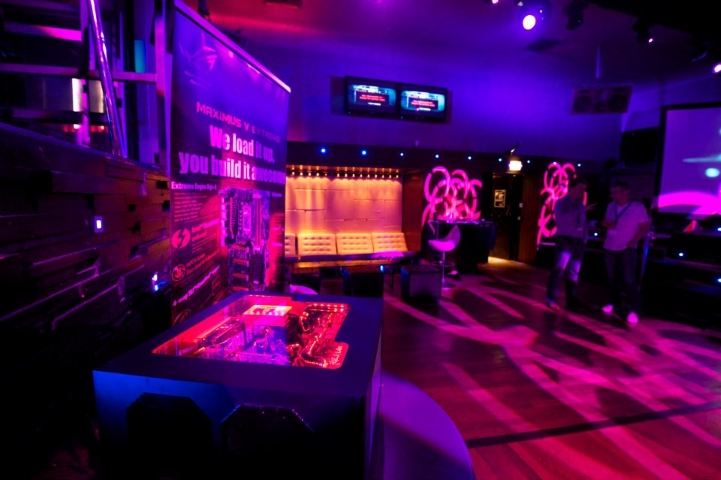
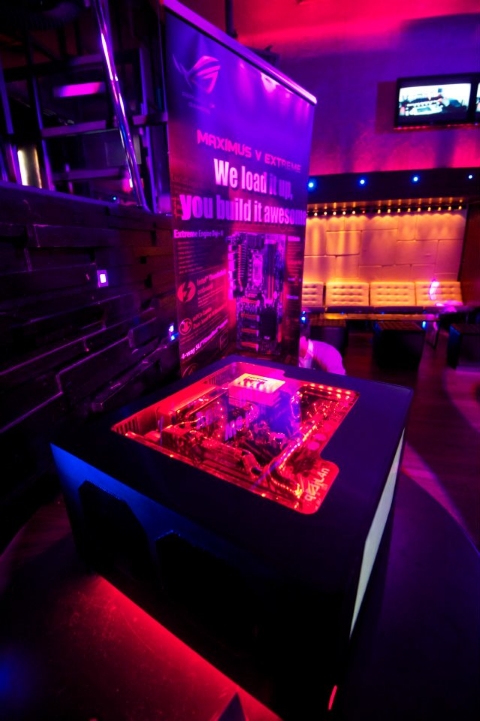
He asked me if he could borrow L4n for an Asus media event next friday.
Told him I couldn't get it fully running that fast, that was no problem.
So he would pick it up next tuesday..
Oops...
Will be some late evenings this weekend :P
First tests without PCB.
After a full leaktest still dry!! :)
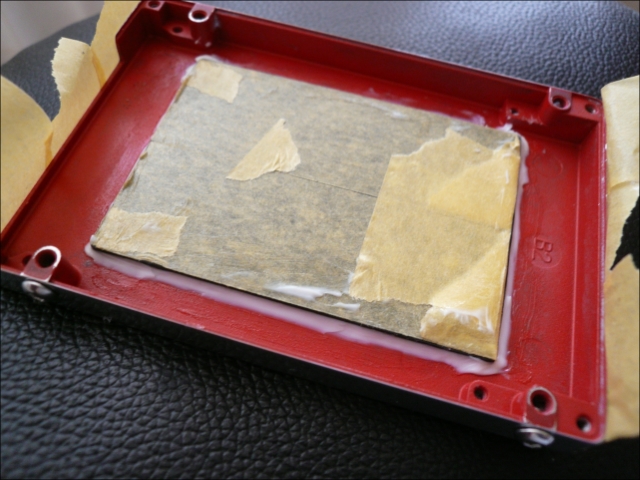
Also didn't leave any Loctite
And then I had to remove it again for a full mount..pff
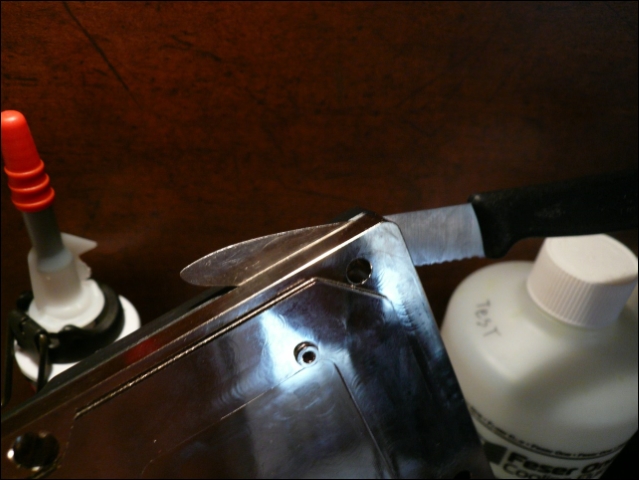
I really had to cut it loose.
And clean it for an hour :)
Used and army of heat transfer pads on back and front
And a new layer of Loctite.
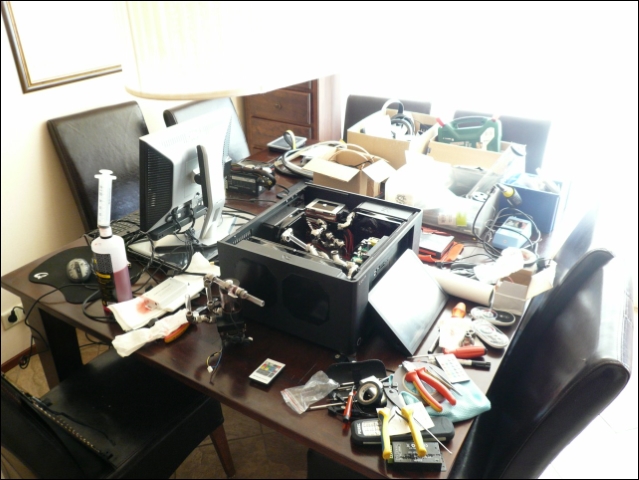
Made a quick movie that night of the mess.
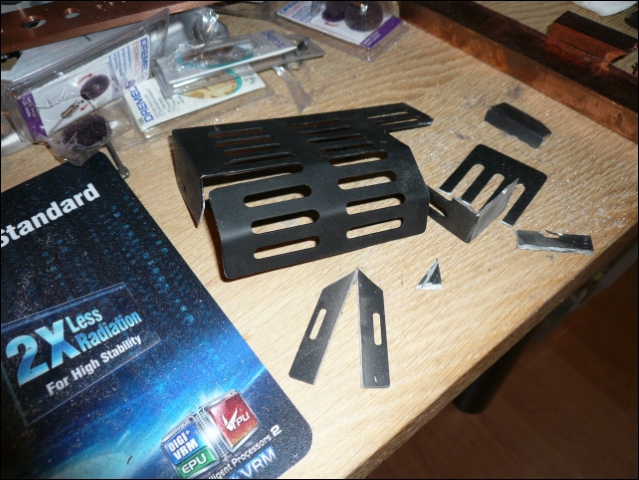
Next day.. change the bracket .. for the third time.
This will be on top of the pump controller.
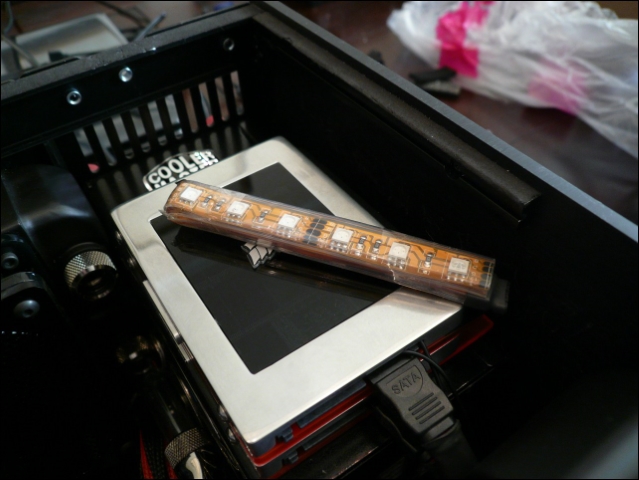
Small idea I got for the ssd's
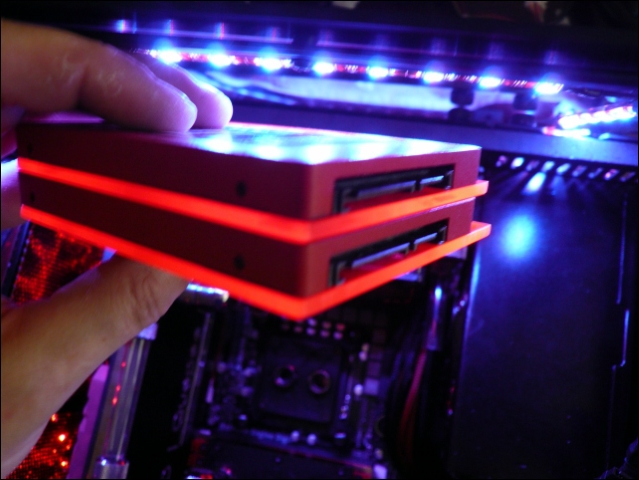
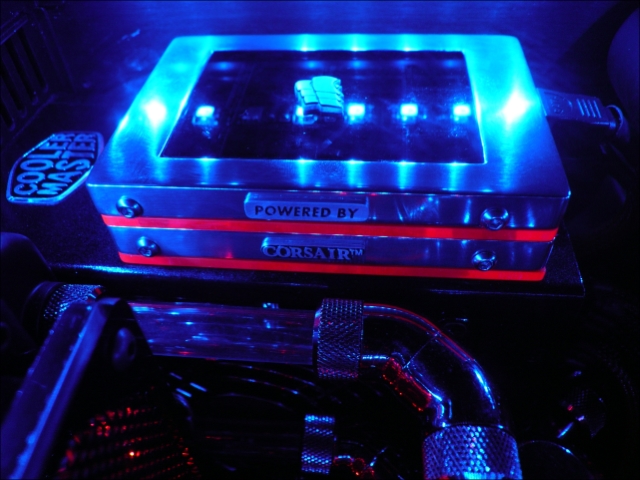
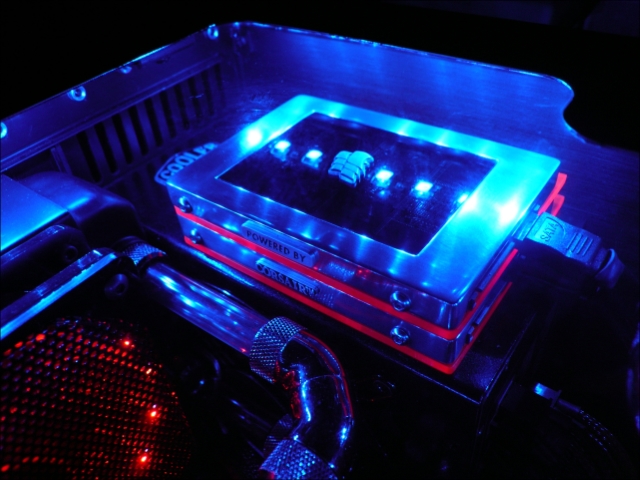
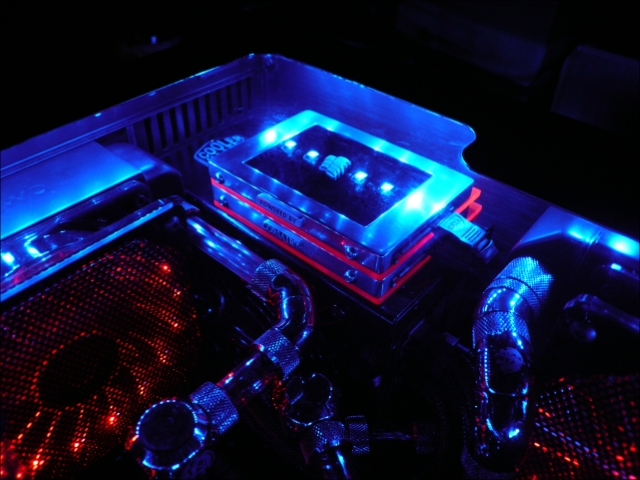
The backside will be out of sight, but is able to catch light from the RGB leds.
That will give a nice effect on the front side.
Rest of the day ... Bitspower..
My skin let go on my vingers :D
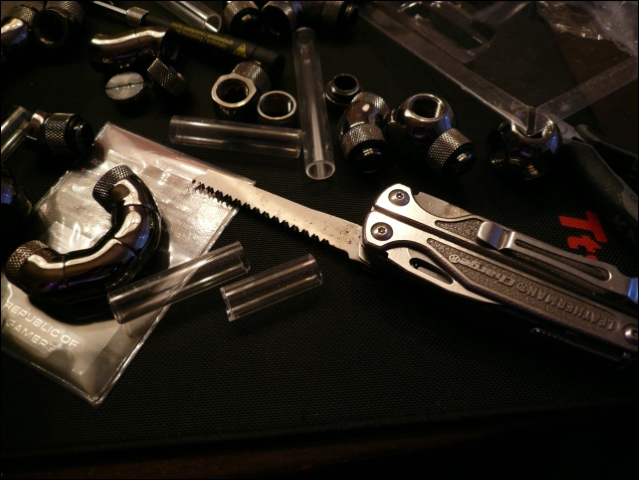
Even sawing the crystallinks .. had to do it with my knife.
Left both of my saws at work :/
Didn't have much time to make pics.
Got 2 hours left tomorrow.
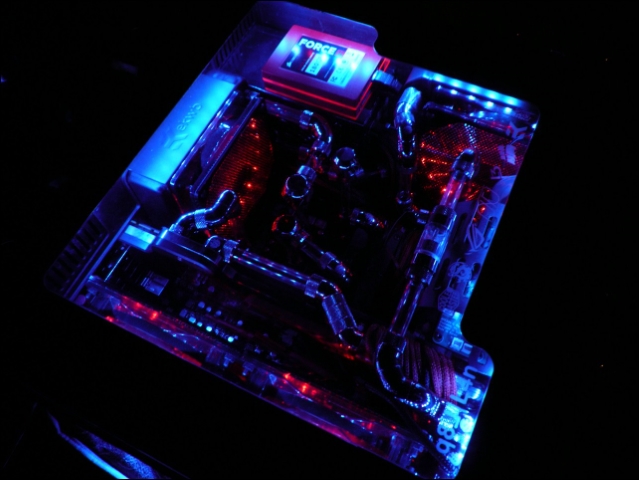
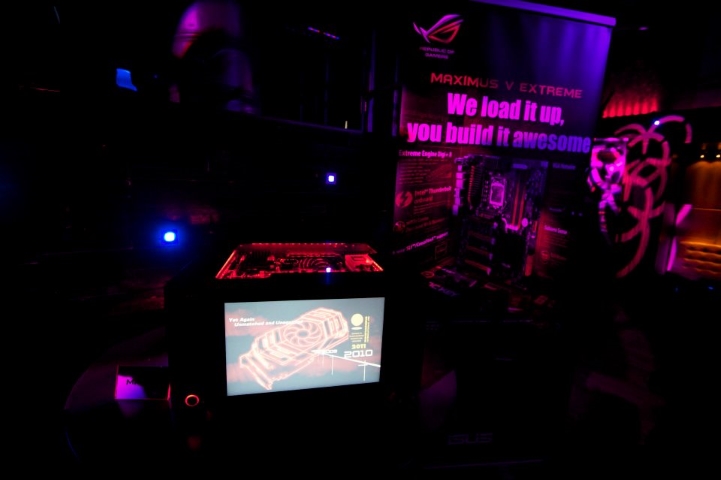
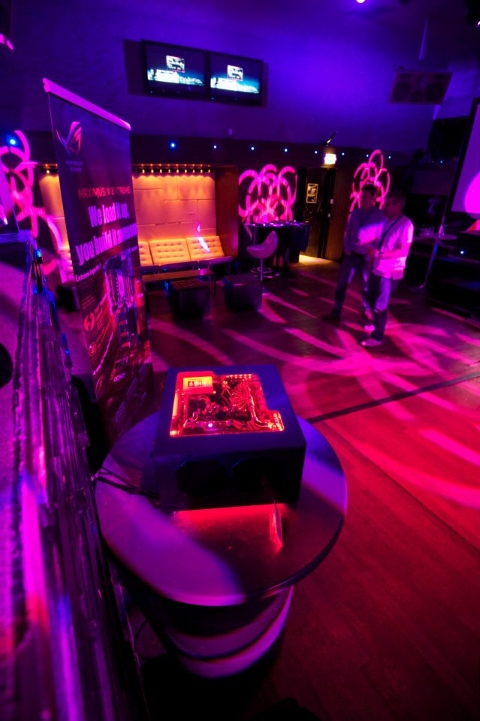
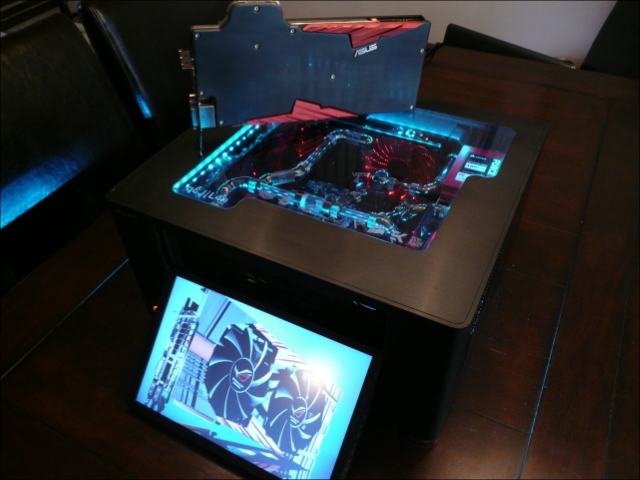
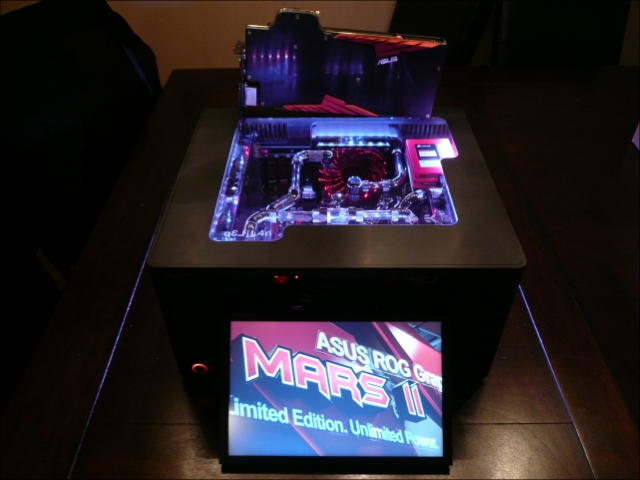
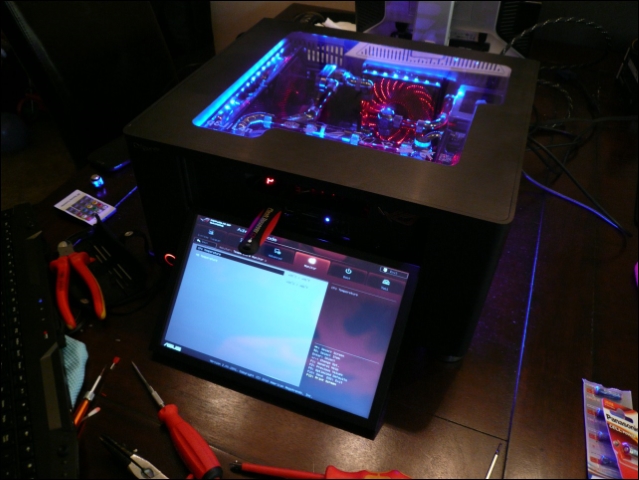
So it will be on the event as below, just the RGB leds and the touchscreen.
When it's back I'll make it 'flowready' and leaktest it completely for multiple days.
And off course some more pictures from the case and MarsII
The loop can still even change, didn't have enough C47's :)
07-08-2012, 06:42 PM
L3p
Re: Project: L3p L4n
Second remount + leaktest was a failure too :(
So .. ordered the Loctite quick gasket
Met Rogier from Asus last friday for a coming project and ..
He asked me if he could borrow L4n for an Asus media event next friday.
Told him I couldn't get it fully running that fast, that was no problem.
So he would pick it up next tuesday..
Oops...
Will be some late evenings this weekend :P
First tests without PCB.
After a full leaktest still dry!! :)
Also didn't leave any Loctite
And then I had to remove it again for a full mount..pff
I really had to cut it loose.
And clean it for an hour :)
Used and army of heat transfer pads on back and front
And a new layer of Loctite.
Made a quick movie that night of the mess.
Next day.. change the bracket .. for the third time.
This will be on top of the pump controller.
Small idea I got for the ssd's
The backside will be out of sight, but is able to catch light from the RGB leds.
That will give a nice effect on the front side.
Rest of the day ... Bitspower..
My skin let go on my vingers :D
Even sawing the crystallinks .. had to do it with my knife.
Left both of my saws at work :/
Didn't have much time to make pics.
Got 2 hours left tomorrow.
So it will be on the event as below, just the RGB leds and the touchscreen.
When it's back I'll make it 'flowready' and leaktest it completely for multiple days.
And off course some more pictures from the case and MarsII
The loop can still even change, didn't have enough C47's :)
07-19-2012, 12:54 PM
L3p
Re: Project: L3p L4n
Here a small video from L4n one day before it got picked up.
And 2 days ago Asus BNL called me ...
They were very happy with it!
Such a shame I couldn't be there cause of my job :/
This week some small changes on the SSD's and then I will be testing the loop and hardware of L4n.
After that, mount the MARSII and test it all over again :)
08-08-2012, 07:50 PM
L3p
Re: Project: L3p L4n
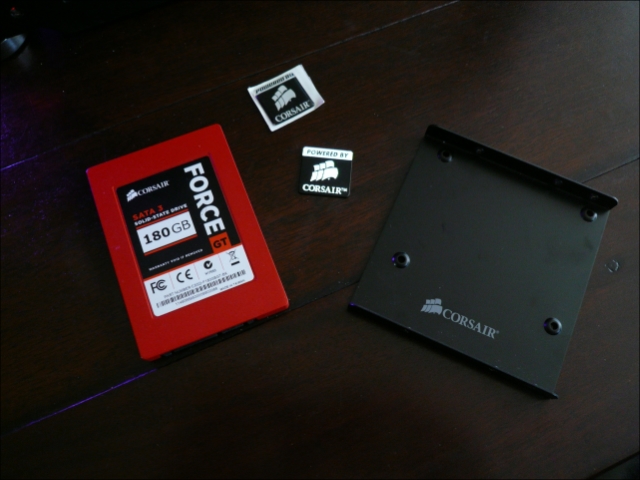
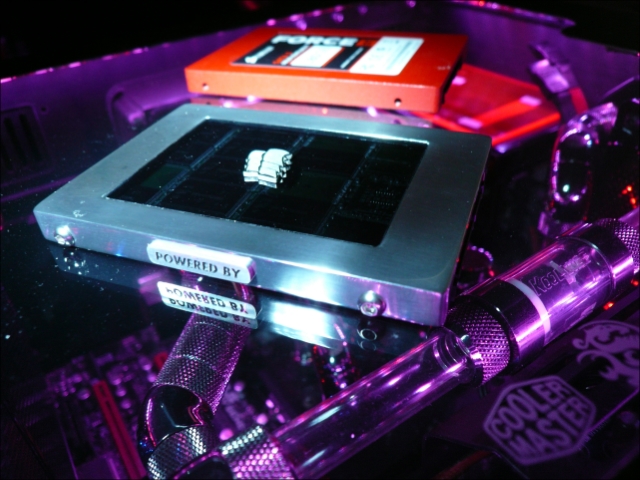
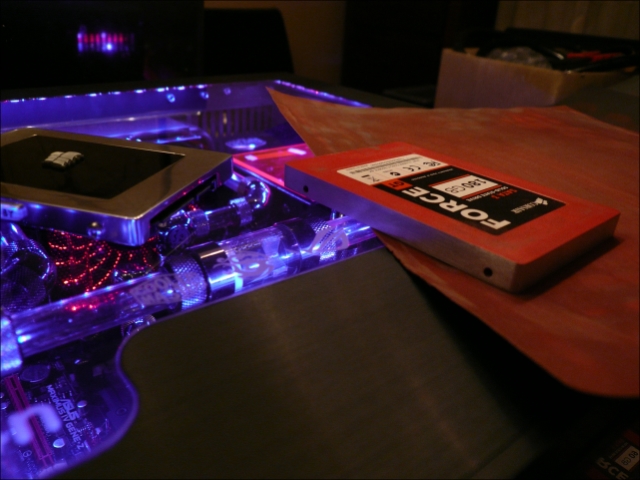
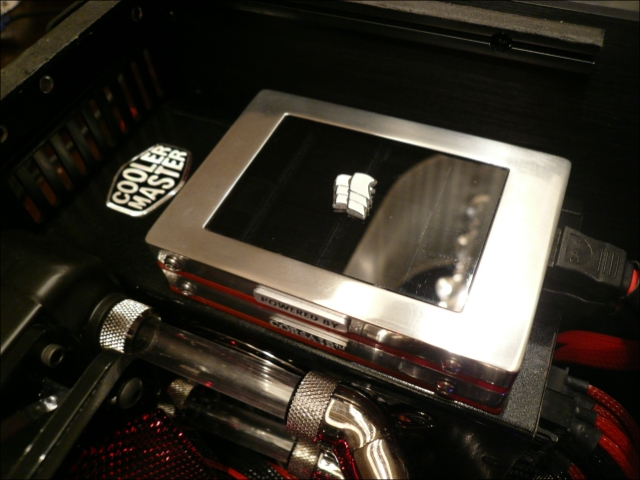
Well .. promised Corsair to do something with the ssd's.
So here we go :)
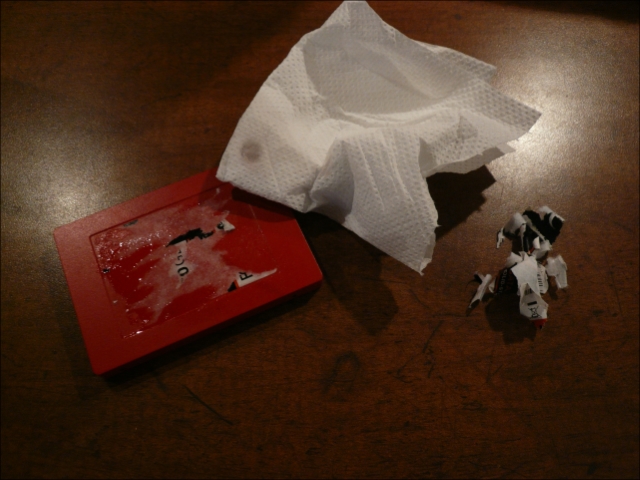
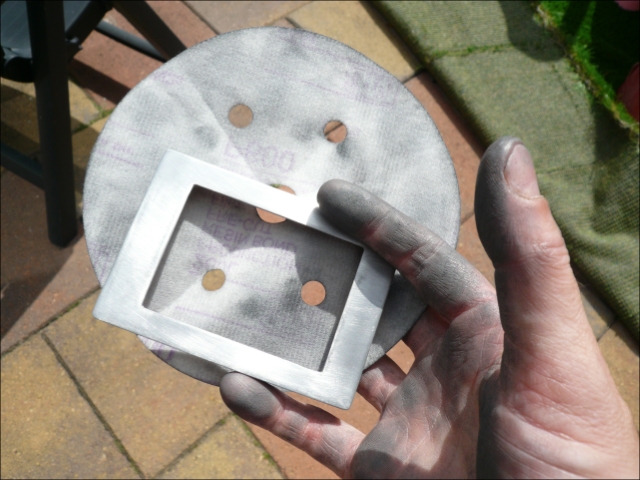
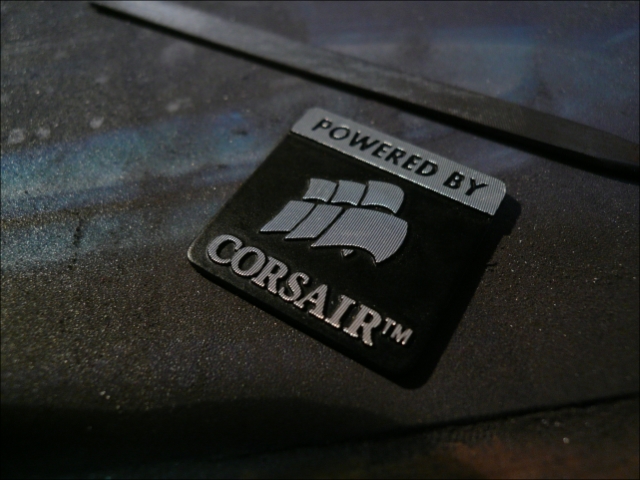
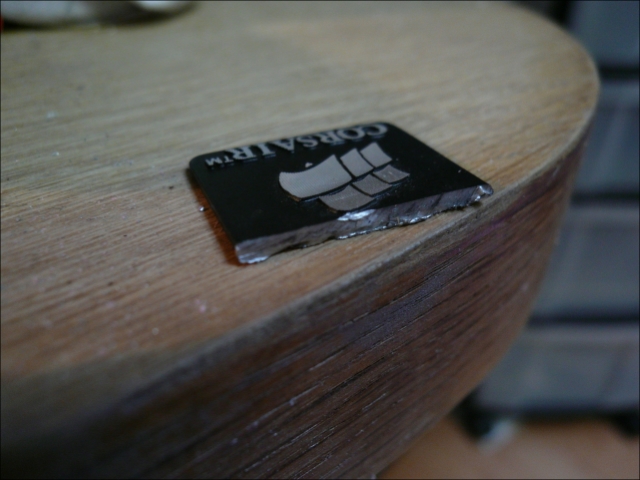
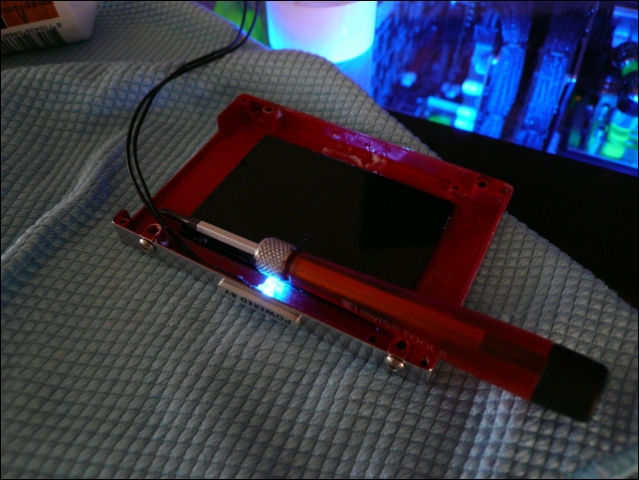
First remove the sticker.
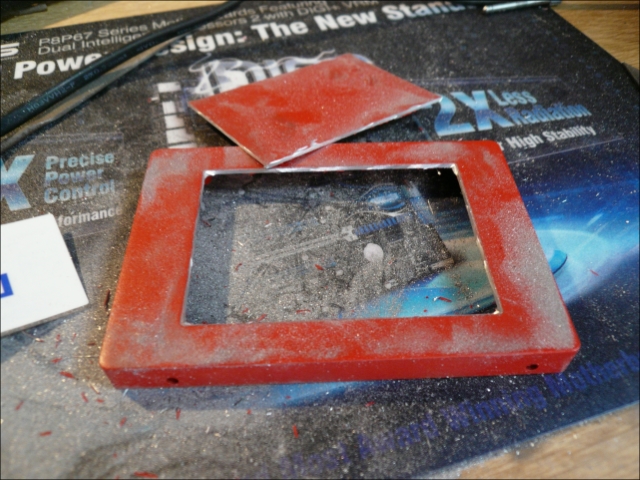
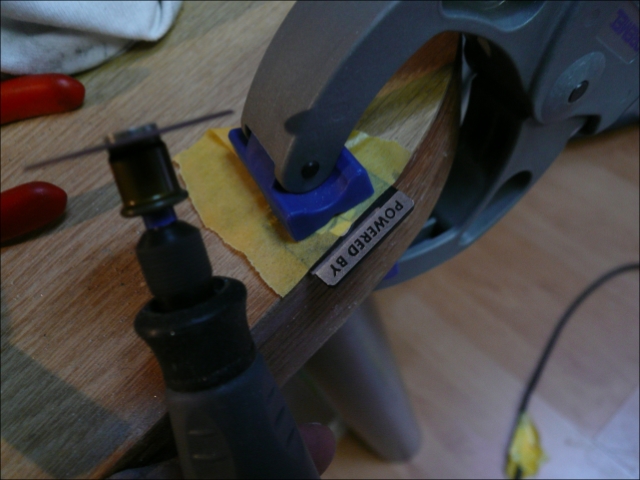
Start dremeling.
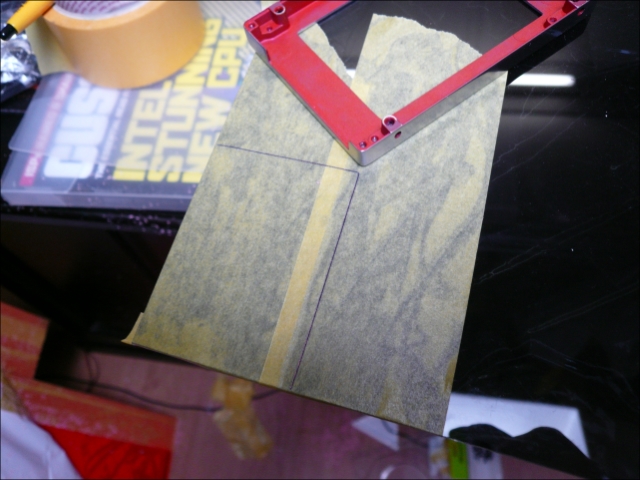
Sanded with P220. I have something with brushed alu....
But have other plans.
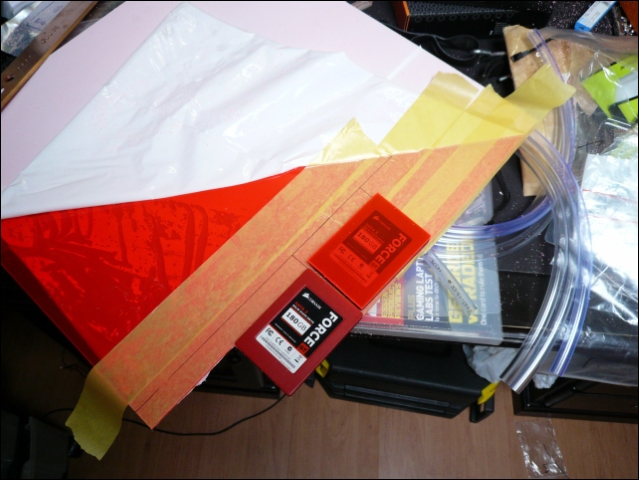
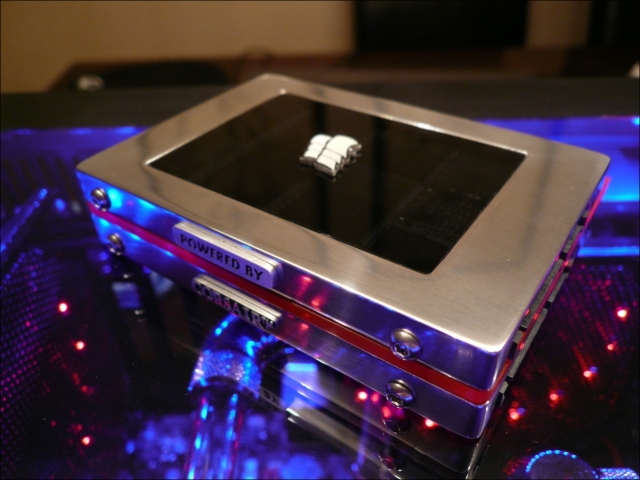
Sawing a piece of tinted acrylic.
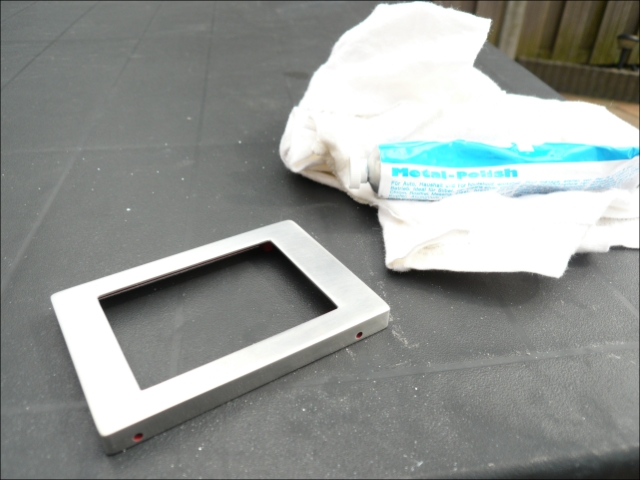
Polishing
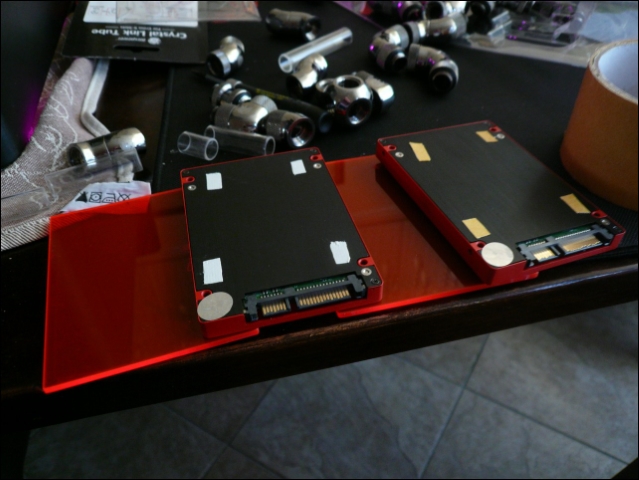
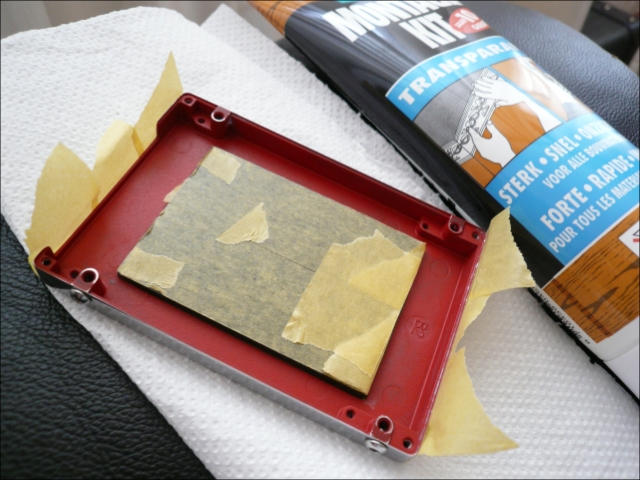
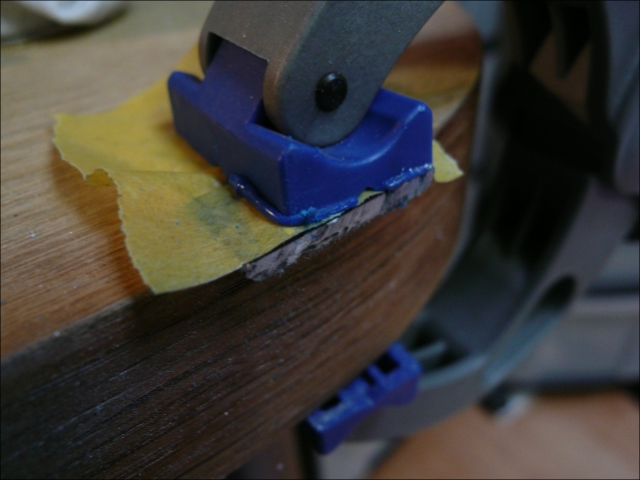
Taping the acrylic and glue it with transparent glue. (Becomes transparent when it's dry)
In the meantime further with the casebadge while the glue is drying.
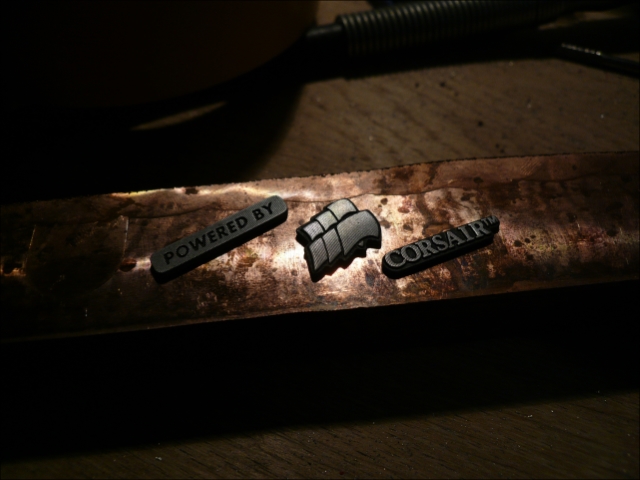
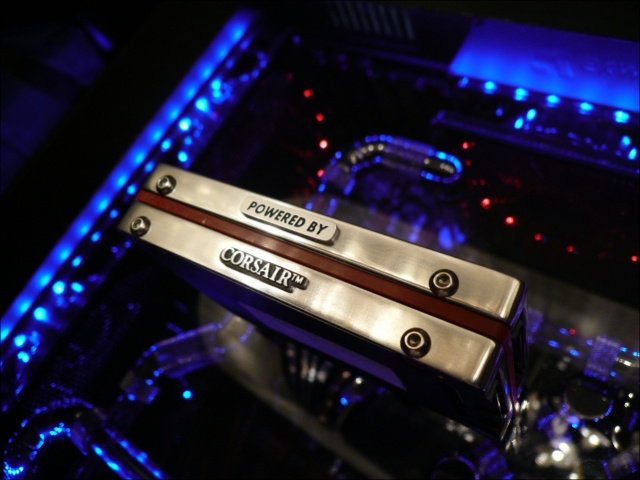
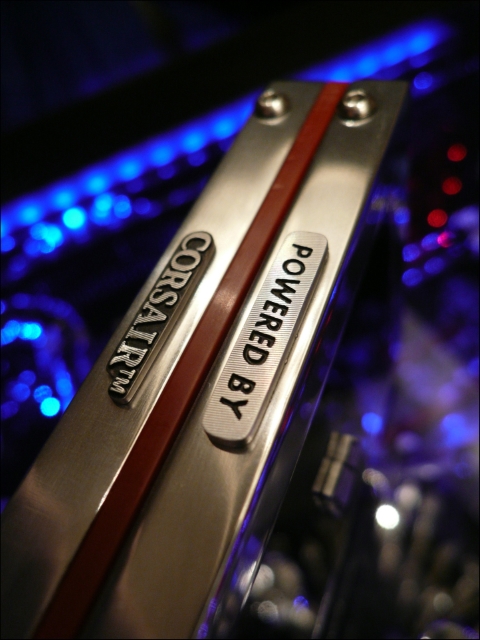
One of the nicest badges I've seen.
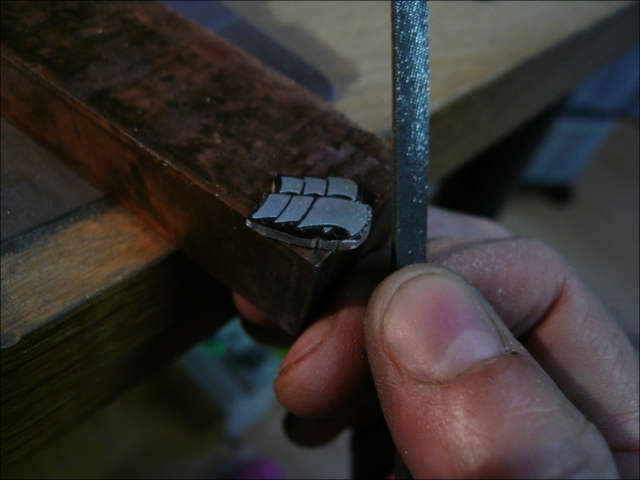
Dr. Dre on it again.
Became hotter then I expected.
But who the heck makes 2mm thick badges :D
More then an hour of filing and sanding.
With the result.
Glue nicely dried.
One to go :P
Same ritual.
And the result.
I'm very happy with it :)
Noticed right now the heatshrink let go cause of all the dis-connecting :/
08-16-2012, 08:42 PM
L3p
Re: Project: L3p L4n
What a week .. 28°C inside and I'm busy with 2 builds :)
To finish L4n I had quite a checklist to walk through.
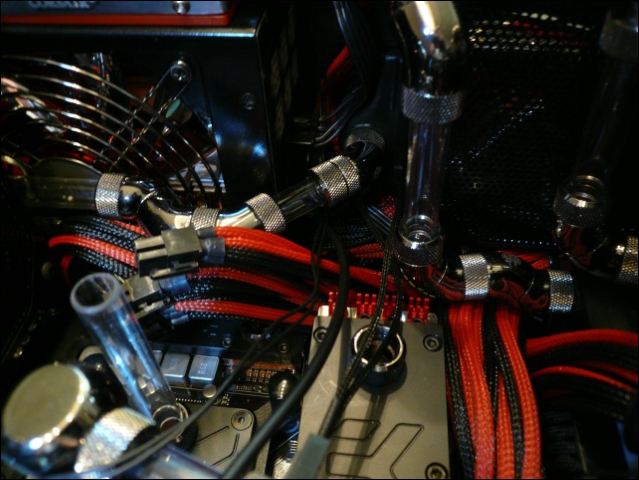
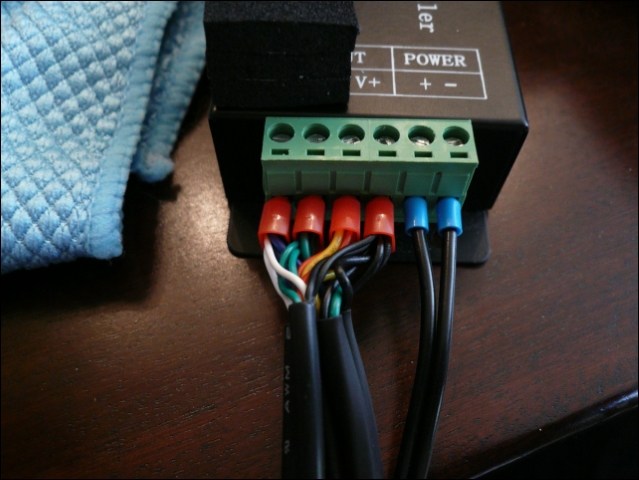
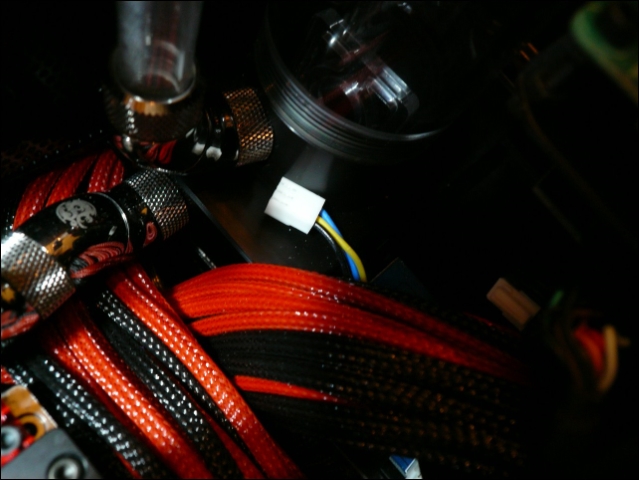
- Add cables for SSD, Leds and pump.
- Change in RGB Leds and wiring.
- RGB controller/remote died, had to replace it.
- Finding the right coolant color.
- Testing loop + blocks + fan/pump controller without MARS.
- Testing all hardware with loop without MARS.
- Testing loop with MARS in it.
- Full stress test of complete system.
First .. lets add an SDD activity led :)
SSD in action. (2GB copy)
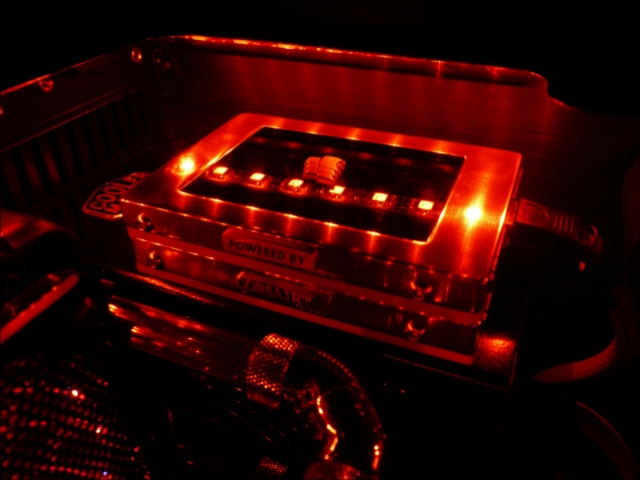
Also removed the RGB above the SSD and added RGB between the acrylic of the SSD's
Bringing 3 little cables to their destination out of sight.... 45 minutes :P
RGB controller replaced and proper connection instead of soldering.
Literally removed the radiator 30 times to get it in.
Then I found out I still had to extend the pump wire. -_-
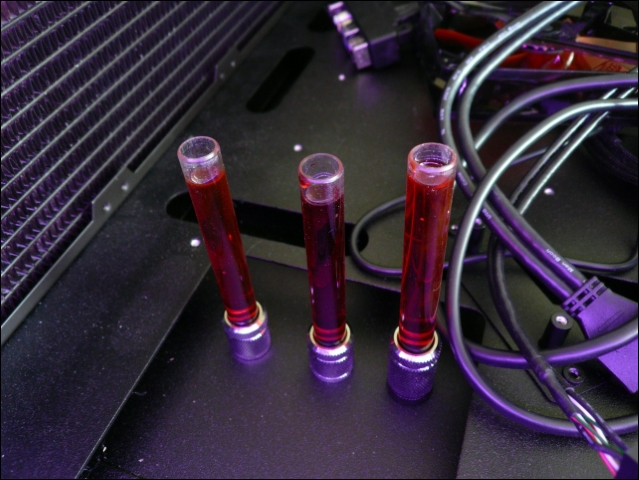
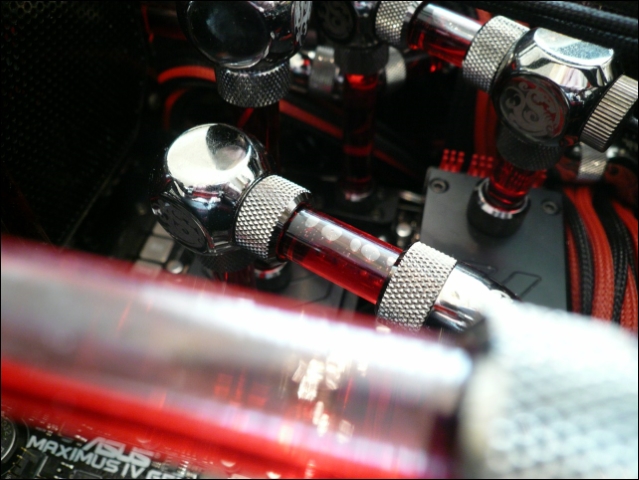
Playing with test tubes in RGB light.
Seems EK blood red looks good in switching red/blue light.
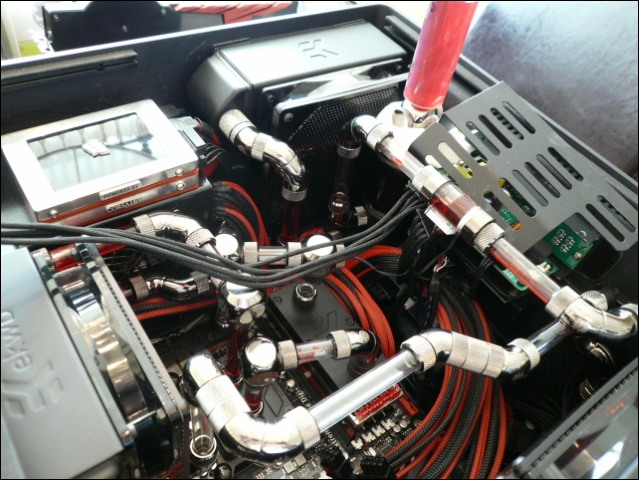
First looptest without MARS.
Loop needed exactly 1 liter.
Never thought something would go easy.
Reservoir isn't the highest point, still it keeps on level nicely and de-aeration works perfect.
Pump on speedsetting 1, completely silent and enough flow to cool it down.
SSd's and memory ... check.
Lapped CPU + cooling ... check
Leaving it running for the night.
Right before getting the MARS in I changed something on the contrast of the aluminum text.
(Thanks NOCA!)
Not much luck again ... really .. somehow the motorized screen pressed the color-change button of the enermax fan when opening. Cause of that it had blue and red leds on, not something I wanted.
Had to drain the loop and build the pump completely out to reach it and fix it for good.
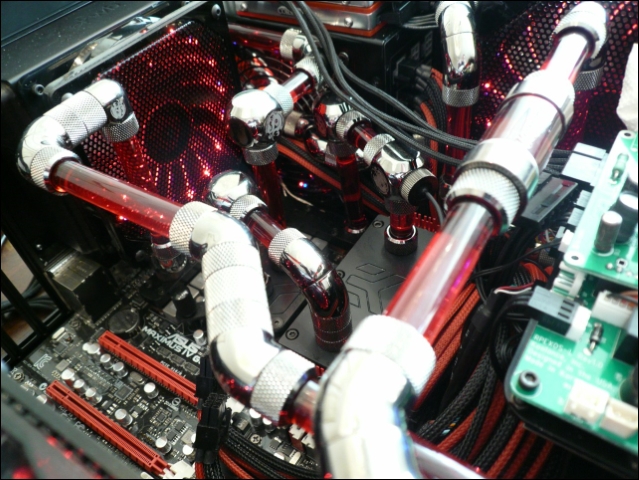
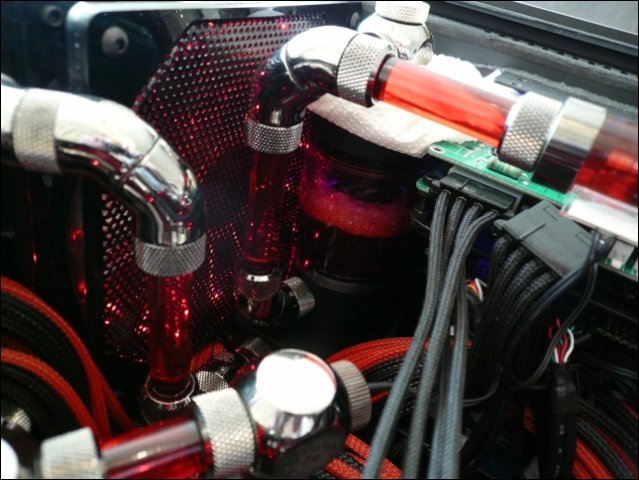
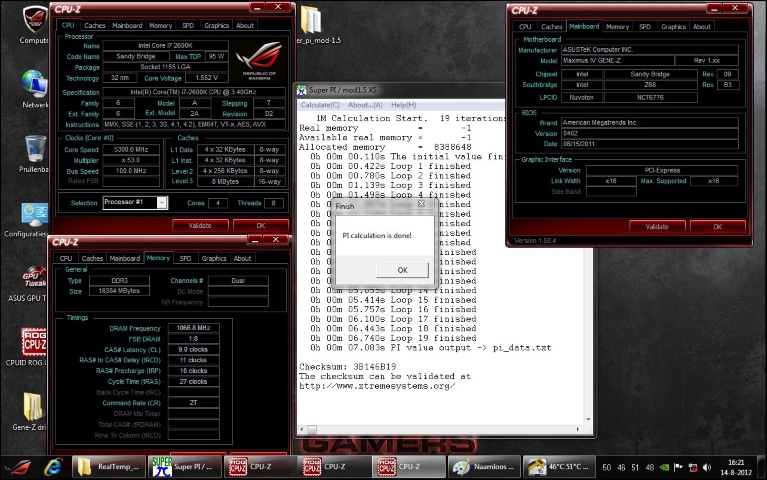
Finally testing the full loop!
Pump on speedsetting 10
Love bubbles.
And leaving it for another night.
Next day ... testing the complete system.
MARS leds lit :)
Pretty scary, don't know what the MARS temps are before I'm in windows.
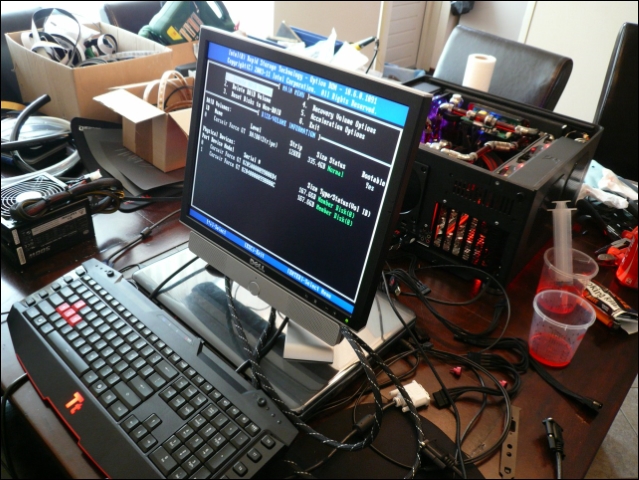
Quick USB install :)
Unfortunately.... :(
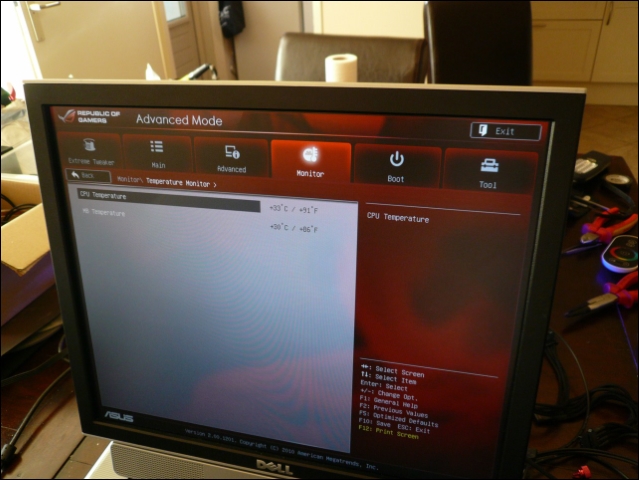
It seems 1 of the 2 cores isn't getting cooled as it should.
With a furmark stresstest in SLI 1 core goes to 65°C, the other one.. goes slowly up to 100°C and starts to throttle.
I'm almost sure it's the thickness of the heatpads I used, I will have to re-open it again completely.
There are a lot of options I can still try with different combinations of heatpads/paste, sure I can solve it.
However .. going to keep that for another time, tired of it for now.
I'm actually more glad both GPU's still work after enlarging 3 holes in the PCB :)
Atleast the lapped CPU doesn't let me down :)
Final pics on the way!
08-17-2012, 02:36 AM
Fuganater
Re: Project: L3p L4n
Awesome project!
08-17-2012, 11:59 AM
L3p
Re: Project: L3p L4n
Thanks! Appreciate the comment Fuganeter.
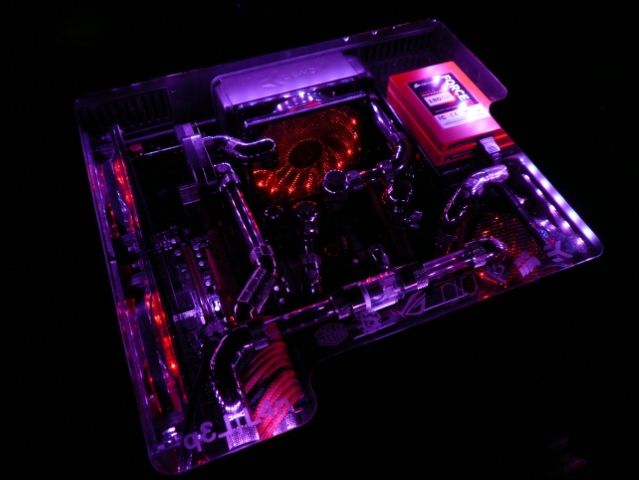
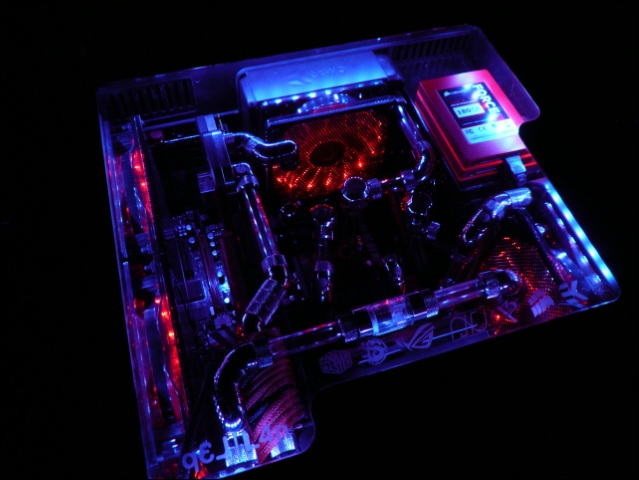
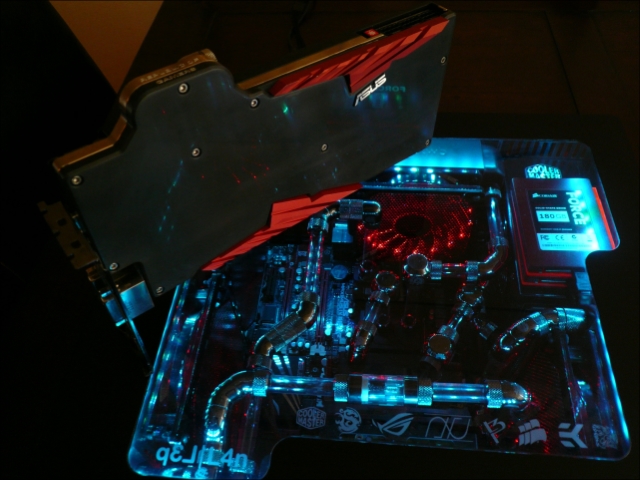
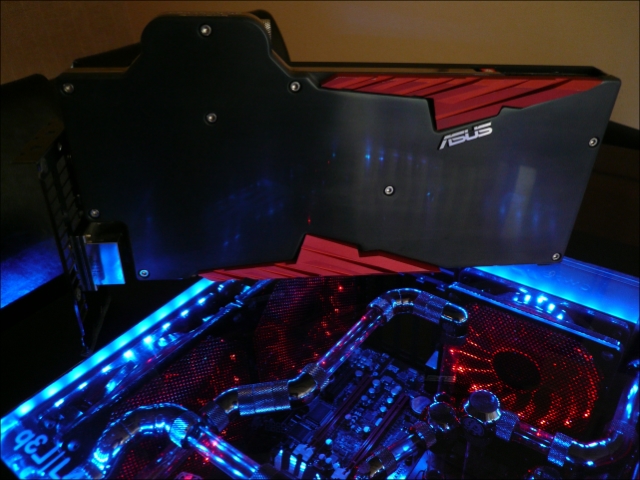
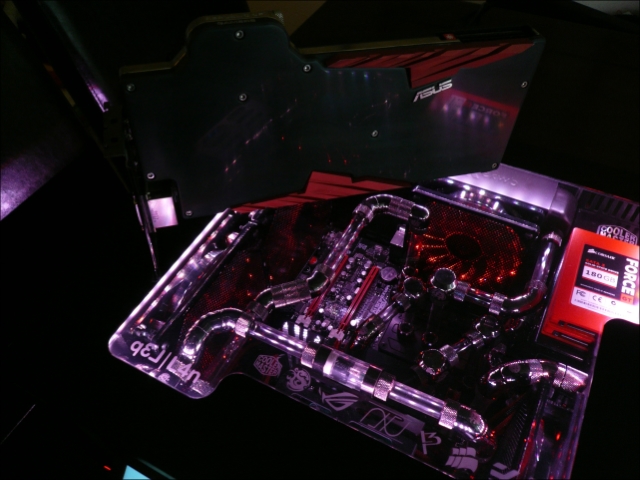
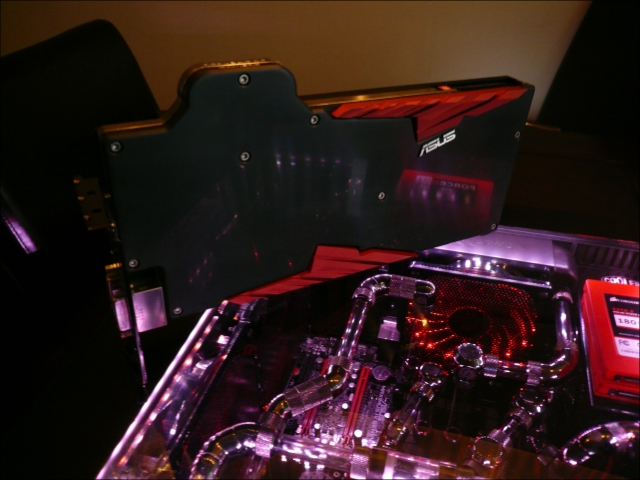
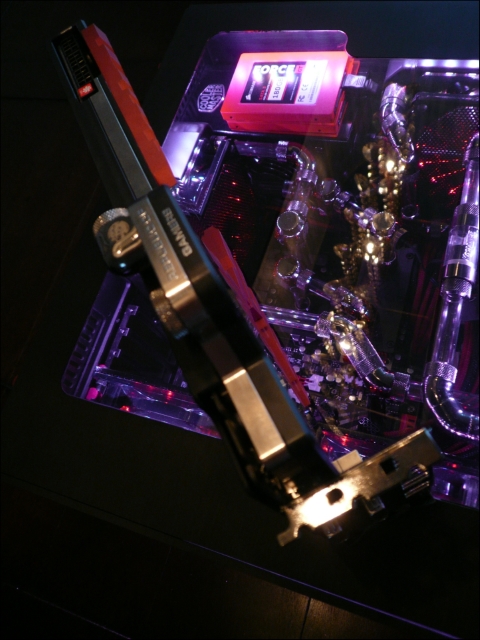
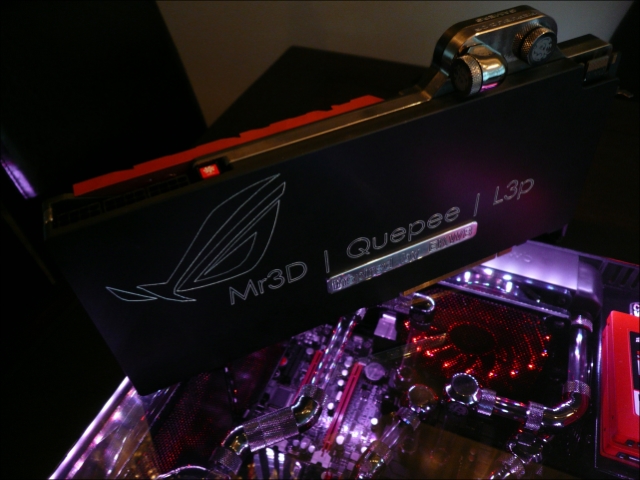
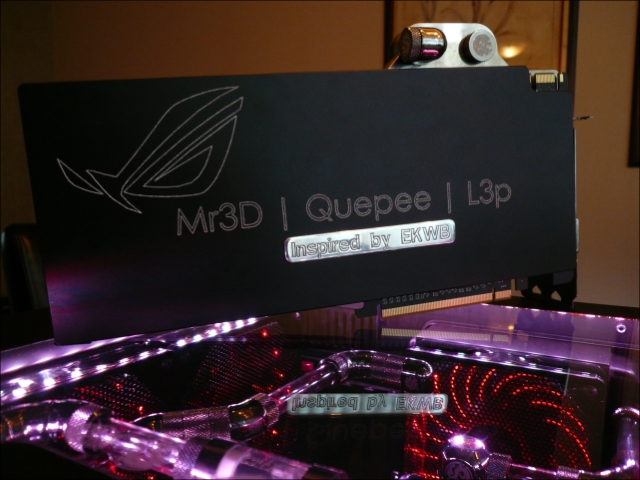
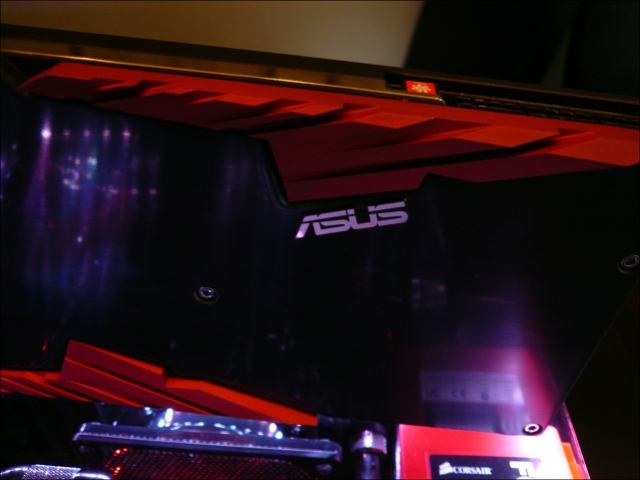
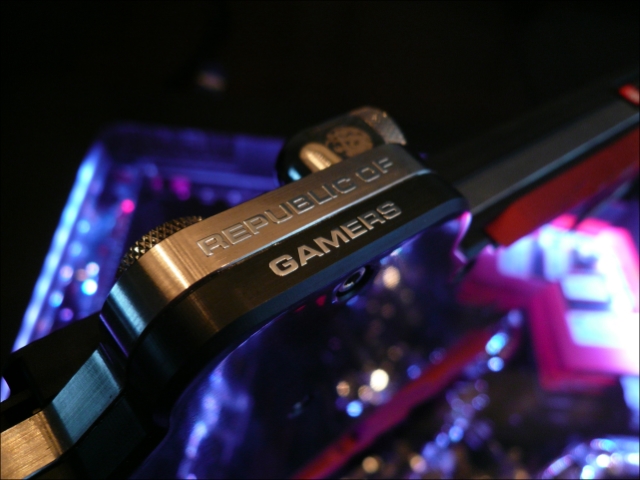
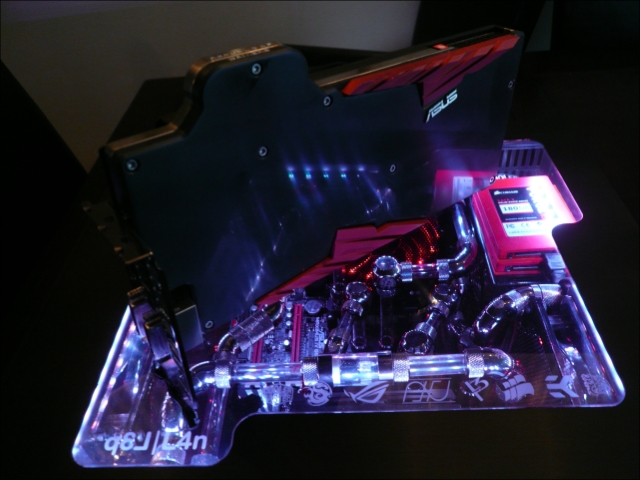
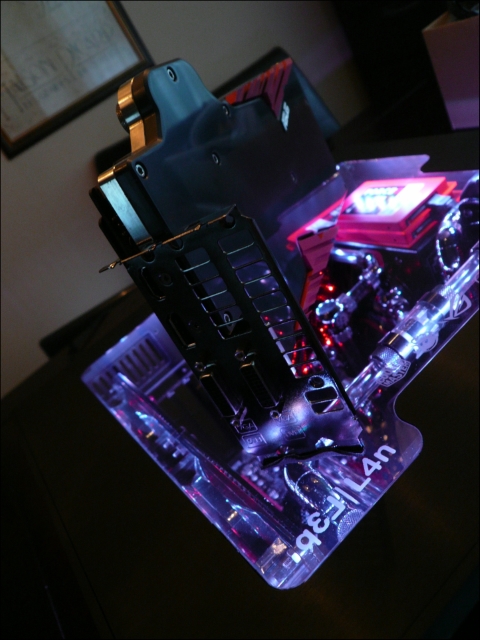
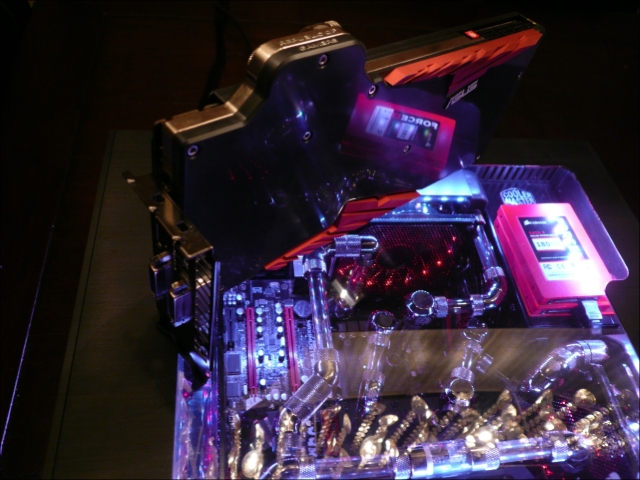
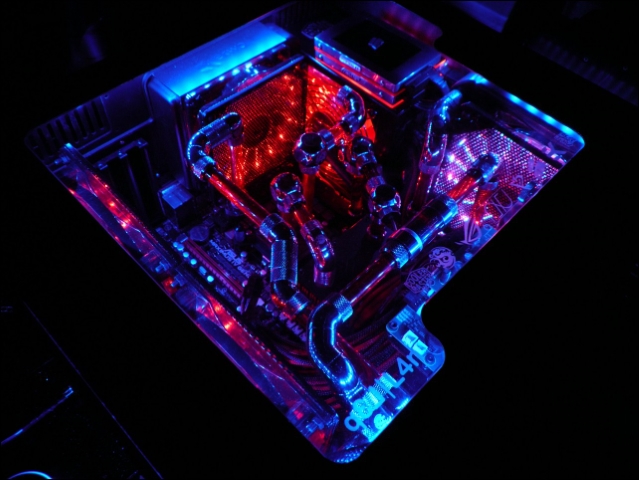
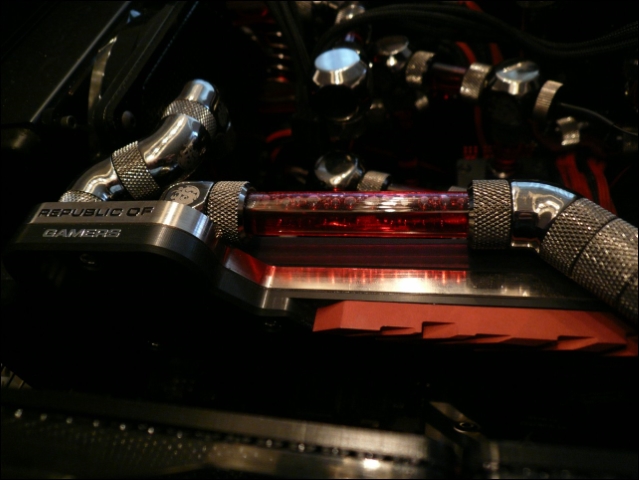
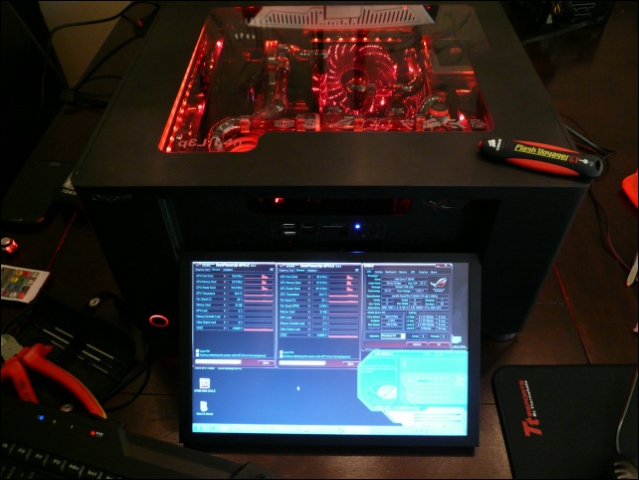
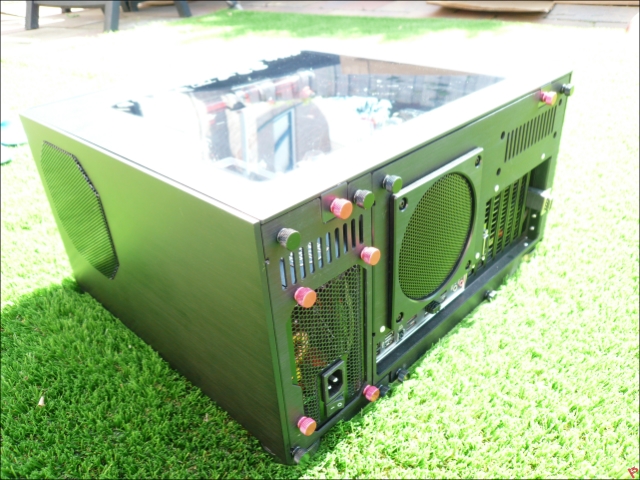
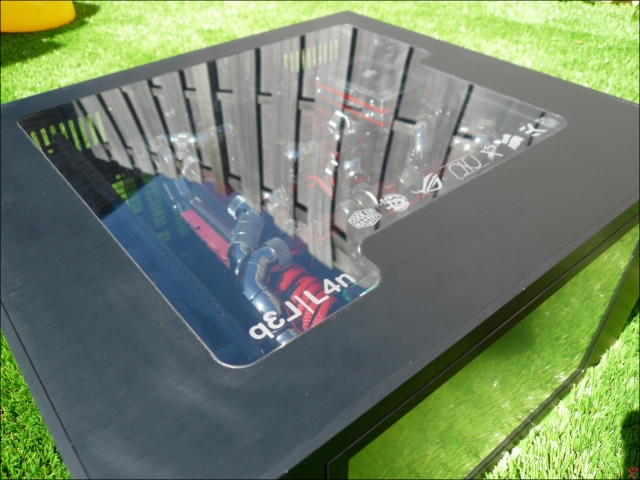
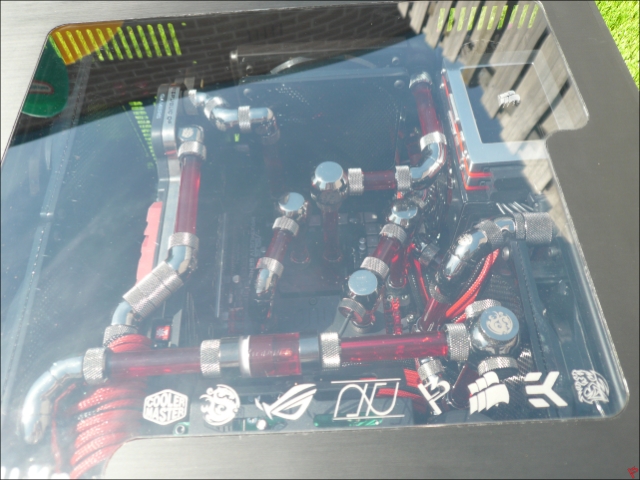
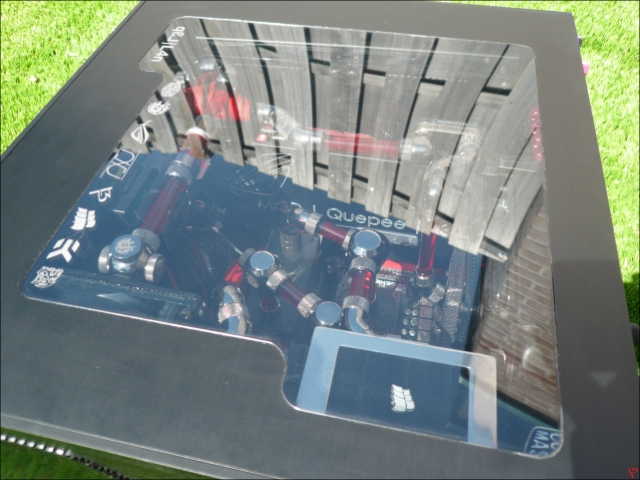
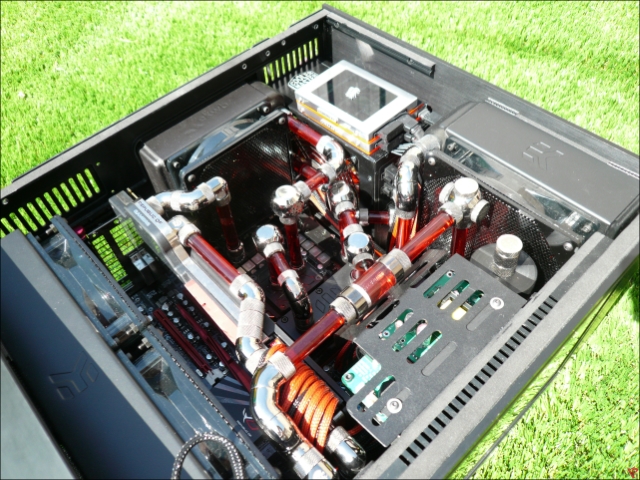
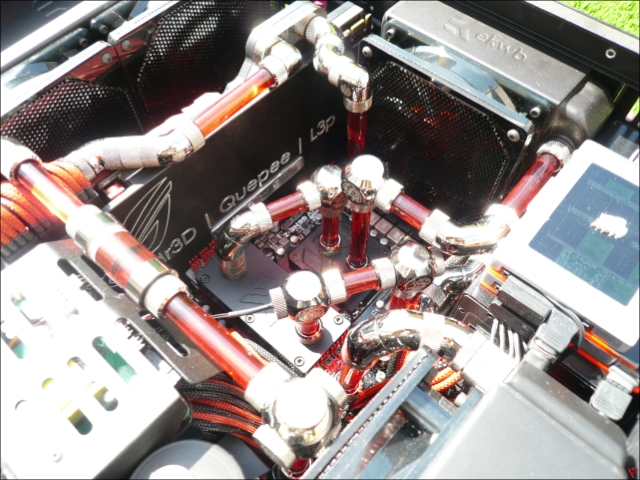
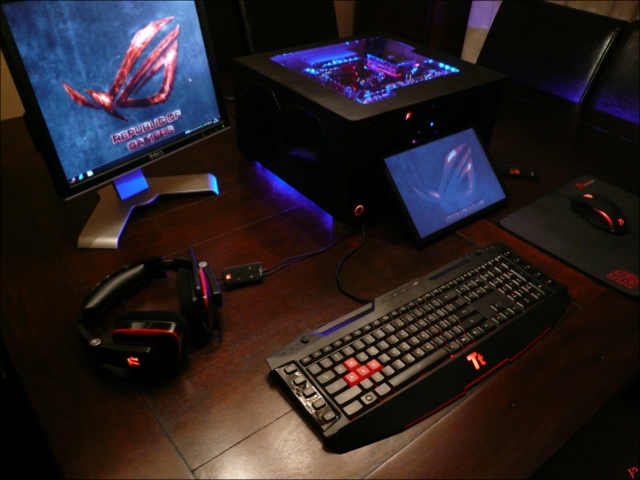
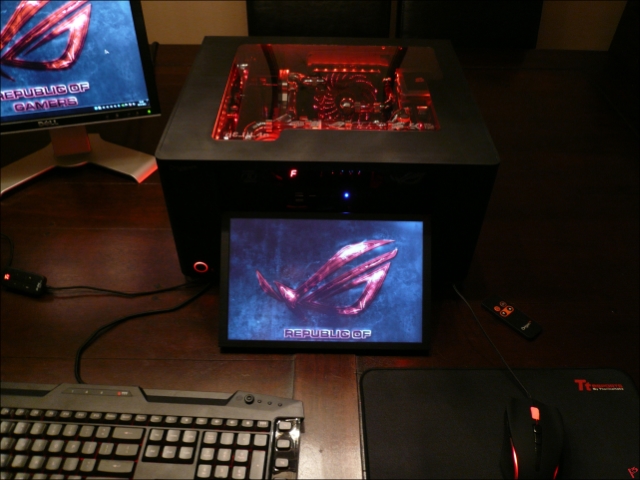
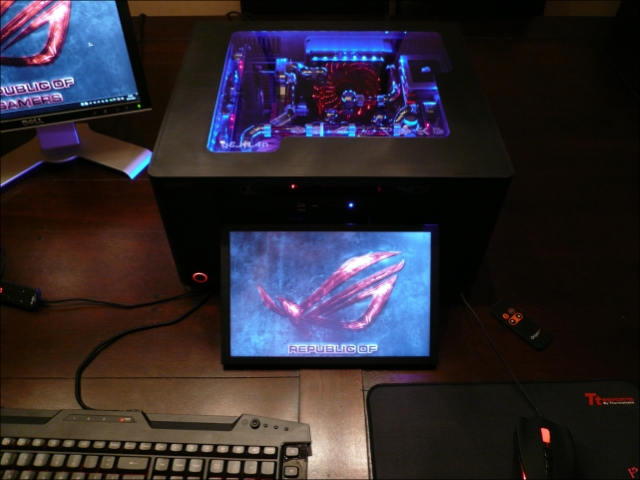
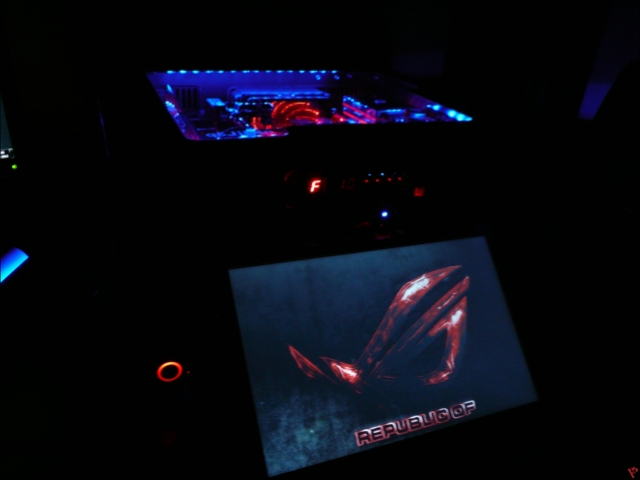
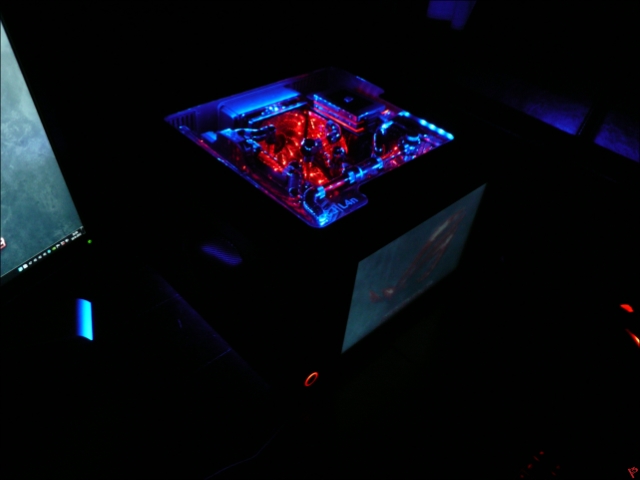
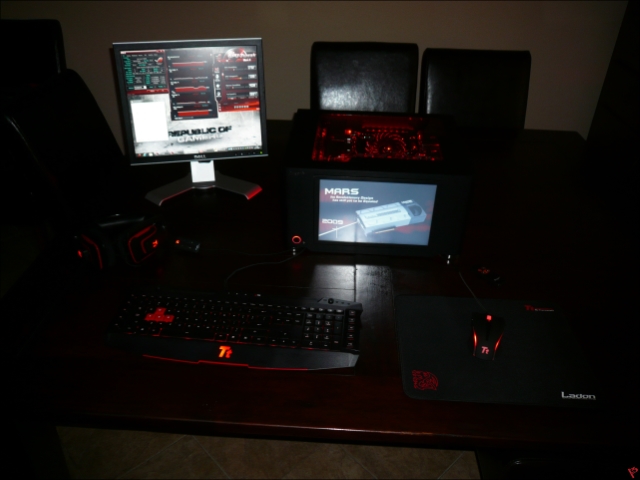
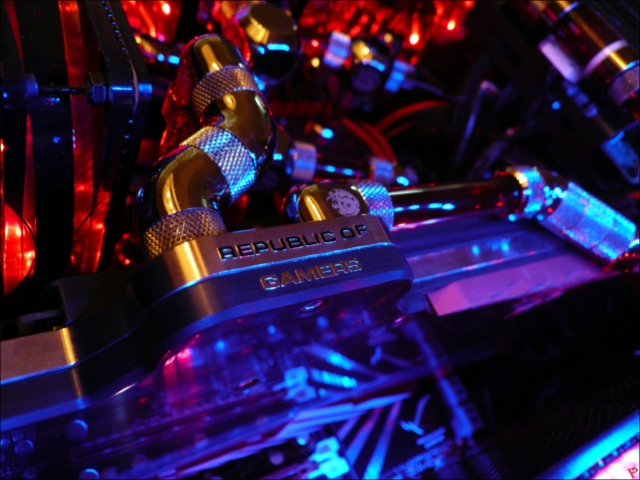
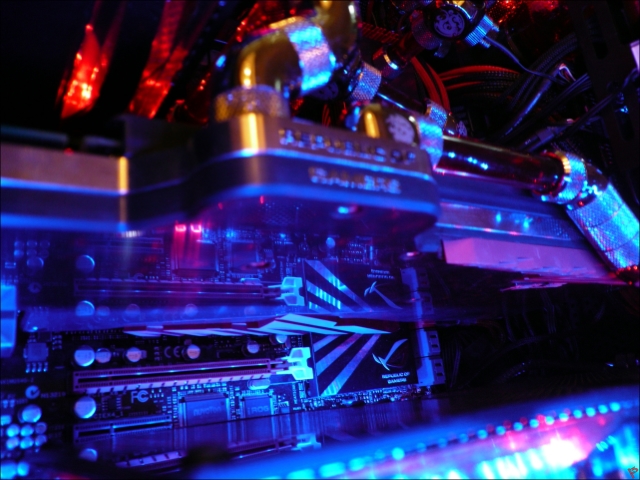
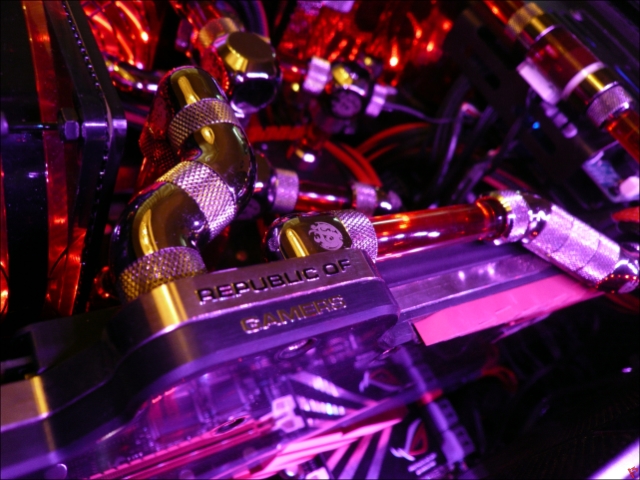
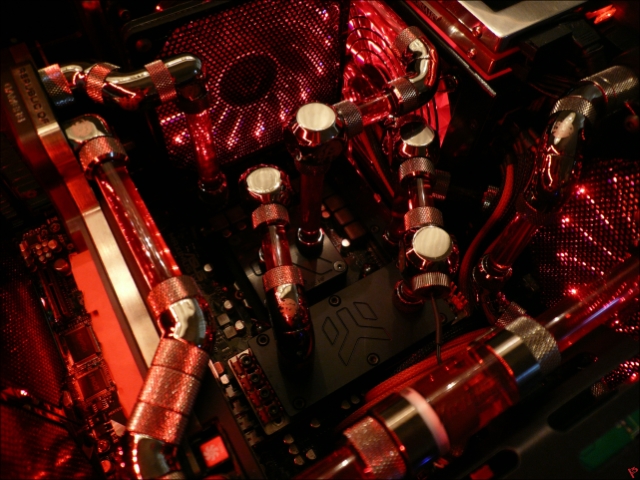
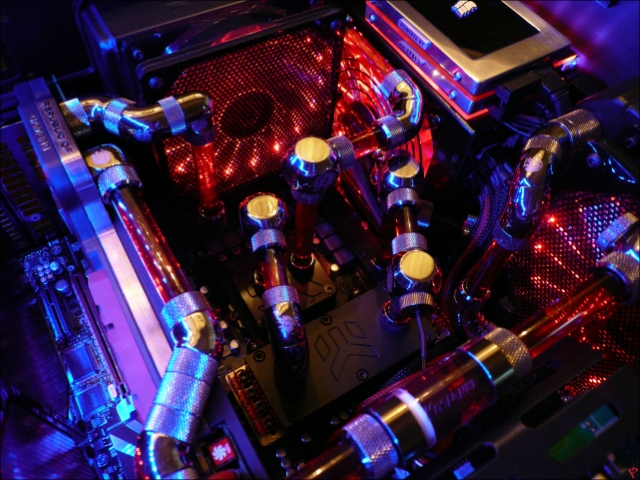
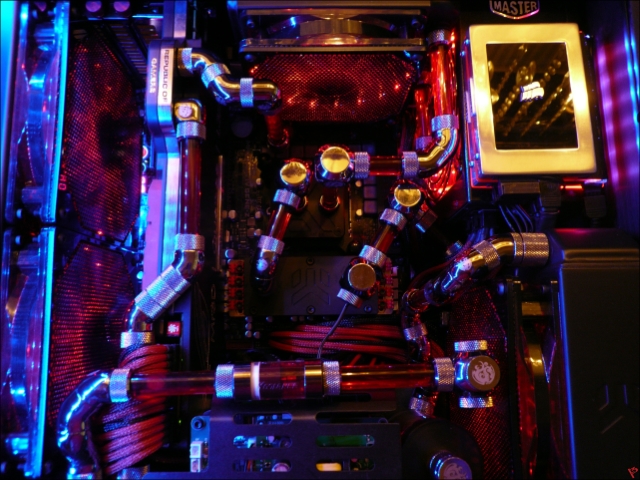
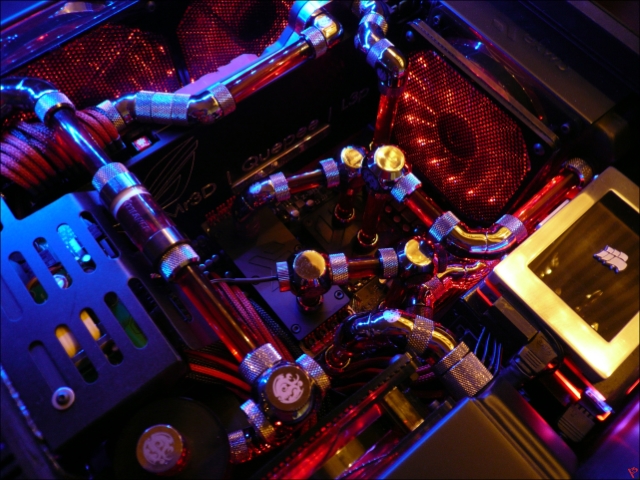
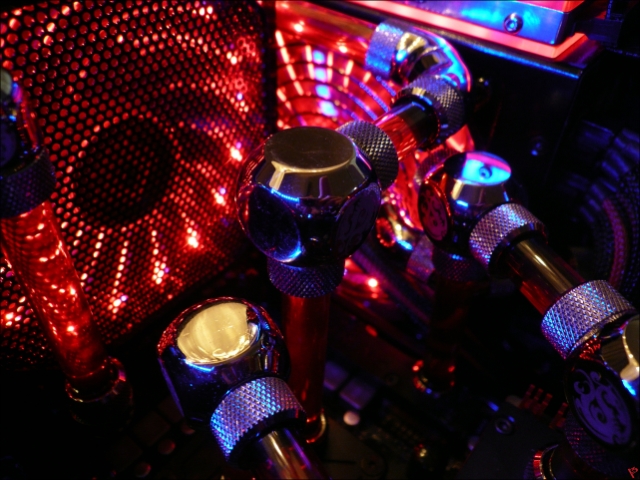
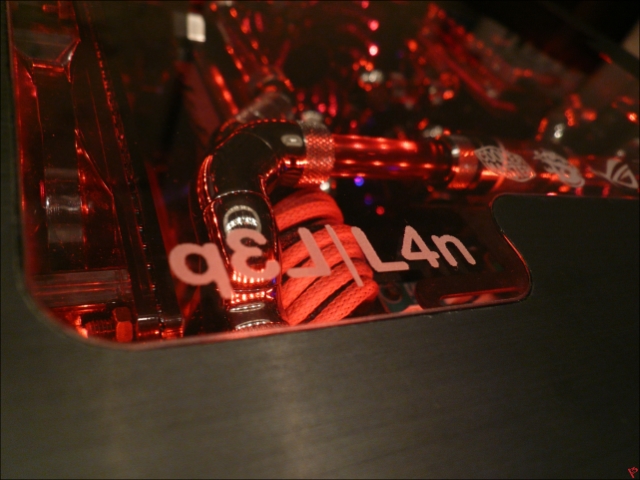
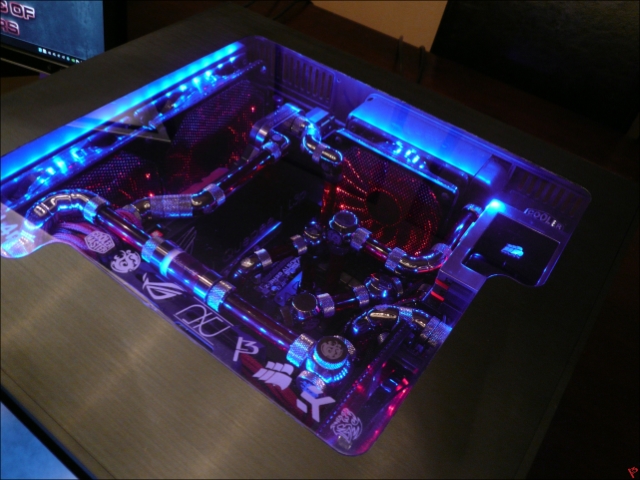
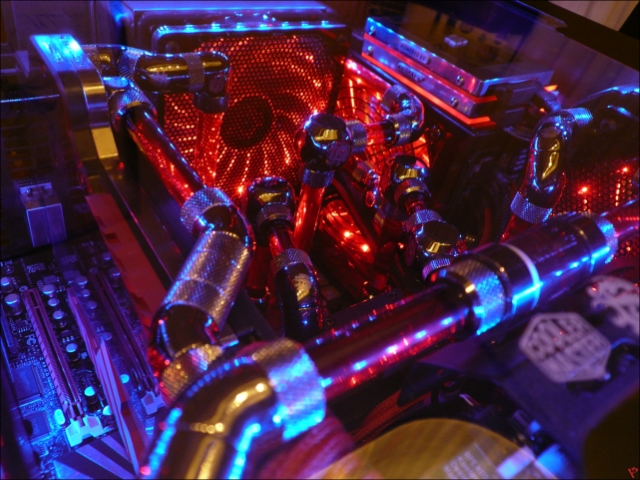
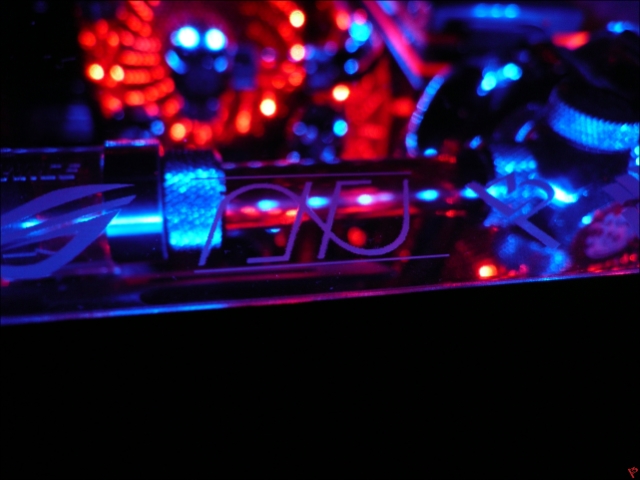
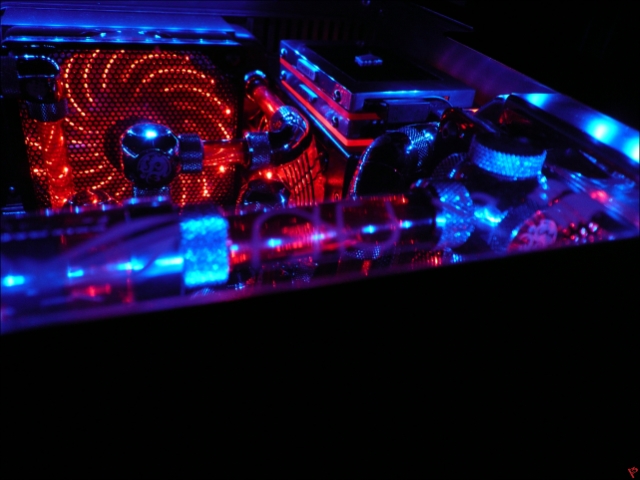
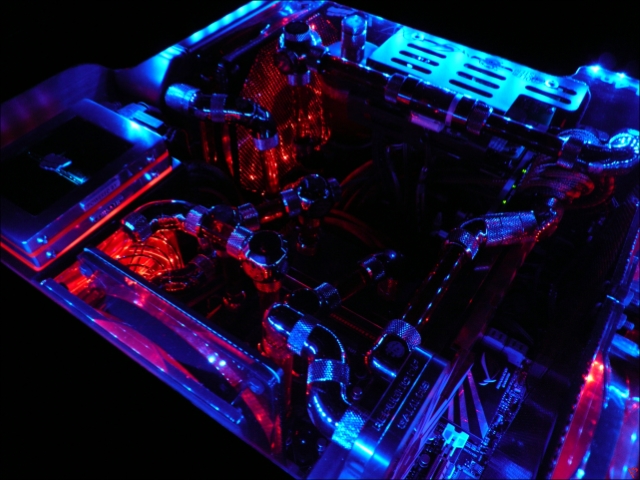
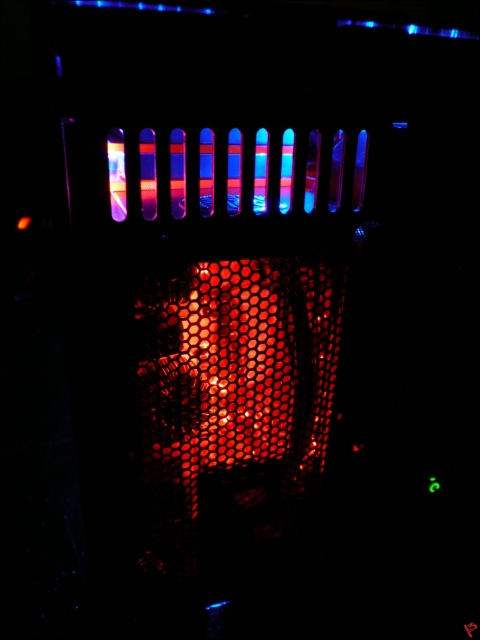
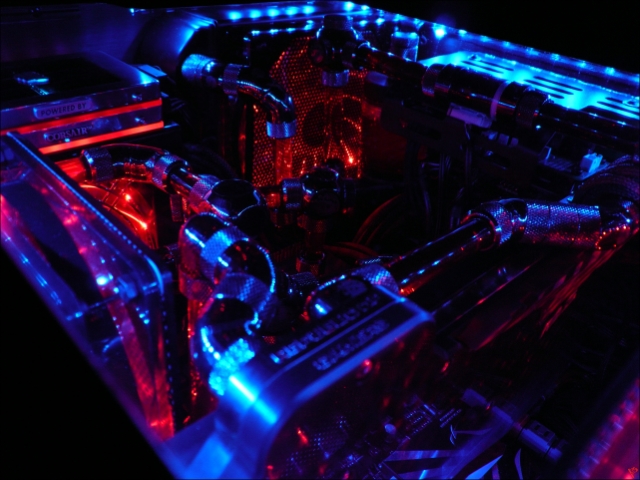
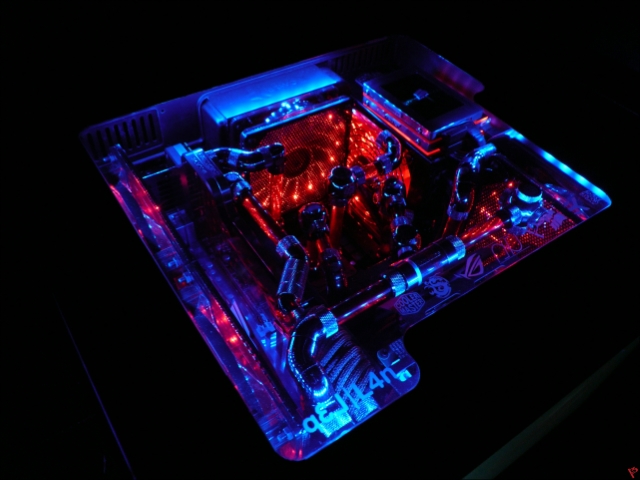
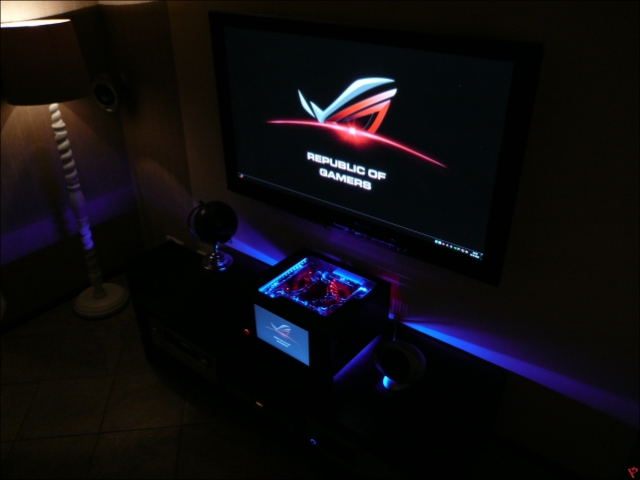
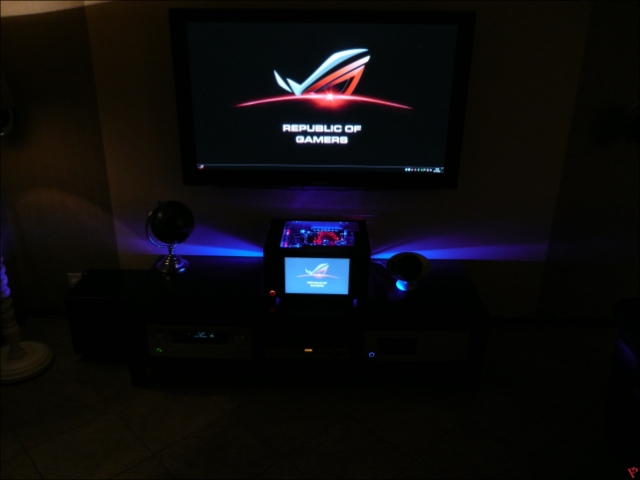
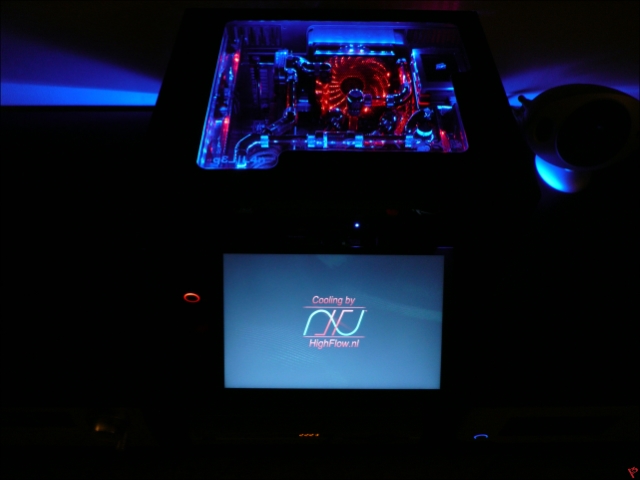
And here the final photos from L4n :)
(sorry for the amount)