I'm with enigma. Thats a lot of booty you got there. But I am curious as hell where you are going to put all of the wires. Good stuff man.

Printable View
I'm with enigma. Thats a lot of booty you got there. But I am curious as hell where you are going to put all of the wires. Good stuff man.
Hi Guys,
I have managed to get a little more work done on the case, in half hour slots throughout the week. I wanted to get the pump mounted, but not where I had planned.
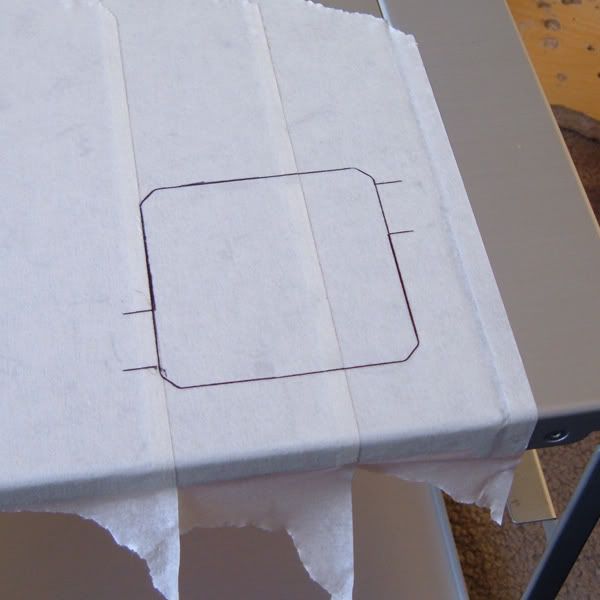
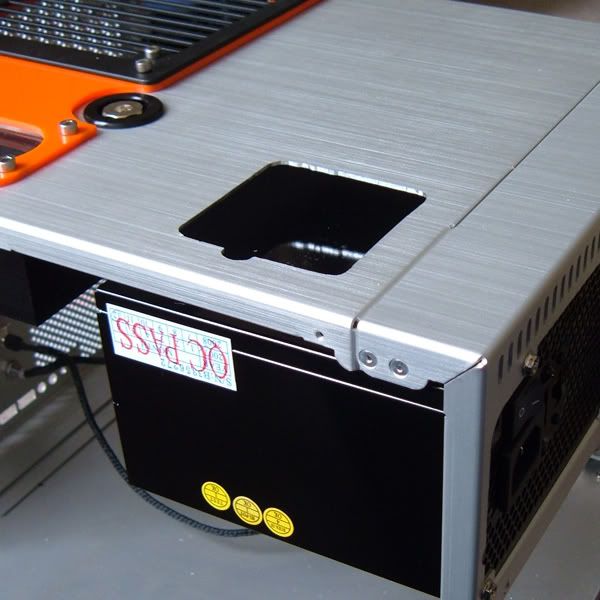
I marked out the top of the case for cutting:
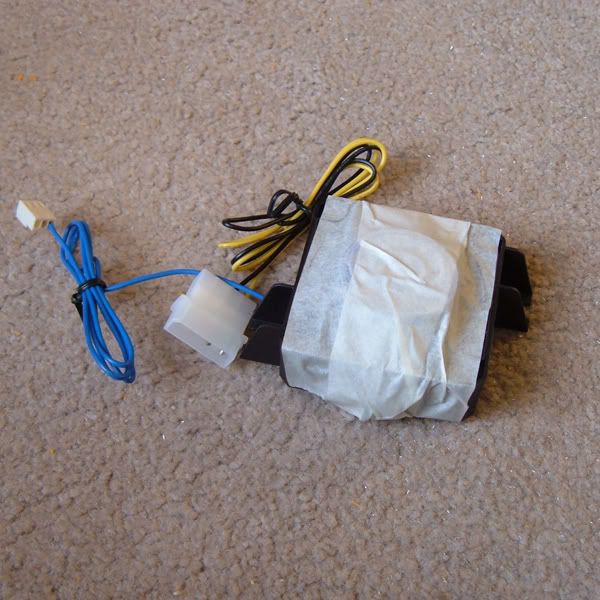
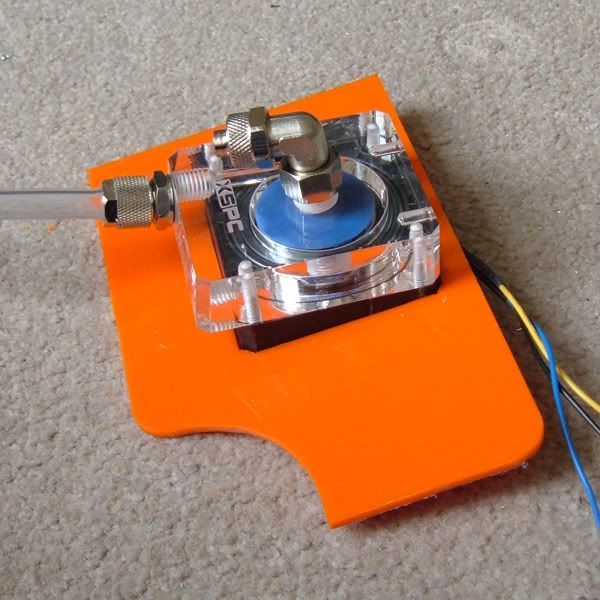
Masked up the top of the pump:
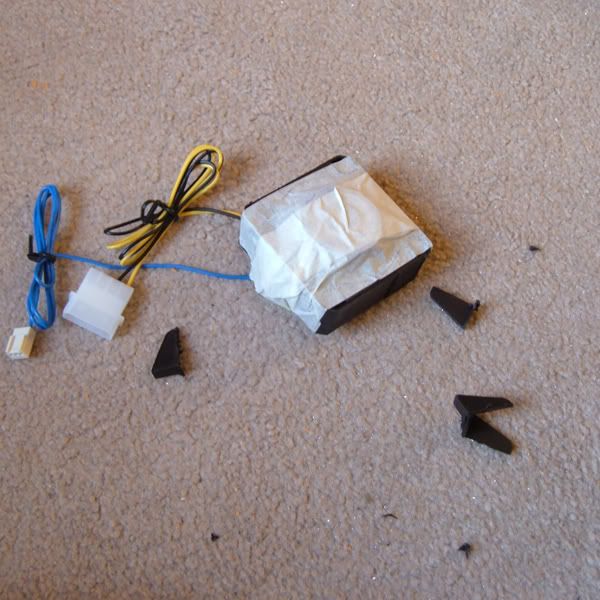
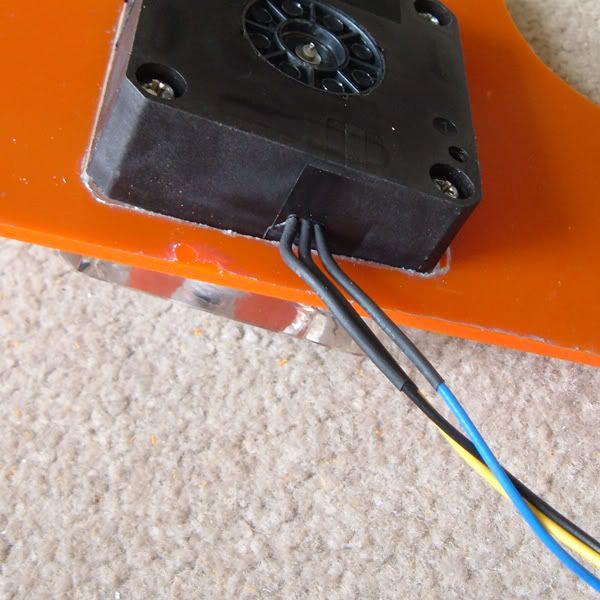
And removed the mounting brackets:
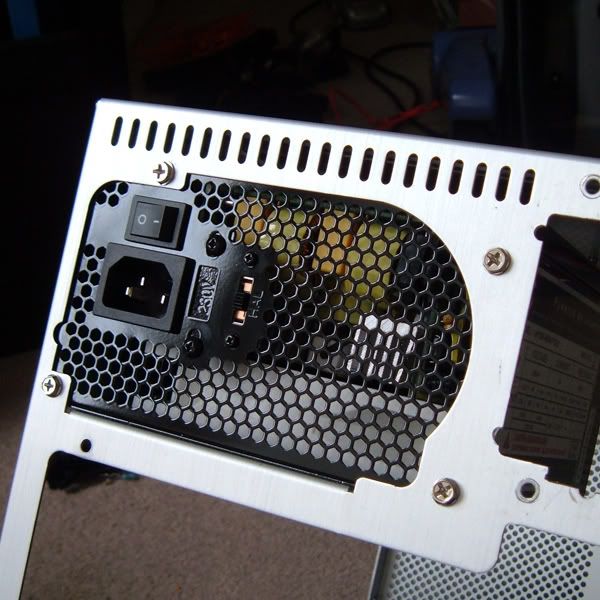
Then fitted the PSU:
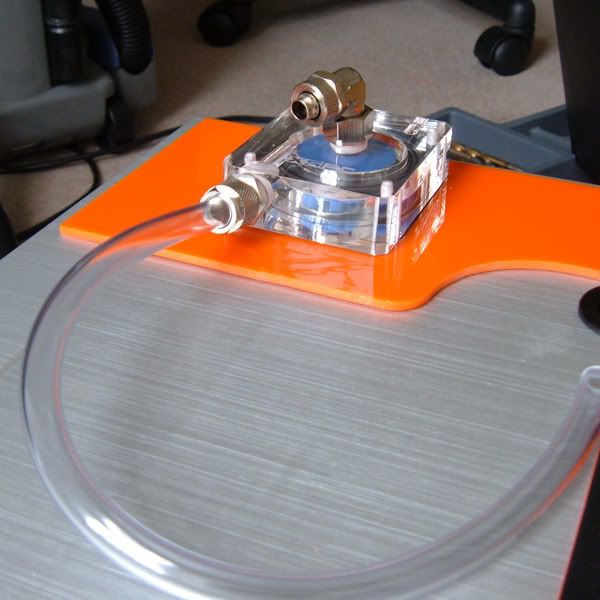
Between the PSU and the top of the case is a gap perfectly sized to house the black part of the pump:
So I cut a sheet of acrylic to surround the pump on top of the case:
Heat shrinked the wires to stop them getting damaged:
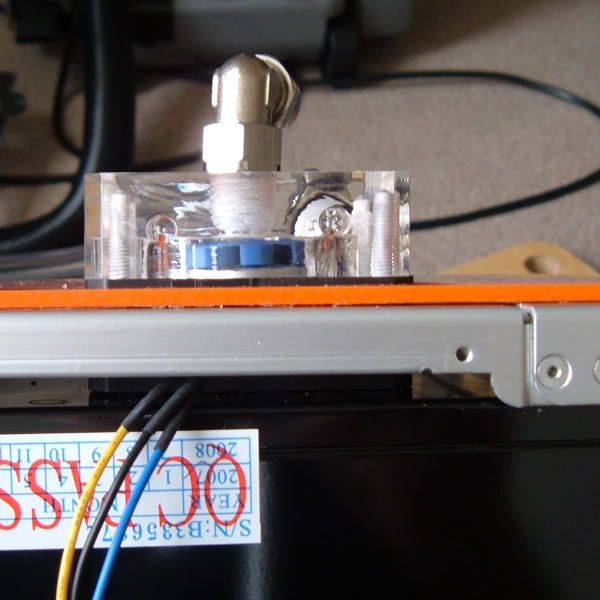
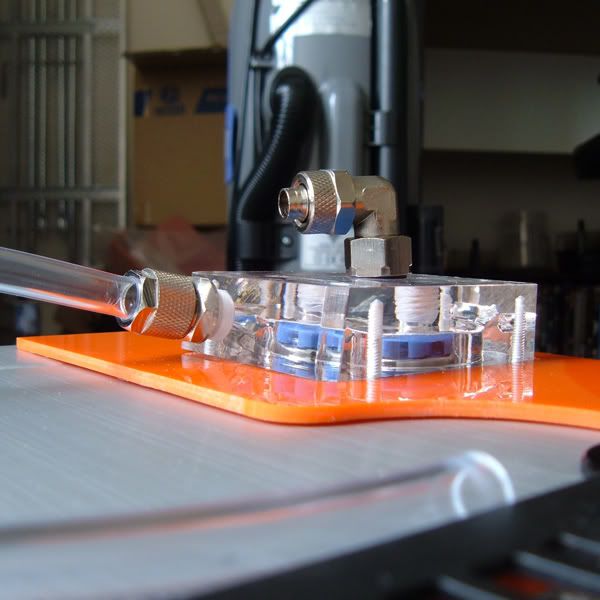
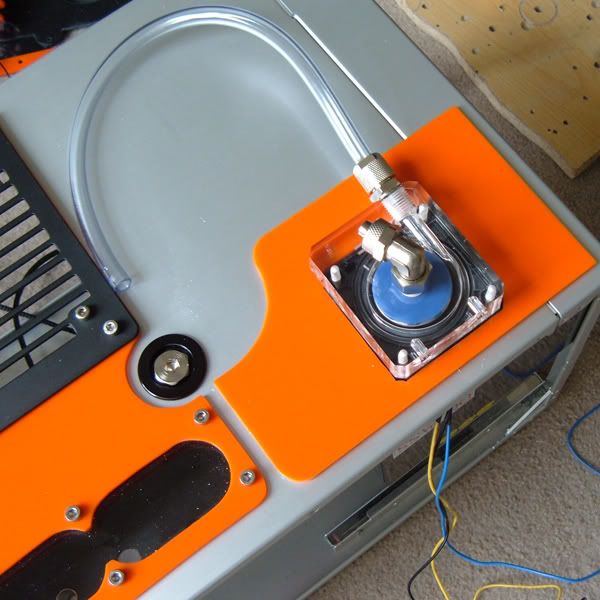
And mounted the pump:
With the pump mounted here I can have tubing running across the top of the case without having to split the loop.
I have never mounted a pump so high in a loop before as have read it is best to mount at the lowest possible location, but given the loop is closed I cant see it making any difference.
Still a bit of work to do on the pump but you get the general idea for now.
Thanks for reading
Xperiment
Very interesting idea. I like it.
Great casemod! :bowdown::bowdown: It's not easy to make a good looking Lian Li case look even better, but you are doing it.
the idea of getting the lines from the pump both at the top of the case is a great idea. I would never have thought of that.
Your work is (as always) very very good! keep it up!
Awesome idea of mounting the pump top on the outside of the case. I may incorporate that into my next mod. May be hard to do with D5s though lol.
I was hoping you could post a lot of pics when you put the switches on. I wanna do that but I haven't a clue what to buy, what to do, or how to do it lol. Much appreciated.
-Fuga
that is awesome X...lemme know how the pump works there...im still plotting my mod :D
Wow man thats a really nice mod you got going there keep it up, cant wait to see it finished
Thanks everyone for the comments. Just wish I had a little more free time at the moment, still things are getting there just very slowly.
I have started on the mass of wiring that's no doubt going to give me quite a headache! First off I wanted to get the switches on the front panel mounted.
These being:
A key switch, just simply across the power switch line to stop the PC being powered up without the all important key. I have some plans for this key but need to order some stuff first :)
Power switch, a simple push to make
Reset switch, again push to make.
I will post up some before and during pics when I get chance to upload them, but for now here is the after:
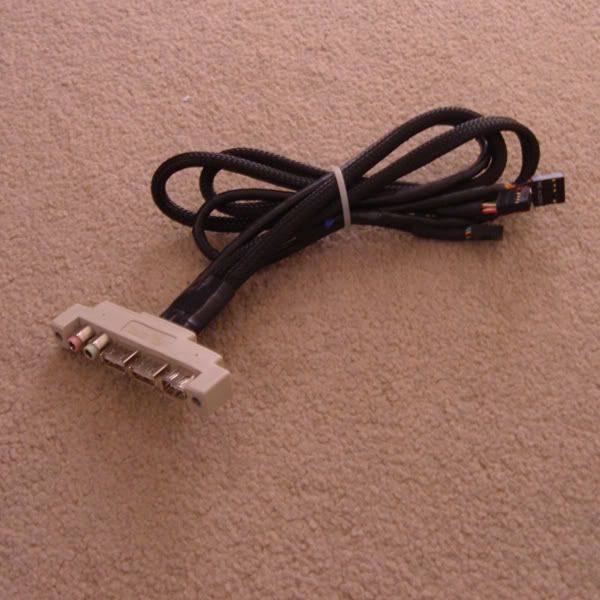
You may have noticed the two LEDs next to the USB ports. These are the power and HDD LEDs (white) I took the standard front I/O unit and removed the audio jacks and replaced with LEDs:
I would never have used the audio outputs so this seemed like the perfect place to mount the LEDs, clean tidy and rather posh looking LOL
Hope you like, Thanks for reading
Xperiment