very nice. I'd suggest maybe making the lines between different paint colors (like the grey to the black) a little rougher so it looks more natural. +rep

Printable View
very nice. I'd suggest maybe making the lines between different paint colors (like the grey to the black) a little rougher so it looks more natural. +rep
I'm in the home stretch now!
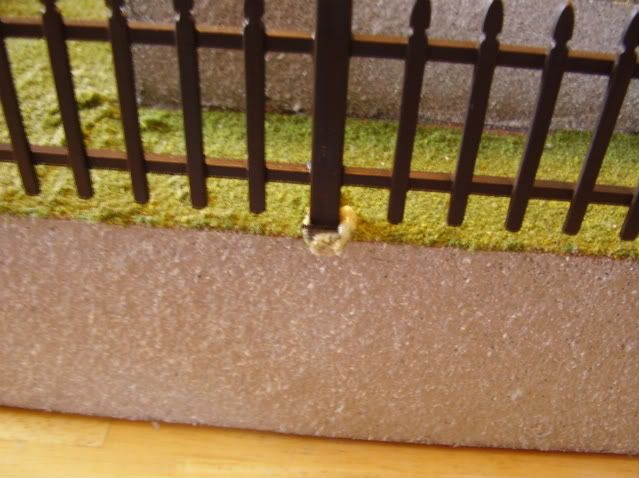
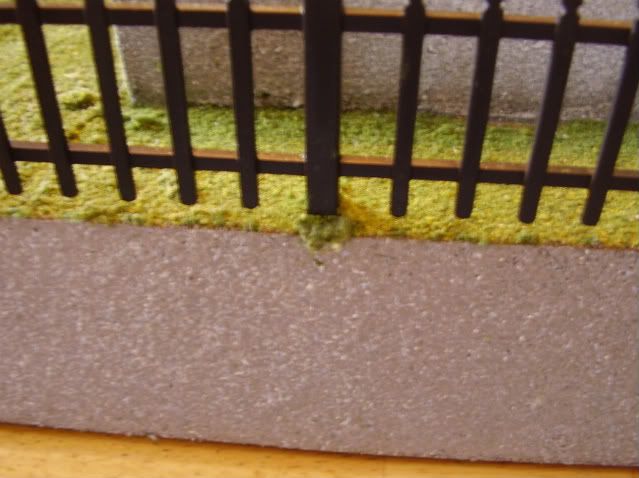
First part that I worked on today was some touch up work on the graveyard fence. When I glued it down, it left obvious dried glue globs, plus the base of the fence pieces was fairly visible without grass covering it:
The solution here was just some Elmer's glue and some grass covering sprinkled on.
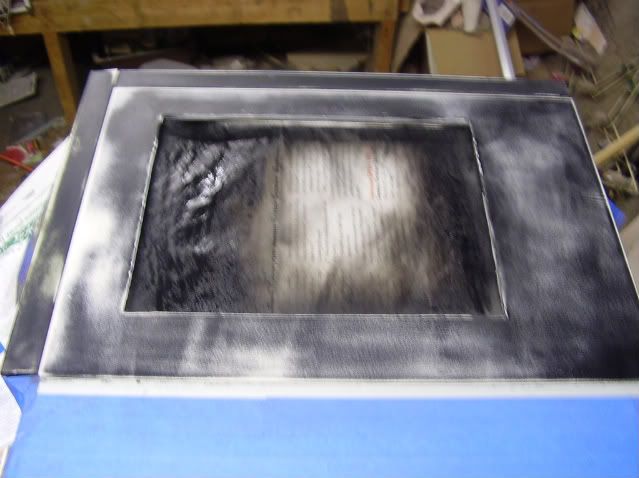
Well, that was a quick little easy project. After that, it had to move on to bigger and better things...like finishing up the side panels. Much like the top, I was displeased with the quality of the paint job, so I needed to sand it down and redo it:
The first side didn't require much more than a light pass with the 1500 grit to smooth out the spots on it:
The other side, however, needed a lot more work to get down to a smooth, blemish-free surface:
A fresh coat with quality paint, and I was back in business:
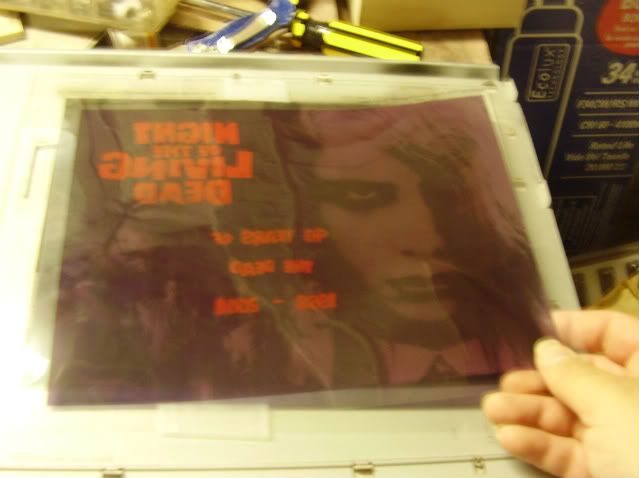
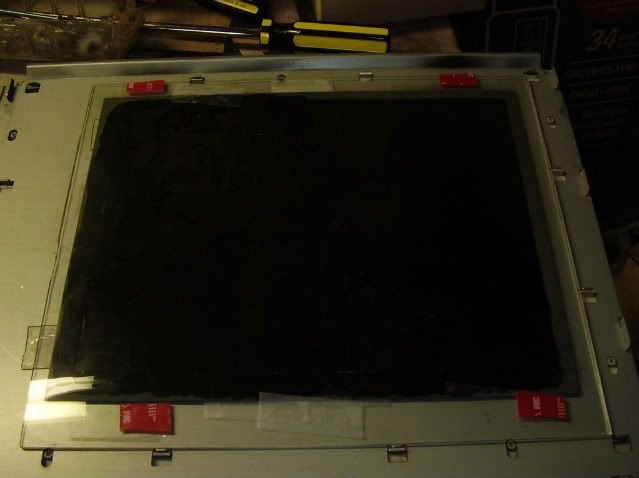
With those finished, and the paint dry, I moved on to finalizing the NotLD picture window side. While the paint was drying, I cleaned and polished the plexi pieces so that that they were ready to go when the panels were done. With the window back in, I set about laying in the freshly printed transparencies:
With some fresh super tape laid down, I sandwiched these sheets with another piece of plexi:
Next step: Lighting.
One of the main problems with lighting this panel is that I don't have room behind the mobo tray for CCFLs. One on the top and bottom would have been great, but I only have space for one in front by the drive bays. On the other hand, LEDs don't put out enough indirect light to be practical on their own. On the other, other hand that EL wire was freakin' useless.
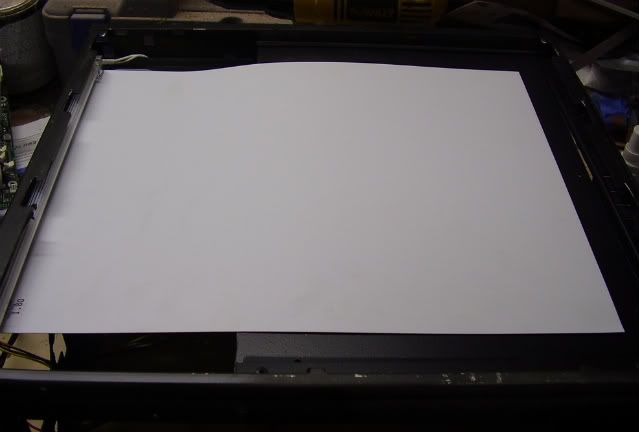
The solution:
By laying in a thin sheet of styrene, it will act like the foil bowl in a flashlight and reflect indirect (and softer) light back at the window...
...in theory. :rolleyes:
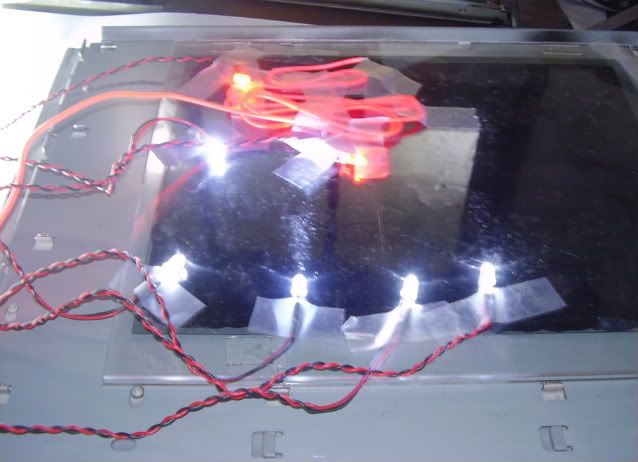
To keep with lights where I wanted them, I first taped them down to get a layout set.
Once laid out, I affixed them with hot-melt glue. (Between this and the Elmer's, I feel like I'm in arts and crafts.)
Now, you will note that the EL wire is on there, but that was only to give it a go. Once the glue around it dried, it blocked what little light that was illuminated. (NOTE: I know the glue gun is pink. It's my wife's.)
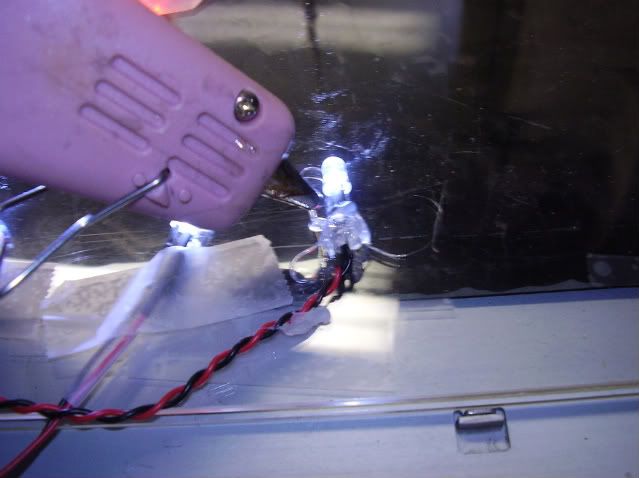
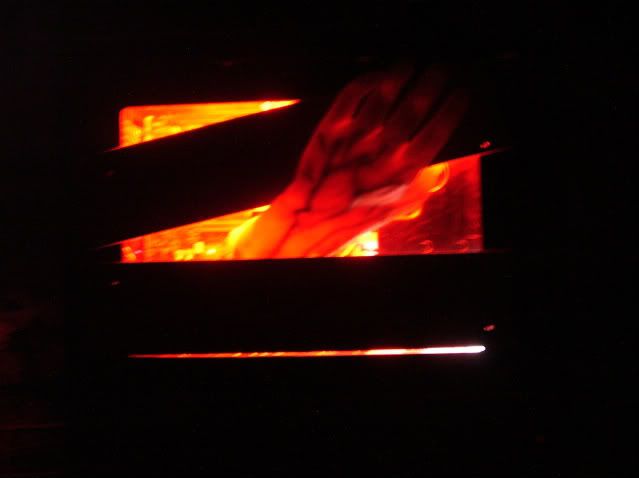
Now, the moment of truth: Did my idea of a reflector work?
Yes. It. Did. Sweet.
I'll be back in a little while with another update where I test fit every on the case.
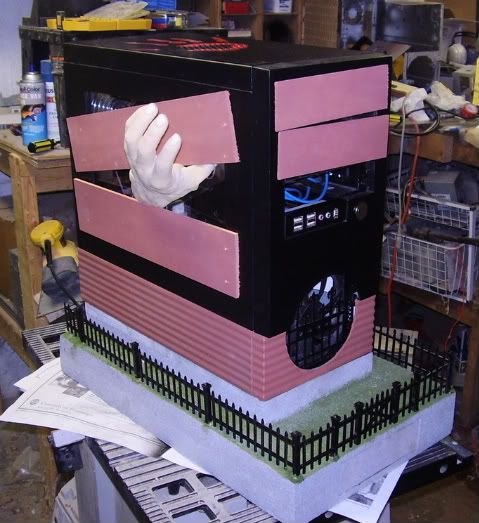
It's high time that I put this stuff all together, light it up and see how it looks - doncha think?
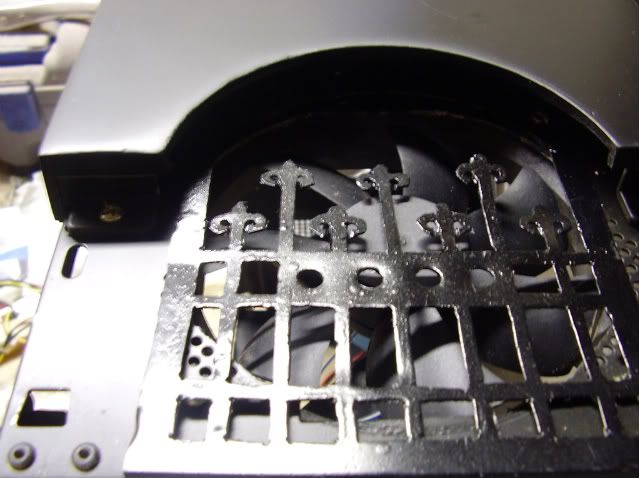
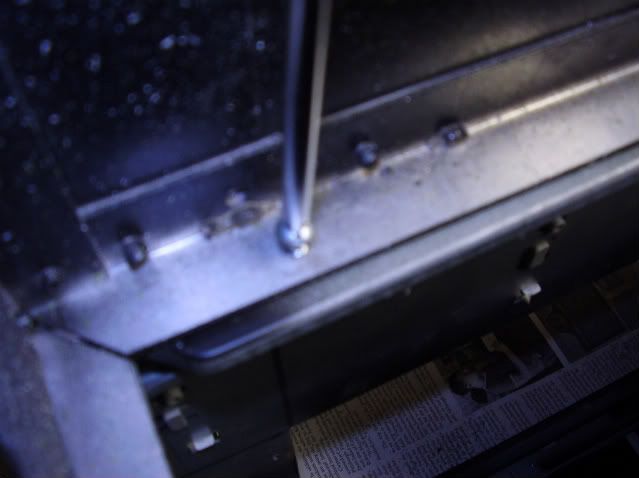
The bezel goes together rather nicely over the grill, which is screwed in with the front fan. The bottom "wood" piece just snaps on over that. Next, I flipped the whole thing over and screwed the base on. This is done with just a few machine screws up through the base-frame:
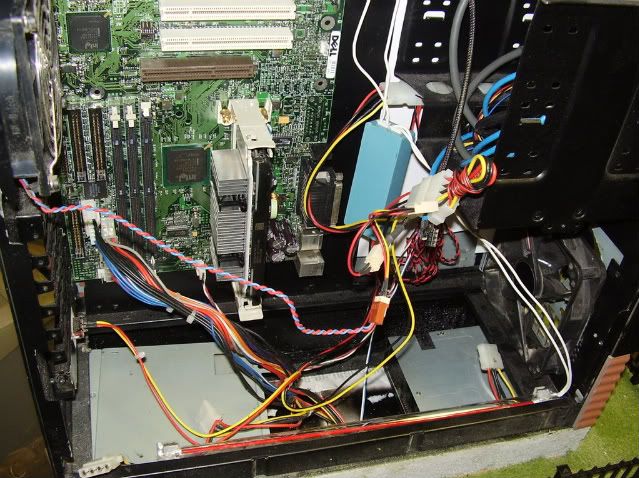
The LEDs are all connected together, and then taped up out of the way under and behind the drive bays.
Even so, I'm going to do some serious wire management when I fit all of the actual components in place in a few days.
NOTE: Yes. That is a slot-type mobo hung upside down. This is my test board, and my test PSU doesn't have a long enough power cord to make it from the bottom of the case up to the connector.
Closed up and redy to go:
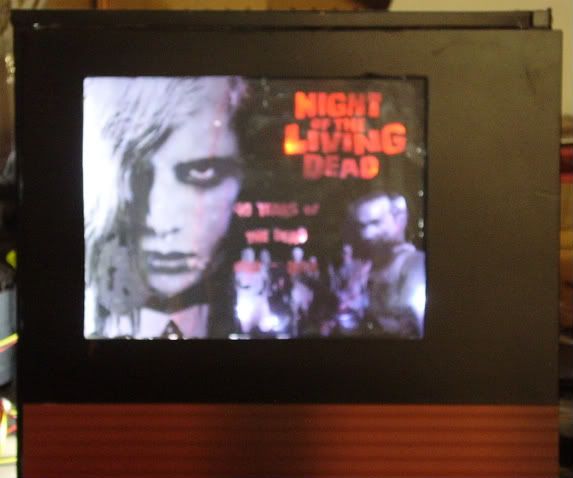
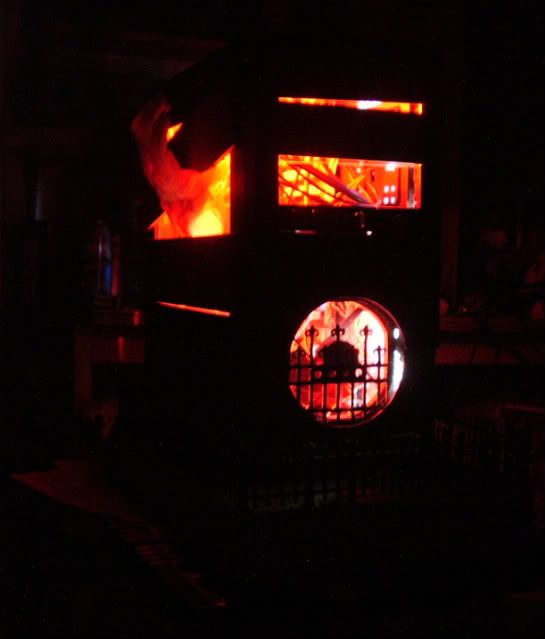
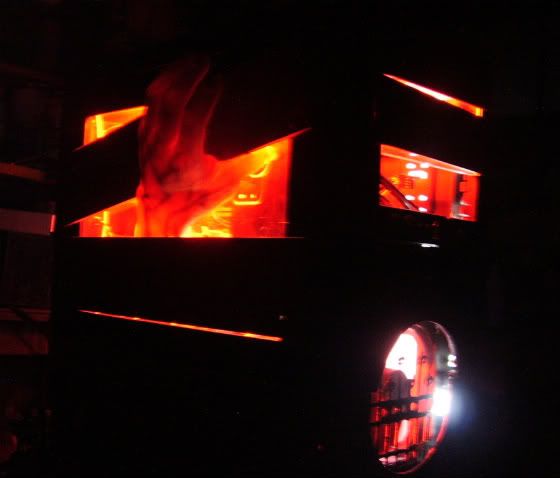
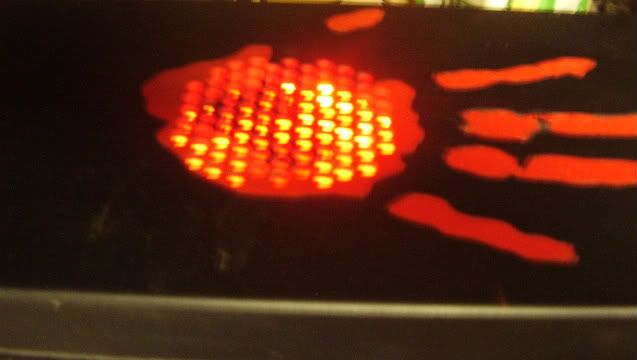
Next step it to fire it up, turn out the lights and see what we have:
Almost done. I pretty much just need to fashion the HDD cage, install the tombstones and swap in the final components. I see no reason why I shouldn't be ready for the 40th anniversary on the 1st!
(Probably shouldn't have said that...)
Wow, that looks mean all lit up!
The handprint's great, man - +rep for that, and the simple grass fix. :)
That's looking amazing. It's coming together nicely. Can't wait to see all the rest on there. +rep
Now that is looking awesome!! +rep
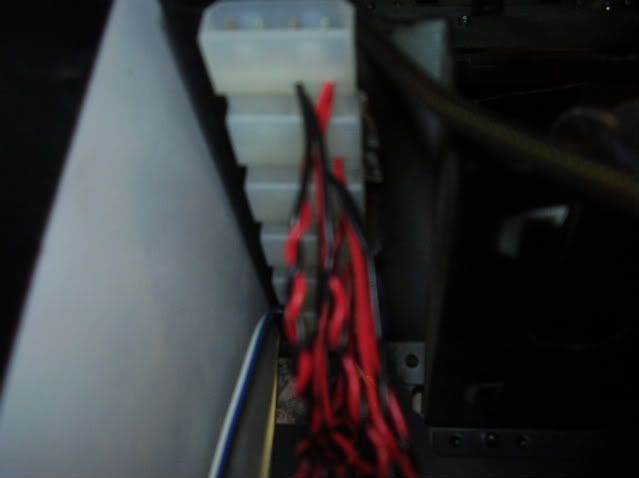
Think you could have fit any more molex plugs in there?
Quote:
Originally Posted by nevermind1534
Yes.
Not much additional work today...just spot-checking here and there. One bit of update I painted and installed a hard drive cage:
Tomorrow, I need to stop and pick up some superglue to affix the hand to the side panel, and then I'll probably start swapping over the final pieces of hardware.
great!!! and on the deadline lol get it DEAD line :)