-
Re: Project; Mark1
My lucky stars, an update! Not a huge one, though. I'm gonna keep working through the weekend, so hopefully some real progress will ensue.
Here is one thing I need to do, this part broke. Some jb weld to the rescue there.
What I actually have done so far,
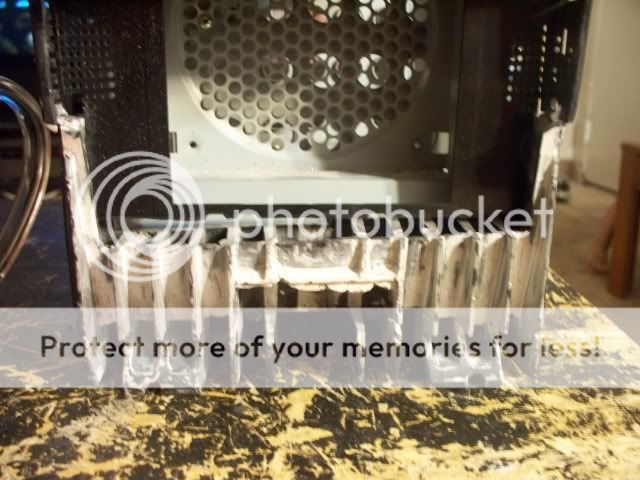
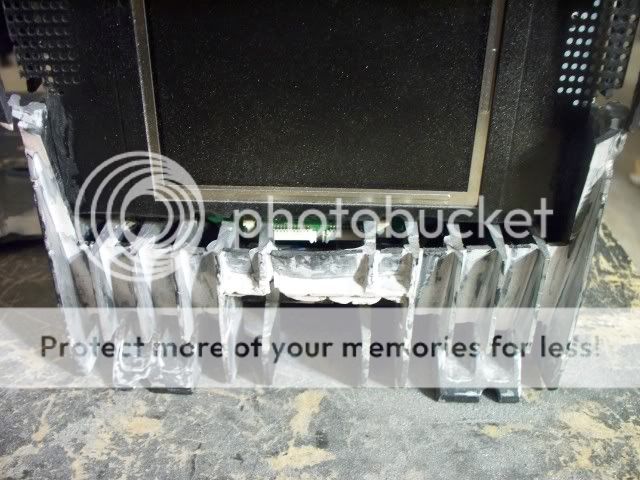
glued the piece for the monitor in place. Here I used a plastic epoxy instead of JB. I thought I would spice it up a bit lol.
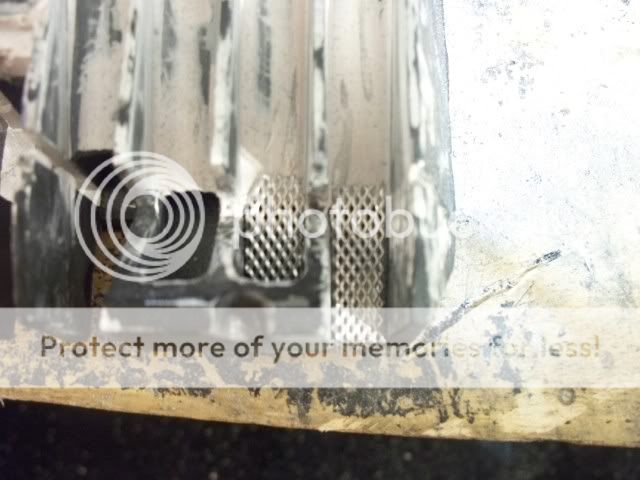
Then I cut it to the right length to match up to the heatsink. As you can see here, the cuts far from match up nicely. Oh well, I'll get it smoothed out, I always do.
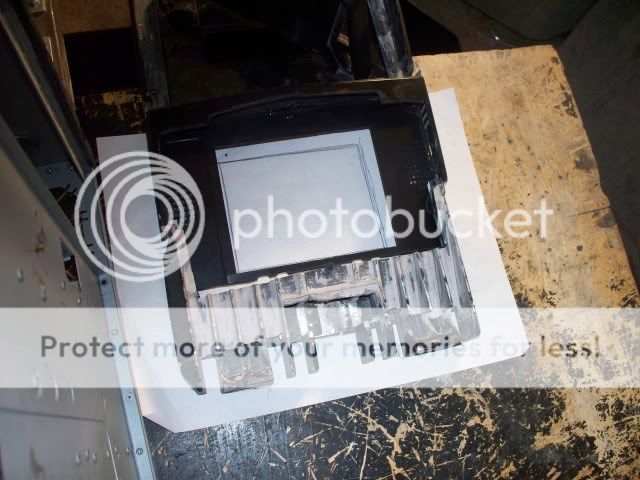
Now I have to make more cuts and stuff, and some of the areas I will be cutting away are actually areas that show me how the two pieces line back up. So, I got everything lined up pretty, then drew the outilne on paper, so now I have a template, should anything happen.
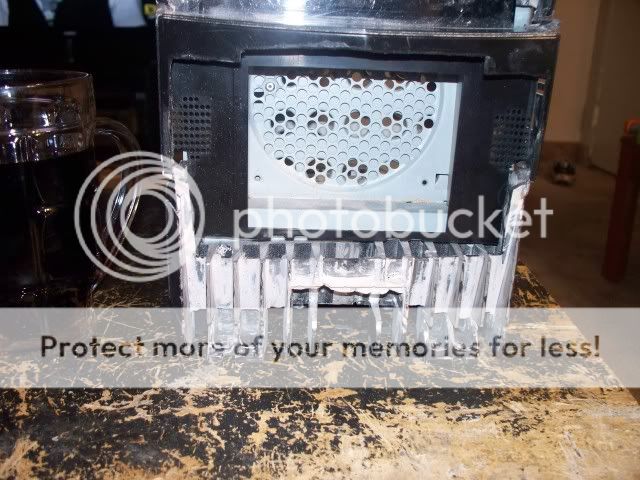
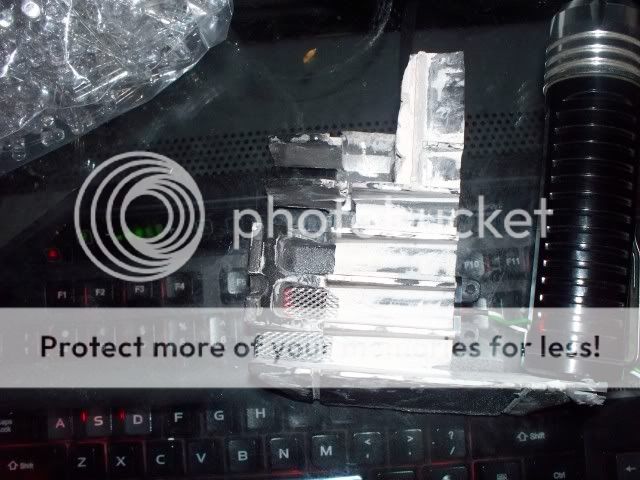
Then I started cutting away even more of the heatsink, to acommodate the pcb that's larger than the screen.
That's as far as I got then my dremelike started smoking pretty good. Whoopsie, guess that means I need to take a break. Oh yeah if you havent figured it out, I got a new dremelike. The ol' Black and Decker RTX, as well as a new flexshaft. Here is a pic I took trying to capture the smoke;
I really like it. Smooth, quiet... course my Craftsmen dremelike was older than three of my kids so I guess anything would seem quieter and smoother. My flexshaft is quieter, too. Think my old one was no good to start with maybe.
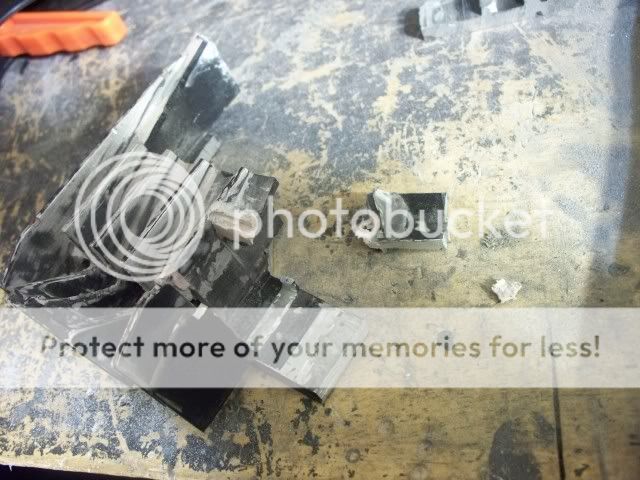
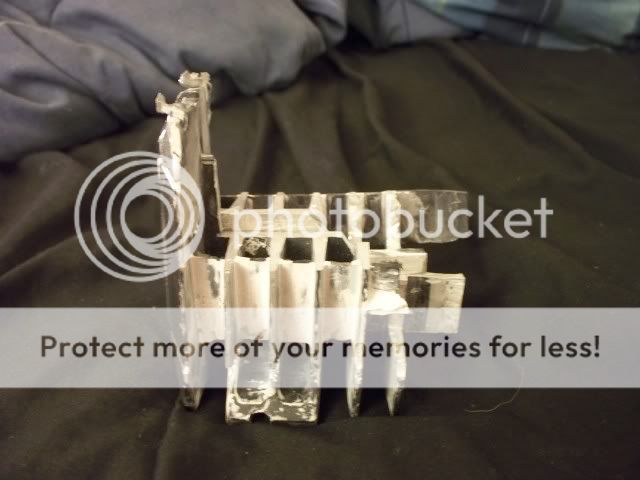
One more thing, I cut away this section on the side. Gonna put wire mesh there instead, and make it blend into the sides of the heatsink. The other side is cut identically.
Left me with this nifty lookin piece of scrap.
-
Re: Project; Mark1
Nice little bit of progress :D.
-
Re: Project; Mark1
Alright, got some more stuff done today.
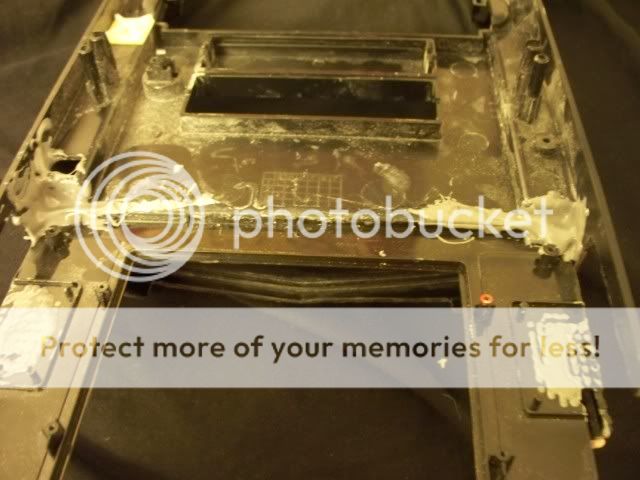
Finished cutting out the material in the back, to make room for the pcb.
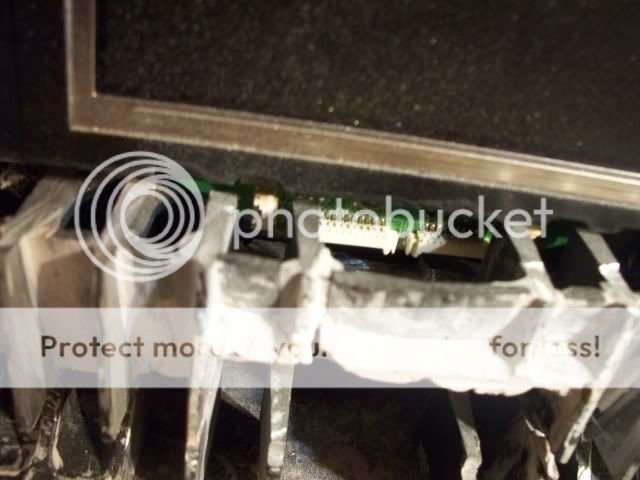
And, just when I was finishing the last bit,
Dammit! This crap is going to fight me every step of the way, I swear. Can be fixed, but more pita....
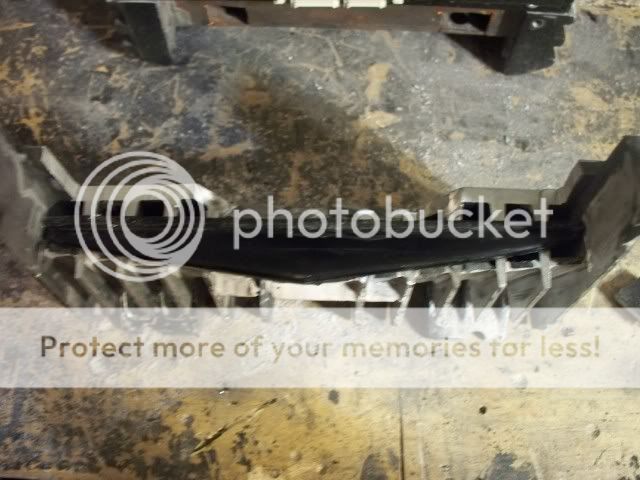
Now I need to cover and build up the bottom. Recognize this piece?
No? How about now?
I'm after the bottom of this. It has the angled front, like the rest, so it should match up nice...
Or not.
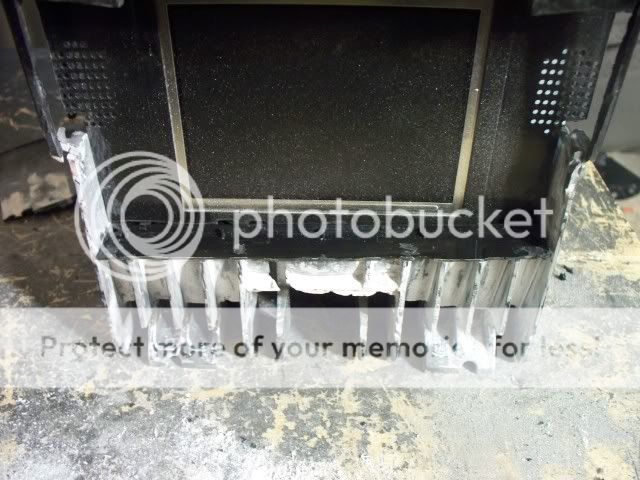
So, here's the little bit of plastic I cut off the bezel for the monitor to the rescue.
Obviously it's not level, but that will get fixed. All in due time.
If that stupid heatsink hadn't broke in half it would have been an even cut. [/expletives]
Then I'll sand this excess plastic down so its nice and flush....
Also, I got to use my "modders mesh." Working out pretty nice, I think.
Here's a little sneaky-peeky at what's in store here.
That picture was a nightmare to capture, so I took several, so you can get the idea. It looks sweet.
Got lots and lots of JB Welding to do tonight. Gonna fix the broken part I showed, fill the holes in the bezel by the monitors, and two parts of the front bezel for the mini-case.
-
Re: Project; Mark1
looks fantastic mate!
i really am enjoying this one!
-
Re: Project; Mark1
Nice mate, the display looks great.
-
Re: Project; Mark1
Small update today.
Lots of gluin' Filled in the speaker grills;
Added some reinforcement behind the monitor bezel;
Yay for globs of glue!!
Also fixed the broken part;
I will slowly drill out the old useless glue, and refill with new, so it is nice and sturdy.
And, as far as this piece goes. I'm gonna nickname it the hemorroid cause it's such a pain in the arse! But see the difference in height? Thats cause it broke while cutting it. I decided that I am going to wait until I get another tool so I can make a nice straight, level, even cut here. So that's all for today.
Sorry for the picture quality, light in living room is broke.
-
Re: Project; Mark1
this is gunna look sweet when its all painted and stuff :)
-
Re: Project; Mark1
The front is really coming together, looking great.
-
Re: Project; Mark1
Congrats man. You deserve it.
-
Re: Project; Mark1