Re: Project : Sors salutis -by AnG3L
man, i gotta see this thing when it's done. i've read through the whole build and watch for updates, but i still can't wrap my mind around how it's going sit in place. which side is up and whatnot. and now, putting the feet on the angled piece has me more confused than the project managers at work.
oh, anyway, i love the craftsmanship and detail work you've put into it and the color scheme is awesome. i present you with my first rep point to anybody.lol.
Re: Project : Sors salutis -by AnG3L
Thanks buddy for your kind words, well if you look into an update I did I show the mod assembled together so you can get the idea there!! Stay tuned for more! :)
Re: Project : Sors salutis -by AnG3L
And the most abstract case award goes to Ang3l!
Re: Project : Sors salutis -by AnG3L
Abstract is the word indeed man!! Thanks! :)
Re: Project : Sors salutis -by AnG3L
Time for a new update as we are near the end... hopefully!
This is going to be a very random update as I work on the final touches, cable management, water cooling, extra details etc.
First some of the work I did on the main compartment of this mod.
Leds cut in size and installed. I forgot to take some pictures with the cable management finished but I will post them in another update.
The cable management will be done in an artistic way and also as neat as possible. Due to the mods theme the cables must be arty too!
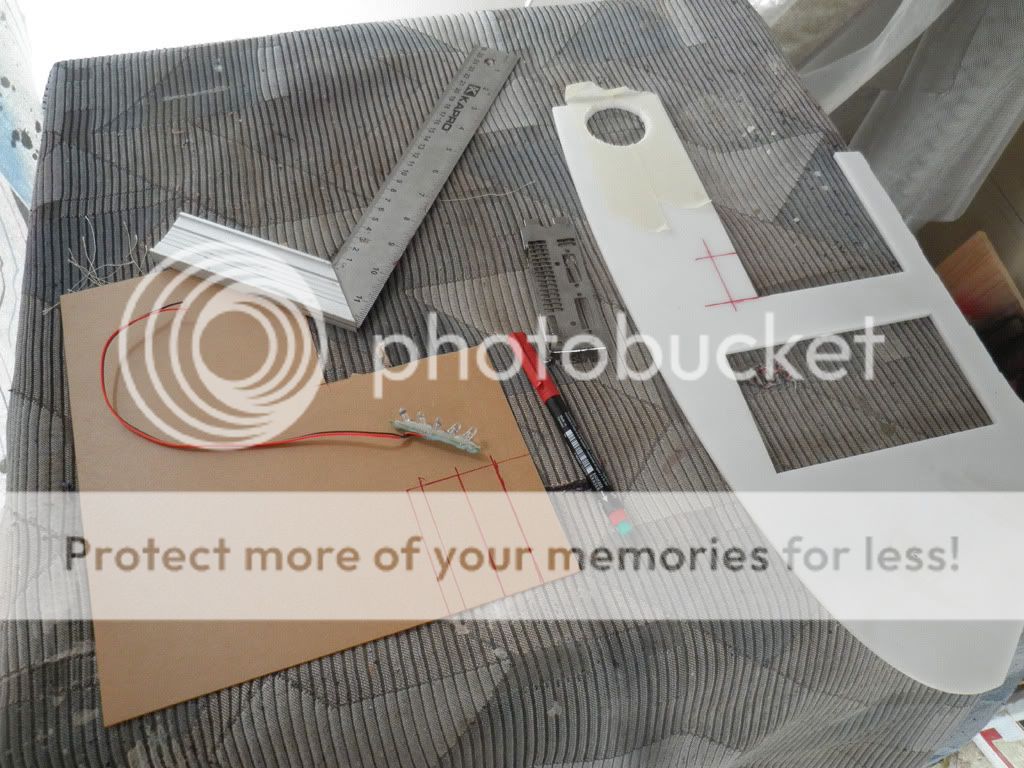
Mobo i/o shield installed
Double sided tape and the logo illumination acrylic is in place!
The DVD eject switch, and how it looks on the case. I also installed the DVD but more on this in an upcoming update.
In some of the screw nuts I used MDPC caps. The rest left uncovered for a different contrast in the overall design.
The installation of the fan controller and its cover. More pictures outside with some natural sunlight in a while!
1mm clear acrylic for the small window on the main side panel.
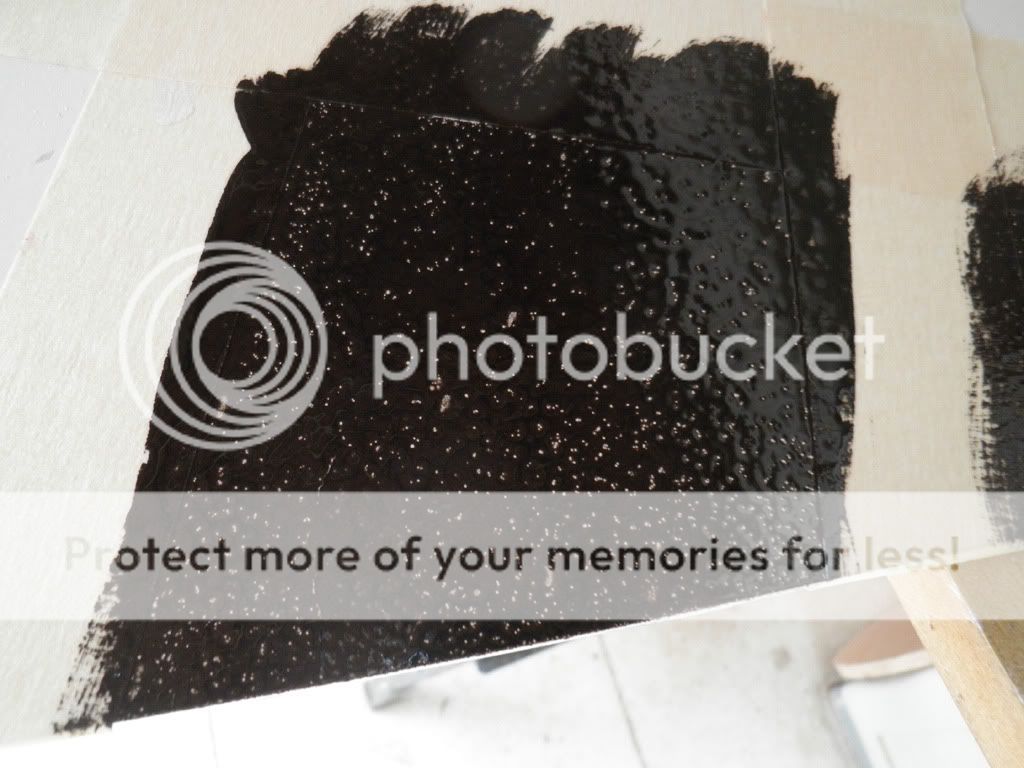
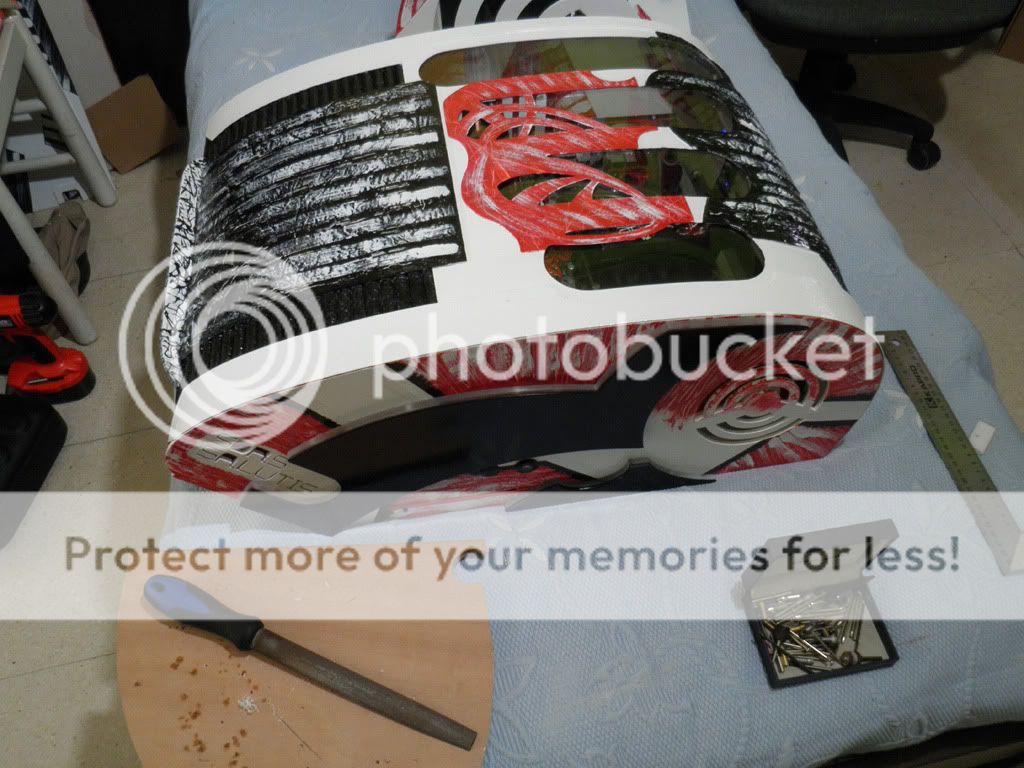
As I promised here are some super macro and macro shots of my painting techniques.
The "golf ball" texture technique. Its done by using a piece of newspaper. To finish the texture you need to use this technique 3 times in a row before the paint dries completely thats why I used paints that took longer to dry. Its applied on the side panels edges.
A technique which is applied only on heavily textured surfaces.
See the details on this technique.
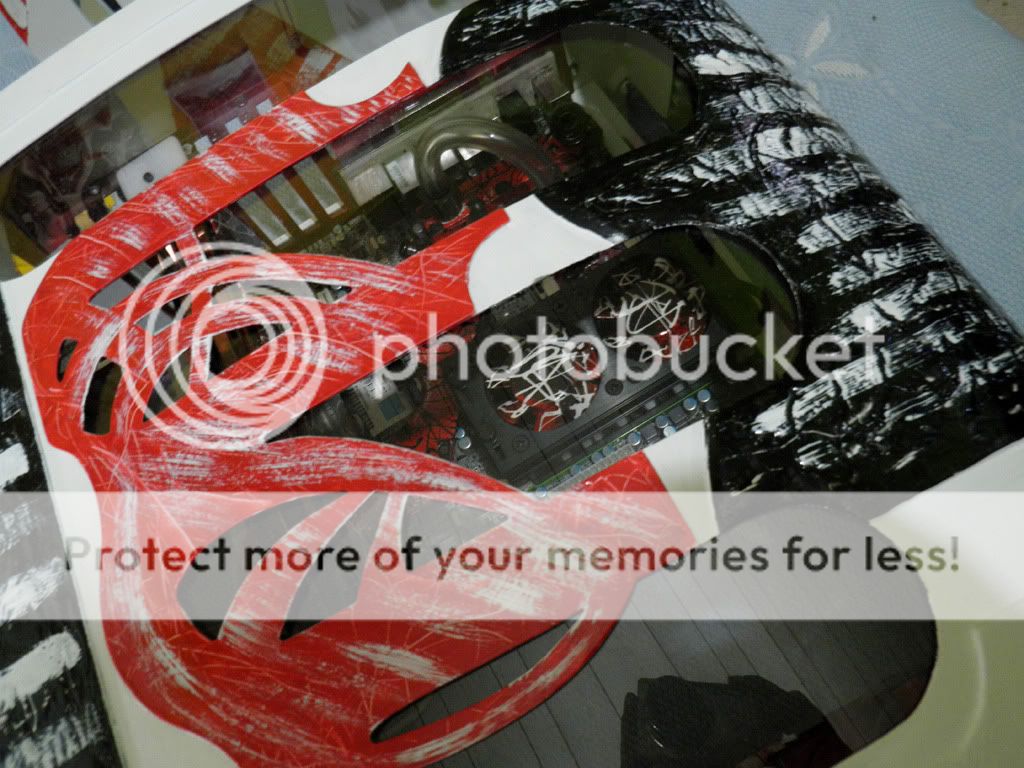
Random shots of more painting techniques and also of the second compartment!
See the 2 different layers of white.
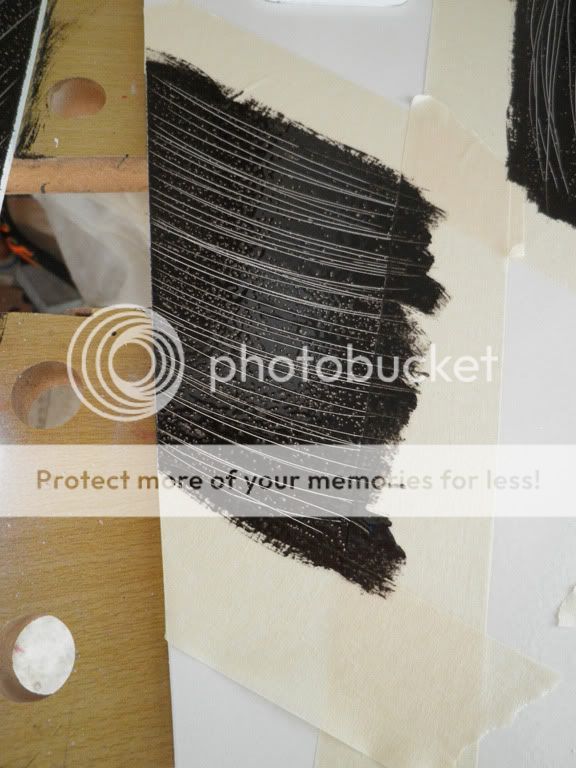
This is a technique where you have to scratch the paint underneath and paint over. To do that you have to apply at least 5 heavy layers of paint before so the scratches will be deeper so therefore the technique will be applied better!
More leds to be cut, soldered and sleeved!
I decided to use less leds on this compartment cause firstly I needed two more to cover my needs but also I am going to play with the lighting effects and overall "night" looks of it!
Windows installed!
A shot from the led tests I did.
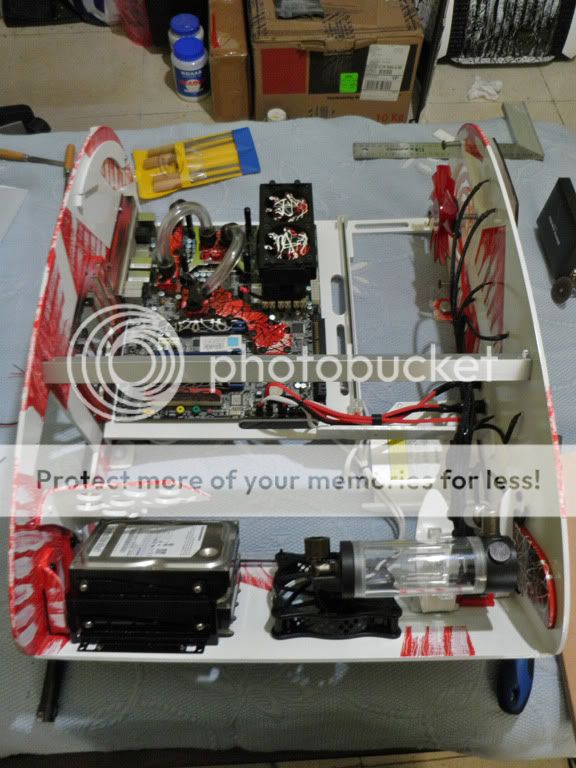
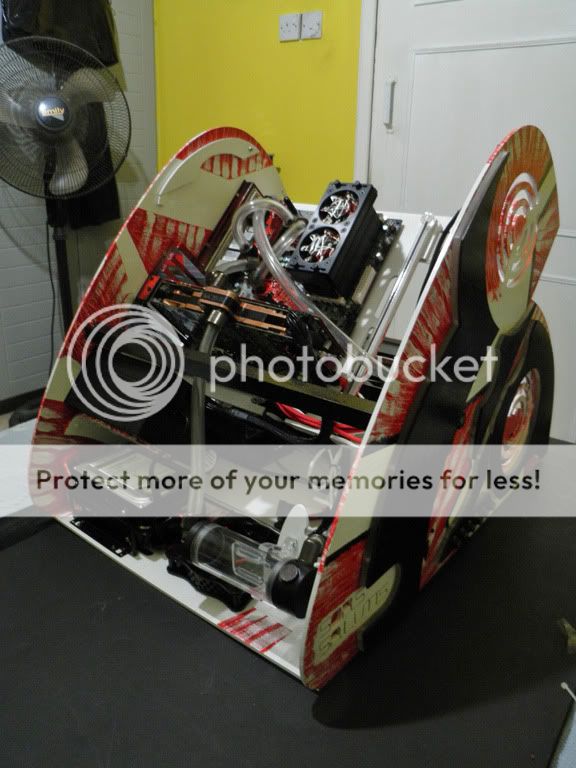
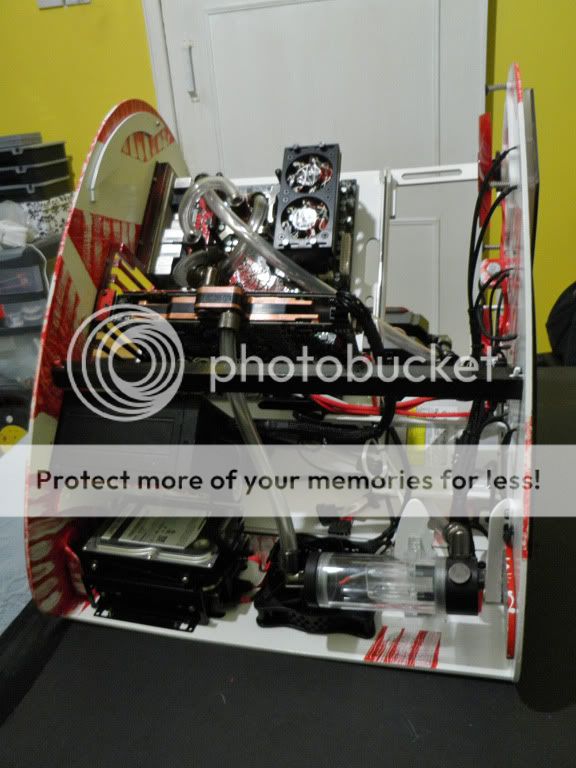
Here are the shots from the final build steps of the second compartment of this mod.
Custom cable with heatshrink arty design, re-did some of the cables, installed the radiators, tubing, pump and done!!
Thanks for reading my update guys (and not only stare on the last picture! :p )
Till next time, peace!
Re: Project : Sors salutis -by AnG3L
Update no 26 guys and one step before the end!
The only thing left before I finish this mod is some cable customization and management so
my next update might be the final shots only.
Lets move one with this update!
First I realized that I painted the wrong side of the main compartments side panels, so I had to paint them again. I used black hammered paint for that technique.
I also decided to use only one panel, the one on the top, as the second is useless as it will be used only in transportations.
I used this sharp piece of acrylic to draw some lines.
Last step pf this process is to add some random quick pass white lines over the black.
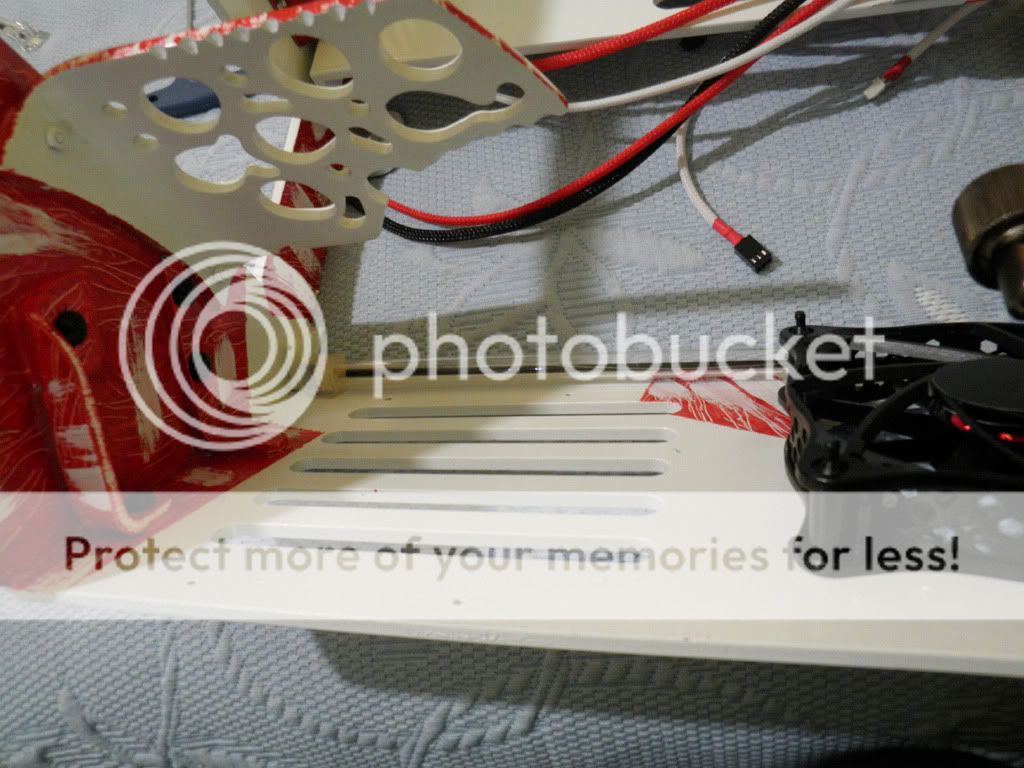
Back to the assembly of this mod. Reservoir, fans, some cable management, uv cold cathodes etc.
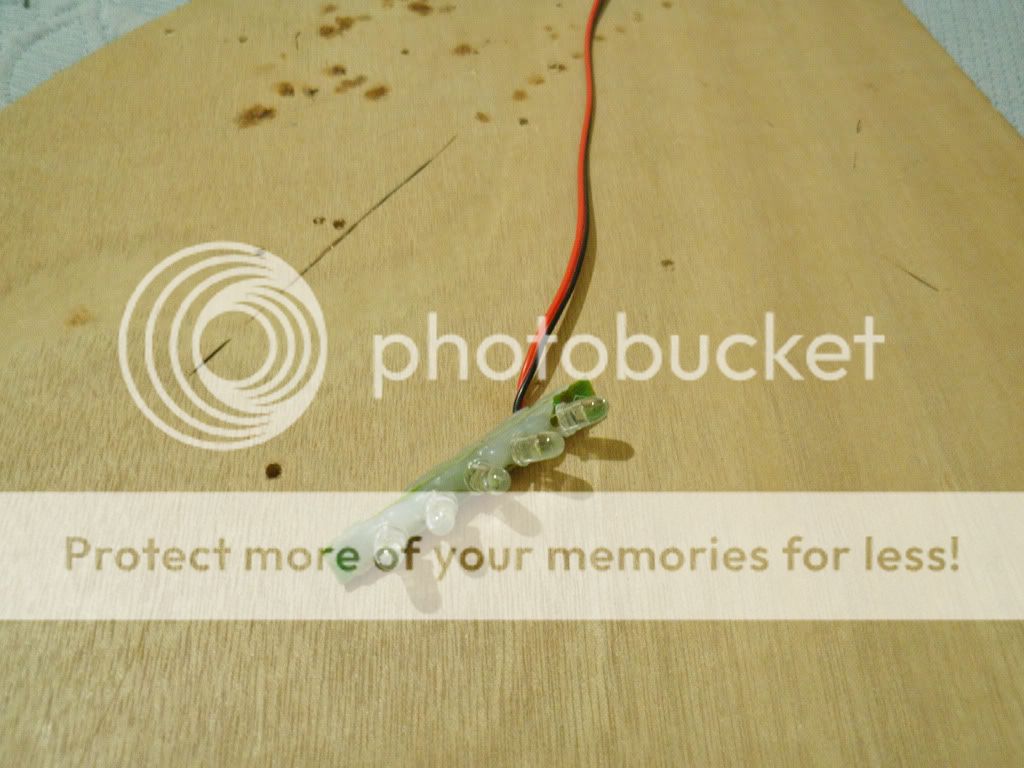
I also found this UV led thingy and disassembled it for me to create something for the reservoir later on.
I also had to create a cover for the GPU's bracket to cover a distance that was created due to the mods design and also add a different touch to it.
I used 5mm white acrylic for that which I painted later on.
I also tried to create a housing for the leds from 1mm acrylic which proved a fail in the process so I have to make something else!
Testing the side panel.... again!
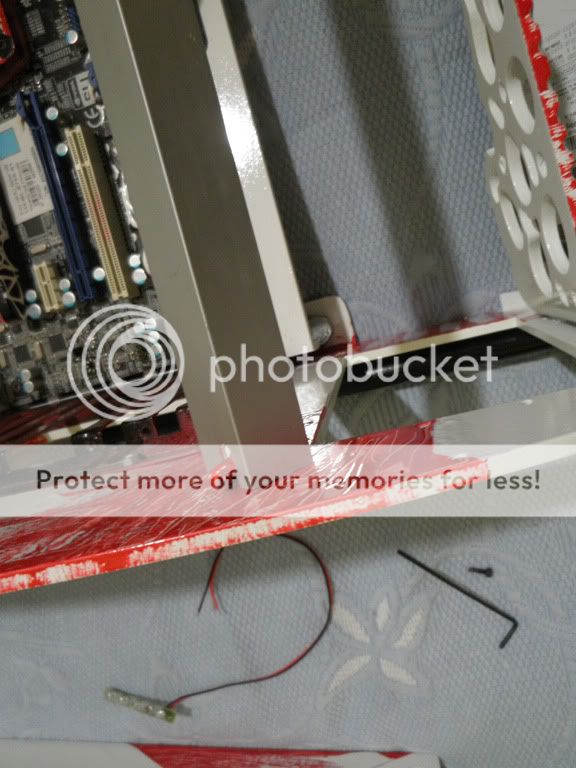
For the mods main support I am not going to use the wooden rod which I created at the first place, but instead I used an aluminum angle which I painted hammer black.
More assembly and testing shots.
Sata power cable modification.
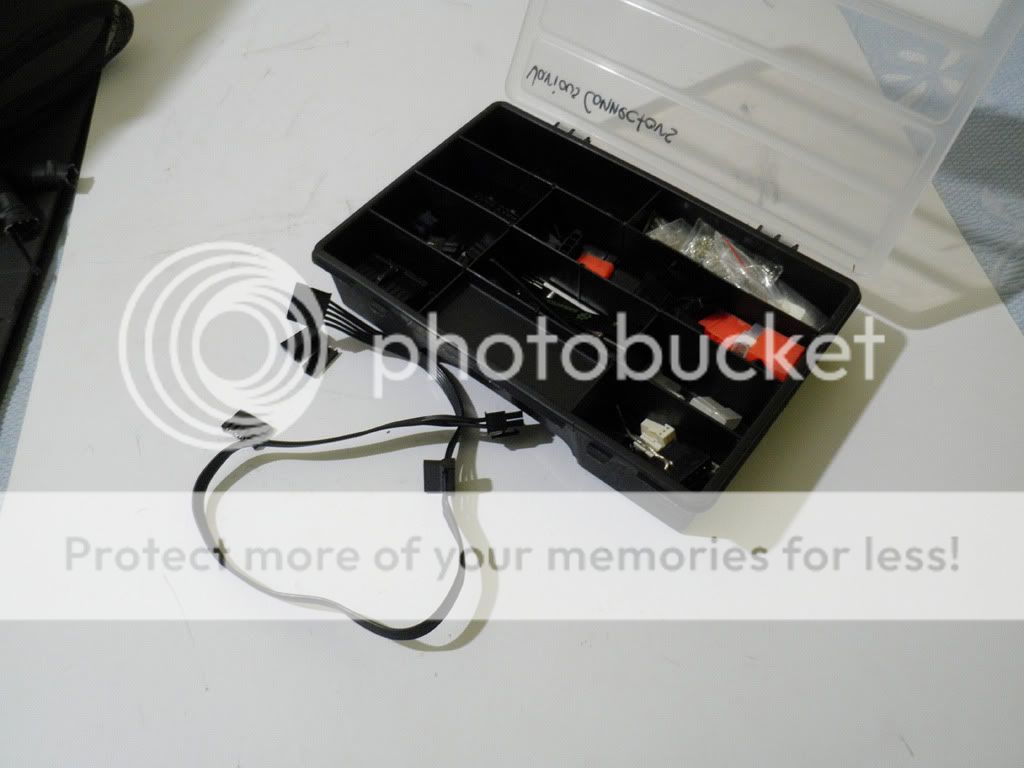
My various connectors collection lol! :)
Here I created a custom slimline sata power connector out of a normal sata power connector.
I cut it in half after I removed the middle pin so it will left with only two pins ( 6 in the interior)
Attached the first sata power in the proper distance.
Second one attached too.
And the slimline power connector mod finished and sleeved!
I also sleeved the two main hdd sata cables.
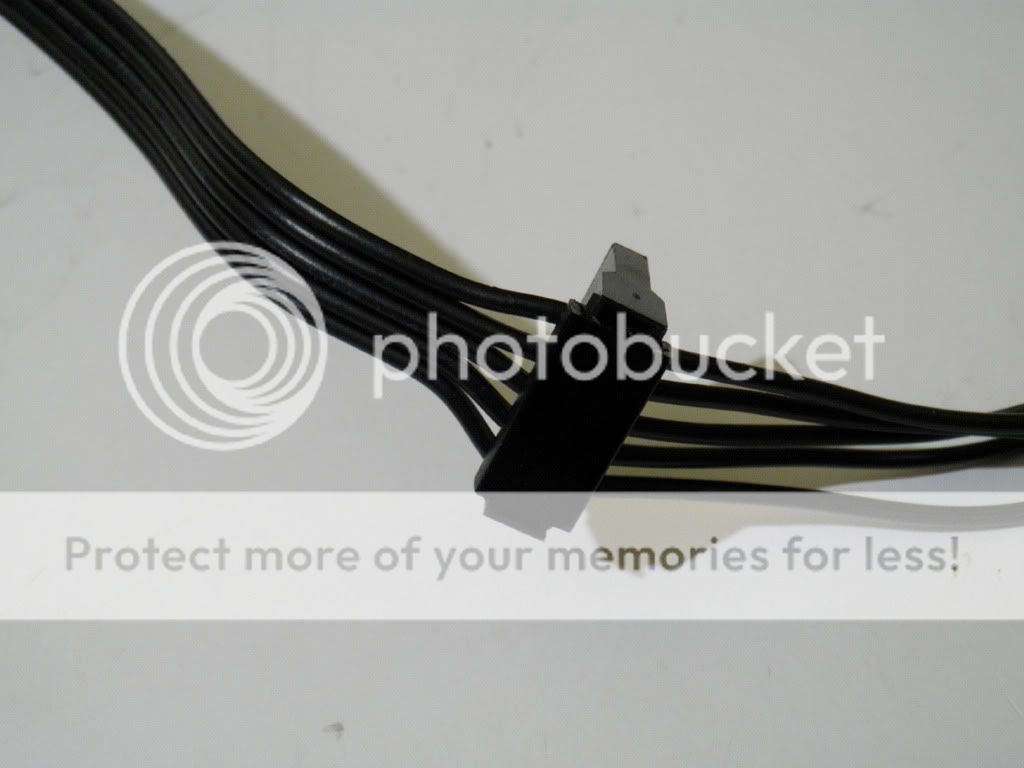
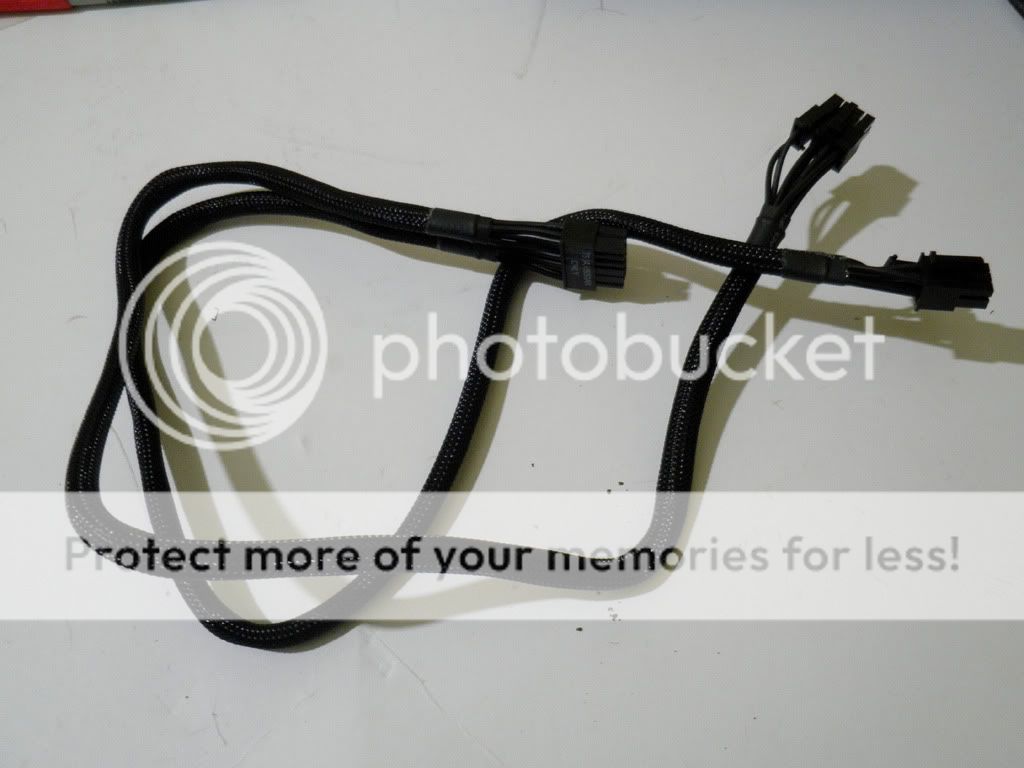
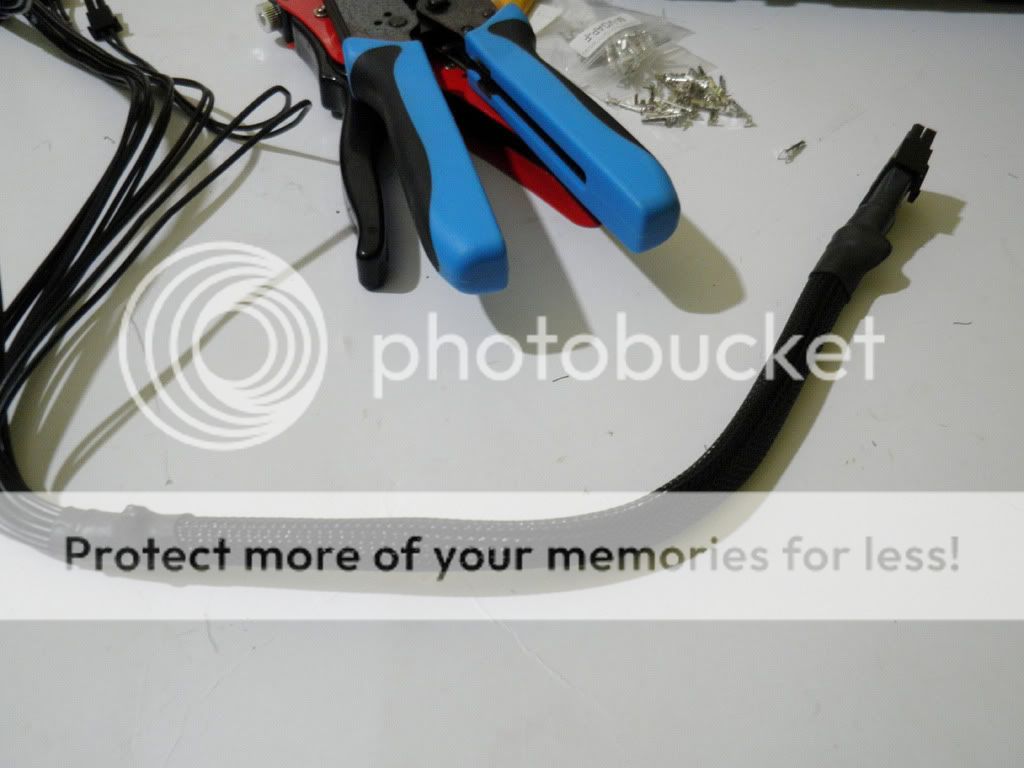
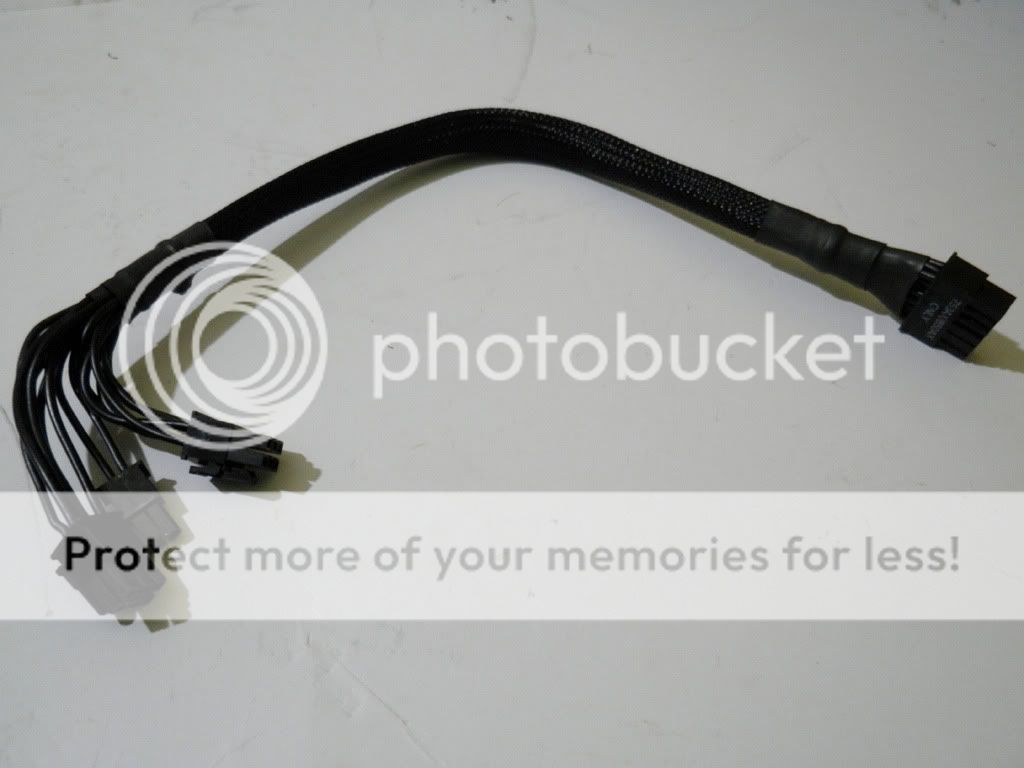
Here is the PCI-E cable. It comes with 2 sleeved cables 6+2 pins each.
I had to sleeve them all to reduce the clutter and also make the cable more compact .
I cut the cables in size and with the crimping tool I added new pins and later connectors.
Some more random shots!
I hope that you are going to like the "different approach" I used on this mod and the artistic touch.
Through my mods I ve shown that I can go in any direction I want, factory style or artistic but I prefer to be and create something different instead of the usual "one way" styles.
Thanks for your time guys and I really appreciate your feedback and support.
Re: Project : Sors salutis -by AnG3L
ok, i get it now. i couldn't figure out how the big piece was going to sit at an angle and not fall over.
looks good. the custom cables look great.
Re: Project : Sors salutis -by AnG3L
Member nomitation for front page.
Re: Project : Sors salutis -by AnG3L
ya this is pretty epic, awesome paint and texture work, this will be sweet when it's done,
Re: Project : Sors salutis -by AnG3L
Quote:
Originally Posted by
xr4man

ok, i get it now. i couldn't figure out how the big piece was going to sit at an angle and not fall over.
looks good. the custom cables look great.
Thanks bro glad that you got the idea!!! ;)
Quote:
Originally Posted by
AmEv
Member nomitation for front page.
Wow thanks buddy!!!!!!! :redface:
Quote:
Originally Posted by
Mysteriphys
ya this is pretty epic, awesome paint and texture work, this will be sweet when it's done,
:banana: Thanks buddy, much appreciated!!!!! ;)