Re: Project: Reality Bytes
Quote:
Originally Posted by
The boy 4rm oz

Very nice cutting mate, jigsaws can be a bit awkward to use sometimes especially when cutting curves. You really pulled it off. That plexi disk is a great idea, will look great on the other plexi and tie the side in with the interior perfectly.
Thanks, yeah jigsaws can be a pain. I find having the plexi clamped to a workbench really helps though. Gives you that much needed free hand.
Still wish I had a scroll saw though.
Quote:
Originally Posted by
Scotty
I sat here for ages waiting for this page to load cus of my stupid internet.
It was worth it.
Lovely work.
Thanks Scotty.
Re: Project: Reality Bytes
Nice little detail! It brakes the form of the window. Now it's more than just a window. Good job.
Re: Project: Reality Bytes
all i have to say is... wow. good job on the plexi. looks amazing. :)
Re: Project: Reality Bytes
Sweet window! :D I msut say, you're just a TAD bit better then my father and I with the jigsaw! :P
+Rep
Re: Project: Reality Bytes
@ TEAMIKKE - Thanks, thats was the idea behind the little detail, having the res mounted through the window should also help.
@ billygoat333 - Thanks, gotta love plexi.
@ CerealKlr - Thanks, slow and steady seems to be the winning way to use a jigsaw, cheers for the +rep.
Re: Project: Reality Bytes
Update: Inner Side Panel
Only a small update today. Now I have started work on the outer side panel I needed to get the inner panel secured in place so I can mount the res.
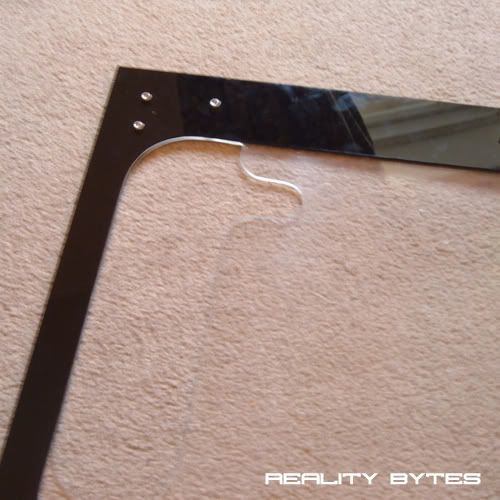
It will be secured in two places, first to the 3.5" bays next to the pump. I cut some 4mm holes to allow me to bolt it to the bays.
Here:
It is also held in place by the rear exhaust fan. I did this to minimize the number of bolts I would have to have showing.
So to make sure the panel is held tightly in place I changed the way the rear fan is mounted.
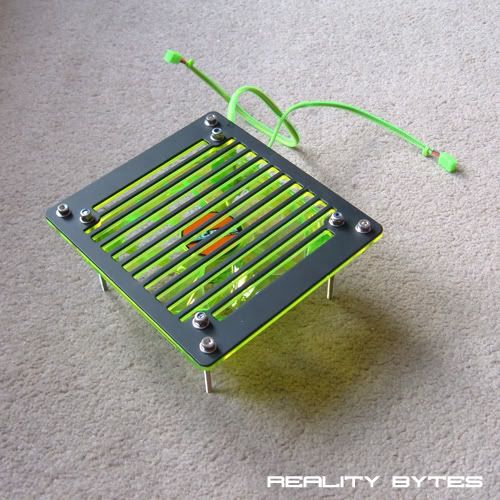
The grills:
The fan and empty fan:
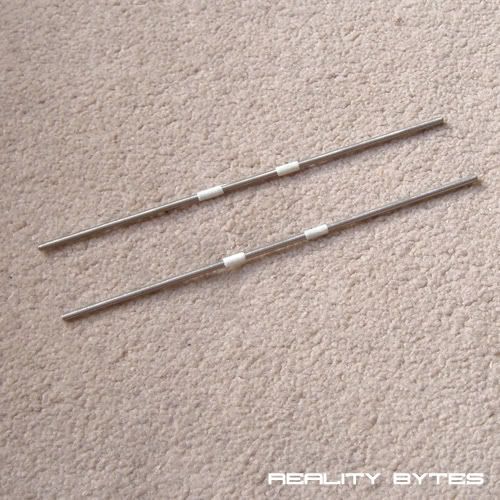
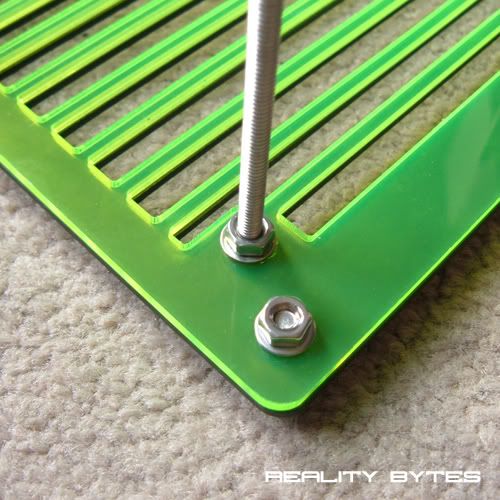
M4 threaded rod marked for cutting:
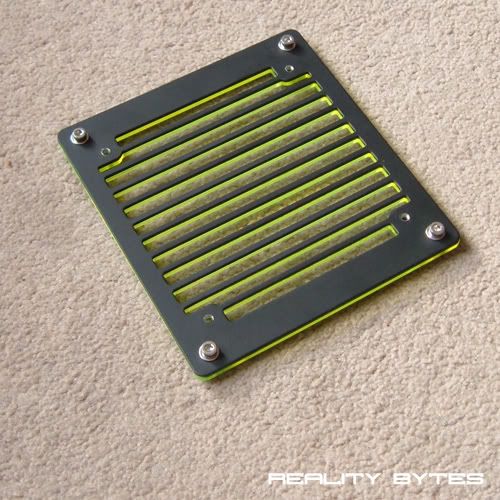
First the two grills bolted together:
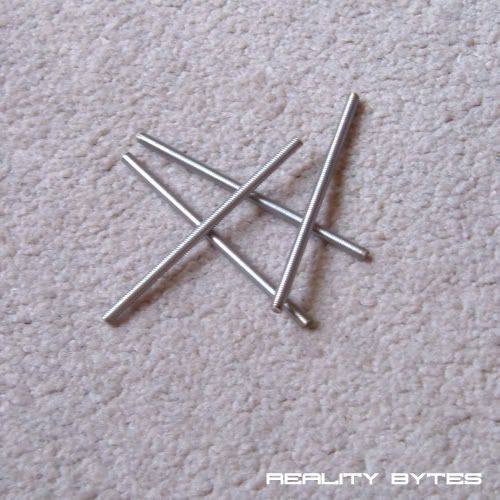
Threaded rod cut using dremel:
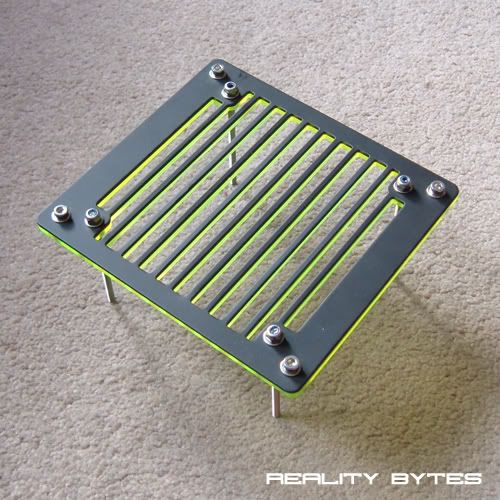
Bolted through the grills;
Fan mounted:
Empty fan fitted:
Then finally mounted, with grill, to the case:
This way the fan grills pull towards the back of the case and hold the inner side panel tightly in place.
Thanks for reading, I should have the side panel finished in the next few days, pics to follow.
Re: Project: Reality Bytes
those bolts that you used, are they hollow in the middle so you can put threaded rods into them? or did you weld or solder them to the thread? it looks like they screw in, cant tell. oh and looks good :)
Re: Project: Reality Bytes
yeah, m4 nylon locking nuts.
Re: Project: Reality Bytes
kickass... you gave me an idea for my ps2 mod... which is on hold due to moving processes.
Re: Project: Reality Bytes
Update: Side Panel
Just a quick update as the side panel is almost complete now. Mounted the res to the inner side panel:
Then cut a mounting hole in the clear plexi of the outer panel:
Now for a test fit:
Just resting in place in that picture, a few minor adjustments needed before it can be bolted in place.
Thanks for reading, more updates soon I hope.