-
Re: Project N0NAME
(continued)
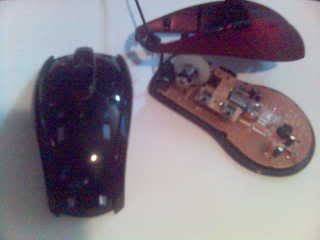
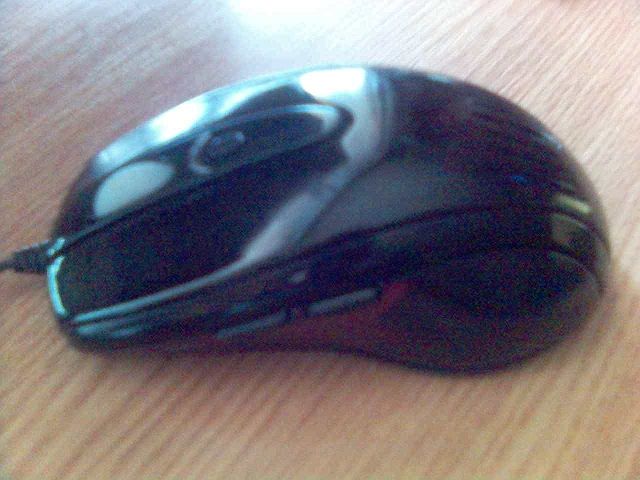
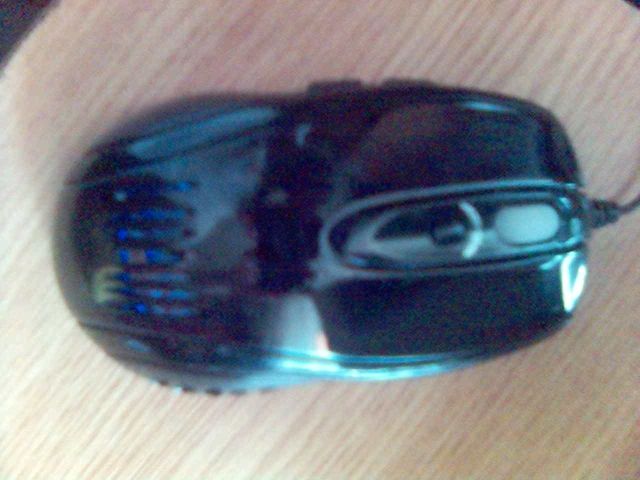
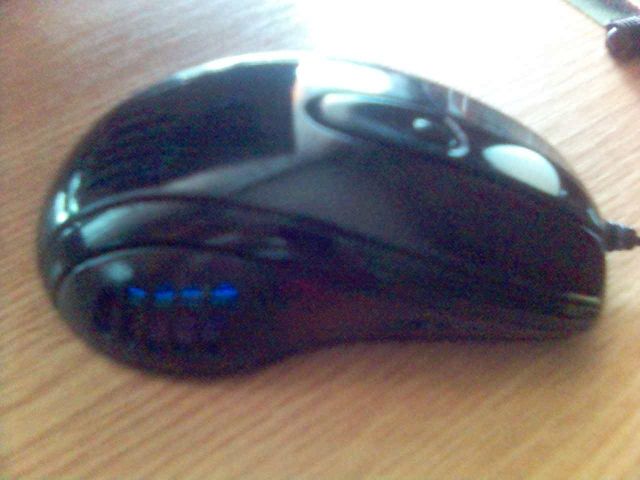
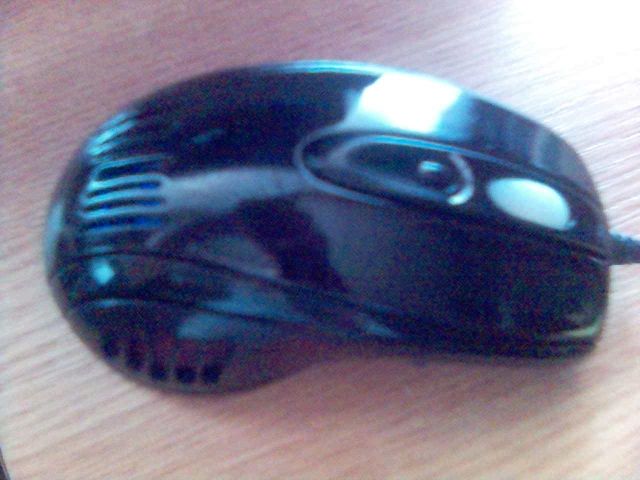
after connecting all the connections :), it was time to put the mouse back together:)
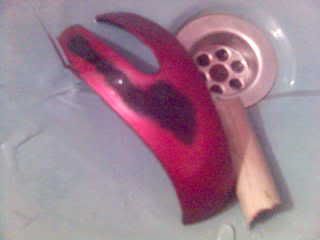
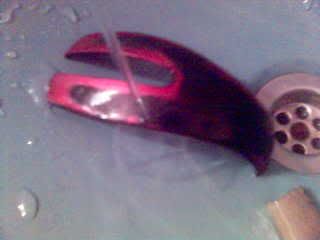
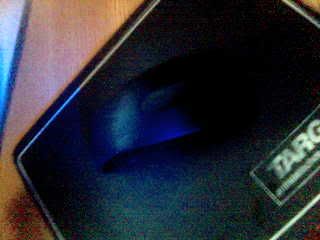
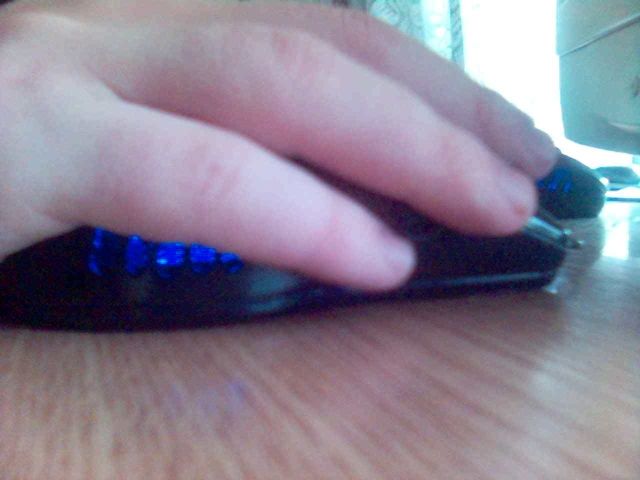
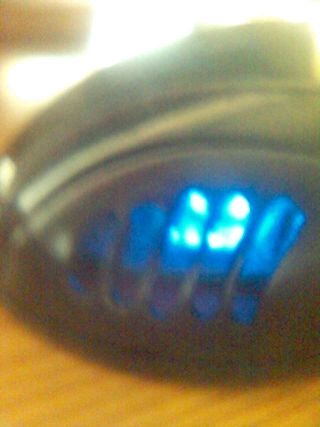
well... what did i learn? clear is nice when no ill-reactions occur. you can turn a cheap piece of paper into something nice with some die and a steady hand. and blue leds are nice... a! and, like bondo, soldering too much makes you feel nice inside ;)
-
Re: Project N0NAME
-
Re: Project N0NAME
mice modding got be fired up.. i can't stop :) so i'm doing it to my main mouse too... but this time.... no led change.. just some graphics.. i'm mostly done with it by now.. hope it will turn nice..
-
Re: Project N0NAME
1.) ..it did.. have lots of pics too... but they are stuck! ~!@^@ %$ $#|& ! my phone likes them too much i guess.. i'll edit this post after/if i can trick it letting them go..
2.) ok, got them.. man i'm happy :)
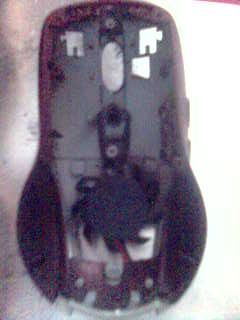
mouse taken apart
started wet sanding..
..took more than an hour..
..but when done.. it was black :)
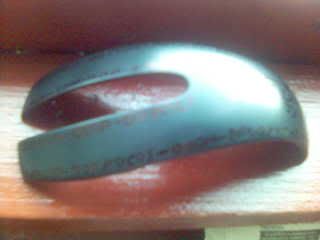
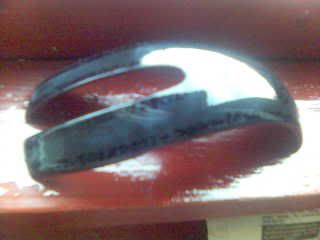
..i was thinking how to fill the black.. and wrote some runes.. with black too..something about courage and stuff.. this is a gaming mouse ;)
..more runes
..and more..
..not much to be seen without light..
..but with light..
..with a coat of clear. first one.. this happened about..oh.. a week ago :)
ok, what's nicer is to come.. at first, this is all i wanted to do to the defence-less mouse.. but after i got some cash... <evil look> muhahhaaa :)
..to continue.. gtg drknng :D
-
Re: Project N0NAME
mouse mod continued..
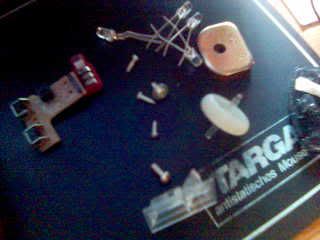
mouse innerds dismantled further.. plsu i bought some blue leds..
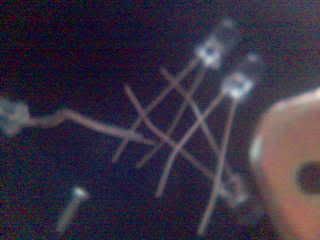
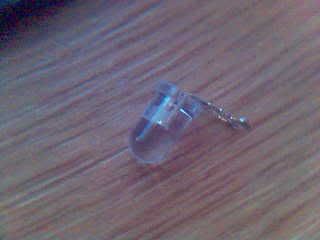
these were 5 in the start.. here you can see just 4 :) guess where one went..
it replaced this red one :)
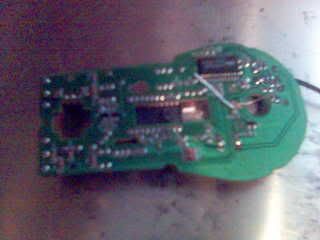
mouse board ready for surgery
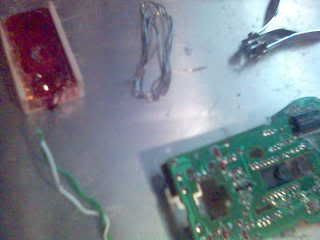
my tools..
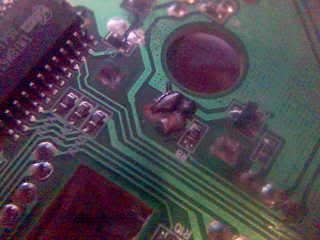
and the replacement led soldered.. i really need to be more carefull when removing the originals, 'cause i keep breaking the traces and have to make 'em back..
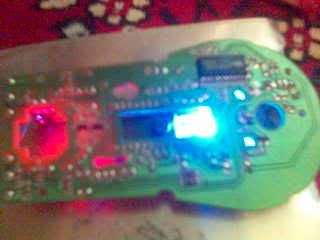
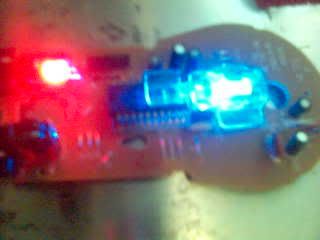
blue led works... yey!
but! as i was afraid.. i lost the ability to track over black surfaces.. great, now i won't use my mat anymore... :( still, no speed was lost on textured surfaces.. blue is just like red :)
next comes this... u know what this is:)
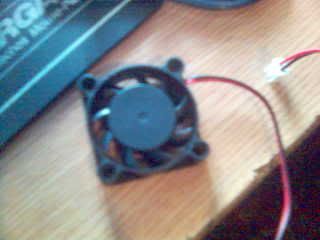
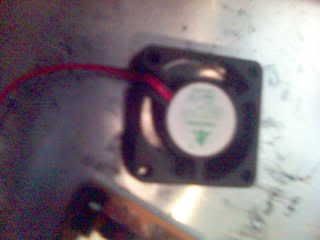
tada.. 40mm fan :)
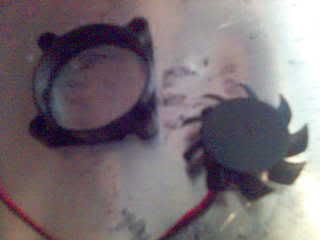
not the right size tho.. so dremel comes out and...
oops :D this will surelly fit in the mouse :)
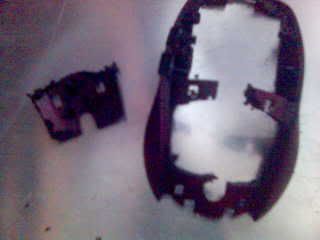
..after some cuts... i cut slowly, piece by piece... but in the end.. i cut everything out :))
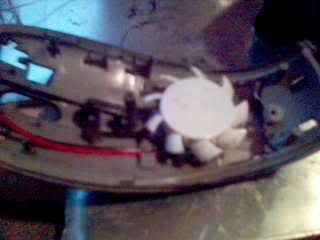
fan test fitted...
and again.. the bigger picture.. mouse "more" assembled..
glueing the fan was tricky.. superglue wouldn't stick at all on these plastics... so i used paper on each side of the bond.. after making the layers like these.. the fan was stuck! in a good way
..now i had some trouble inspiring me.. so i played around with the mouse wheel.. and came up with this..
..painted the fan white and cleared it :) it won't really be seen, but the blue light inside and the white of the fan.. if i were inside the mouse, i would like this better ;)
i superglued the wires so as not to accidentally bump in the blades..
fan running.. i tested the fan after each step.. 'cause it's beeter to know in time if you mess it up... than to find out in the end and go bananas...
i marked the area that would be used as the exhaust..
and roughly cut it..
same with the intake..
then i soldered a switch to turn the fan off.. when not needed or when pc is off.. the usb's 5V works even after u shut down the pc, so a switch is a must :)
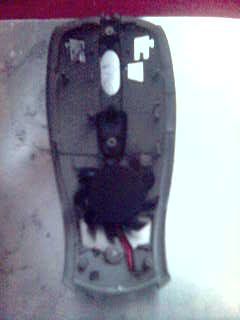
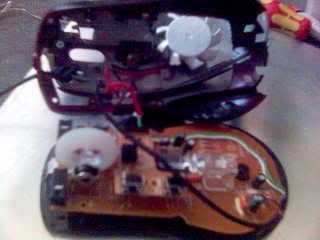
then i soldered the two halfs of the mouse.. you can see some red and black wires in the upper part and some green and white in the lower.. i super-glued almost all the loose wires, except for the soldered parts.. so i can open up the mouse if needed :)
{image limit...}
-
Re: Project N0NAME
..continued
glueing the wires was tricky.. the green and white were soldered on the bottom and went around the edge to the top.. so i used 2 screw drivers to clap everything for a while.. fingers and super-glue=baaad
ok... well.. after everything was in place came the tedious task of fitting the things together... i don't like this mouse for that part.. it was cramped enough at first.. as i did after buying the mouse, i tucked the main wire under the board, in the left side... and put a piece of folded paper under the right-mouse-button to even the board and make clicking easier :)
it took me an hour or so to put things back.. and after all was said....err... done:
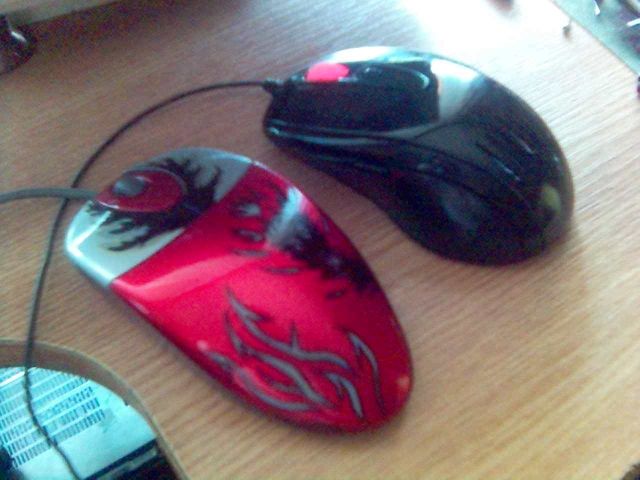
and my two mice side by side:)
-
Re: Project N0NAME
very nice, thanks for sharing the process with so much detail.
-
Re: Project N0NAME
no, thank u Rankenphile 4 reading :)
well, as i stroll to the intricate world of linear algebra (as an appetizer for next month).. i reallllllllllllllllly got board.. so i looked tru my stuff and founs some mod-worthy stuff: the old HSF of my current vidcard.. (for my records, i wanna change it and am now looking at buying either a x1800gto from HIS or a x850 pro or similar.. problem is i need a new rig for the x1800.. or a new psu for the x850.. they have similar price and performance and will probably take 2 months to get the cash for either.. what do you people think?)
long time ago, i painted the fan white: coat of white + coat of clear.. again, the stupid clear had some weird effects on the paint: it "melt" it in some places, showing the bare plastic.. but in an artistic way.. so i kept it this way :)
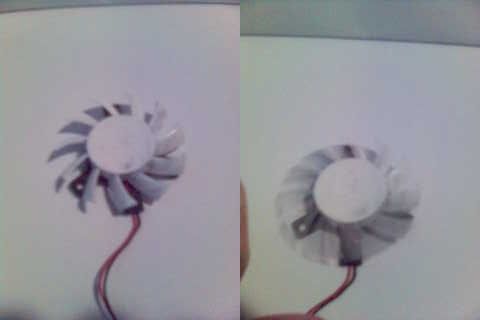
..fan with weird dis-whitening.. fan spinning up.. 5V mod..
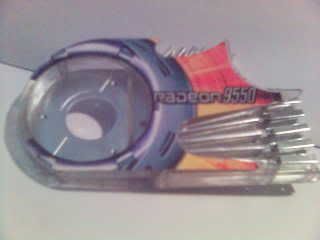
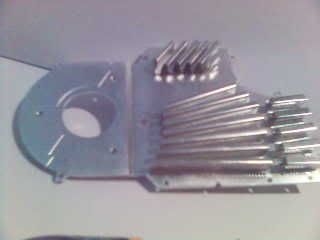
old HS.. no fan :)
..not very efficient in my opinion, but it did the job "quietly".. so to say..
this is what i'll be playing with.. i was flirting with the idea for about a month or so, but for something else.. so the practice is good..
silly sticker removed and casing washed.. took forever.. darn glue..
see this mess? well, here are the 8+3 bolts i need to assembly the HSF..
a few minutes later..
after that, no more mess.. bolts are put in a drawer, waiting for their moment
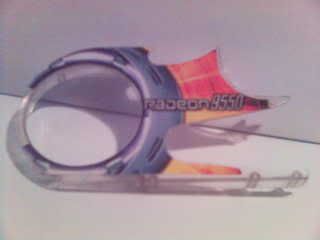
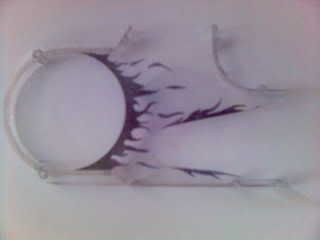
(put mod aside and did more maths.. or did i?)..i like flames.. so why not make black flames on a white background:) i used a cd-marker and draw some.. then some clear to protect them.. then white.. then clear :)
the result :) ok, my bad.. a white photo with a white plastic thingy..
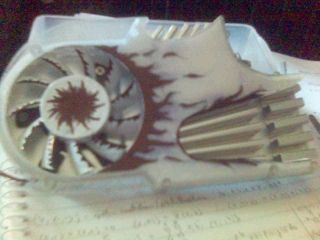
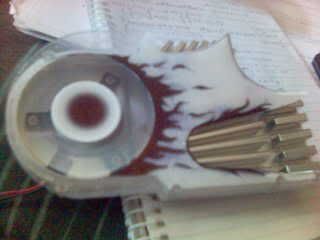
..there.. almost done..
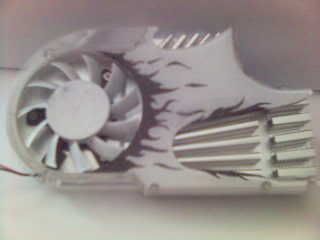
more flames :)
assembled and working at 5v :)
there.. another thing that won't be accepted in case my video board gets burnt (if they find out about the bios settings) and i have to replace it :)
-
Re: Project N0NAME
Hey I noticed you use 3ds max. I really want to do that kind of stuff be the free version gmax sucks and I can't render my scenes! I was wondering what version you used.(the 3,400 dollars is a little out of my reach for number 8 :p )
-
Re: Project N0NAME
..."number 8" :) i got it from my university (with some other soft/CADs too.. they all amount to.. a nice car), i'm a student.. i can use it, but not commercially :) it's just for learning ;).. and it's not my license. but if i had 3.5k$ (err...) i would gladly pay it. basicly, i used 3dsmax 3 tru 8,m not counting some patches.. they are all nice, and the differences can be overcome with imagination (and possibly free plug-ins).
i've also tried blender (hard to adjust for me) and maya (free learning edition-- says so on all renderings :() and google's sketchup (easy to work with, i admit.. but again, a tad different than what i was used to), but i'll stick to max.. until i'll be faced with buying it and if i wont be able to do so.. than i'll probably go back to blender...