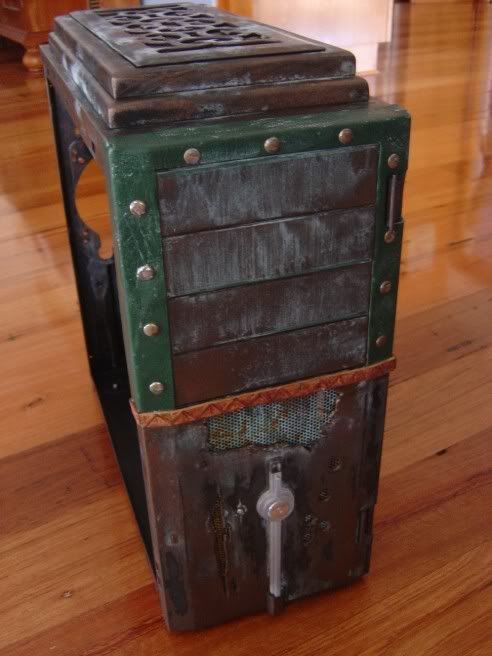
got an Update, I got the top panel, front panel and chassis all painted now and waiting for
some hardware and watercooling bits.
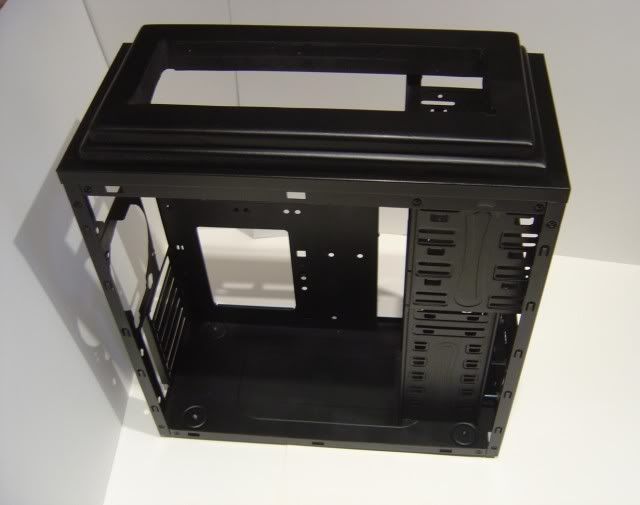
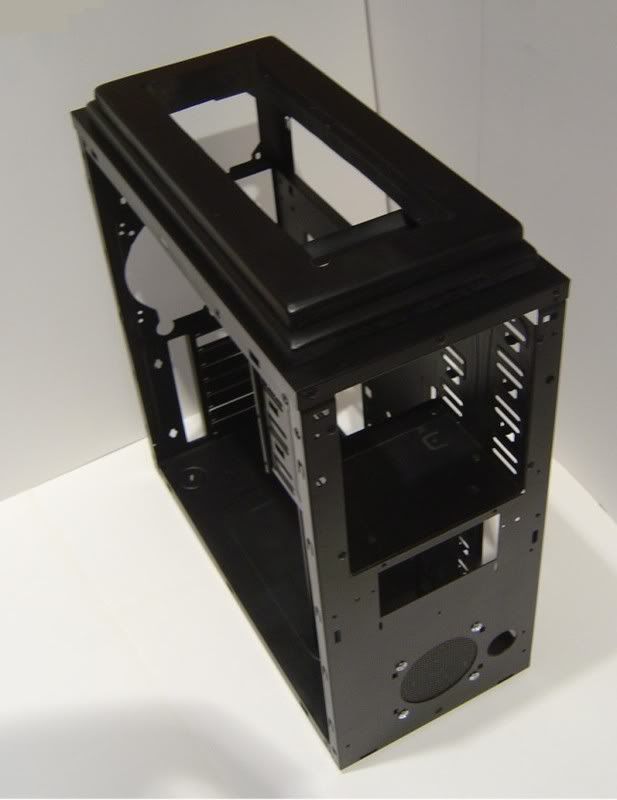
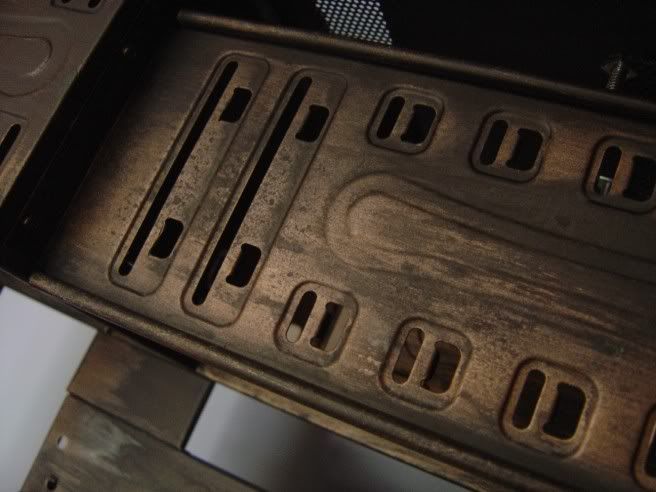
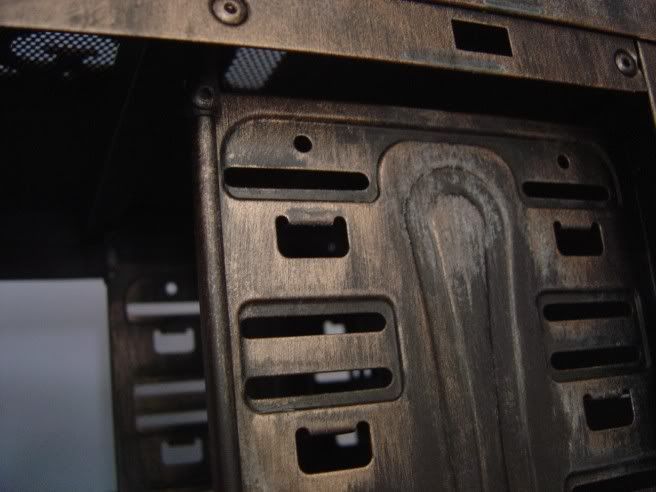
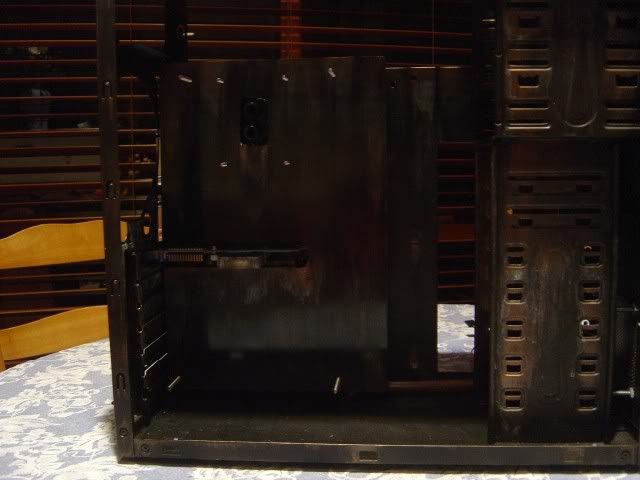
First of all I started off by painting the whole chassis with a Satin black paint.
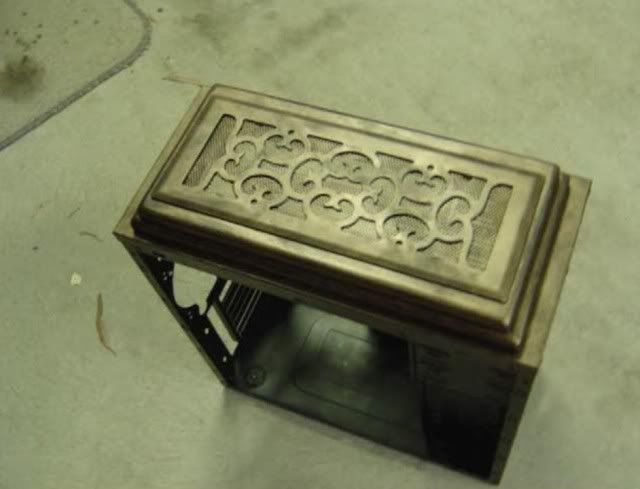
I then applied a light coat of Modern Masters Metal Effects Bronze paint which contains
real bronze in it.
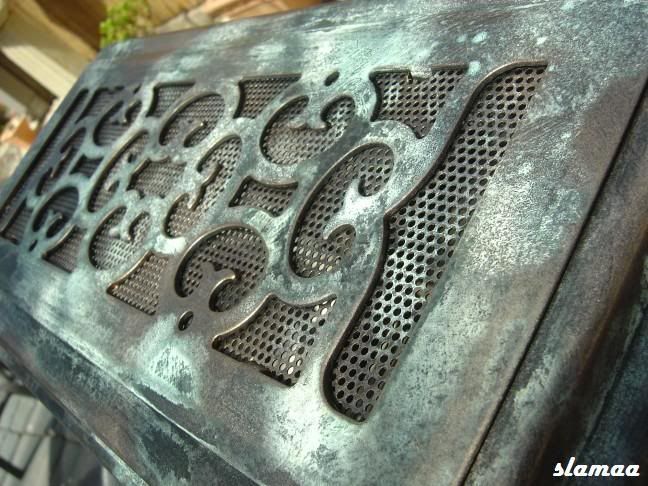
Once that was done I then applied another coat, while the second coat was drying
I sprayed the whole chassis with Modern Masters Metal Effects Blue Patina aging
solution. I then left this over night to let the aging process take it's tole.
When I woke up the next morning, i ran outside to see what had happened.
I was wrapped, it looked great, all aged, and looked like it had been sitting, aging
under the sea for years.
I then repeated this process on the front panel.
I am very happy with the result and will have some good photo soon when
the hardware is installed.
If anyone has any questions, I'm happy to answer them.
cheers
Slamaa
01-19-2008, 11:34 PM
slamaa
Re: OCM Comp: Project Welcome to Rapture
Telegram 10: Cover that Mother
Hey Guys,
Thanks for the kind words, I have another update now. From when I first started
this mod, I knew I wanted a motherboard cover, I had always wanted to do one
but didn't know how, I don't think there are any tutorials out there on how to do
it but I gave it a go just to try something different which you only see on a very few
case mods.
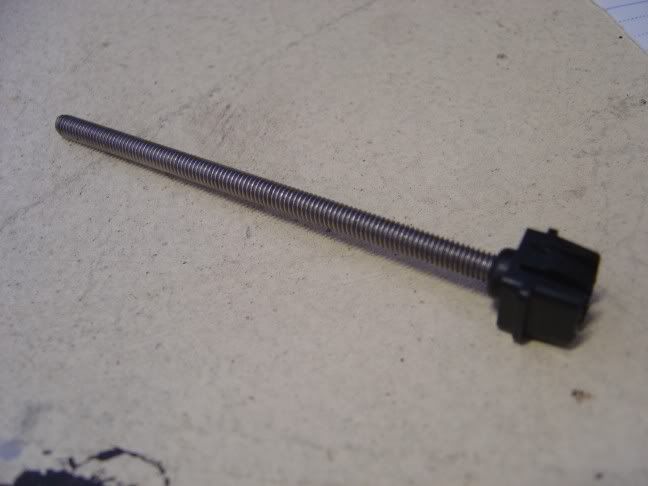
When originally thinking about this idea I was just going to stack the normal brass
motherboard standoff's on top of each other and attach the cover to that.
But this case had to be difficult, didn't it?
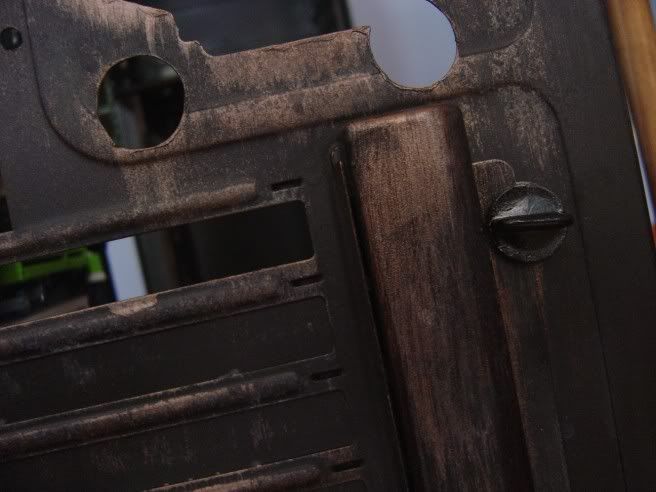
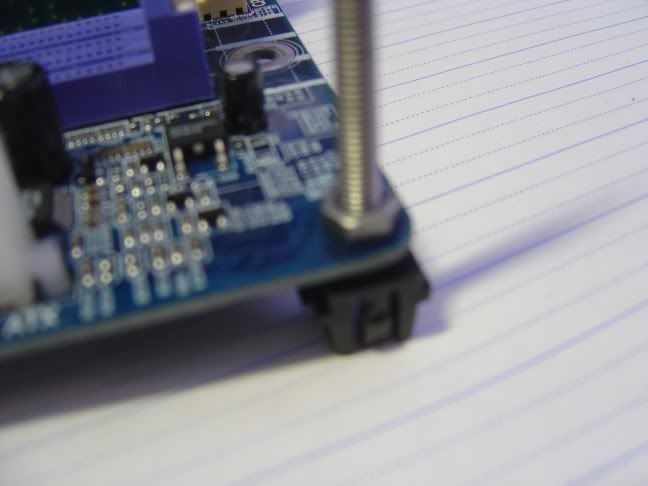
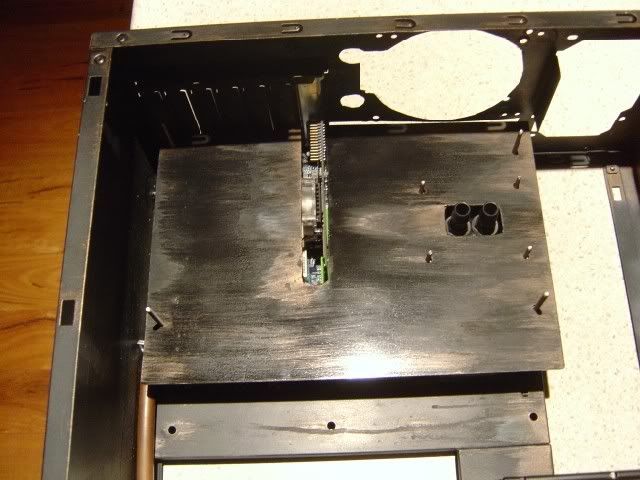
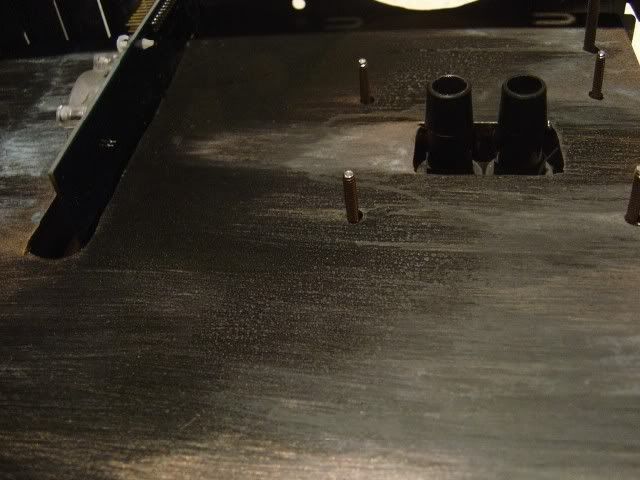
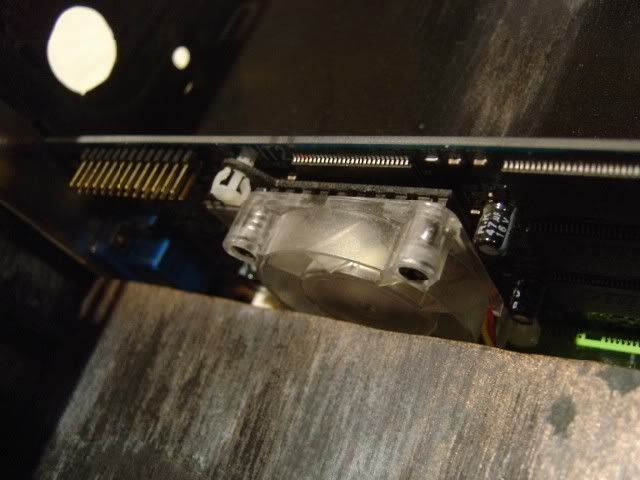
So I came up with this, I just drilled a bigger hole in the plastic standoffs which
came with the case and fed a long bolt up through the back of the mobo tray
and into the mobo held down by a bolt in each corner.
I then test it out, worked fine, I then had a Motherboard i could mount to the tray
by simply clicking it in with big bolt protruding from it. Perfect.
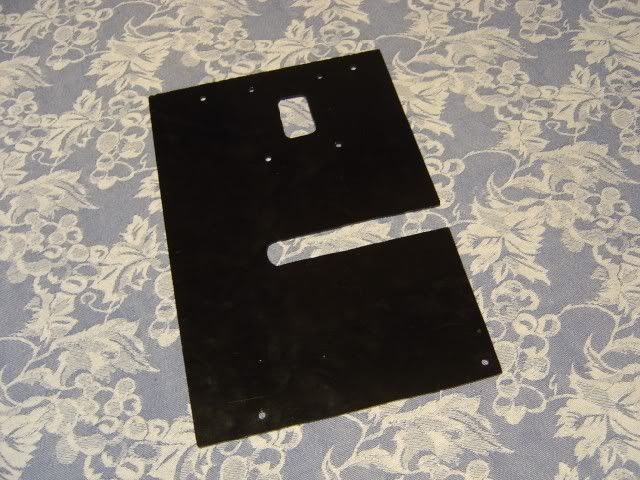
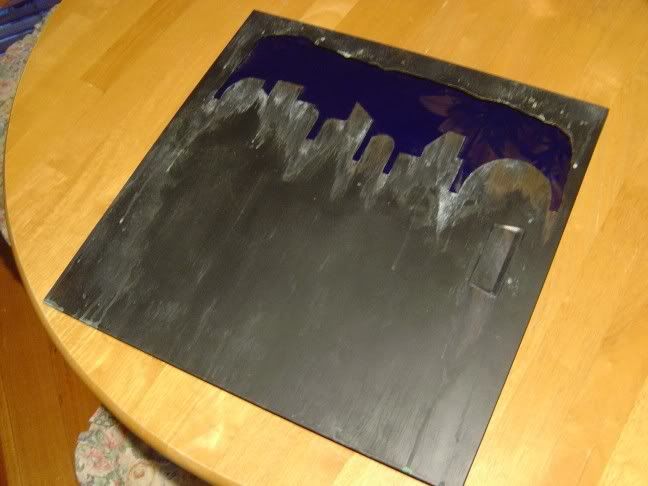
Then using a scrap of perspex, I cut the shape I wanted and drilled all the
required holes.
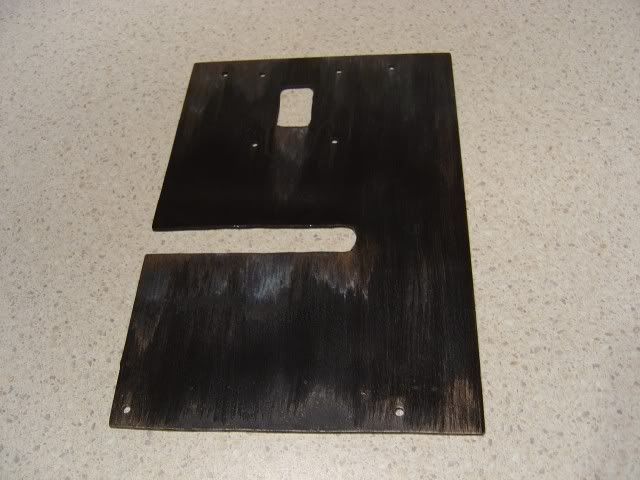
As this perspex was originally green (not shown) I decided to paint it black to match
the rest of the case. Once the black was down I Gave it the same treatment as the
rest of the case, two coats of bronze and one of aging solution.
I think it came out great.
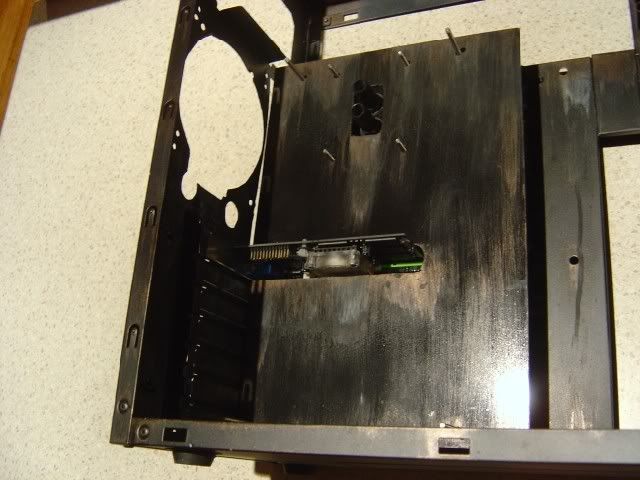
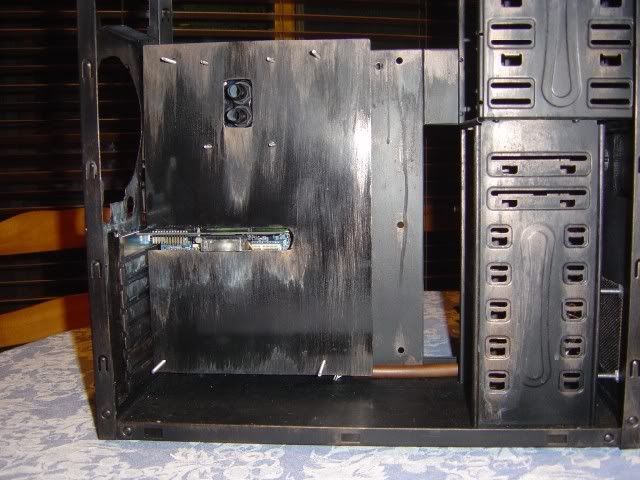
I then added a bolt on nut on each bolt at the level I wanted the cover to
sit, then added and cover, and as soon as I get them i will add some wing nuts
so hold it down.
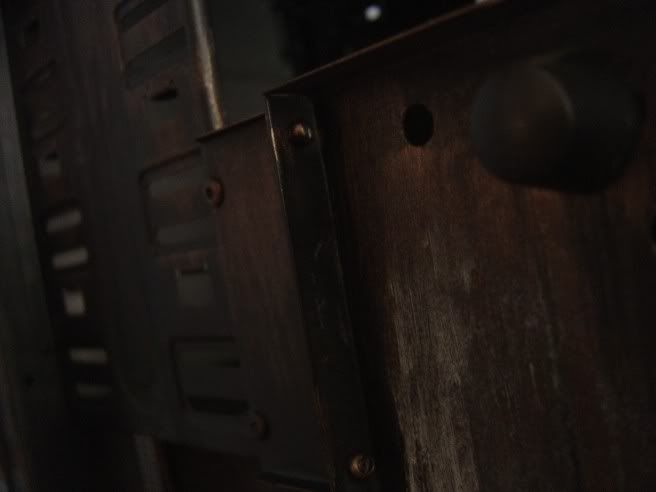
Here are some shots of it fitted.
Flash
No flash
Cheers
Slamaa
01-20-2008, 02:41 AM
slamaa
Re: OCM Comp: Project Welcome to Rapture
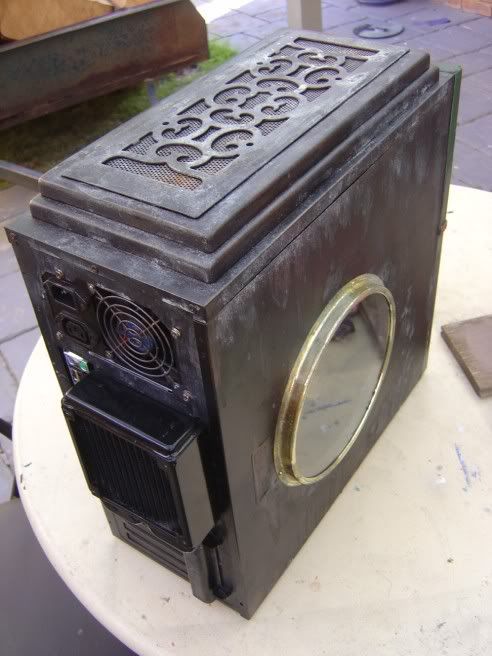
Telegram 11: Paint that PSU
Hey Guys,
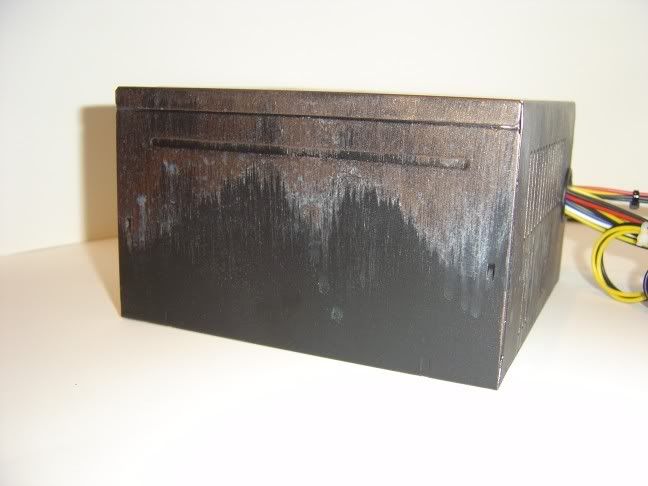
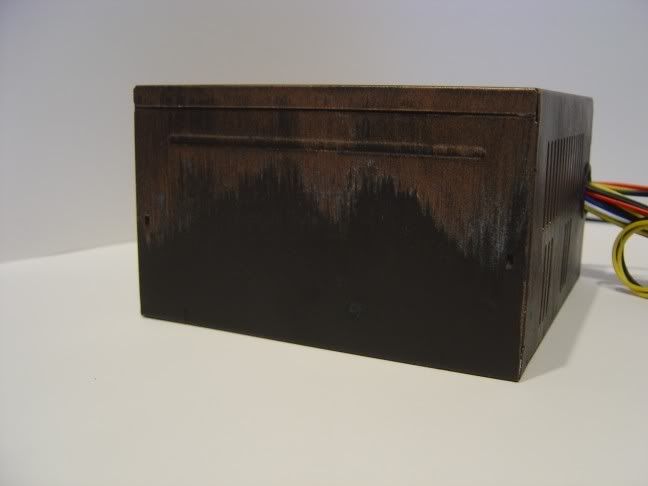
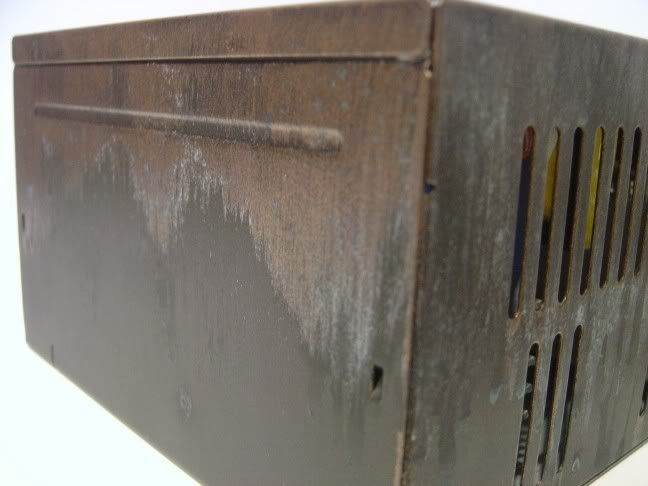
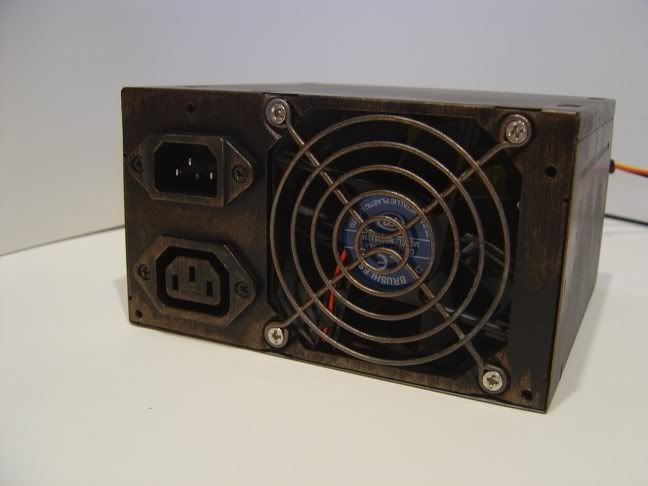
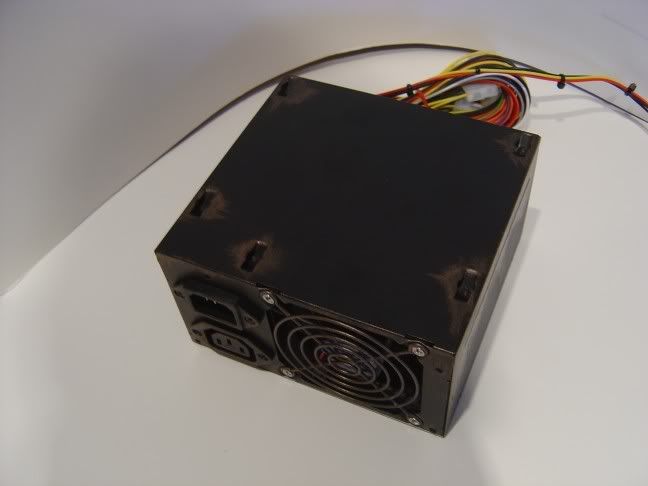
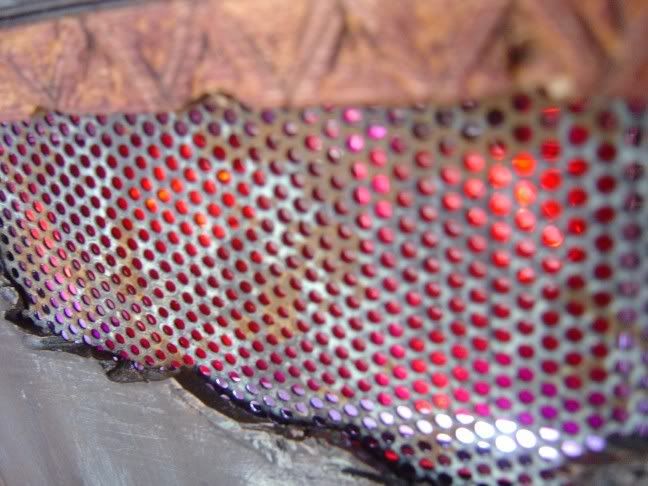
Using the same method I used to paint the chassis I painted the PSU. It's just a generic 550watt unit. Here's the results.
Flash
No Flash
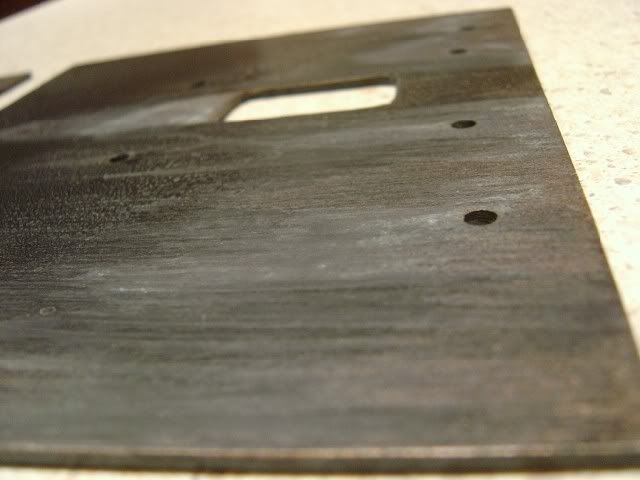
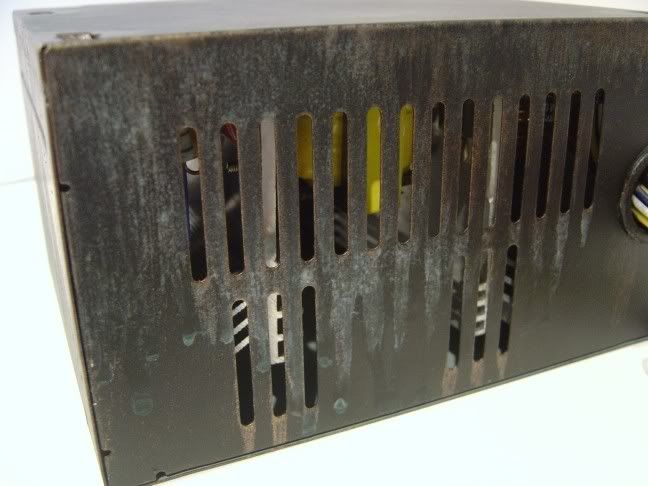
Close up of Aging
Rear
Top
Grill with aging
Cheers
Slamaa
01-28-2008, 04:41 AM
slamaa
Re: OCM Comp: Project Welcome to Rapture
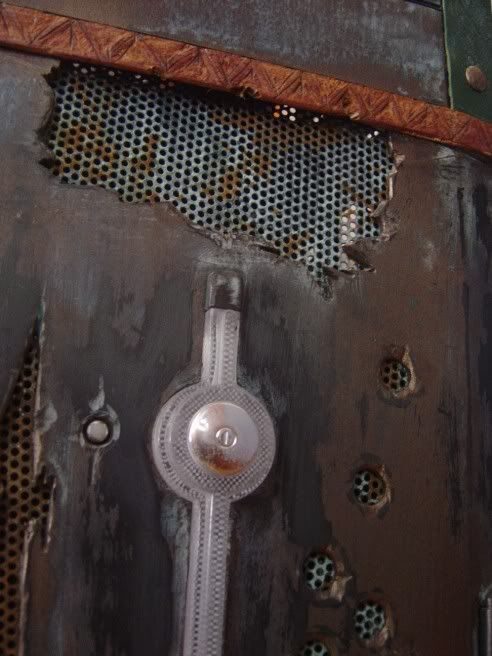
Telegram 12: Hide 'n' Seek HDD.
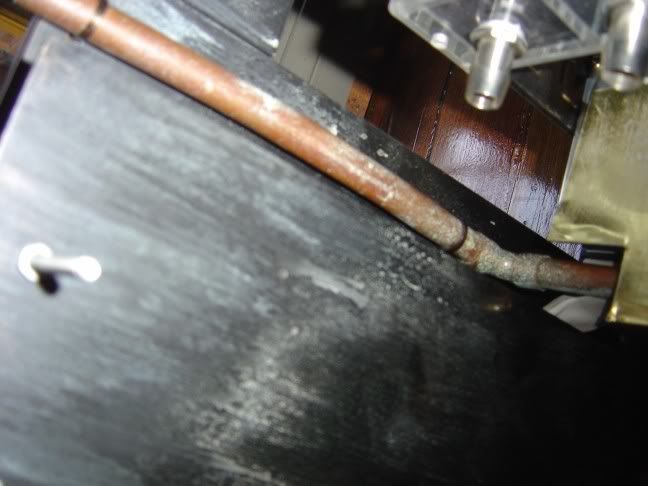
Now I had stealth the motherboard, and all the wiring for it is hidden so i tought why not do it for the HDD. I started by modifying one of the 12v rails on the PSU. I removed all the molex plugs and extended the cable, i then cut some lengths of 1/2" copper pipe and fed the wire through it. then soldered the molex connector back on.
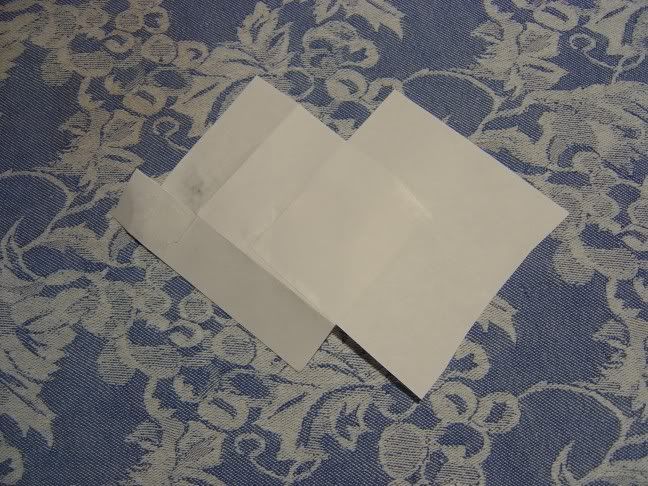
I then began work on the HDD cover, I hadn't seen it done before so I began by making a template out of paper.
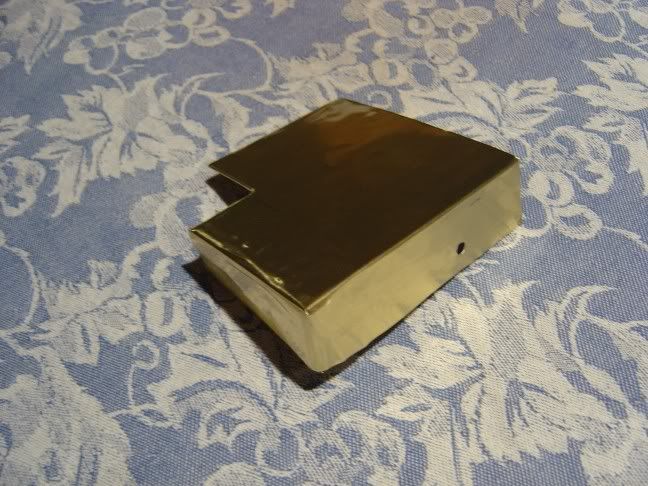
Once the paper template was done i then transferred it to a sheet of gold metal which was thin enough to easily bend but was still quite strong.
I then folded it into the shape of the cover and drilled a hole so i could attach it to the HDD.
I then tested it, fits nicely.
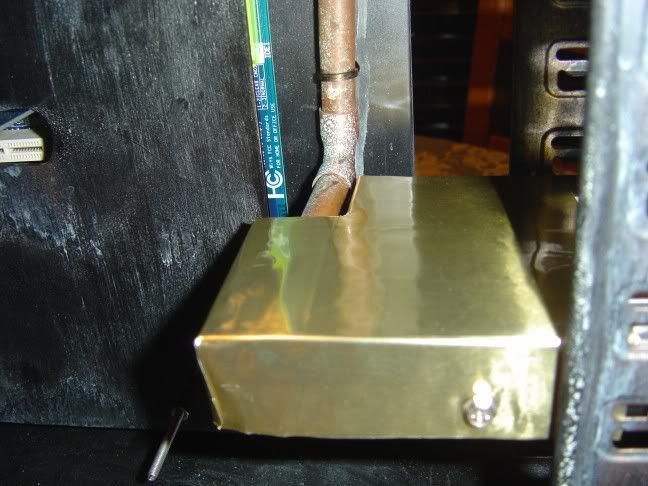
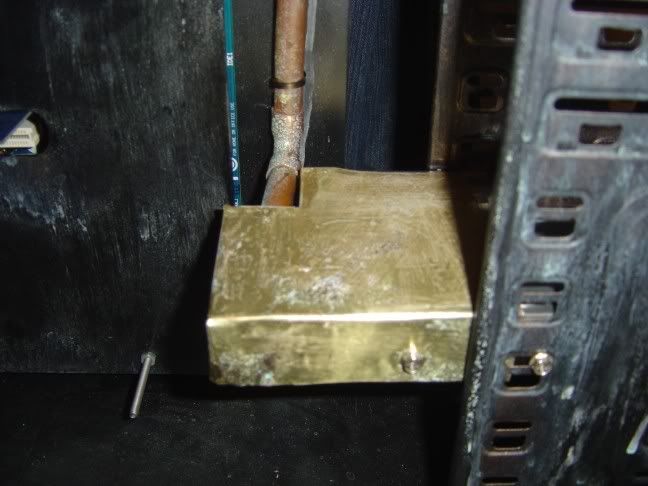
Then so it matched the rest of the case I aged it and fitted it permanently.
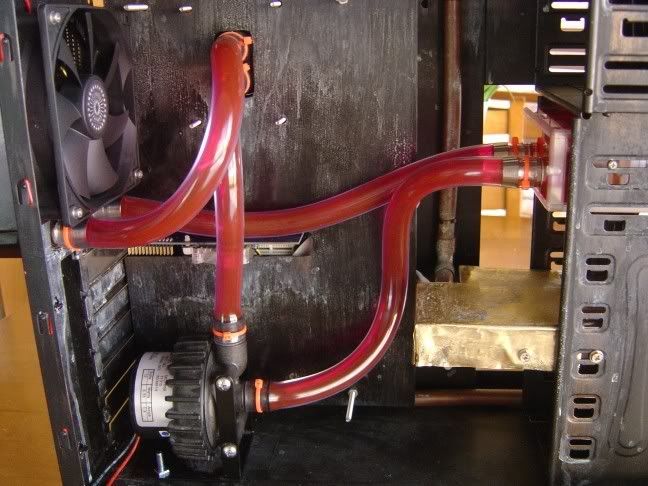
Once this was done I then fitted the new Cooler Master 120mm fan i got and 120mm Nexxos radiator.
A Nice clean mount :)
Well thats it for now
Cheers'
Slamaa
02-10-2008, 05:30 AM
slamaa
Re: OCM Comp: Project Welcome to Rapture
Telegram 10: Out with the Old, In with the New. (Video Worklog 6)
Well I wasn't happy with my last approach with the right side panel and my mural of
the big daddy, which I never finished. So I scrapped it, and started the panel again.
Enjoy the video.
Cheers
Slamaa
02-11-2008, 03:19 AM
slamaa
Re: OCM Comp: Project Welcome to Rapture
Just waiting on a custom decal now, should be here in the next few days.
Thanks for the comments Guys
02-16-2008, 04:39 AM
slamaa
Re: OCM Comp: Project Welcome to Rapture
Telegram 10: ADAM Supply System (Watercooling) - Video Worklog 7
Cheers
Slamaa
02-16-2008, 05:03 AM
slamaa
Re: OCM Comp: Project Welcome to Rapture
Telegram 11: ADAM Supply System (Watercooling)
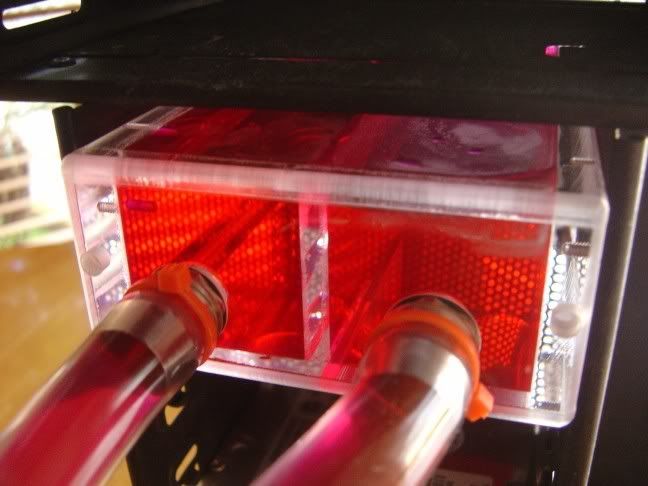
I Finally finished installing the watercooling loop, check out the finished pics.
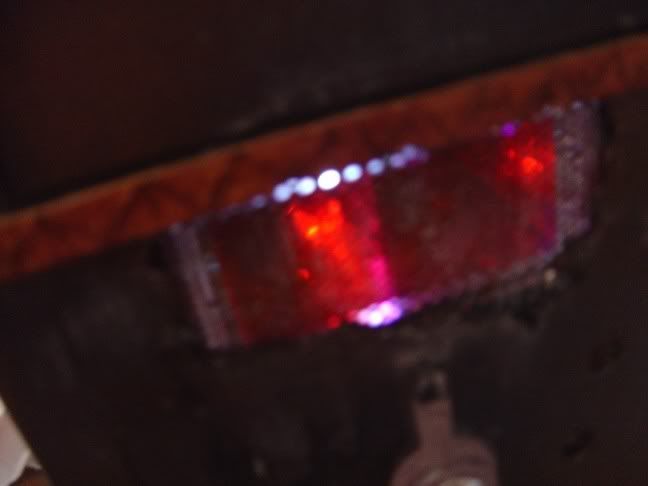
Front Mesh Reservoir Window
The Res
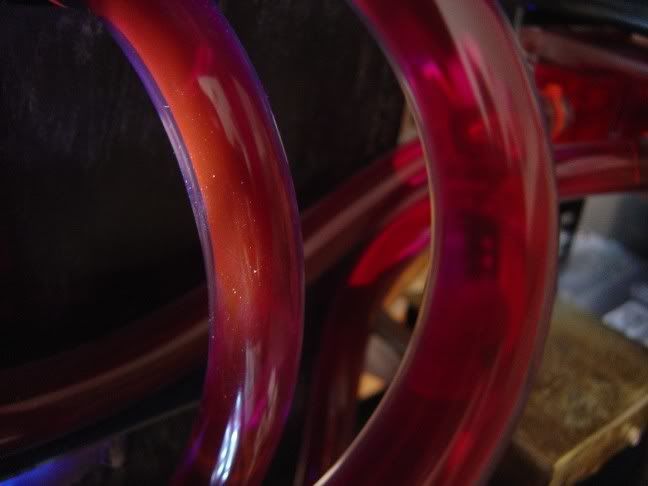
BLOOD PIPES :twisted:
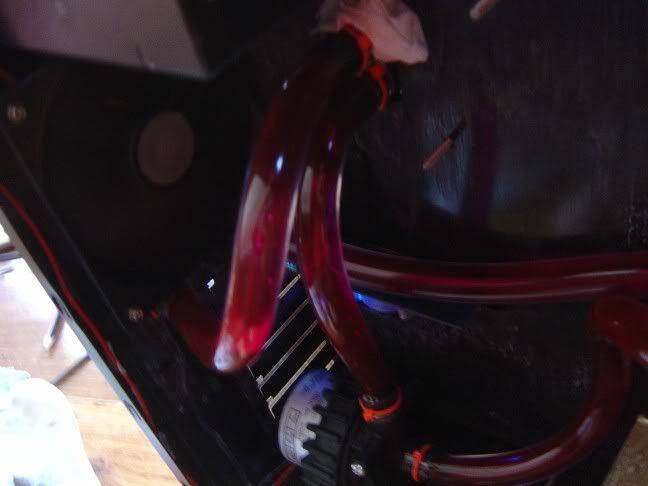
The Loop
More pipes
The front again
Cool inside shot whilst leak testing
Cheers
Slamaa
02-23-2008, 10:34 PM
slamaa
Re: OCM Comp: Project Welcome to Rapture
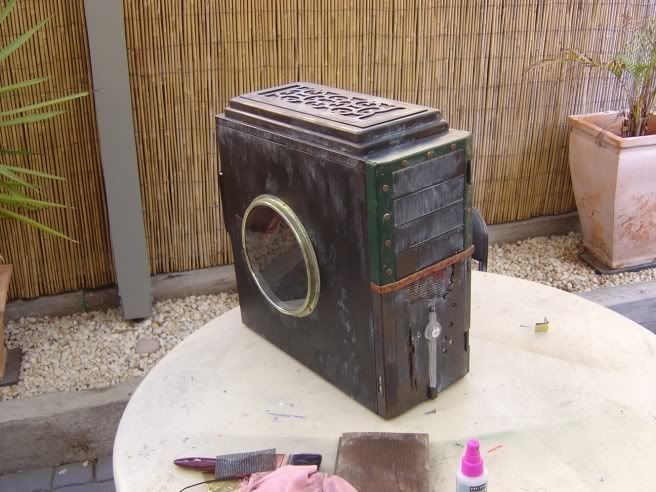
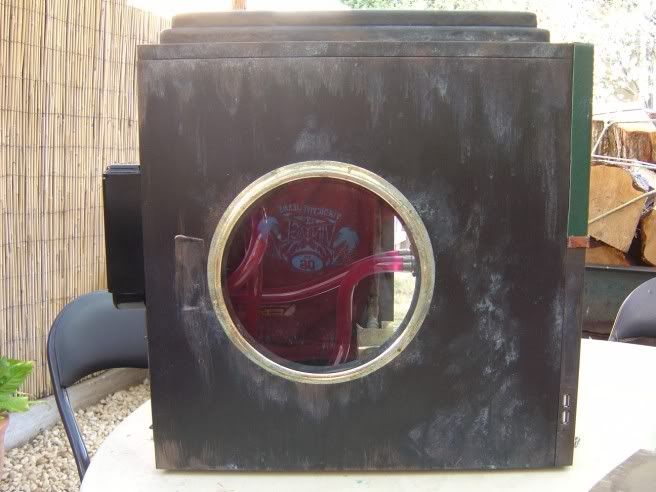
Telegram 12: Through the looking glass.
So I haven't had a lot of time lately with year 12, starting a new job and various "other" things I hadn't really had a chance to get outside. So this week end I finished off both of the side panels.
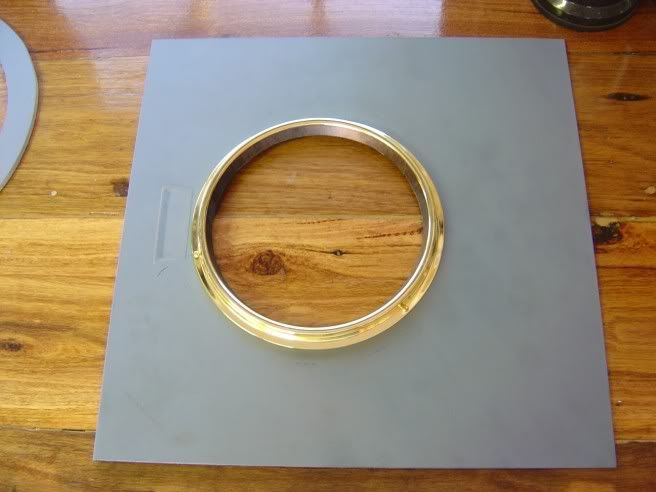
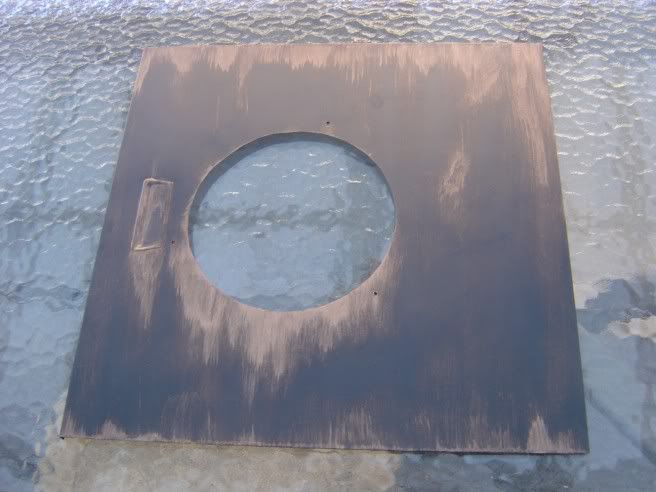
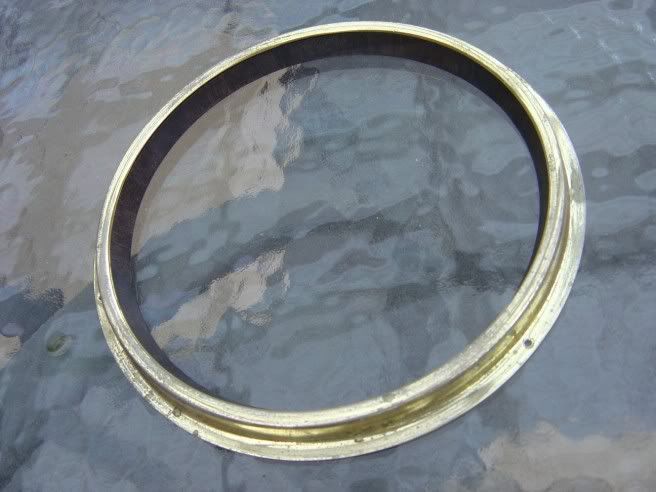
For the Left side panel I started off with a port hole looking ring with a piece of perspex in it which I pulled from our wall clock which died just as I was looking for something to use. *LUCKY*
It would be perfect for a Port hole type thing, so i measured it all up, marked some stuff up on the panel which previously had my mural on it and then cut it with the rotary tool.
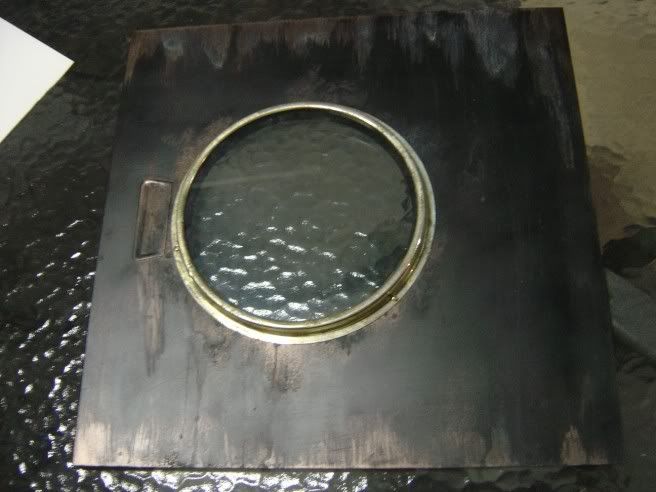
I then gave it a test fit, fits perfectly :)
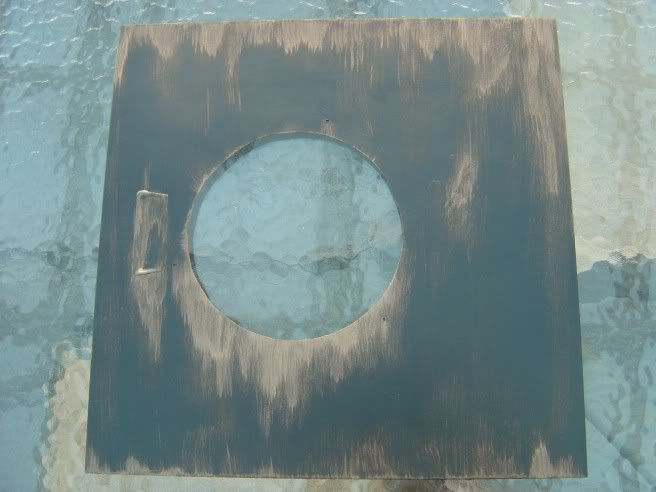
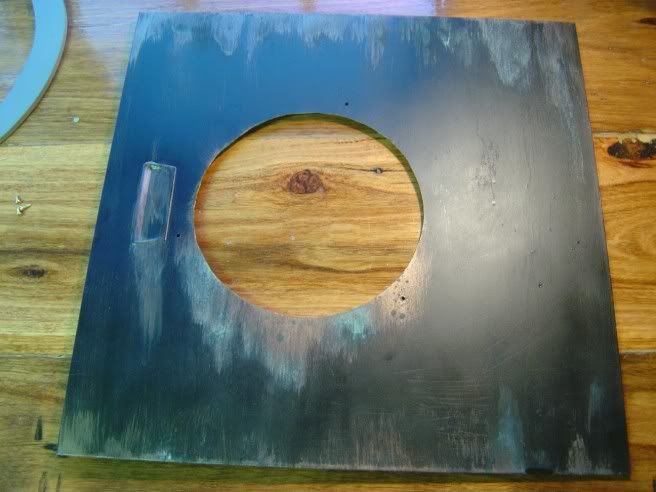
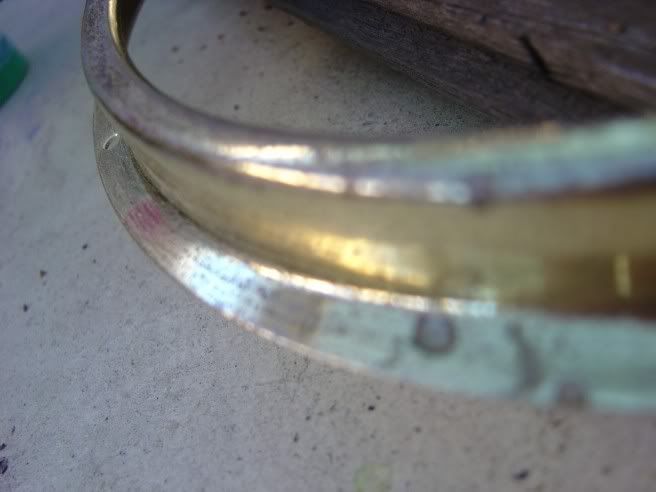
Then on with the painting, I applied the base colour of satin black and then the first coat of the bronze detailing.
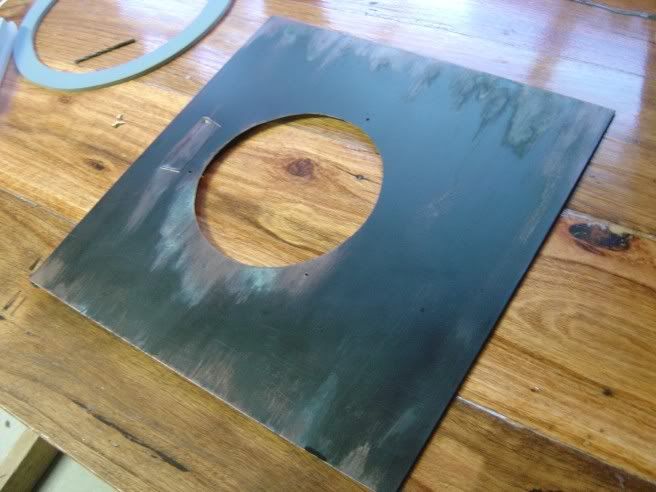
Then the second coat, and the aging solution.
I then gave the 'port hole ring a light sand to remove the shine and applied the aging solution.
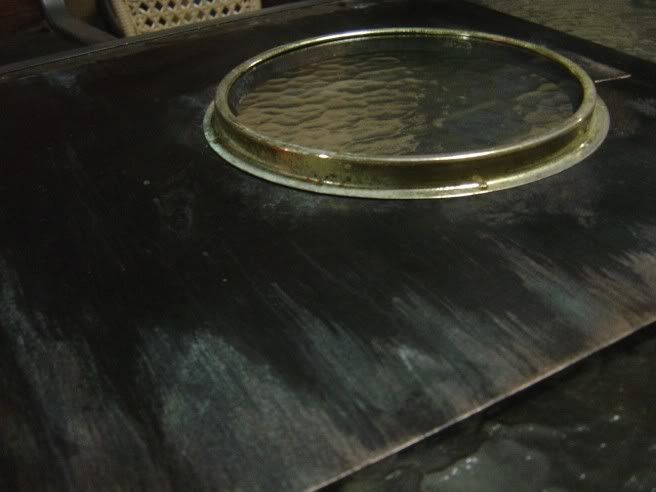
Once everything was dry I then assembled the perspex, port hole ring and side panel.
I think it looks pretty good. :)
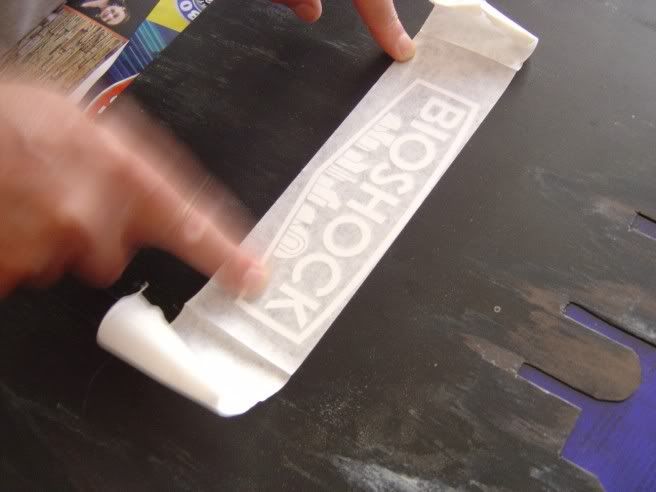
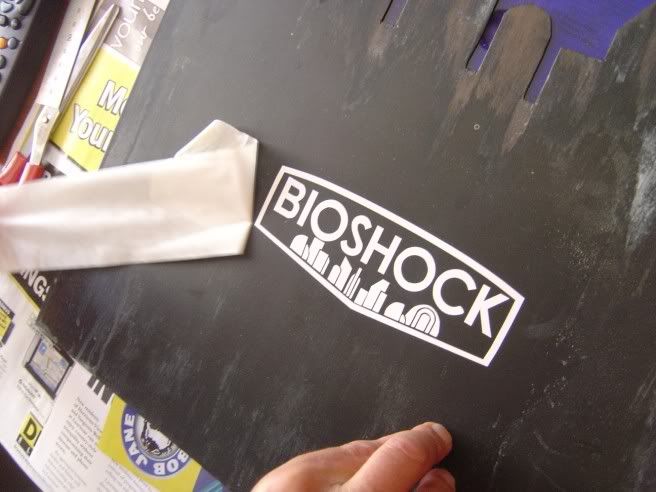
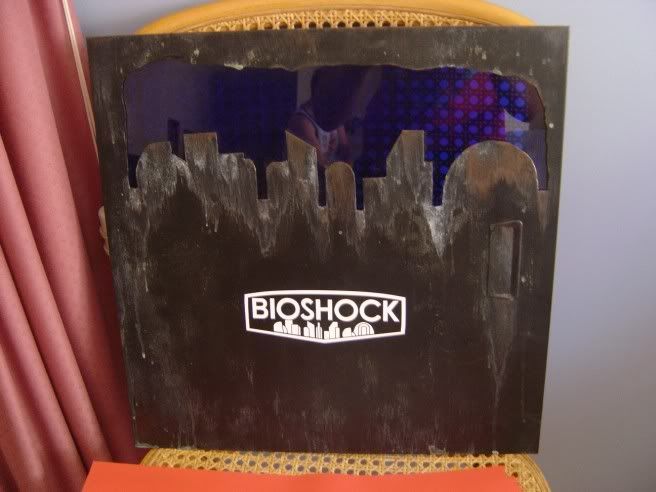
I then thought i better finish the right side panel, So I then applied a custom "Bioshock" decal which I had made for me by C0L0N3L / Pvt. Snowba11, Tristan / Sam. I love it it really finishes of the panel nicely though it still needs some aging.
So, now I have the chassis and top panel all done, the watercooling loop in, the front panel done, and the two side panel completed. So all I have to do is the front door and the lighting.