nice work dude, looking sweet,
and i love the sig, very fitting

Printable View
nice work dude, looking sweet,
and i love the sig, very fitting
Very nice. Looks like you have the patience and the skill to make this turn out brilliantly.
Joe
I am intrigued by your sketches of the interior design. I will be watching this.
+rep for dealing with those horrible cases the right way... mod 'em until they actually work well!
Defyant-inspired... looking good already.
lol i like it other than it came from a dell but you wont be able to tell later
playing cod4 the other day and saw a pc on the floor and yelled over ventrillo ahh its a dell and we unloaded all our bullets into it lol
Dells make good footrests, it can even be heated if you chose to turn it on.
lol nice.... i like that one +rep for making me lol
Hey! Thanks for the nice comments!
I have an update for you guys!:banana::banana: :banana:
I said before i wanted to get started on the front panel, however i know that if i get all of the interesting jobs done first i will find it more and more difficult to get motivated and do the crappy little jobs that are left over.
So i decided to get some of the internal panels fitted for this update.
The first job is to basically line to inside of the case with the 3mm black plex i got from Hindleys, The biggest challenge with this will be getting the dimensions dead on, preserving the mirror like shine on the plex and making the fixtures and fittings fit in with the rest of the mod.
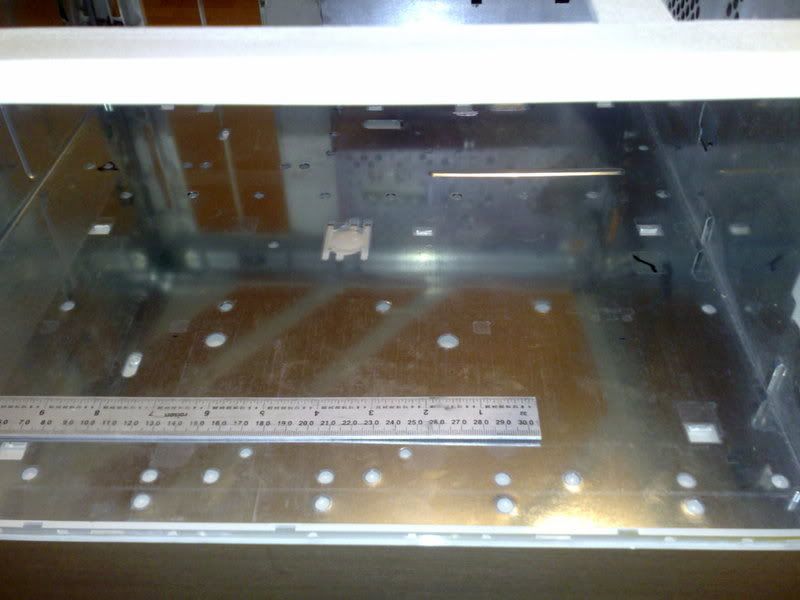
I started with a measure up of the base and rear face of the case...
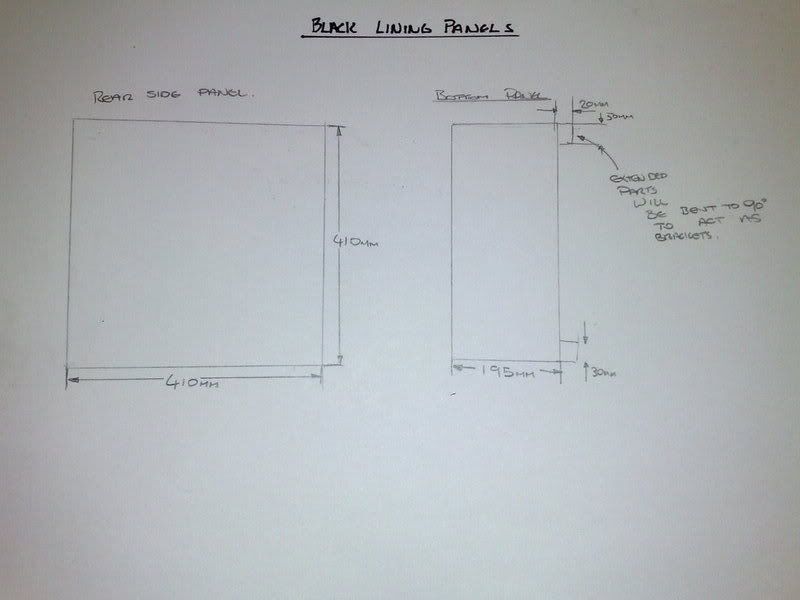
Then drew up a quick sketch for reference
As you can see from the sketch, im planning on leaving two small tags on the base panel, more on this later though.
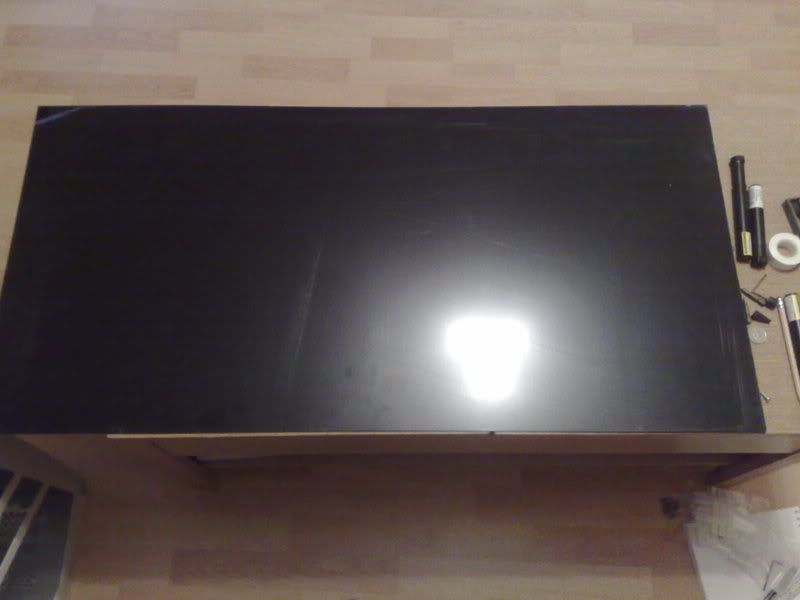
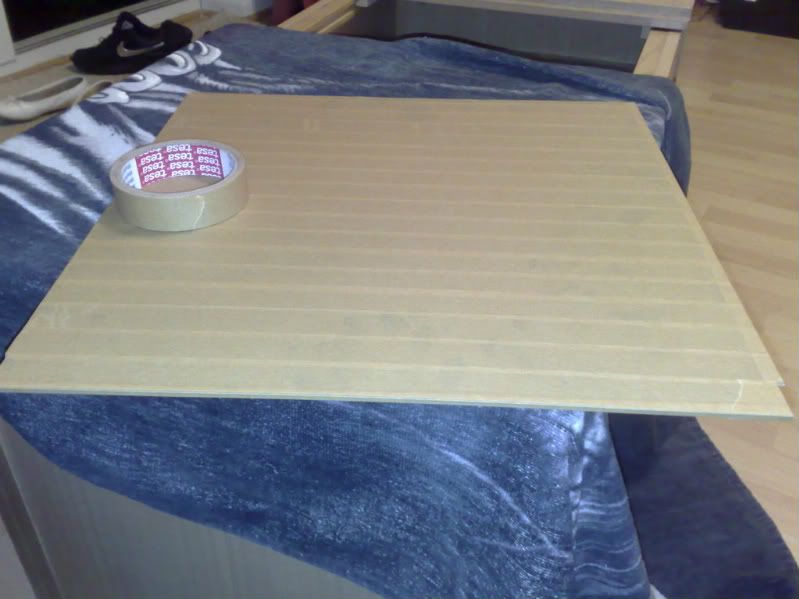
This is the plex i bought
Dont panic! the scratches are only on the protective film, underneath its perfect.
I wasnt sure how i was going to be cutting out these panels, i lack the funds and space for industrial cutting equipment and my local hardware store are worse than drunk chimps when it comes to cutting accuratly. Dremel will work but i dont really want to file away the extra material i leave for melting, i would be filing for hours. So i decided on the only reasonable alternative... THE KARATE CHOP!!!
YA.... SRSLY! well.. not quite BUT there will be violence and unexpected loud noises!...well ok maybe im just going to be snapping it (gasp)
Id never snapped plex before so i wasnt sure how it would go, im thinking it will do one of a few things:-
- Shatter into a million pieces killing me, the girlfriend and possibly the cat.
- Snap in a completly random way completely wrecking my sheet of plex and injuring me in some way
- Crack and chip
- Snap perfectly straight down the carefully marked line.
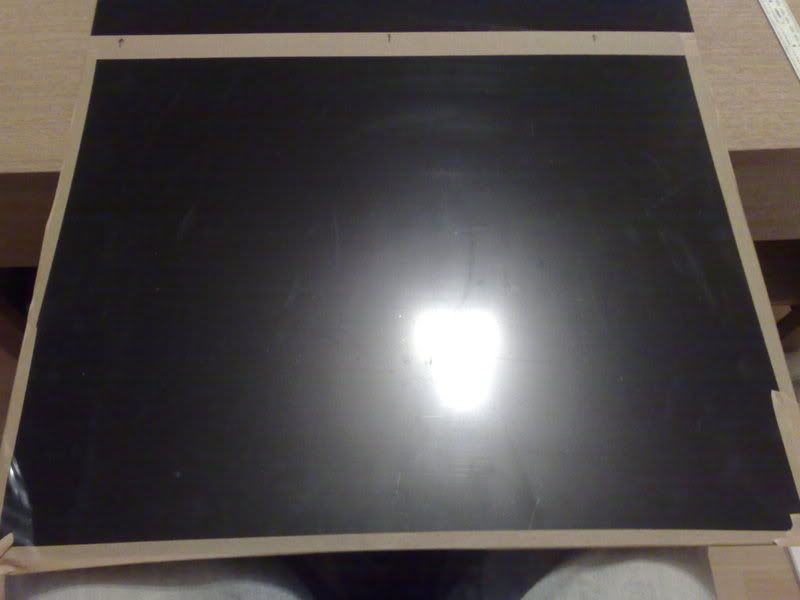
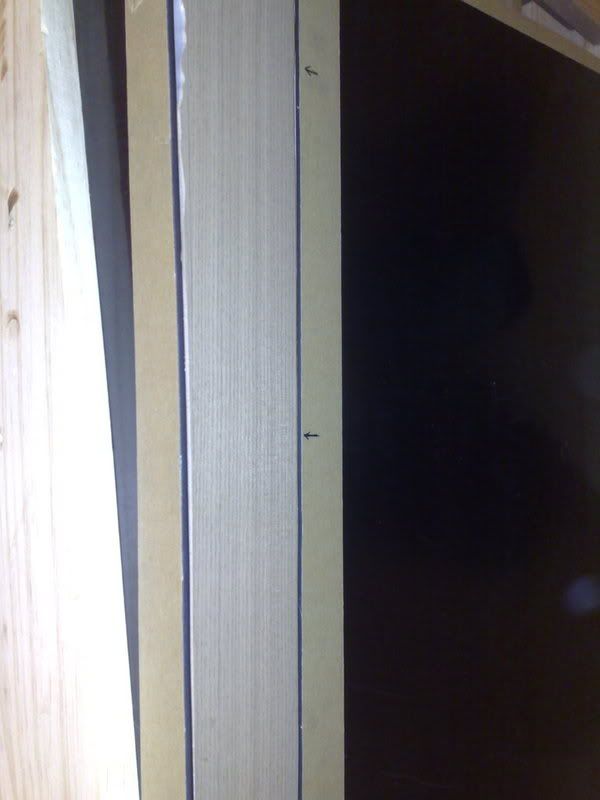
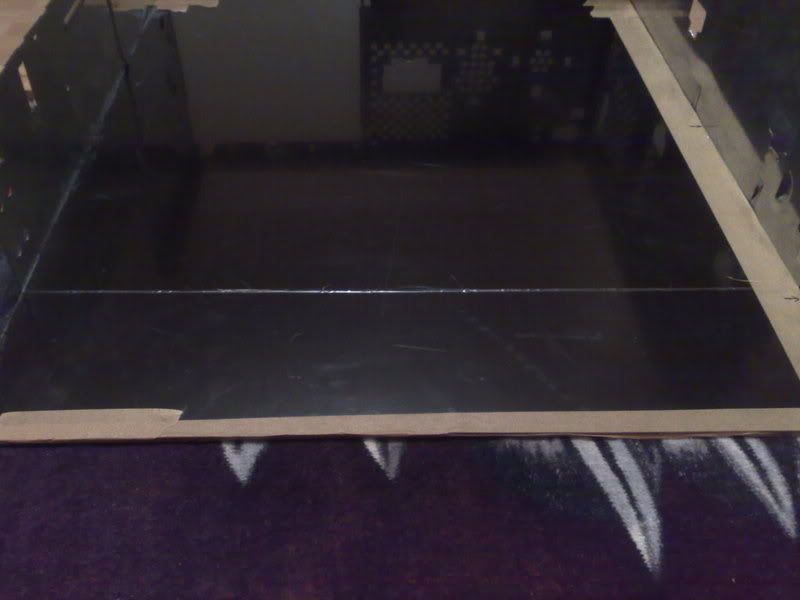
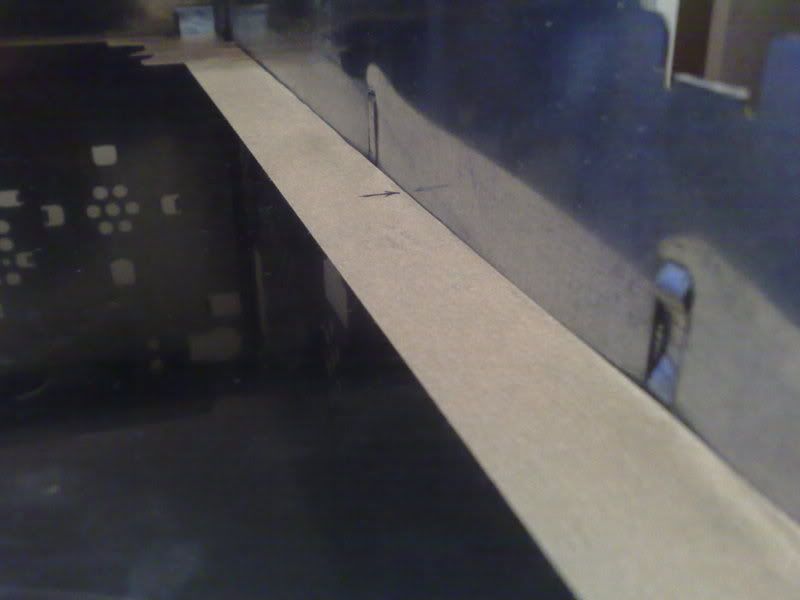
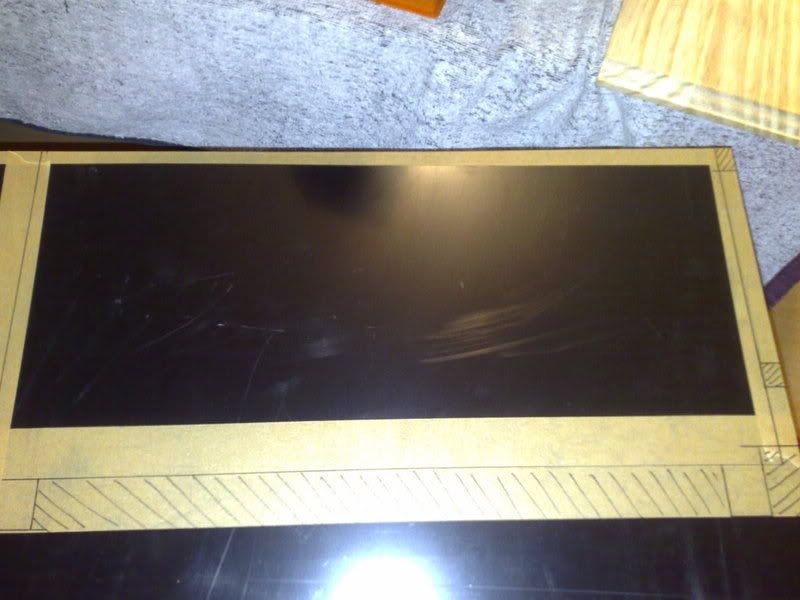
I began by taping of the edges with the low tack tape i like, i also measured the edge i was going to be snapping and masked that off too , the arrows are so i remember which side of the tape im snapping on.
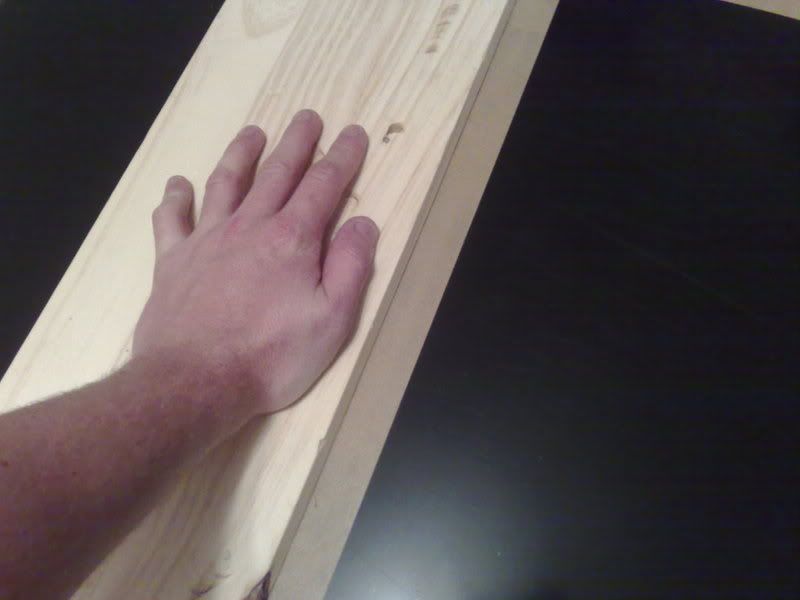
I went to the timberyard round my place and managed to snag and old shelf from them, it will make a good scoring edge (metal could blunt the blade). I clamped the plex to the table, layed the straight shelf on top, dead on the edge and then precarioulsy got my knee on top of the shelf... this ba$tard wasnt moving anywhere! Then i ran a stanley blade down the line 3 or 4 times pressing REALLY hard, making sure i went slow and stuck to the line.
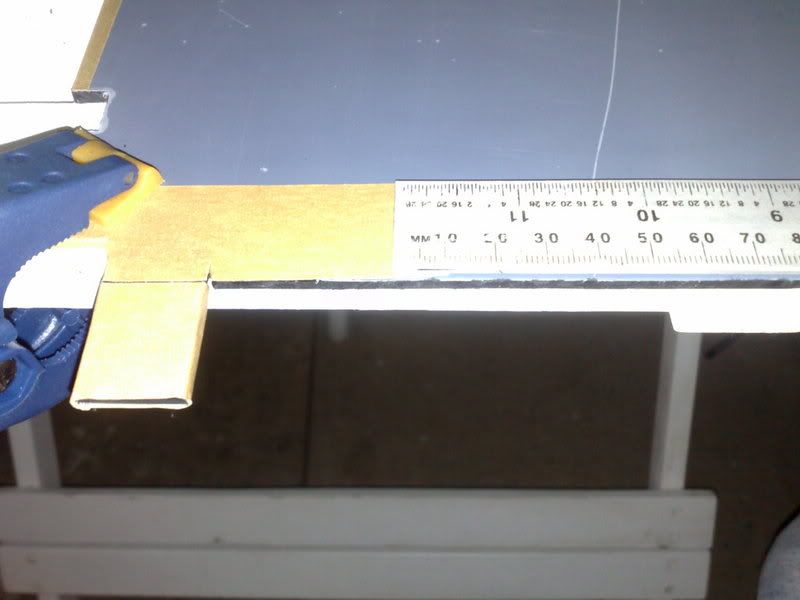
After i scored the plex i moved the sheet to the edge of the table so the scored line overhanged the edge and reclamped it, then clamped the shelf on top so only the bit i didnt want was showing, both hands holding the shelf, two knees on the overhanging plex MAN this stuff is so strong! I was perched on the edge of this springy sheet when it finally decided to snap VERY loudly and hurl me to the floor :eek:
It sounded so violent i was sure id wrecked my plex, upon a closer look i couldnt believe the result...absoloubtly perfect :up:
Take a look at that edge! Totally smooth and straight!
I was well pleased, Mr Miyagi ftw! R.I.P oh great one.
Now for the test fit into the case, the moment of truth..
Totally gobsmacked with the result, perfect!
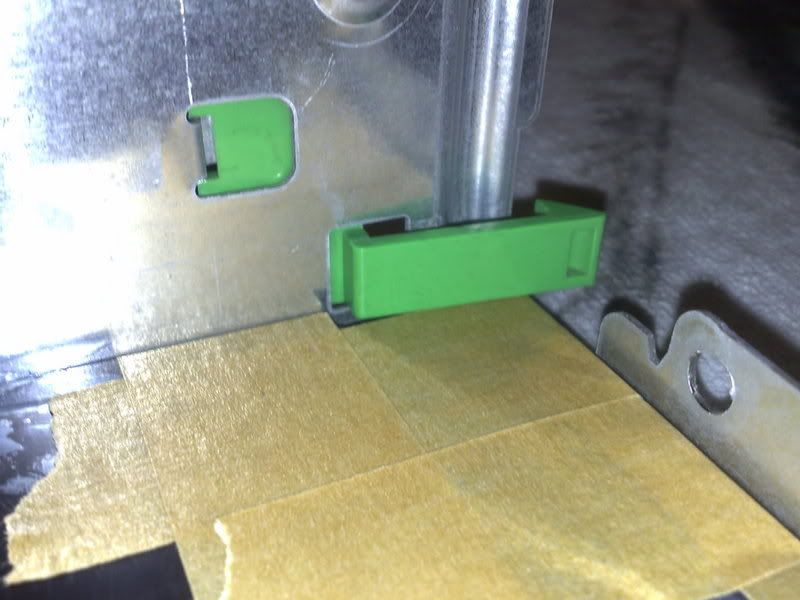
The green fixing mechanism to hold on the face plate just has enough room to move with the back plate installed.
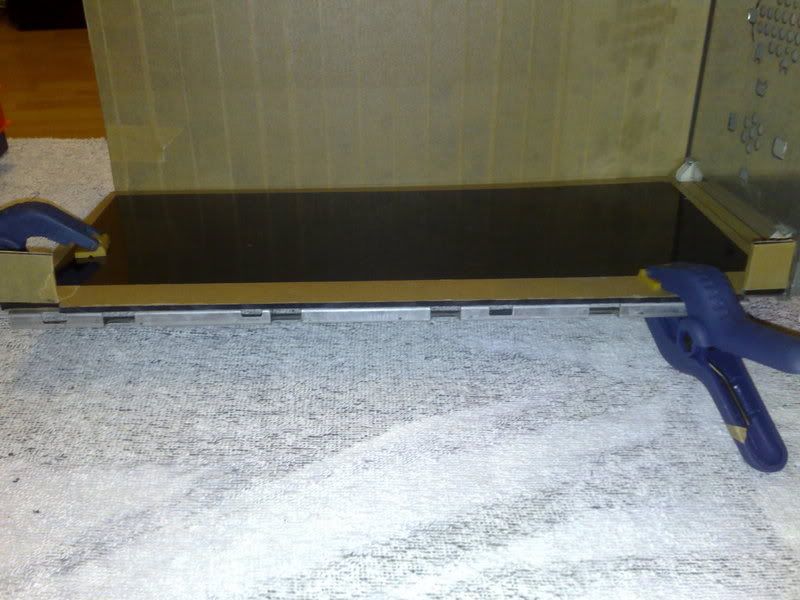
I mummified the panel in tape to protect it
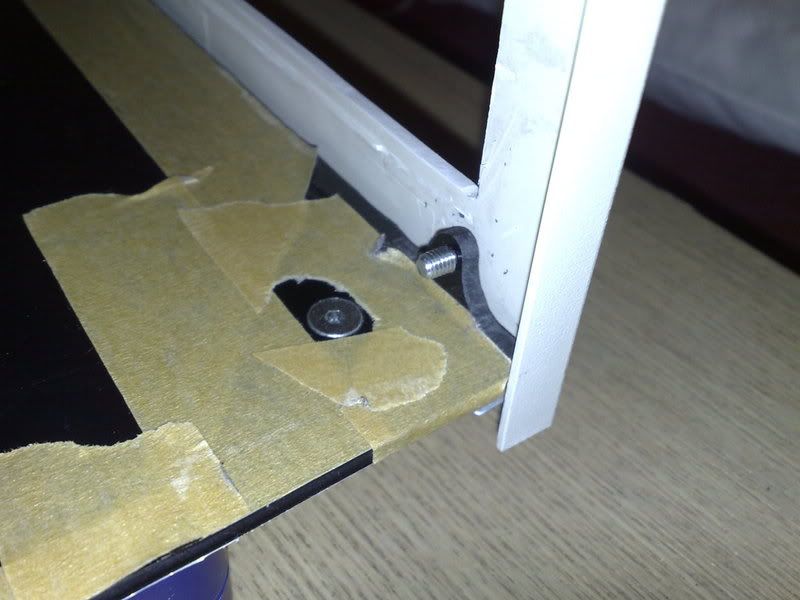
Now for the base, remember those two tags i was planning to leave on, well those are going to replace those little metal brackets that hold on the side panel.
I masked up and marked out another piece of plex, making sure to account for the hooks from the face plate and the two tags that are going to hold on the side panel. This is actually attempt no2, the first one i forgot one of the tags, i marked it but ended up cutting it off by accident, i was pretty pissed with myself but it would of bugged the hell out of me if i would have left it so i remade it.
I cut most of the material with a hacksaw then filed it nice and smooth.
I need to bend those tags up to a right angle, but they need to bend so there outside edge is flush with the edge of the base, so i cut two little notches either side of them (above pics).
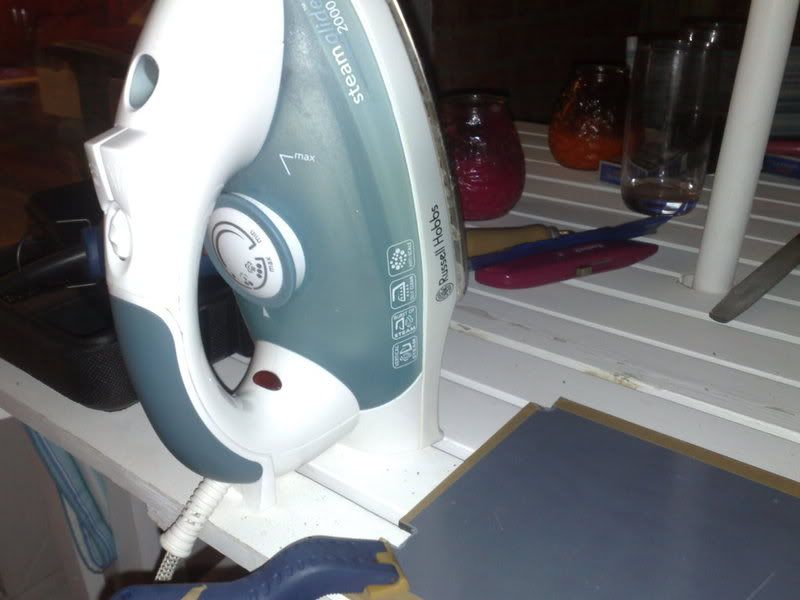
Im buying a heatgun next week but i havent got one now god damit! So, after consulting my book of ancient case making techniques (written by Mr Miyagi) i broke out this badboy!
DONT TRY THIS AT HOME KIDS!!
Your right, i probably HAVE flipped but i have no other option, bare with me.
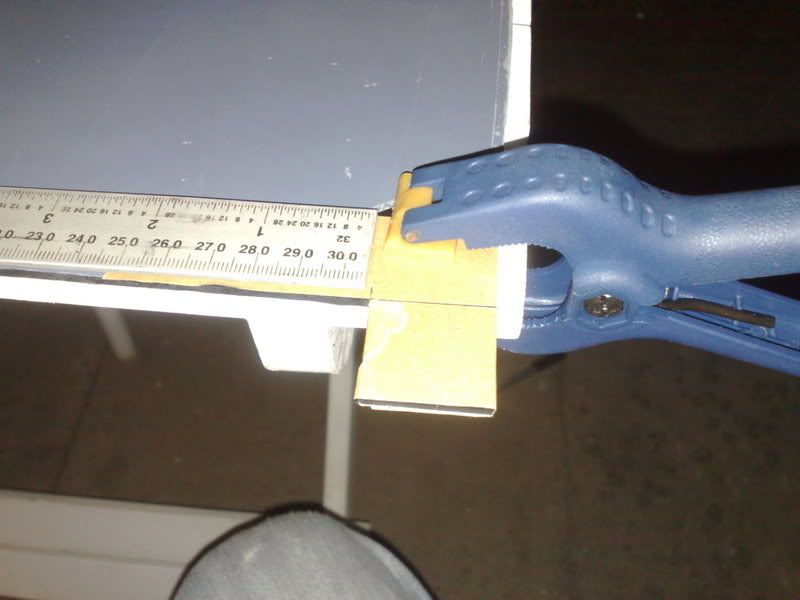
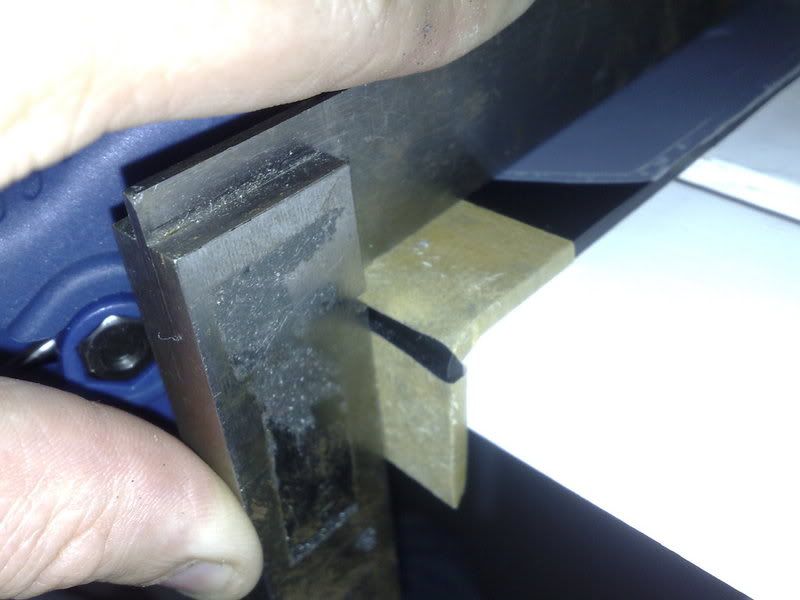
I positioned the tags 3mm over the edge of the table.
Id made sure id covered any exposed plastic with tape, direct contact with the iron would melt it, the tape will allow the heat to transfur through without melting.
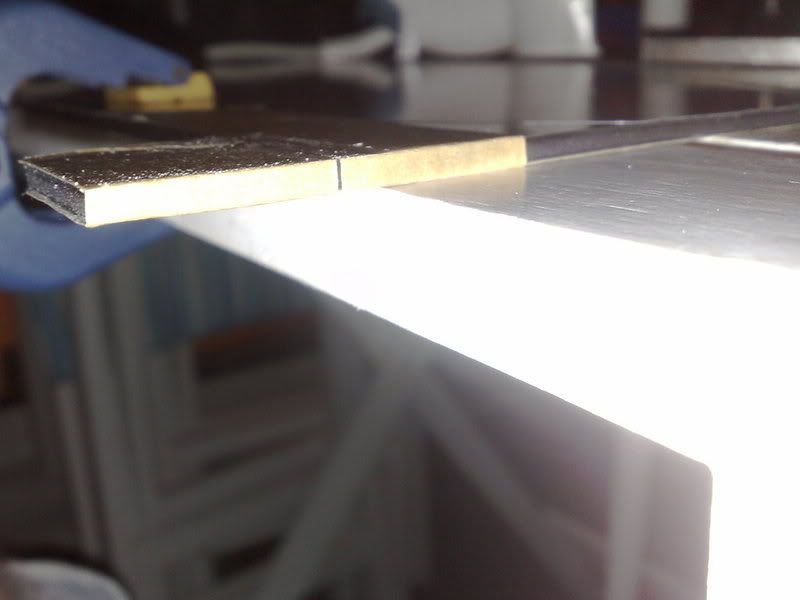
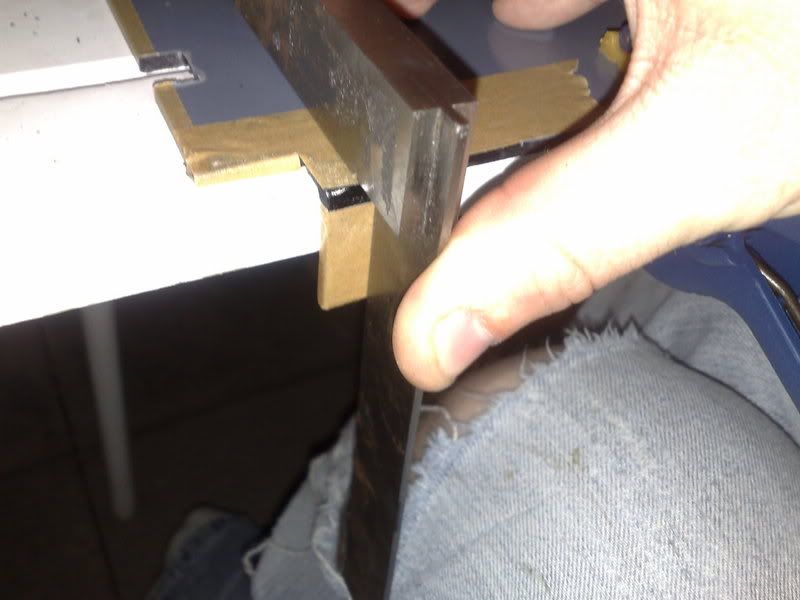
After about 30 seconds it became pliable so i gently bent it and held it in place with a set square.
the the other one..
Man the came out good...PHEW! I wasnt sure about using an iron to be honsest but it did the job perfectly, i wouldnt want to use it for large bends but for small bends its exellent. Clamped it back onto the chassis for a test fit..
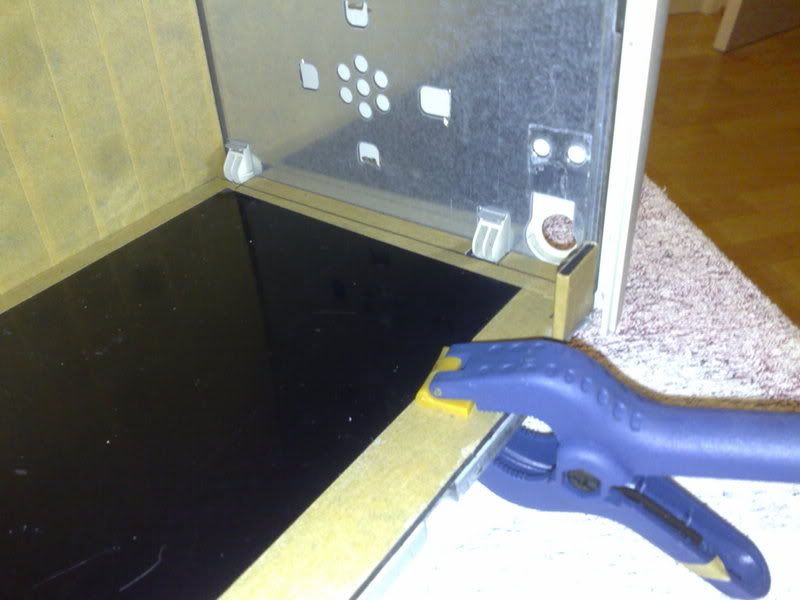
Yay it fits nicely.
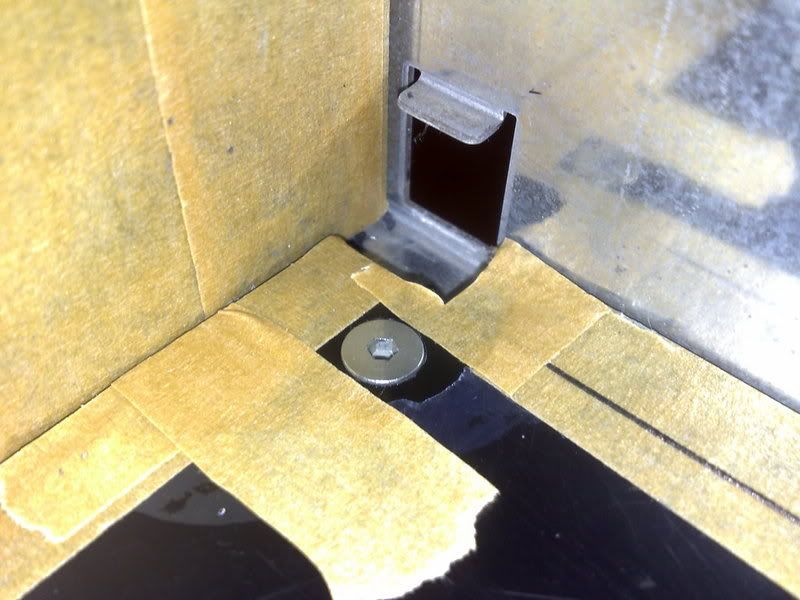
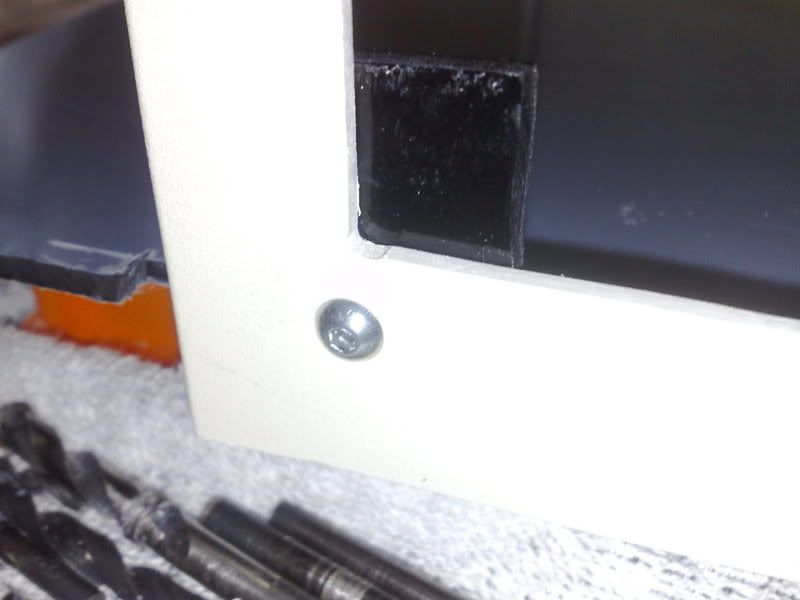
I drilled and countersunk four holes on each corner of the base plate to hold it in.
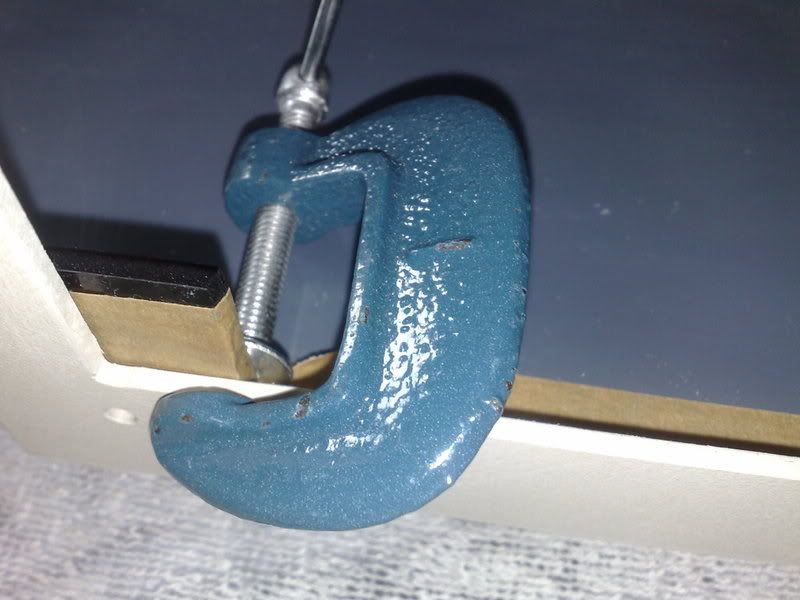
Then i put the side panel back in and clamped it in place.
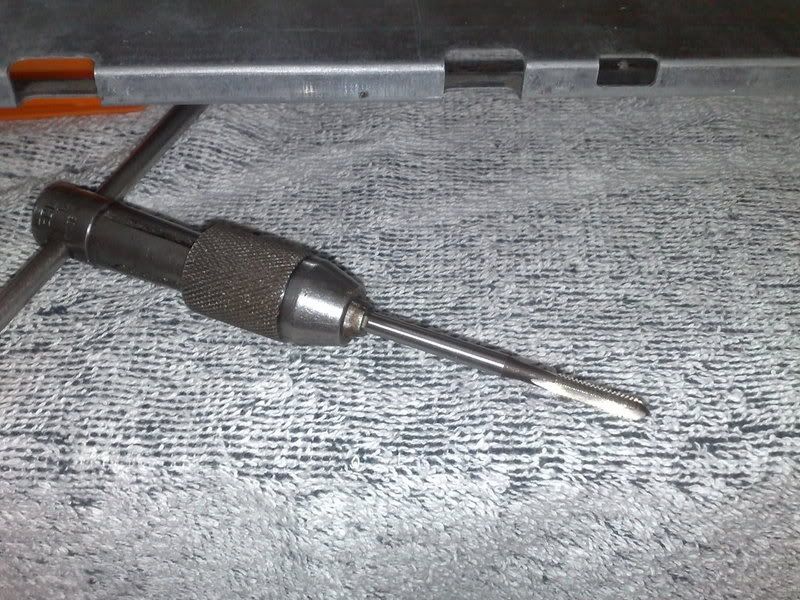
Then drilled and tapped the two holes to m4. Heres my nifty tap wrench.
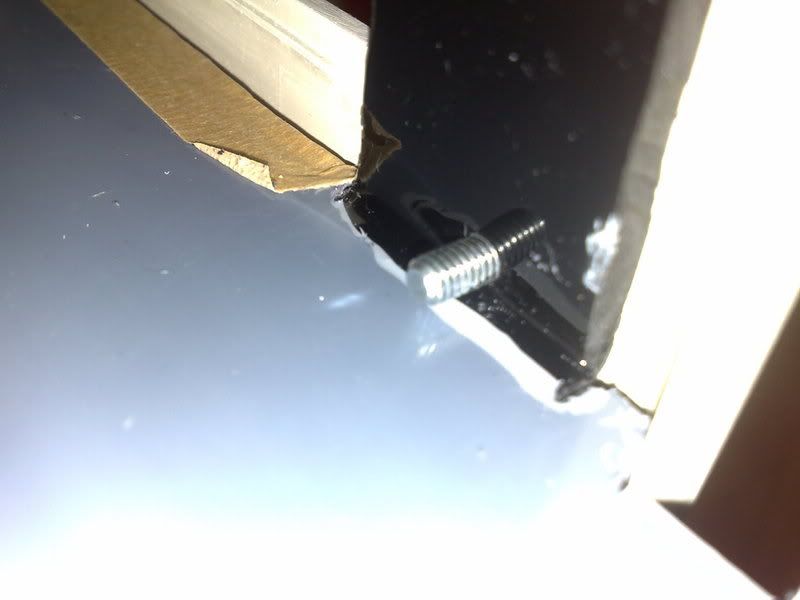
Ran a screw through it to check the fit.
Woooo just enough clearance!
Now to tidy up those big chunky brackets slightly, i filed almost all of the material away so that there was just enough to keep the thread strong
Thats it for now, cheers for reading guys.
Nothing like a good bit of ingenuity! I like where you're going with this, keep it up, JohnnyFive-san, keep it up.