cool looks good so far keep it up

Printable View
cool looks good so far keep it up
Update time
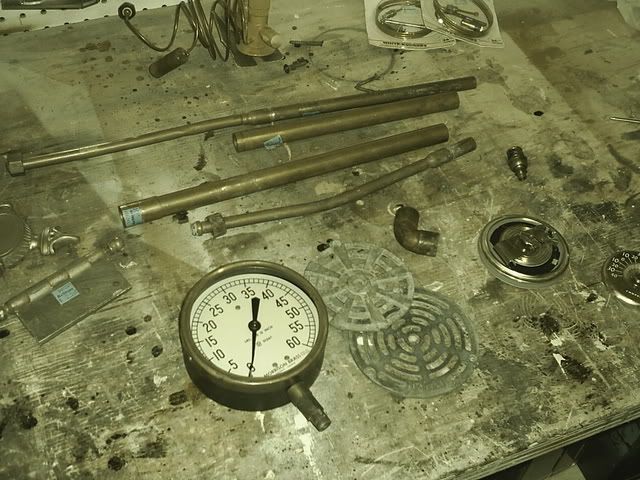
Firstly, I got some more steampunk toys. Here's my collection so far
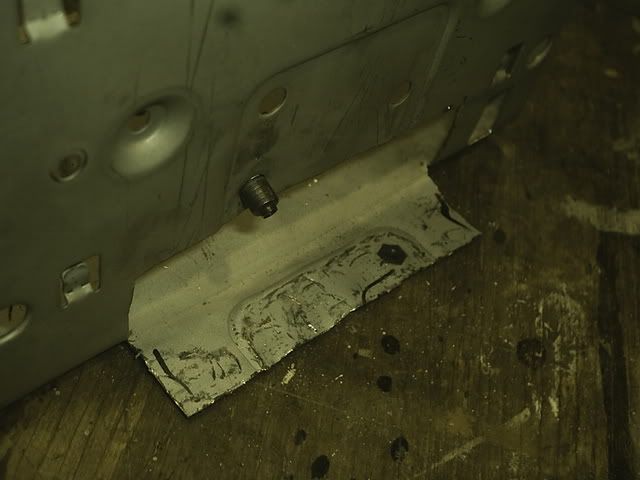
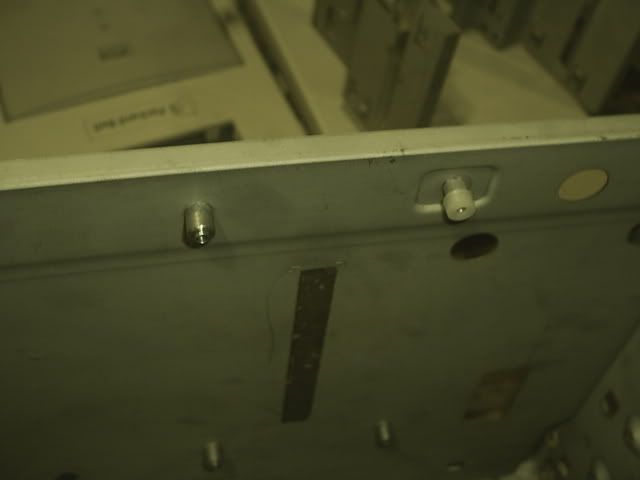
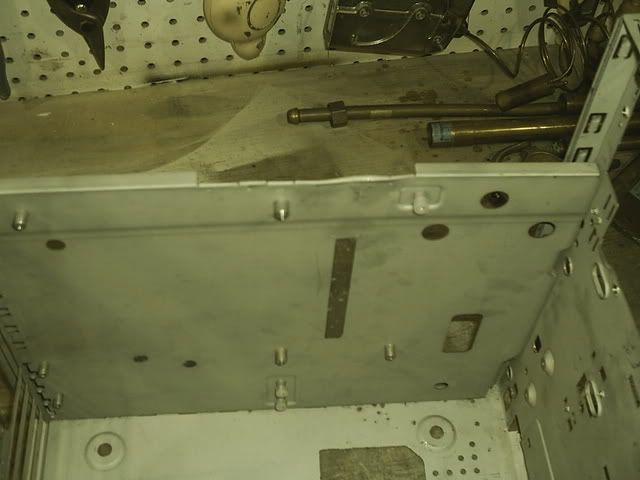
I moved the USB hub mount forward. Hopefully the simpliest answer is best.
I also made some room for cable mangement. It might be a litle tight on space, but it should help.
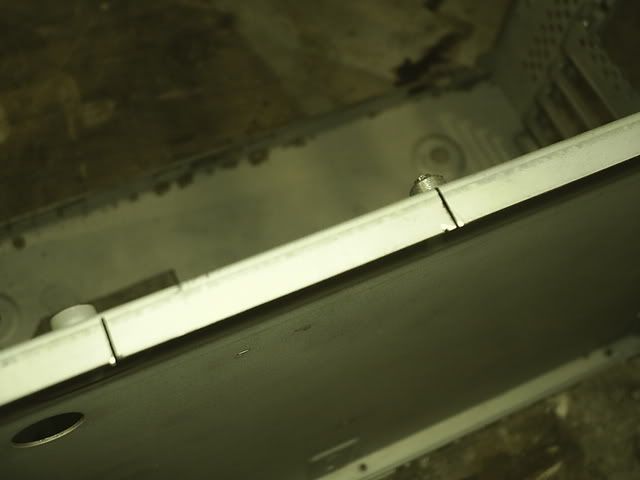
The top of the motherboard tray..
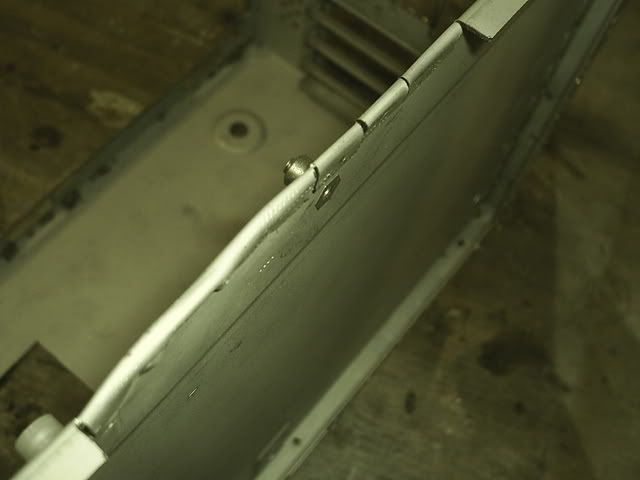
some slits cut
and bent out of the way
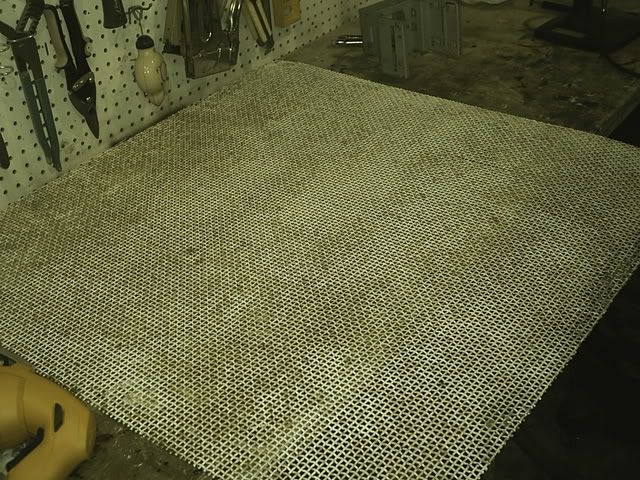
Now, you've seen alot of cutting of holes. Here's what I plan on covering them with
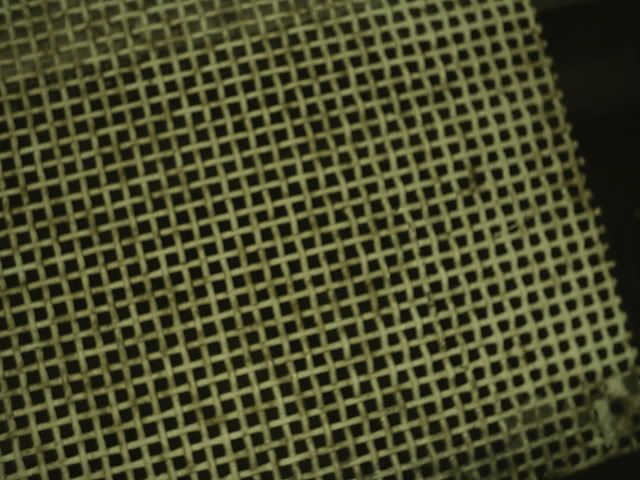
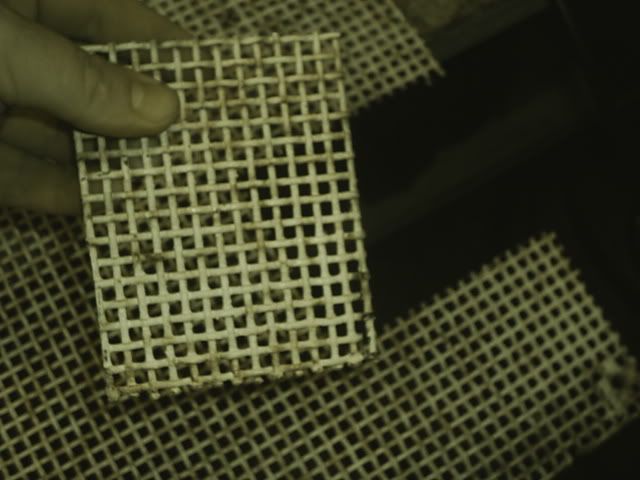
Nice weaved mesh, totally overkill and superb. and to boot, it already looks old and abused.
Which is because it is, I salvaged it from an old building. No telling how old it is.
Tried using a jigsaw with a metal blade, but the sheet is so large i had trouble clamping it down adequatly. So, to the dremel. Ate alot fo cut off disks, and was alittle tedius. But cut it did.
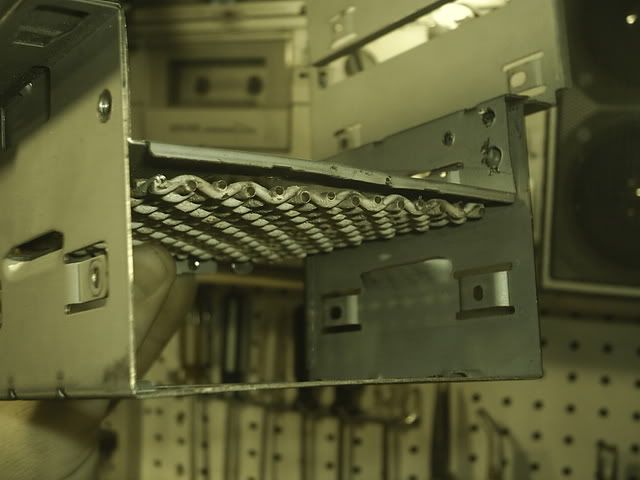
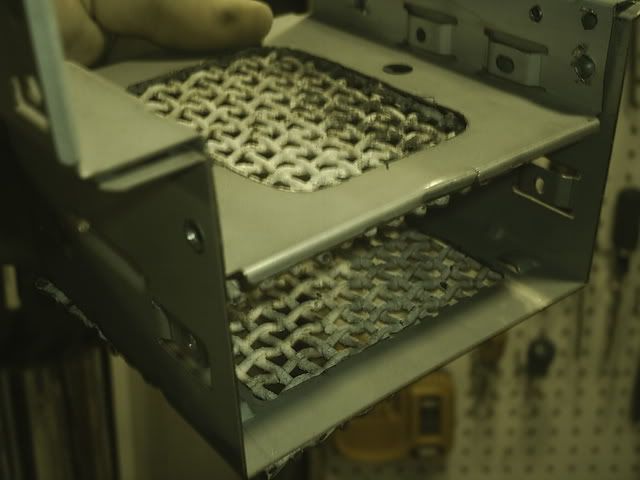
in place on the cage
I managed to cut the piece for the rear fan mount just before I...ah...broke the dremel. Will have to get back to when I fiqure how to work that out!
Vision
A decent set of metal shears should cut your mesh nicely. You can get them pretty cheap at Wal-Mart, Lowe's, or just about any do-it-yourself store. Always good for a modder to have, also.
Project is looking very nice, especially like the mesh. +rep! (and sub)
________
DAYTONA
I tried some tinsnips I had, but that was just not going to cut it. (sorry about the pun)
I'll have to look into, thanks for the tips! and the rep!
Vision
lol nice joke... i loled use wire cutters
they should work better
buy good ones tho
nothing like cuttin away and hear a crack and you broke the cutters
there called side cutters over here
some thing like this
http://www.toolstation.com/images/li...bbig/97807.jpg
also if your going to use them alot wrap masking tape around the handles :)
i used to live with these things built into my hand
Side Cutters? Really? The weave is made for fairly thick stuff-but I'll try it for sure. Anything to get around the downed dremel
cheers
Vision
Nice mod! Can't wait to see where this goes. +rep
Oh yeah, that mesh? Angle grinder might work too.
Mach, now this is a treat! I read about the Retromod and Cobra-matic, was it? I really liked those pieces. You should love one of my next projects, but I won't spoil that until this is done.
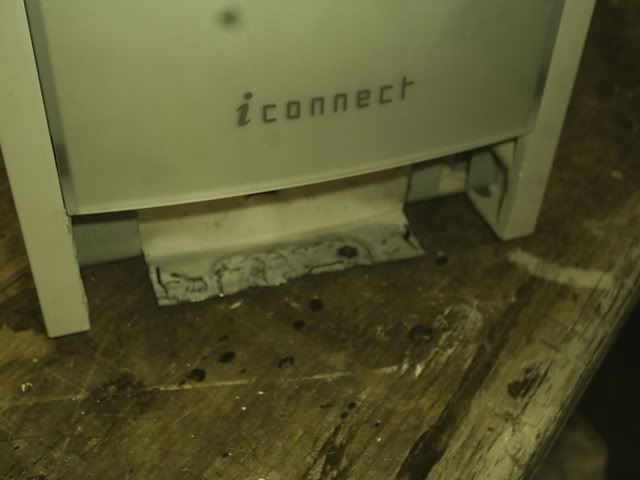
Now then, lets address the front of the case, as it seems to have been tossed aside as of yet.
The plan is to have it painted copper, and feature a drain grill on the front that will serve as a 120mm intake. The drive covers did not come with the case, so I make some. I originally had plans for a old boiler door to go their, but it was too big and fairly hefty, making mounting a problem. I'll get back to that later
Now, I admit that I am not totally trained in using tools in anyway. Most of the time, I make do, but I do need some guidance now and again. My dad is usually the one who foots that bill. I don't have a 4.5 inch hole saw, So I had a problem making the whole for the intake. I got dad to offer his two cents. Indeed, it actually got really into and did it for me. Would have been cool to learn how to do it myself, but It got done, right?
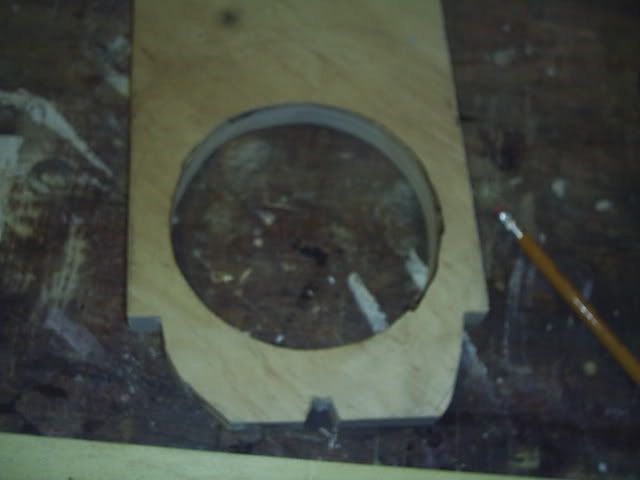
He started out by making a jig- a perfect circle (not sure how he cut it out)- to guide a router.
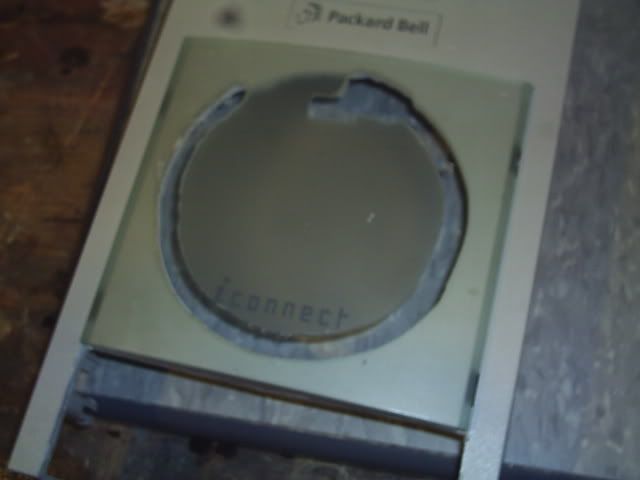
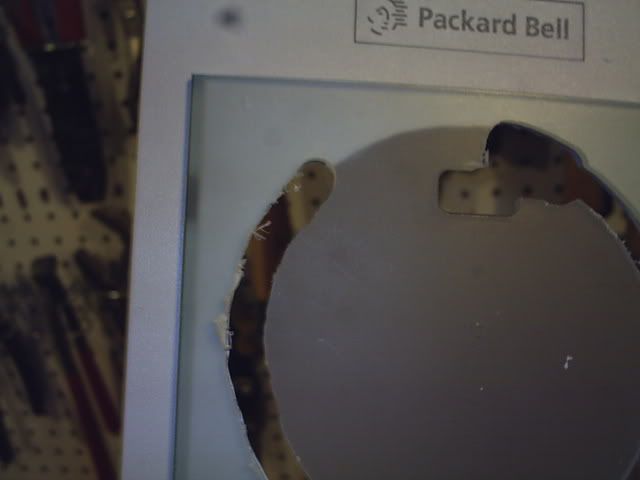
He got this far until he realises that the guide wheel on the bit had slipped (or something to that effect) and the as of yet perfect circle began to skew
You can see here how it differentiates
However, all is not lost. He was pretty bummed out about it all, but I still have a wooden laminate that is going on the front. As long as that has a perfect circle, no one will see the lower levels.
I hope to had said piece done tomorrow-stay tuned
vision
A really nice start. I will be watching this.
I placed your header, not sure that I'm done with it or not. Maybe I'm running out of creativity, let me know if you have any suggestions for improvement.