Cool idea. Can't wait to see those gears moving.

Printable View
Cool idea. Can't wait to see those gears moving.
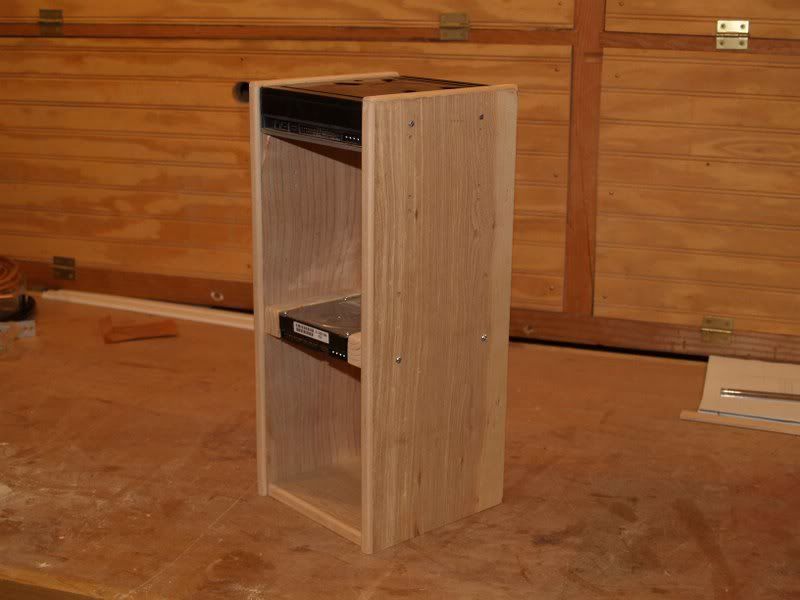
I finished the drive mounting system. Since the right side of the case will be permanently attached, I had to figure a way to get to the right-side mounting hardware for my optical and hard drives. I decided to build a self-contained drive mounting "tower" that can be easily removed as an assembly:
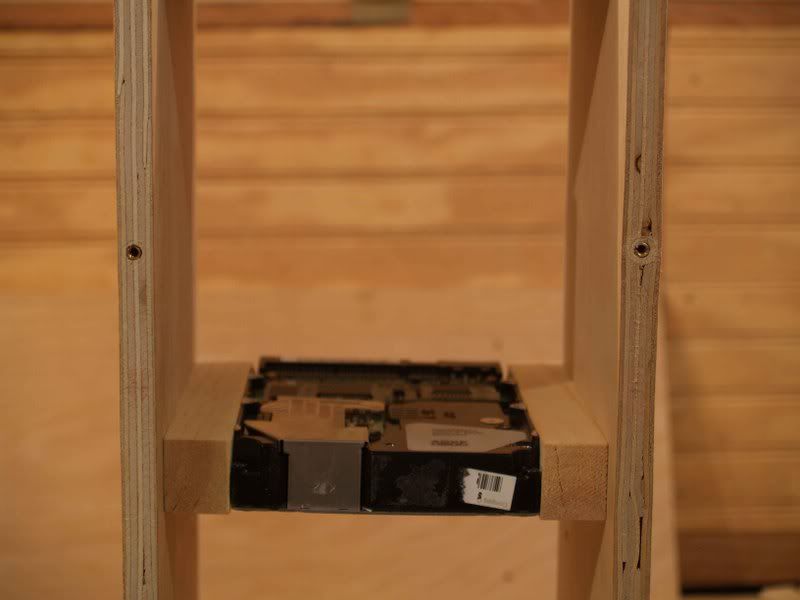
Here it is mounted with an old DVD and hard drive. You can see the wooden spacers I built to mount the 3.5-inch hard drives. This pic shows the back of the assembly, as will be seen from inside the case.
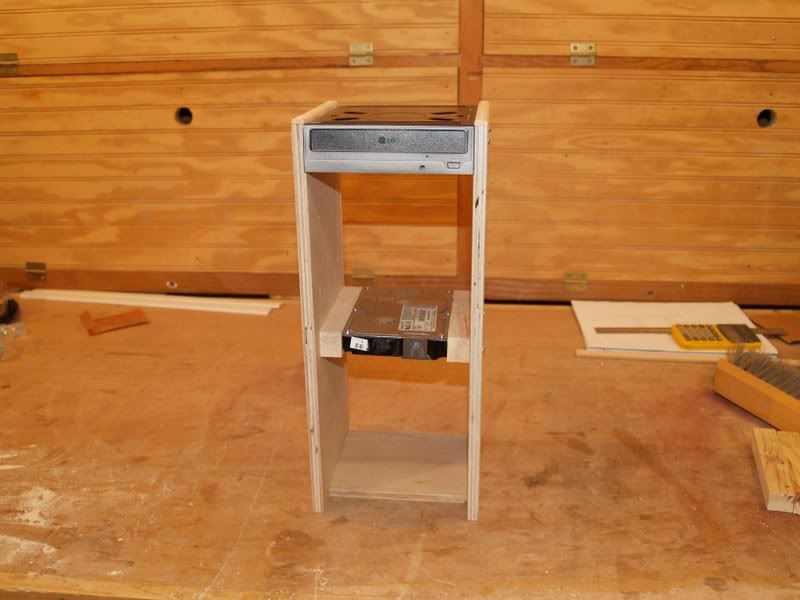
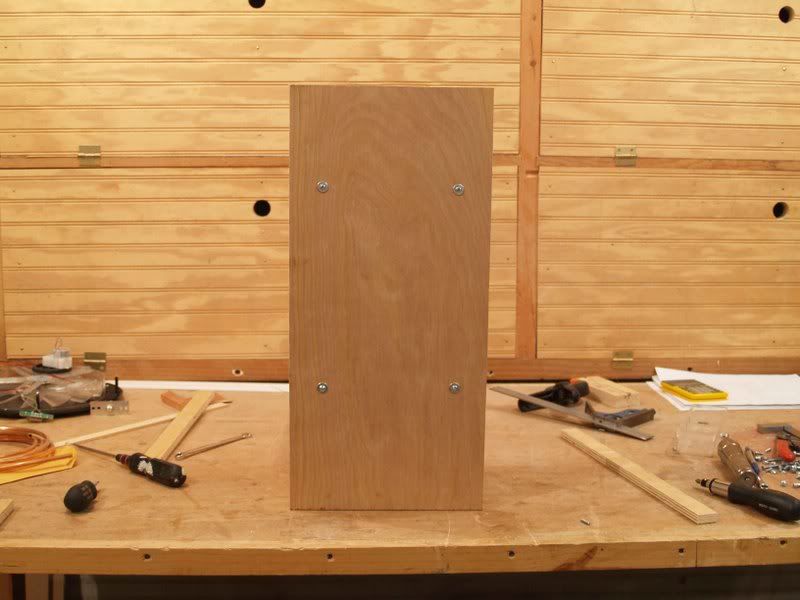
Here is the front:
The plywood edges are ugly but they will be mounted flush against the inside of the front panel and therefore invisible. The horizontal piece on bottom is to help keep it all square, and will also be anchored to the bottom of the case. I had to cut it short to leave room for the front 120mm intake fan.
Here you can see the extra holes, I am planning to mount two DVD drives and two hard drives inside it. Once assembled and in place, it will mount with two screws to the bottom of the case and with four screws through the front panel, so if I have a hardware failure :( or get an upgrade :) I can just remove these six screws and pull the whole assembly out.
cool nice work man
This looks cool
Nice work on the drive tower. Looks very cool.
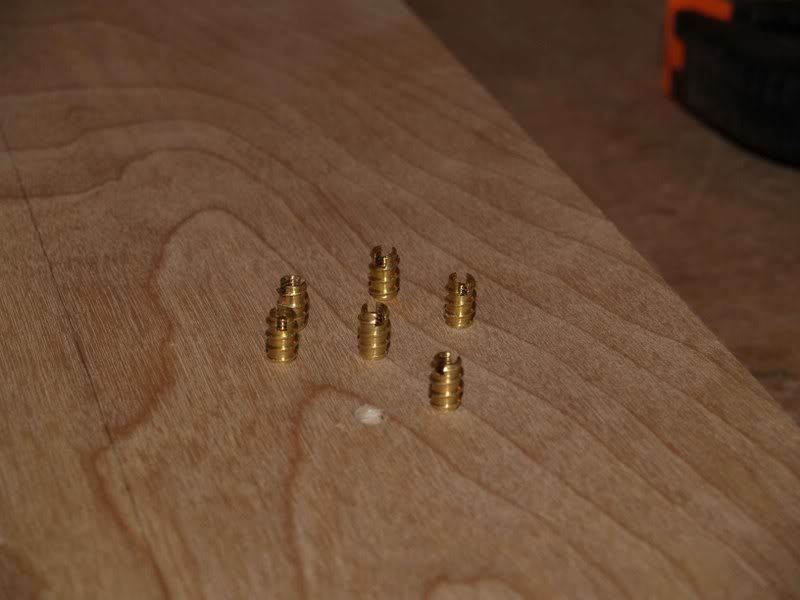
More pics of the drive tower, got it mounted to what is going to be the bottom of the case. Used these wonderful little jewels:
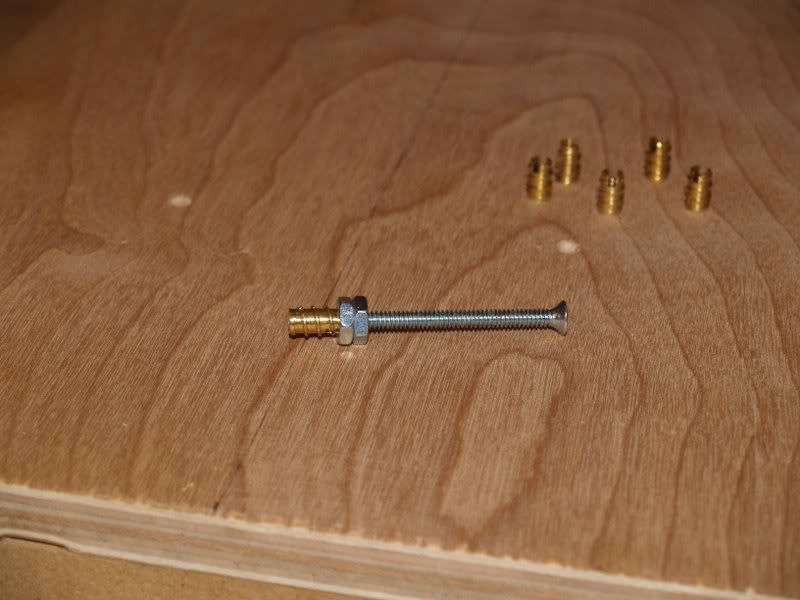
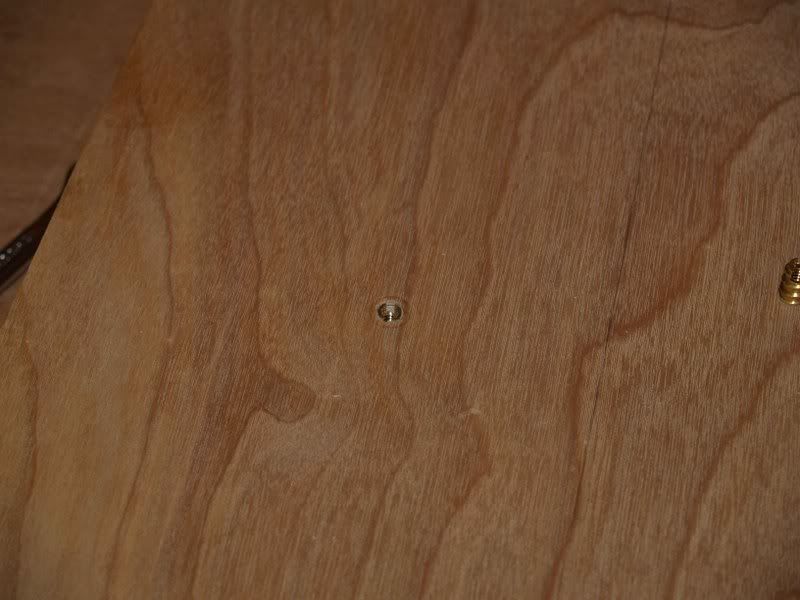
Threaded brass inserts, wonderful little inventions for fastening when you plan to remove and reinstall the fasteners repeatedly. Wood screws will only come out and go back in so many times. :) They make a T-shaped driver for them, but I'm way too cheap to buy one, so I use the machine-screw-and-two-nuts method:
Tighten the nuts against the insert, screw it in, back the nuts off and pull the screw out. Works like a charm. When they're inserted correctly, they sit flush with the surface, or slightly below it:
That one is in the bottom of the case, there will be two of them there to secure the drive tower to the base. Putting them in the edge of a piece of plywood is a little bit harder, as plywood likes to come apart when you do just about anything to the edge. But if you drill a slightly larger pilot hole and are very careful, they do work:
Got four of them in the edges of the front of of the tower, then mounted the front plate with four screws. Obviously, when it's done these screws won't have anything to do with the front face, as it will be permanently in place, but for the sake of checking my work I went ahead and secured them all up.
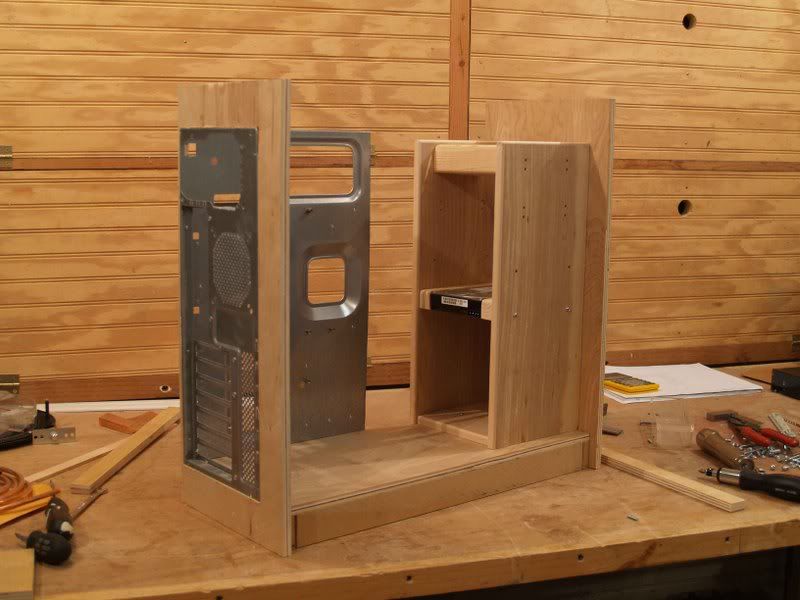
And here is where I stand on the whole as of now. I cut the motherboard tray I had down by about five inches and cut a hole in the rear panel to fit it. Just sitting loose in this pic to see what it will look like. :)
That's it for now, next step will be to get the maple corner blocks and the edge corners all cut. Still puzzling over how to cut the top maple corner blocks, but it will come to me. :D
nice work
im thinking of working with wood for my next majour project
I love working with it, love the smell of it, the feel of it, the look of it. Makes me curious, what kind of wood is used for furniture/woodworking in your area of the world?
That is looking really cool.
those gears will make a sweet mod. can't wait to see how you make them turn together!