Damn...universe hates me. I've been under the weather all this weekend, and I will be out of town next weekend. I'll get some more work done on this soon, I promise.

Printable View
Damn...universe hates me. I've been under the weather all this weekend, and I will be out of town next weekend. I'll get some more work done on this soon, I promise.
Hey-hey! Some work!
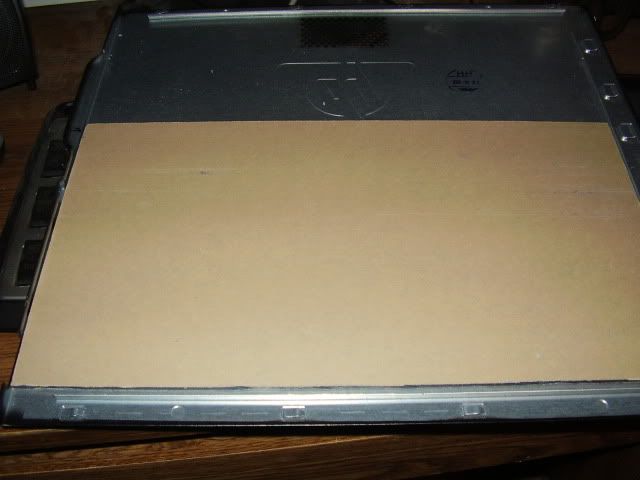
First I ripped down the glass I had to get a rough fit
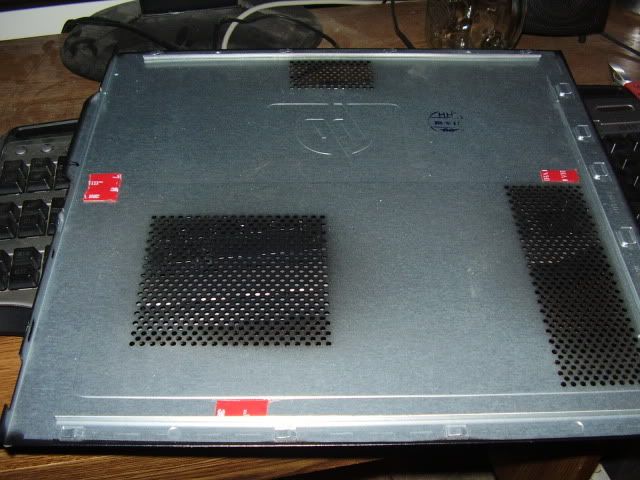
I used some 3M "window" tape to hold it in place while I dry fit the side to the case:
Turns out that it was too long and wouldn't fit the back of the case, so I needed to cut it down a little more to get some wiggle room.
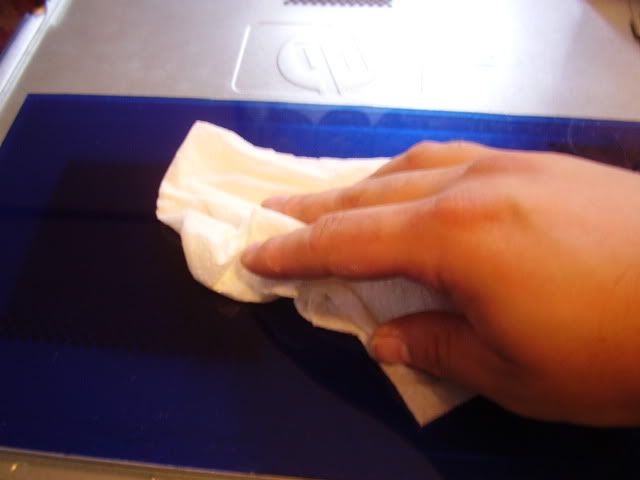
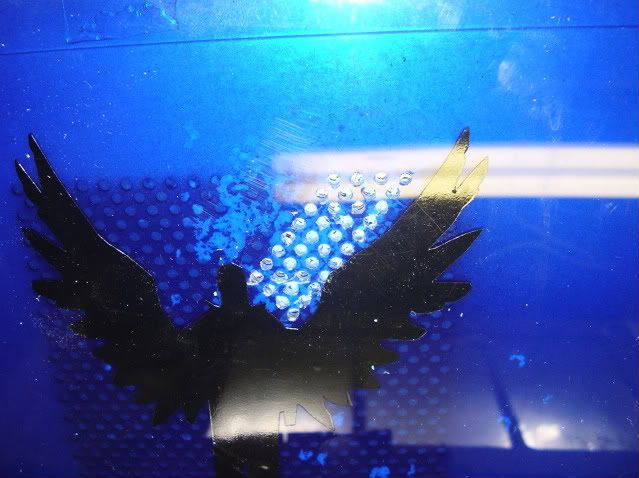
After this, I removed the protective paper and installed it. I made sure to clean it really well. The important part here is to use cleaner that's made for acrylic. The reason being that a lot of cleaners have ammonia in them, which will cause the surface to craze.
The steps from here did not lend themselves to taking pictures, as I needed to move quickly and needed both hands. Basically, I misted the surface with some water, remove the backing from the appliqué, smooth it on to the surface and then remove the second backing. After that, I needed to smooth out the air bubbles. Finally, I will need to leave it sit for a day or two to set, and then I can drill the vent holes.
Yee-ha! Here we go with the mega-update. I worked all day and have some great results to share.
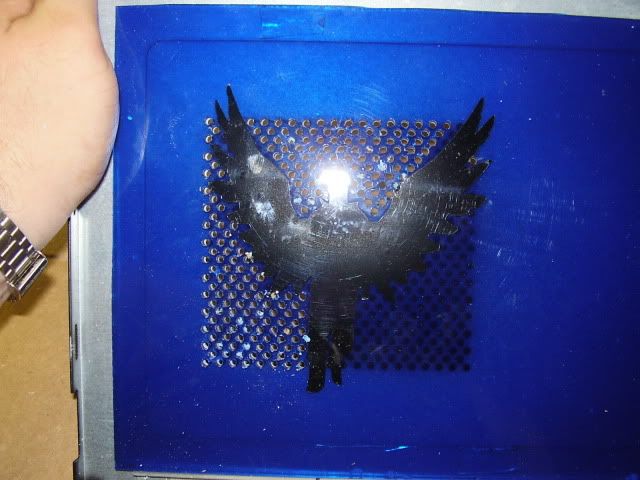
I taped the window back into the case and used the existing holes as my guide. Thus began my hours of drilling...
As you can see, I drilled around the graphic so that it could retain it's integrity. The key is to drill very slowly, letting the weight of the drill push the bit through. Although it is tempting to go quickly with all of the holes to drill, speed can take chunks out of the back of the piece.
Some time later...
Oh god, there's still so much to do. I haven't even started on the nameplate part yet.
Eventually, though - success:
Note to self: Next time a kid comes to my door looking to make a few bucks mowing the lawn or shoveling snow, I'm going to hand him a drill and a sheet of plexi.
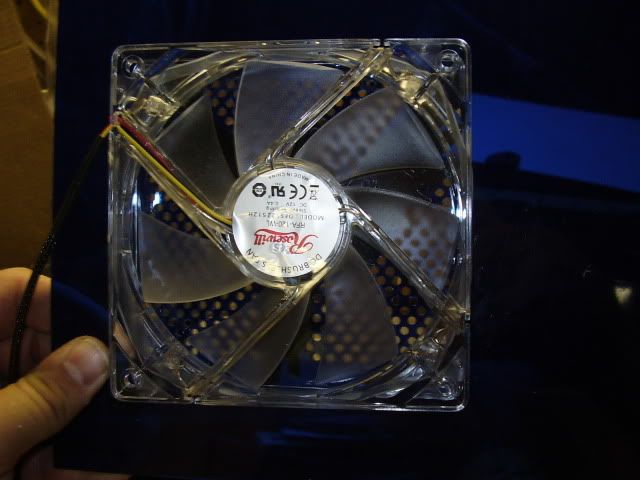
Here, I drilled a few larger holes and attached the new fan to the back of the window:
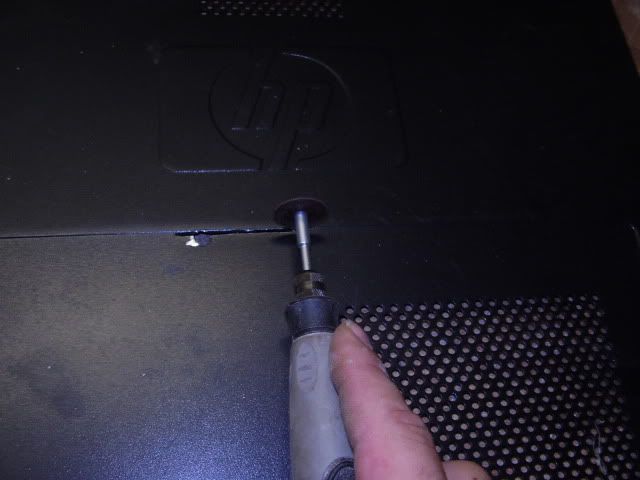
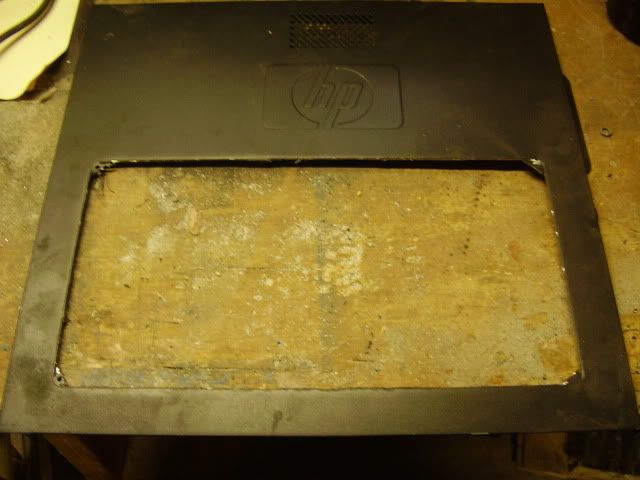
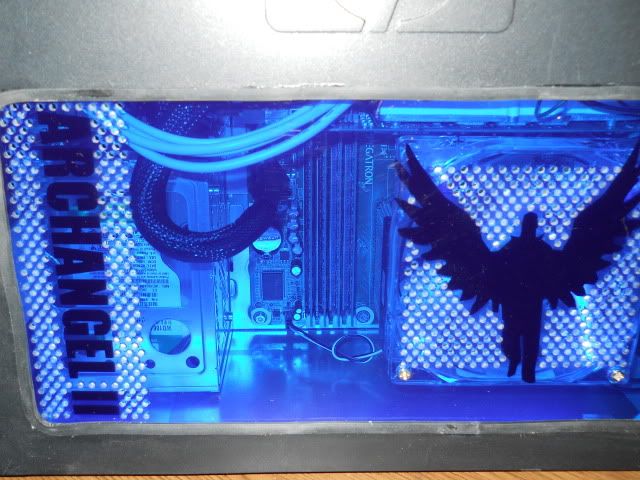
That more or less finished the window. Now, the fun part. I speak, of course, of majorly voiding the warranty:
I rough cut the space for the window, leaving the corners a bit unfinished
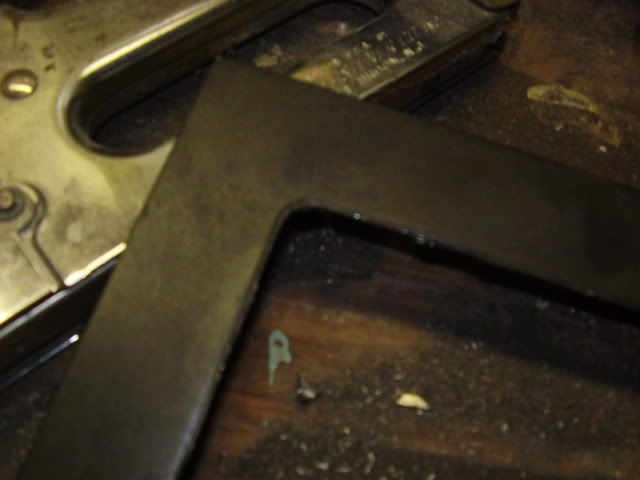
Then, went back with the Dremel and file and cleaned up the corners:
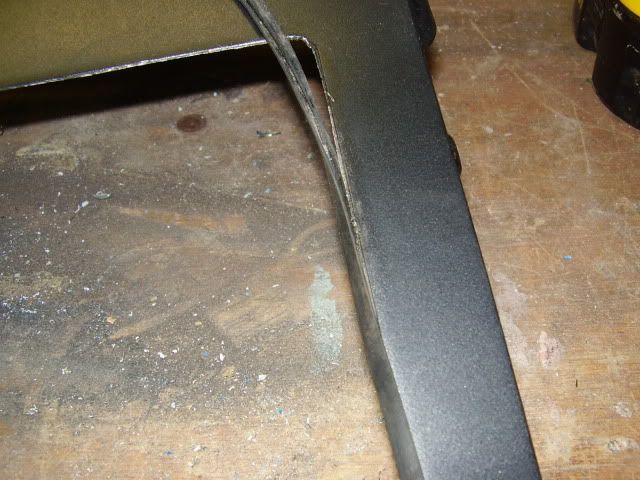
Once cleaned up, I started adding some U-channel molding:
This stuff is great, and can be purchased from MNPCtech.com. It's not expensive and it really cleans up the edges and gives it a more finished look. Some tricks that I've learned: One, use super glue. Doesn't take much, just enough to stick the molding every few inches, especially the corners. It is not, strictly speaking, necessary, but I've found that it holds it in place and makes the corners much easier to do.
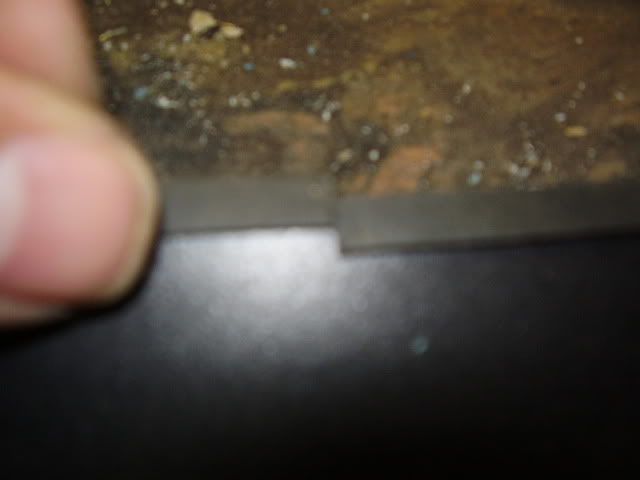
2nd, the ends of the piece. (sorry, this picture came out really fuzzy.)
You want the ends to be even so that they don't stick out. Ive found that the easiest way is to have slack on both ends, lay them over each other and snip them both with a pair of scissors. Also, I like to have the seem at the bottom of the window. The top is more visible, and the corners are a pain in the butt.
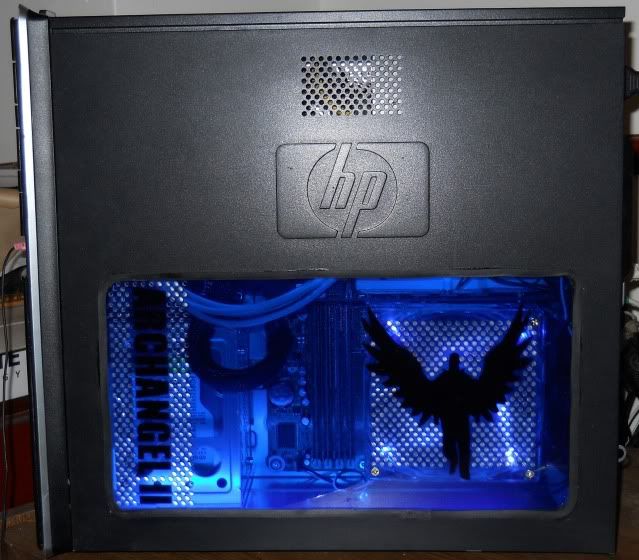
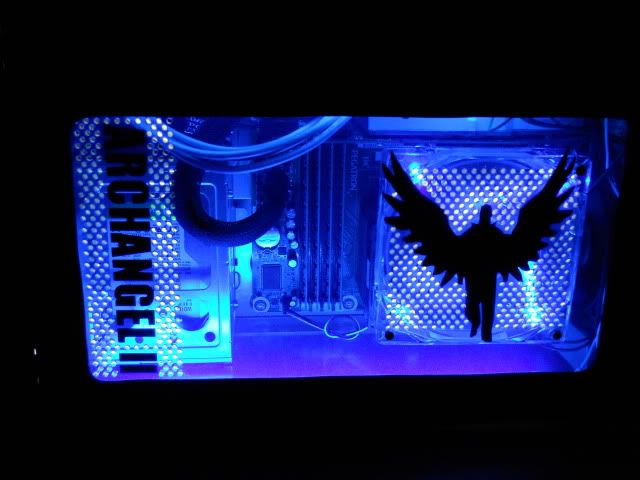
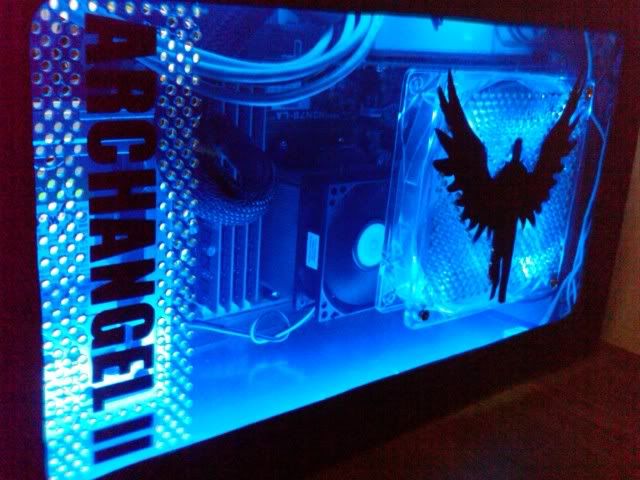
And, that does it. Here is the finished project, thanks for reading:
It turned out really nice. The lighting looks great with that side panel.
awesome panel!
Nice job on the holes.
Very nice! :up: Once again patience pays off with a great finished product. +rep
Thanks for the feedback, guys. I know this isn't a real "flash and dazzle" mod, but it was fun and makes this case less of an eyesore.
Have fun and keep modding.
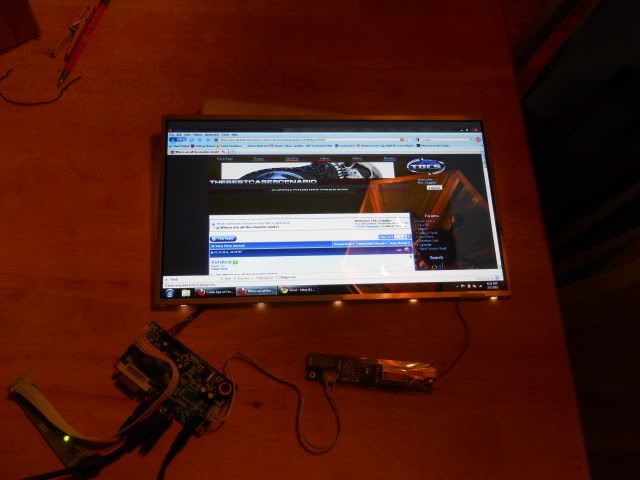
Okay, I'm actually going to reopen this one. I have a few laptop LCD panels sitting around as well as tracked down an affordable control board for it, so I thought that I'd mod up a secondary display for this project.
Here is a rough sketch of my idea (yes, I know this one looks like a license-plate cover. Thank you x88x... :D)
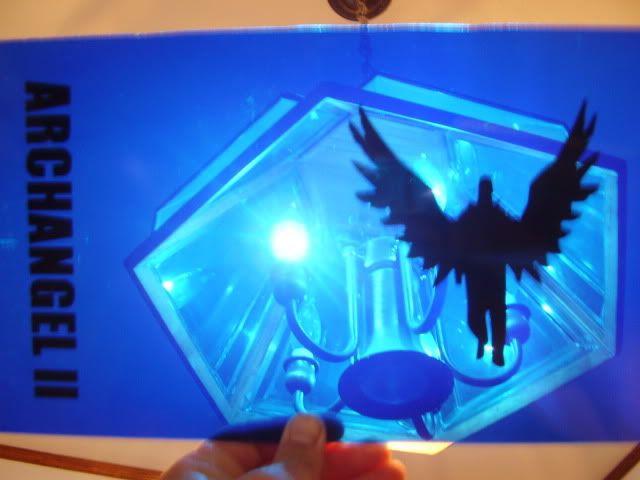
The idea is to give a plexi-frame with another vinyl applique on the bottom and LED back-light. The top piece will be resin-molded, but that part is still in development.
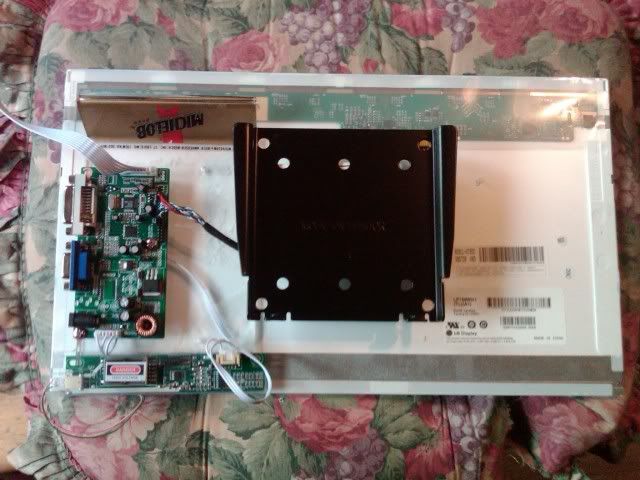
Here is the panel I will be using when I test-drove the controller board:
Today I officially got to work on the layout and planning. Since I didn't have any scraps of plexi lying around, I actually used a bar-style menu-holder I had lying around.
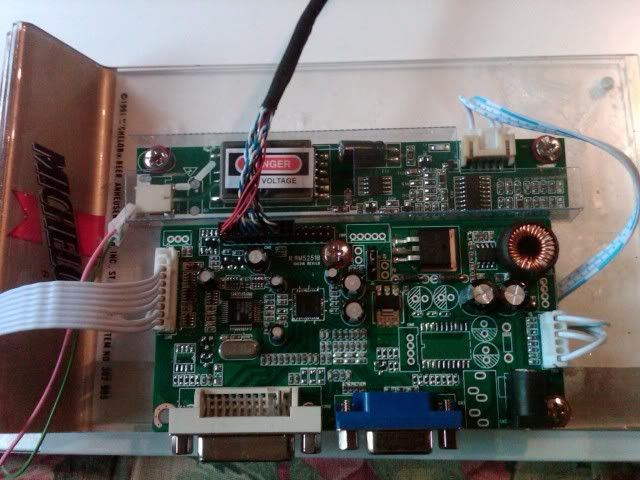
First attempt proved the exact reason why I did a test-run.
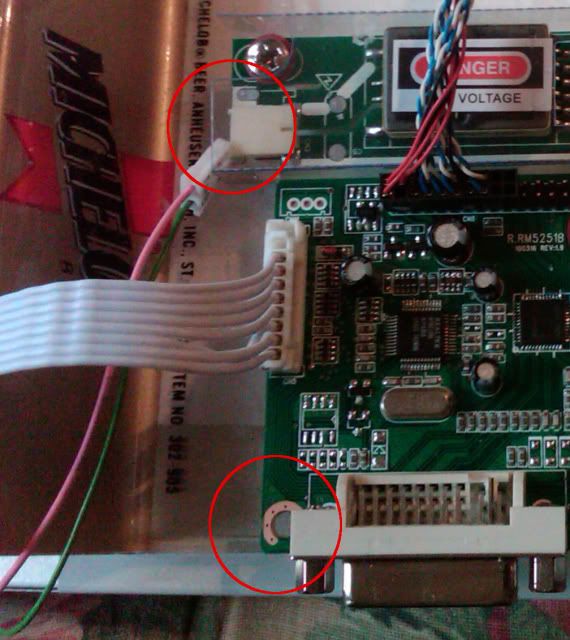
First problem was that the position I put the CFFL board was too far from the wires. Another issue was that the screw-holes in the board are very poorly placed (the cheapness of the board comes through sometimes) and have components too close to them. I was able to make two of them work, but the one by the DVI connector was a no-go.
The second problem was that with the board arranged at the bottom, I couldn't get good placement for the wall-mount. By rearranging the connections to the side, I had more real estate in the center:
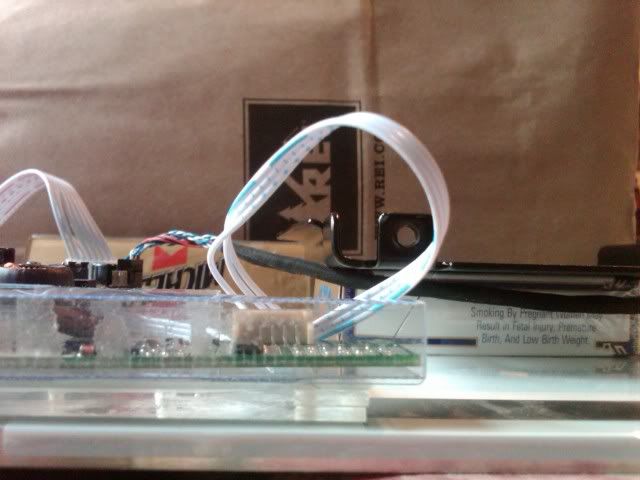
Final issue was that I needed to raise the bracket up so that there would be room between the board and the wall. Perfect spacing seems to be a pack of cigarettes:
So, the next step is to buy a few sheets of plexi and finalize the rear-structure.
Looking forward to how this turns out, should be a nice compliment to the rest of the case!