Re: Project: Mod in a Week // "Fallout Cause SP"
3rd Day - Monday 28-11-11 - Update 1
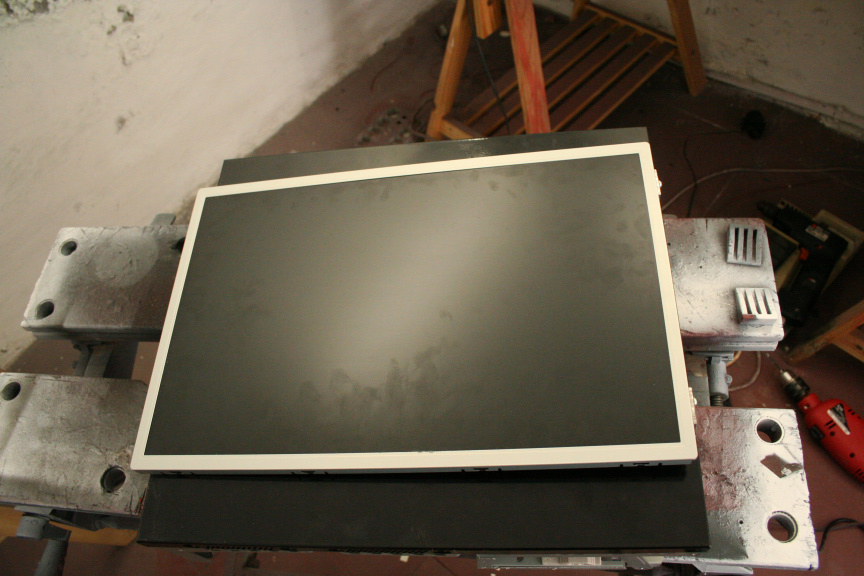
Last night while I was in bed I started thinking about the things I should o today and if I should paint the philips ambx that arrived yesterday evening for the AIO AL project or leave that till I finished this one this saturday. While having the AIO AL project in my mind I though, hmm I wander if I could add a screen to this project, I know I cant integrate it on the side because there´s no extra sheet of metal, pretty much the side is what the mobo is attached too. I know I can´t use fiberglass to attach it to it because while it would look decent, it wouldn´t have air breathing, and it would just overheat, not to mention adding heat to the sheet and therefore to the mobo and cpu, so that was a no go, figured I´d scrap that idea and I went to sleep. This morning however while I was looking at the screen and the case it bothered me because I really liked the concept of adding a screen but couldn´t find a way to do it, but I had some spare time so I figured I´d take the screen apart and see if an idea popped in to my head, as I removed the bezel and platform I clicked, mounts! it´s so obvious, why on earth didn´t I think of that before!
So I took some measurements, did some screen hw mounting within the tower checked cable lenghts, everything checks out. So started to process.
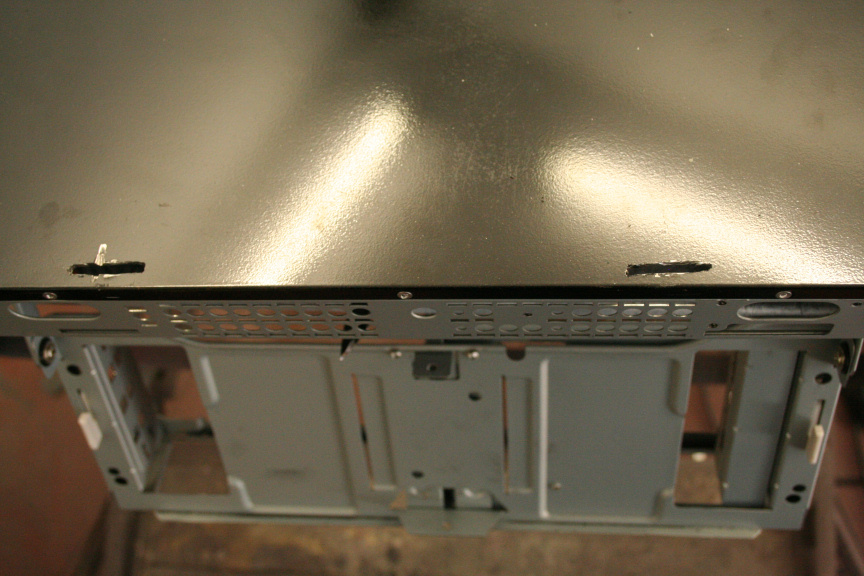
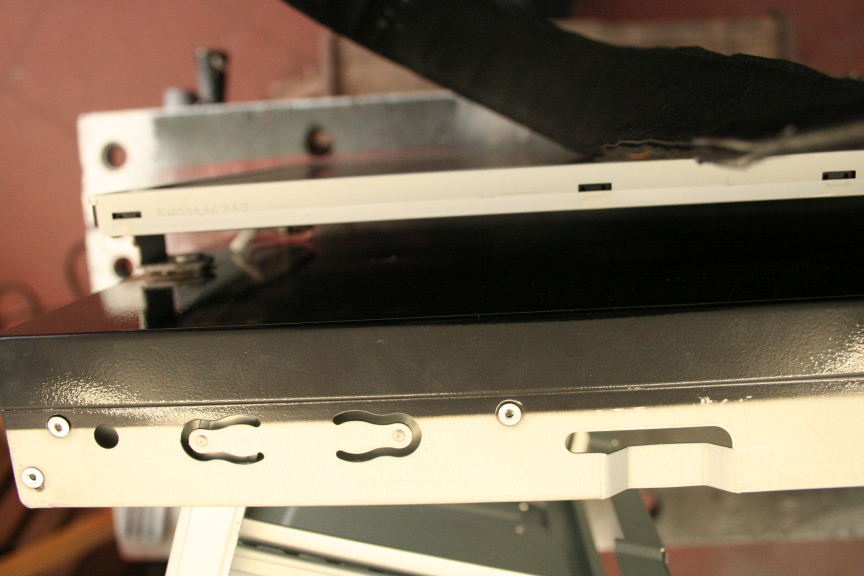
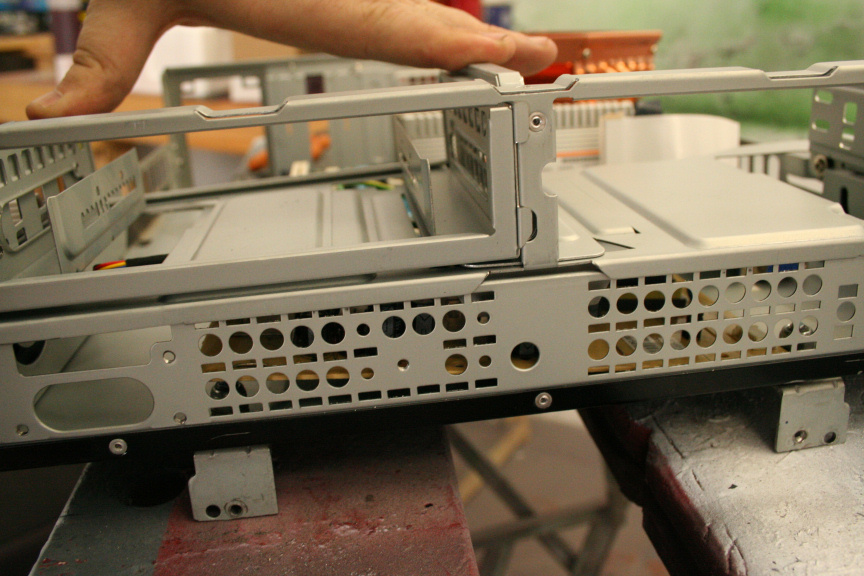
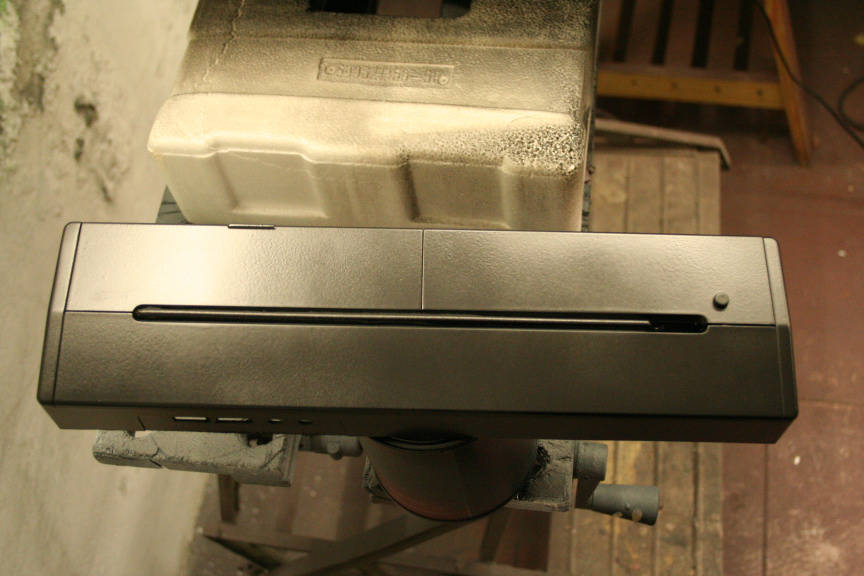
First thing, a straight cut wide enough to pass cables through and use them as a grip for the mounting:
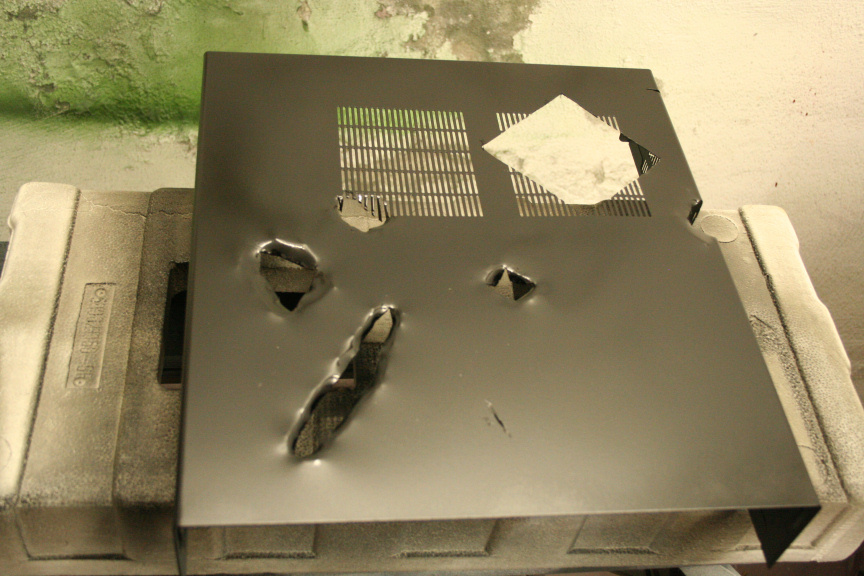
Now it was time to make the hole big enough for the bolt to go through, so figured I´d use the dremel to make a small starting hole, took forever to go through that, I hadn´t realised just how thick that sheet of metal was. Once done I took a drill, with the right drillbit on started, took me about 40 minutes to do both holes, mainly because I didn´t want to press to hard so not to go spoil the drillbit, eventually got there and installed the first mount:
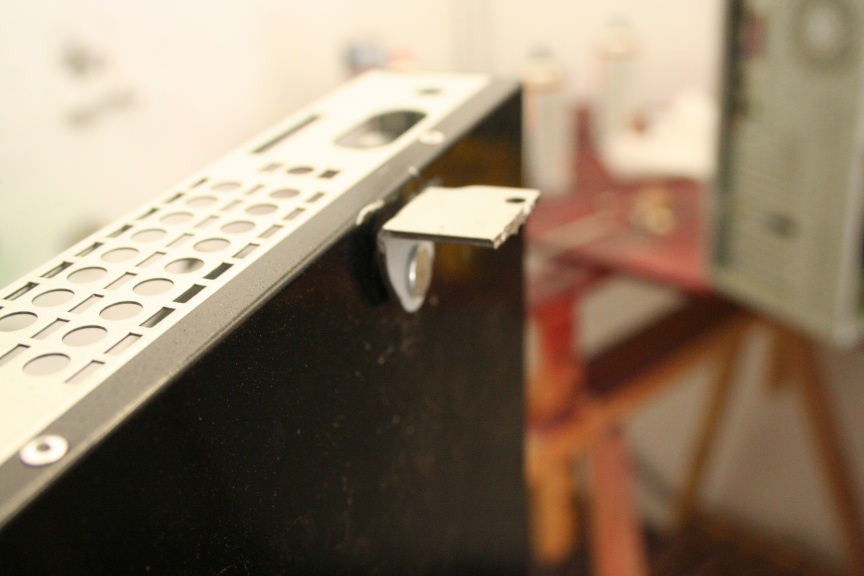
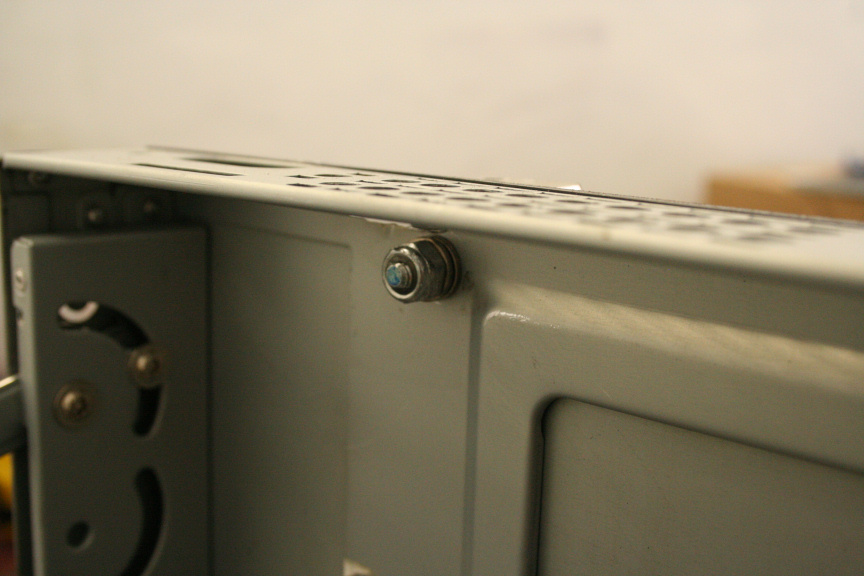
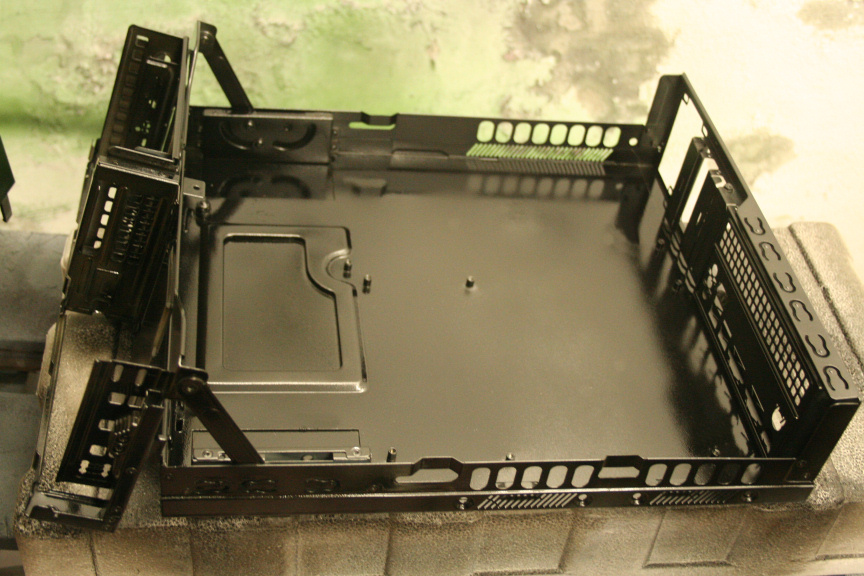
added some washers and tightened it up:
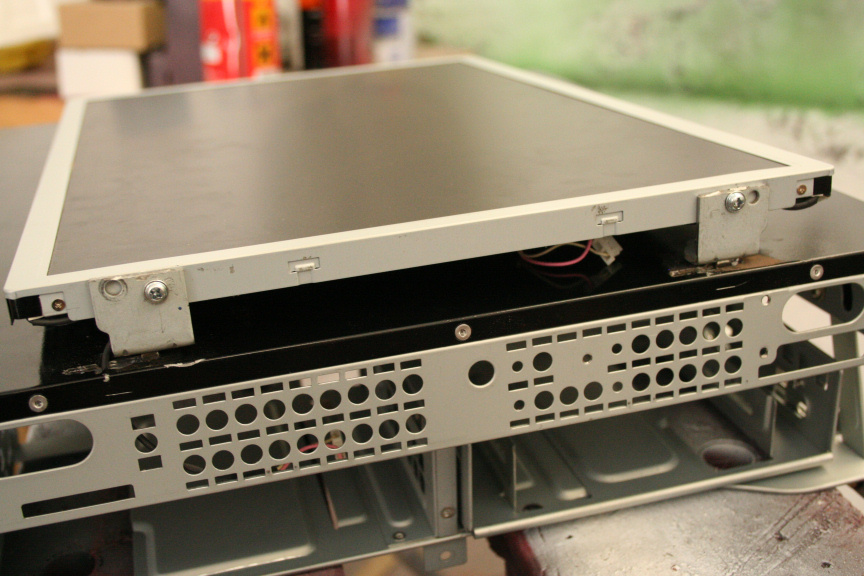
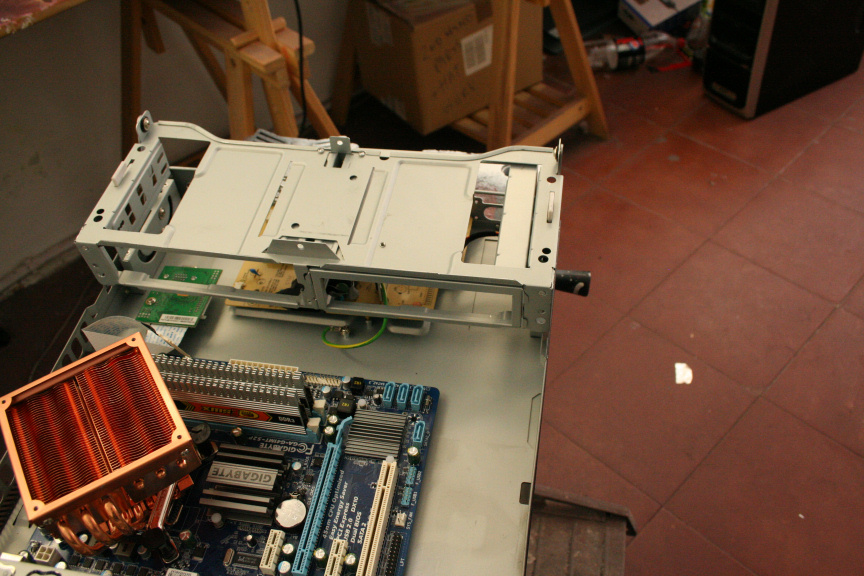
Now the second one and a test mount:
Feels quite solid, I think I will add some feet on the opposite side so no stress is on the screwed in side, so I will look for some later on.
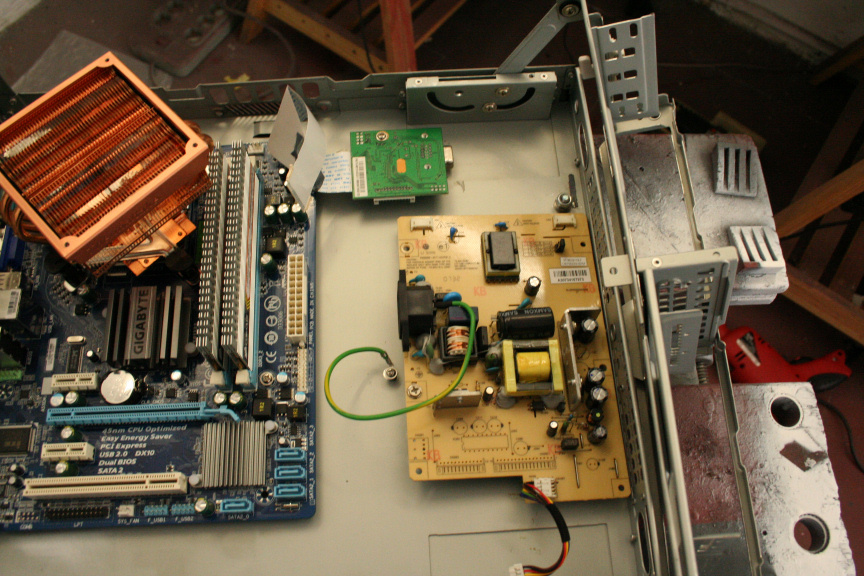
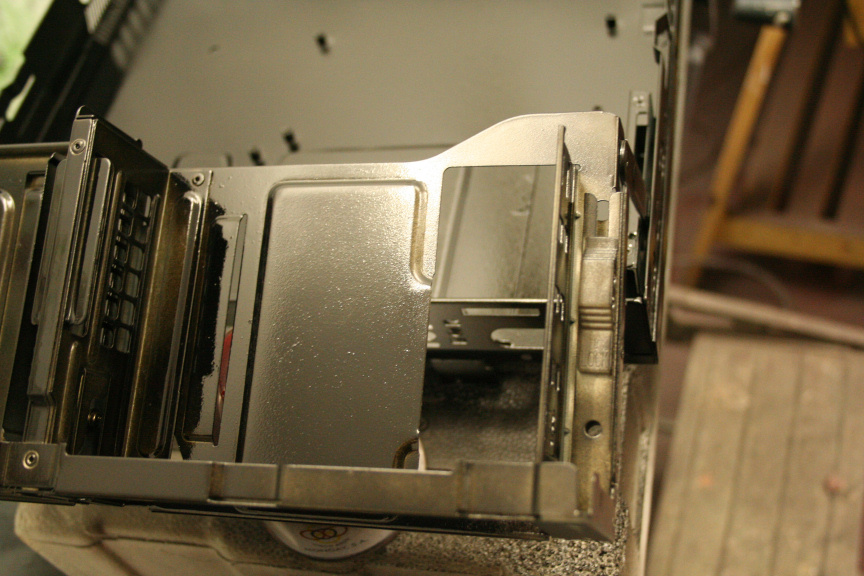
Now for a proper test mount of the screen´s psu and chipset:
And it fits perfectly:
That´s it for now, I will post a second update later today.
Thanks for reading!
Re: Project: Mod in a Week // "Fallout Cause SP"
3rd Day - Monday 28-11-11 - Update 2
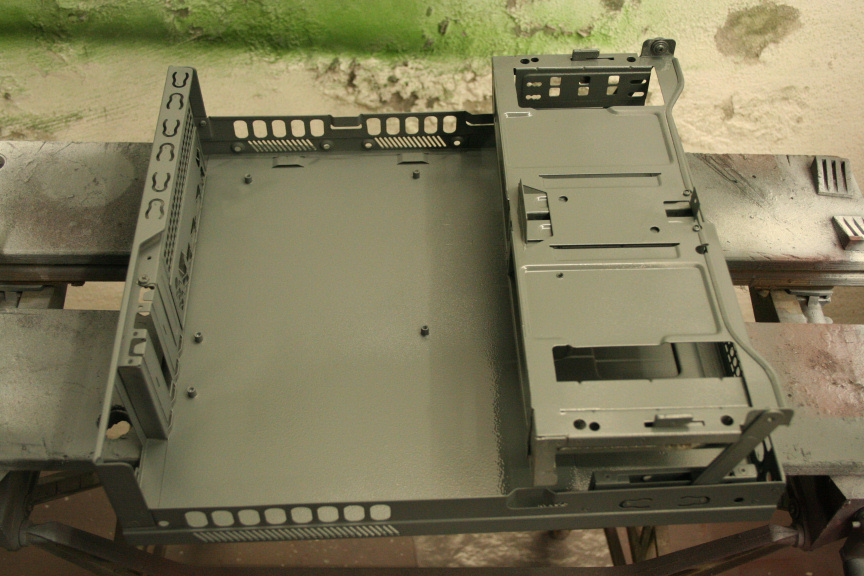
Gave everything a final sand down, cleaned it up and gave it a coat of primer:
For some reason the image of the primed front part of the case was corrupted but eh, nothing important.
After waiting drying time I applied 2 coats of glossy black, now I have matt black but I used glossy in order to be able to sand it down so fragments will remain a bit shiny which will add further to that used and thrown about look.
For the devices mounting point since some will be seen through grills or holes I decided to try something new, I watered the paint down more than usual (added an extra part of water) in order to prevent it from being a solid color and included an acrilic brown compound normally used for plastic and metal surfaces that imitate wood (I guess you could call it an artificial wood barnish), I ended up quite liking it!
That´s it for today, tomorrow I will be going down to my local paint supplies shop to acquire the colors that I´ll be using and the rust effect compound.
Thanks for reading!
Re: Project: Mod in a Week // "Fallout Cause SP"
4th Day - Tuesday 29-11-11
Today has been a bit slow, this is because I went to buy the yellow I wanted to use for this, and they didn´t have the exact one I wanted in the usual paint I use. So I bought the tone in a paint I´ve never used, it´s still acrilic and is completely fine and compatible with the primer and lacquer I use, it´s purely it´s water/paint/density rations that are different, no idea why. It has ups and downs, the up is that it´s much thicker than the paint I normally use, meaning two coats is enough for a solid color. The down is that it takes 4-5 times longer to dry, which is fine if you´re doing a solid colour, you just get it over with and leave it overnight to cure. But when you want to add other tones on top like I will be doing, it´s annoying because you waste a lot of time on it being ready for the next coat. But aniway doesn´t really matter. I covered the sections I dont want yellow and started painting.
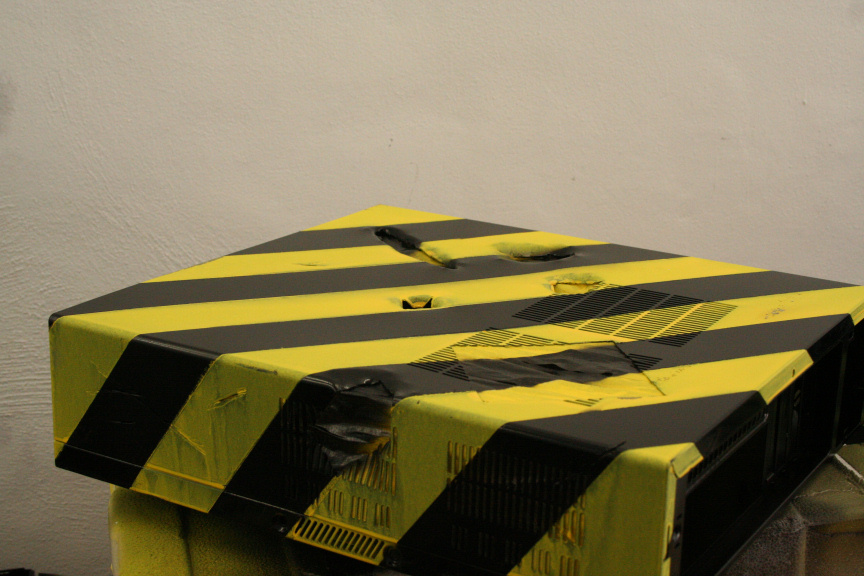
First Coat:
Second and last yellow coat:
Have to wait till tomorrow but the process will be darkening it with a black paint mist so no area has the same tone, sanding it down first to prep for coating and further down to show usage and deterioration right in to the metal. Once done, rusting effects all over the place, more concentrated obviously where there are openings.
It´s easier to show you than to explain it, but you´ll see tomorrow!
Thanks for reading!
Re: Project: Mod in a Week // "Fallout Cause SP"
This is coming along nicely! Keep it up!
Re: Project: Mod in a Week // "Fallout Cause SP"
I'd still keep some room circulation.
Computer-air=bad.
Re: Project: Mod in a Week // "Fallout Cause SP"
5th Day - Wednesday 30-11-11 - Update 1
It´s paint effects day!
First I took off all the masking tape used to make the lines and I descovered I didn´t totally cover one of the grates so paint leeched through to the inside of the case. At first I was like, easy fix, just repaint the inside, end of that. But as I looked at it further, I kind of like the effect, it gives the inside a bit of a glow, so for now I´m going to keep it:
What do you guys think? Keep it? or repaint the inside black as it was originally?
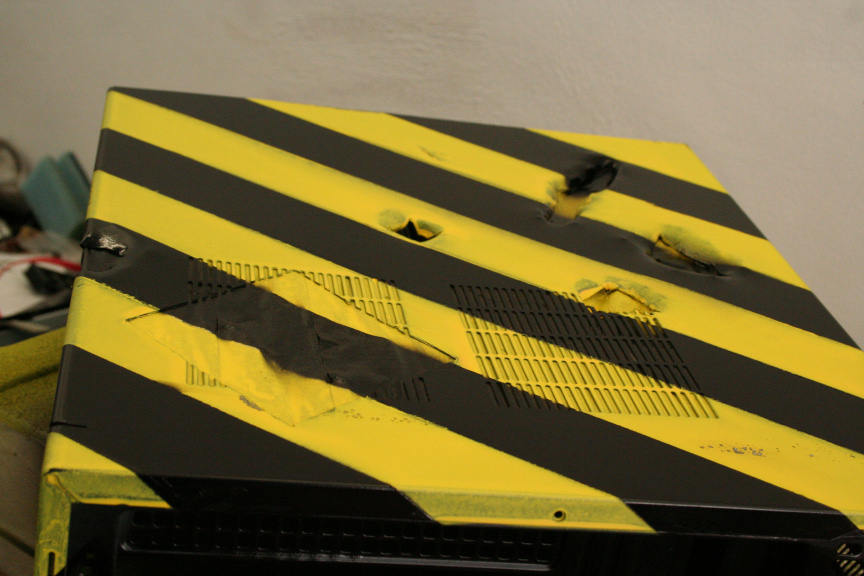
Aniway, now the the important part, here you have the outside with the exterior masking tape removed:
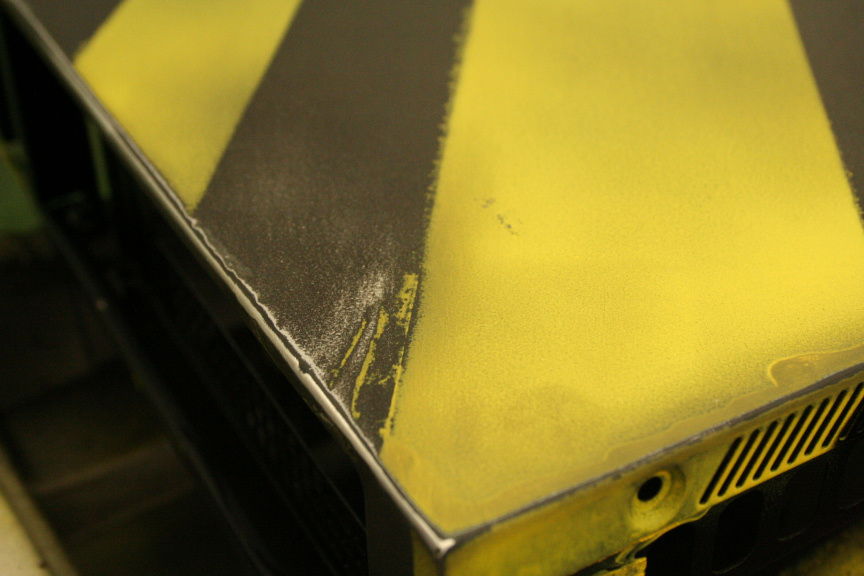
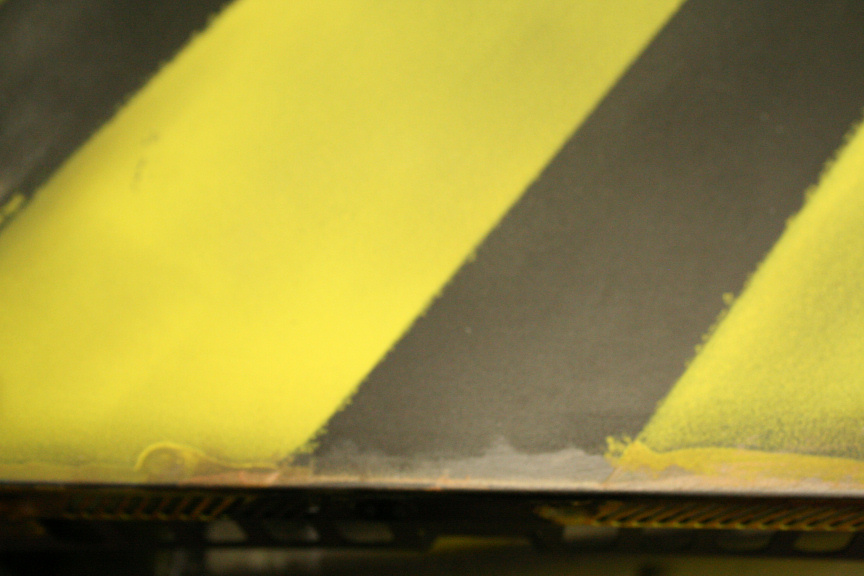
Now with the interior tape removed and the first two effects done, darkening of the colour in an irregular pattern and with copper dark red drops everywhere to simulate dirt and other paint degradation/damage:
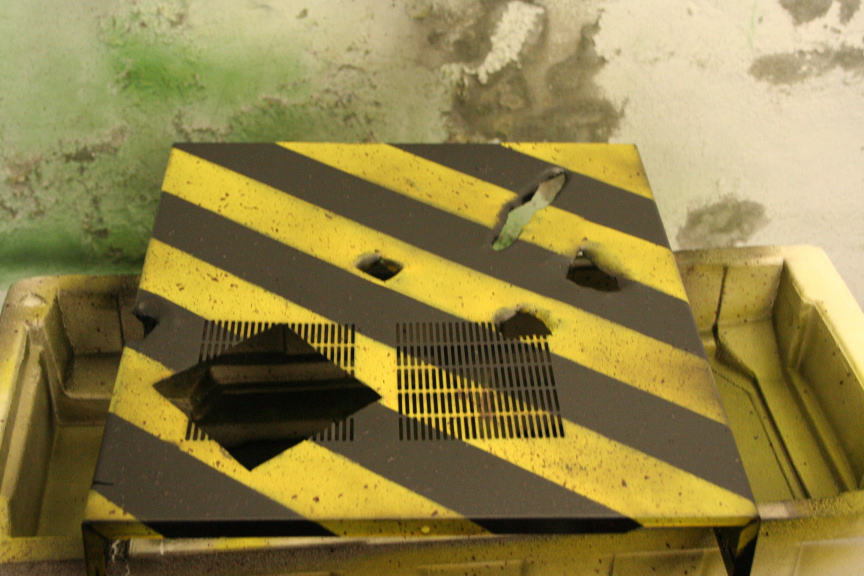
While that is drying I went ahead and started sanding down all corners and curves in the other part of the case to simulate abuse:
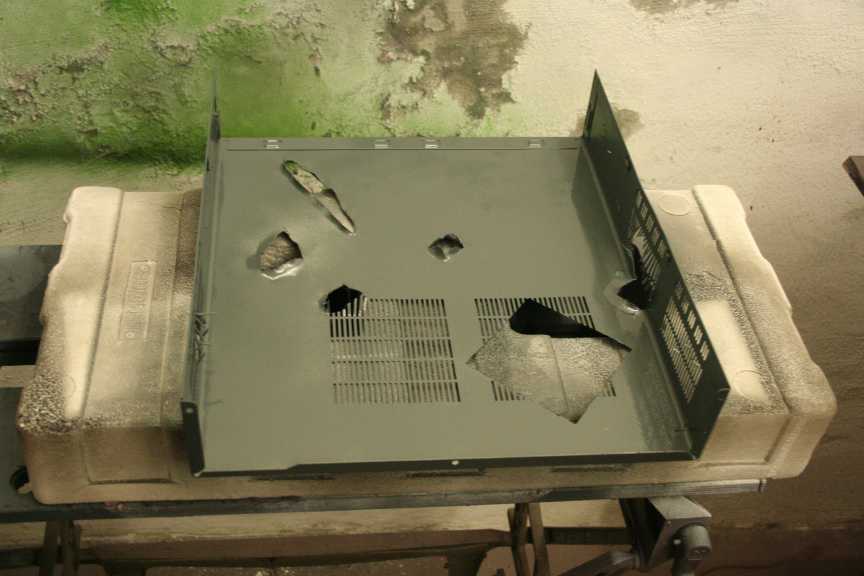
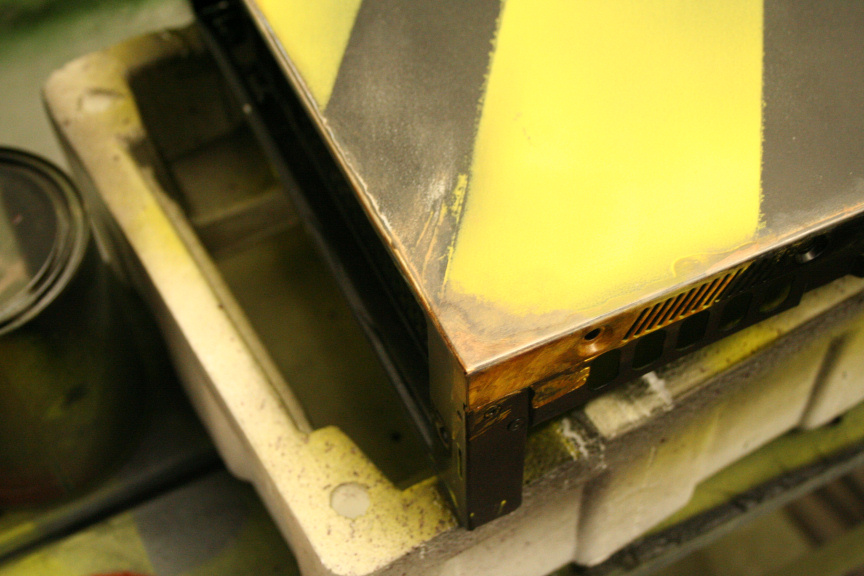
and applied the rusting effect:
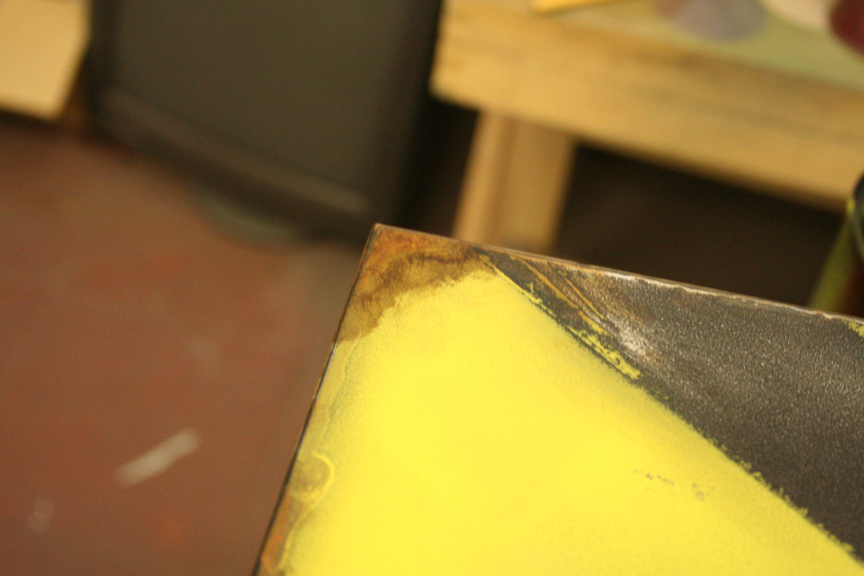
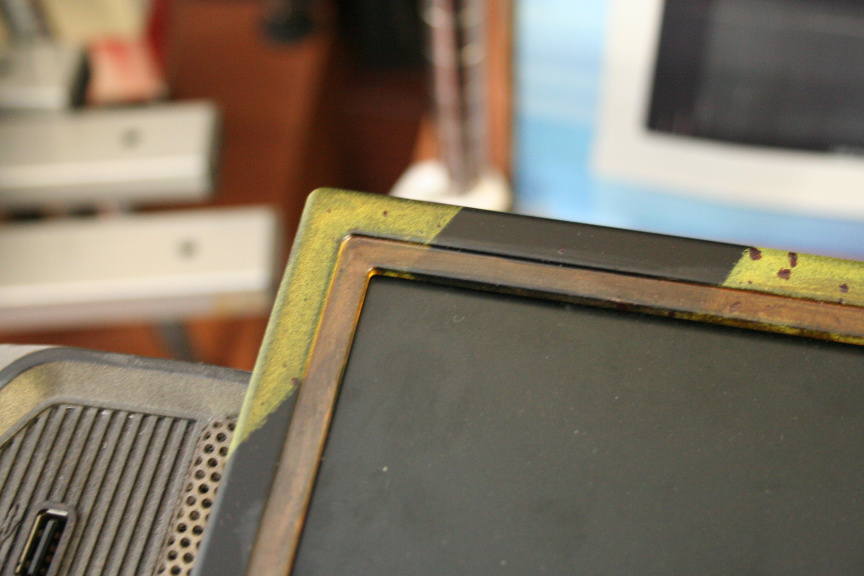
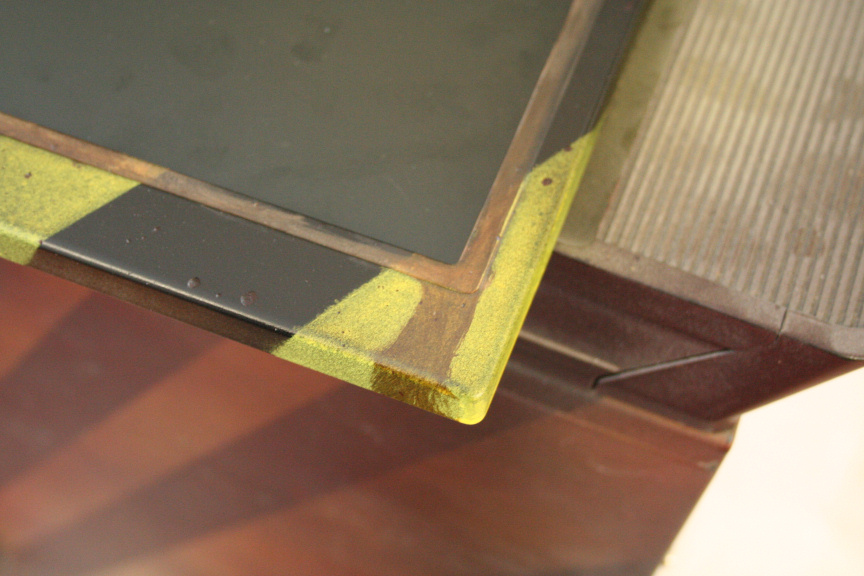
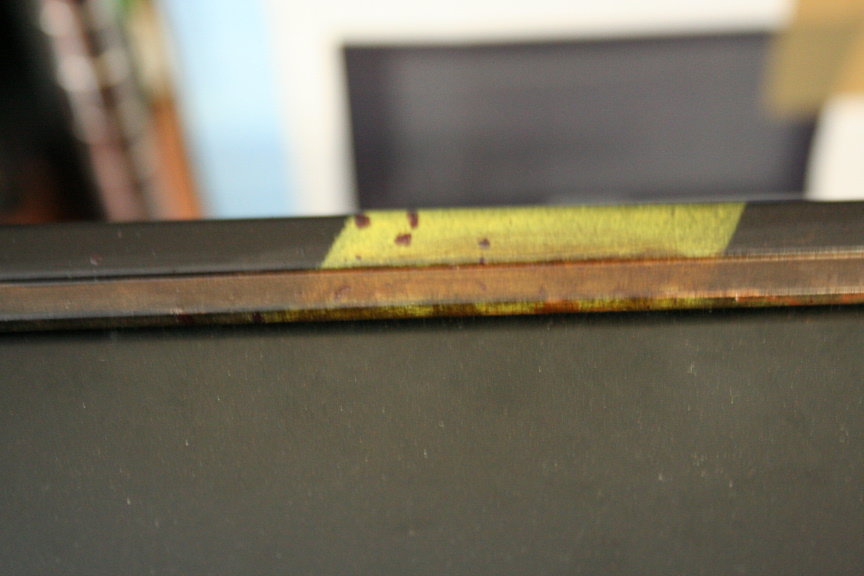
Repeated the process with the lcd panel´s frame:
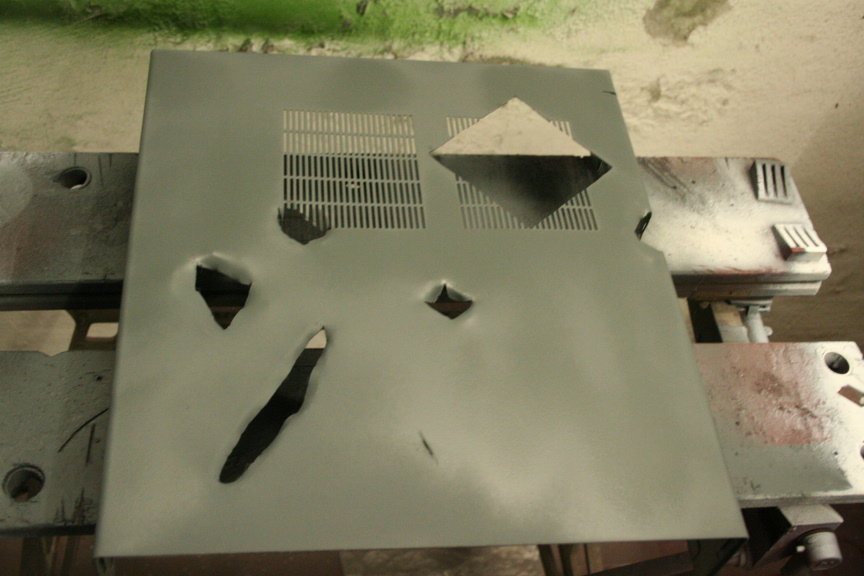
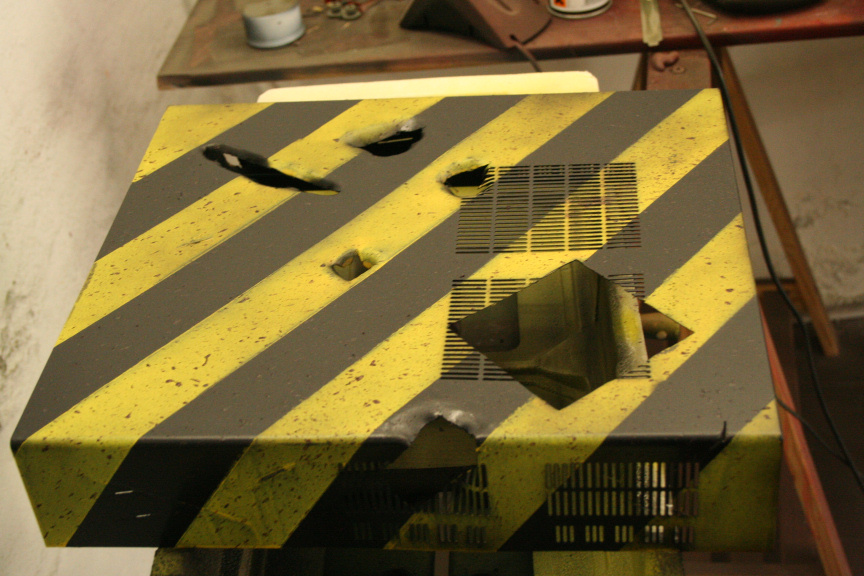
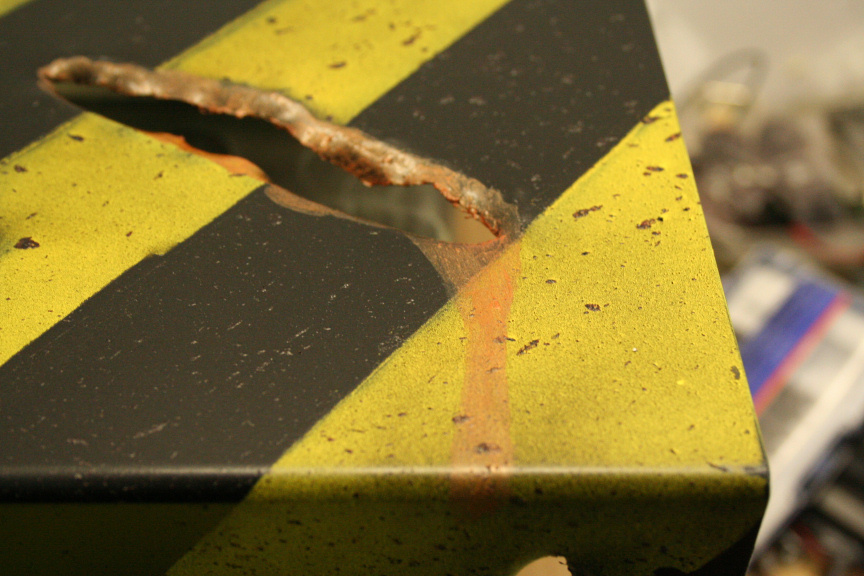
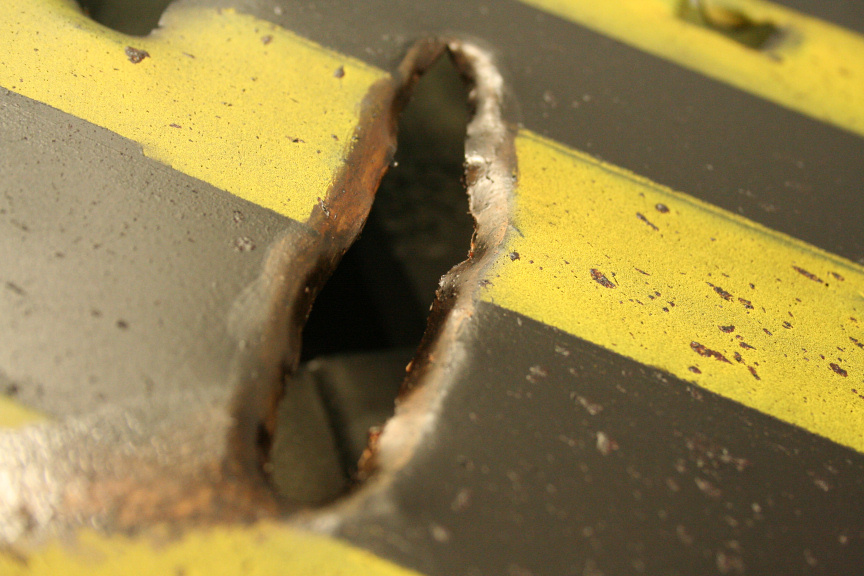
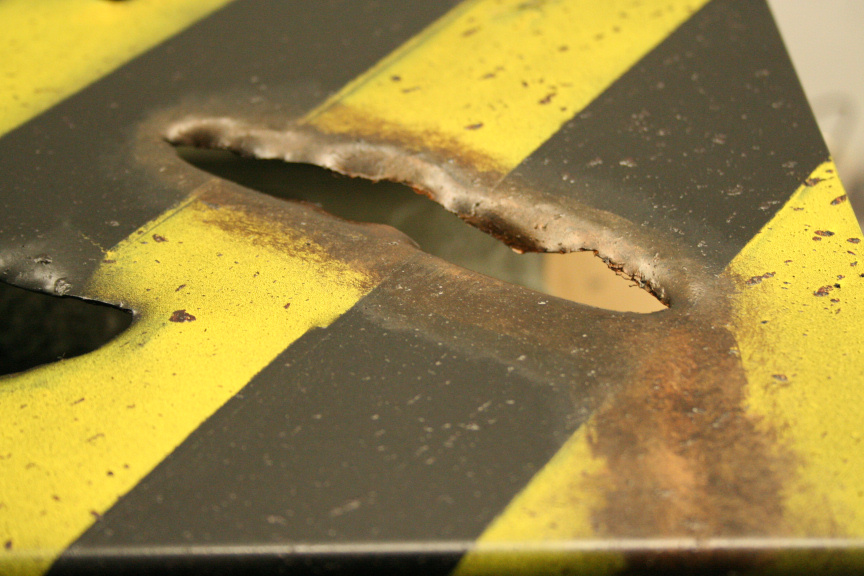
Now that it´s dry, I started doing the rust effect to one of the openings on the side of the case, here´s the first layer:
And the second irregular layer with the second component, essentially giving the final look to the rust on that opening:
That´s it for now, a second update later today, thanks for reading!
Re: Project: Mod in a Week // "Fallout Cause SP"
Paint job is looking better by the day dude!
Re: Project: Mod in a Week // "Fallout Cause SP"
that rust is turning out well! very cool.
Re: Project: Mod in a Week // "Fallout Cause SP"
That rust looks real! Great job on giving the holes a stressed look around the edges, it really makes the effect in my opinion.
Re: Project: Mod in a Week // "Fallout Cause SP"
thanks guys! I´m extremely pleased on how the paint turned out, I wasnt sure about the red copper drops as I had never tried it before but love the look it gives it, and the rust, well what can I say, I´m over the moon on how realistic it turned out, best mixture of paint I´ve ever made.
@TheMainMan, reaally pleased someone noticed it!! :D I spent around almost 2 hours trying to get it right :D