Awesome lookin flame i'll say. And a great Silverstone case!

Printable View
Awesome lookin flame i'll say. And a great Silverstone case!
Wow. No idea how I've missed this one, nice! Those flame cut outs look sweet as anything, great job!
MAN! That looks sweet! I have sudden urge to go out and buy a TJ07 now! :D
Hmmm dude... if i pay for ur train up 2 mine will you do me some flames like that o.O
Thanks man, yep the case is definitely a nice one!Quote:
Originally Posted by Acey
Thanks for the kind words! I actually still have a little work to do cleaning up the edges of the flames.Quote:
Originally Posted by tybrenis
lol thanks. Yes buy a TJ07 and mod it! It would be interesting to see what others do with this case. Havent seen any mods of them around really, I think a lot of people are scared to start cutting into them because of their price . I know I would think twice about doing some of the things I have if I actually had to pay for this case :PQuote:
Originally Posted by MitaPi
lol the flames arent that hard to do, the secret I found to drawing them is not to try to hard or they turn out all the same >_<Quote:
Originally Posted by YoungBlood
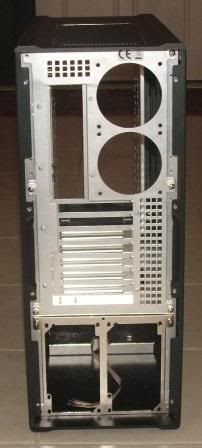
Update time. I was struggling to think of things I could do on the case without going out and getting some supplies but managed to think of some things to do on it tonight. I will be going out later in the week to pick a few things up so I can really get working on this mod. Here is the progress for the night.
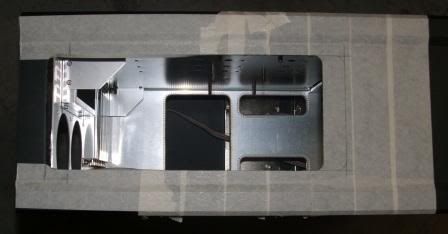
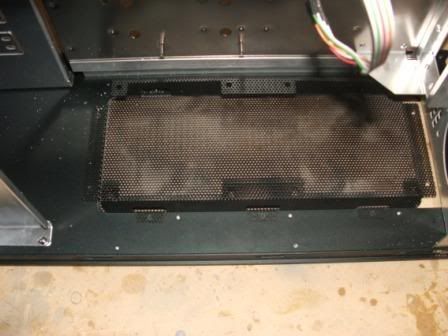
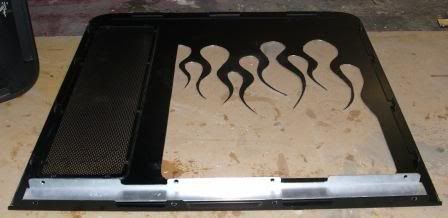
I started out by marking out the top where I needed to move the fans. Originally I was going to make a new grill that the fans mounted to but I decided I couldn’t be bothered trying to find any mesh so just used the standard one. If you look closely at the pic you should be able to se my marks for cutting.
Next up I added some more masking take to the areas where the jigsaw would be resting on the case and then it was time to cut. Fun job cutting into the 4mm thick top of the TJ07!
Here you can see a problem which wasn’t hard to predict. The mounting holes no longer line up.
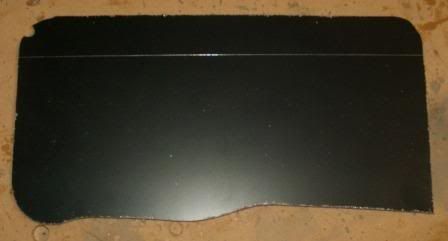
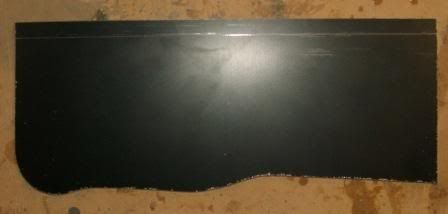
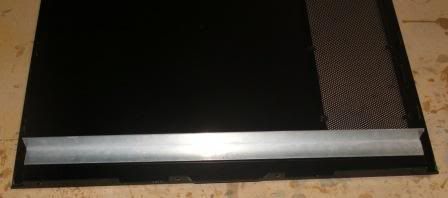
Seeing I didn’t have a suitable tap to put a thread in without going out the other side I decided to come up with another way to mount the top fans to save buying a tap I would use only once. Lucky for me I kept the aluminum I had cut out of the side panel because it came in useful for this job. First off I marked out and cut a straight edge.
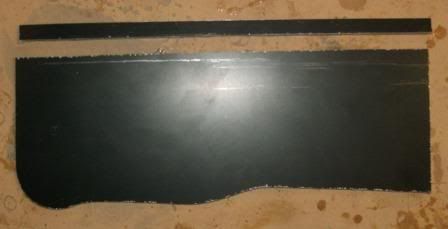
Then cut a couple of strips (didn’t take a pic of both)
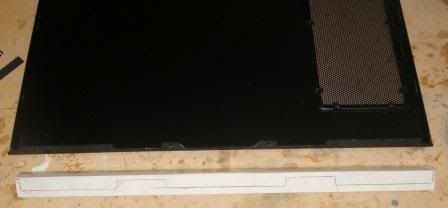
Drilled a few holes and filed them up.
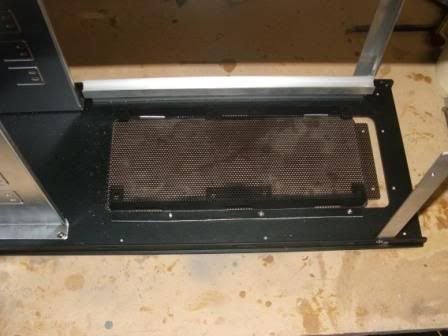
Works perfectly! The fan mount is held in tight and even though you wont see them they don’t look to bad.
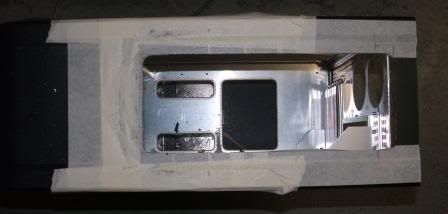
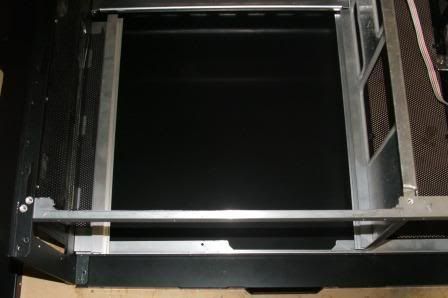
Top view, here you can see where I am going to have to weld a piece back into the case once I get some rods later in the week.
Only other thing I managed to get done was cut the mount for the psu at the bottom so it would fit into the case. If all goes to plan you wont see much of this when the case is complete.
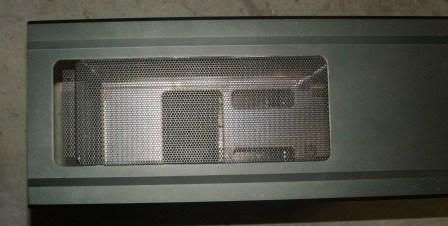
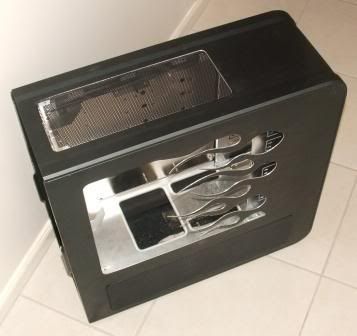
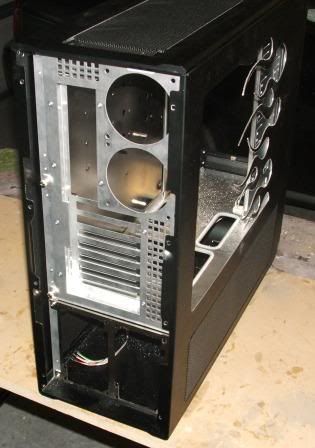
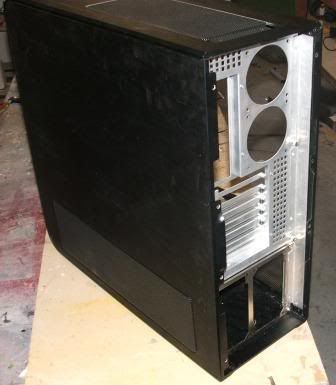
Finally a shot of the whole case as it is at the moment. In this pic you can also see the fan mount at the top and how it now lines up with the fan grill at the bottom and the case window at the back. It will look much better once I have that piece in there to fill the gap.
That’s all for now people. Hopefully I will be working on the case again tomorrow if I can find things to do so look out for another update soon.
those are awsome flames mang
Thanks man, Im pretty happy with the flames myself :)
Gosh, I actually got out to the garage two days in a row! Managed to find a few more things to do on the case but once again ran out of material before I managed to get all done that I wanted to.
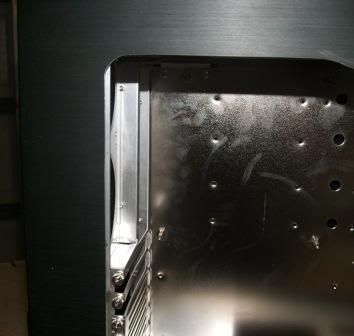
I started out by fixing the little problem shown in the next pic.
As you can see from the pic there is a little bit of aluminum showing through the window from moving the back forward. The next pic show the soloution… CUT IT!!!
Roughly cut out. I did file and sand it up after this so it looks much better then in this pic.
Next issue was the fact that as you can see in the next pic the side panels had no way of being held on!
I decided to use the existing holes in the back of the computer and just modify the side panels to attach them.
Mark out the cut.
Cut
Neaten up the cuts and drill a few holes and this is what you get. It will be welded to the side panel later in the week.
Here you can hopefully make out how its going to work. Basically the side panel will be mounted in exactly the same way as it was before.
That’s all for now. I have a defensive driving course to go to tomorrow night so I can get my full license so I won’t be doing anything on it tomorrow. I will hopefully have an update up later in the week once I have some more materials though.
Thanks for reading or looking at the pics.
Nice mesh! The computer looks great, but something needs to be done with the right hand side.
Don't get the name though-where does the Candy Blue come in? If you've changed your name, i'll rename your thread for you. If i'm just missing the bigger picture then i'll stay quiet from here onwards ;)
-Dave