That is awesome looking. I have to say its one of the cleanest and nicest mods I have seen in a long time. Professional work man.
-danthegeek

Printable View
That is awesome looking. I have to say its one of the cleanest and nicest mods I have seen in a long time. Professional work man.
-danthegeek
Wow that looks amazing and awesome sketchup drawings, could i just ask how you drew the fans in it though they are a pain in the arse when I try
Thanks Blebbz, I cant take credit for the fans though. I just downloaded them and re coloured.
You can get them from Here
Thanks for the link:up:Quote:
Originally Posted by Xperiment
Wow, do work , keep it up man
Awesome work, I love it. Its simple, yet really has some hard kick to it. Awesome dude. +Rep from me!
Simply Spectacular. Definitely lovin that green glow.. +rep
wowee!
I want one! +rep
Thanks for the kind comments.
First off my apologies for the lack of updates. Unfortunately due to redundancy I am very low on funds to continue this project at the moment. Give me a couple of weeks to get back on track and hopefully I can get this moving again.
Until next time .....
no problem at all...im really loving this project
funding problems come up a lot in mods...mines hit one too lol
Funding problems are contagious...
My house recently went from two incomes to one, though her loss of a job is currently pending investigation by the EEO (basically, they fired her for getting pregnant)
Things come and go, man. Your work here has greatly inspired some ideas of my own.
well congrats on the kid, and good luck with all that
don't worry, i don't think anyone here has done a mod without somthing going wrong, even crimson has had things go wrong (PLEASE DON'T KILL ME SIR)
my idea for an external drive is on hold atm, but with my new job, within a month or two, i should beable to start the build, or atleast get the parts.
Well I am pleased to say things are back on track now, but most importantly I have been able to make some progress on the mod.
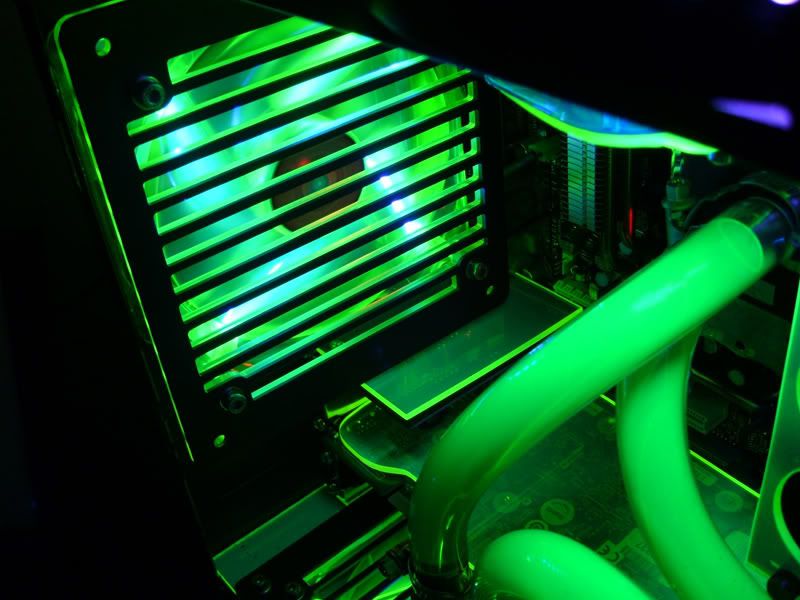
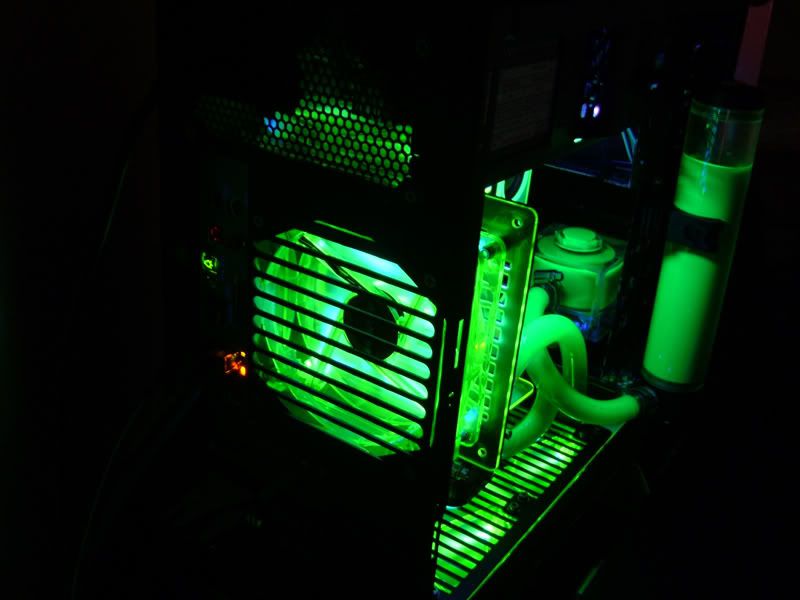
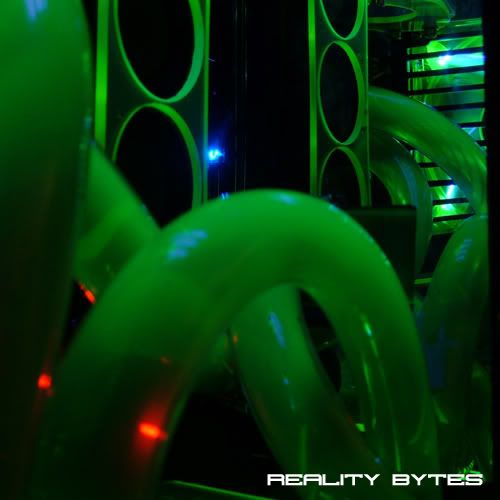
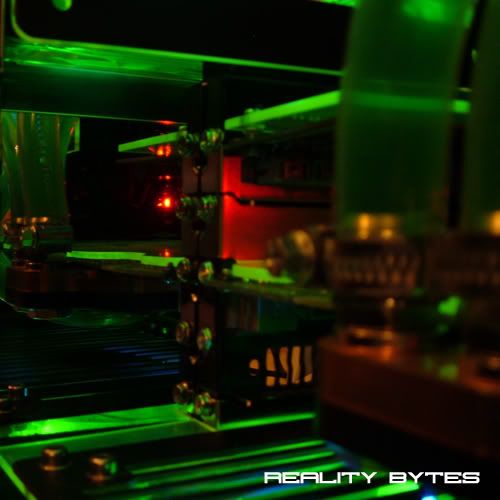
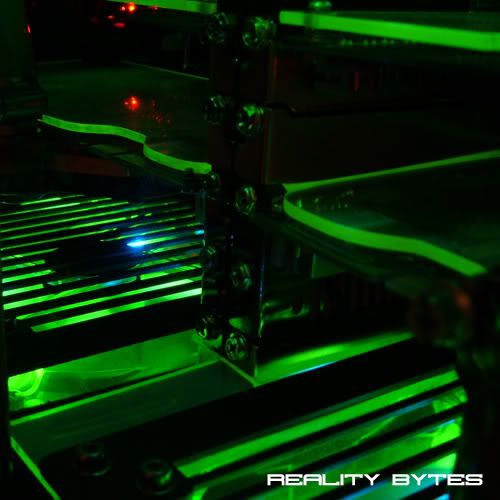
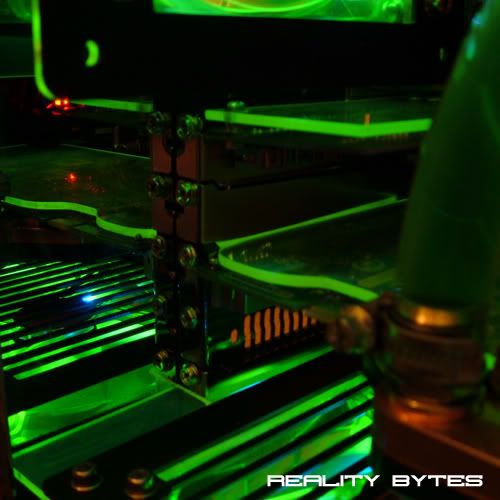
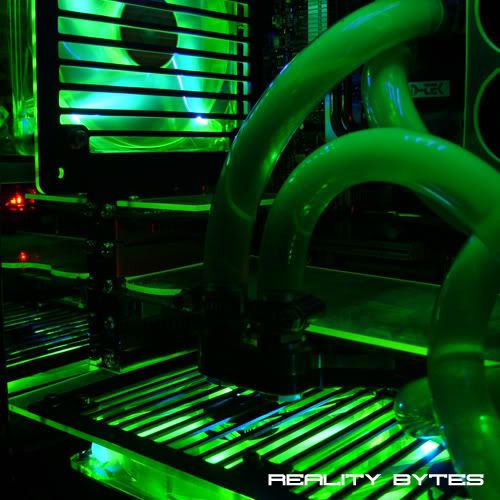
Some of my more expensive plans have been put on hold for a short while, so the following update isn't going to be huge. First off on the mod list was the rear 120mm exhaust fan.
The problem with it was that 3 of the 4 UV LED's had burnt out leaving it looking rather dull and boring. So I ordered a new one with the intention of doing a straight swap, but the more I looked at the fan the more I felt there was something missing. It just didn't stand out enough or make a great impact on the eye.
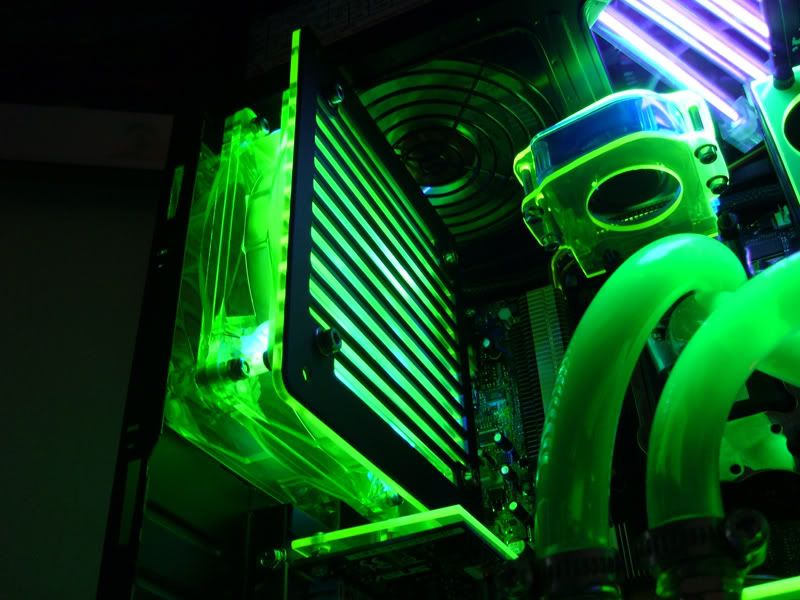
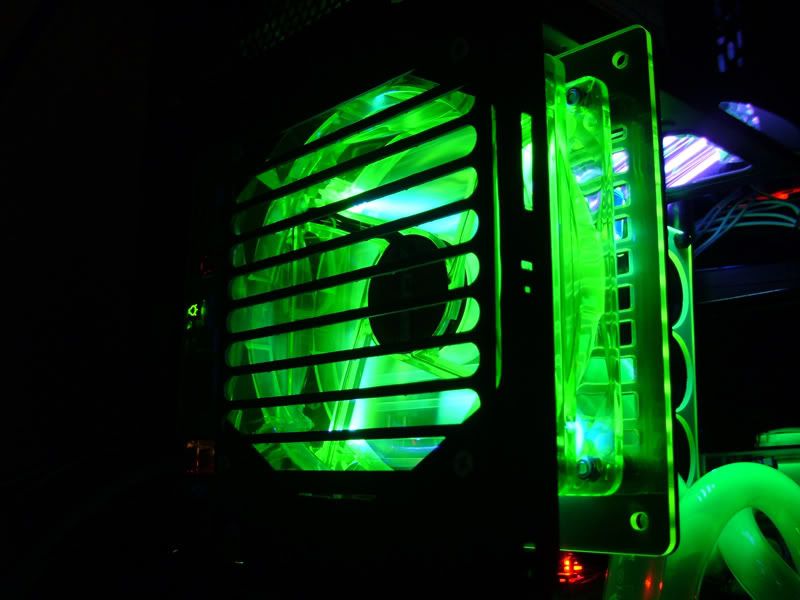
So I decided to use radiator grills instead of normal sized fan grills to make it more bold and also decided to use the burned out fan casing as a kind of spacer to bring it away from the rear of the case into a more eye catching position.
I am very happy with the results, a few pictures below.
On the next update:
- Mirror Acrylic
- A modded PS1 LCD screen
- Also some work on the side panel
Assuming I don't get made redundant again of course :)
I like this one a lot! Clean and it all fits together nicely. Also a good job with the watercooling. Only it looks like there is a lot of air in your setup? But I'll properly be wrong ;)
@ Teamikke - Thank you, in some of the pictures it does give the illusion of air in the water. I assume its something to do with the the light from the UV dye. I spent many hours removing the air from the loop and thankfully I haven't seen a bubble for a while now. But yeah it does look 'airy' in the pictures.
The res. on your pump is a pain to get rid of air. It will be a lot smoother if you just use the pomp without the res. You do have those other reservoirs so that should be all right I quess.
I have the DDC-1T with the plexie top but without the top-reservoir and the same sort of reservoirs you use. Almost all the air is gone after I put the pump on and off a couple of times. Just a tip ;)
But it's looking great when all the air is out! Very curious what's next ;)
That was the main problem area when removing air, the res on the pump. Got there in the end though.
Great colors, or should I say color :) Normally I don't like those thick tubes, but this loop looks really good :up:
Mate long time no see lol. Good to see your mod back on track. Looks fantastic.
Update: Mirror Acrylic
Today I received the AC Ryan Mirrored Acrylic I ordered a few days ago.
When I was reading through the advertising for it I was quite excited to read it was both a 2 way mirror whilst being see-though at the same time. There were a few areas of the case that I wanted to hide from view and other that I wanted to be more visible, so this product seemed like the perfect answer.
The 3 main areas I wanted to apply this acrylic are:
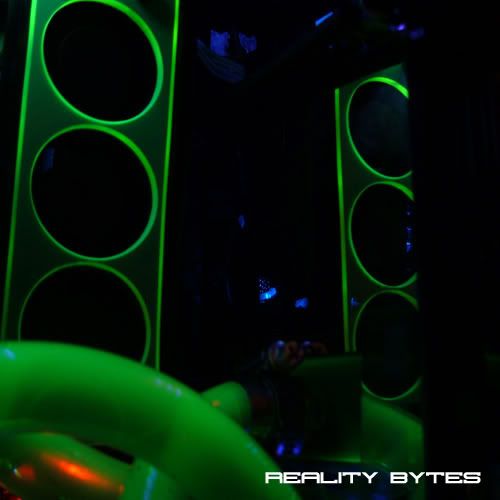
- Below the four 4"UV cathodes next to the power supply
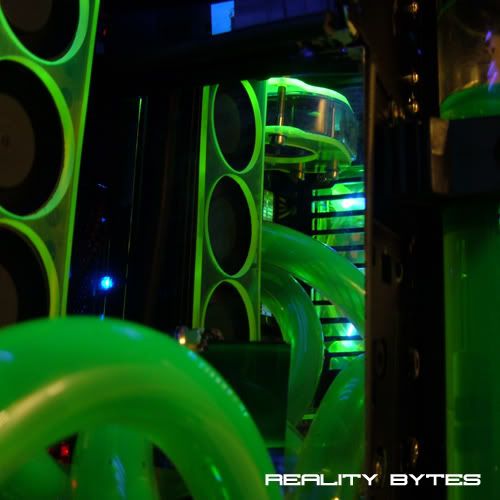
- Behind the 3.5" bays, around the pump
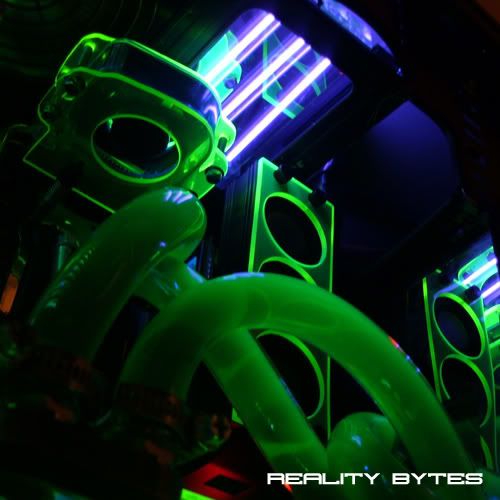
- Above the radiator on the inside rear of the case
So after a few quick measurements and a few minutes with the jigsaw I had 3 pieces of acrylic ready to install in the case. I used double sided pads (that came with some cathodes) to secure the pieces in place, I had to cut the pads into thin strips so they could not be easily seen through the acrylic but at the same time give the pieces enough support.
To be honest I was amazed at how clear the mirror image was on these pieces, being acrylic I expected it to be less clear than a glass mirror however it is very difficult to tell the difference.
Pictures of the 3 areas where the acrylic was used can be seen below, hope you like the effect.
3.5" Drive Bays
Below UV Cathodes
Rear of Case above Radiator
Its hard to show the full effect in picture form but I think you get the idea, the reflections give alot more depth to the case and help to bounce the UV light around lighting up areas that were kept in the shadows before.
I will hopefully have my PS1 LCD screen delivered in the next few days. I plan to hook this up to VGA and mount it in the front panel of the case.
Thanks For Reading :)
That stuff looks really fantastic, makes cases look a lot bigger and ads depth. Have you had any progress with your side panel yet?
@ The boy 4rm oz - Thanks, Fingers crossed the 4 sheets of perspex I ordered should be here today so I can at least start marking some measurements out. I will of course post pics along the way.
Awesome, your concept pics looked awesome, can't wait to see how it turns out :).
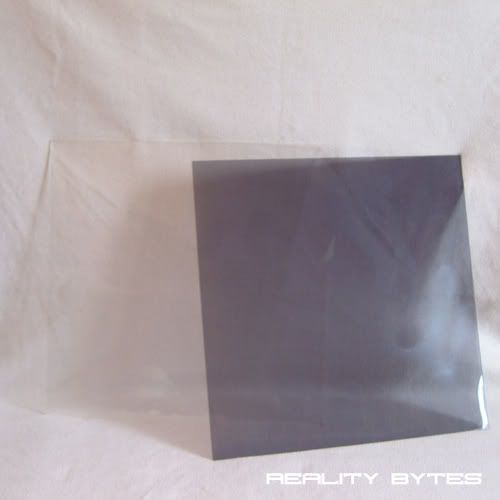
Shouldn't be too long now, less than 10 minutes after my post the delivery man paid me a visit.
1 x AC Ryan Smoked Black Acrylic
1 x AC Ryan Clear Acrylic
Just need some 'pure' black acrylic now. TBH I was hoping the AC Ryan Smoked black would be a little more black and not quite as see through. I will have a play around with it though, I'm sure mounting something behind it will help.
Nice plexi, I just stole offcuts from school lol. If you are mounting that smoked black plexi right in front of something black it will appear darker but if UV light is closer it will shine straight through it.
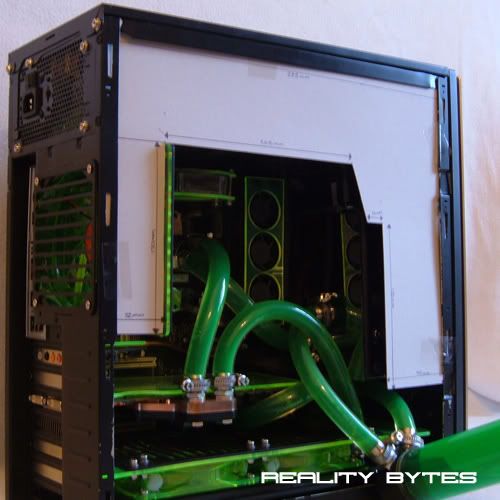
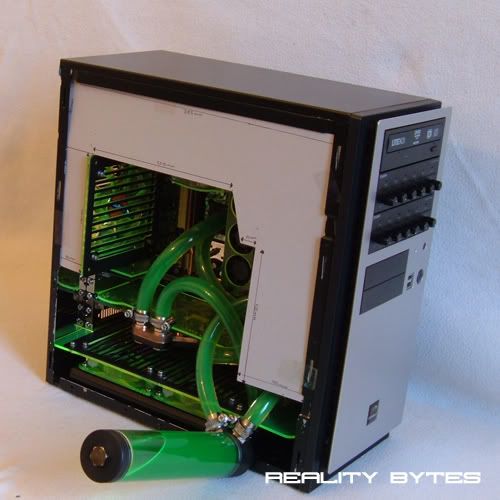
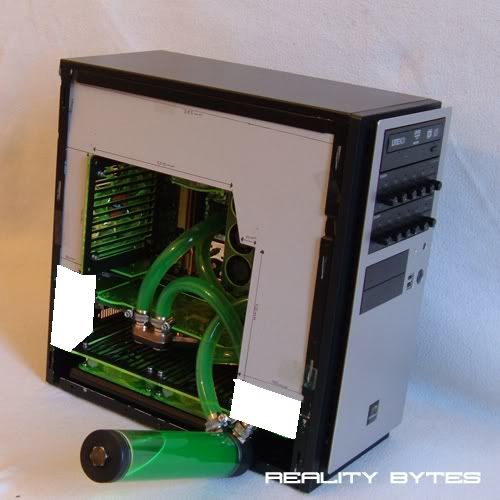
Ok this afternoon I have been working on a template for what will form the inner part of the side panel. Its basically just a cut sheet of black acrylic which will hide areas such as the side of the PSU and the sides of the rear fans, along with the sides of the 3.5"/5" drive bays.
I have made a cardboard template of the shape I want to use and placed it in the case. Now I cant decide if I am happy with the shape and if it fits the 'shape theme' of the overall build. . . .
Opinions / suggestions would be gratefully received, some pictures:
I would make it longer. Drill 2 holes in it on the right where the tubing will go trough. Lett it go on until you hit that plate of Uv-green plexie with the fans.
Same for the left site.
Paint:
Altough there is a chance that it will look a bit ''small''.
The res is going to be mounted vertically so he needs room for the tubing. You could also use some green thumb screws on your PCI slots to make it look a bit more interesting, I am using blue ones in my mod and it is an easy way of giving a dull area of the case some class ;).
I know that and thats why I said:;)Quote:
Drill 2 holes in it on the right where the tubing will go trough.
I think tumbscrews are a good idea. It makes the room ''larger''.
I do like the idea of the tubes coming through the acrylic, I will take some measurements and do a mock-up, thanks TEAMIKKE.
Not sure on the thumbscrews though, I have been meaning to find some different screws for the backplates. Ideally I would like some bright green anodized socket head bolts. May get one thumbscrew just to test though.
@TEAMIKKE, lol sorry, didn't read it well enough good idea.
Thumbscrews will also make it easier to add and remove the PCI devices, I love em lol. I know you can get green ones like mine cos they had them when I got my black and blue ones.
Yeah i've seen the green anodized ones but they all come in a dark green, this wouldn't really fit the theme of the case. However UV thumb screws would be great ......
[Googles]UV Green Thumb Screws[/Googles]
Nothing found, hmmm, will keep looking.
You could get silver ones and paint them with UV green paint. You could use yellow highlighter like I used on my fans :), this looks great on moving parts such as fans but on non moving objects it would look kinda average.
On the other hand: It lookes quite good already in that corner. You can let it open and I think it won't distract. It's up to you off course.
My eye felt on one thing though: The coverplates! You should make them black or polish them. I think that's a lot better than just plain.
I think it looks better now the mirror is there, was a little plain before. But now there is a point of interest there I would like to keep it open and on view. If only someone made plastic UV Green thumbscrews, that would be the finishing touch to the area.
I know what you mean with the cover-plates (I assume you mean the rear expansion slot covers) They are near mirror finish stainless steel, guess it don't show very well in the pictures, but I think a polish would help, will add that to the 'todo' list.
Many thanks for your continued input :)
If you wanted to draw more attention to that area you could attach green plexi strips to each of the un-used covers, that would look cool.
imagispire finished your worklog header, it's in the first post.
Wow I love it, great effect - looks like its been submerged underwater.
Many thanks :)