No problem mate, thanks for the rep. I really need to get myself a scroll saw so I can make some nice custom pieces for myself. The jigsaw is too cumbersome.

Printable View
No problem mate, thanks for the rep. I really need to get myself a scroll saw so I can make some nice custom pieces for myself. The jigsaw is too cumbersome.
if we lived closer you could borrow mine
no prob i like this mod
It has been quiet in this topic for a while, because I dedicated most of my attention to Cubeleon. That case was done for 99% in November, but it wasn't in time for the big competition. I has been lying around on the attic since then. I will finish it in time, but right now I'm still not feeling like it.
The reason for kicking this topic is that I made three trophies for our casemodding contest over at www.bouweenpc.nl. Our contestants had to mod a computer part in every round, and only six would make it to the final. Last weekend we had a big stand at Energy Lan, a local lan party for ~200 persons, and that's where people could vote for their favorites. Unfortunately only four of the contestants made it to the lan, and three of them got a hand made trophy :)
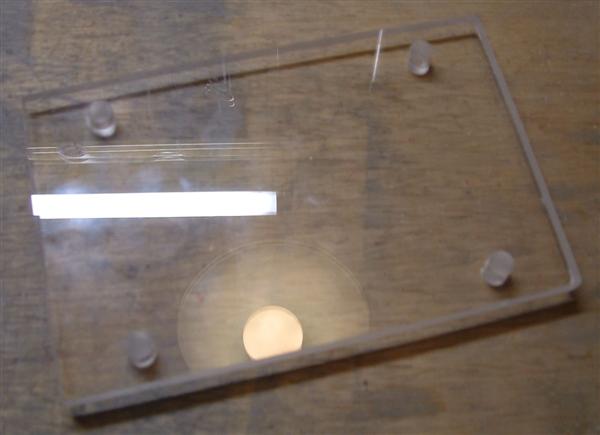
It all started with a base plate, made out of 10mm plexi:
Taped them together for easy drilling:
It's a little hard to see, but I put some pieces of plexi round bar into the holes, and used them as feet:
The vertical piece is made out of 5mm plexi:
Every trophy needs a number, so I made some out of red plexi. The number 1 was easy to draw in SolidWorks, so I could print it and cut it out:
The two and three were a little more difficult, so I printed out some rectangles and drew some nice number:
The three was very nice, it took a little more time to get the 2 right:
Glued them on, and they look fantastic :) The only drawback was that the white was caused byt the protective plastic, and it disappeared when I took it off. It made me want to do something with white plexi, so stay tuned :D
For gluing, I used some angle bars and clamps:
To make the design stand out some more, I cut some pieces of tubing:
The trophy needs a plaque of course, but engraving that myself didn't really work out great :P
So I got a company to do it:
To go with the black engraved plaques, I made some rectangles out of red plexi:
All of the parts are mounted on this picture. As you can see, the two plates cover up the feet, which makes it a little nicer again:
And I guess this would be the end result :hehe: I had to use the flash, which explanes the big shadows in the back. If you look closely, you can see the reflection of the engraving in the back red piece, that became on of the nicest effects on the trophies :)
The end results of the contest
The first price went to Frenkie, with his Command & Conquer GDI Base Station:
Flythe became second with his third water cooled creation in a row:
Chatlie got hold of the third place, with his green casemod. In the front, you can see his mods for the first two rounds, a modded dvd player and a power supply:
Jeroenotje came in fourth, his last creation wasn't as good as his two previous ones. Again the dvd player mod and PSU mod on the pic:
We had a lot of prices to give away, including cases from Cooler Master and Ikonik, coolers from Xigmatek and Noctua, several power supplies and AC Ryan Boomboxes :) Frenkie walked away with about 400 euros worth of prices, and the other contestants also had a box full.
Right now I would like to thank all of the contestants and the sponsors, for making a great competition possible :banana: We will do another compo this year probably, so take a look at http://www.bouweenpc.nl every now and then :)
Those trophies look really slick as do the mods.
Today was just another day like any other day. Until I went on my daily trip to Bit-tech, where I saw one of my own pictures on the front page! I was surprised to find out that I had been nominated for this month's Mod Of The Month. It was a dream coming true, just being nominated is a big honor for me. :)
Lambda
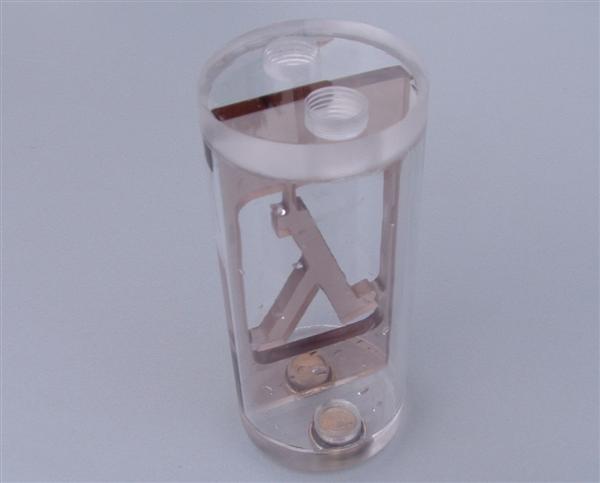
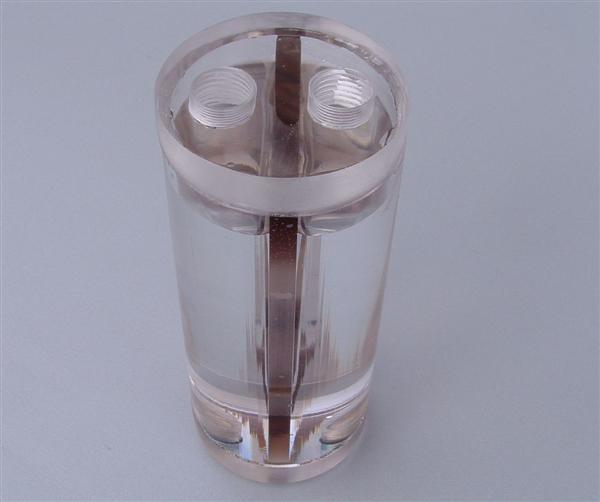
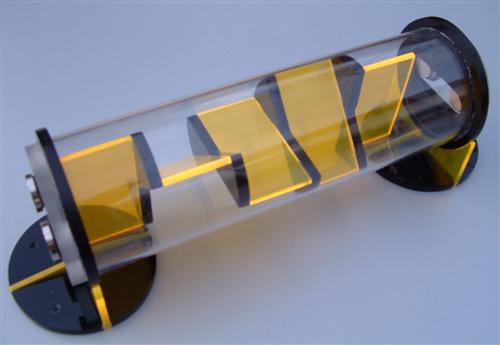
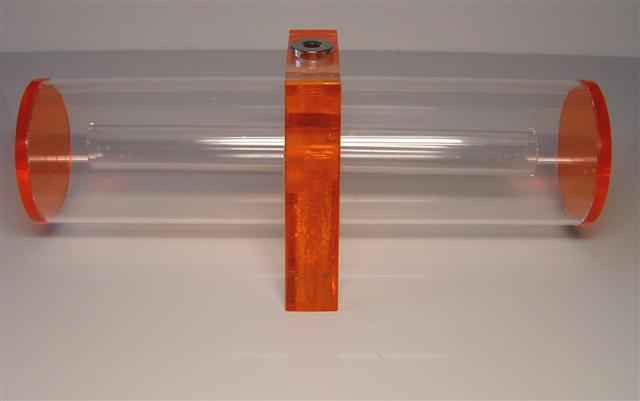
While I was working on the three trophies, I had another project to finish before last weekend. Frenkie contacted me a few months ago, if I could make him a reservoir. Well of course I can :) At first he wanted a very straightforward res, but I wanted to make it stand out more so I designed a nice divider. Now it matches the theme nicely ;)
Once again, I began drawing out the design using CAD. Lucky for me, the lambda is fairly easy to draw, so I could print it and stick it to the plexi. The main goal was to make the connections to the letter as small as possible, so I made them just 2mm wide:
We went for brown clear plexi for the divider to match the design of the case:
Cutting a piece of tubing was very little work compared to the divider. It's a tiny res by the way, the tube is just 50mm in diameter and 100mm high.:
I'm using spray glue for all of my mods, so I went through a whole can already. I went for the upgrade this time :D
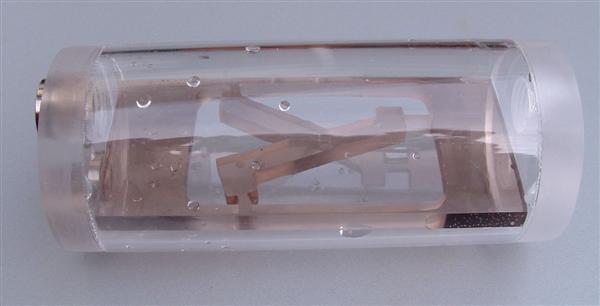
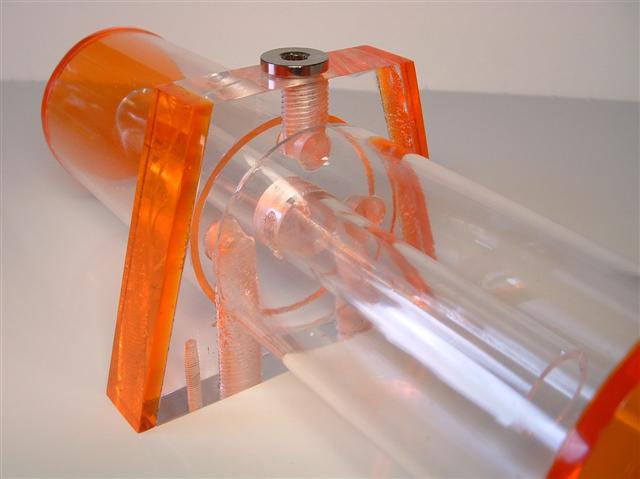
I really needed the glue for the two end pieces. Because of the extruding process, the tube is not totally round. Fortunately for me, SolidWorks knows how to draw an ellipsoid that matched the shape of the tube perfectly. Then it was just gluing and cutting (it's getting boring, I know ;)).
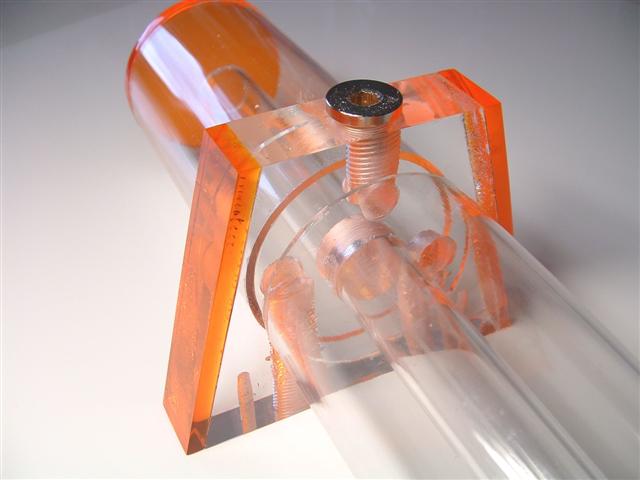
Not a lot of parts this time, so here are the final pics already ;) All of the parts are glued together now, the lambda is glued to the bottom with a little drop of glue.
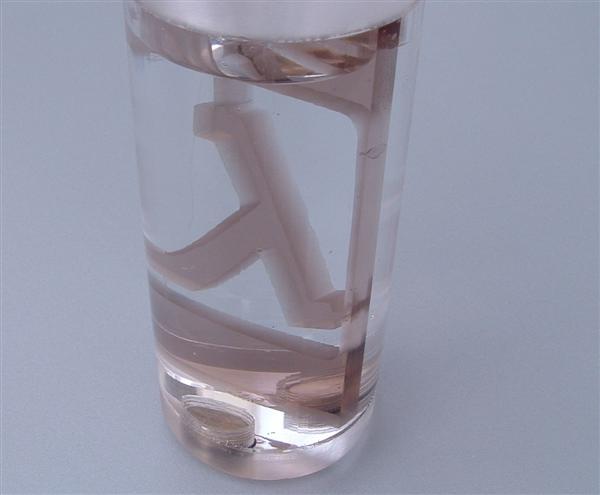
It looks very different once the water is in, but it still looks hot :)
In this project, I really like the fact that someone asked me to make something for em, so I'm planning to do that a few more times. So if you want me to make you a res (or something different, a fan grill for example ;)), just let me know. You'll still have to wait for a few months for the mod where this res will be used in, but I'm sure Frenkie will make something special :) See you soon!
Congratz on the MOTM nomination mate, you deserve it, as do the rest of the contestants. Very cool res you have there. I never thought of making something like that.
yeah thats really neat man...
Thanks guys :)
Brilliant!
Love your work :D
nice looking man :D maybe its tru :P maybe dutch people have modding blood in them there veins :D
Right, here I am again. For the past two years, all of my time has gone to my master mechanical engineering. This doesn't really leave space for things like vacations, it just keeps on going. That's why I haven't really done anything else for the past years, and I don't like that. I have to keep drawing, designing and fabricating, or my mood will suffer.
A few months back, in April, me and _ferry_ went to Madrid to visit Campus Party Europe. The organization invited us to represent the Dutch casemodders, of course we said yes. The event was really cool and we met a lot of casemodders that walk around here, like Phinix and p0Pe. There were also a lot of quiet moments though, in one of which I proved the quadratic equation :think: Also, I designed about a handful of reservoirs, this one is called Reflow:
The design of the first piece of acrylic, on Spanish paper:
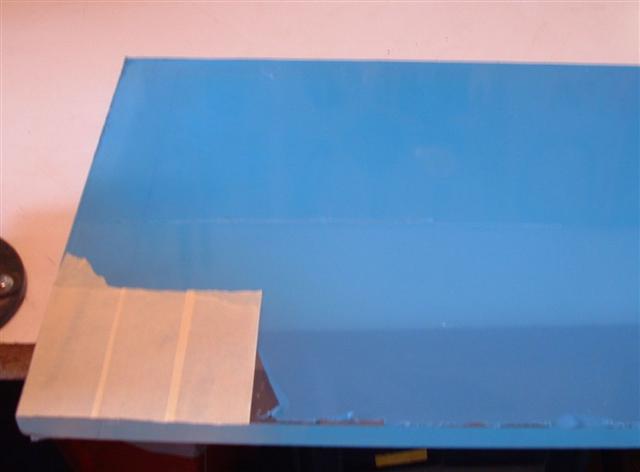
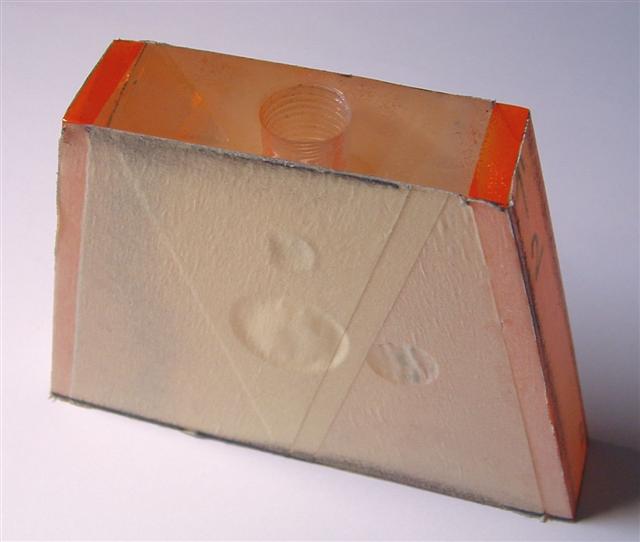
In the past years I have collected a huge amount of acrylic, so I could just grab a piece of 20mm thick out of a big sheet:
The design was transfered to the block of arylic, after which I just started drilling the toughest set of holes. They are 12mm in diameter, and about 50mm deep. Lubrication and a lot of clamping was necessary to get this far:
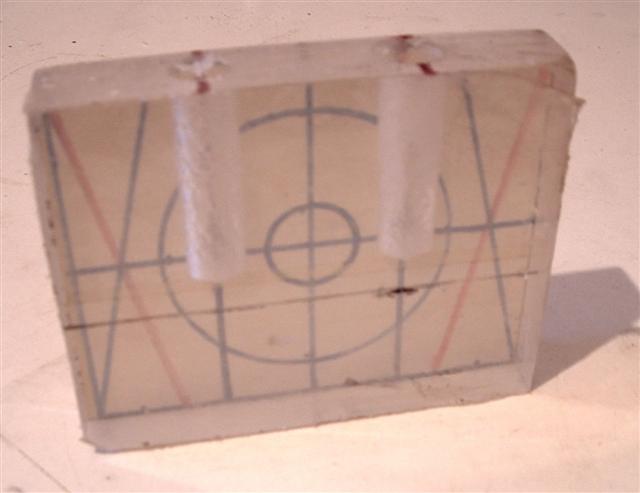
The two holes at the top are for filling and removing the air from the loop, although their placement is not ideal :whistler:
This is the back of that same piece. As you can see, the holes from the bottom only go to one of the sides. I'll show you later what those holes are for ;)
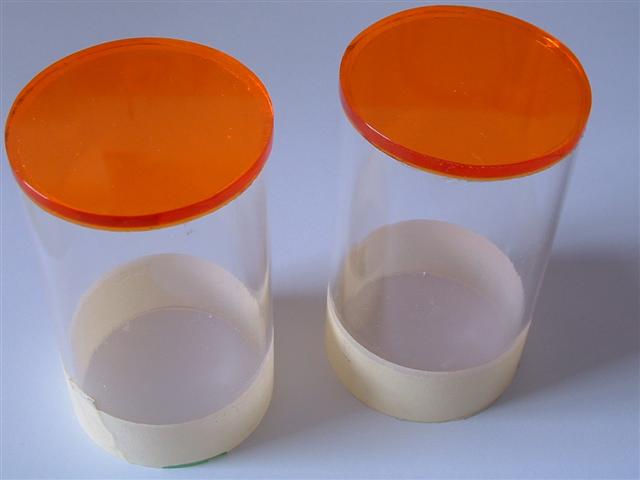
Hmm ok, you may notice it a little early. I need two pieces tubes, 60mm in diameter, nicely cut and sanded to be as straight as possible:
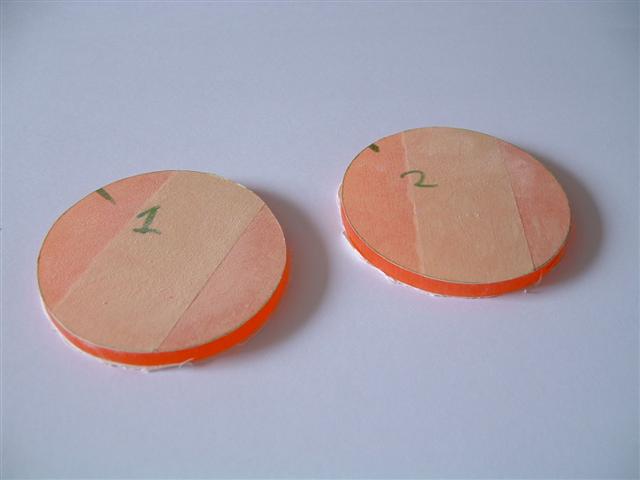
From orange acrylic I will be fabricating two end plates. The color has nothing to do with football, it's just a nice color that I still have a lot of ;)
With a little help from the belt sander I was able to sand them perfectly round. I will soon glue them to the tubes, once they're sanded and polished. You just have to wait a little, I will post that soon :)
yay! more work!
Should be interesting mate! :)
Awesome, I really do just love sitting back and watching you work brinkz0r.
Any updates? I'm learning so much from these scratch res builds!!!
Not yet, I'll try to work some more on this res this week, hopefully even today :)
Reflow, update 1
The last post ended with me cutting the end caps out of orange acrylic, and once they were cut they needed to be sanded and polished. This is what I need to do that, a drill press, a cotton wheel and a chunk of polishing paste:
This goes way better than doing all that by hand. It just took me a few minutes to get all of the scratches made by the sandpaper out.
For once I immediately took off the protective paper and glued them to the tubes to take a good look at them :)
After making this picture, I applied new protective tape by the way, I don't feel like sanding the whole thing again to remove a scratch ;)
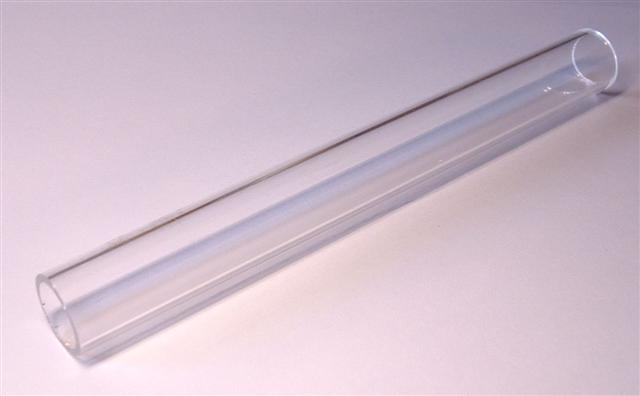
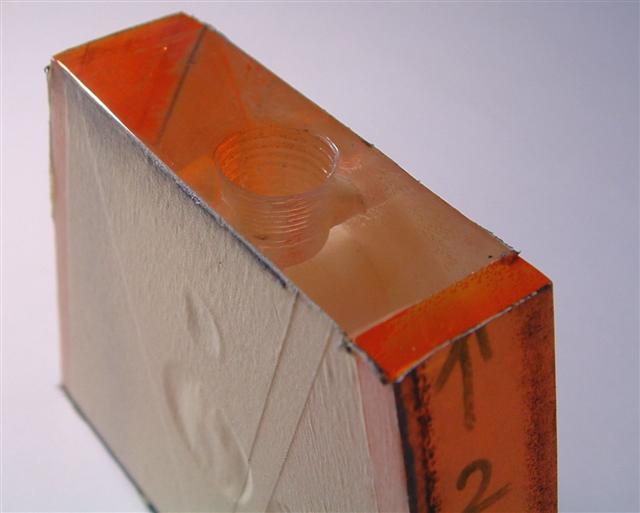
For the reflow part of this thing, I need this piece of acrylic tube that should go through the thick piece of acrylic:
Since I finally had my vile back (my brother took it somewhere else and didn't bring it back down), I was able to widen the hole in the acrylic:
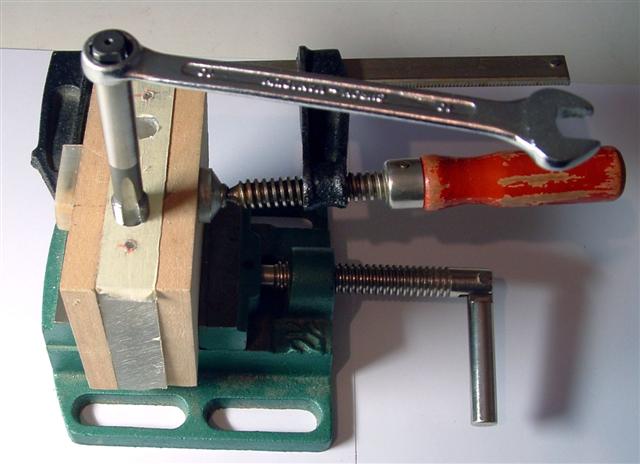
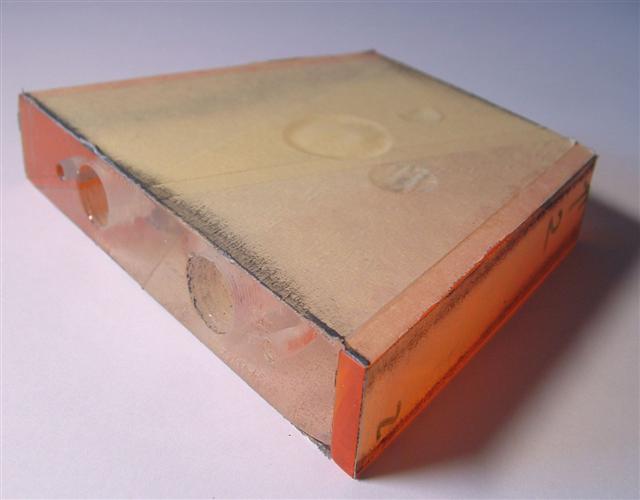
The bottom of the reservoir now has four holes, two are tapped at M4 for mounting the thing to a case, and two are tapped at G1/4". I clamped the piece between two pieces of 'wood' (MDF ;) ) because of the stress exerted by the tap. The thing is so big that it doesn't even fit my tap wrench, so I need to use a normal 10mm wrench.
The ones that took a good look at all of the lines drawn on the thick piece could have known what is about to happen. I will cut two big chunks off the thing, the problem was that I didn't know how. The jigsaw makes the 20mm acrylic melt, so that would be my last option.
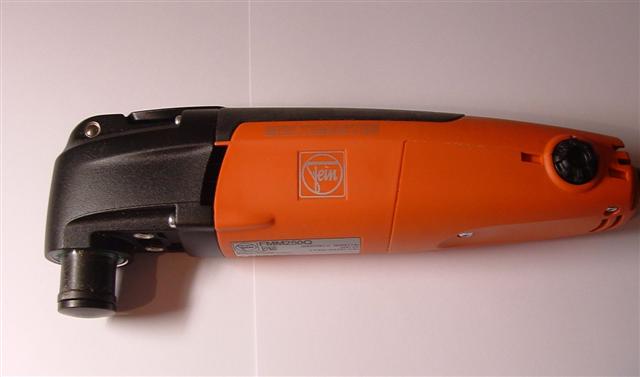
So I decided to give it a try with my new tool that I bought with my birthday money and then some more :p It is a Fein Multimaster, an oscillating tool that will eat its way through about anything :D I had to choose between this tool and an angle grinder and chose this one because it's probably more versatile and better controllable.
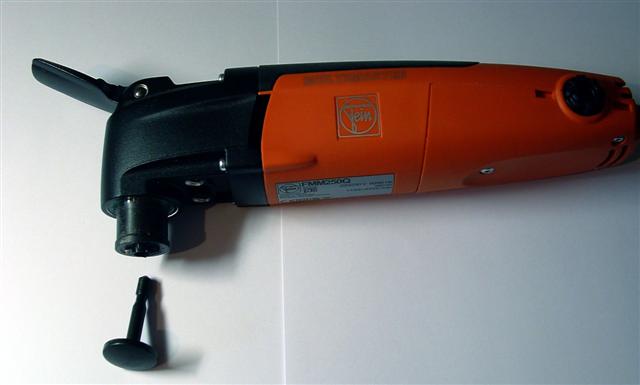
When you flip the handle, you can pull out the bolt at the bottom, put in a new tool and click it back in. Very fast en easy:
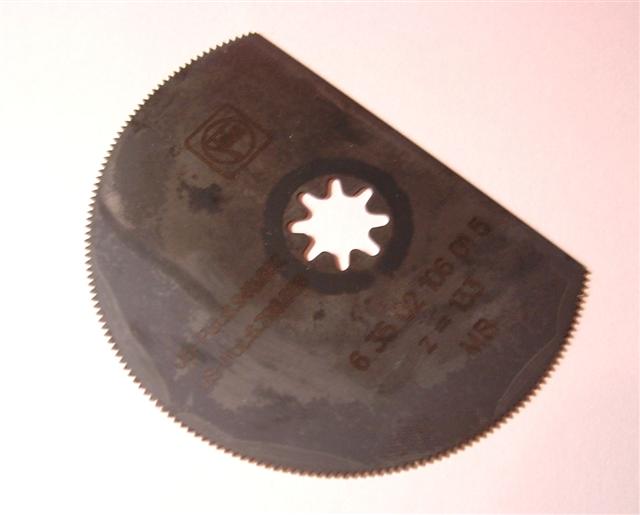
A little test showed that this piece of machinery also wasn't able to nicely cut through acrylic this thick, it works very well on thinner material. For a minute I forgot that this machine also moved very fast and also creates a lot of friction, so it also melts the acrylic. So I thought: "what would Cade Courtly do?" He told me he would just cut it by hand. So I did, my saw also had a 15 degree setting that was ideal for the plans that I had:
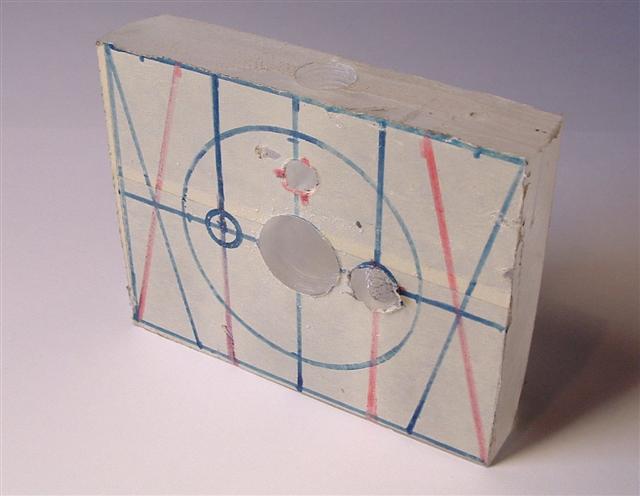
After about 15 minutes, the block looks like this:
And with that cliffhanger I will end this update, but not after I've said this:
I will be making a few of these! :banana:
Not by hand fortunately, the parts will be cut by laser and assembled by me. If you are interested in one (doesn't need to be yellow, I can use other colors), please contact me :)
Reflow, final update
The design needed a few more orange accents, and since the hole on the top was a little off, I didn't want to accentuate that ;) So I decided to place two orange pieces on the sides. Here they are, polished an all:
Applying the glue, placing on the big block and applying pressure for a little while:
Once they were attached to the block, I shortened them by hand with a file. Because I wanted all of the sides to shine, I sanded it down with 60, 280 and 400 grit and polished it on the drill press :)
Once you are attaching the finished parts to the assembly, you want to see the end result so I just kept working. These are the final pictures of Reflow, my fifth reservoir :D
I'd like to hear what you think of it :) How perfect it may seem on these pictures, to me it's not. There are some cracks here and there in the big chunk of acrylic, after I sanded the surfaces and then used acetone of alcohol to clean it. So I made a mental note of that, acetone doesn't help to clean a surface up, it just ruins it.
The bright side is that this was the most intricate piece of thick acrylic that I made, so perfection wasn't lurking around the corner. I've learned a lot of building it, I hope you've learned something by watching me build it :) See you next time!
Very cool design. Not what I was imagining when I first looked at what you had drawn on the center block. :up:
Two very nice designs. I really like the first design, would also look great with a dark blue instead of the yellow I think :D.
Thanks dude :) I will probably offer four stock options, yellow, blue, red and white. I someone wants another color, that should also be possible for another price.
Unfortunately ... you can not avoid it in the phase
Because you can take everyone and do everything
And many times
And with full realistic perception
Did you try it?
Necro posting a nearly 4 year old thread with gibberish... I'm watching you now.
Quote:
Originally Posted by Flaviahen