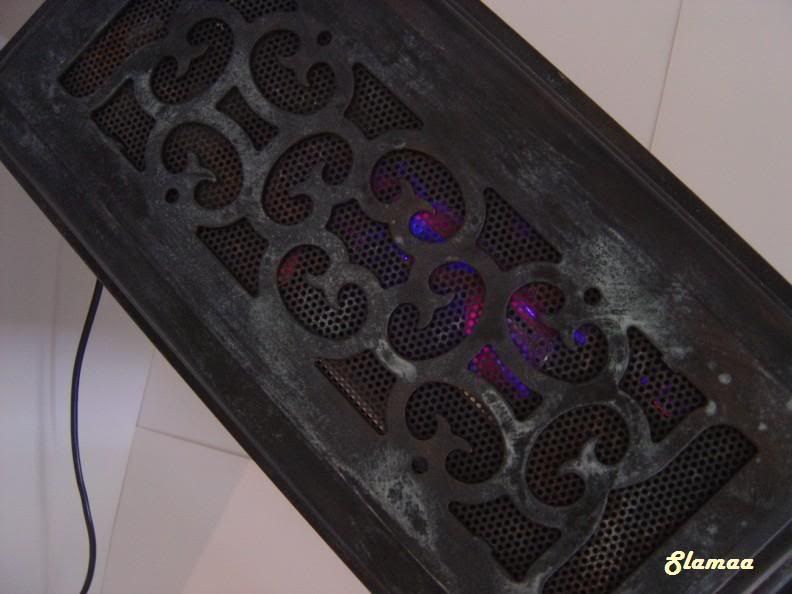
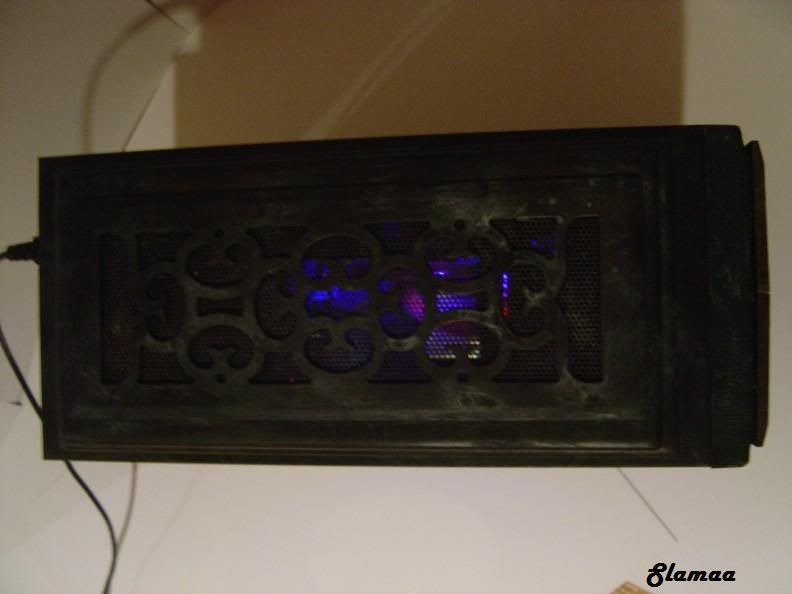
wow dude looks sick. cant wait to see it all done. when i first saw it with the air gutter thing i wasnt so sure it would look right but with the rusted effect it looks amazing. + rep!

Printable View
wow dude looks sick. cant wait to see it all done. when i first saw it with the air gutter thing i wasnt so sure it would look right but with the rusted effect it looks amazing. + rep!
here's an idea, i don't know if its cool with you, but what if you used copper pipes for the liquid cooling system? just a thought since i think it'd go great with the cases' theme, although i may be a bit of a pain to make sure all the joints on the piping is watertight... hmm....
The one problem I can see with copper piping (apart from it's cost) is that all your joins will be square (unless you bend the pipe) which means the flow will be greatly restricted.
hmm... that's true, pricy and can be a hindrance in cooling performance. alright, what about regular tubing, painted brass but leaving some clean patches, a would be porthole lol XDQuote:
Originally Posted by The boy 4rm oz
Paint tends to not dry quite right on rubber hoses (or most rubber). I believe one of our fellow foremers tried it before. The paint doesn't quite dry and goes all sticky, then dust sticks to it. Nice suggestion though.
hmm, yeah forgot about that little dilemna... guess he could just go straight to regular clear tubing :| would kind of stand out from the rest of the case... well w/e love the case nonetheless! XD
Clear tubing will look good, you just have to chose the correct coolant colour.
green seems to be the most used color for coolants
actually thinking of it now... yeah why not! just needs to add some of that water damage look to it. not sure how it could be applied to the tubing and have it stick tho :|
That is true, but it should depend on the theme of the mod.
Hey, the recent discussion got me thinking... you needn't find alternatives to clear tubing to get the sort of 'inkeeping' effects your talking about... I started conjuring up images of wrapped metal sheets or mesh or combination of both then with the same style of 'aged' effects applied. You'd probably avoid most of the corners, concentrating on the straighter sections. Using a thin, wide expanded alu for instance you could form it to the bends. Anyway, the effect from the combination of aged metal sections and vibrant green tubing would look sweet in my opinion and fit well with the rest of the theme.
EDIT: Copper sleeves even ;) ....or, and slight plug here, Gold Mylar Sleeving over the tubing! :P (Actually I don't have the Gold in stock, only chrome, but this could be obtained easily ;))
Slamaa, you're doing a fine job... keep it up! :up:
Cheers
GAM
Yeah slamaa, we want to see some updates! This is one cool project and I'm looking forward to seeing you walk away with the trophy!
Jon
You could cut rings of copper and put it around the rubber pipe... just an idea. Or maybe segments. Some space in between so it's bendable, and a bit larger than necessary to allow for thermal expansion of the rubber? Mount with hot glue?
That is a really great idea Doom, should look fantastic.
Telegram 10: Out with the Old, In with the New. (Video Worklog 6)
Well I wasn't happy with my last approach with the right side panel and my mural of
the big daddy, which I never finished. So I scrapped it, and started the panel again.
Enjoy the video.
Cheers
Slamaa
Very nice work buddy.
Loving this project so far. Very creative, and excellent craftsmanship.
If you decide to use copper pipe, make sure your radiator and waterblocks are copper as well, or else your coolant's non-electrolytic - galvanic corrosion ain't your friend.
Just waiting on a custom decal now, should be here in the next few days.
Thanks for the comments Guys
Looks fantastic. The blue plexi looks a bit out of place though. Personally I would have used smoked black plexi. Looks great either way.
Slamma, your telegram style of updates is superb. Your video tutorials are excellent. You've taken suggestions onboard but hav'nt diverted from your project plan and theme. You've set a mood for the mod and this is one of the best worklogs ive seen. Ive NFI about watercooling so cant begin to offer advice cos you seen to have what you want sussed. Wish I could... +Rep
Telegram 10: ADAM Supply System (Watercooling) - Video Worklog 7
Cheers
Slamaa
Telegram 11: ADAM Supply System (Watercooling)
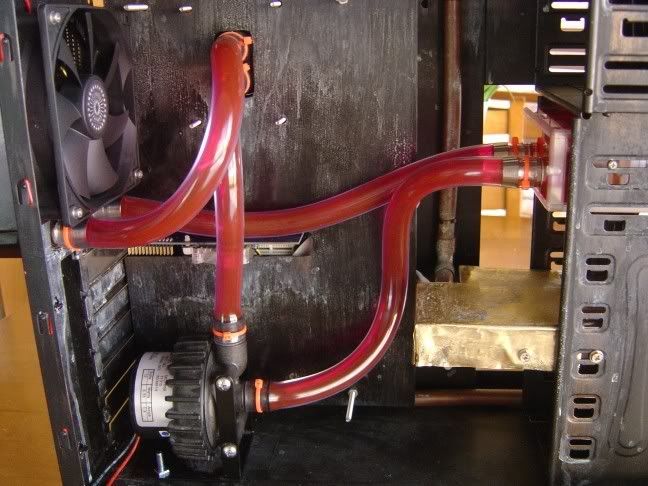
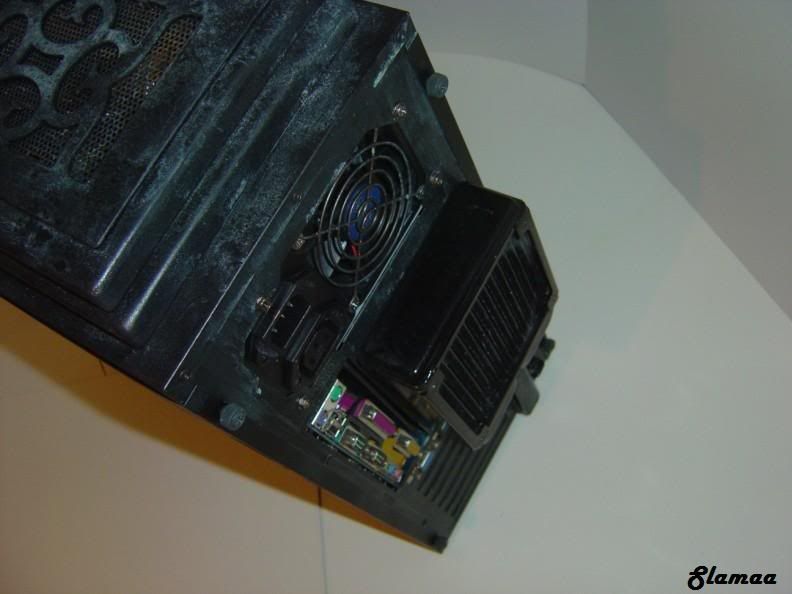
I Finally finished installing the watercooling loop, check out the finished pics.
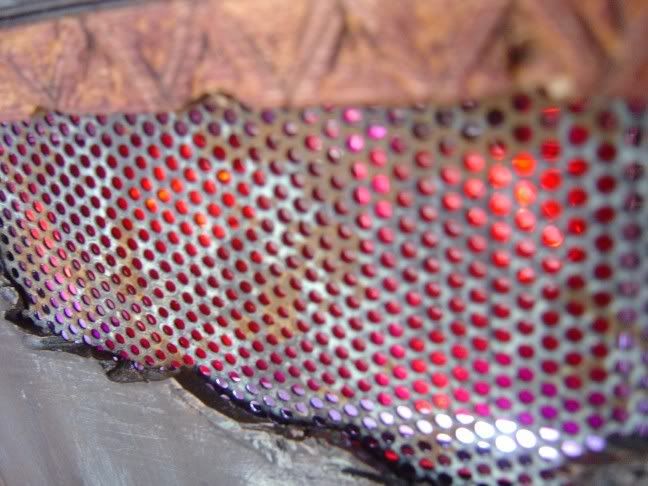
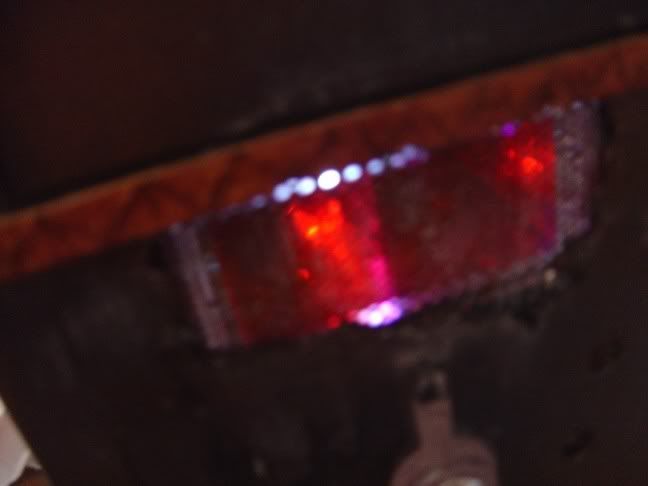
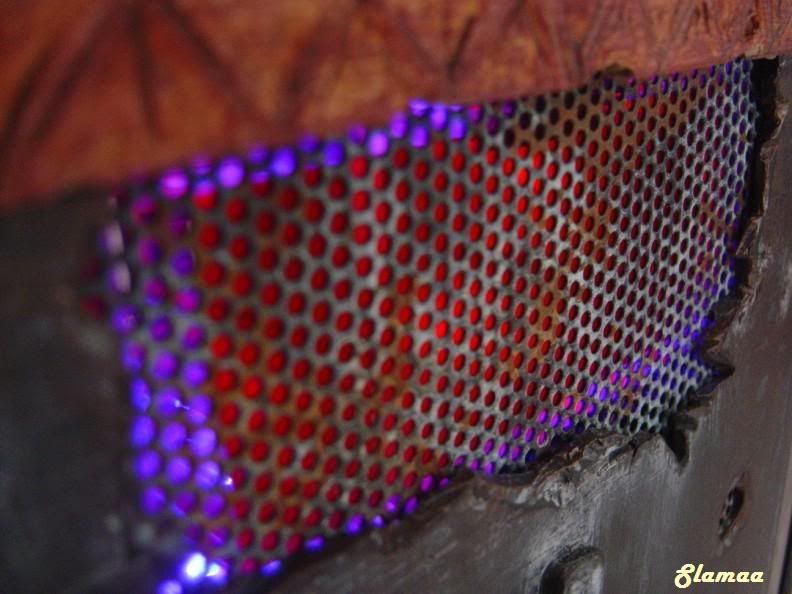
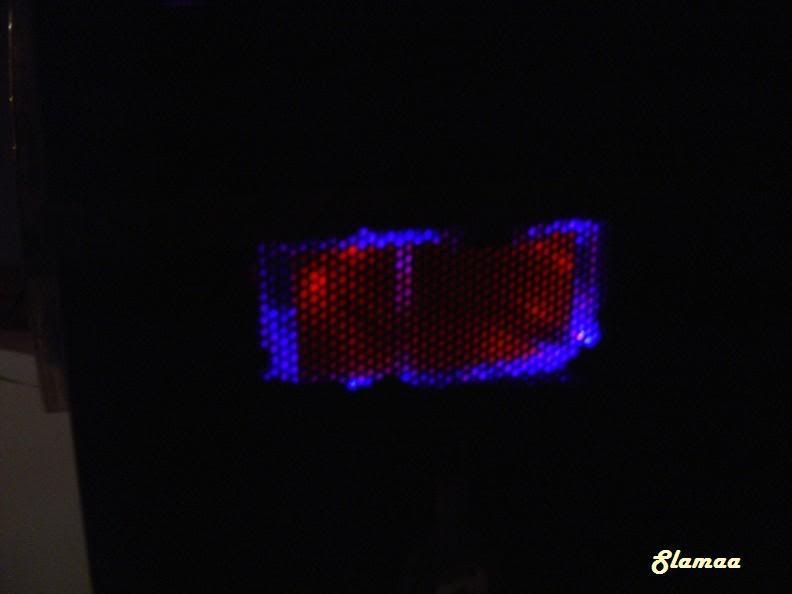
Front Mesh Reservoir Window
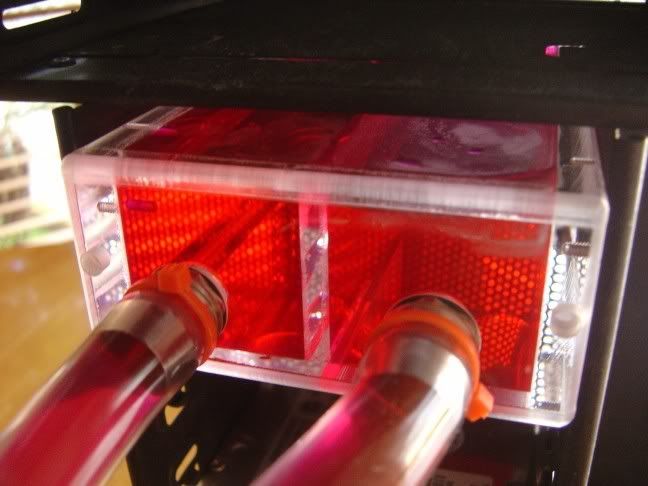
The Res
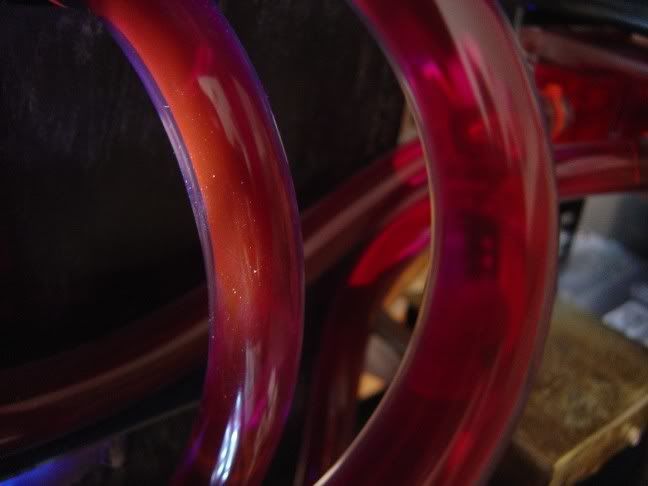
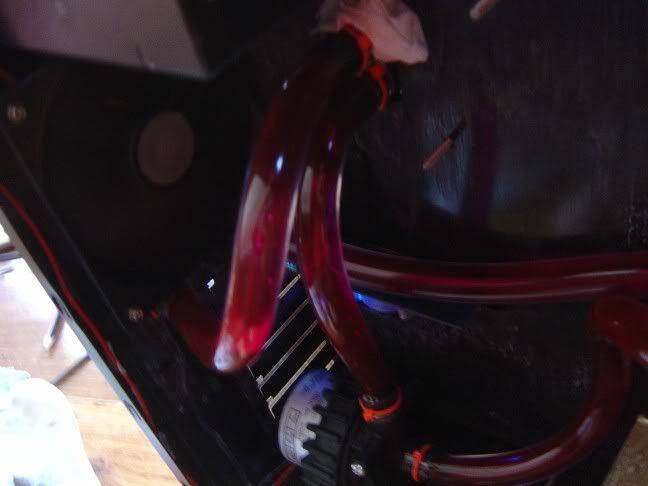
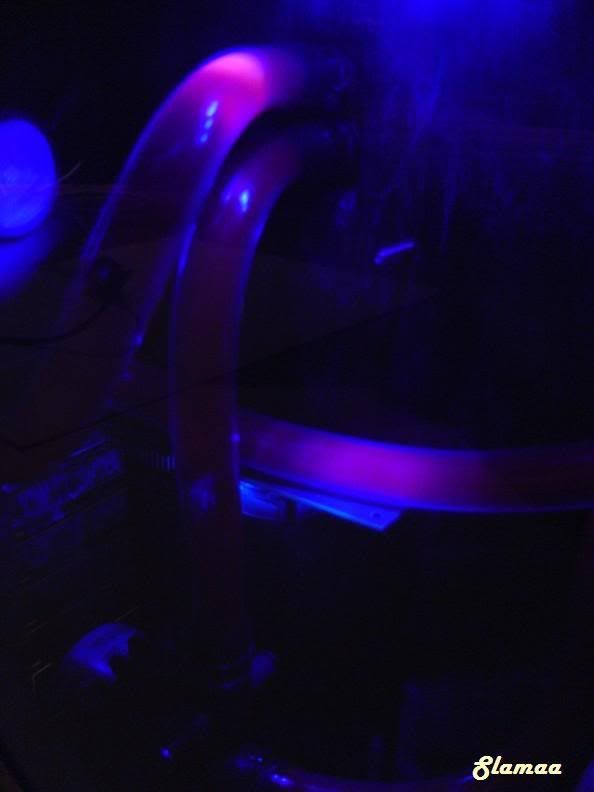
BLOOD PIPES :twisted:
The Loop
More pipes
The front again
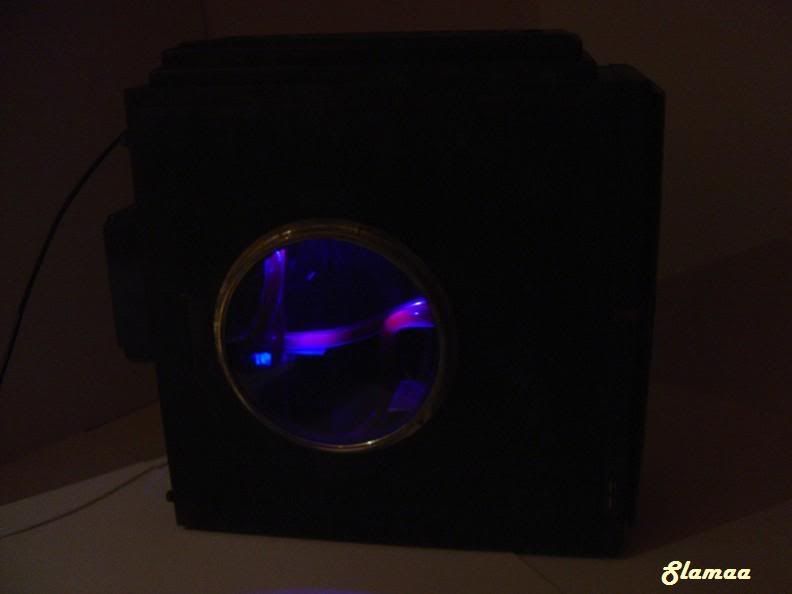
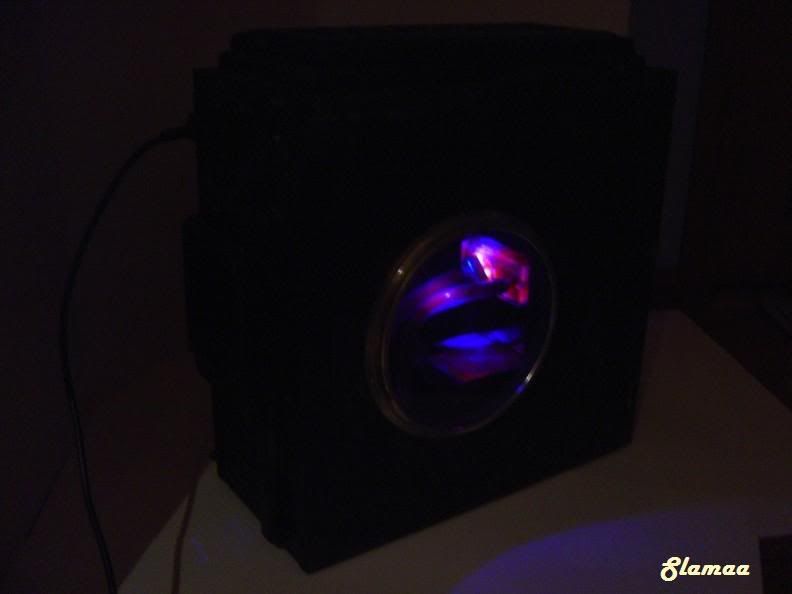
Cool inside shot whilst leak testing
Cheers
Slamaa
Very nice work buddy. Have never heard of Gammods in Aus, I got all my stuff from PC Case Gear and Chilled PC. The loop looks good, no major bends and a good pump to keep that coolant moving nicely. Looks really good mate, can't wait for more.
EDIT: just had a look at GAM Mods, their stuff is really expensive lol.
Thanks The boy 4rm oz'. Yes some things at GAMmods can be expensive such as the MNPC tech gear, but they also have some real nice stuff for good prices such as the Vandal resistance switches with lights for like 15 dollars etc. Also have alot of stuff you can't get elsewhere.
Yeah I realized that, I like those switches. I am gonna get a couple for my next cube mod, and mabye some of that hex mesh.
Great Job Slamma, I'm in the process of drawing up sketches for the Bioshock case I want to build, so I truly envy your amazing work here =] Keep up the good work!
Thanks man, looking forward to how you mod a case in with the bioshock theme, don't forget to post a log :)Quote:
Originally Posted by ThePope43
the red fluid looks sick
Cool. rep
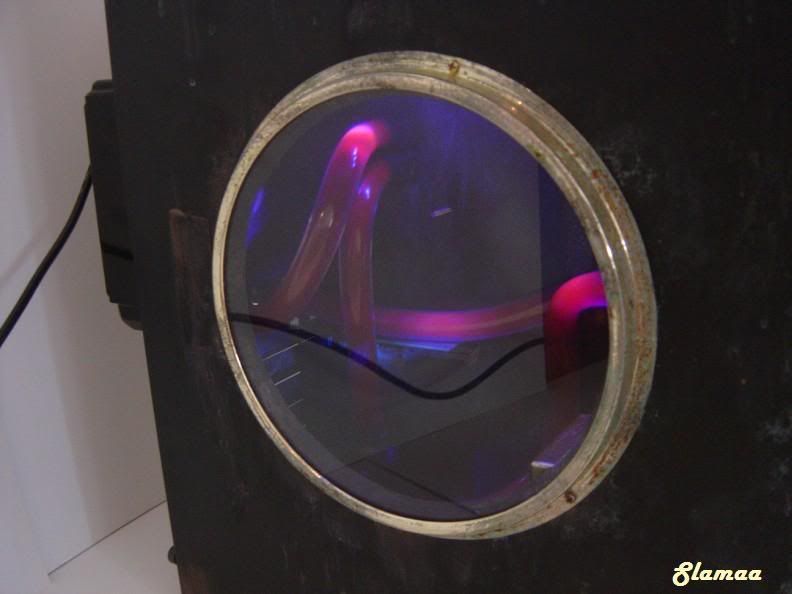
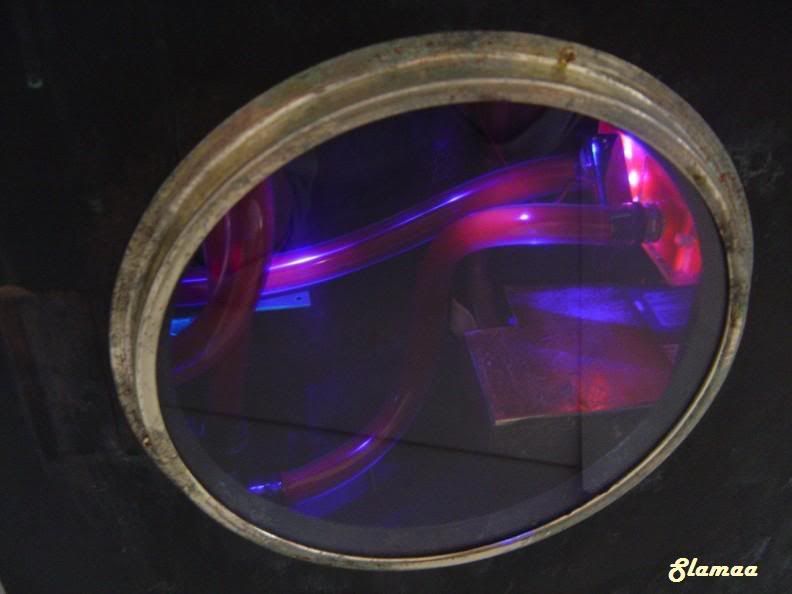
Telegram 12: Through the looking glass.
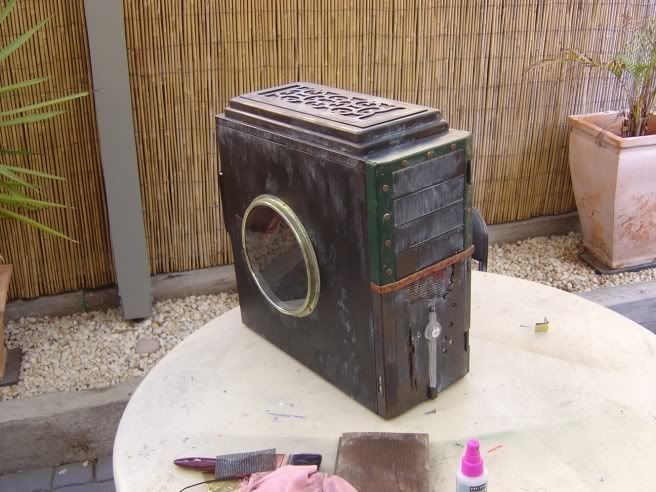
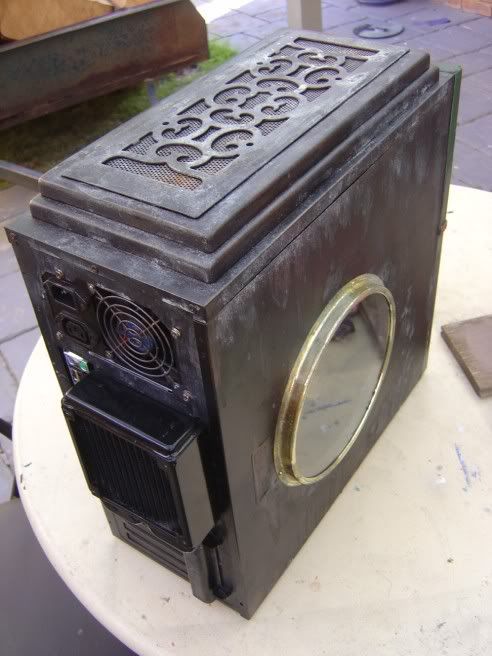
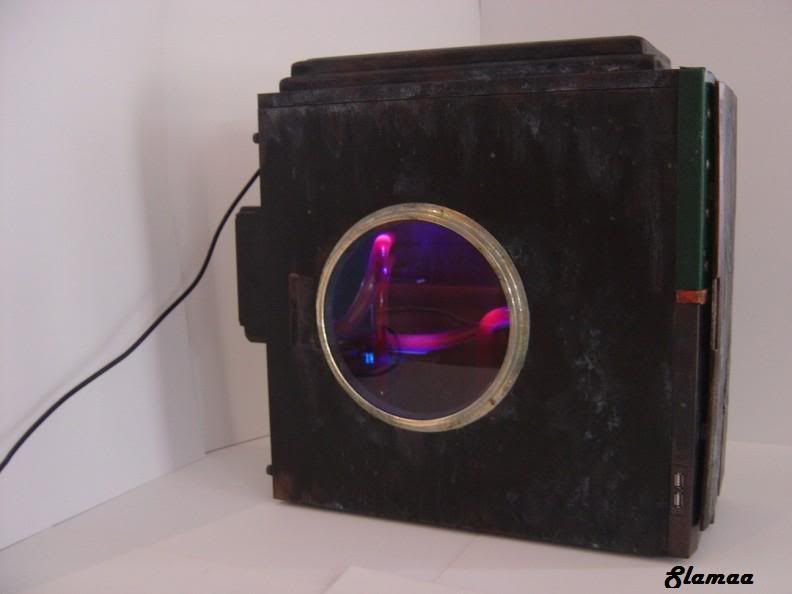
So I haven't had a lot of time lately with year 12, starting a new job and various "other" things I hadn't really had a chance to get outside. So this week end I finished off both of the side panels.
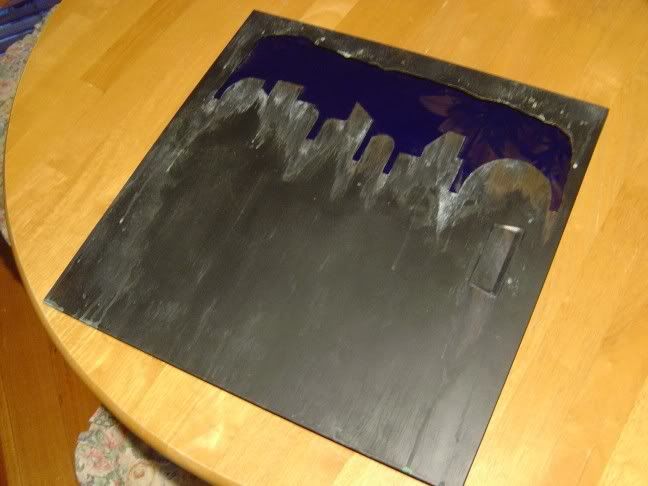
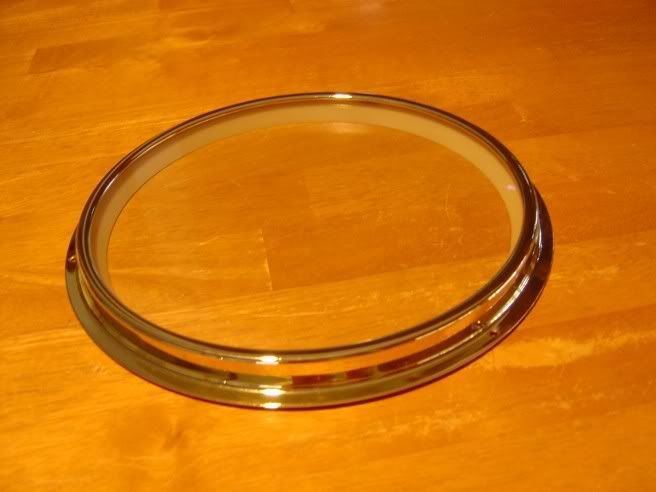
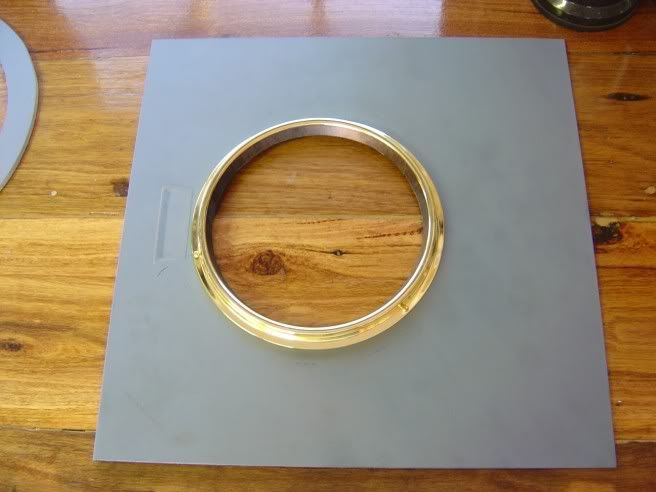
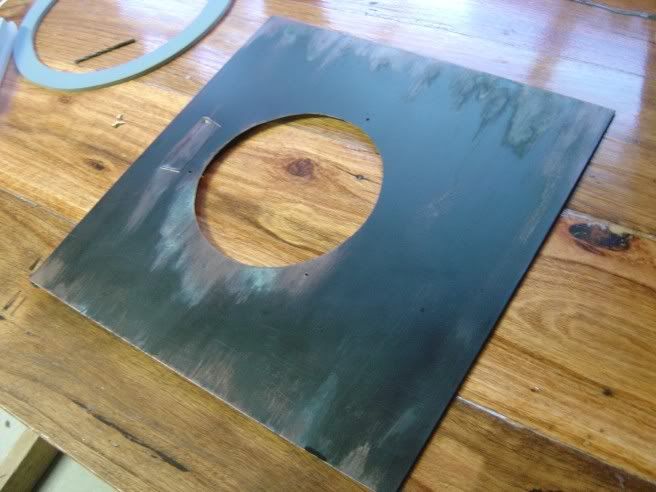
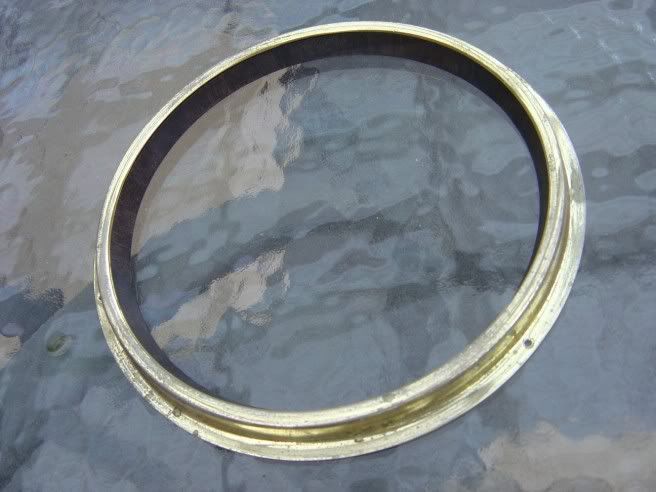
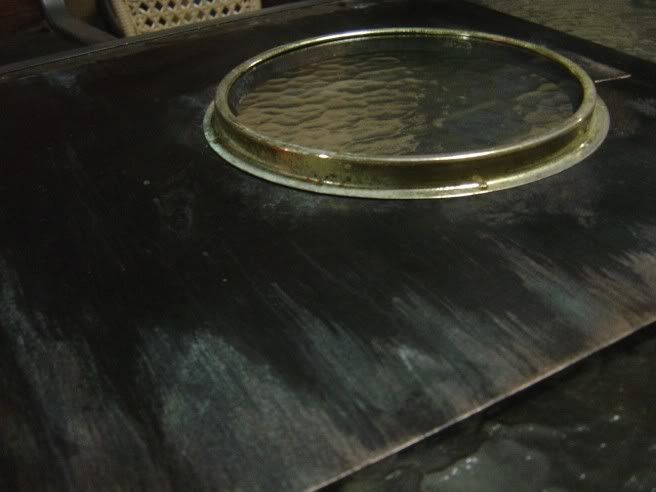
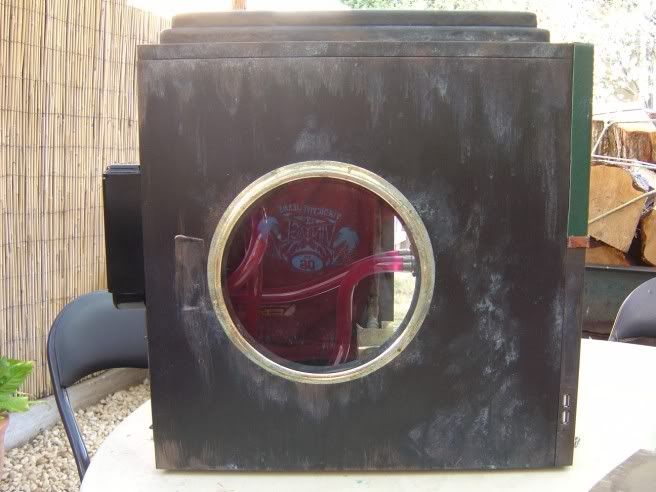
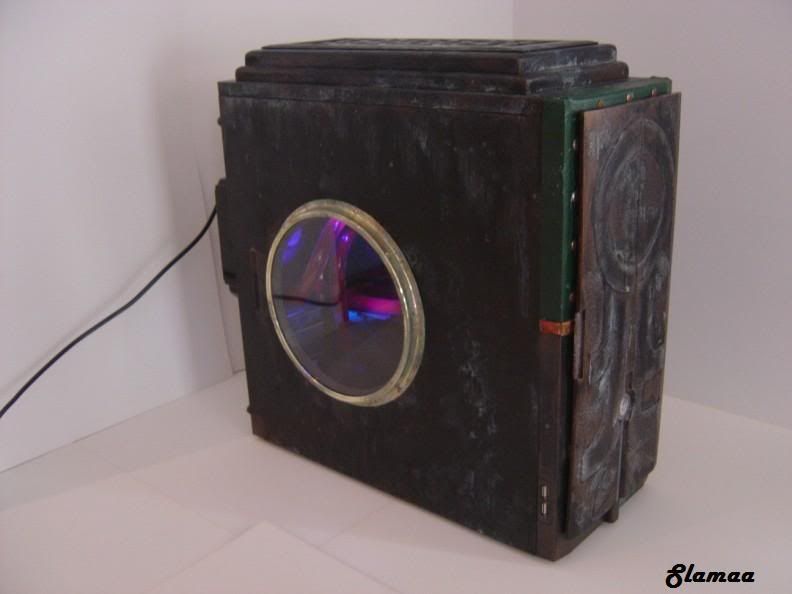
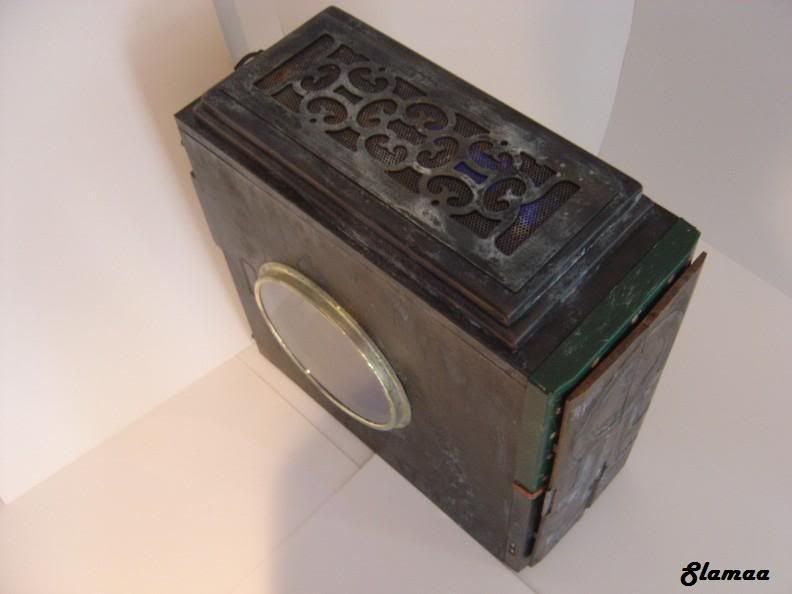
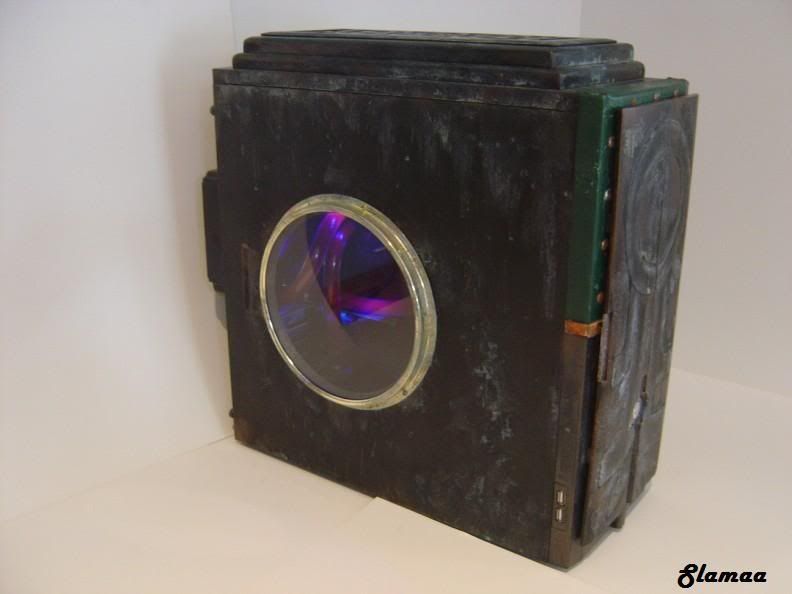
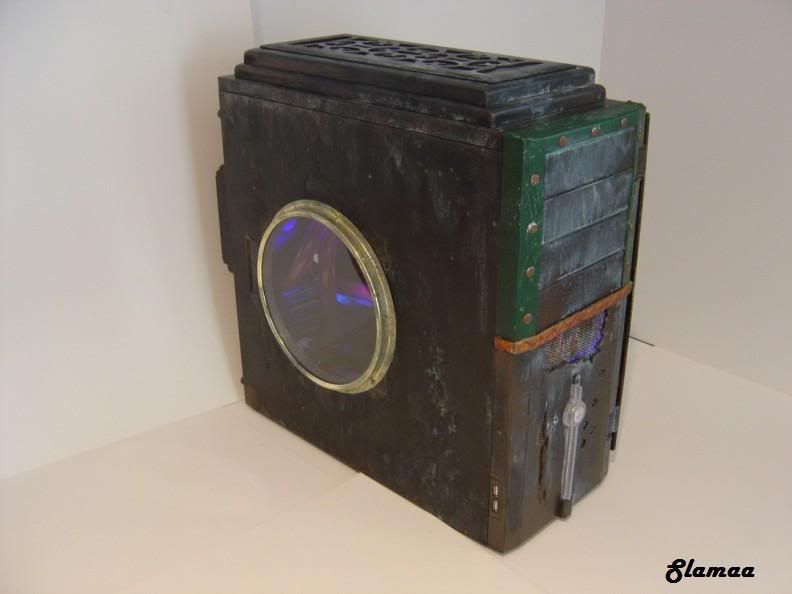
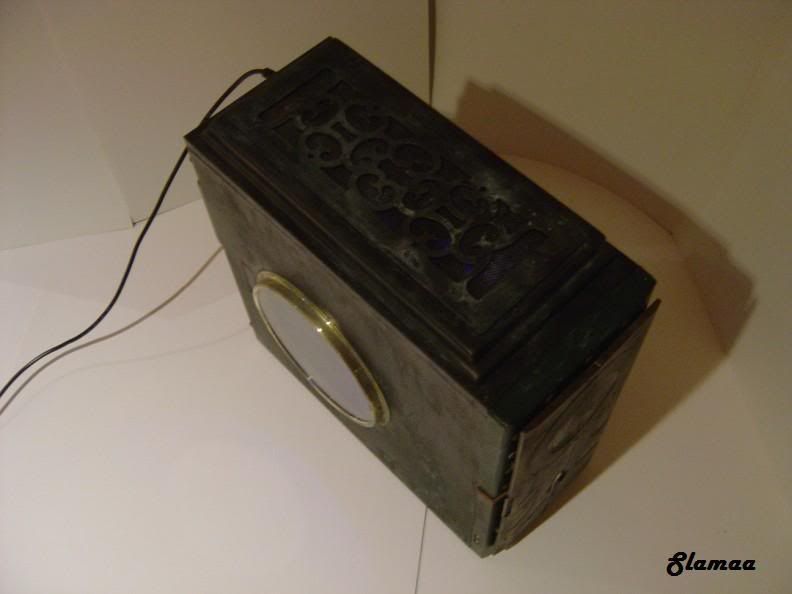
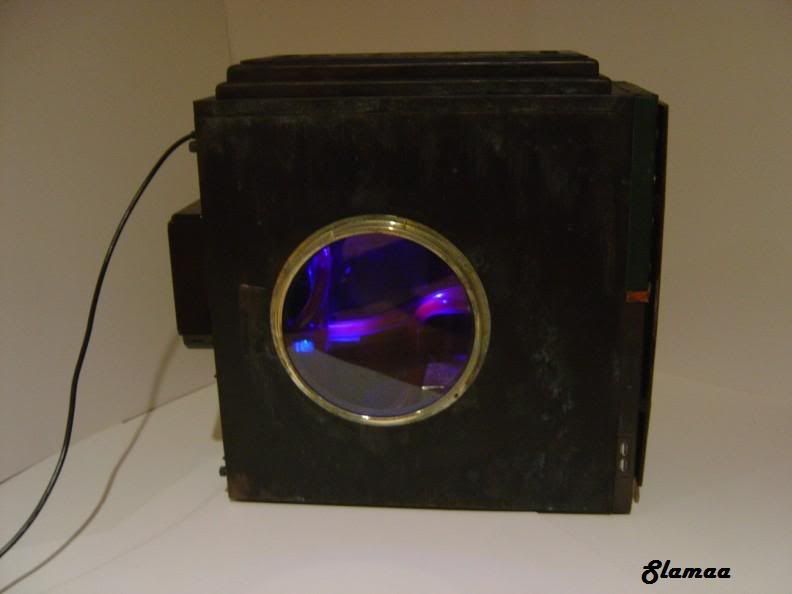
For the Left side panel I started off with a port hole looking ring with a piece of perspex in it which I pulled from our wall clock which died just as I was looking for something to use. *LUCKY*
It would be perfect for a Port hole type thing, so i measured it all up, marked some stuff up on the panel which previously had my mural on it and then cut it with the rotary tool.
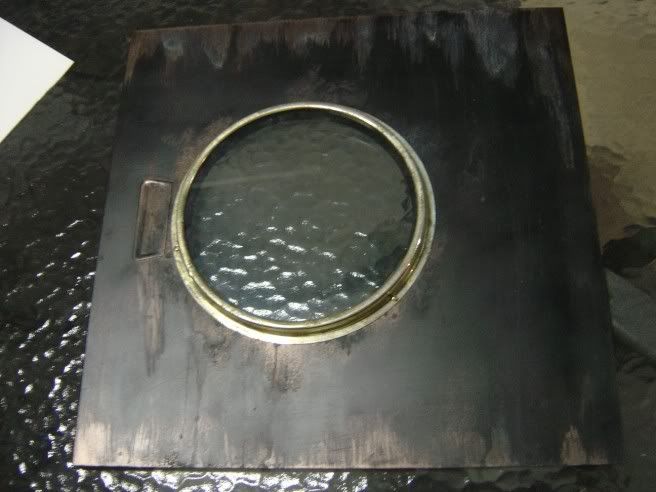
I then gave it a test fit, fits perfectly :)
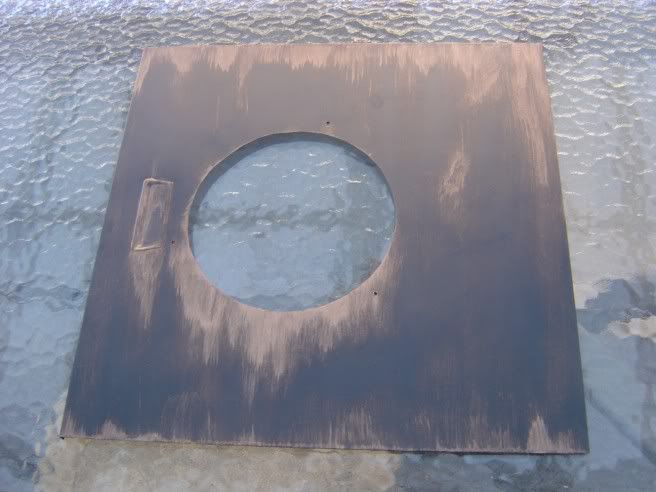
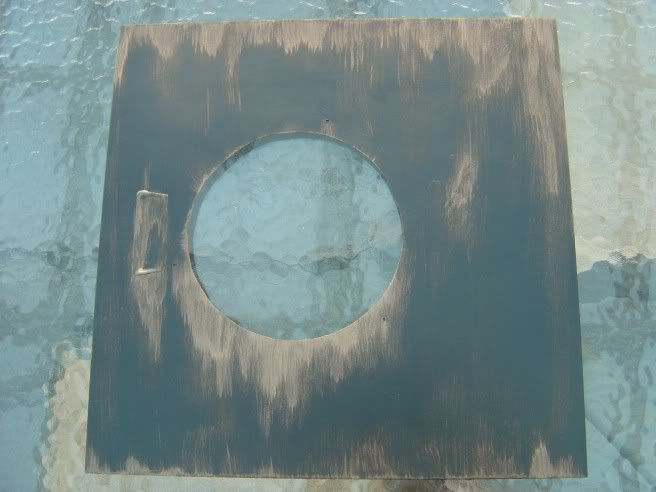
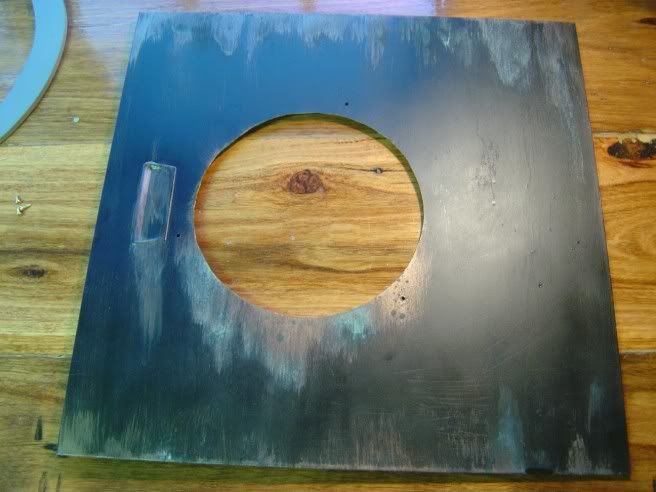
Then on with the painting, I applied the base colour of satin black and then the first coat of the bronze detailing.
Then the second coat, and the aging solution.
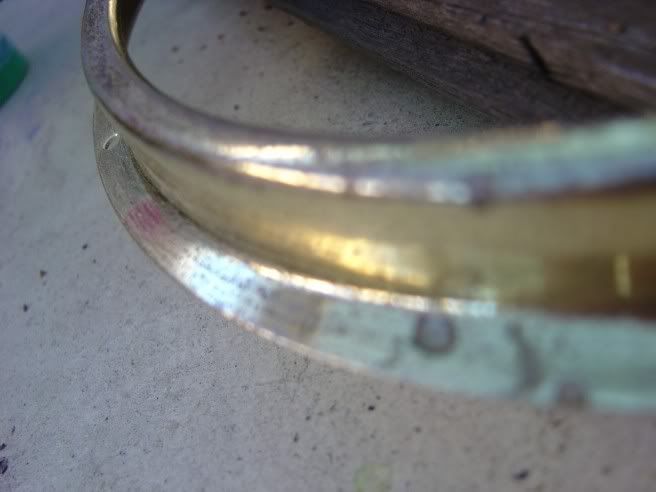
I then gave the 'port hole ring a light sand to remove the shine and applied the aging solution.
Once everything was dry I then assembled the perspex, port hole ring and side panel.
I think it looks pretty good. :)
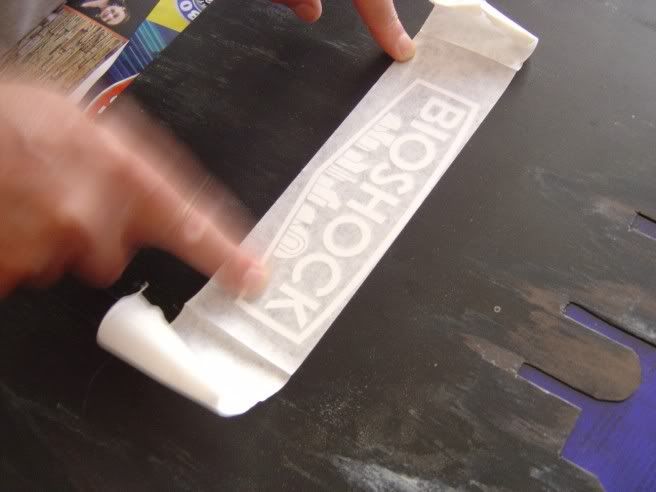
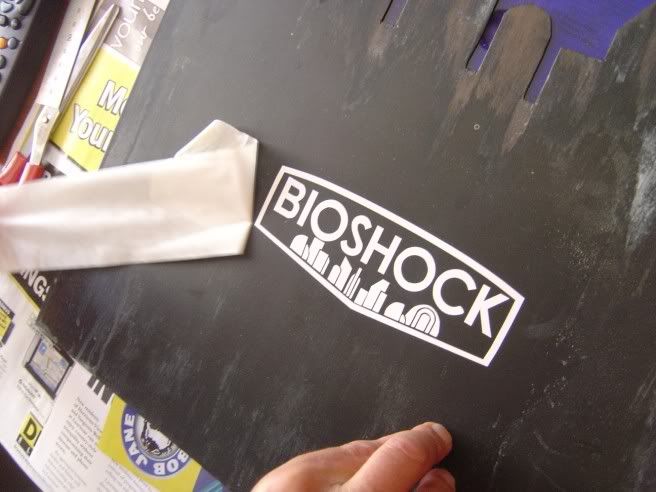
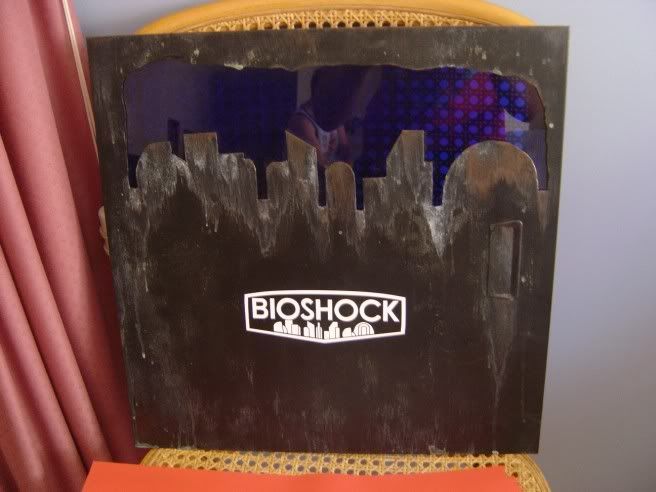
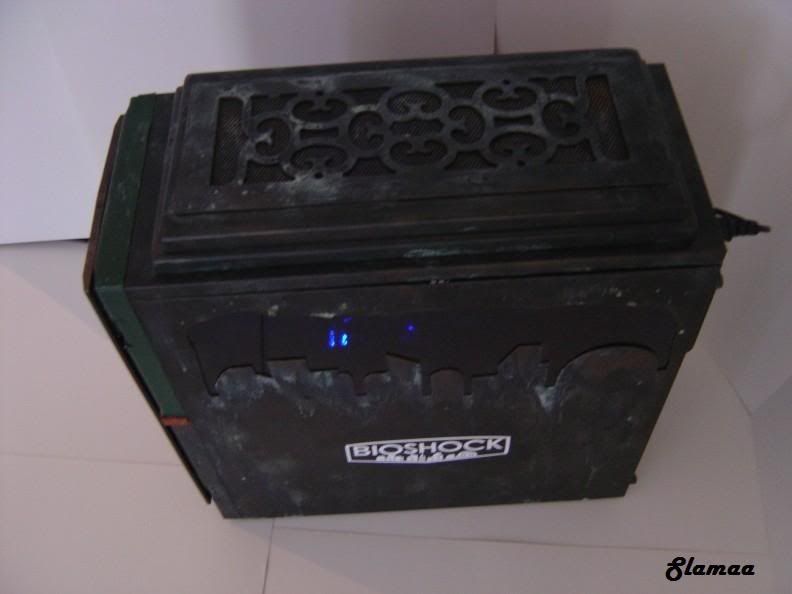
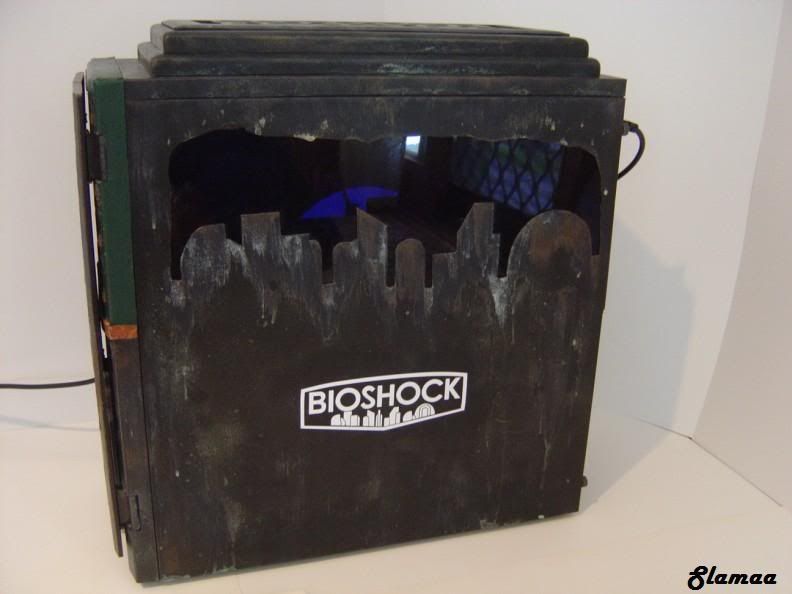
I then thought i better finish the right side panel, So I then applied a custom "Bioshock" decal which I had made for me by C0L0N3L / Pvt. Snowba11, Tristan / Sam. I love it it really finishes of the panel nicely though it still needs some aging.
So, now I have the chassis and top panel all done, the watercooling loop in, the front panel done, and the two side panel completed. So all I have to do is the front door and the lighting.
Peace out
Slamaa
where can i get that aging paint stuff you used?
I would check a craft store or hobby shop for somthing like that. You might find it in the decor section of your local homehardware. Probly next to the crackle paint and stone spray.
Nice mod, i havent played too much bioshock but i think you got the grungy dealth thing going on quite nicely, Good job bro.
Very nice window and side panel.
/\ /\ DITTO/\ /\ .... Window looks ace, fits perfectly with the theme :up:
Sweet work mate... that port hole window fits into the theme very nicely.
Cheers
GAM
Telegram 13: The Front Door ( Video Worklog 8 )
Cheers
Slamaa
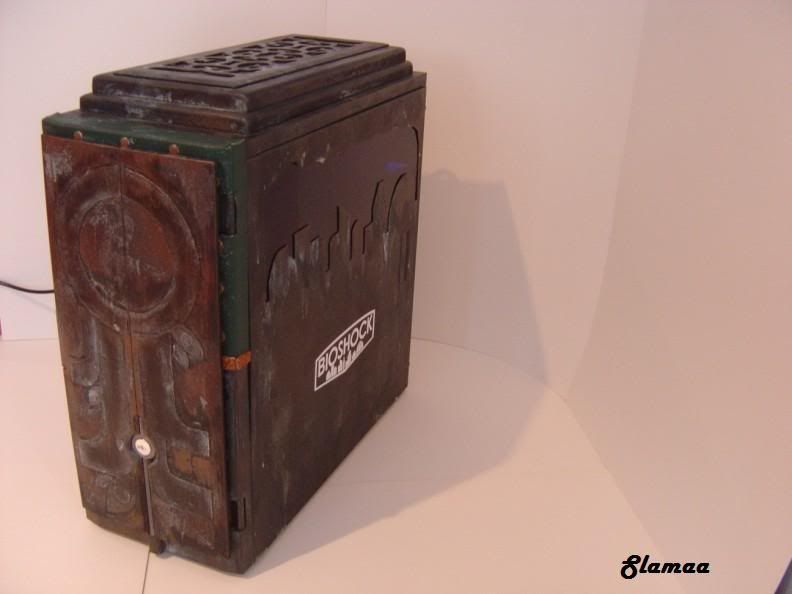
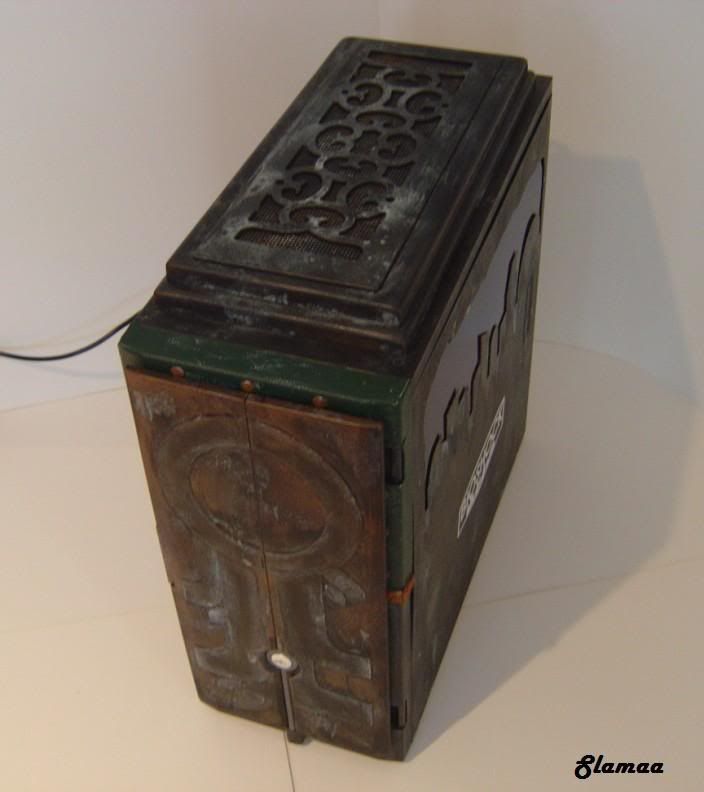
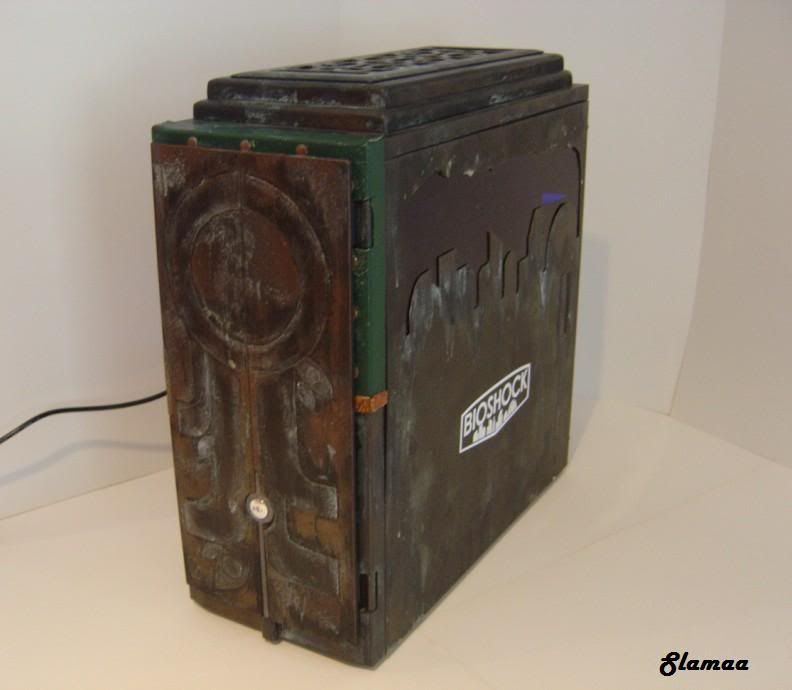
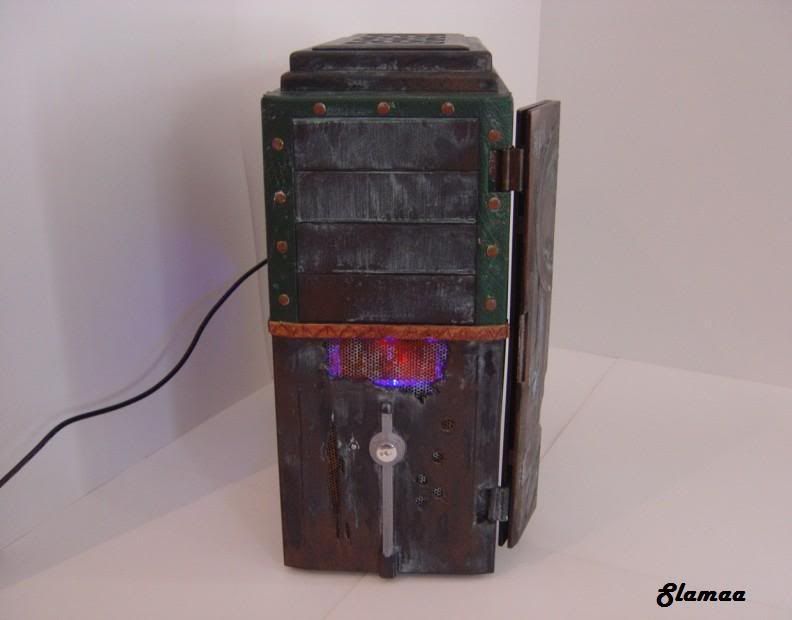
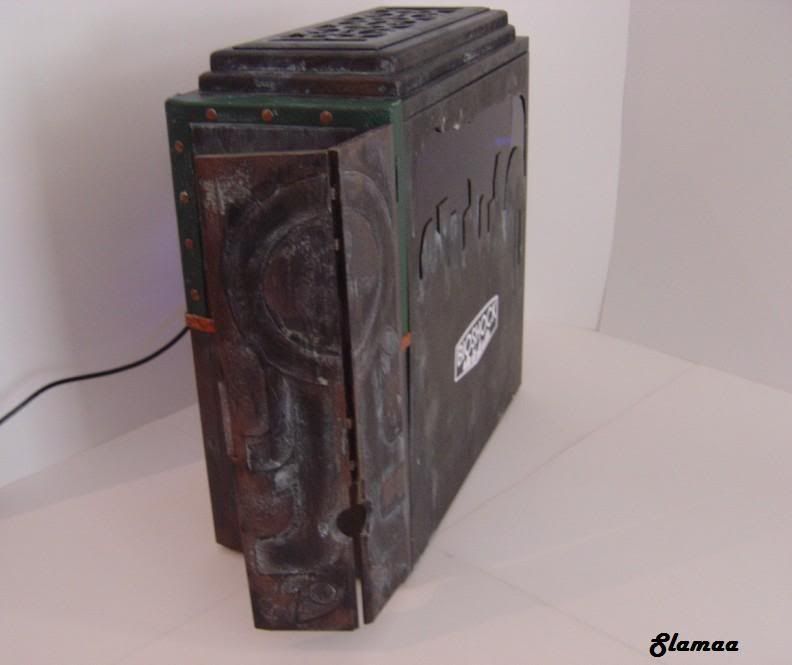
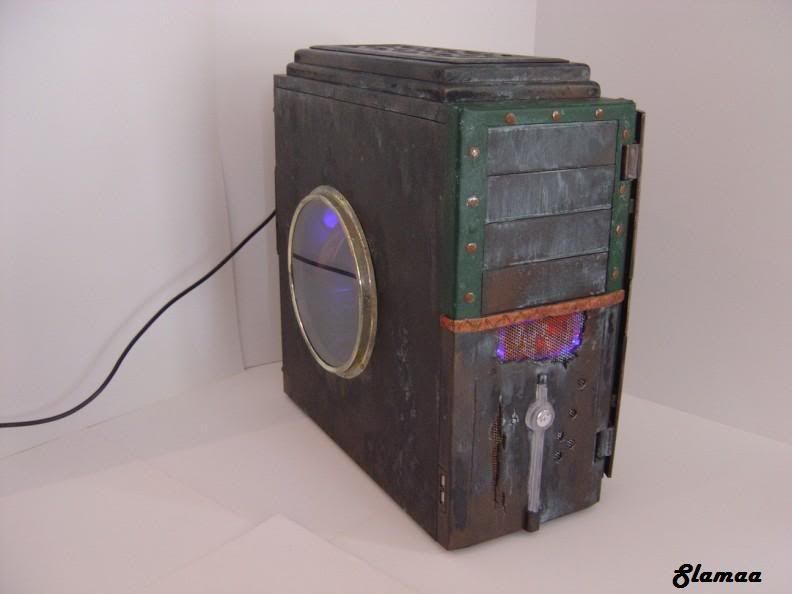
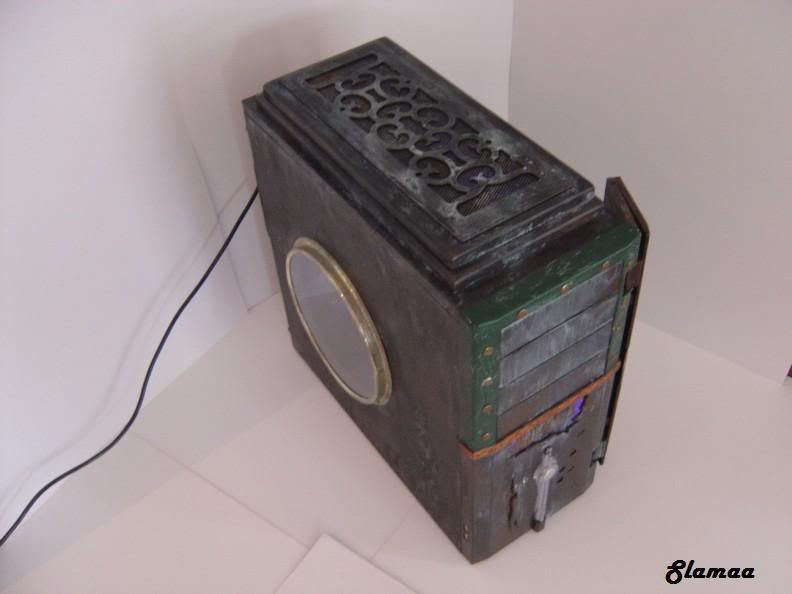
Telegram 14: Game Over
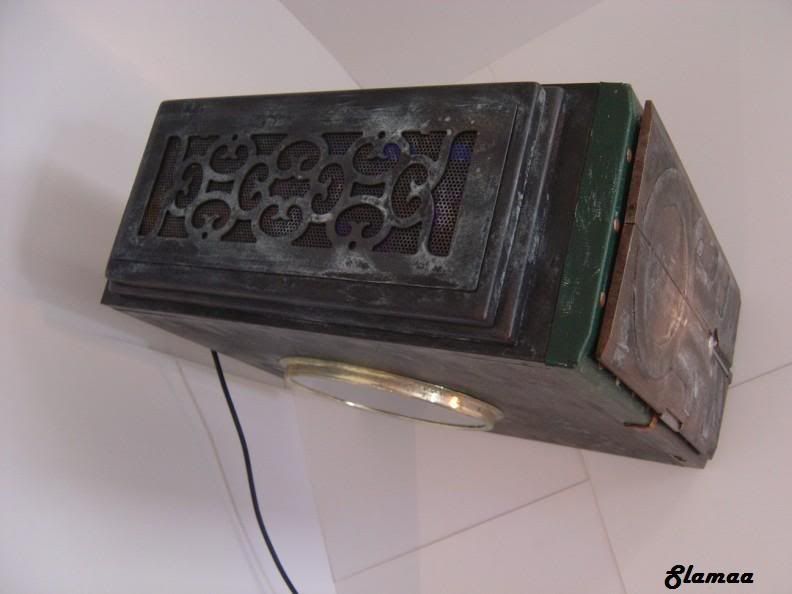
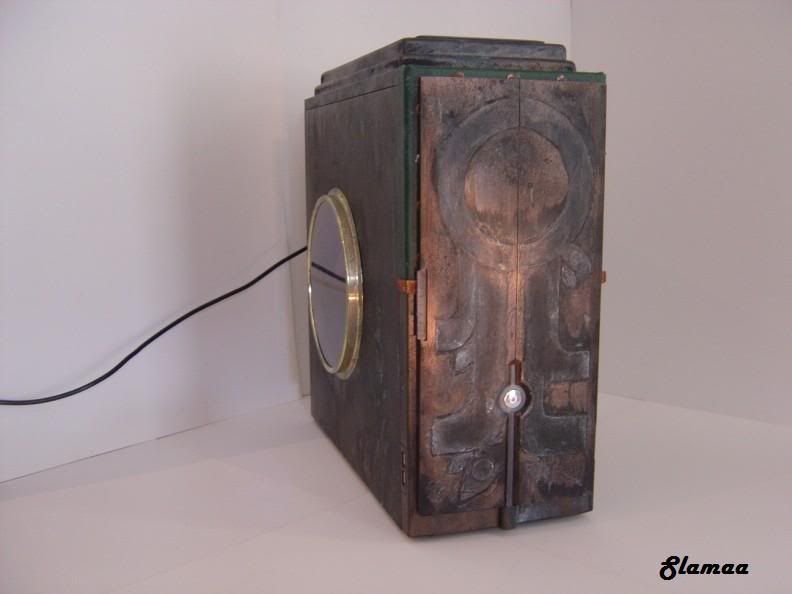
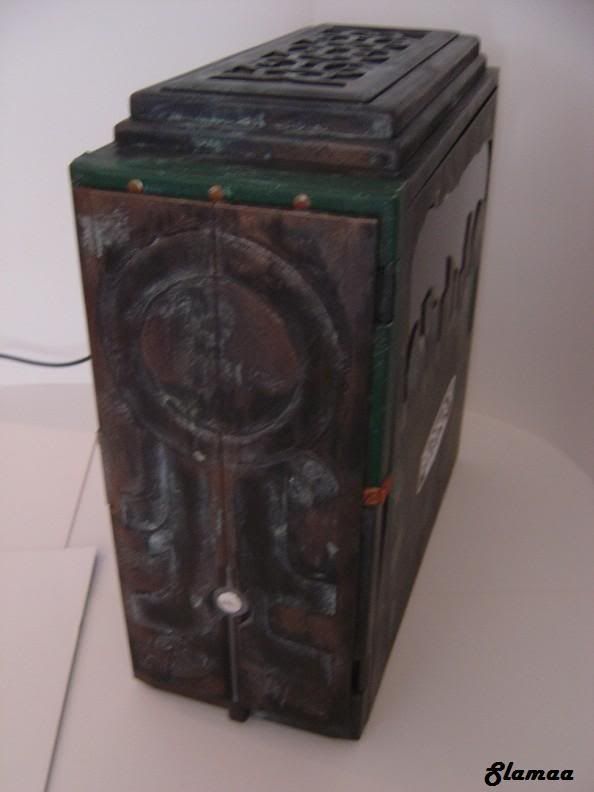
Well, It's over, Ive finished this case, there are maybe one or two things I want to do to it, such as some lights I ordered haven't arrived yet and some small other things.
Well here it is, What do you think?
Good luck to everyone else and I hope you had fun as much fun modding this case as I did.
Cheers
Slamaa
looks absolutely amazing slamaa... good luck wit the OCM contest
Well done, the case looks amazing. +rep and good luck
Very nice work buddy, very nice. +rep