i believe you owe me a new pair of pants... after causing me to ruin this pair

Printable View
i believe you owe me a new pair of pants... after causing me to ruin this pair
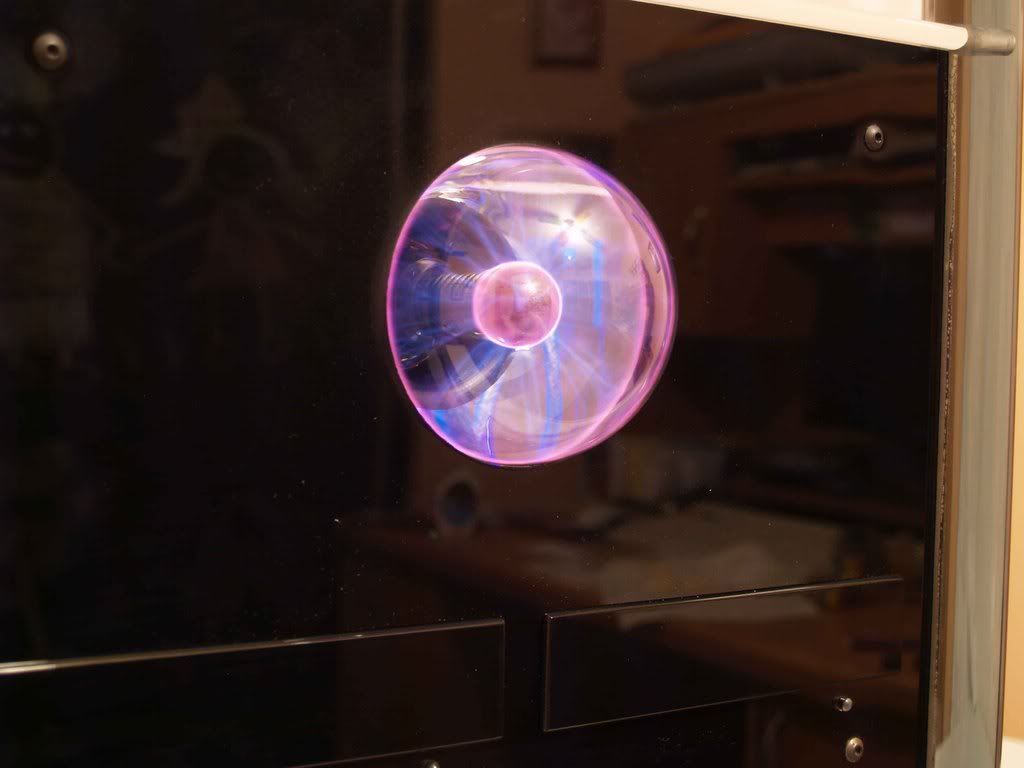
that plasma ball is AWSOME inthere!!!!
note to self - get plasmaball!
Looks amazing.
I wasn't so sure about the plasma ball when you first started because I thought it might make it look a little tacky but I was wrong. The way you did it, it looks great!
That is awesome! Sounds like some experimentation with some foil is your best bet.. I do believe you will need to ground the foil for it to be effective, but i may be mistaken.
Like. Holy crap this thing is amazing. It gives me some very good ideas too. =? Hrm... Plus rep for being a trooper with that plasma ball. Seriously worth the effort!
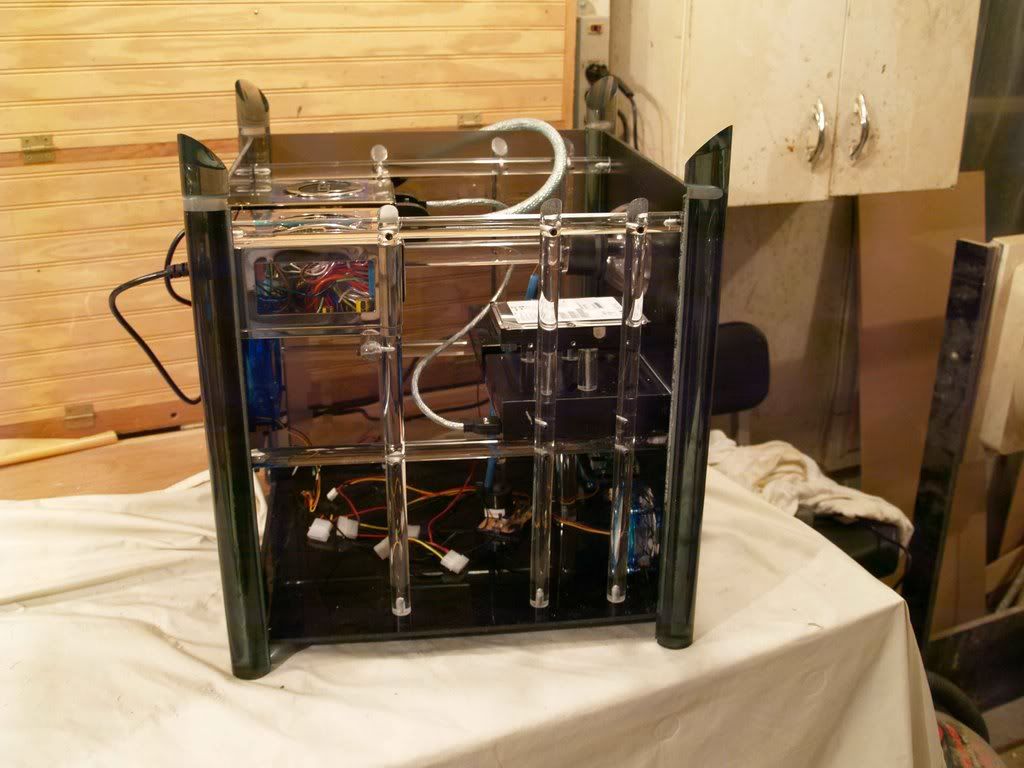
Thought I might get this thing out of the shop and into my office tonight but as usual there was just not enough time.
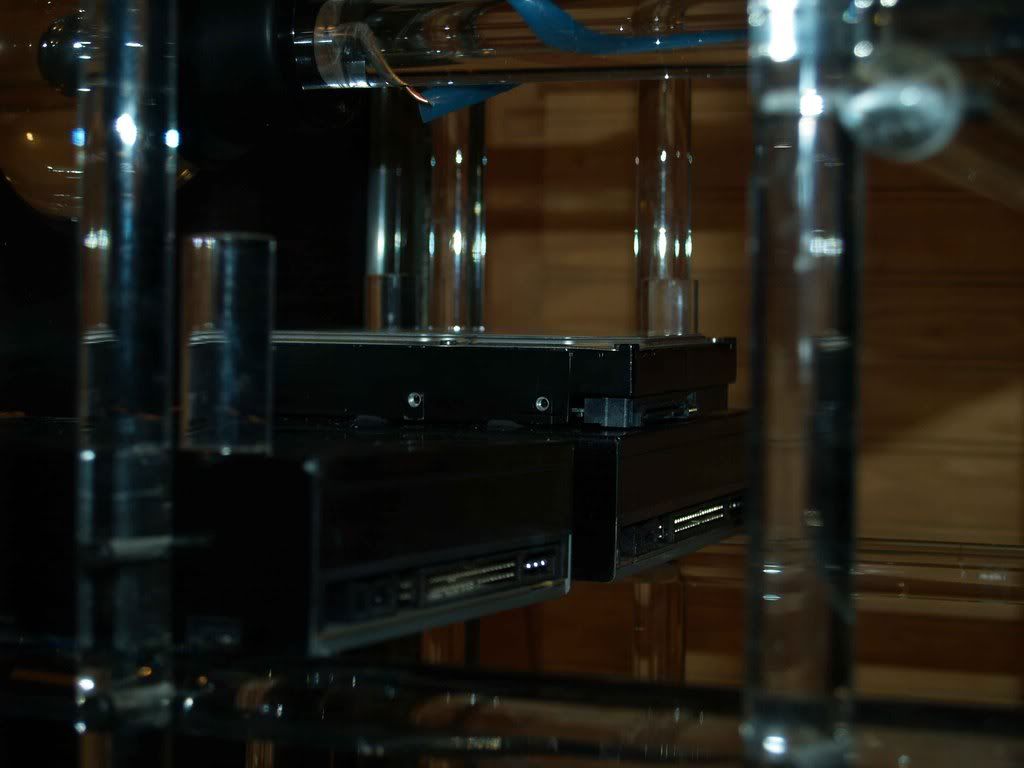
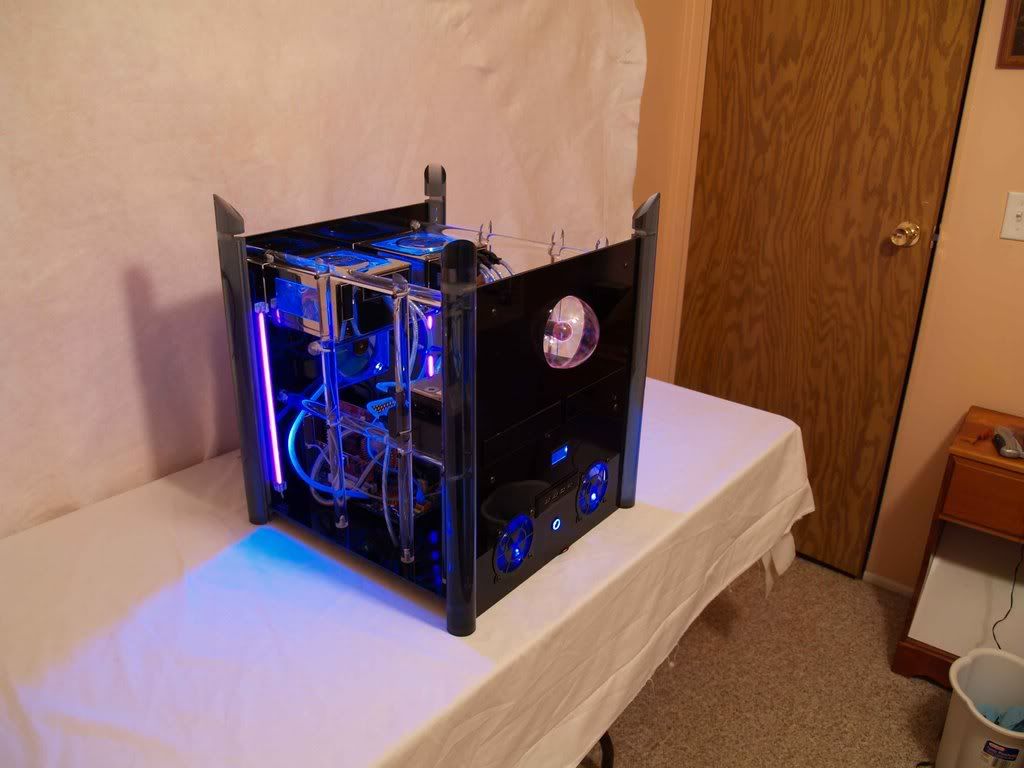
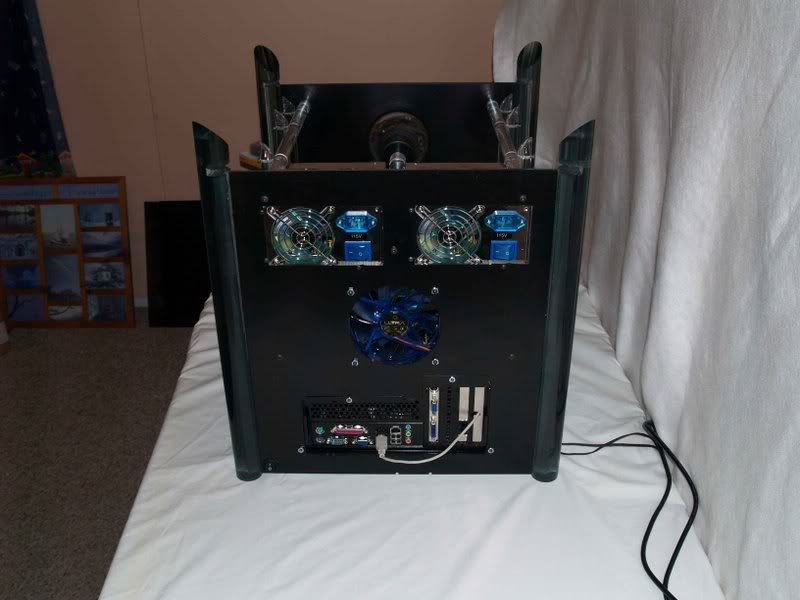
I finally got my DVD drives mounted (working wth an ancient Memorex CD-ROM I had laying around until I get this done). Had to add four more vertical rods to make them sturdy, I love the way these rods magnify and bend the light inside the case.
Had a real problem figuring out how to mount the hard drives, finally took the DVD drive apart, drilled four holes in the top of it to match the mounting holes on the bottom of the hard drive, drilled a hole all the way through four pieces of rod and ran four long machine screws up through the inside of the DVD ROM and into the bottom of the hard drive. Used rubber washers from a fan kit between the rod and the DVD ROM. It's very sturdy, we'll just have to see how it performs in real life.
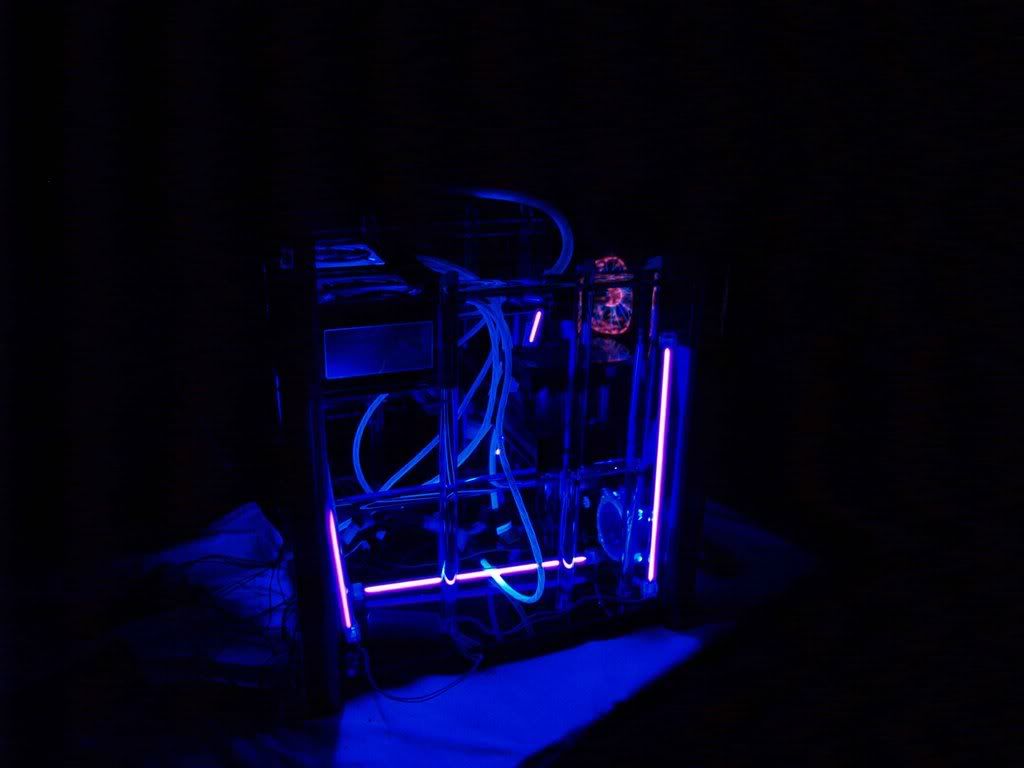
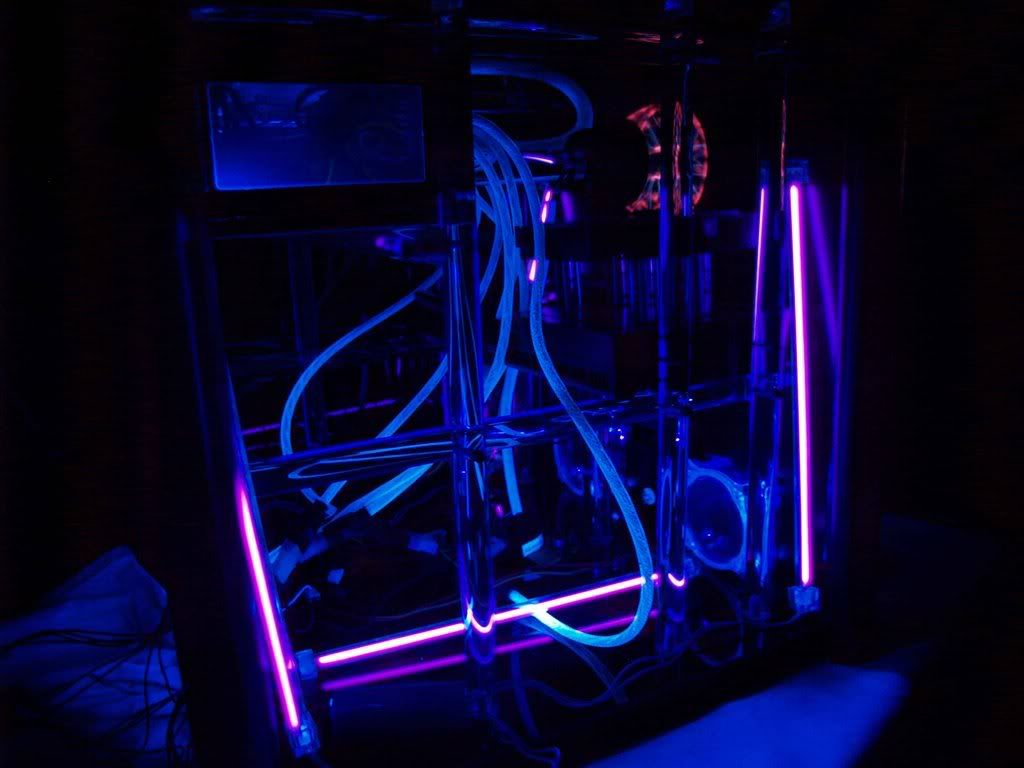
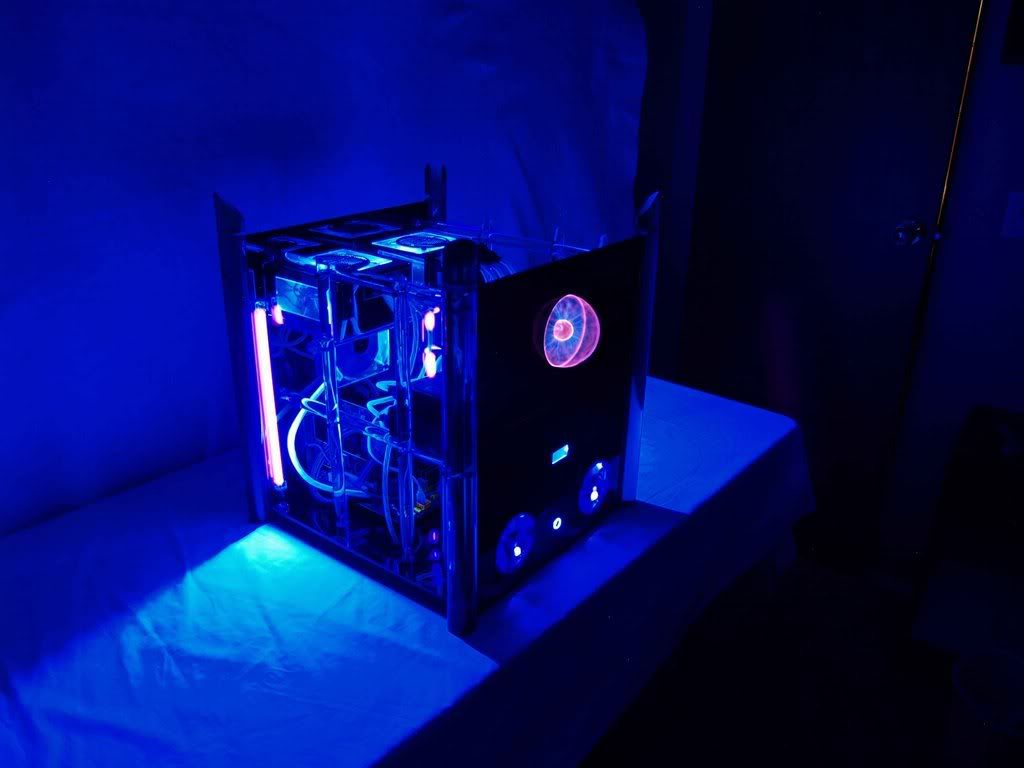
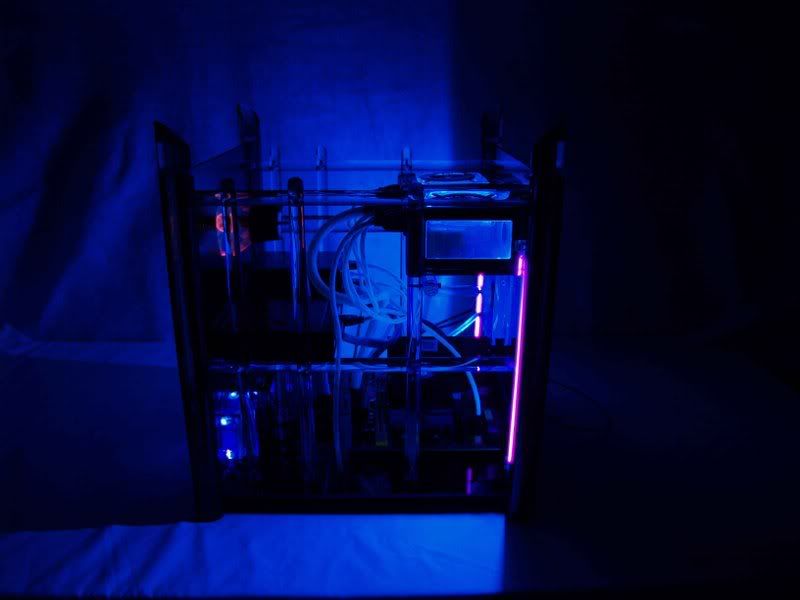
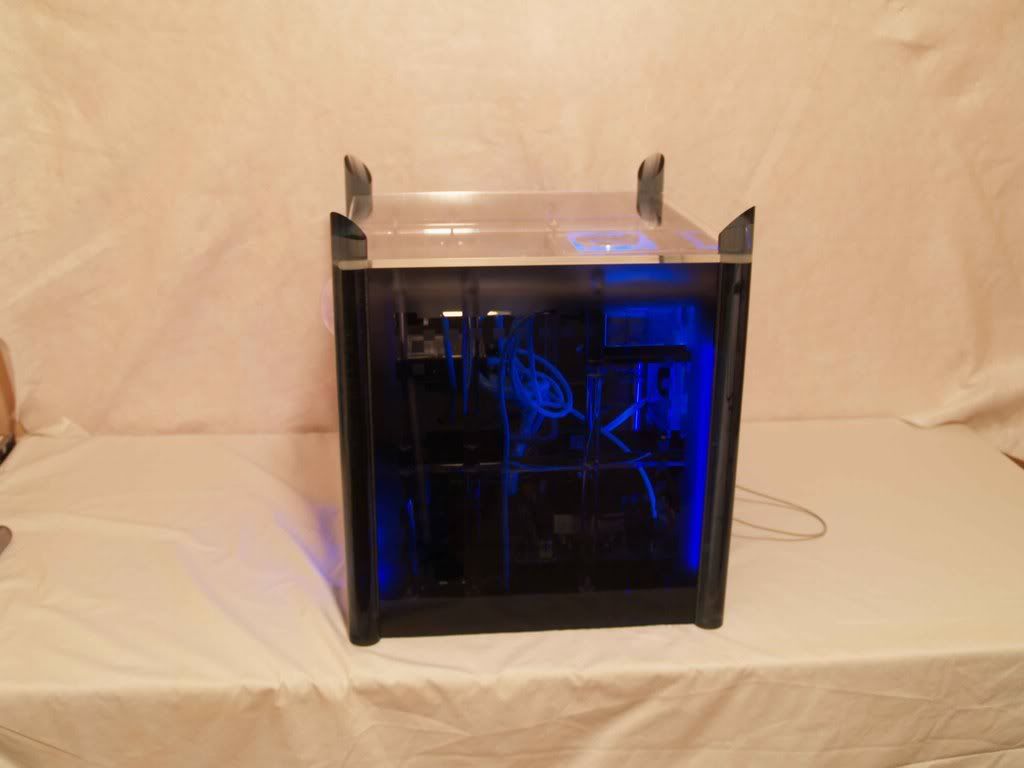
Got some cool interior shots with the lights on and one side in place (reflects the lights). The new rod makes it look very cool inside. I have to say that I love the cables that came with these power supplies. :)
Back to work tomorrow so no mod work for four days but next weekend should see this thing in use inside!!!
________
Toyota I-Unit
That looks great. Keep it up.
Wow! That Plasma ball definitely rocks! Hopefully you get those interference probs solved. Perhaps you also have to shield the high-voltage generator? Maybe first test that case with an old HDD...
Just my opinion: Those radioacive fan-grills don't match the outstanding design of your case. :think:
Quote:
Originally Posted by |NQ|Squelsh
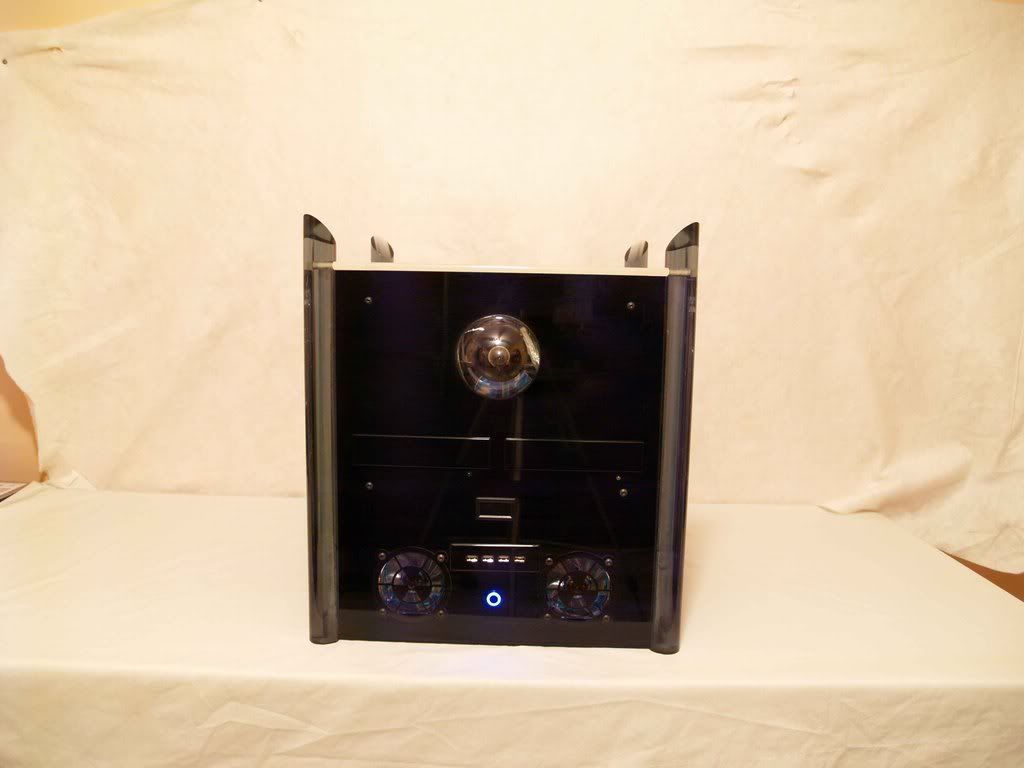
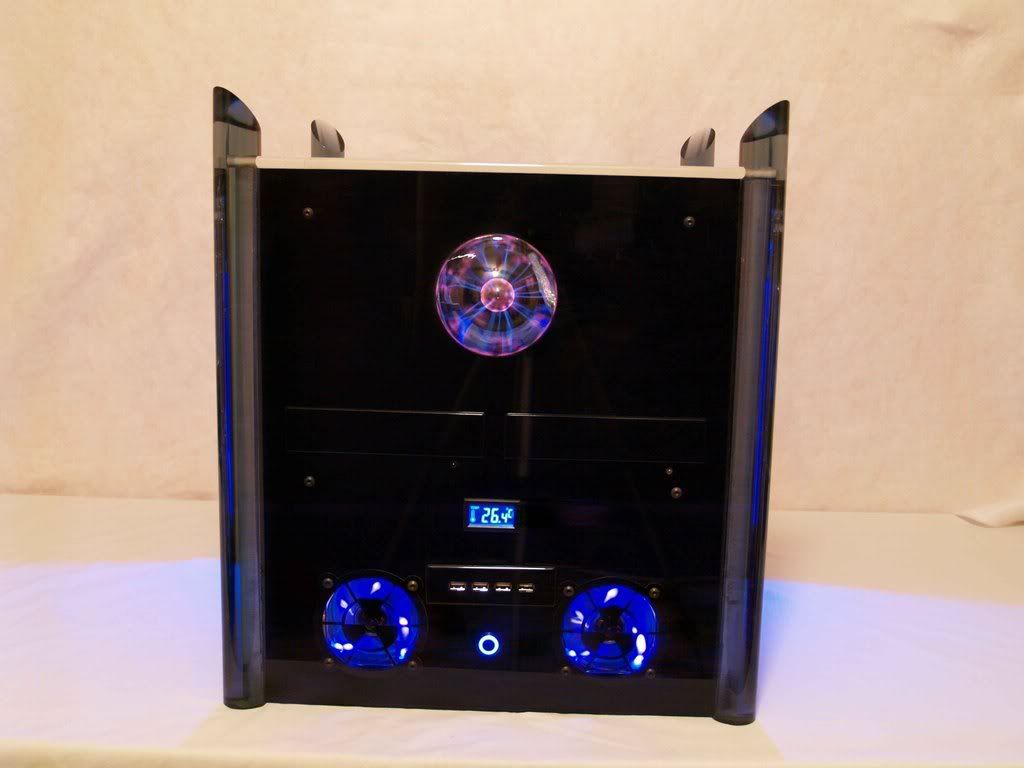
Thanks on the plasma ball, I do like it. :D I wish that I could have found one with a little less red in it, but it comes out easily so I could replace it in the future if I find one I like better. Still experimenting on the EM interference problem, have had limited success, research continues...
Yes, I am going to fire it up with my backup hard drive initially and try installing a few games on it to be sure it's functional.
And on the fan grilles, I agree. They are not exactly what I want but I wanted something on there for the time being just to give it a better appearance than the bare holes and these were dirt cheap. I am still on the lookout for some better ones, any suggestions?
________
FORD FAIRLANE SPECIFICATIONS
ac ryan has some fan grills made from modders mesh, other than that I have no idea
After having run some tests, the EM interference I was getting on my temp display is reduced when a piece of foil-covered plywood is placed between the ball and the display, and goes away entirely when I touch the foil while its there. :) (The temp display is completely inoperative now, but I'm sure that had nothing to do with my taking it apart...)
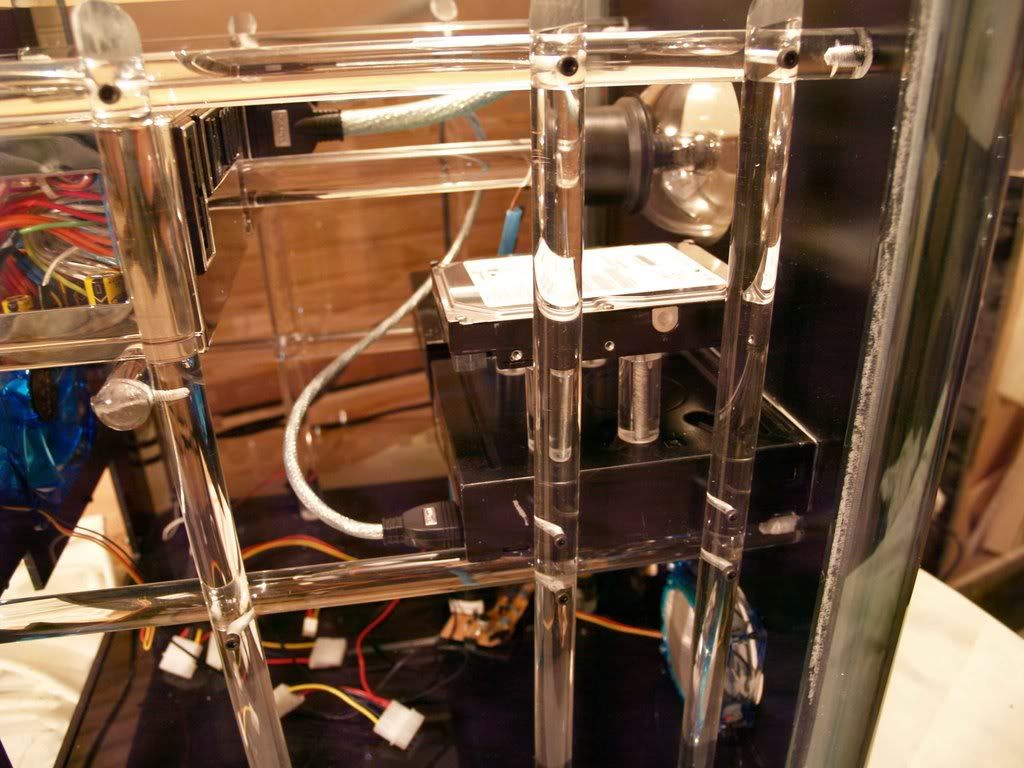
I've decided to try shielding my plasma ball with a sort of shelf (made out of plexi, of course) beneath it, running from one side of the case to the other, with one side covered in wire mesh and a ground wire soldered to it. This should shield all my components effectively, but I have a couple of questions.
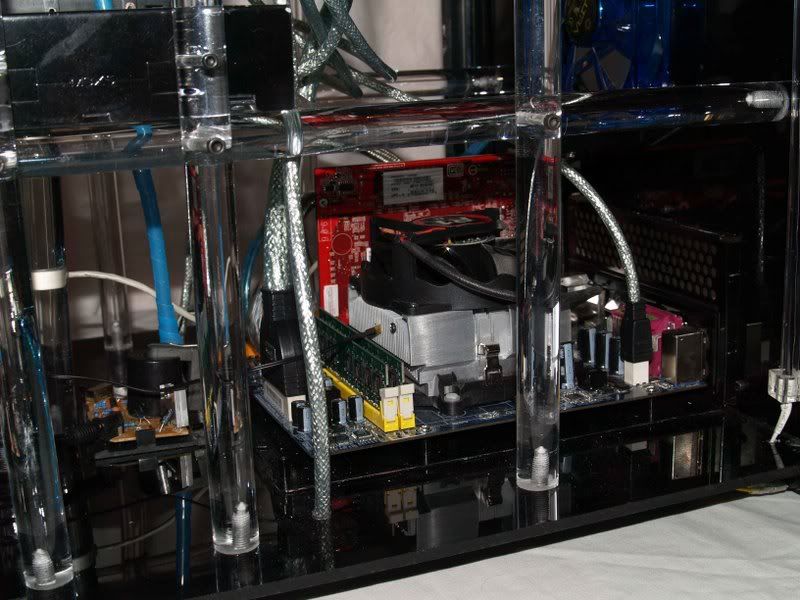
I had to lower the hard drives from the previous configuration to make room for the shelf. The test drive is now mounted directly to the shop of the DVD drive, screwed to it from inside the drive, with only four rubber washers separating them, as shown:
Am I asking for trouble with heat here? There is plenty of ventilation on the sides, but not very much above it (due to the shielding shelf that is not in the pic) and none whatsoever on the bottom. Anyone think this will be a problem?
Also, what should I ground my mesh to? Normally I would just ground it to the case, but obviously that won't work here. Hate to ground it to my motherboard tray, any other suggestions? Thanks!!
________
Starcraft replays
I don't think you will have a problem with heat. You have plenty of ventilation around the drives. If you are worried about the heat get a couple of nice drive bay HDD coolers, there are some nice black ones out there.
Good deal. Hope it doesn't come to that, since I don't have drive bays, but if I have problems I can always take it apart and design something to fit. I'll leave it as is for now. Thanks for the input.Quote:
Originally Posted by The boy 4rm oz
________
Bmw Car Club Of America
Why the MoBo tray? Simply ground it to your PSU case. I think that is the best you can do.Quote:
Originally Posted by blueonblack
Wooo hooo! Got it in the house!!
The only thing that has been keeping it in the shop is the need for further acrylic manufacture, and I got that done. Except for the top, and I have been asked to do a tutorial on sanding so I plan to use that as my subject for that, will be a separate project.
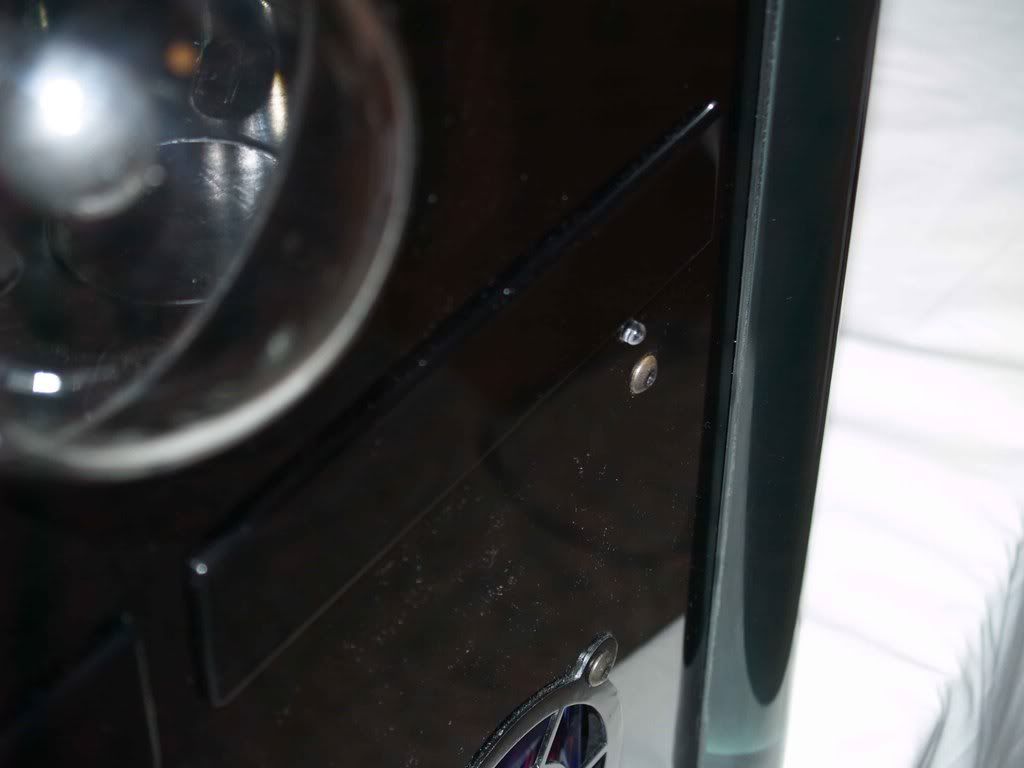
The last things I had to do in the shop were the drive bays. Had to stealth them, really didn't want to look at some mass-produced-in-China drive door on this thing. I ordered some 1/8" plexi to match my case earlier for this very reason. I needed to round it over on the router table, the best bet being a bearing-guided bit, but the stock was too thin, it actually rode UNDER the bearing. So I used that magic stuff, double-sided tape, to stick a small piece of 1/4" scrap on top of the 1/8" to ride on the bearing:
Worked great! My drive doors turned out really well.
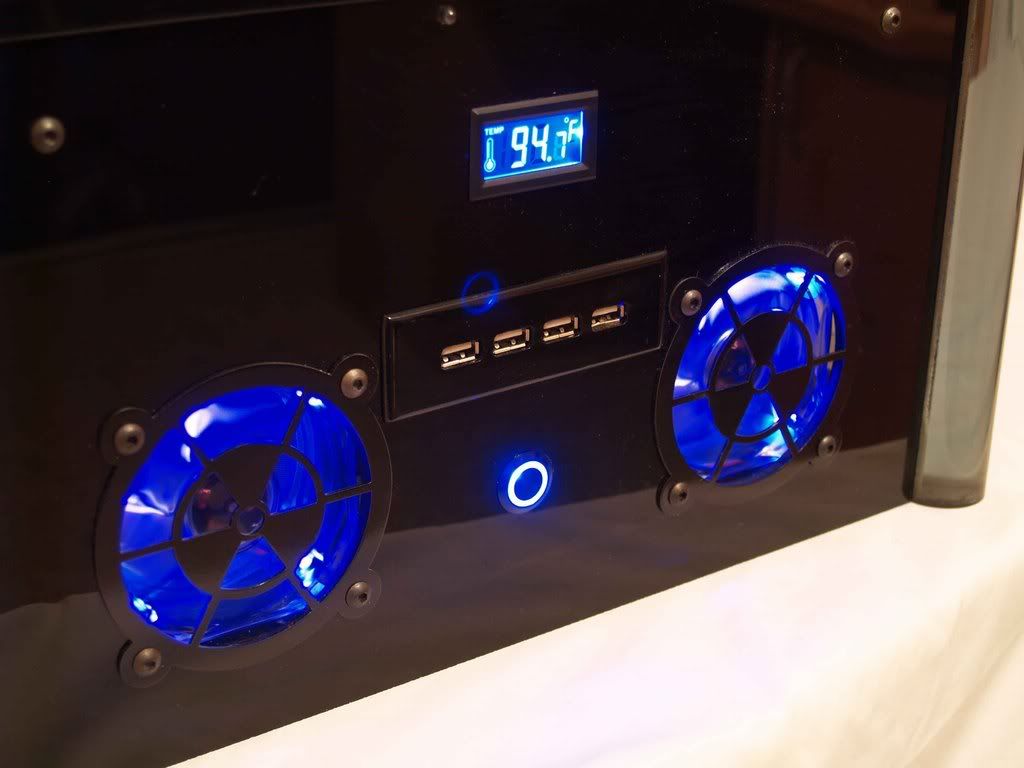
I decided that I didn't want a card reader in this thing, since the holes are all different sizes and placement, and thus far this thing is perfectly symmetrical. Instead I found a 4-port USB hub that is made for a 3.5-inch drive bay and installed that. Perfectly symmetrical. :) I used the same roundover technique above to make the frame for it.
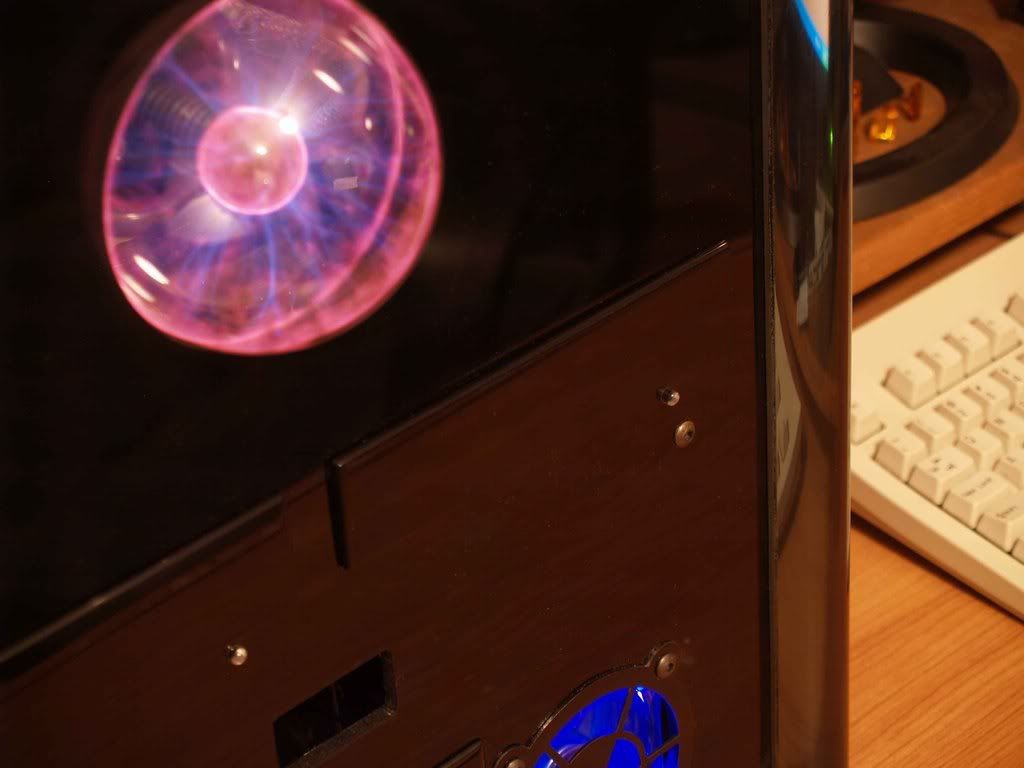
For the buttons on my drive bays I used some 1/8" plexi rod, cut to about 3/8" and rounded on one end in the drill press and polished on the bench grinder, superglued to the button on the drive. Turned out beautifully. Here's the best shot I could get of the drive bays and buttons:
Having some power issues with my lights, and looks like I got a bad IDE cable from FrozenCPU (won't even open the drive door when the cable is installed), but overall very happy. MAJOR cable management issued to tend to, but it's on my desk and working! Wooo Hooo!!!! :banana:
________
Romanian Cooking
Had some problems with the shelf and shielding mesh so I just removed them. Does not seem to have any adverse effect on the system, have installed and played FarCry with no problems whatsoever. Will be interested to see what happens to my new temp gauge when it gets here.
________
AROMED VAPORIZERS
Very nice work mate. A +rep to you
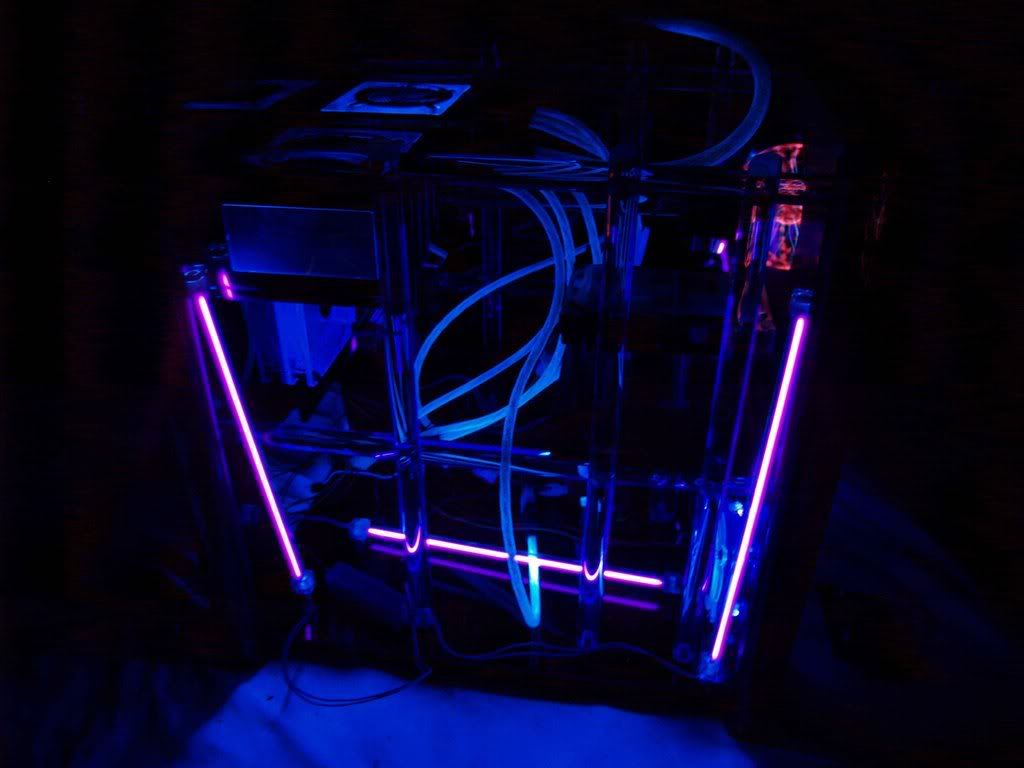
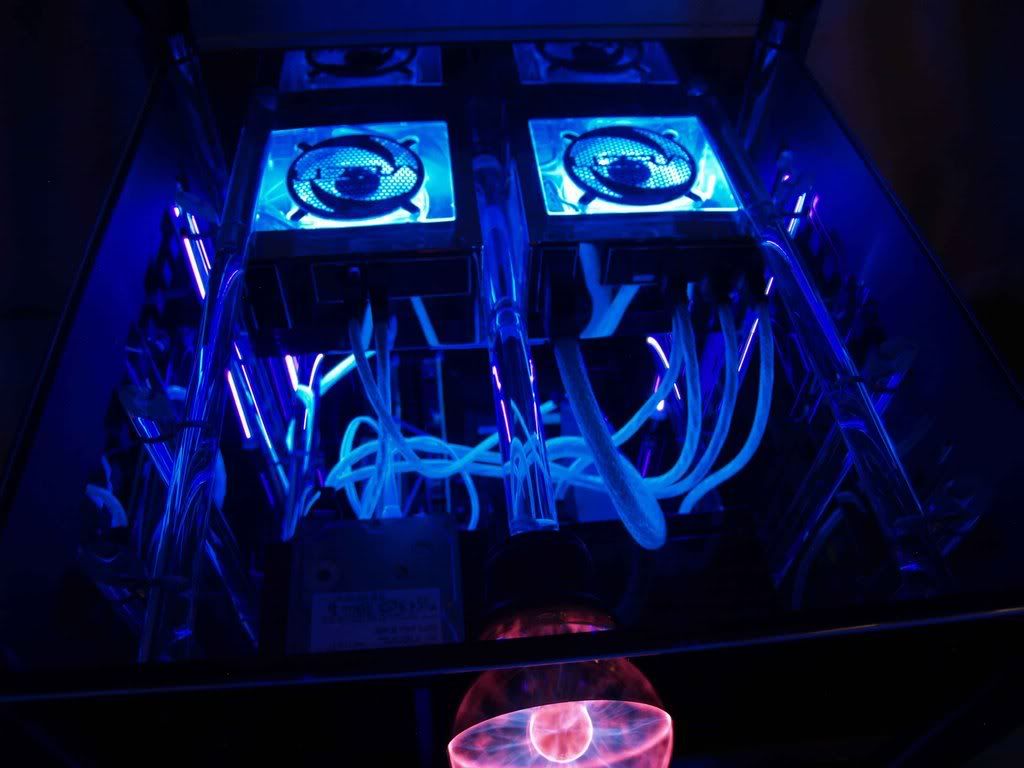
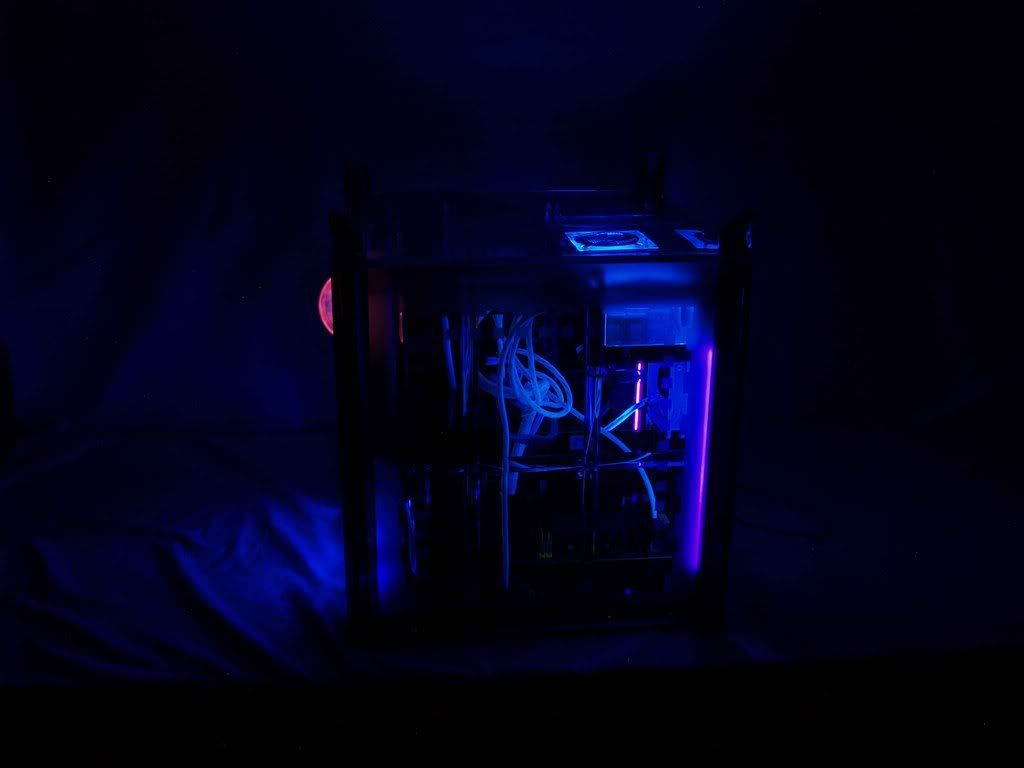
This thing is damn near done. Just lack a couple of cables and the third (yes, the third) temperature gauge. Less than a week (waiting on parts) and I will be posting the final shots. Wooo hooo! Meanwhile, I did manage to shoot one very cool shot of the inside with the top on...
________
Electronic Cigarettes
Awesome pic that.
I like the pic with the over head shot of the PSU's and Electrode ball. :up:
My new (third) temperature gauge/probe has arrived and I am happy to say that the EM interference I was getting before is no longer a problem. Seems the metal cases on my DVD drives (which are between the ball and the gauge) block it. :) They were not installed at the time of the last test.
Now if I can just get this one in place (properly oriented) without breaking it...
Lords of modding willing this thing will be done tomorrow.
________
TOYOTA B ENGINE HISTORY
This thing is finally finished. That's right, I managed to get the third temp gauge installed intact. :D
It was a real learning experience, in many different ways. I enjoyed building it and am more than pleased with the outcome. Thanks again for all the encouragement and advice, everyone. TBCS rocks!
Mod on!
________
Mazda carol history
Very nice work, and very nice cable management. +rep for an awesome out come.
Congrats on getting everything in and working.
+rep for perseverance, and a great product.