-
Re: Project: Accelerated Fear
Update 4
Quote:
Originally Posted by
DonT-FeaR

cant wait... hurry up!! :)
Hehehe iv been working hard man, and its sooo hot here its vitually impossible to move without passing out!
Quote:
Originally Posted by
Modslinger
I'm currently preparing for my first mod. (Still gathering supplies and tools) I bid on a computer on ebay about five months ago. Won it for 5 bucks. It was this crappy looking dell called the "Optiplex". Had I known then what I know now, I might not have bought it. It weighed about as much as a VW Bug, and took just about as long to strip down to the basics.
So I'm glad to see someone else knows my pain. At least we are taking something horribly ugly and turning it into a work of art.
Congrats on getting yours underway! I look forward to seeing this thing take shape.
It's already 5,000,000 times better looking.
I know dude tell me about it! It still weighs a ton even with half the steel ripped out of it!
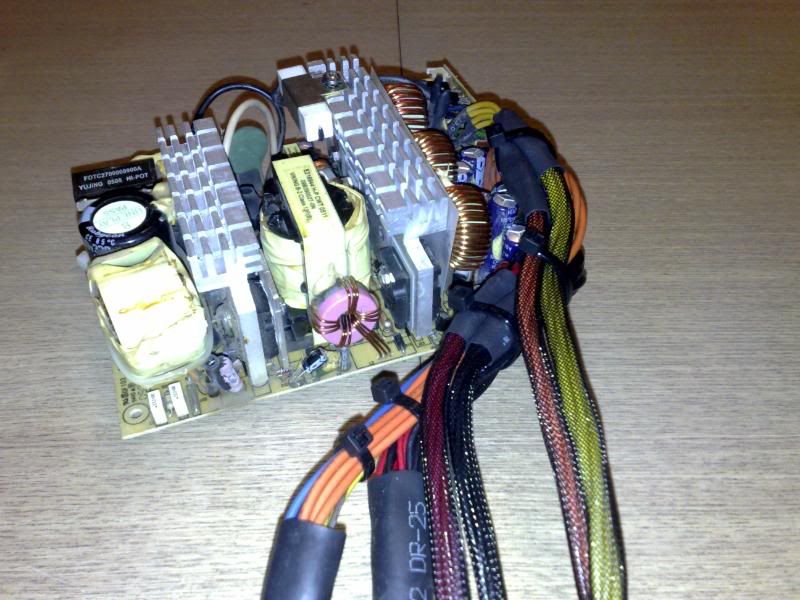
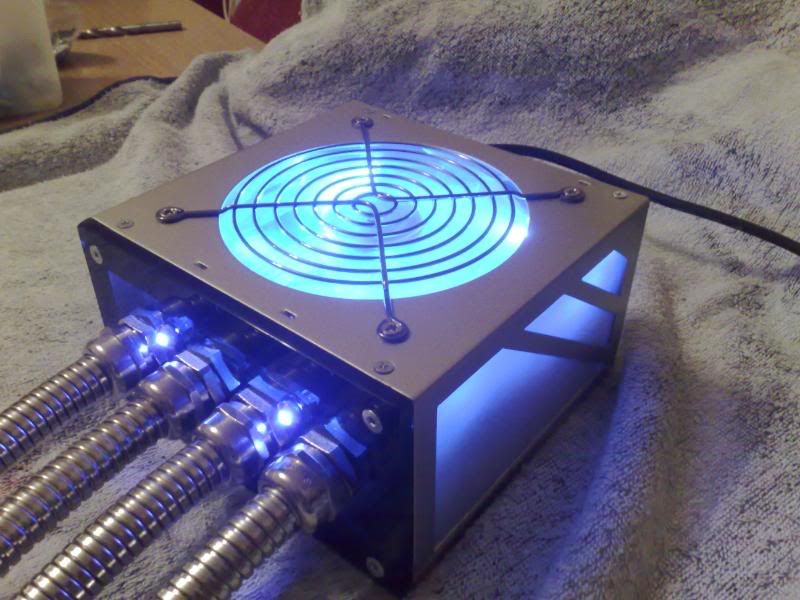
Anyway, heres another update for you guys, my previous update was me getting about 2/3's the way through my PSU mod, heres the rest of it.
I had to re-sleeve a lot of the wires, they were becoming way too bulky, at one point i thought it was going to be imposible to get it all back in the box!
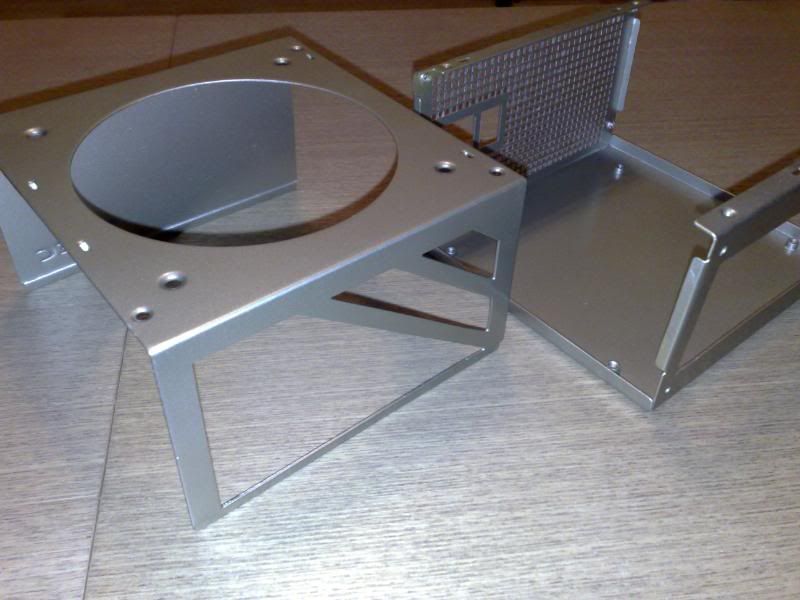
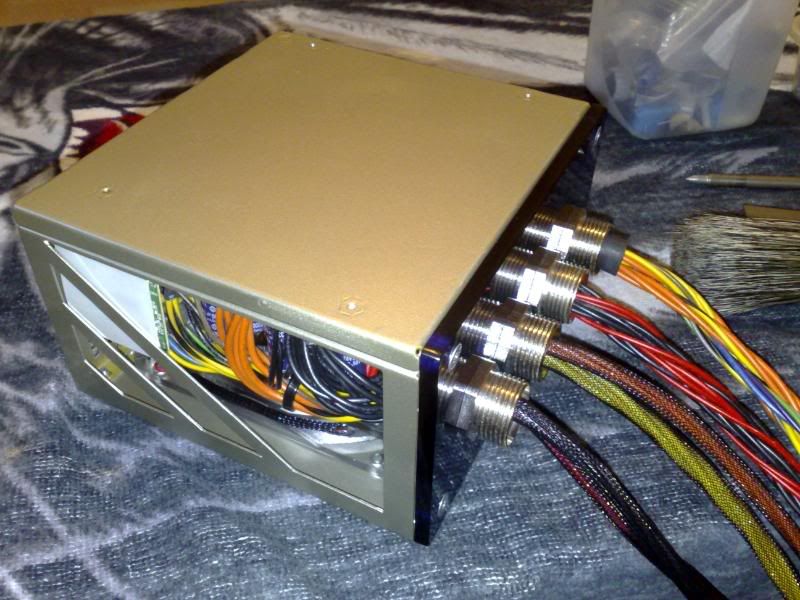
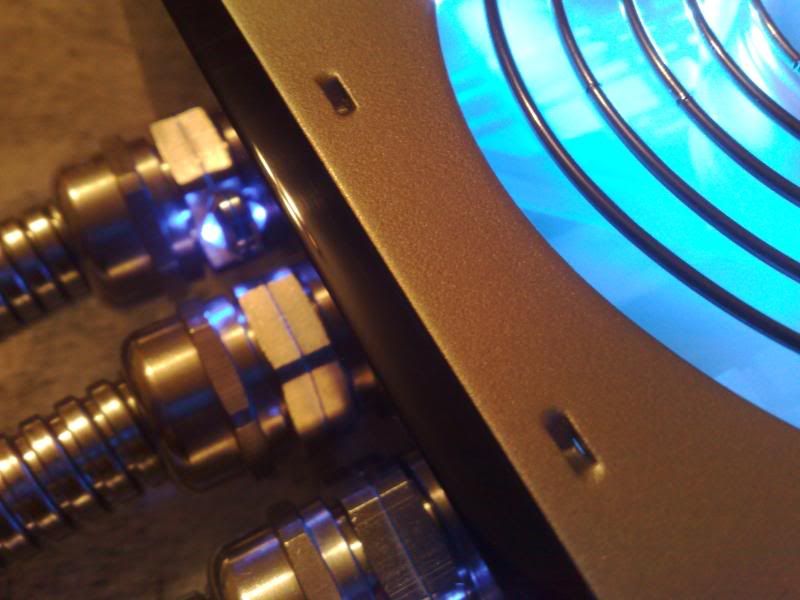
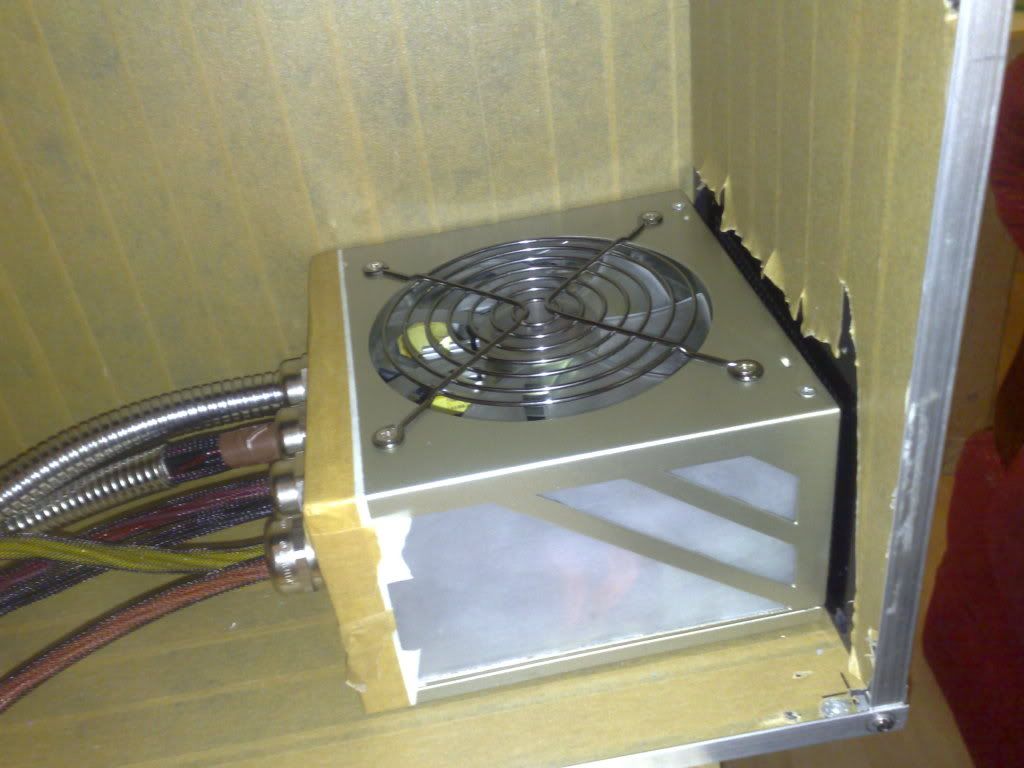
Heres the PSU case after 3 coats of primer, 3 coats of Vauxhall Platinum and 2 coats of clear laquer, i rubbed down between coats with 1500 wet and dry.
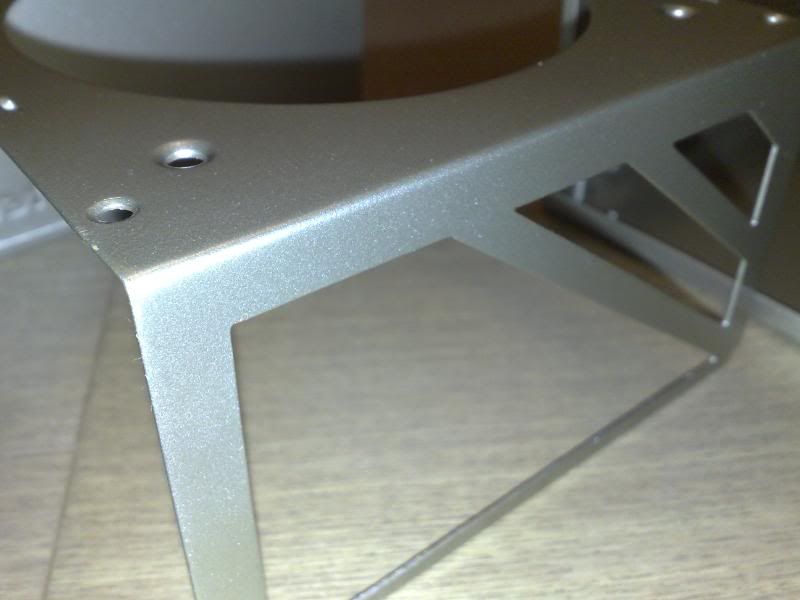
A close up.
Really glad i took the time to prep everything and rub down between coats, really happy with the finnish.
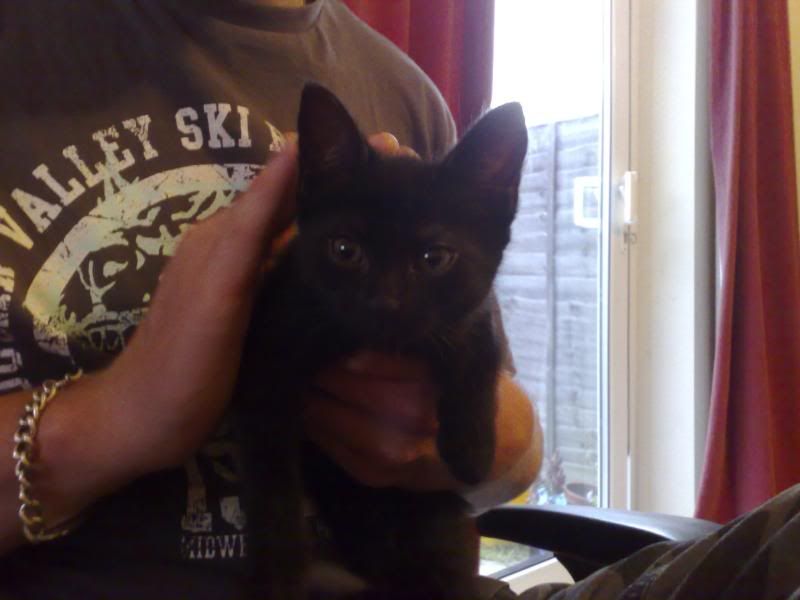
OH MAN! i got a new cat!
Cute hey? He likes to attack me whilst im modding!
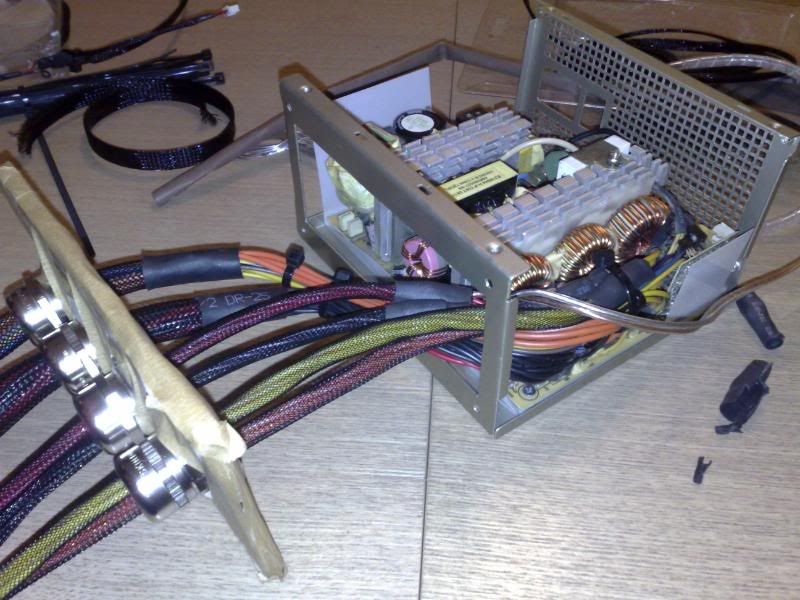
Back on topic, heres the case with the PCB inside, also showing how the wires are layed throught the plate/gromets, man its a really tight fit at the front!
Heres that front panel test fitted, it fits nice.
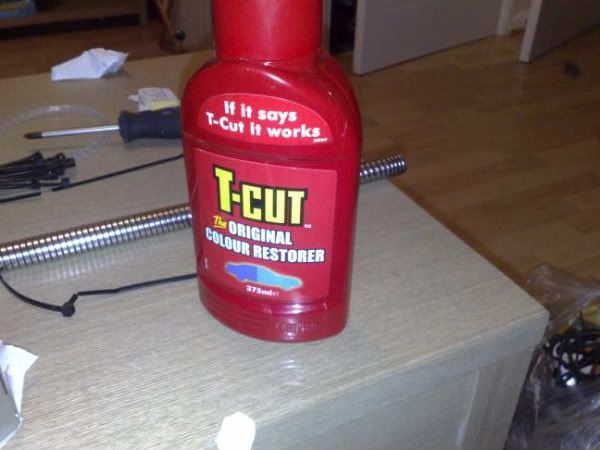
However, the edges of the plex looked like ****e, need a good old polish. Got some T-Cut
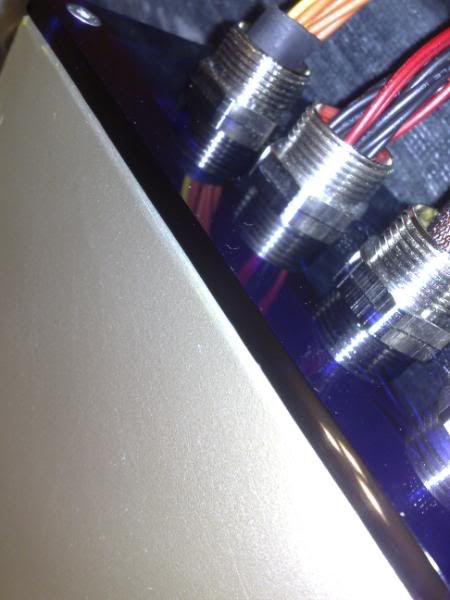
And polished that edge for hours! But look at the edge now...
wasnt expecting such a nice result from T-Cut but im pretty impressed, bought it up to a real nice shine!
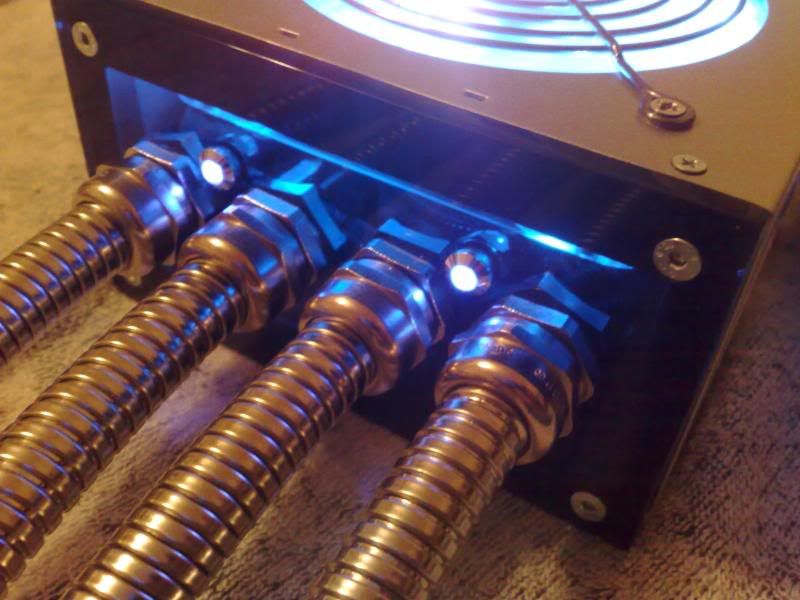
After putting the plate on and looking at it for a while i decided it was a bit plain, needed somthing more, decided to add some chrome bezel led holders to the front! Went to maplins to get some Chrome LED Holders, the conversation went a little somthing like this:
Me: Oh Hai! i need some of these.. (points to chrome holder with blue led in the catalogue)
Old Man Maplin: We dont have any.
Me: Oh... you sure... you didnt even look on your stock list...?
Old Man Maplin: We dont have any.
Me: Ok, can you just check, i need them.
Old Man Maplin: -Silence-
Me: Hello?
Old Man Maplin: (looks at computer) We dont have any.
Me: Oh...ok, do you have anything similar i can look at?
Old Man Maplin: No.
Me: Do you have the chrome holders by themselves in stock?
Old Man Maplin: Yes.
Me: Do you have Blue LED's in stock?
Old Man Maplin: Yes.
-.-
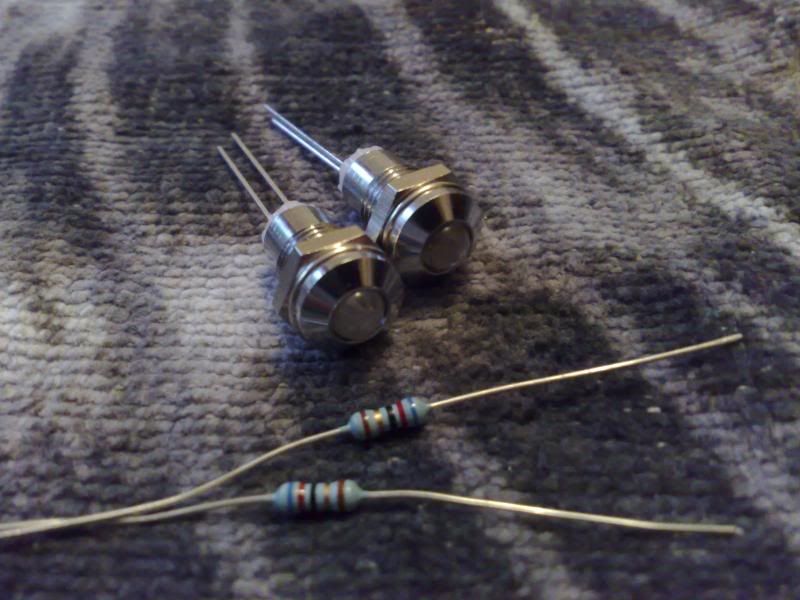
Anyway, after probably one of the most strangest interactions with a shop keeper ever in my life i got my led holders, i also coaxed him into giving me 4 blue leds for the fan, and 6 62ohm resistors so i can run them of 5v.
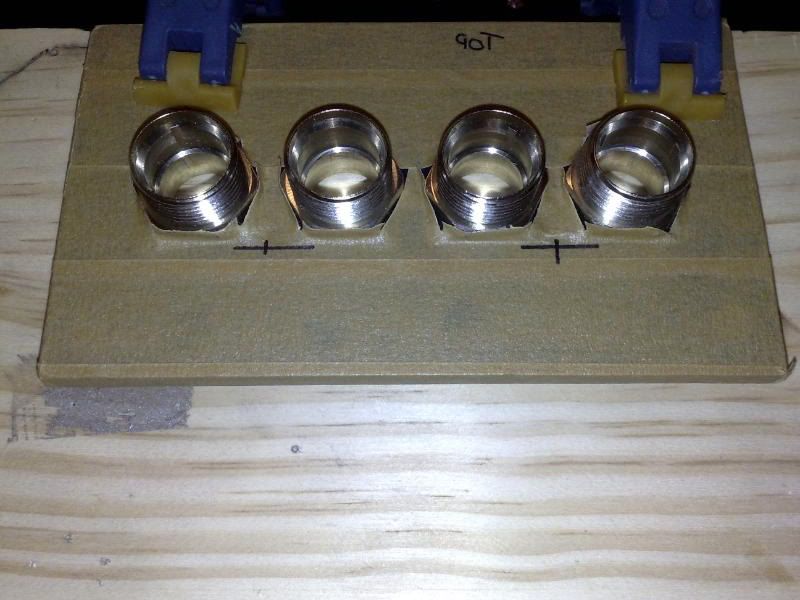
Masked up and VERY carefully marked the front plate.
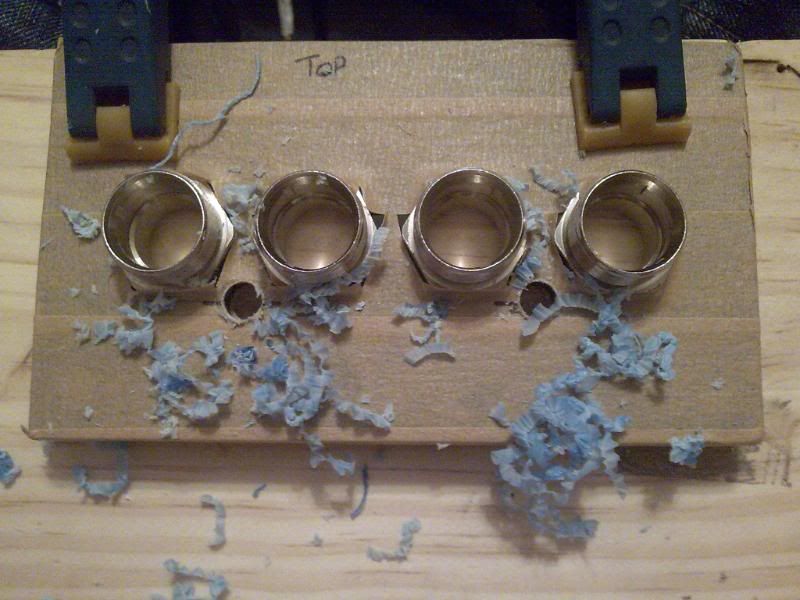
Used a Vernier Caliper to measure the diameter of the holders, there 8mm, i drilled a small pilot hole then added some vaseline to a 8mm drill (prevents melting) and opened up the holes.
Stringy swarf! No melting! Good! :D
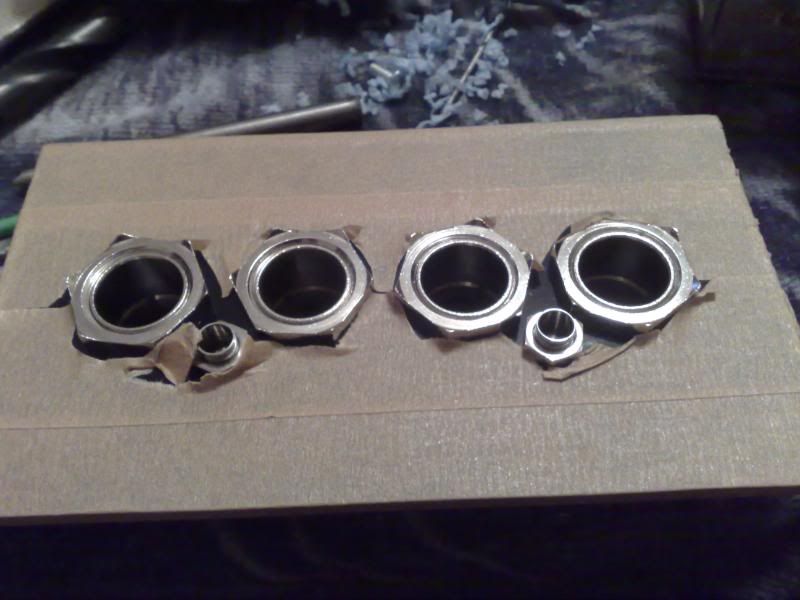
Checked the holders for fit.
Perfect!
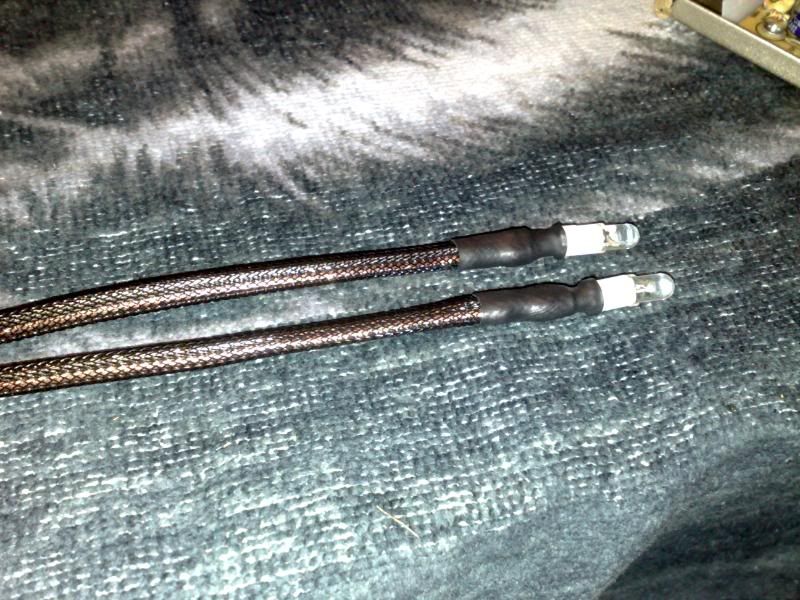
Next i wired up the two leds
I used expensive speaker wire, its silver and gold in colour, clear sleeved. I covered it with some black braid but you can still see the silvery sheen underneath. Once i had extended the 5v (red) wires, and the Ground (black) wires i made a back-spur of each which will run the fan and front panel LED's.
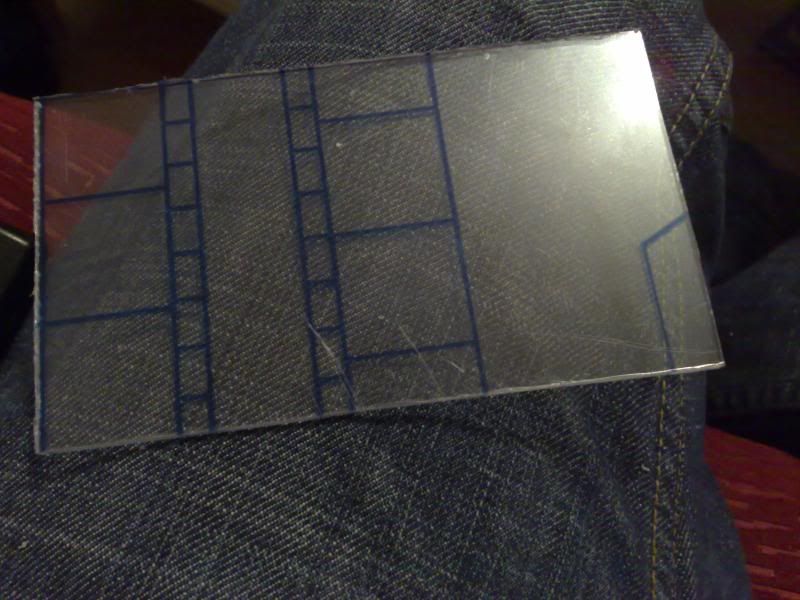
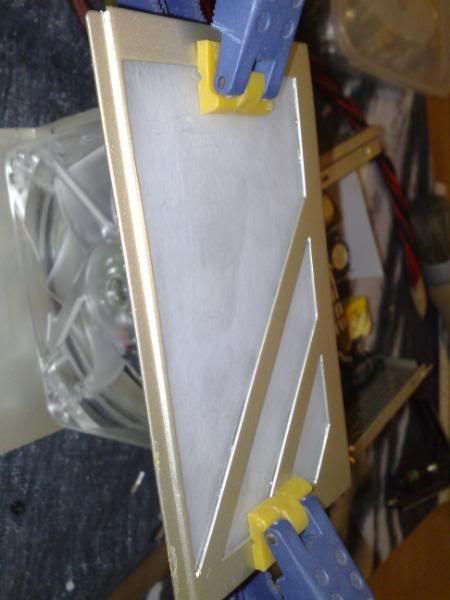
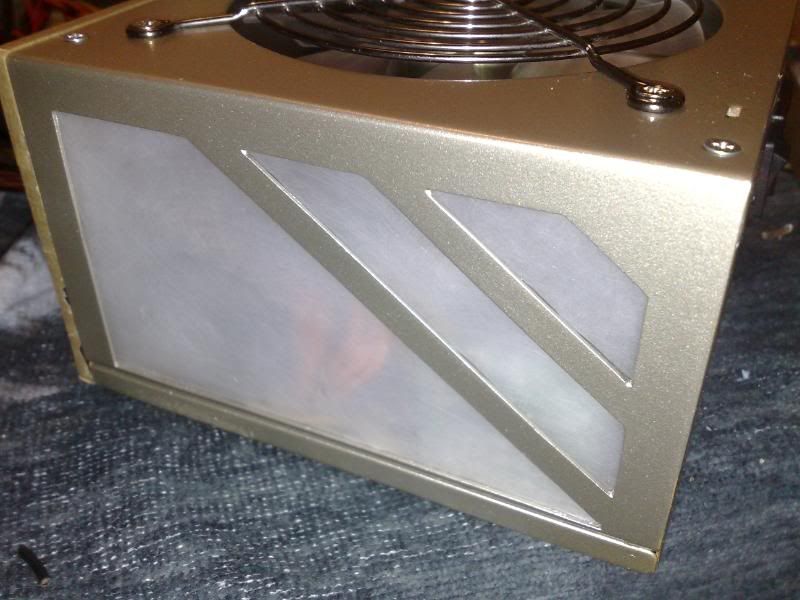
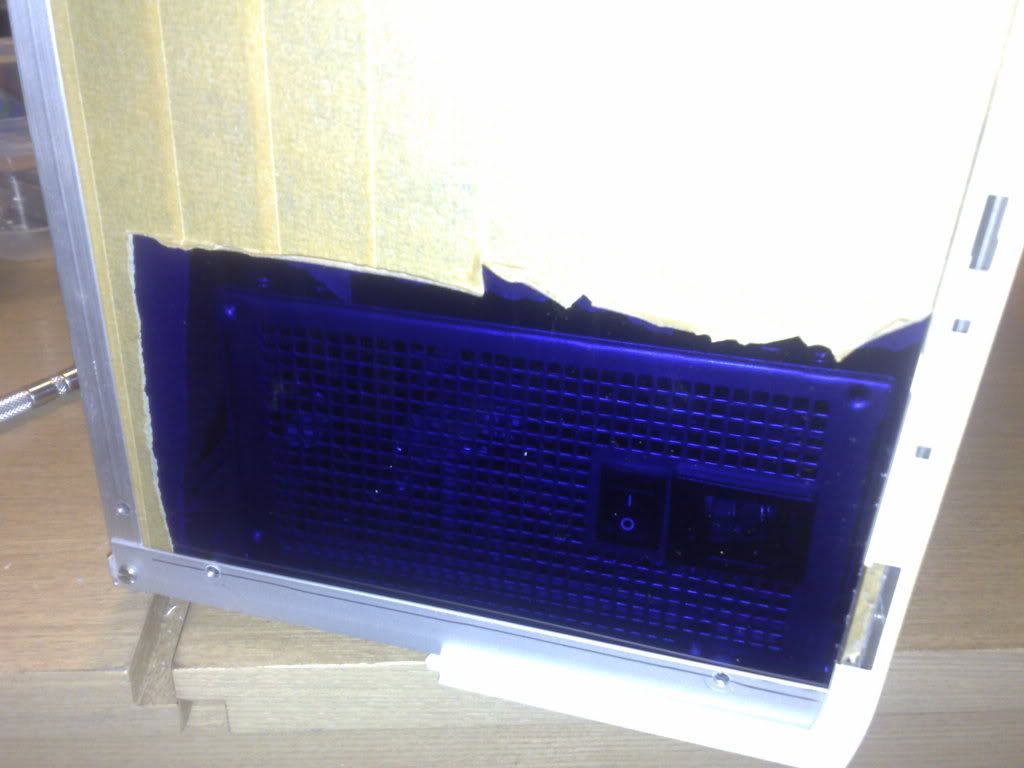
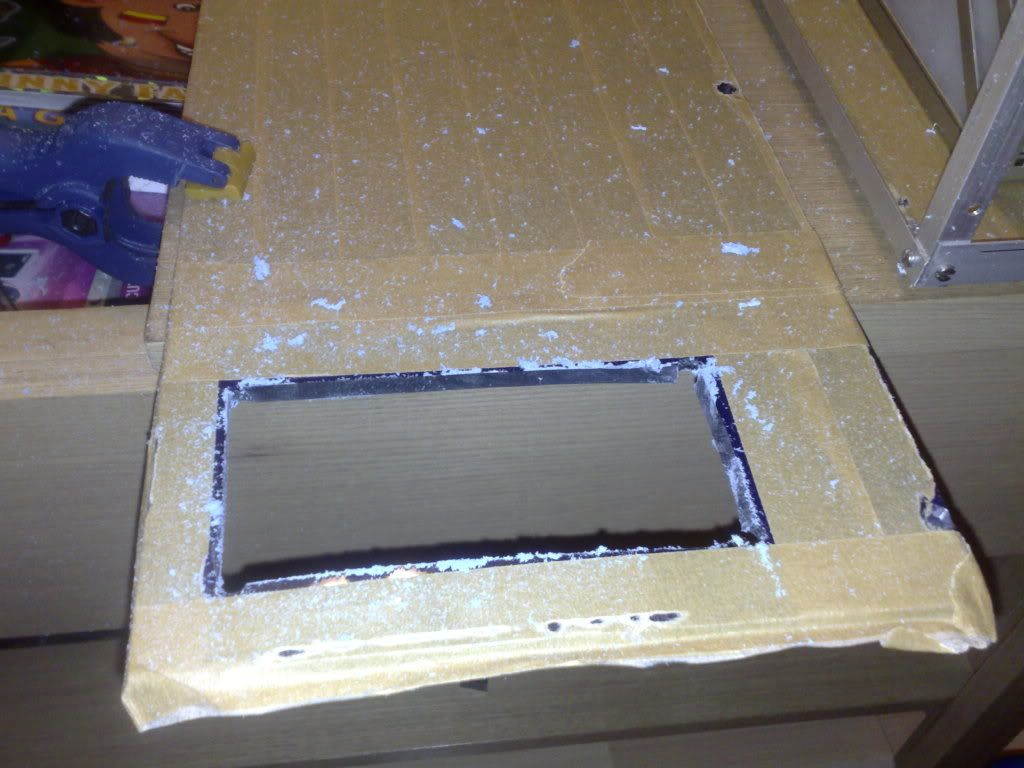
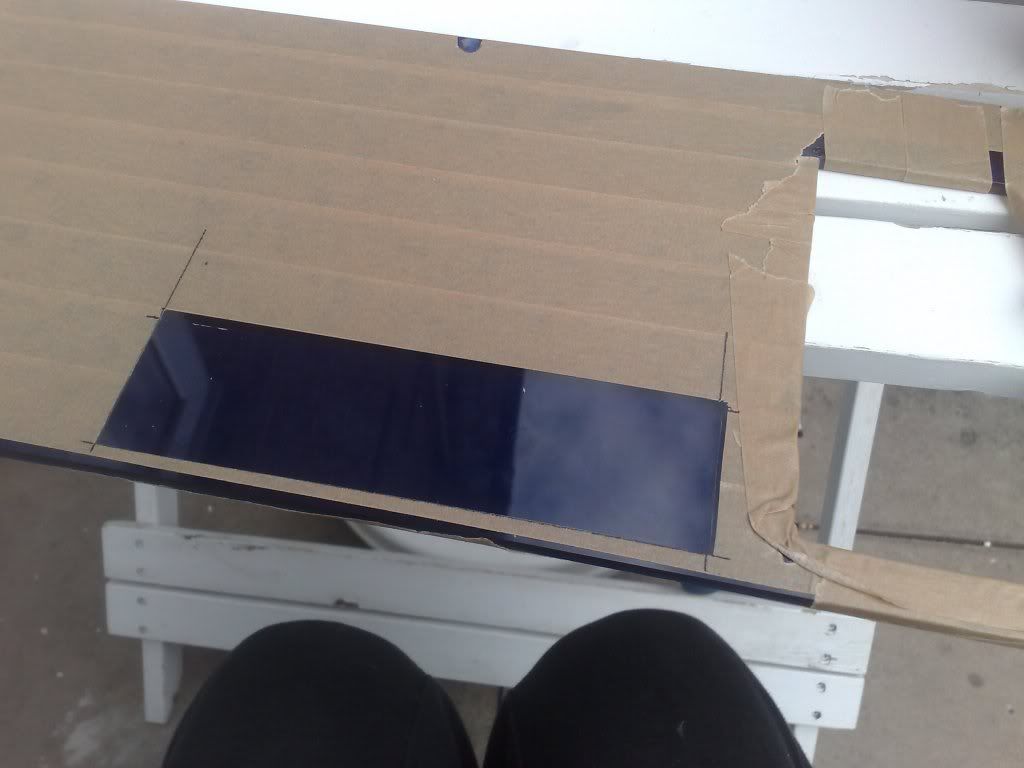
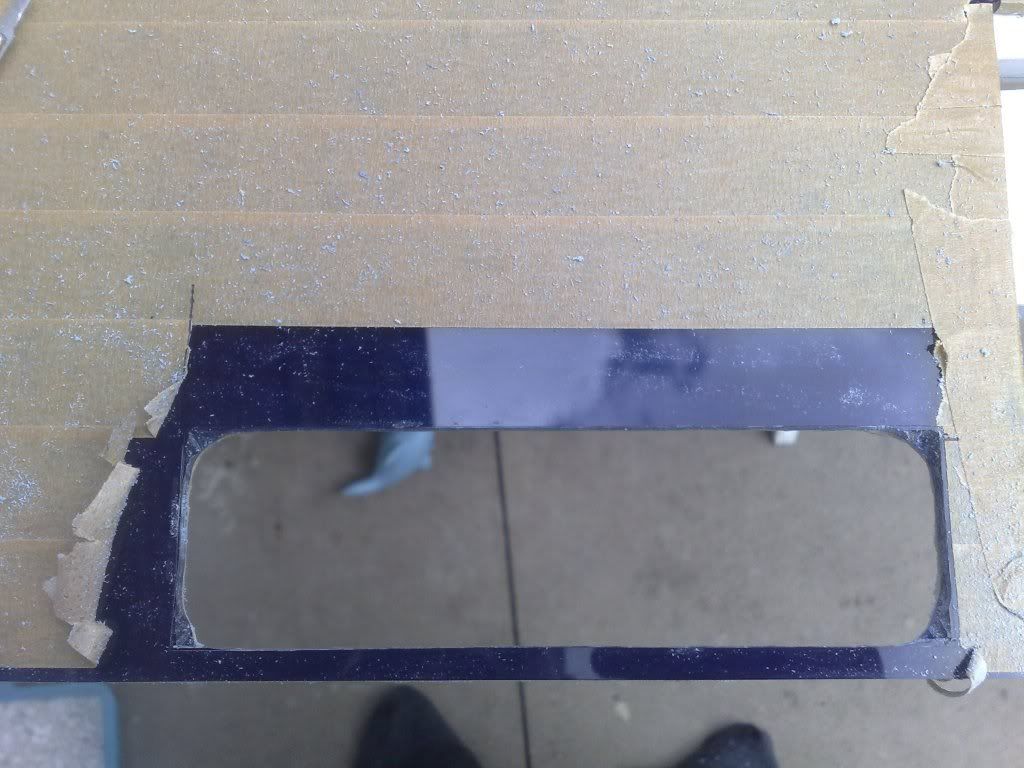
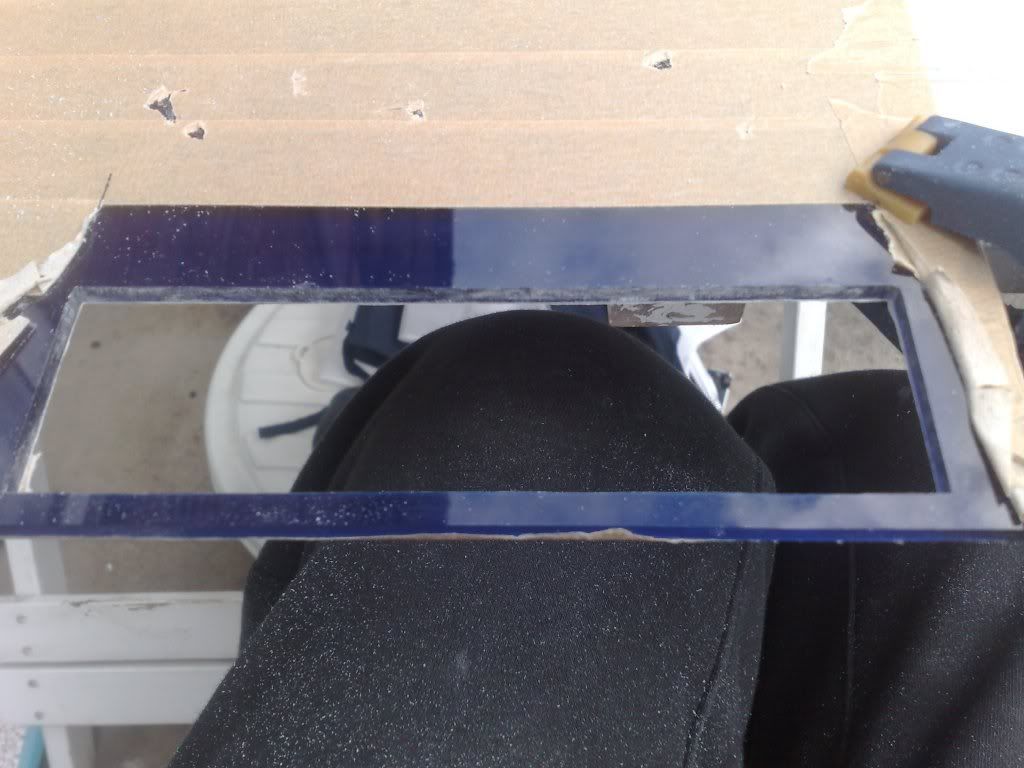
I needed to make the window for the side cut out, i was really dreading this as i had no room to work, the wires were so cramped up to the side. I decided to unwind most of the wiring and re-do it to make myself a bit more room, i ended up gaining about 3mm! All i needed though as my plex was 2mm thick, YEAH!
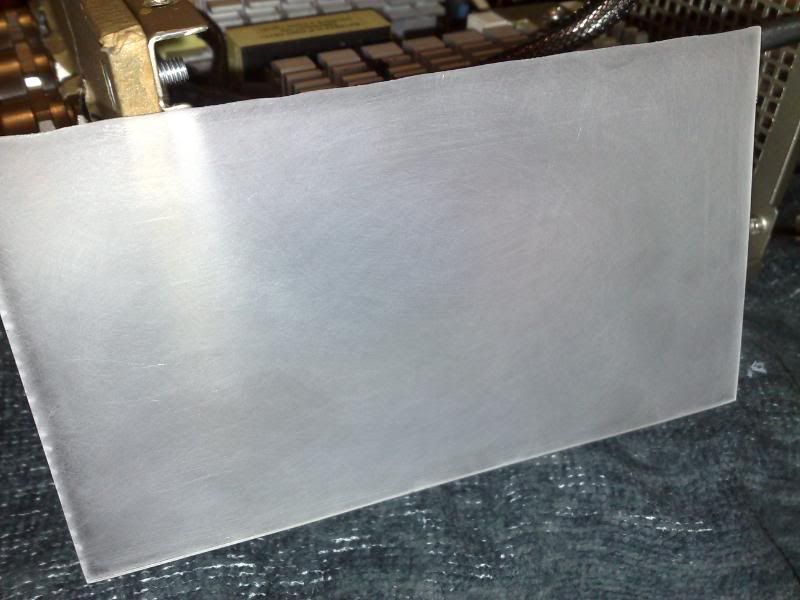
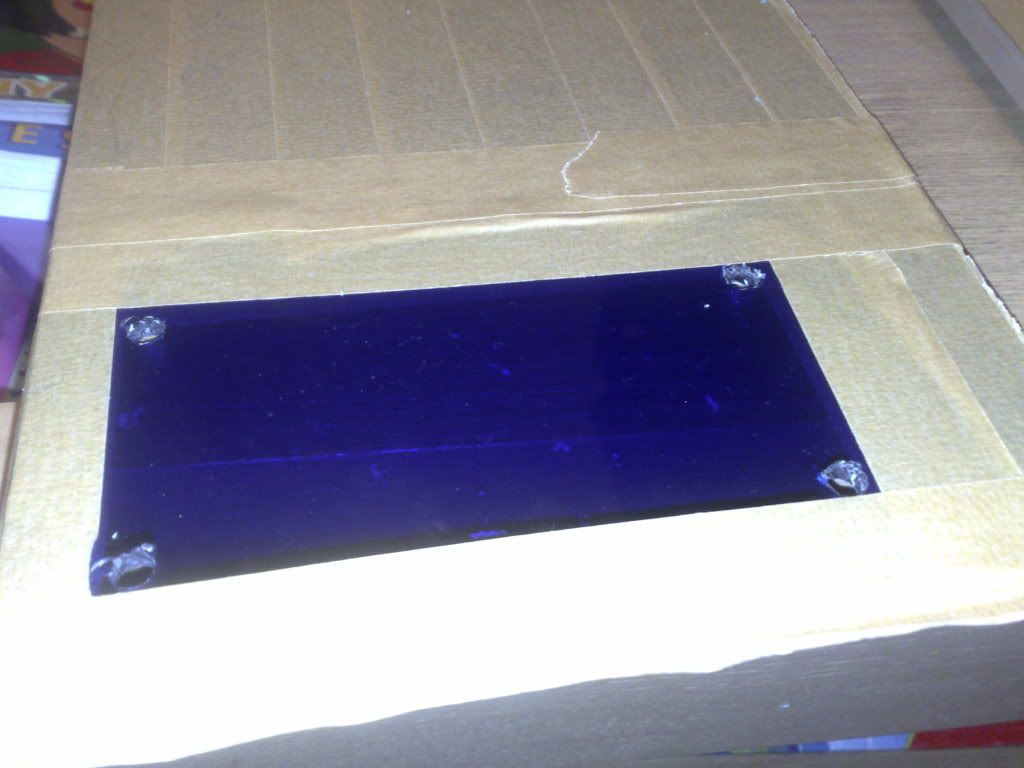
If i leave it clear it will look like a lod of wires in a clear box, so i frosted it up!
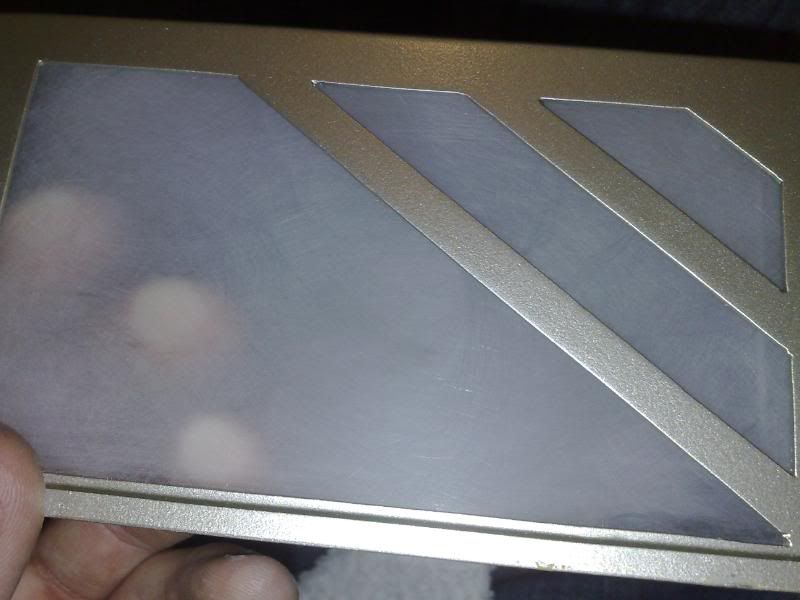
Layed it on for a test fit.
-
Re: Project: Accelerated Fear
Then i mixed up some rapid araldite and carefully applied it to the parts of the window that will be behind the metal, then clamped it for 10 minutes.
I added another fillet round the edges, i didnt want this falling out and electrocolourcoating the cat!
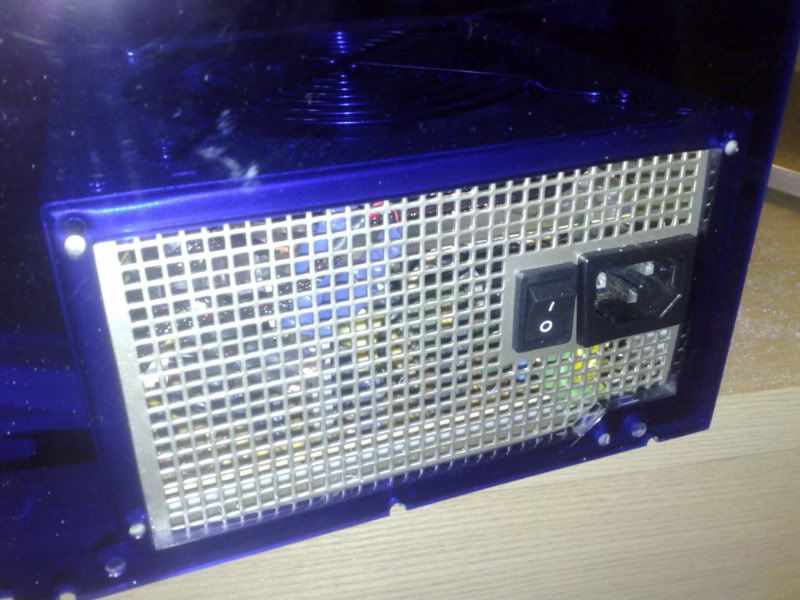
Window finished.
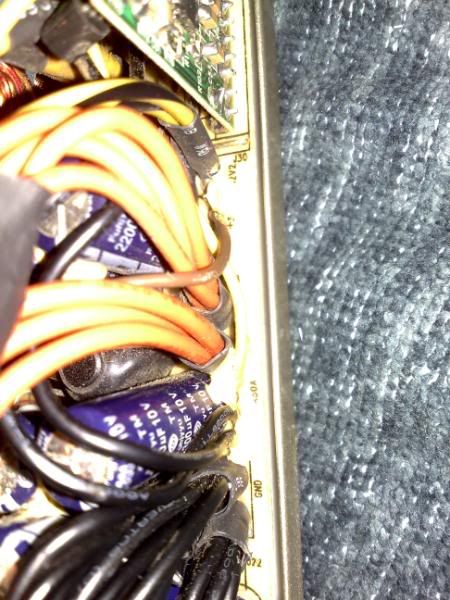
Heres the gap i had to fit it in!
Not much room at all eh?
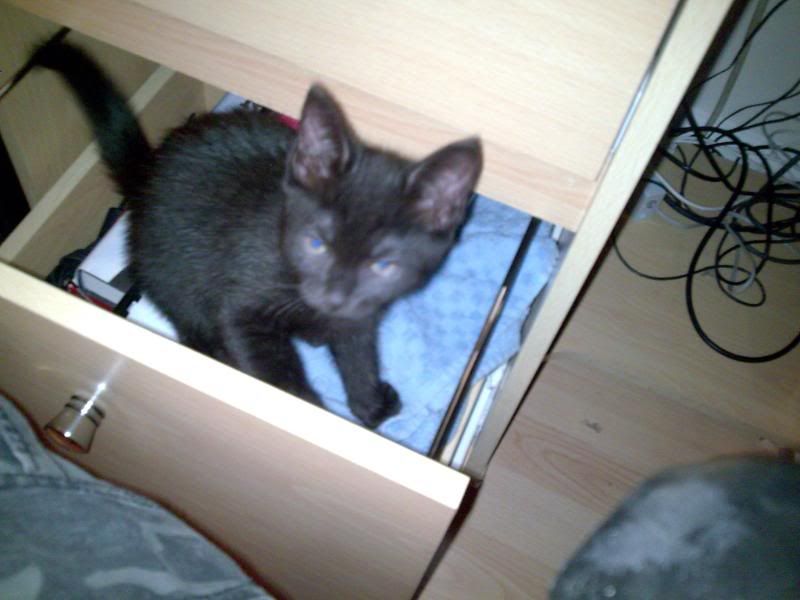
The cat has been living in the PC desk draw for some reason!
He woke up! hahah
Anyway, PSU is pretty much done, i opened up the lugs on the crimps and plugged them back into the ATX connector.
Time to pour some power in this thing!
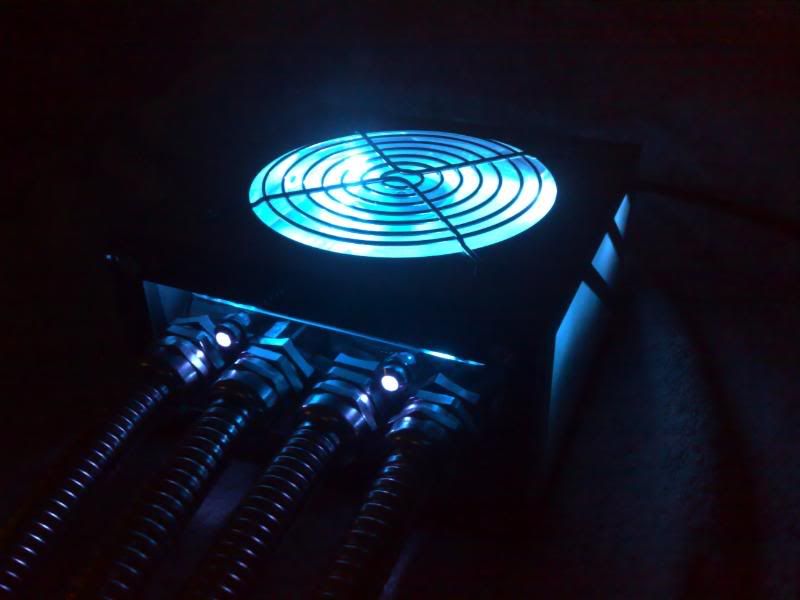
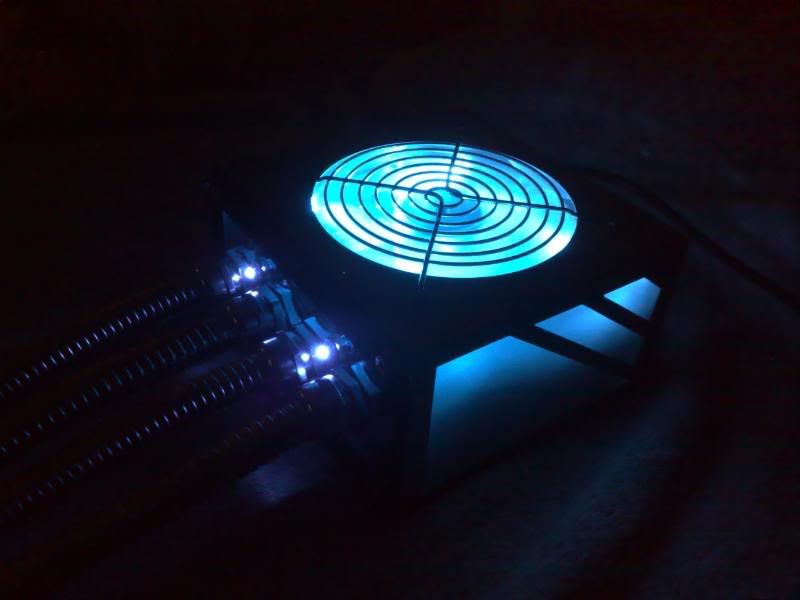
Wouldnt be complete without the night shots!
Im really pleased with how its turned out, took a lot of effort but it was worth it.
Hope you guys enjoyed reading, next update to follow soon!
Comments always appreciated.
_'j5
-
Re: Project: Accelerated Fear
That, my friend, is what modding is all about. Fan****ingtastic!
-
Re: Project: Accelerated Fear
Quote:
Originally Posted by
DrumThumper
That, my friend, is what modding is all about. Fan****ingtastic!
Thanks man, that etch you did on Frankenstripe just gave me a really cool idea, donno if im brave enough to try it though!
-
Re: Project: Accelerated Fear
The frosted plexi is a nice touch as well. I'm considering frosting a bit of my side window just to hide some of the drive cage.
-
Re: Project: Accelerated Fear
omg i waited just but worth the wait very nice
-
Re: Project: Accelerated Fear
That looks beautiful. +rep
-
Re: Project: Accelerated Fear
Your cat looks pissed off. lol
Looks fantastic! Clean Execution. +Rep
The first time iv'e seen anyone use cable sleeving on LED wires.
-
Re: Project: Accelerated Fear
very nice looking psu. the attention to detail is awesome. nice work.
-
Re: Project: Accelerated Fear
Just caught up with your mod, great job love the case cut out and that PSU is better looking than anything you can buy.
I see your in the UK (I'm in Cornwall) where did you get the Styrofoam from?
I bought some of my plexi on ebay it's good stuff but the p+p was almost as much as the plexi so I bought some A.C.Ryan stuff from a UK shop and it was scratched, had an air bubble in it and had no protective film on it, so I can't recommend them but, I won't post their name here but if you want to know who they are so you don't go there in the future send me a pm ;)
+Rep +Sub.
-
Re: Project: Accelerated Fear
Very nice PSU, +rep for that.
Cute cat also.
-
Re: Project: Accelerated Fear
Thanks for all the positive feedback guys, really helps motivate me :)
Quote:
Originally Posted by
Beta-brain
Just caught up with your mod, great job love the case cut out and that PSU is better looking than anything you can buy.
I see your in the UK (I'm in Cornwall) where did you get the Styrofoam from?
I bought some of my plexi on ebay it's good stuff but the p+p was almost as much as the plexi so I bought some A.C.Ryan stuff from a UK shop and it was scratched, had an air bubble in it and had no protective film on it, so I can't recommend them but, I won't post their name here but if you want to know who they are so you don't go there in the future send me a pm ;)
+Rep +Sub.
I got my plex and styrofoam from Hindleys, uk based stockist of plex, and real nice people to deal with :)
-
Re: Project: Accelerated Fear
Hey Guys, Im so exited im pretty much bouncing off the walls here, good news! Crucial have agreed to sponsor this project and are going to be sending me a some new kit! (added logo to the 1st page) , they were really helpful and supportive towards myself and the project and seemed genuinely interested in it. Im in the process of trying to gain more sponsors at the moment, DangerDen will be providing a 30% discount for the project. Iv emailed Gigabyte, ASUS and Abit today, hopefully one of them will come through for me.
-
Re: Project: Accelerated Fear
Congrtaz on the sponsor mate. Nice work.
-
Re: Project: Accelerated Fear
Nice one mate, I didn't think companies in the UK were that interested as modding isn't as big here as in some European countries and the USA, guess your black cat is rather lucky. 8)
-
Re: Project: Accelerated Fear
rofl true dat in australia ive only seen like 2 minute mods like 1 ccfl or small sutuff but no full blown mods like mine or lexa they are the only 2
-
Re: Project: Accelerated Fear
You forgot Slamma's Welcome to Rapture, he won a comp for that. Also all of Defyant's work, he is an Auzzie, some of the best work I have seen.
-
Re: Project: Accelerated Fear
Quote:
Originally Posted by
Beta-brain
Nice one mate, I didn't think companies in the UK were that interested as modding isn't as big here as in some European countries and the USA, guess your black cat is rather lucky. 8)
Dont think they recognise it at all to be honest (exept Crucial that is) its a shame as people spend a lot of cash on it, wasnt easy getting a sponsor, i must of sent out over 100 emails. Still waiting on a few replys, hopefully ill have some messages in my inbox tommorrow when people get back into there offices. Hopefully one of the motherboard sponsors will come through. Gigabyte seem interested.
Thanks for the comments guys, always appreciated :)
j5
p.s. this mod is now running over at bit-tech and custompc.co.uk, also my plog - http://custompc.co.uk/blogs/johnyfive , hopefully more exposure will make it easier to gain more sponsors.
-
Re: Project: Accelerated Fear
Update 5
Hey guys, been a while since i updated. Iv been really busy at home, the missis decided we needed to buy new furnature for the whole of upstairs so iv been putting up flat pack in my spare time :dead:
But anyway, i managed to squeeze in some modding time last night so i thought id give you guys a small update.
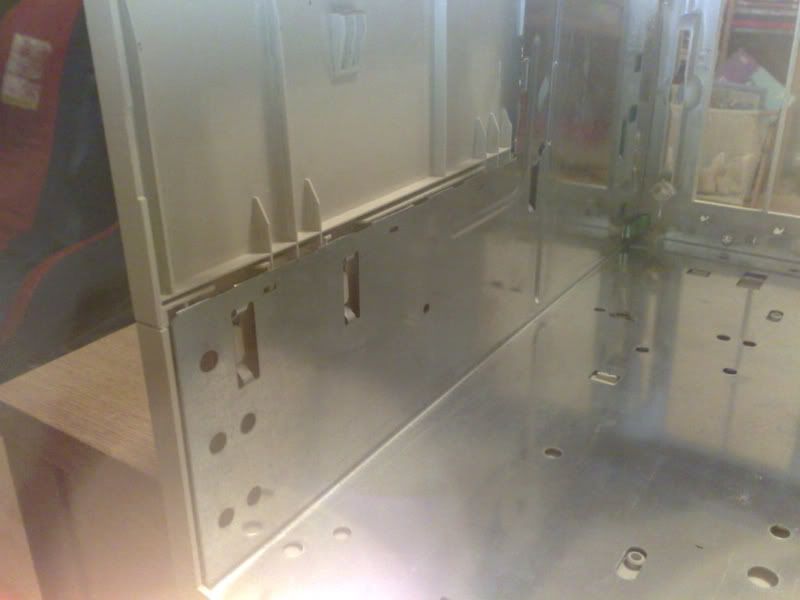
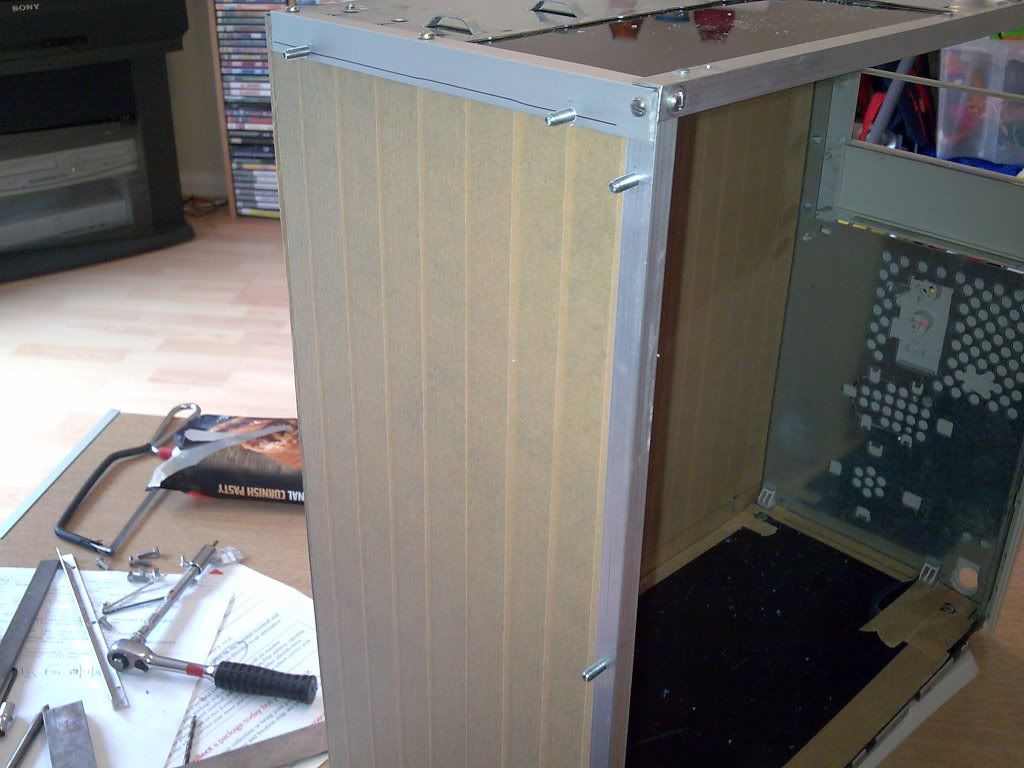
Going back to working on the chassis for this update, with all but the minimum amount steel frame left on the old Dell it has left it very weak, anyone who has taken apart a Dell before will know how everything inside one either; interlocks / hinges / slides in some way so to make other things fit you have to cut a lot of the sh*te out of it.
Here is a shot of the top of the frame, as you can see there is a big gap there where the old PSU holder thing used to be, unfortunatly if left alone it will be a weak point.
Of course, this will also be where the new PSU will be held, if i was to screw the new PSU to that it would probably buckle in half!
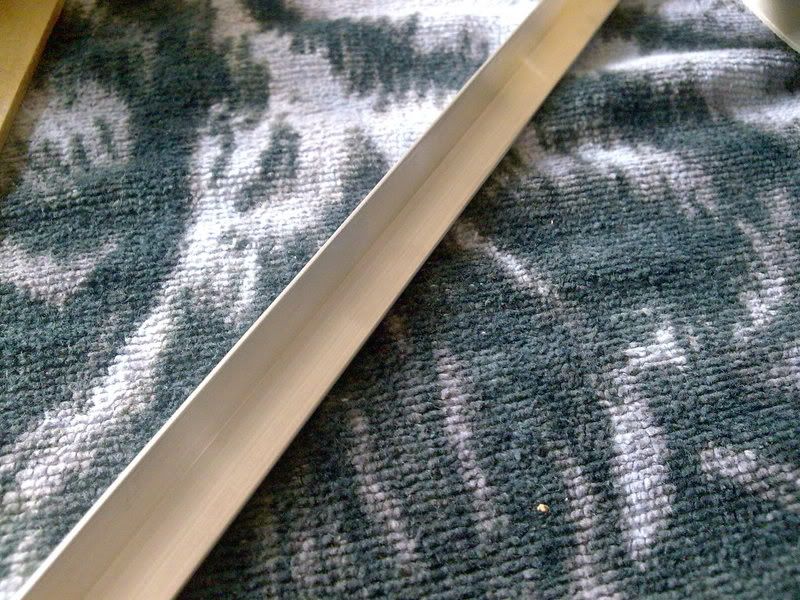
I went to B&Q and bought some ridiculously over priced 10mm x 10mm angle ally.
How they get away with charging nearly 3 pounds for 1M long is totally insane, the money grabbing ba$*ards!
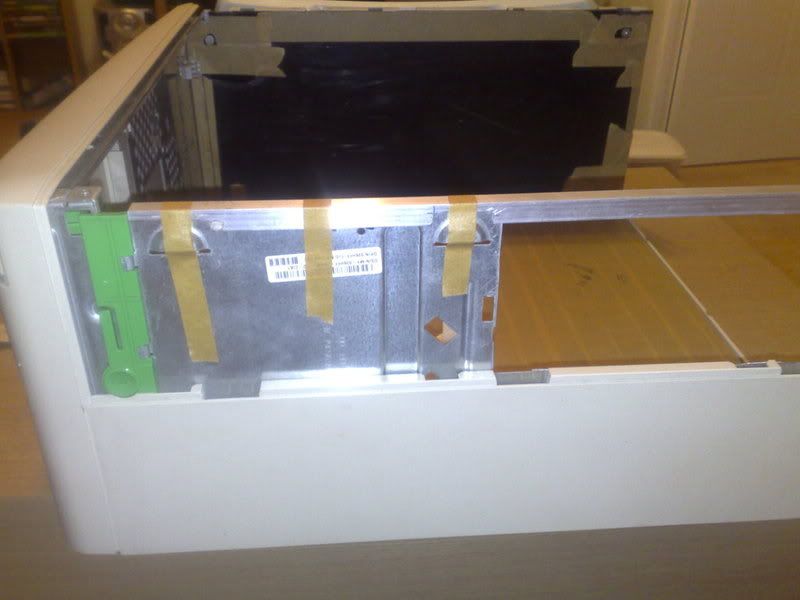
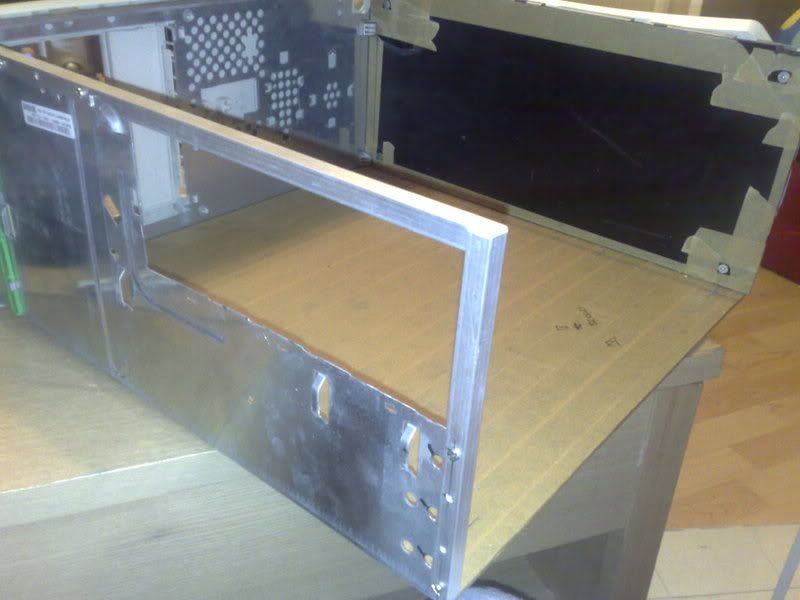
Anyway, i cut it to a rough size with a hacksaw and taped it to the frame.
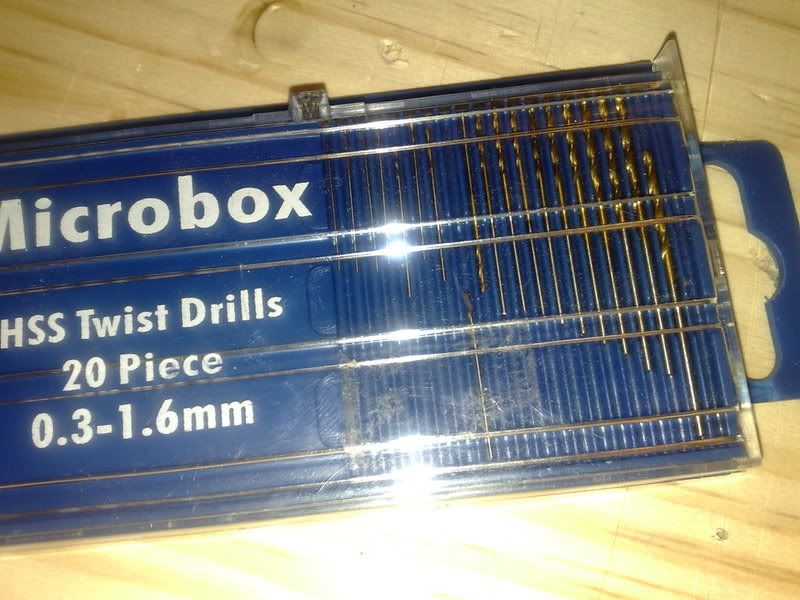
I went to the hardware shop and got some new mini HSS drill bits, there good for steel and go through it like a hot knife through butter!
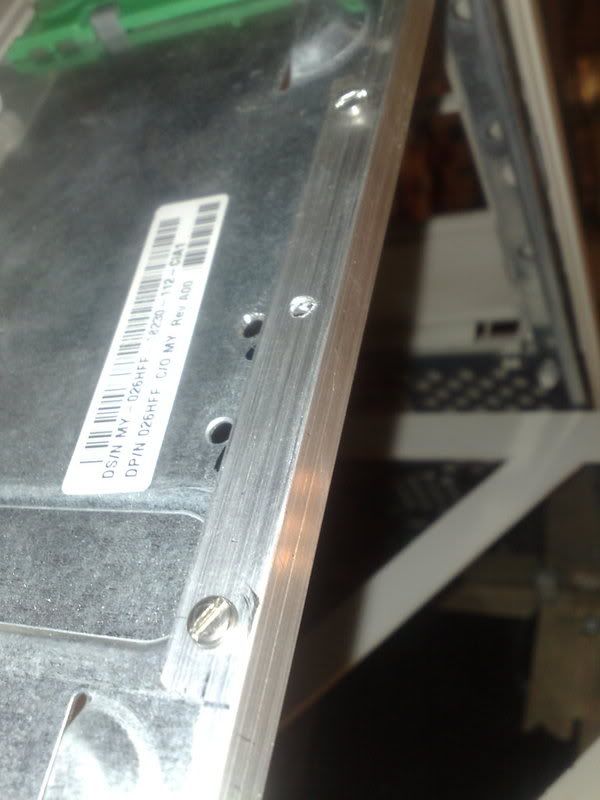
Then spotted through 1.5mm, then opened up the holes to 4mm to accomidate some M4 screws.
I then did the same with the other side.
Checked it was square, then added the last piece from the bottom to the top.
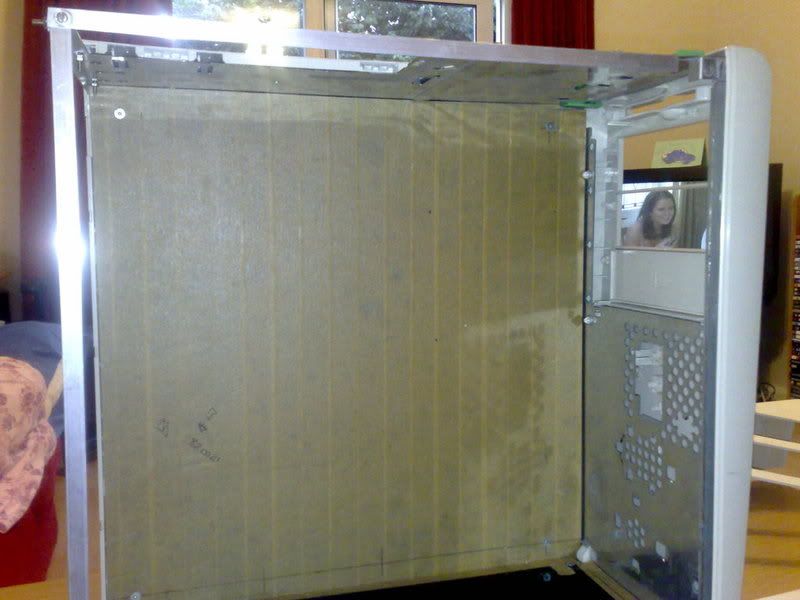
(the lovely Helen Flanagan in the background :banana: )
I had to make a little bracket at the bottom to hold the last piece of angle ally on. (sorry about the flash)
So now the frame is pretty dam strong! I put the cat on it and it held his weight, i then put him on the scales next to the new PSU!
Cat Weight > PSU Weight = Good!
The new frame should hold that PSU pretty well!
So now i need to line the rest of the case with plex, i started with the roof.
Im going to add 6 screws to hold the plex to the roof, its going to be supporting some weight so i dont want it caving in on me!
I measured and cut a piece of black 3mm plex, piloted through using my new drills then opened them up to 3.5mm, removed the plex and opened up the holes to 4mm, then tapped the holes in the frame to M4.
Then added 6 M4 hex head countsunk screws.
Flakey swarf means no melting!
Now for the back plate, the PSU will screw onto this, also the Motherboard I/O panel will need to be fitted, oh and the exhaust fan too!
This piece is going to be made from the 5mm thick blue plex, im going with 5mm so it dosnt bow under the PSU weight.
I cut out a rough shape, i knew the frame and back panel were not going to be 100% square so cutting out a square piece of plex would of been stupid, i then trimmed it down until it fit the frame.
Fits like a glove! Anyways, i know it looks crap as its covered in masking tape, not much i can do about it as it needs to be kept clean. I did have a sneaky peak at the panels without the tape though and they look awsome!!
All thats left to do to the lining panels is the one at the front (i ran out of plex) And then tidy up at the places i have filed that im not happy with.
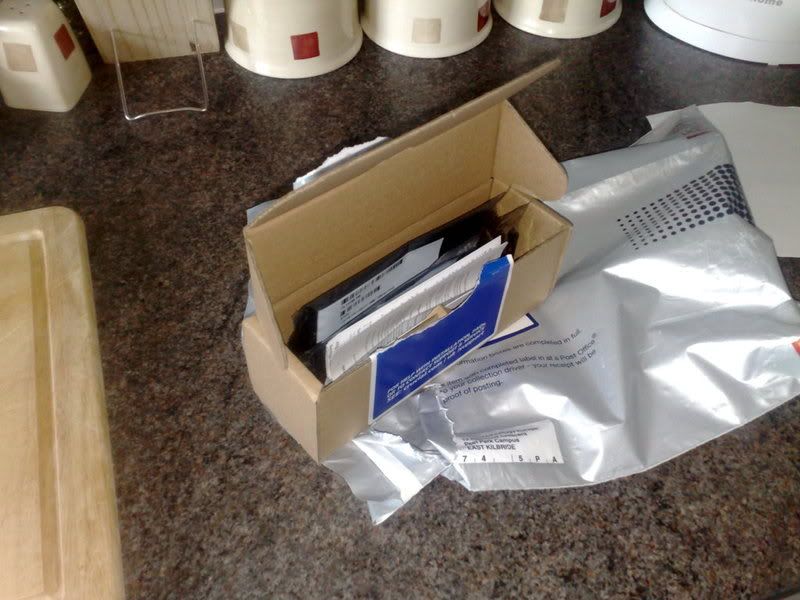
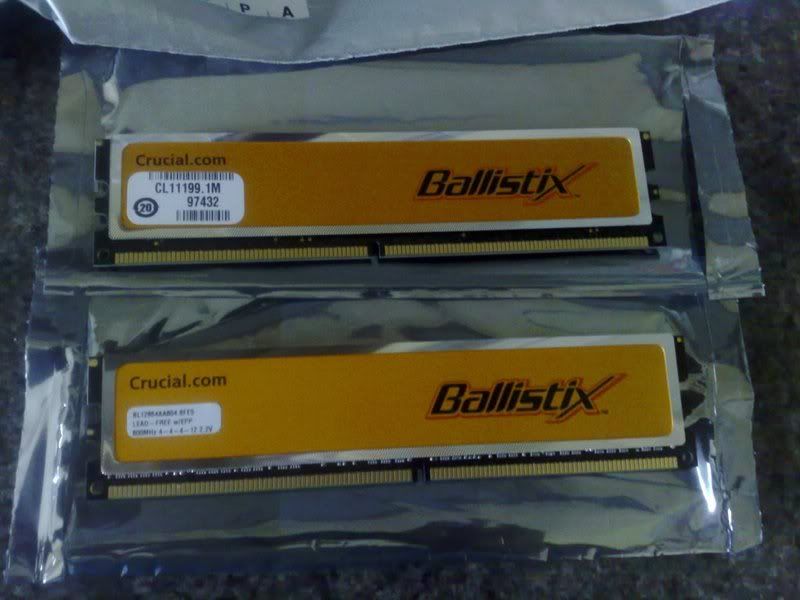
As a side note... CRUCIAL CAME THROUGH!! yeah man, they didnt let me down at all! Has a nice little package arrive the other day.
oooo i love it, recieving packages is like christmas!! even if i know its nothing interesting i still love it!! haha what a geek i am :banana::banana::banana:
Yeah man! Thats going in the cupboard to keep safe for when i get my Mobo!
Thats it for today, sorry it was a short one but iv been so busy! Hopefully my Mobo will materialise and ill be able to update you guys with the next week (or two) with the sexy trans blue back panel.
Til then, cheers for reading, comments always very much appreciated.
j5
-
Re: Project: Accelerated Fear
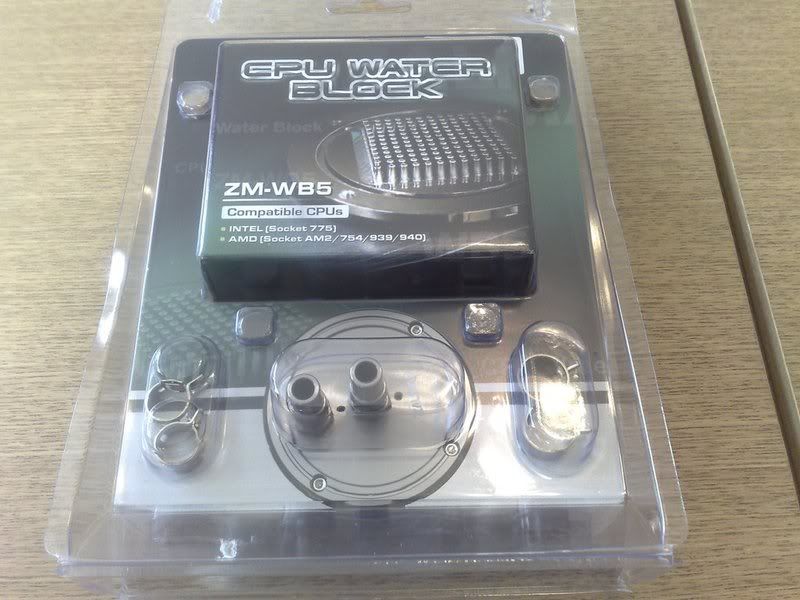
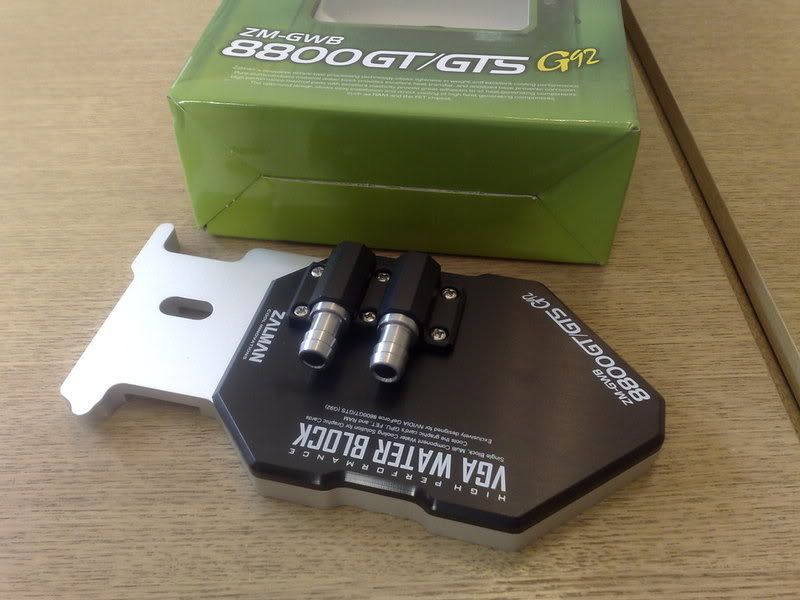
Hey guys, got another small update for you. Really good news for the project! After a few emails back and forth QuietPC.com have decided to sponsor the project and have sent me some really nice Zalman water cooling gear! This will help immensely with the project so i want to say a really big thank you to Glenn over at QPC for all his help and efforts over the past couple of weeks.
Here is the gear they have sent:
And a lovely little CPU Block
A very sexy 8800GTS Water Block
One Heatpipe HDD Cooler/Silencer, i cant wait to have this next to the trans blue plex, its gonna look so nice!
All the barbs on the block are 3/8 (10mm)
Kinda puts pressure on me to get the case ready for all this new gear iv been sent but i cant wait to get it all up and running!
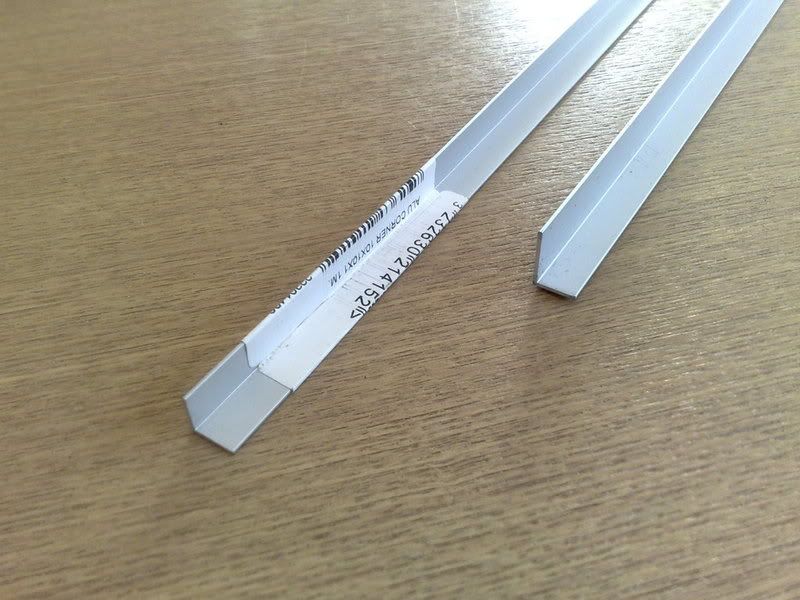
back to the case, iv been working on the back panel where the I/O plate will be fitted, i went to B&Q today and got some 10mmx15mm angle aluminium and some more 10mmx10mm (below)
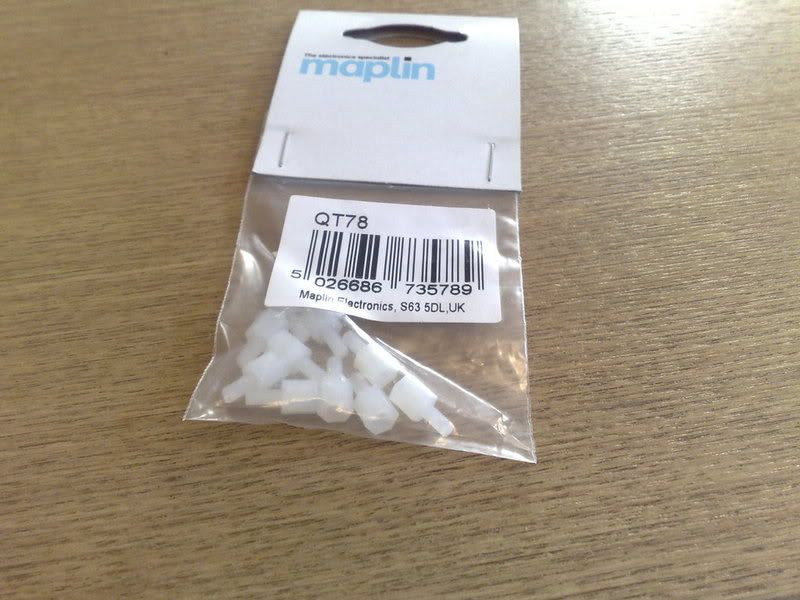
I also bought some M3 nylon standoffs from maplins.
I could of used the 3/32's threaded brass standoff's but they were 10x's the price and totally unnecessary as the board is being mounted on plex anyway.
Someone said to me earlier that they thought my little black cat was lucky, iv had quite a shi*y past few years and things are finally going really well, so although im one of the most un-superstitious people i know id say he might have a point!
Update soon, gonna get working on the I/O panel and fit the mobo standoffs. Cheers for reading, comments/questions always appreciated :)
j5
-
Re: Project: Accelerated Fear
Nice work mate, I never thought of B&Q for ally but I know it is expensive these days as all the metal market prices went mad a while ago and prices went through the roof, I need a piece of 3mm ally sheet for the base of mine but the cheapest I can find is about £30.00:eek:
+rep for persevering with them sponsors8)
-
Re: Project: Accelerated Fear
Quote:
Originally Posted by
Beta-brain
Nice work mate, I never thought of B&Q for ally but I know it is expensive these days as all the metal market prices went mad a while ago and prices went through the roof, I need a piece of 3mm ally sheet for the base of mine but the cheapest I can find is about £30.00:eek:
+rep for persevering with them sponsors8)
£30 :mad: welcome to rip-off-britain! It makes me so mad how badly we get shafted for things like that! Plex is pretty much double the price compared to the US.
Have you tried a scrap metal yard? Or it might even be worth going to a place where they do CNC machining and asking for an offcut, you can find lots on industrial estates. I got some good bits and pieces from the local tip, just ask one of the monkeys who work there, prolly only cost you 50p :banana::banana::banana:
Good luck :)
j5
-
Re: Project: Accelerated Fear
your not the only one that love geting parcels
-
Re: Project: Accelerated Fear
Hey Guys, time for an update! Its been ages, and i have a lot to tell you about so sit back and relax coz this update is gonna be pretty BIG :)
After a lot of attempts to talk to the right department at AMD i finally managed to speak to a lady called Julia, she said she couldn't help :( BUT :D she would put me in touch with her Tech Specialist Ron who might be able to sort something out for the project. Anyway i spoke with Ron for a while beating around the bush about what i actually wanted (i didn't want to take the piss and start demanding stuff you know?). Eventually i told him if he could send the the best he could spare id be very grateful. He took my address and telephone number for the courier and said he would have a look around to see what he could find for me but he couldn't promise anything...two days later...
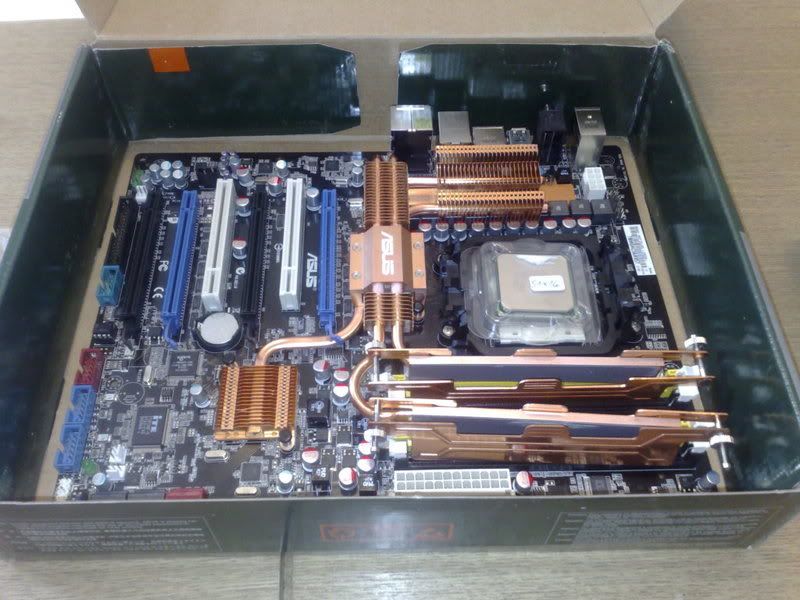
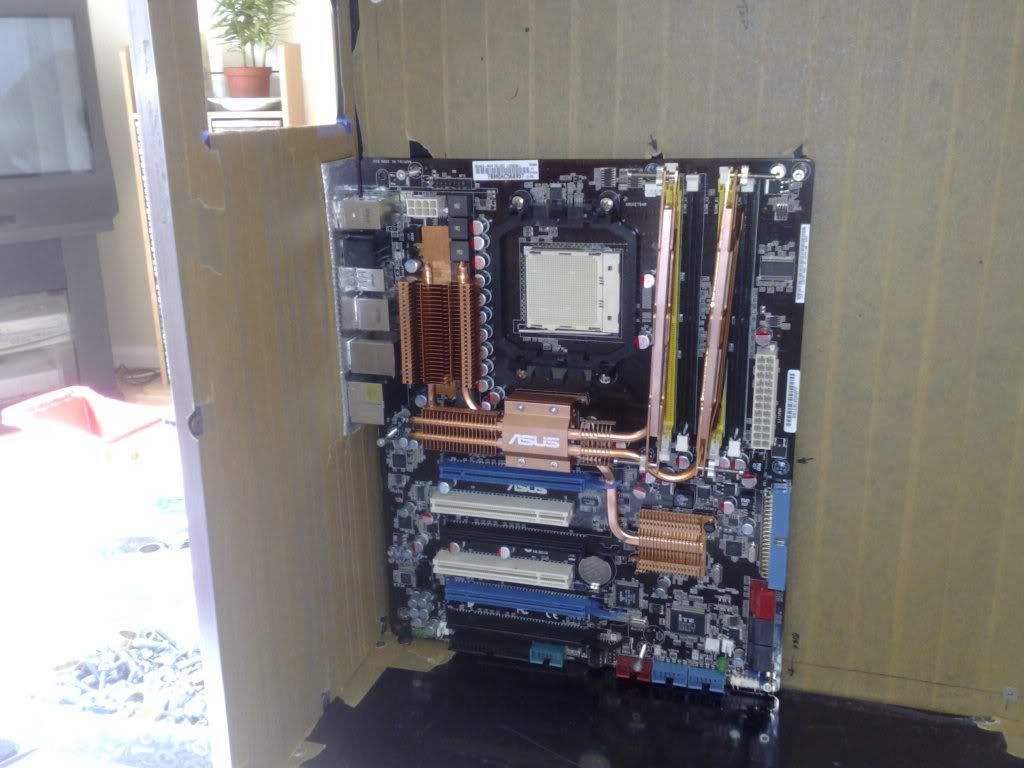
BOOOOM!!! an ASUS M32-MVP Deluxe!! I nearly wet myself when i opened the box and saw all that copper!! Totally wasnt expecting it!
Ohhh.. wait a tick.. whats that little silver thing laying on top there?
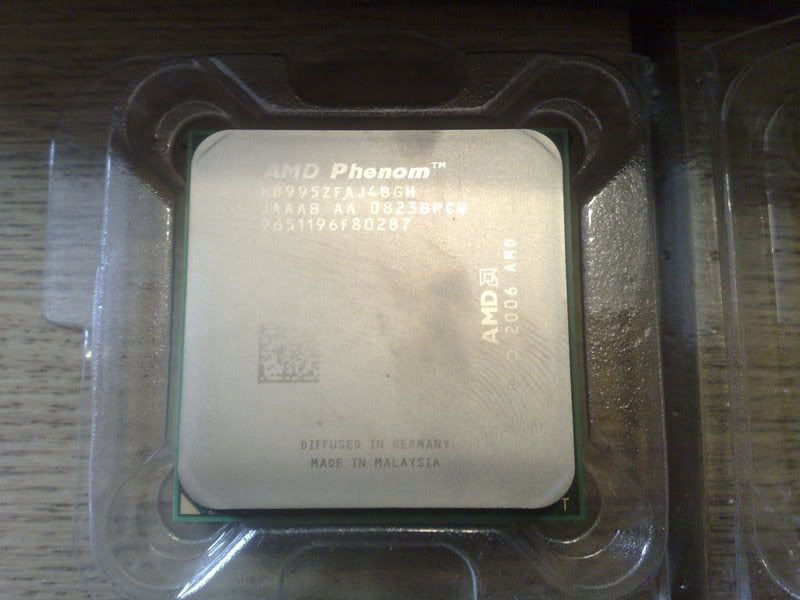
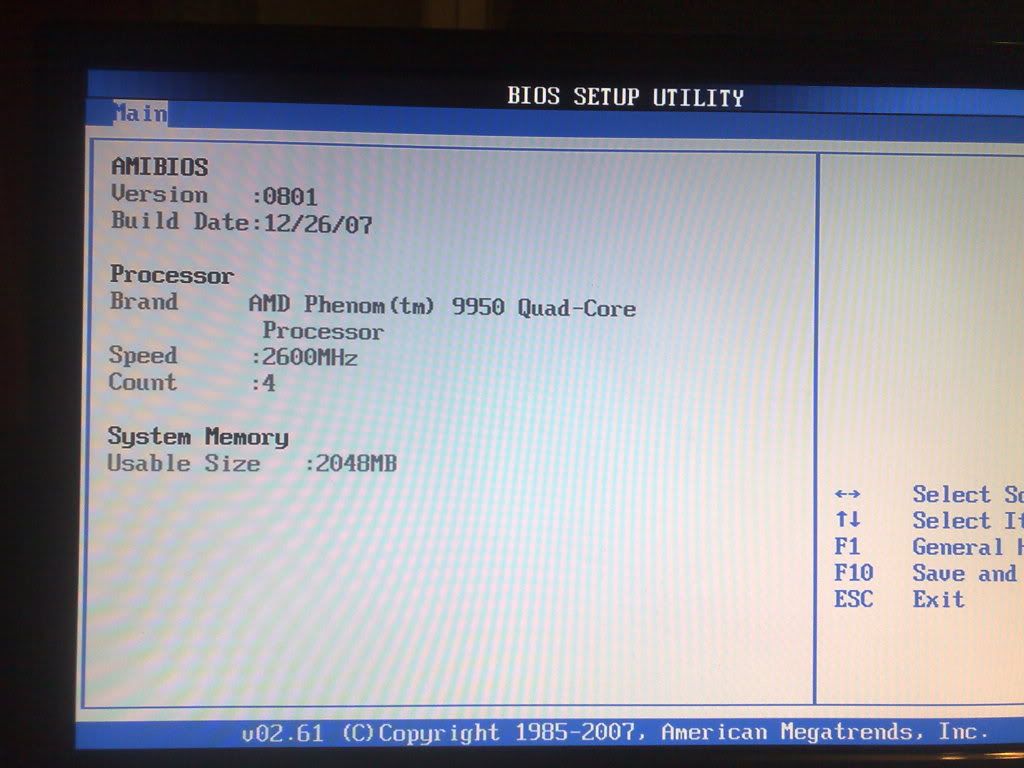
BOOOOOOM!!!! An AMD 9950 QUAD CORE!!! 2.6Ghz!!!
After i had changed my underwear and recovered from the shock that the project just went up about 15 levels i sent Ron a very big thank you email, he just shrugged it off saying it would just go out of date if he kept it! But man, it means a lot. Thanks Ron you made my year.
Now with a spring in my step and renewed enthusiasm i got to work, for some reason i was really paranoid about the Power Supply, iv had mother boards go bang before because of improper wiring, ATX Connectors populated backwards ect, i wasnt go to be taking any risks with all this lovely new stuff.
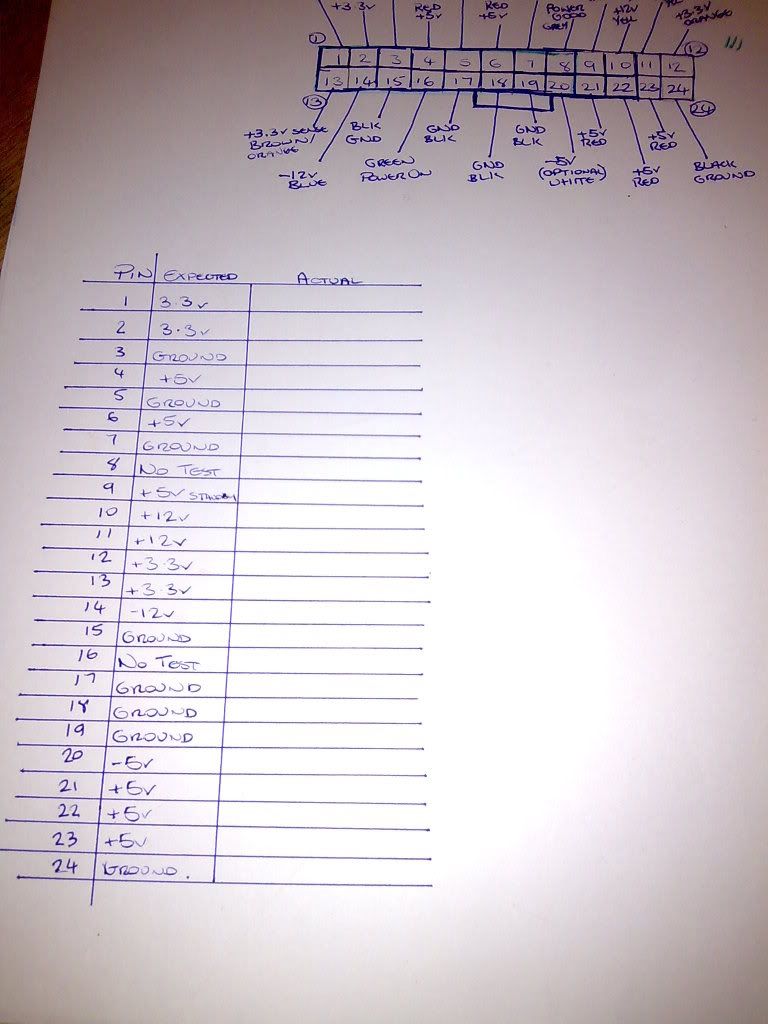
I looked on quite a few websites to get the pinouts of an ATX connector, once i had four seperate sources i compared them to check they were all the same, they were! (joy) so i wrote them all down in a rough chart and wrote down what voltages i should get from each pin.
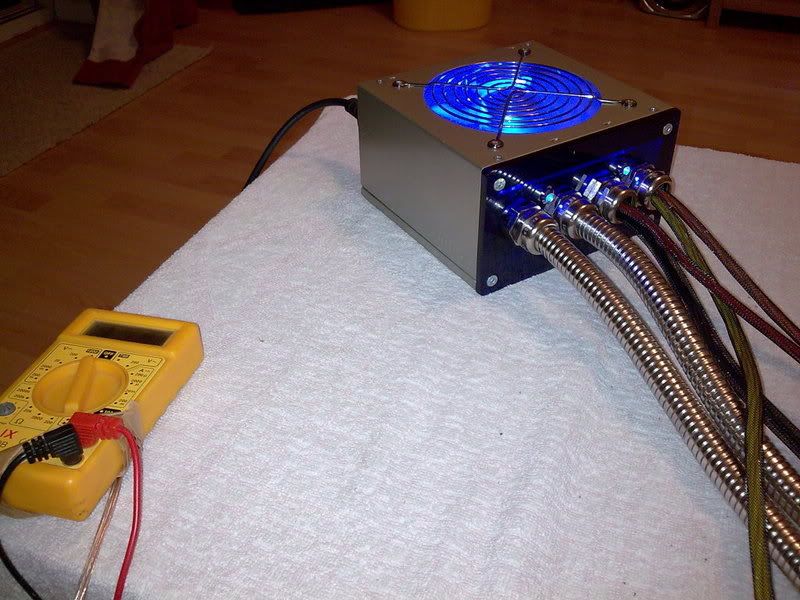
Then set about about testing it with a multimeter.
Some of the voltages seemed quite low, 3.3v was sitting at 2.8v, 5v was sitting at around 4.5v and 12v was 11.7v, i looked up the tolerances on the web for ATX power supplies, hmmm +/-5% on the above so it shouldnt be that low, then i read a little thing saying NEVER TEST A PSU WITHOUT A LOAD.
I added 3 fans to the loop and all the voltages pulled up to pretty much dead on! :banana: According to a mate the PSU was switching into "Soft On" (eww) mode as it didnt detect a load, i dont know how accurate this is as he often talks rubbish but having a load on it seemed to sort things out.
Im now fairly happy with the PSU, im not sure if it will be able to handle everything, but it has overload protection so if it dosnt work ill just have to mod another one, a lot of work but if needs be ill do it.
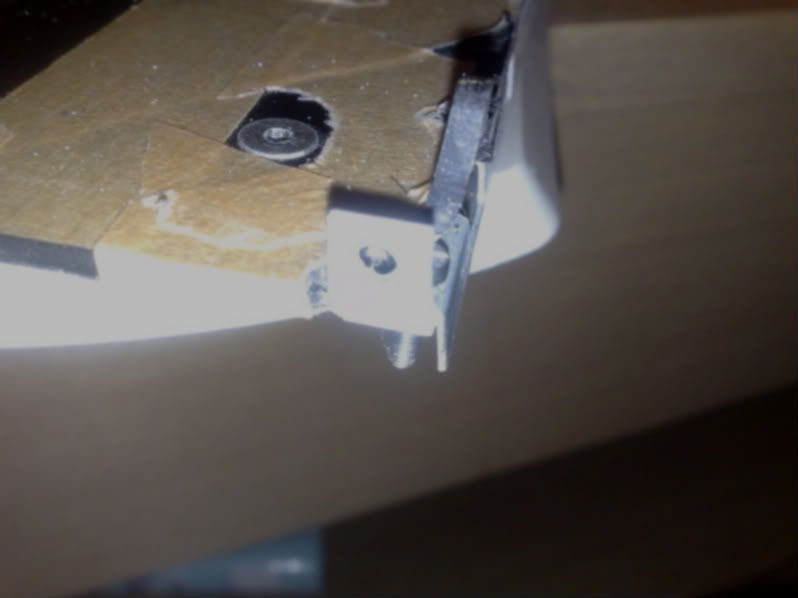
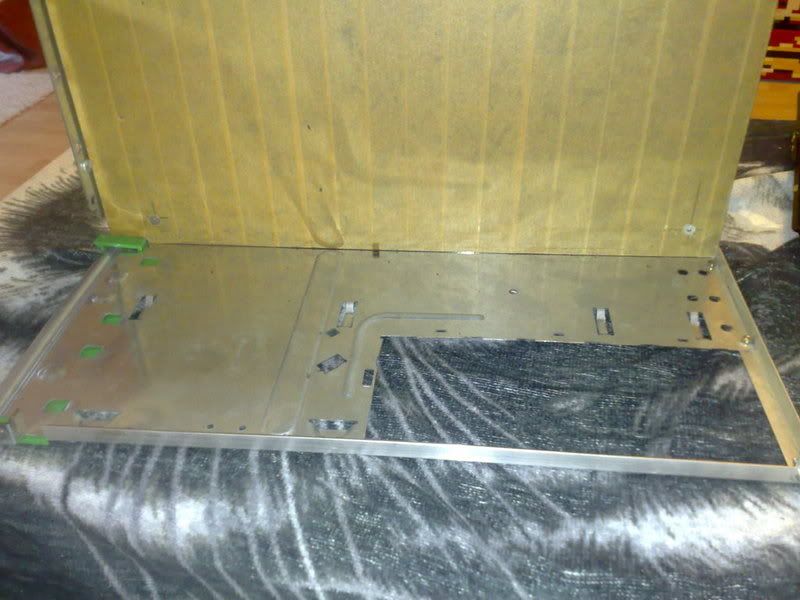
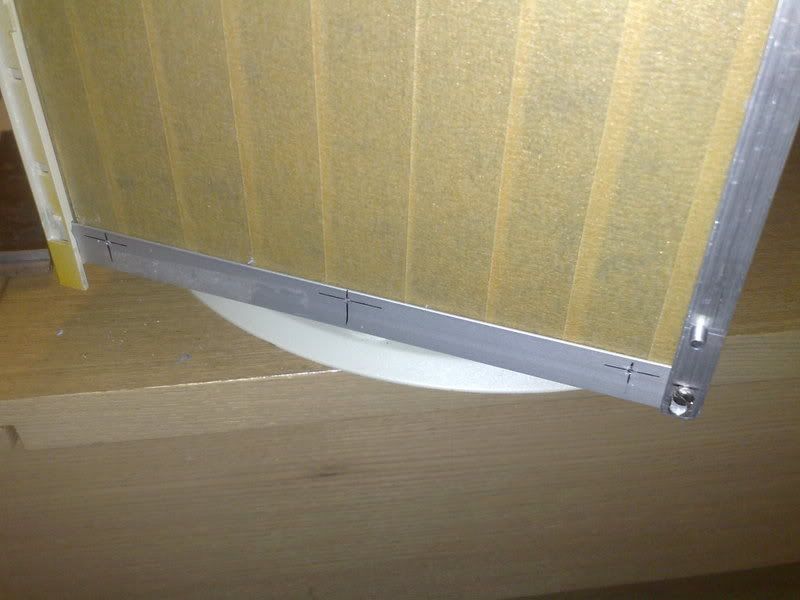
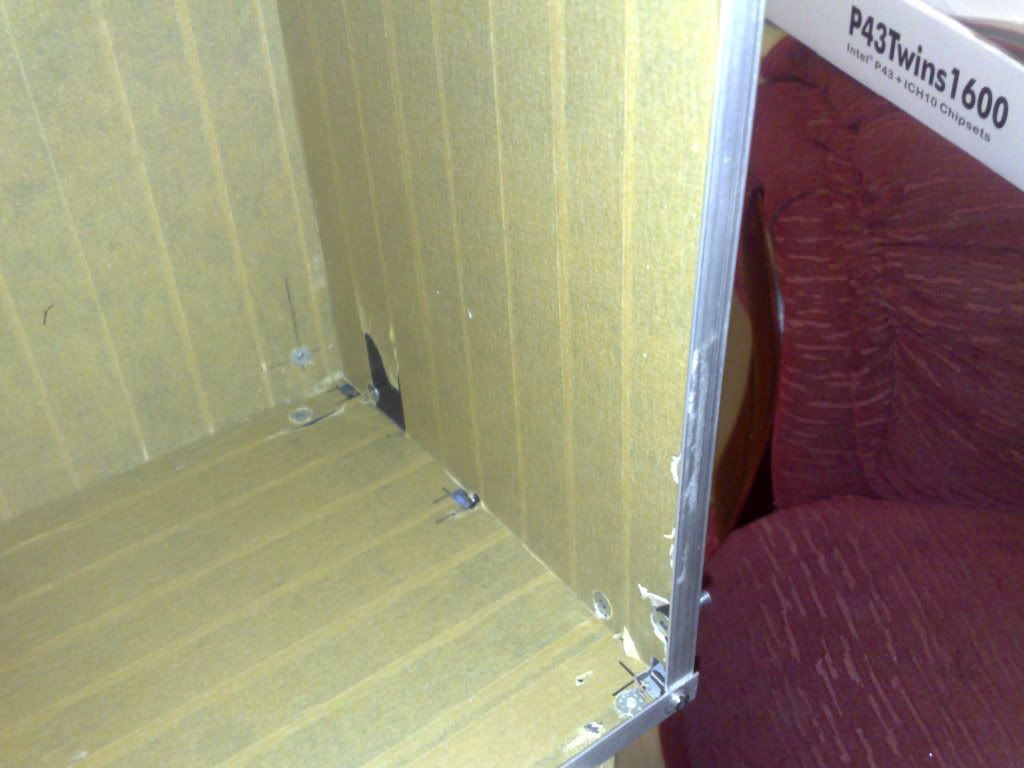
Onto the frame, i bought some more angle ally from B&Q, this time 15mm x 10mm for the top and bottom of the rear of the case, drilled 9 holes, tapped them and added some m4 countersunk socket head screws to secure the back panel.
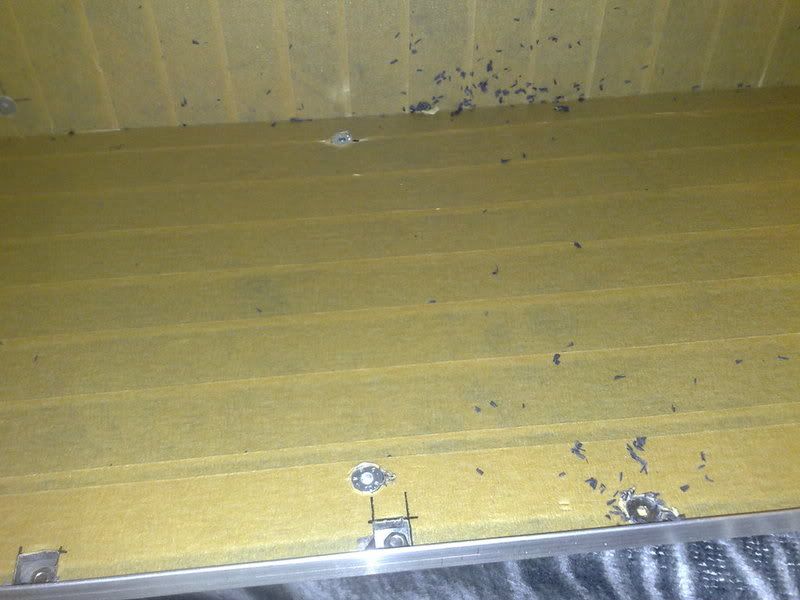
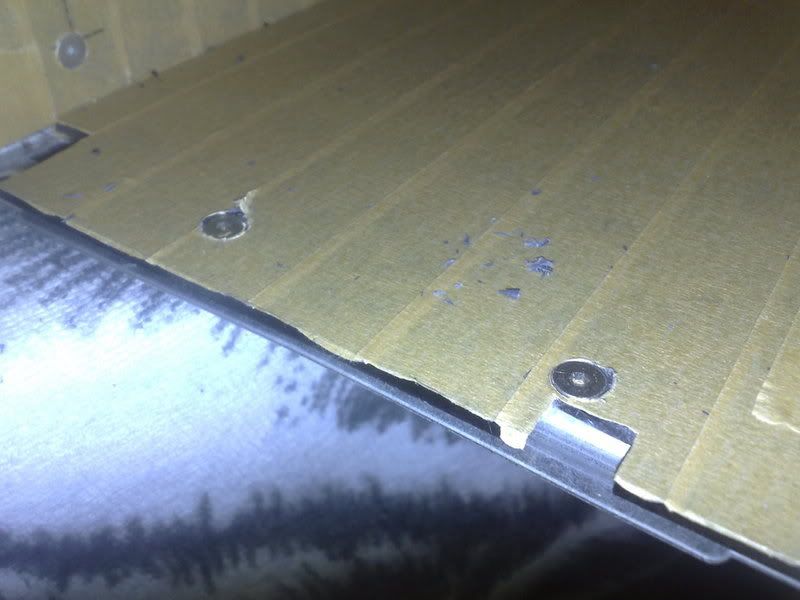
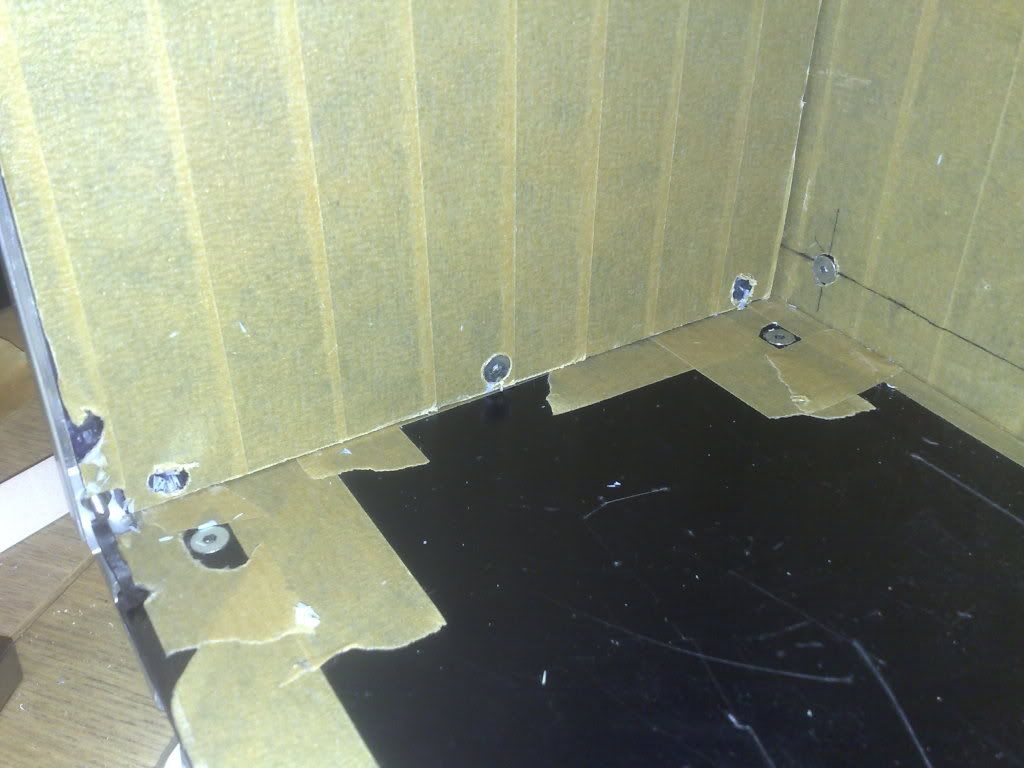
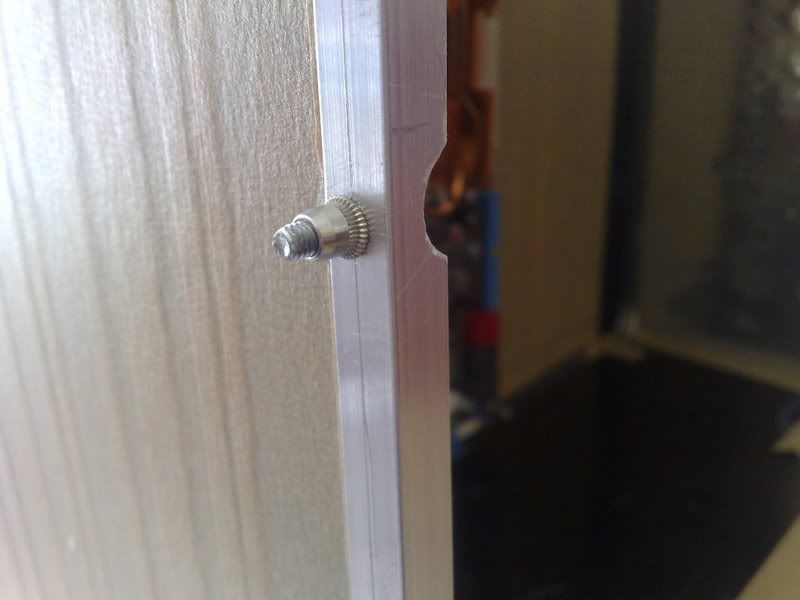
I really wasn't happy about having screws tapped into ally, its too soft and prone to getting stripped if the screws over tighten, i took it to work and used a Riv nut tool to put m4 riv nuts in the frame.
There really clever, there just like a rivet, except they have a thread inside them, trouble is you need a special tool to insert them that costs quite a bit of cash.
Ignore the dirty looking tape, its very very shiny and clean underneath :) The back panel is now very secure and solid, the whole case strengh was exponentially improved just by adding the back panel. Time to add the PSU mounting holes and the PSU exhaust hole to the back panel.
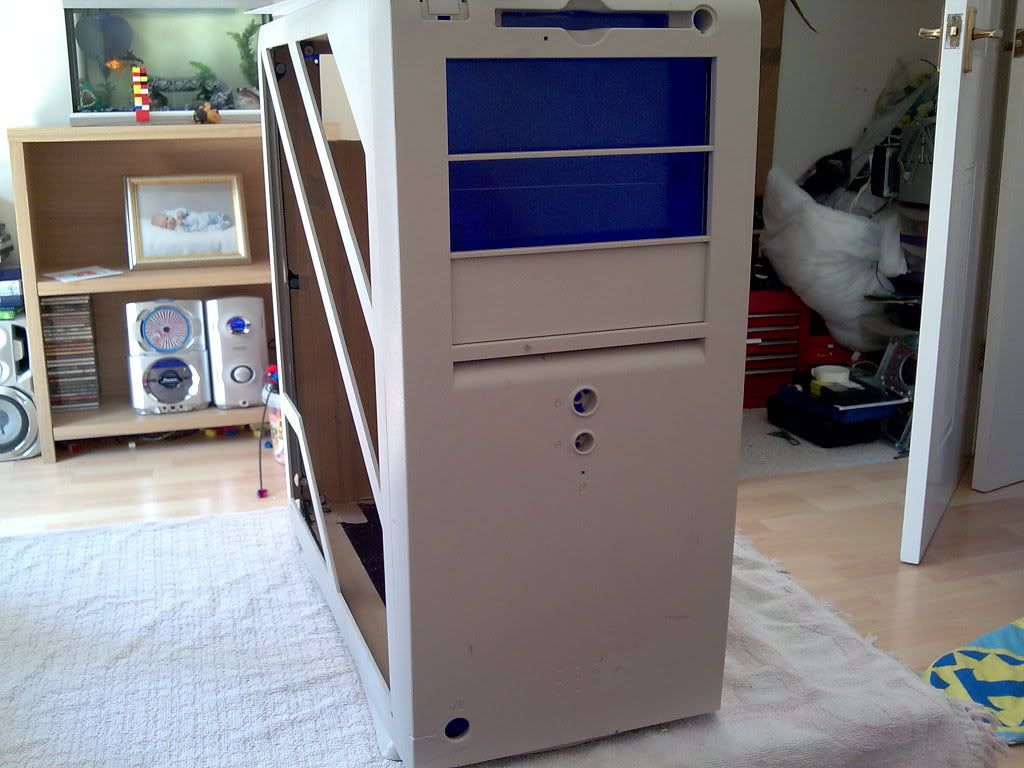
I offered it up to the frame, the case is a LOT smaller than i thought before. im used to working on a TT Shark which is a full tower but we should have just enough room.
Had a hard time marking the holes as the darkness of the plex didnt really let me see them. Anyway i marked them, drilled them, then remasked around them and drilled 4 corner holes of the exhaust hole
Then dremeled it out up to the holes
Some Filing (yes those are my legs covered in swarf, there was a lot)
More filing and a quick tidy up, need to polish the whole panel still.
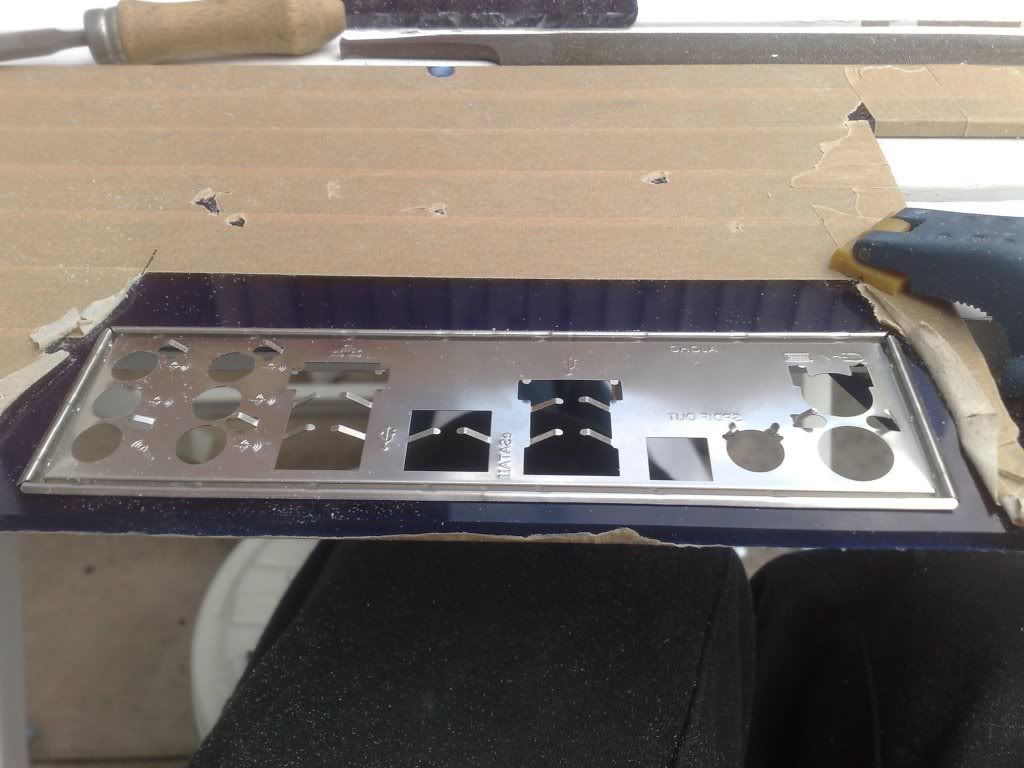
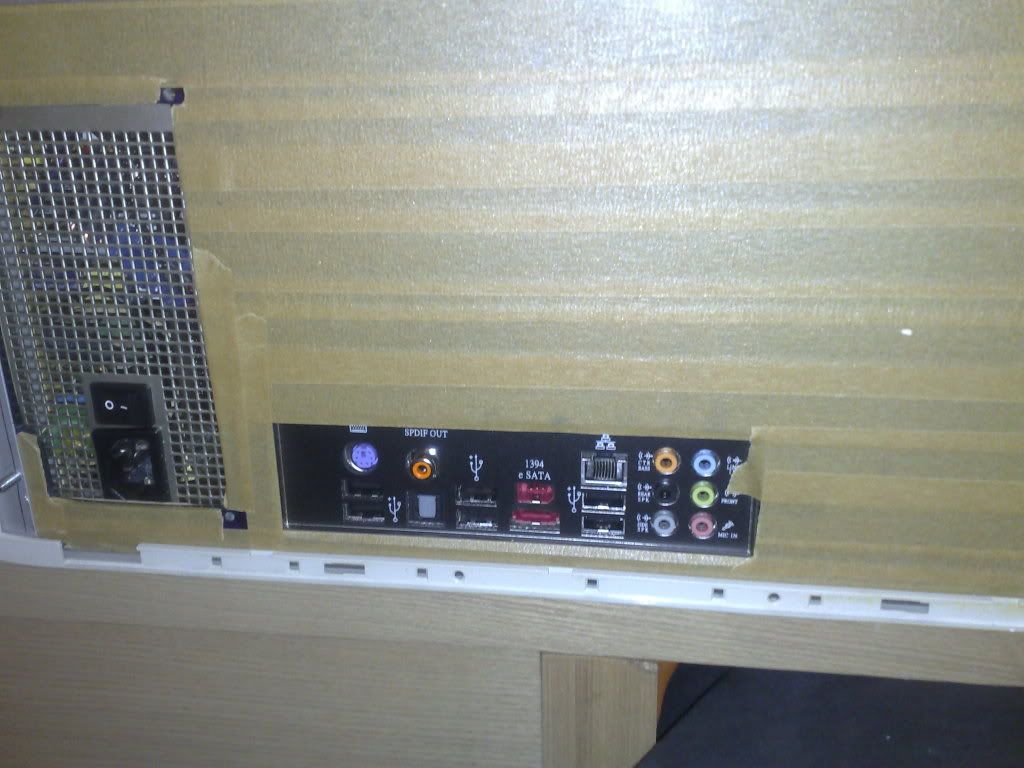
Next was the I/O panel. Didnt know which to do first, the motherboard standoffs or the I/O panel, decided to go with the I/O panel and then use adjustable mobo standoffs to take up the slack.
Marked it up.
Cut a hole.
Made it bigger.
Used an old I/O panel to check the fit.
Fits good!
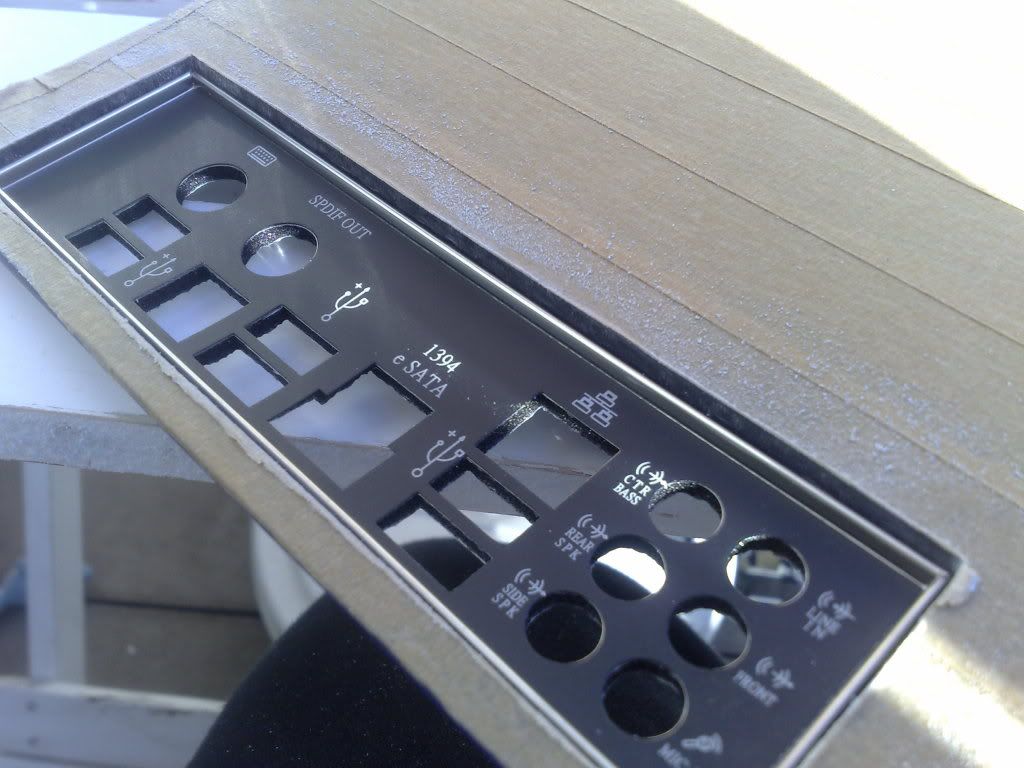
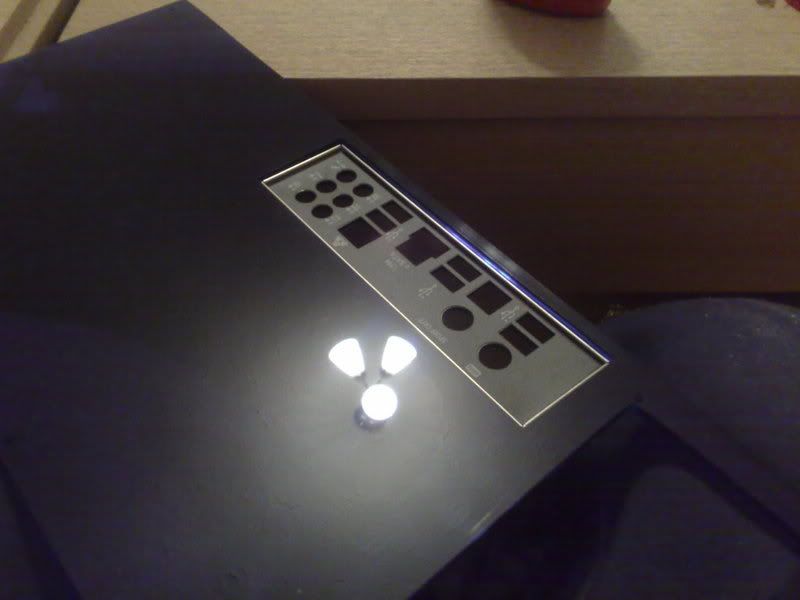
Fitted the ASUS one, its niiiice :)
Polished it up.
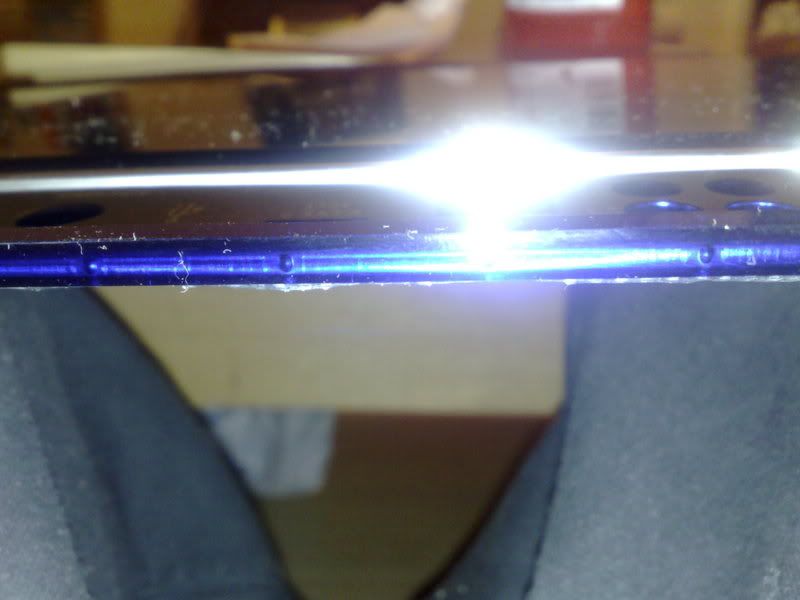
I managed to get a really nice finish on the edges, thats the dimples on the edges of the I/O frame you can see through the edge of the plex.
Next i fitted the standoffs for the motherboard, getting all the holes lined up perfectly was a lot harder than it sounds, i used some 8mm standoffs and adjusted there height with washers so it lined up nicely with the I/O frame.
See what i mean about the size of this case? Its tiny, there was literally 2mm between the bottom of the board and the bottom of the case.
Still, at least it all fits. Phew.
I added the same to the front, blue plex, rivnuts ect, same as the back except less holes (will be soon though ;) ) so i wont bore you with that, just a few snaps.
More in a sec..
-
Re: Project: Accelerated Fear
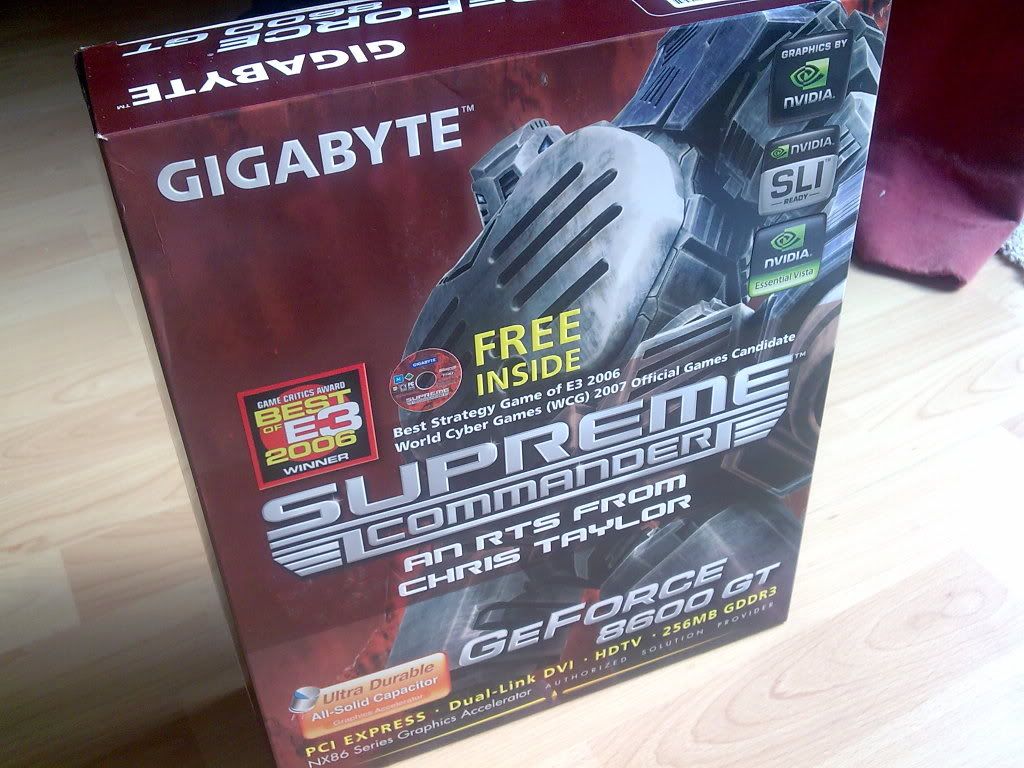
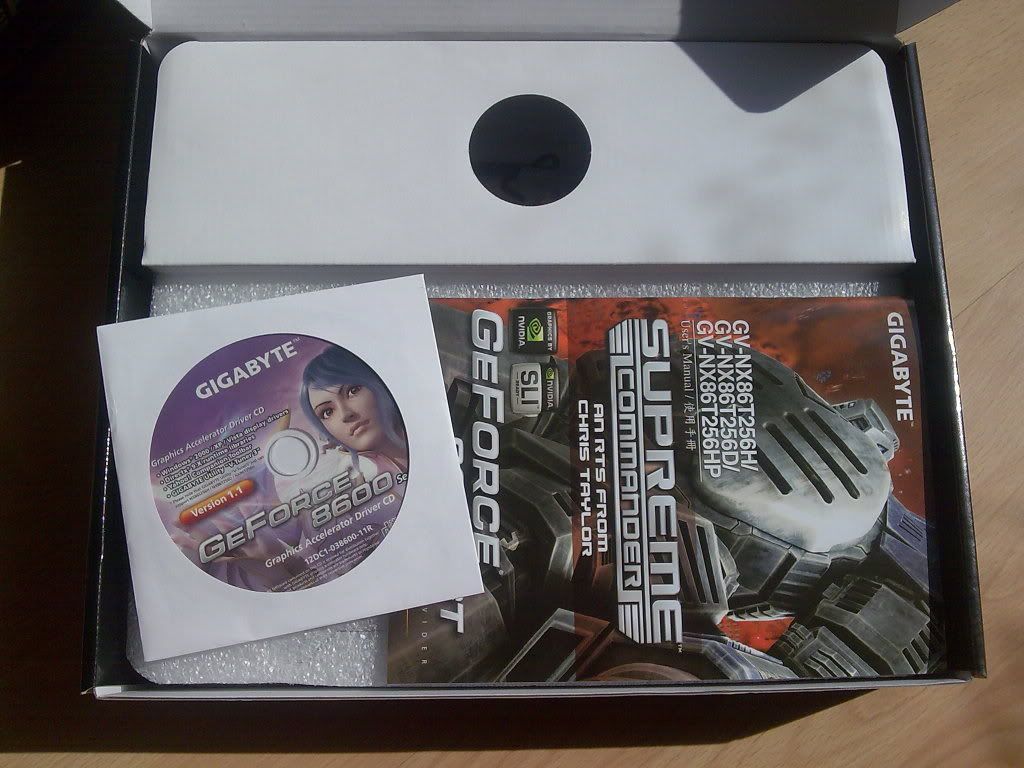
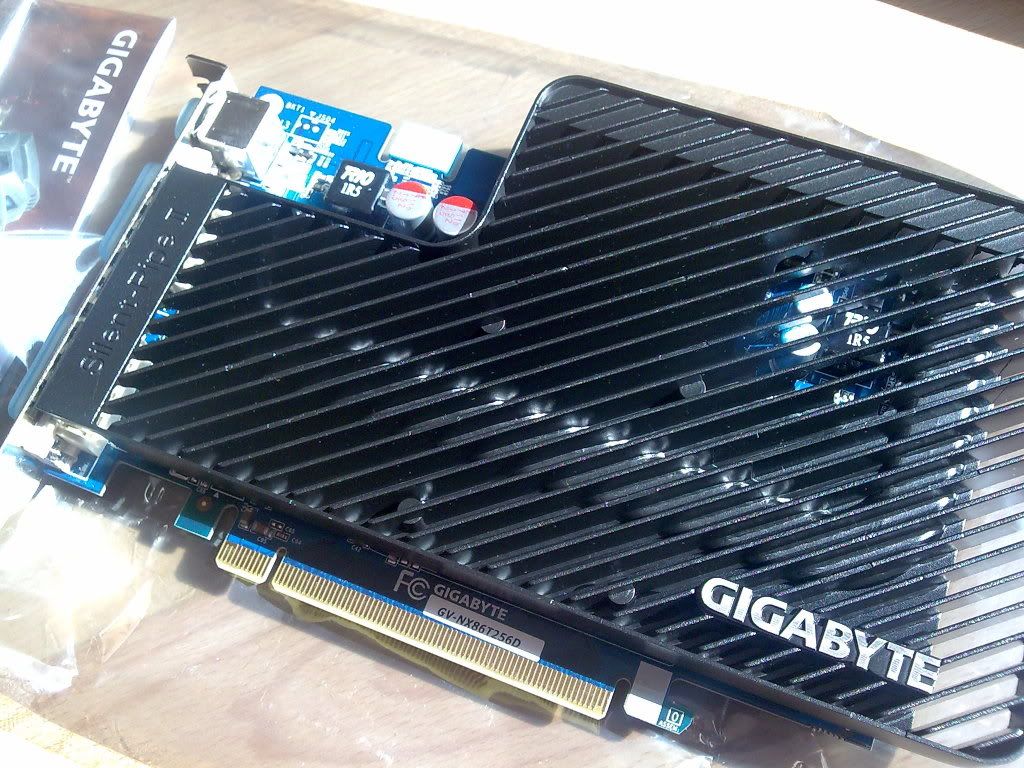
Iv been talking to a guy called John Hung after emailing Giga-Byte asking for some hardware sponsorship a few weeks ago, its typical, the day Ron sends me the Asus board John mails me to say i can have a sample of a GA-MA78GPM-DS2H Crossfire Hybrid board, i didnt know what to do, if i accepted the board from John and Ron saw the log he would think im a lying little ****, if i took the Giga-byte board but used the ASUS, Giga-Byte would be pissed. Man i had to email John and explain the situation, i knew Giga-byte do versions of graphics cards with there branding which got good reviews so i dropped a small hint to John about the possibility of getting one instead of the motherboard. I thought id blew it but he replied a few hours later that day saying i could have a NX86T256D!
Couldn't believe my luck, whats more is that the main office for Giga-byte where John works was 10 minutes from my house in MK! So i drove of to meet John at his office, he was a really nice guy, he was asking all sorts of questions about the project, was great to meet him.
Got home with this baby.
Ok so my ATi blocks wont fit, but its a silent pipe! Just need to make sure my Airflow is up to scratch then in a few months when i upgrade ill add the blocks to my new card.
The card looks really nice, the heatsink is kickass!
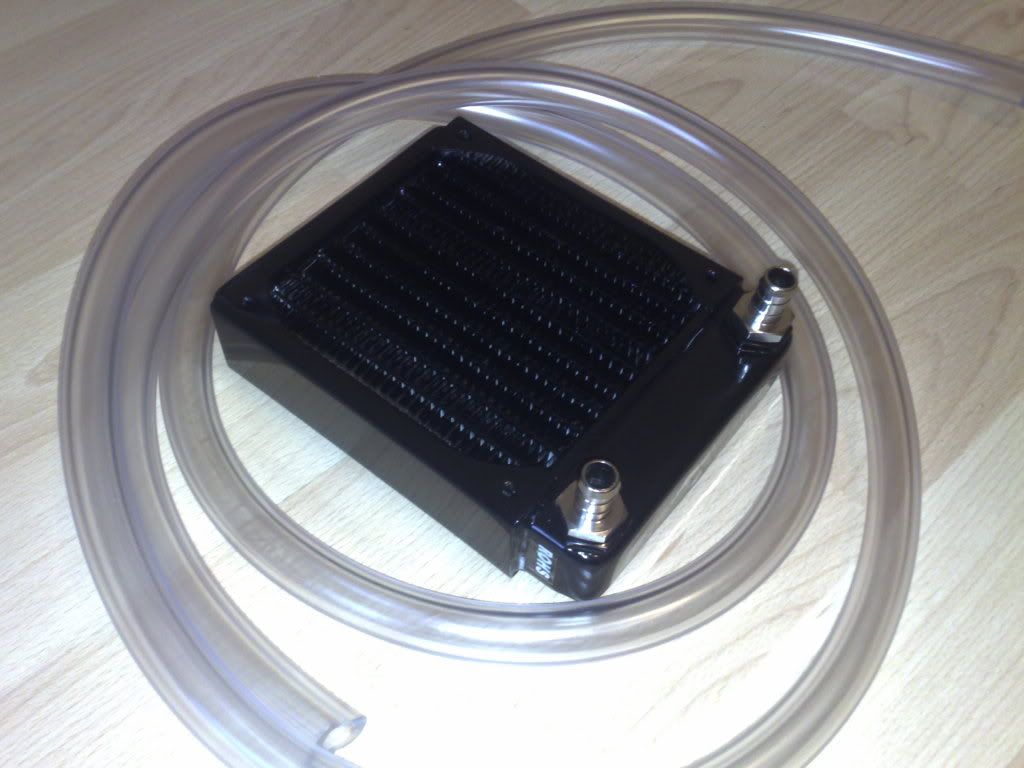
I put in an order with a UK based water cooling company, im not going to Hotlink them because they totally screwed up the order, it took over a week to arrive first class and it was damaged when it got here due to just being slung in a jiffy bag. After another week and a half my new cooling gear turned up. I used XSPC gear because my budget is low and they got good reviews, if it turns out to be crap ill get better stuff later on, i got a 120mm rad and some 3/8 ID - 1/2OD tubing.
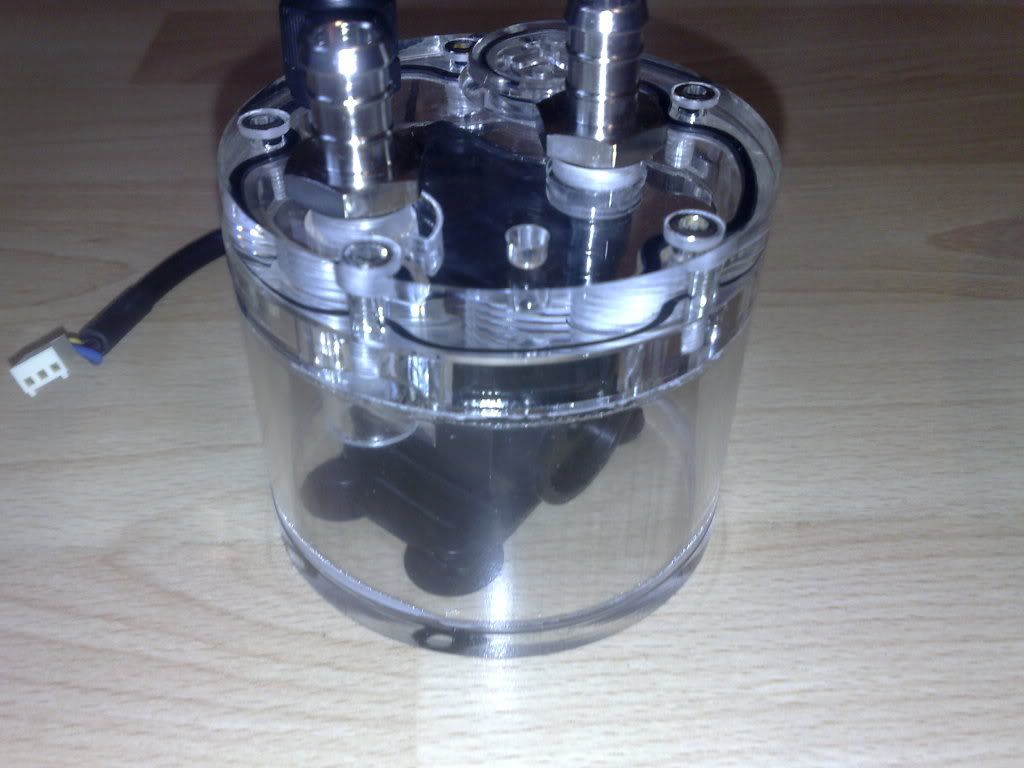
And this nice little compact pump/res.
Hmm the pump has no feasible way of being secured into place, have to mod something :D
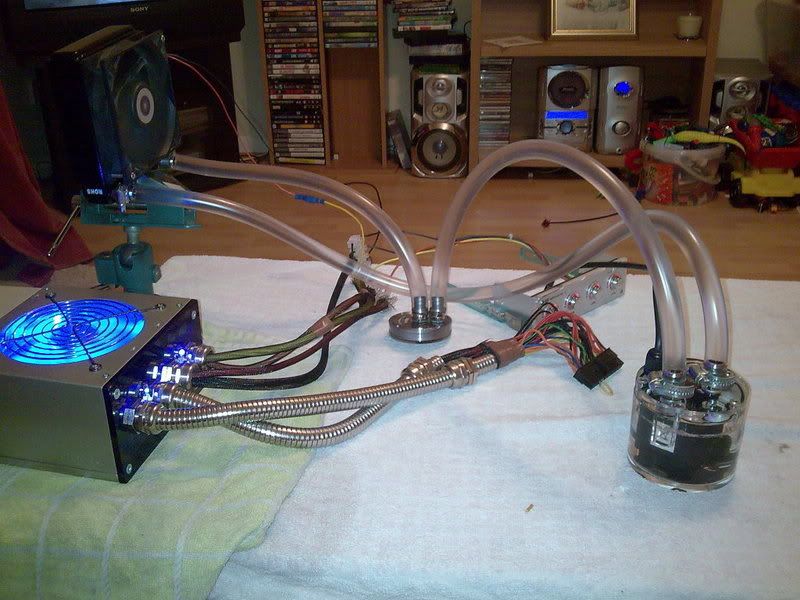
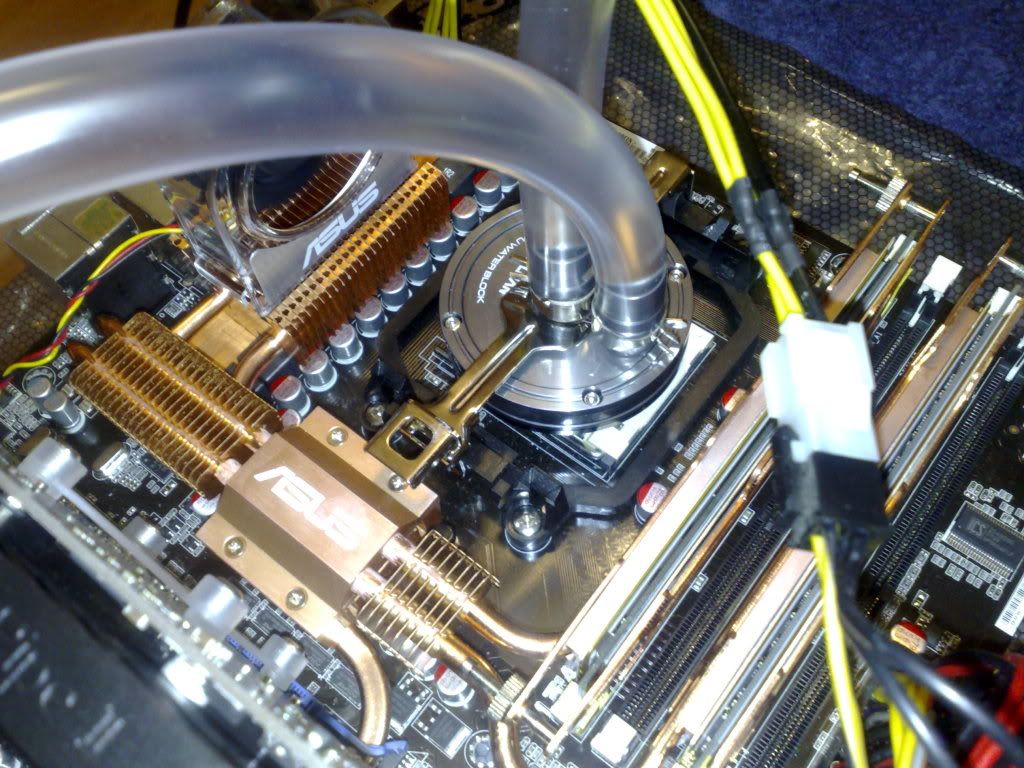
I got the lovely blocks from QuietPC.com, i was a bit worried about the Barbs fitting the tubing but they fit perfectly. I got some distilled water from work and decided to do a little test run, ill add dye later, this is my first ever water cooling setup!
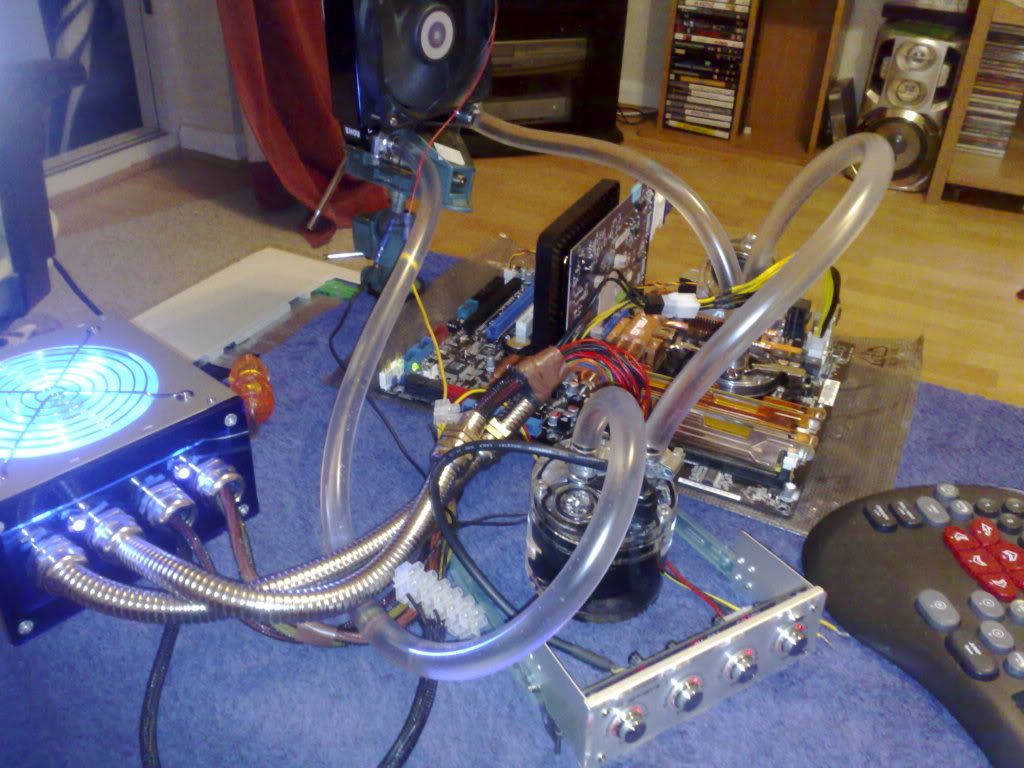
hahaah i got water EVERYWHERE! But that little pump is really good, its so quiet i had to put my ear up to it to check it was on! But it didnt leak :banana: after about 5 minutes i ran my finger across the CPU block, it was ICE cold! Id definatly recommend those Zalman blocks from Quietpc, there made for a reserator but work perfectly with 3/8 tubing. I left it overnight, still no leaks so all good.
Now i can test my hardware!
The Zalman block mmm
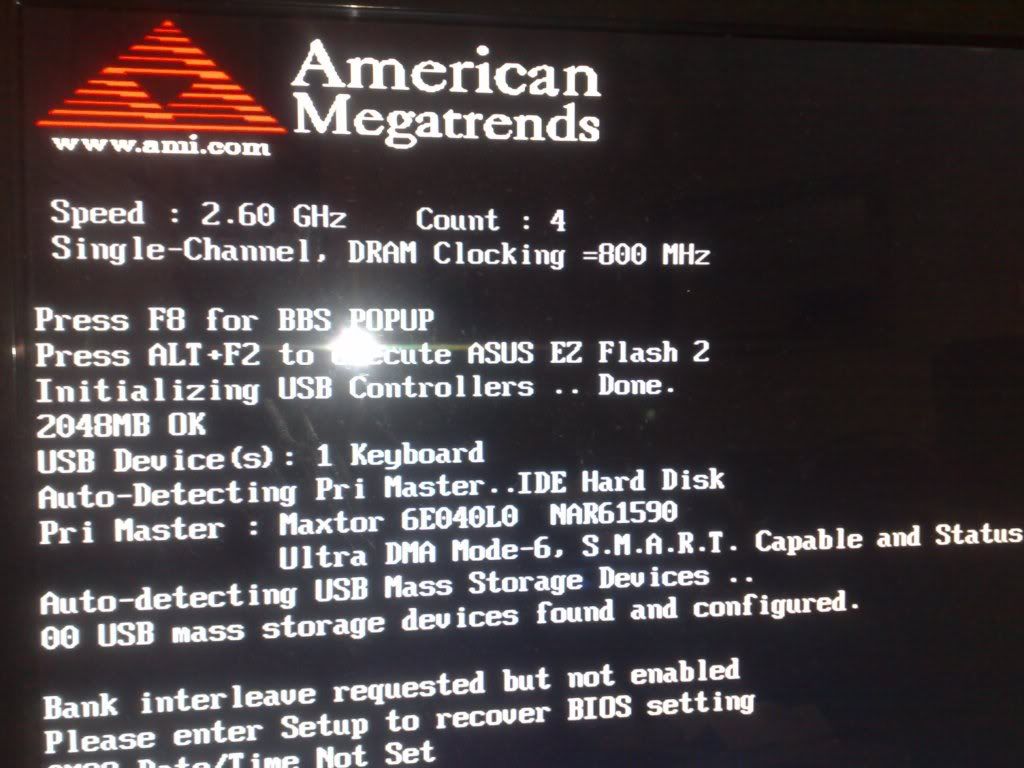
Hahah look at that setup, it looks like a mad scientists lab! I fired it up and got POST :banana::banana::banana:
Still cant believe im rolling a 4x2.6Ghz Phenom cpu
Got BIOS!
AHHH BLUE SCREEN OF DEATH FLASHED UP!!!
Then it rebooted :think:
Checked on the net, hmm maybe flash the BIOS, nope still BSOD, changed the RAM, still BSOD, i was convinced the PSU wasnt generating enough juice until i realized...windows :down: Had to go buy a crappy old drive and load on XP to check and it worked perfectly! YAY!
Thats it for update 6 guys, hope you enjoyed reading, comments appreciated.
j5
-
Re: Project: Accelerated Fear
you lucky you...:D
this is going to be one cool case:up:
keep up the good work!;)
-
Re: Project: Accelerated Fear
Damn i wish i was that lucky
-
Re: Project: Accelerated Fear
A nice big update, very nice work with the PSU and mobo mounting.
-
Re: Project: Accelerated Fear
have the same mobo and almost same cpu:P you can easily clock it too 3 ghz;)
-
Re: Project: Accelerated Fear
i has a tutorial badge! thanks jdbnsn! :banana:
Quote:
Originally Posted by
kris
you lucky you...:D
this is going to be one cool case:up:
keep up the good work!;)
Thanks kris, i still cant believe my luck aswell :)
Quote:
Originally Posted by
985323
Damn i wish i was that lucky
Just be persistant :) im making a complete nuisance of myself with A.C.Ryan at the moment trying to get some fans :up:
Quote:
Originally Posted by
The boy 4rm oz
A nice big update, very nice work with the PSU and mobo mounting.
Thanks man, project LEXA is looking good too mate, keep it up.
Quote:
Originally Posted by
p0Pe
have the same mobo and almost same cpu:P you can easily clock it too 3 ghz;)
Wooohooo cant wait to do that hahah cheers p0Pe :D
Cheers guys!
j5
-
Re: Project: Accelerated Fear
Dude...I'm downright jealous of you. Over.
-
Re: Project: Accelerated Fear
Thanks mate, yeah she is getting there...slowly.
-
Re: Project: Accelerated Fear
Quote:
Originally Posted by
The_Crippler
Dude...I'm downright jealous of you. Over.
heheh i could still blow it all up :hurt: ill be happy when its all running and stable.
Quote:
Originally Posted by
The boy 4rm oz
Thanks mate, yeah she is getting there...slowly.
I know the feeling, after i spent three hours today polishing a god dammed panel, thought to myself...this...is...gonna...take...FOREVER!:mad: then i polished for another 3 coz i love it! :banana::banana::banana:
-
Re: Project: Accelerated Fear
Update 7
Hi Guys, time for an update! My little girl is due in 4 days, so i wanted to get this done now as i dont know when i will have time as ill soon be super busy. On with the update.
You guys pwnd Photobucket last time! Totally blew 25gb of bandwidth away so iv had to make a secondary account for hosting otherwise it would be a load of bandwidth exceeded pics.
Anyway, after i had fitted the psu into the case i needed to make a junction box to power the hard drive and the optical drive, it will also act as a junction box for the fans and water pump. I got this project box from maplins.
Cut out a rough piece of 5mm plex, screwed it to the top and began matching the shape of the box.
Getting there, still a bit of sanding to to to get rid of those deep nicks.
I needed to add 5 input/output ports for the box, i planed to have the two cable groups from the PSU going in the top, and 3 groups going in/out of the front. One each for the drives, and the other will probably take the SATA cables and the on/off switches, reset switches wires from the motherboard. So i marked up 3 holes for the front of the box.
Then i realized i wanted to light the box from the inside, so i just ended up cutting the whole lot out!
I added some more of the cable glands from before to match the PSU. Here is a test fit.
Nice and smooth now, needs a polish but ill do that later.
But that's only 3 ports i hear you yell!
Here is the other 2, i drilled them at work during a quiet period, also added rivnuts to the holes to hold the new plate on.
Heres the panel i made to go onto the top of the junction box, i did a little experiment etch in the middle, it wont be seen but i wanted to try my hand at it for a future part of the case - more on that later.
Here is a snap of the blocks being used in the box, 3.3v, 5v, 12v and Ground.
Im going to be painting the box part the same color as the PSU (Vauxhal Platinum) but im going to make something else out of black plex right now that will also need painting so ill do it all at once. The next thing to make is the frame for the lovely HDD Cooler QuietPc sent. I knocked up there two little brackets during the quiet period at work, unfortunatly i couldnt take photo's of the process as we arnt allowed cameras inside the facility.
Basically i bent a long piece of black plex, chopped it in half so i had two bits, the bolted them together and shaped them as one piece. Then used a dremel to cut out the grooves and a needle file to smooth them down. I used the cooler as a template to line up the holes, here is a test fit.
And a snap of the proposed position.
I decided to hold the drive at an angle like this so that the top half of the air from the intake fan is angled upwards towards the big copper heatsinks cooling the northbridge and ram, and the bottom half is compressed under the drive and pushed towards the silentpipe II on the 8600GT.
Now iv got a few bits and pieces to paint i had to take another trip to halfords to get some more paint, using 3 coats on everything really uses it up!
Here is everything primed with the filler primer i mentioned earlier.
After that, a coat or 3 of platinum, and hung up to dry (looks like a demented wind chime!)
All dry and after 3 coats of lacquer
I added some frosted blue LED's to the inside of the junction box to add some interior lighting, not sure how it will look, but lighting is something i will sort out after i have everything in place.
Here is the cooler with the painted brackets.
Kinda reminds me of a futuristic dragster! haha
I made some little brackets that will hold the junction box onto the fron of the case, same as before, made them at work but no process shots.
1 hour to make, 5 hours to get them back to being shiney, but worth it.
Here's the junction box reassembly after painting and being held onto the front of the case with the new brackets.
I decided to change the choice of screws to button heads (above) as i think they add contour to the otherwise flat panels, what do you guys think? Im going to keep the same screw theme throughout so ill be changing the ones on the PSU too.
I wired the LEDs to the blocks and gave it a little test light.
Not sure about it, im thinking white LED's might give a better effect.
Had a slight problem..
ARRRGGHHH not long enough! That's a **** load of work there to extend those :mad::mad: My fault though.
Here's a shot of the hoses connected to the box.
As you can see i extended all the PSU wires which took the best part of the evening but now there super long. I had to use blue wire instead of orange as maplins "the electronics experts" (PAH! trained chimps more like) dont keep it in stock, the guy there didn't even know about wire gauge for christs sake. Anyway i terminated all the wires to the blocks.
Now for some work on the rear I/O panel, i still needed to add a fan hole, and the graphics card slot.
Gouged a nice big chunk out, what a mess!
But it gave me a reference point.
Cut out the shape, sanded it, polished it and re-masked it, also added the hole for the fan and the screw holes.
Now remember that test etch? mmm, you guessed it!
Started with a simple pattern, using a scalpel and a steel rule, also added holes for the hose.
The as i went on i decided to add more and more to the design.
STOOOOP!!! if i do anymore i know im going to ruin it, virtually had to price the scalpel out of my king fu grip!
Cat time! Ahhhh look at him, he's so cute!
ARGHHH NOOOOOOOOOO!
Bad cat! hahaha he's mental, look at the size of those claws. He took a proper swipe at my face there. >.<
Back to the etch! I took it to my mate, he's got a really cool machine called a shot blaster, its basically a sand blaster except it uses really fine Iron Silicate shot and fires it through a gun at a million MPH! Its insane, here is the panel after blasting.
VERY dusty! I took it to the sink and washed it all off, also removed the tape.
A test fit for the mobo and graphics car slot.
Thank god that fits.
More in a few minutes.
-
Re: Project: Accelerated Fear
Now that's a nice junction box and HDD mount mate. Fantastic work.
-
Re: Project: Accelerated Fear
The radiator i bought is either a load of ****, or every radiator has this problem, basically the paint chips really easy! i barely looked at it and its chipped to buggery. So i decided to paint it. Masked it up..
look at those chips goddammit, gonna sand them out.
Painted it but forgot to take pics, you will see it later when its on anyways, it basically a radiator...that's platinum colored.
Good News!
After my persistent badgering of Dennis List at A.C.Ryan they finally gave in!:banana::banana::banana::banana:
Big thanks to Dennis and A.C.Ryan for the support. :up::up::up: Logo added to banner.
I mentioned before that i wasnt happy with the rating of the power supply, it will limit me greatly if i decide to upgrade any of the hardware being 480w,
Alex Watson, the editor of custom PC magazine has shown interest in the project and is going to be sending a new PSU, an 800w OCZ model, hopefully i can keep the modded chassis and swap the insides. A very big thankyou to Alex Watson! :up::up::up: Another logo for the banner, shots of the PSU when it arrives on Monday.
So, i ordered some Fesar 1 UV Coolant and some UV CCFL's and decided to fill the loop and leak test it, as the I/O panel was finished i can permanently secure the rad and run the hoses through. Heres a few shots.
Ignore the slight untidiness, the case is far from finished, i just really wanted to get loop in and leak tested.
That's it for this update guys, hope you enjoyed reading!
Comments always appreciated!
j5
-
Re: Project: Accelerated Fear
Just went through all 9 pages, and this one is one to remember! Great job JohnyFive 8)
-
Re: Project: Accelerated Fear
Looking nice. Yeah I have found radiator paint to chip and scratch easily, must be whole painting on copper thing.
How do you find those AC Ryan fans? Are they too loud?
-
Re: Project: Accelerated Fear
Quote:
Originally Posted by
brinkz0r
Just went through all 9 pages, and this one is one to remember! Great job JohnyFive 8)
Thanks Blinkz0r, im glad you read through it all, i do tend to ramble a lot in my worklogs! +rep for the patience :)
Quote:
Originally Posted by
The boy 4rm oz
Looking nice. Yeah I have found radiator paint to chip and scratch easily, must be whole painting on copper thing.
How do you find those AC Ryan fans? Are they too loud?
Thanks mate. They seem fairly quiet, but i could hear them at full spead when testing the loop, im going to be using rheostats to limit them though as i dont want to hear anything at all, also im not sure about the colour as they dont really fit in very well, im might spray them or make an enclosure.
Cheers Guys!
j5
-
Re: Project: Accelerated Fear
nice work mate looks good