Man this is lookin great! I can't wait to see it done.
-Indybird

Printable View
Man this is lookin great! I can't wait to see it done.
-Indybird
Looking good! Cant wait to see it all together!
nice work, looking great
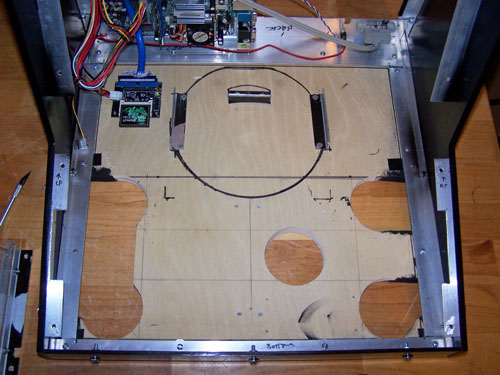
Since everything was out of it I decided to cut a couple more holes in the base so that the bottoms of both joysticks were accessible. I then reinstalled the motherboard, power supply and CF card IDE adapter card.
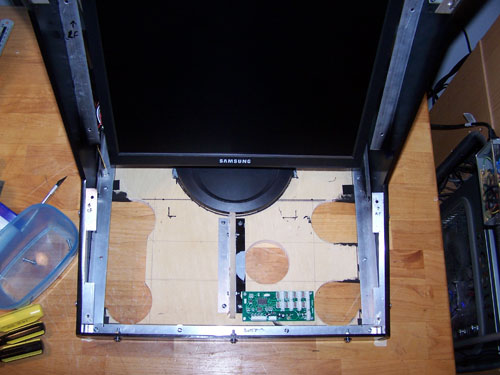
Next up, I installed the arcade control panel support brace, X-Gaming BYO Arcade controller board and the monitor into the cabinet.
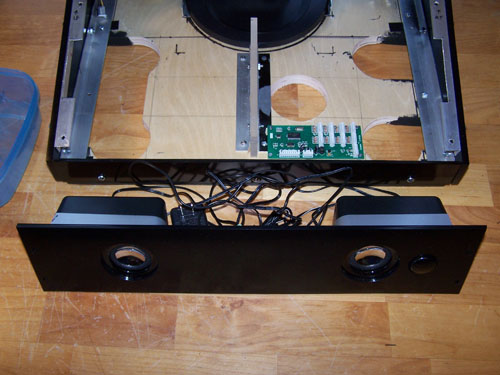
I used Weld-On 16 to mount both speakers onto the acrylic panel and then clamped them down... Weld-On 16 dries clear and is some seriously wonderful industrial stuff.
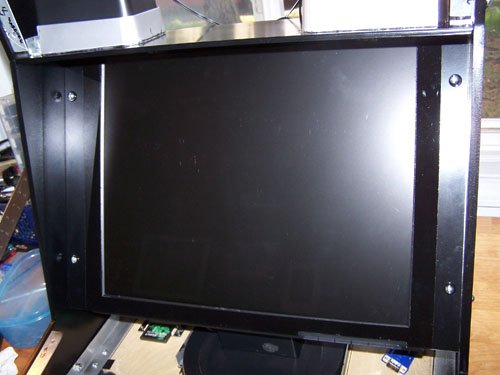
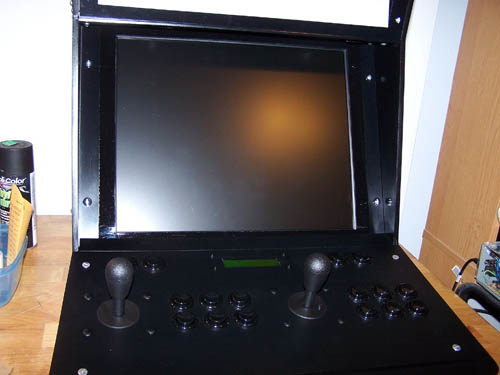
The speaker panel and the monitor overlay acrylic panel are installed. I cut some of the bottom right monitor acrylic panel out so that the monitor controls can be accessed when the arcade controls panel is removed.
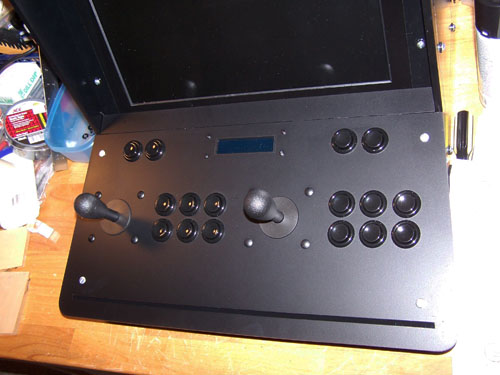
Below is my nearly completed arcade controls panel, for now it is just loose fit onto the cabinet, but both joysticks, all sixteen buttons and the Matrix Orbital display are installed.
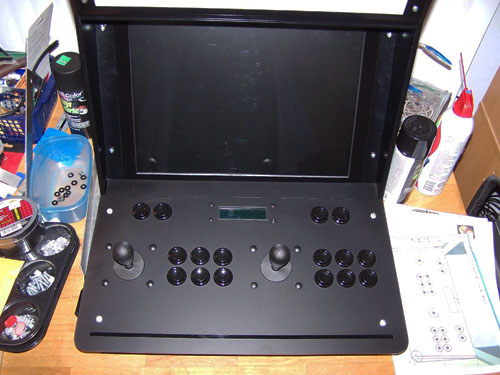
Here's another look at the arcade controls panel from a top down perspective...
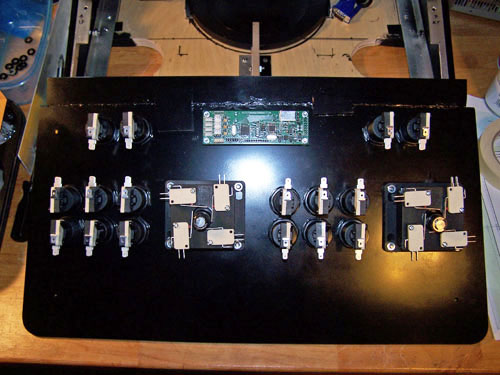
And a look at the back side - twenty four micro switches still need to be wired up to the BYO controller board, but not far now.
dude that seriously is amazing stuff. It is looking really good, I may have to make my own one day lol.
yeah man looks sweet love these mame mods
I decided to change up the monitor overlay acrylic panel a bit, the clear center section had to go. My reasoning - first it eliminates the reflection/glare it caused, second it fixes and prevents any existing or future scratches, and third if the screen itself ever needs to be cleaned the whole thing won't have to be torn apart now to do it.
nice change looks good
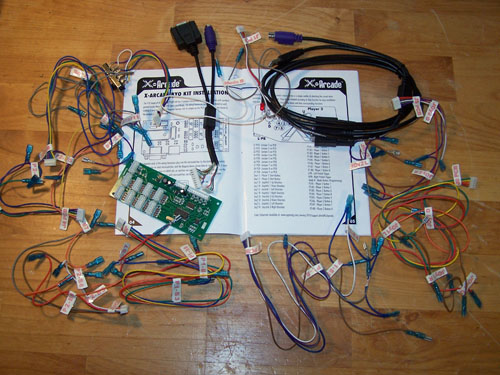
Changing things up seems to be a trend as this project gets closer to completion - with that said I have decided not to use the X-Gaming BYO arcade controller kit. It was really nice of X-Gaming to send me one to check out, but the convoluted connection method combined with the confusing mess of tabbed wiring and cryptic instruction set started me thinking that a pre-wired controller might be less than optimal for my needs.
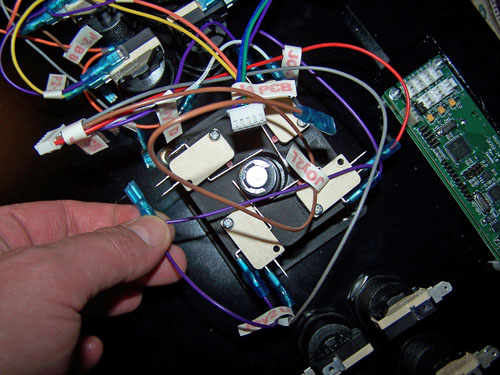
The picture below however shows the single biggest reason why I am not going to use it, the wiring is just too short to work. Sure, I could modify the wiring by adding length to it, but the BYO arcade controller kit is supposed to be ready to go solution right out of the box and simply stated it kind of sucks.
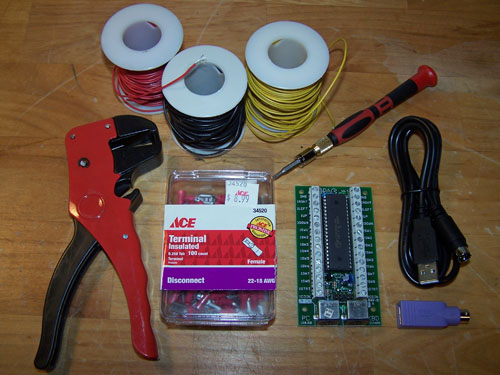
Below shows the new plan - I bought an I-PAC2 arcade control interface, a wire stripper and a hundred pack of terminal connectors and I will wire it myself. I like that the I-PAC2 has a simpler single cable method of connecting to the PC over the X-Gaming controllers cables, but the best part is that the button and joystick wiring will be a lot cleaner.
Sweet update! I have been looking at those I-PAC2 controllers as well, can't wait to see how it goes together for you!
Wire MADNESS :up:
MOD ON!
Is that one of those Butane soldering irons next to that yellow wire spool? What do you think of them, I have been looking at buying one for just some basic tinkering. I can get em for around $30AUD.
That looks like a precision screw driver.
CBB
/\ yeah.. think ur eyes are going jase :P
Possibly, I am getting old after all haha. Seriously, the butane soldering irons I saw look exactly like that lol.
Well, it's full on Winter now and I had to put away my distraction - time to bring this project back from the dead...
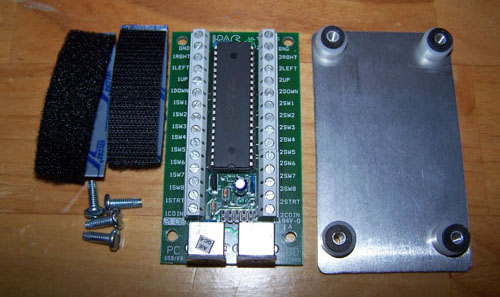
I had to figure out a way to mount the Ipac2 controller to the bottom of the arcade controls panel, below shows what I came up with. I made a board tray out of some scrap aluminum, drilled four holes and implemented the same spacers and board mounting technique that I've used on my last four projects, the whole thing will be attached with Velcro.
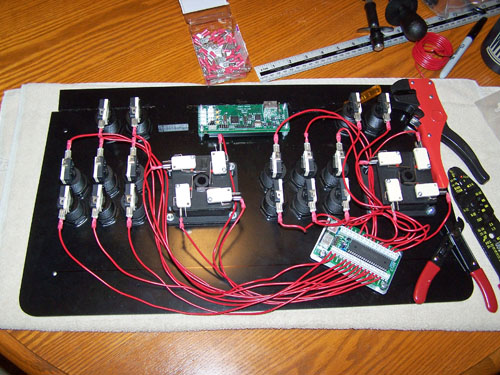
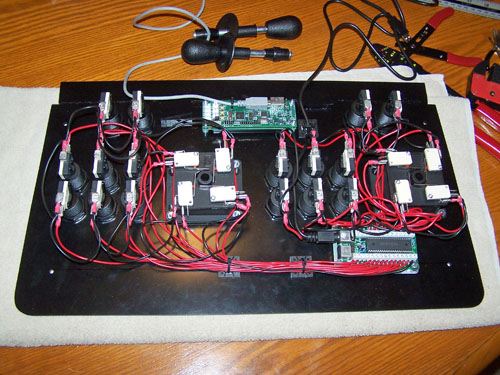
The micro switches on the joysticks and bottom of each button have three contact points - a normally closed position, normally open position and a ground. I used the normally open contact and wired each micro switch to its corresponding location on the Ipac2 board.
Next, I piggy backed the ground wire to all of the switches for each player side and wired them to the ground point on the Ipac2 controller board. While I was at it I tidied it all up and then ran the USB cables to the Ipac2 and Matrix Orbital display.
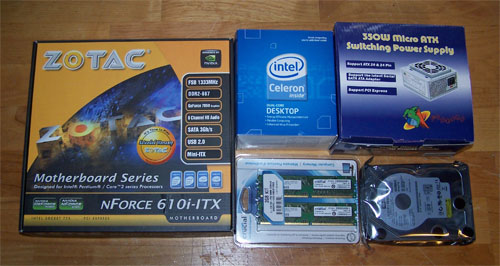
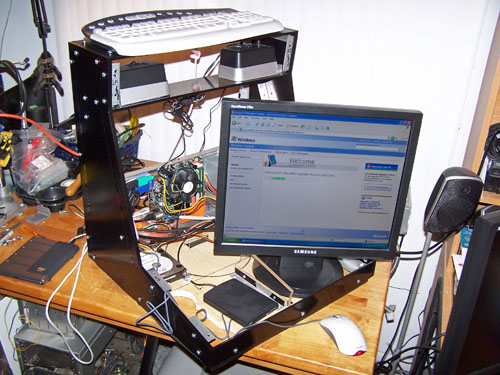
I have a bad habit of never letting good enough be good enough, the hardware I had would have worked fine but I decided to beef up and change everything out. Below shows the upgrade - a Zotac mini-ITX motherboard with GeForce 7050, a Celeron 2.0 GHz dual core processor, 2GB of Crucial DDR2 667 memory, a 350W micro-ATX power supply and lastly a 320GB Western Digital hard drive.
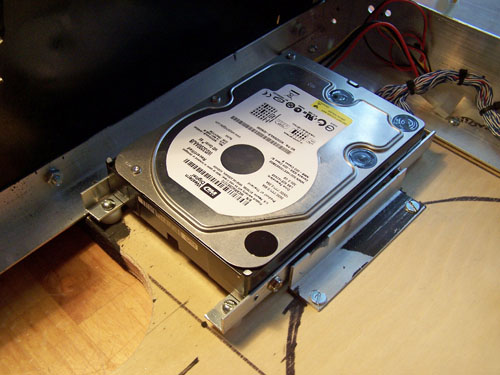
Since I am no longer using the IDE adapted 16GB compact flash in this project I had to come up with a mounting method for the larger hard drive. Good old aluminum angle and plastic spacers to the rescue, below shows what I came up with, it's a perfect fit.
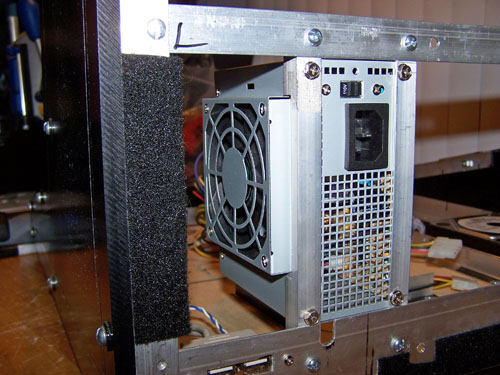
I also had to come up with a way to mount the larger power supply in a different location, again I used aluminum angle that was cut, filed and drilled to fit... alum-angle is awesome.
Mounting the new power supply meant having to relocate the mother board, I drilled four new holes and problem solved. With all the hardware installed it's time to fire it up and install WindowsXP, drivers, updates and MAME32.
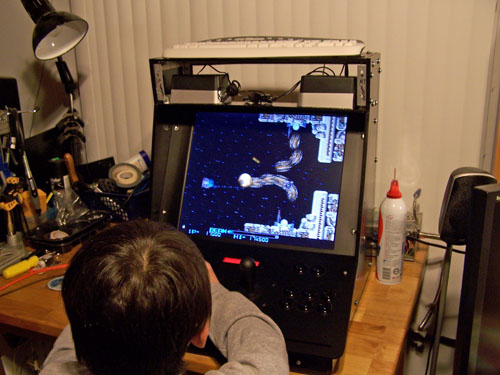
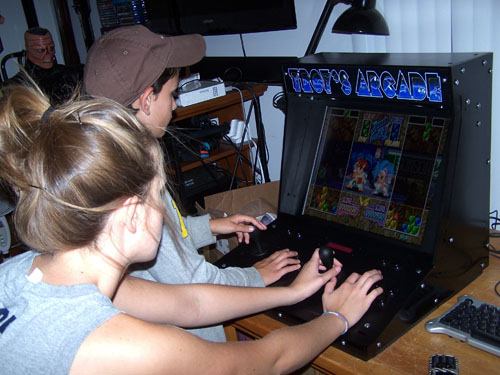
After the operating system and programs were installed it was time to throw it together for a test run. Below shows my 10 year old buddy Brent tearing up some R-type, after playing around twenty or so other games I asked him what he thought and he told me "Every kid should have one of these."... true that.
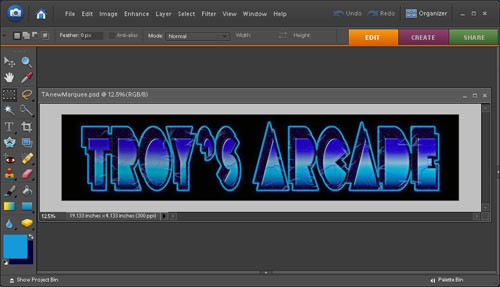
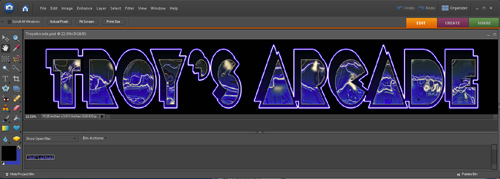
Now that it is fully operational I have decided to kick things into high gear and get it finished, the one thing that it really needs is a marquee. I broke out the Photoshop and started designing, it only took two attempts before I came up with something I liked.
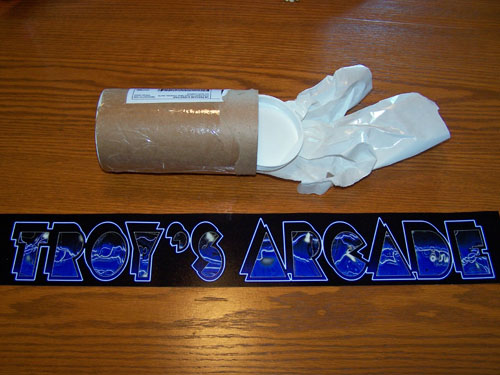
Once my design was set I uploaded it to MAMEMarquees.com, it cost $23.90 with shipping and a few days after placing my order a professionally printed, perfectly sized and totally sweet custom marquee was sitting in my mail box.
Distraction... Uh... It can distract me any time. Hahaha, love the idea. Hope to see this finished soon. =D
Very nice portable arcade Troy I like it a lot, awesome work so far :).
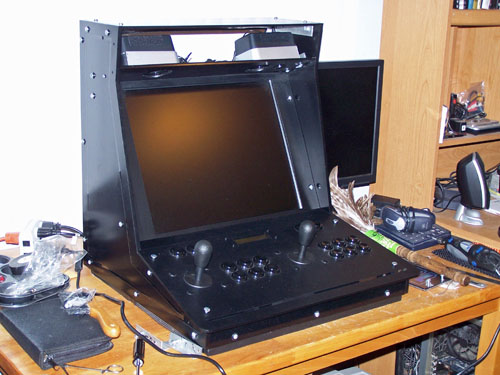
Hands on testing of my own revealed a major design flaw that needed to be addressed, the plexi sheet that the speakers rest on sits flat horizontally so it is hard for an adult to view the upper most parts of the screen while standing and playing. Changing the angle (see below) fixes the problem and also the speaker output is better directed forward instead of straight down.
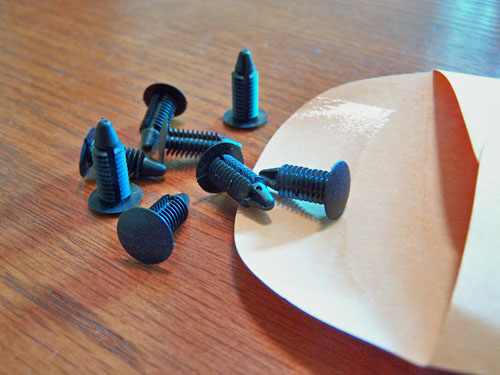
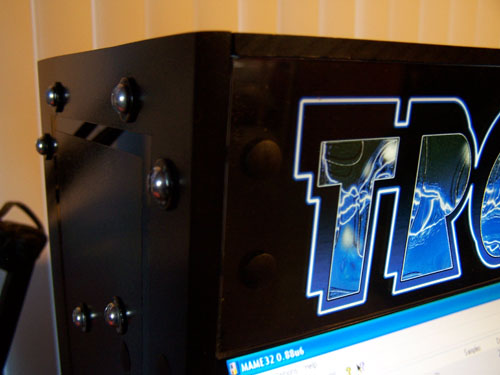
To plug (hide) the four bolt holes that opened up when the angle of the speaker panel changed I used some black plastic auto panel fasteners that I got from my local hardware store.
I had to cut back the pointy end of the auto panel fasteners so that they would sit flush on the inside of the acrylic panel, they do a pretty nice hole plugging job.
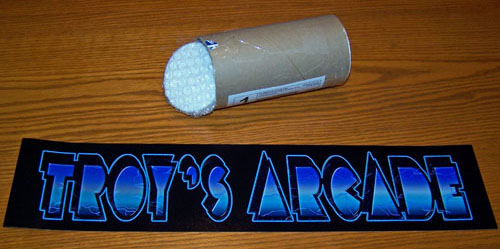
Changing up the angle also meant the arcade needed a new marquee and it only took a couple attempts before I came up with something I liked even better than the last one. Once my design was double checked and finalized I uploaded it to GameOnGrafix.com.
The new and improved marquee cost $19.35 shipped, it arrived in three days and it looks absolutely fantastic straight out of the tube.
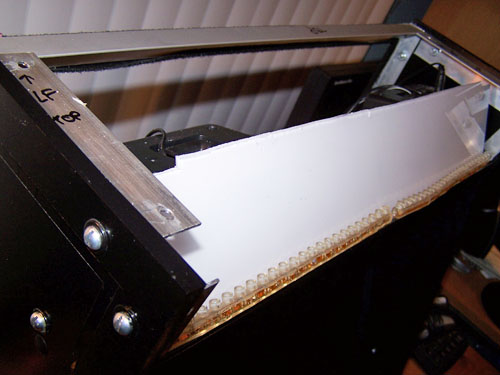
Below shows the marquee LED strip lighting and the white acrylic reflector panel which is held in place by small pieces of Velcro attached to the speakers.
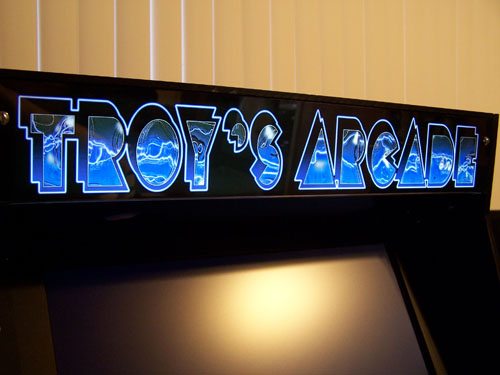
I cut two pieces of acrylic to size and sandwiched the printed marquee graphic between them and bolted it all down. An on/off switch was attached to the power for the marquee lighting..
Time for a little two player hands on testing, which calls for multiple games of Super Puzzle Fighter 2 Turbo followed by a few rounds of Capcom Vs. Marvel. The result - two out of two kids agree that my arcade machine rocks.
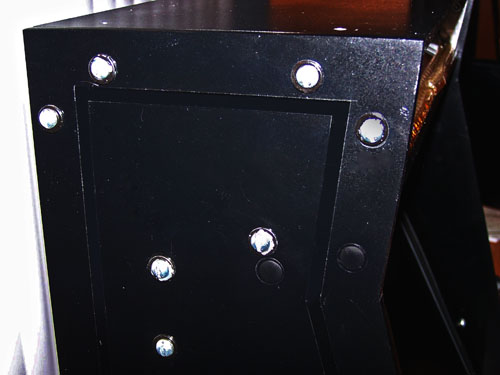
After looking more closely at the freshly installed marquee I decided that the shiny bolts looked rather half-assed. Changing over to auto panel fasteners required making new side attachment pieces and drilling a couple more holes in the marquee, but the end result was totally worth it.
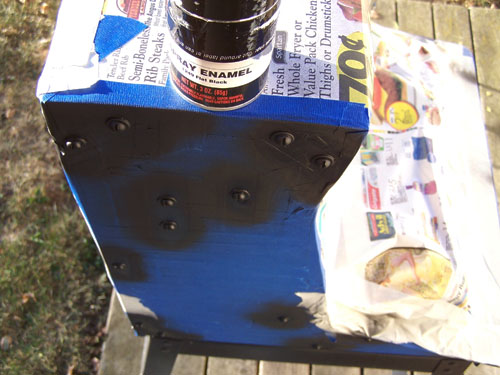
The silver bolts sticking out all over the sides looked out of place, so I masked off the entire thing and spray painted them all flat black.
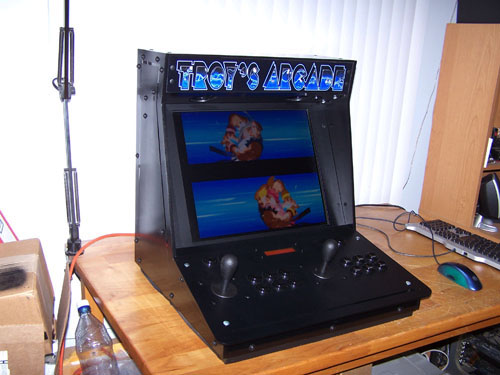
I had originally planned on putting side panel artwork onto my arcade, but I like the clean look of it without side art better... for now anyway. My MAME project is officially finished, everyone that has played it agrees that it is one of my coolest mods to date.
Dude that looks awesome, fantastic work :D. +rep
Nice to see you posting again. +rep