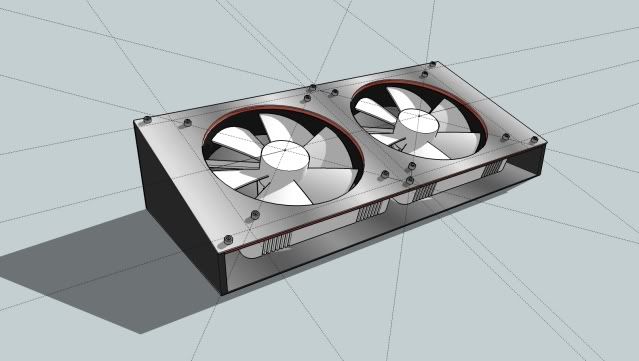
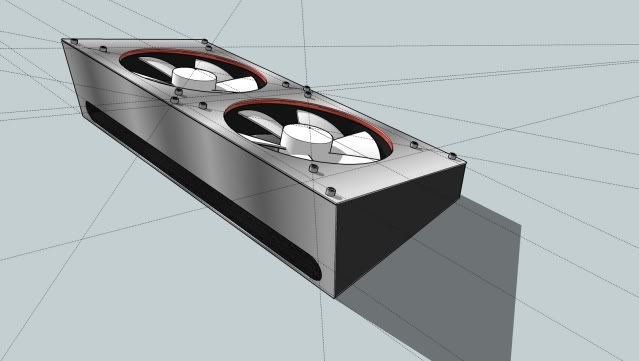
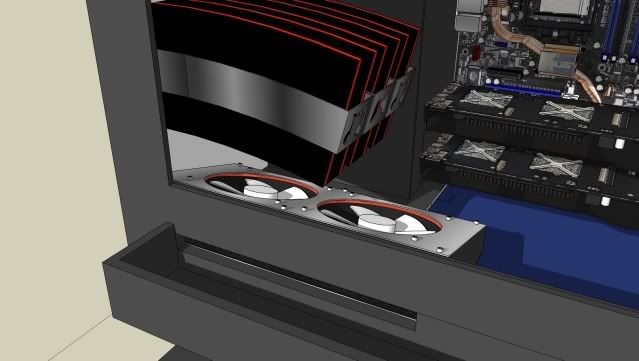
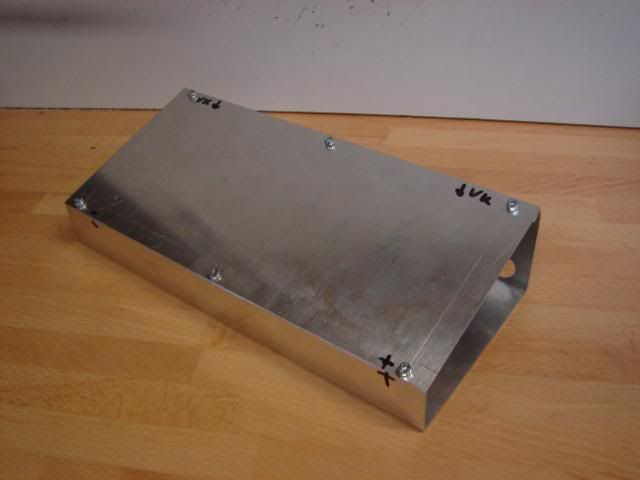
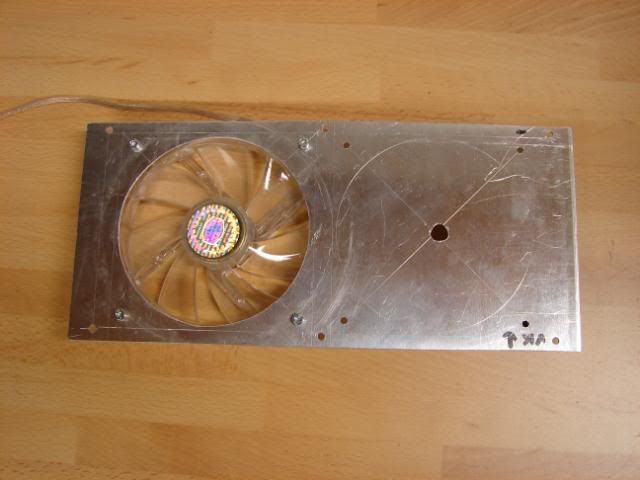
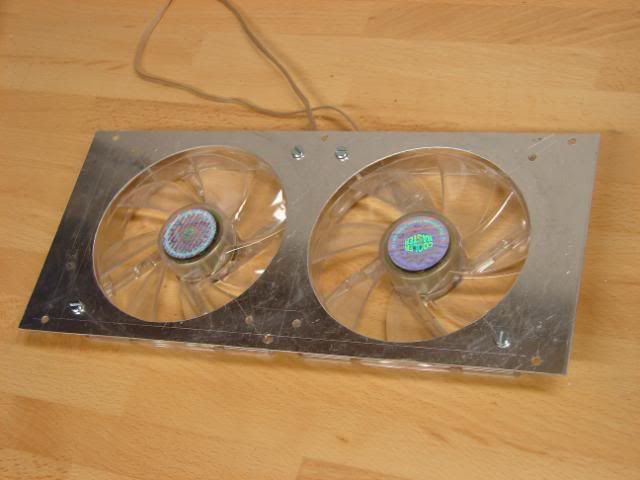
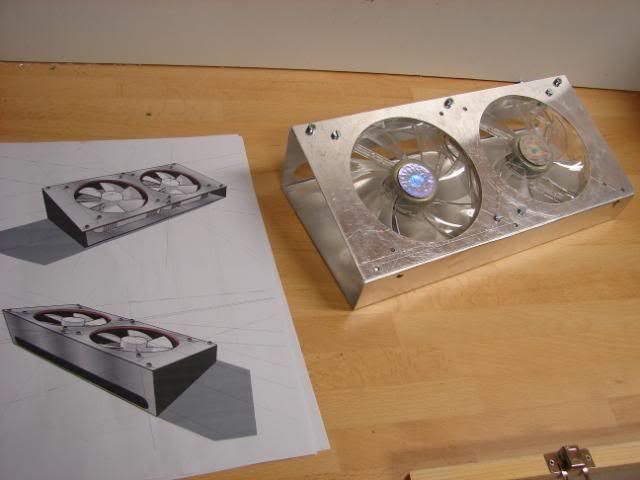
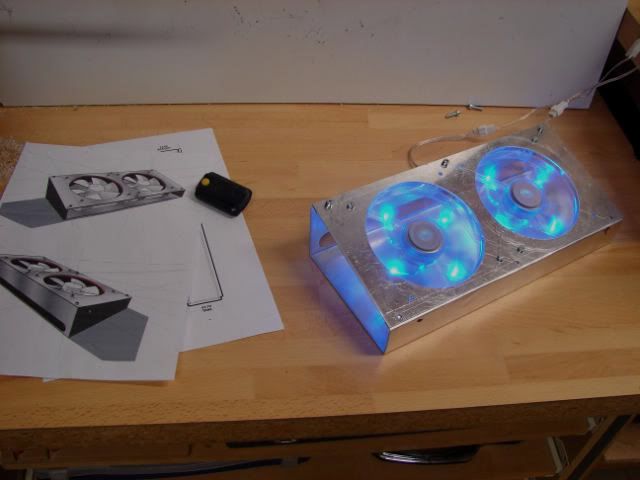
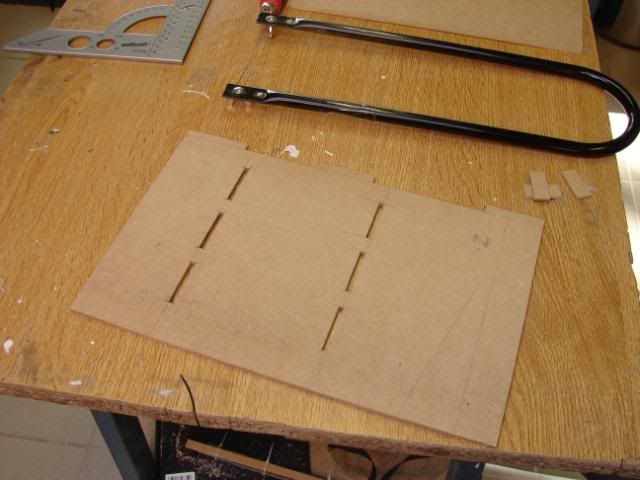
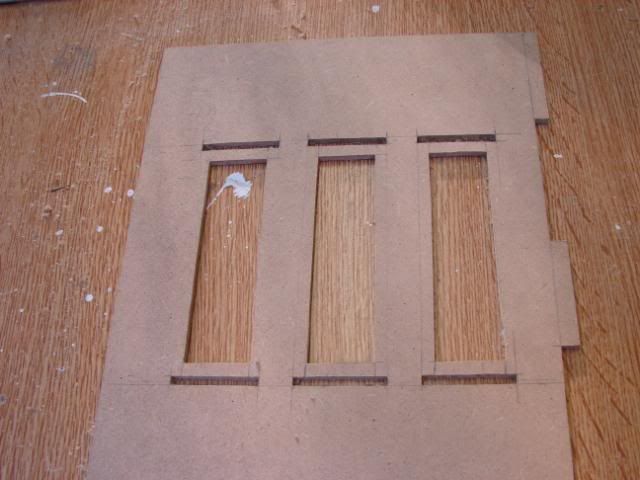
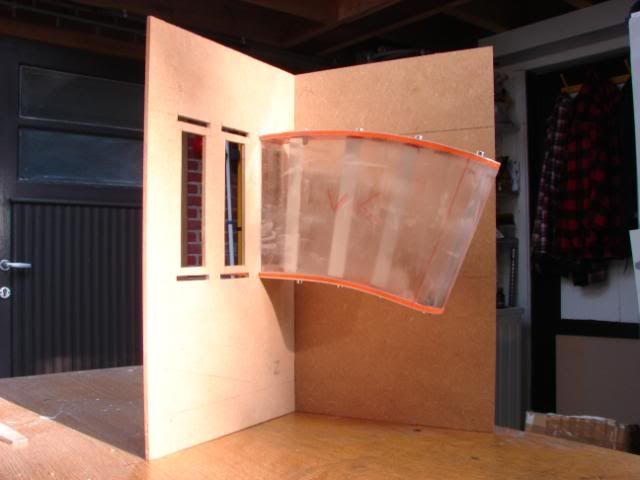
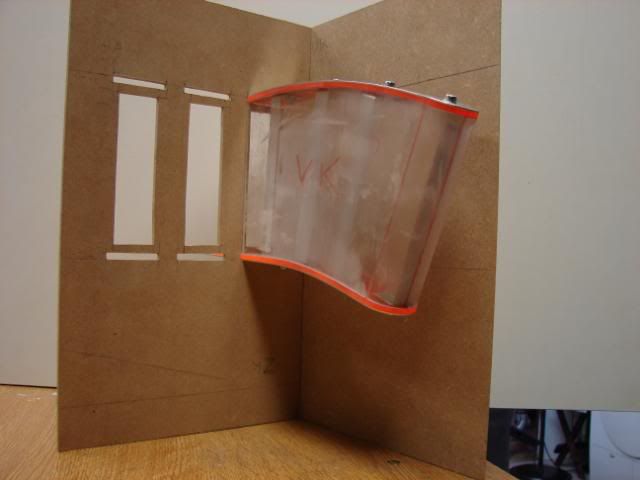
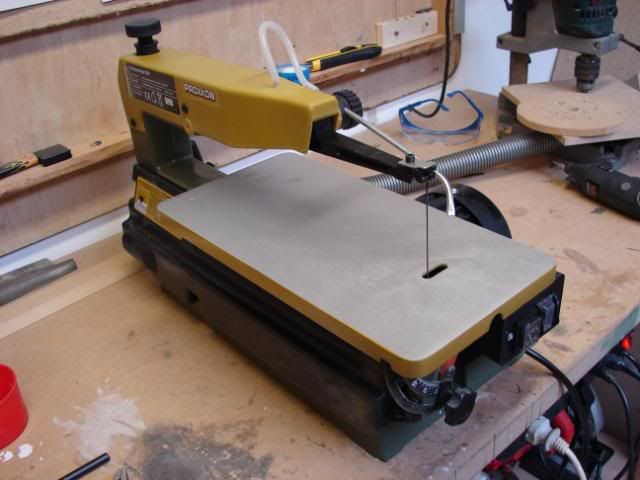
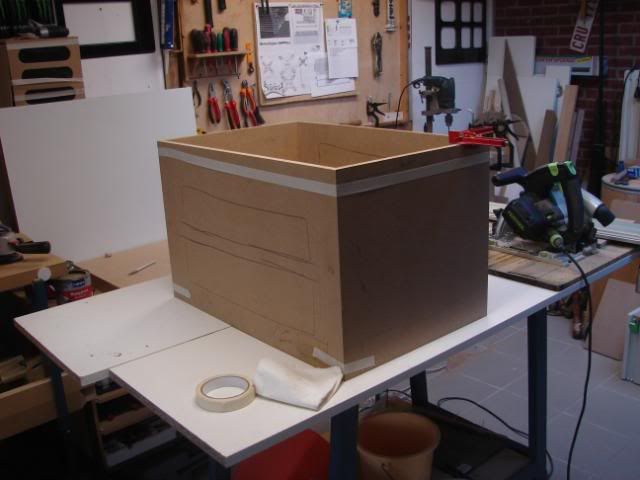
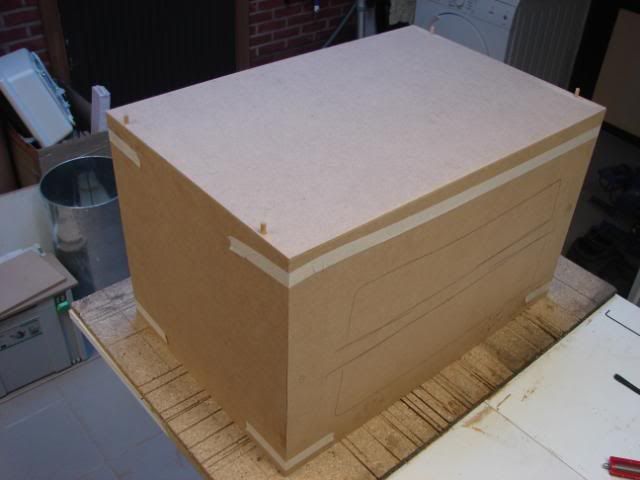
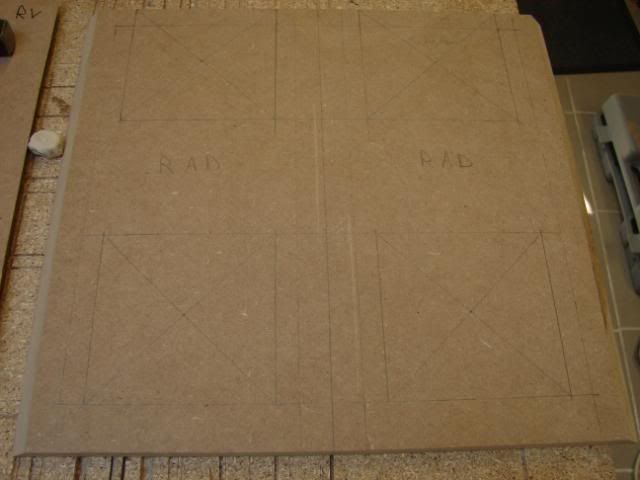
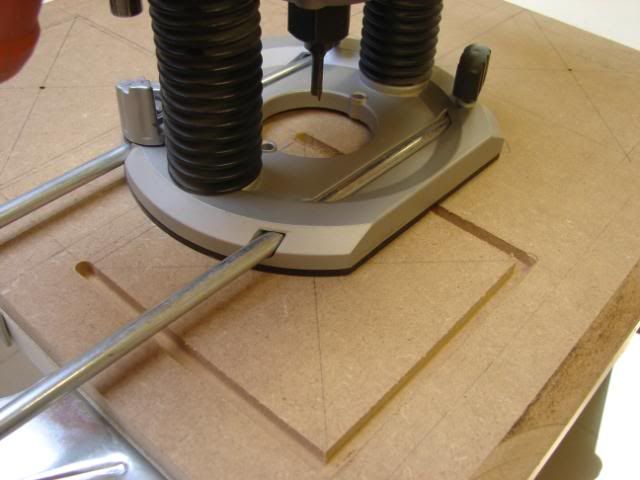
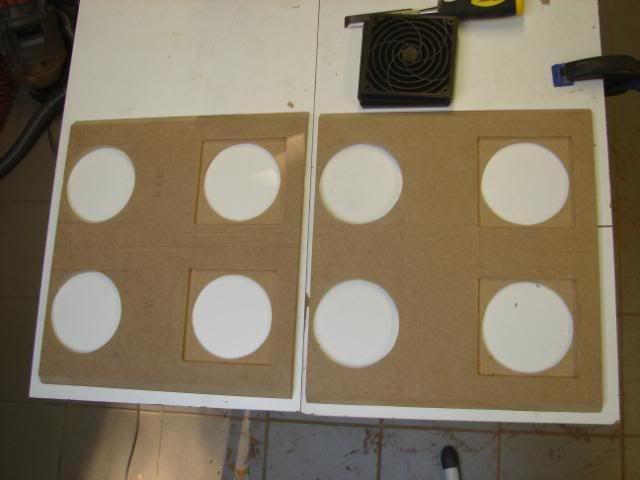
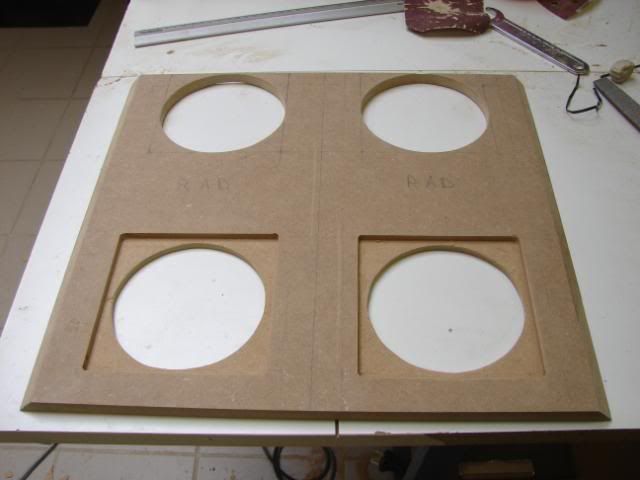
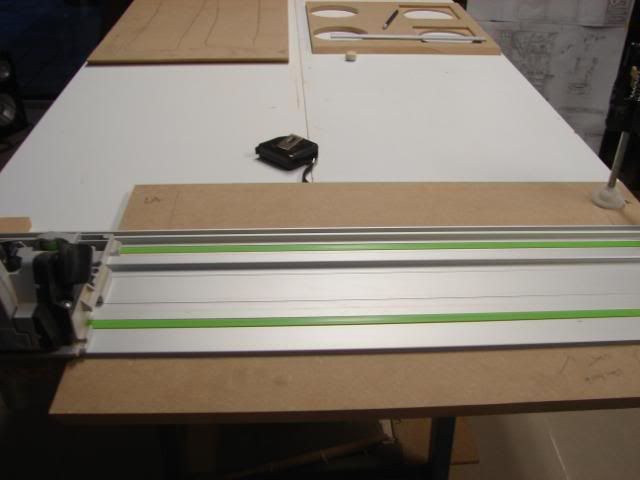
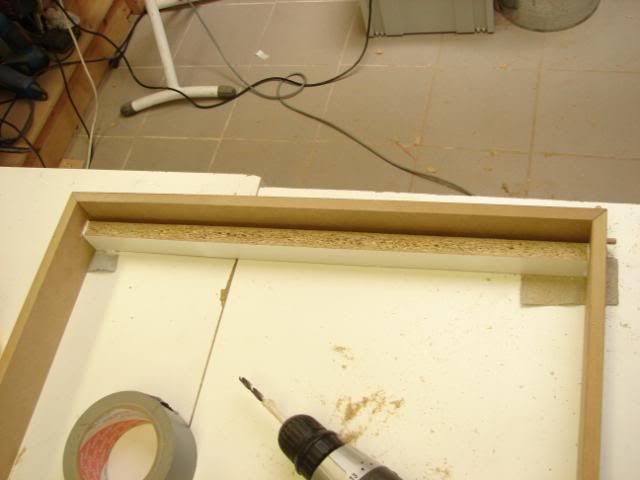
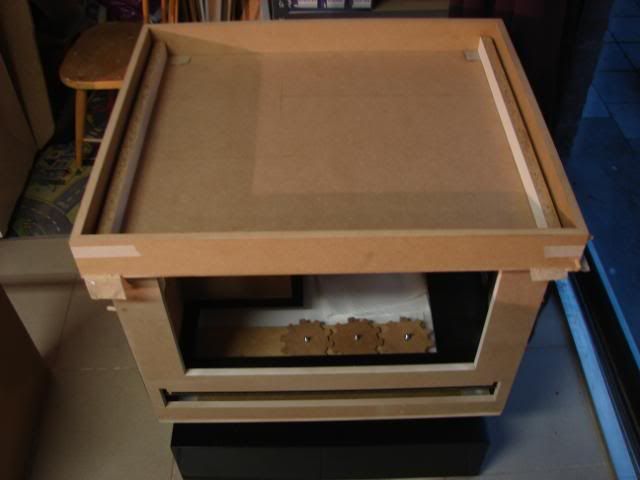
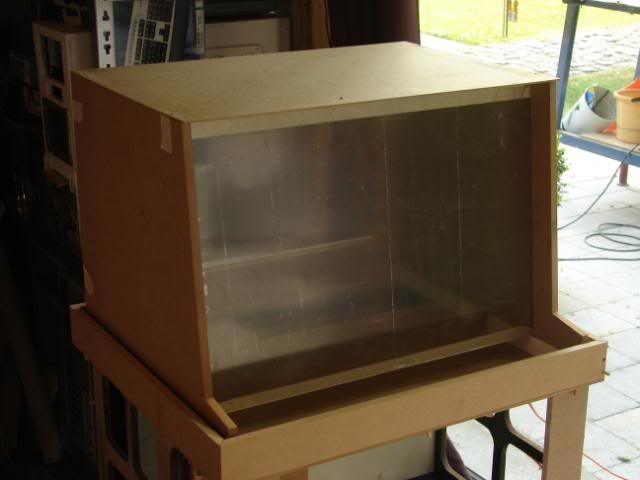
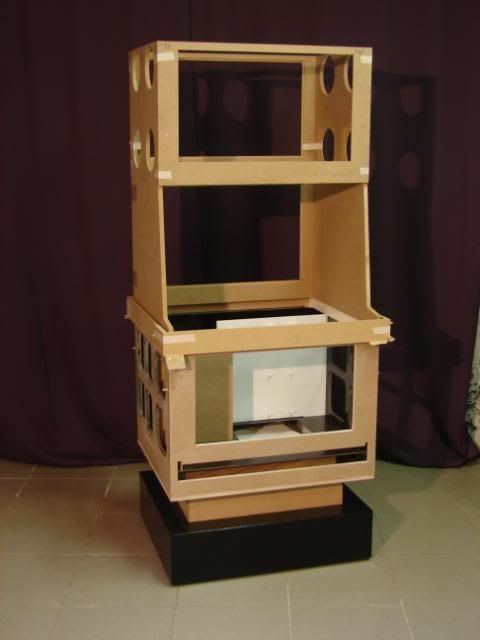
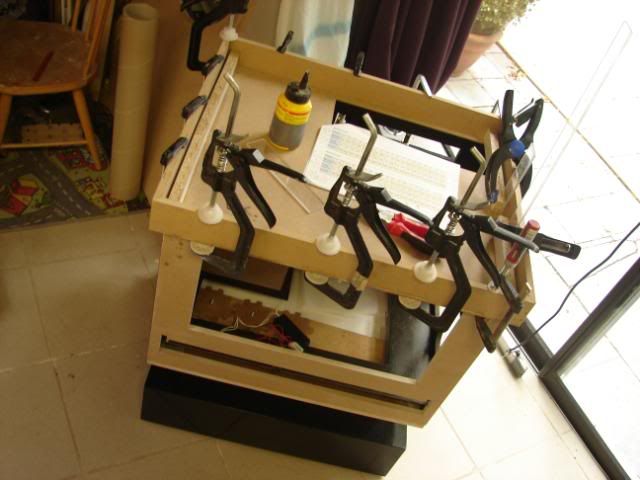
I’m going to begin on the intake, because my saw machine is still not available in store.
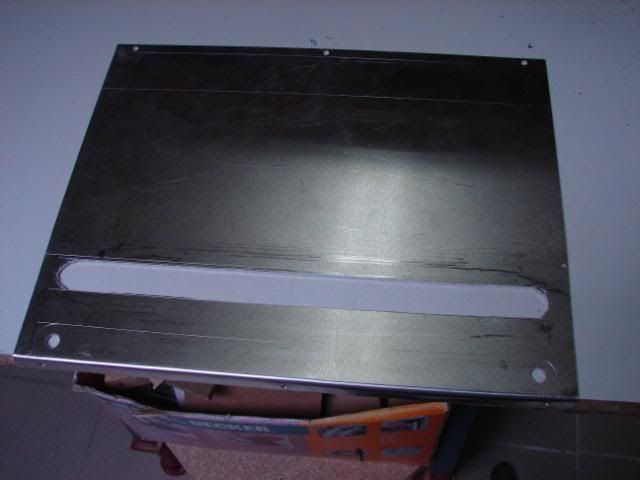
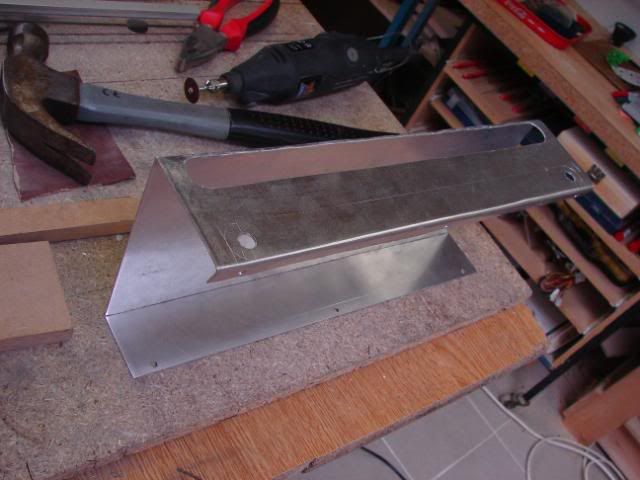
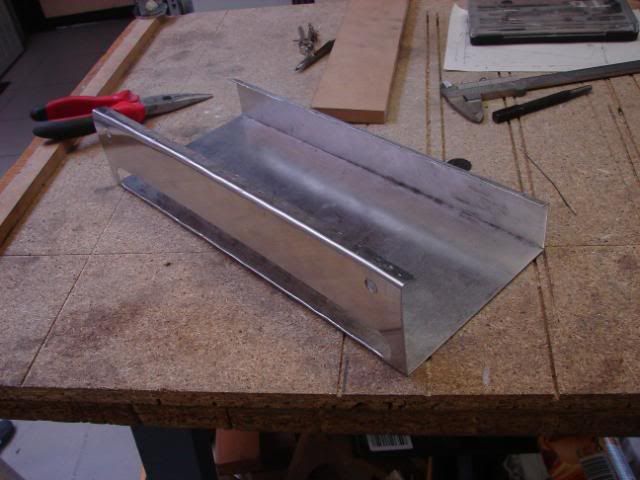
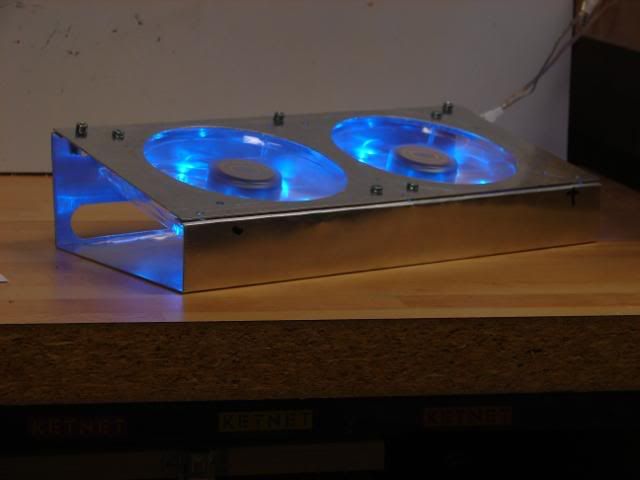
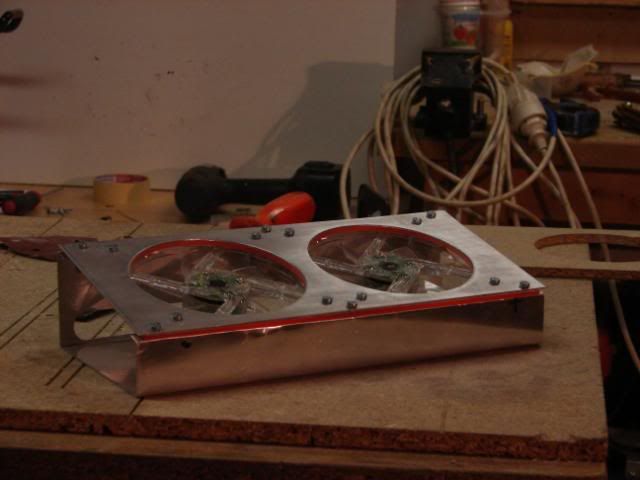
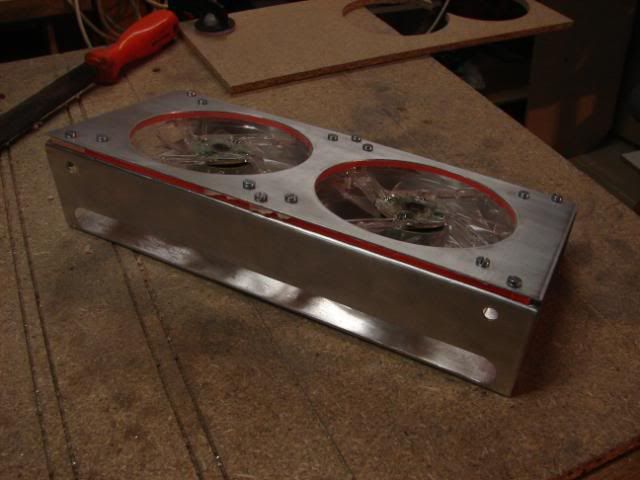
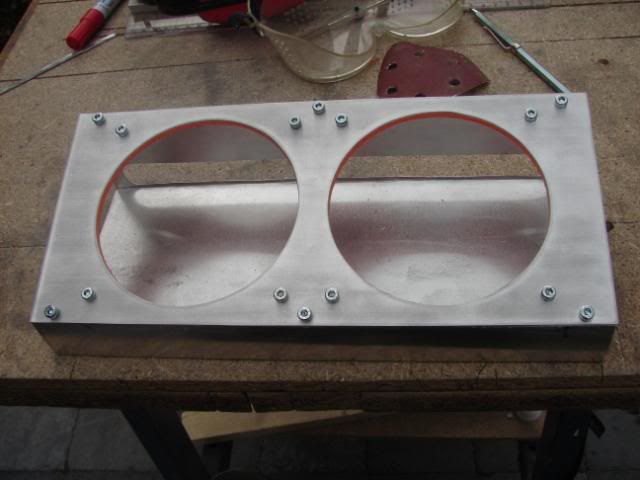
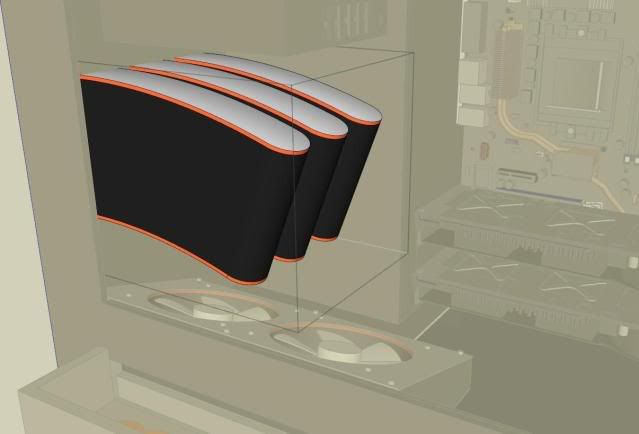
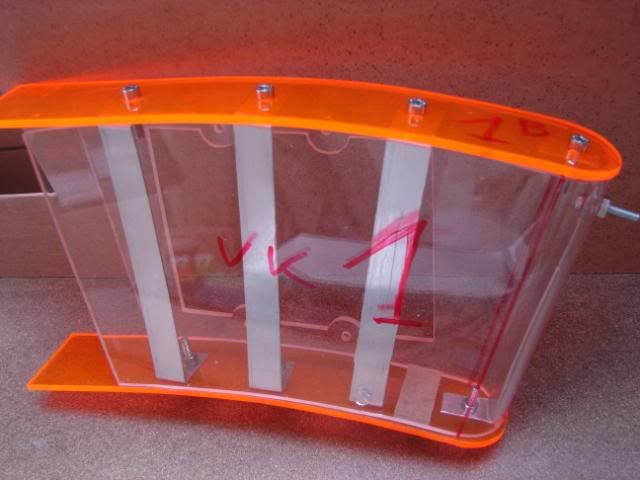
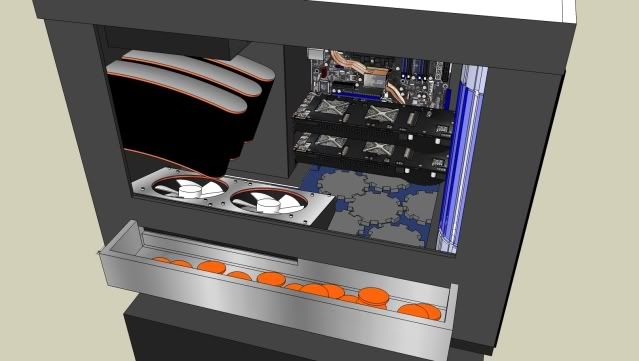
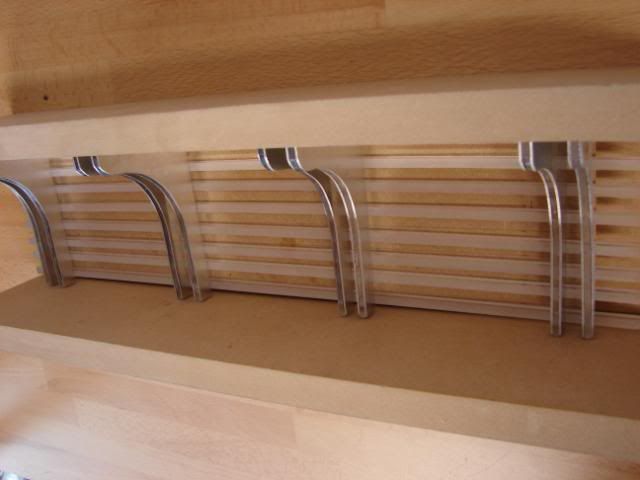
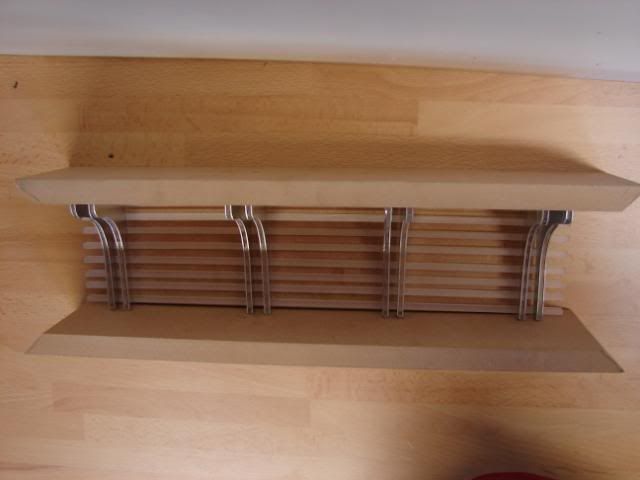
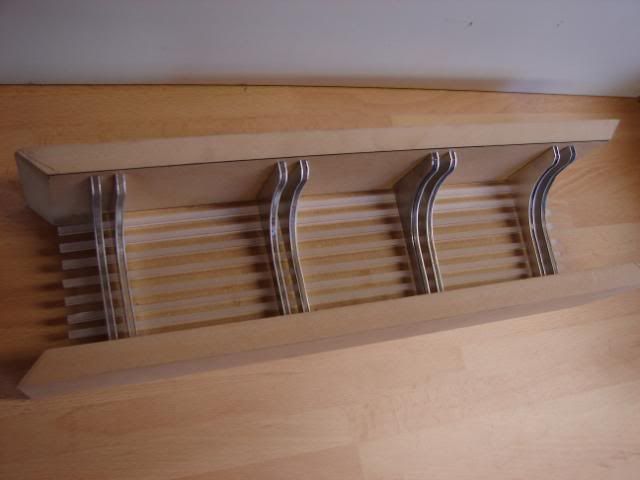
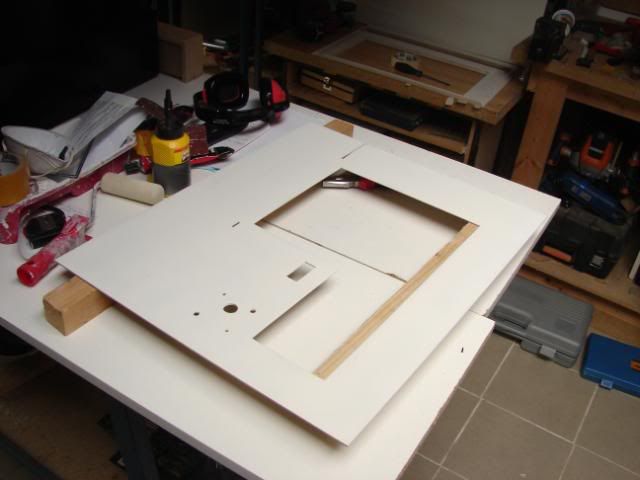
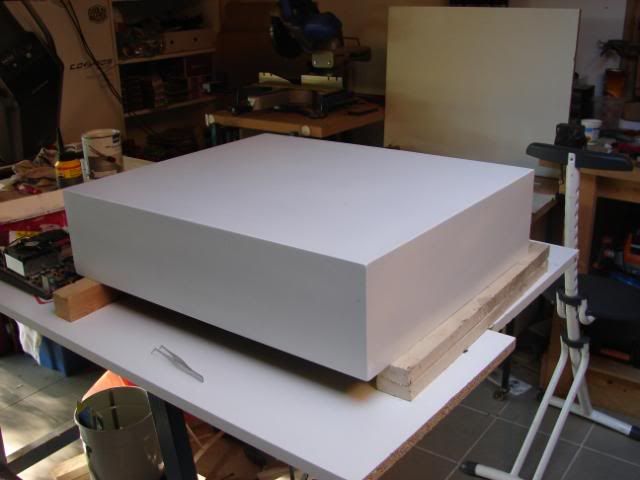
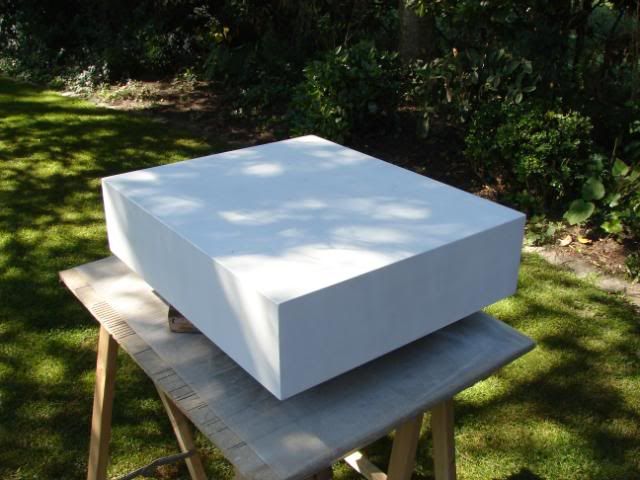
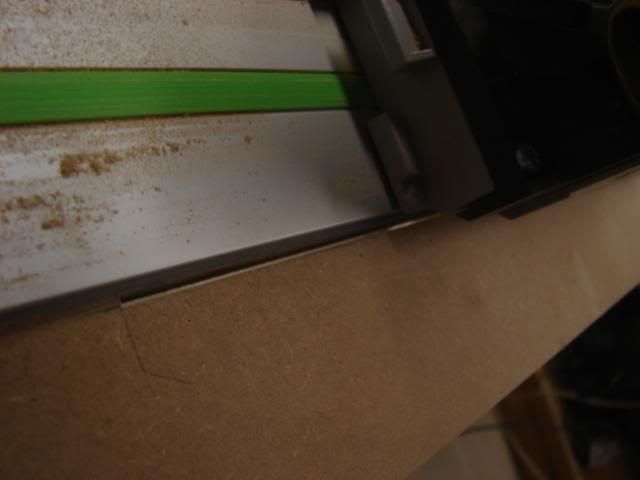
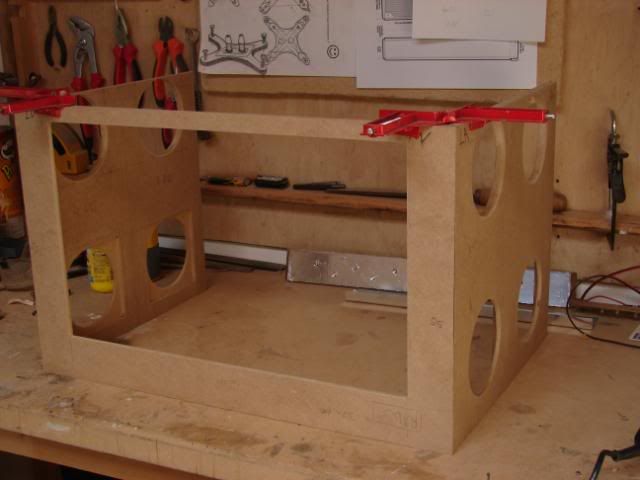
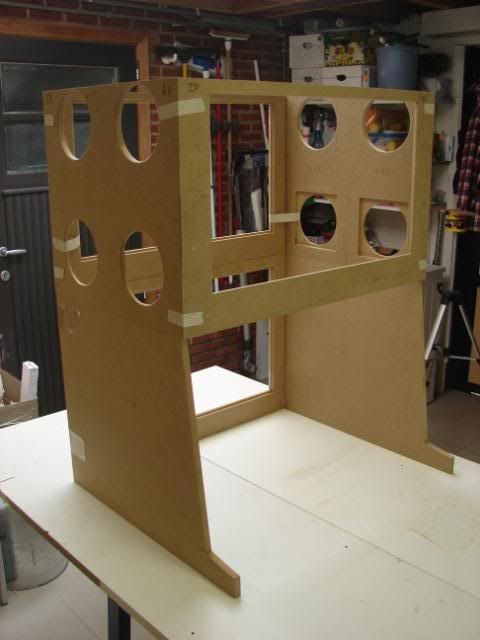
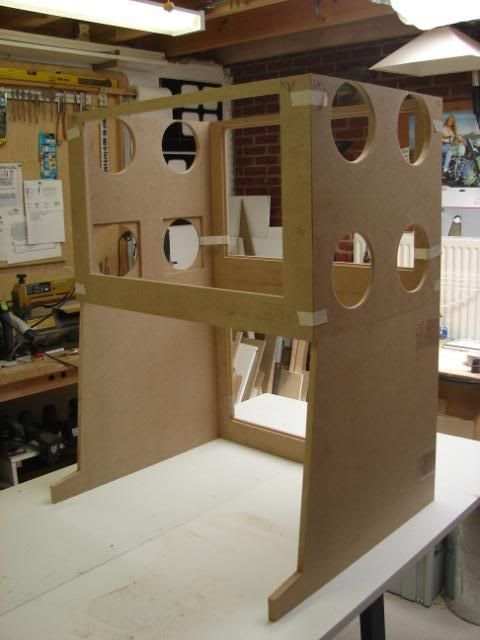
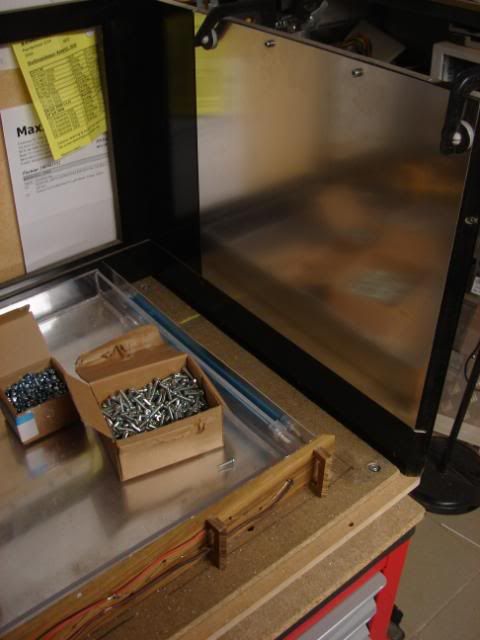
Two 120mm FANs (white) with orange plexi and shiny aluminum to finish it.
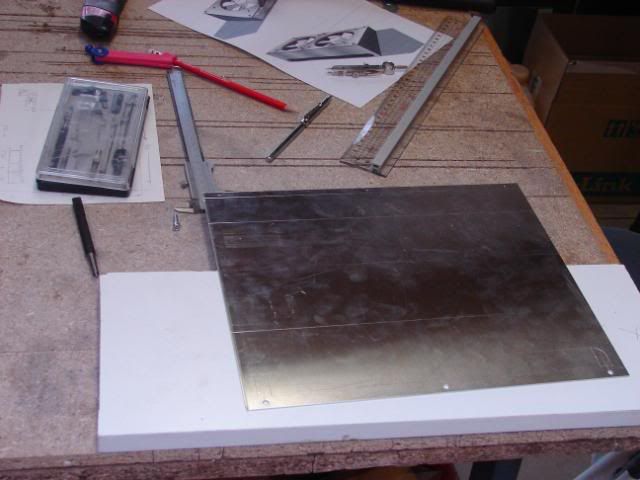
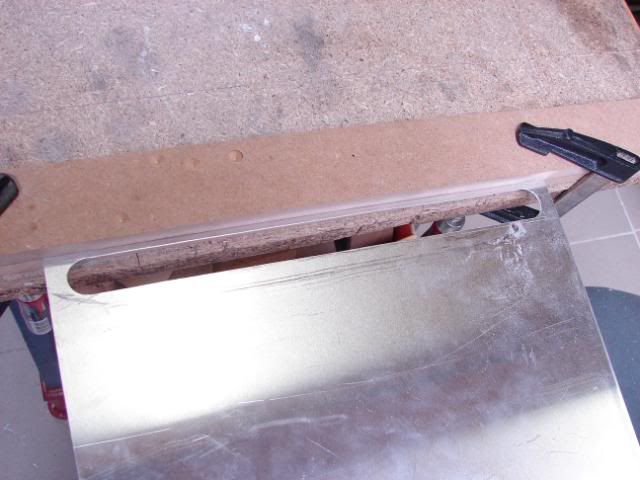
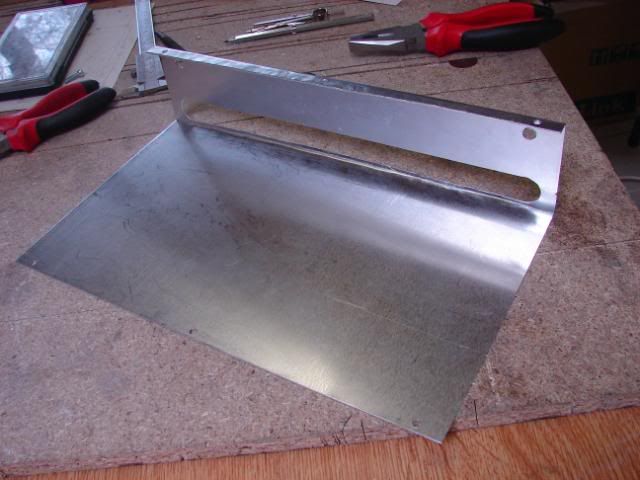
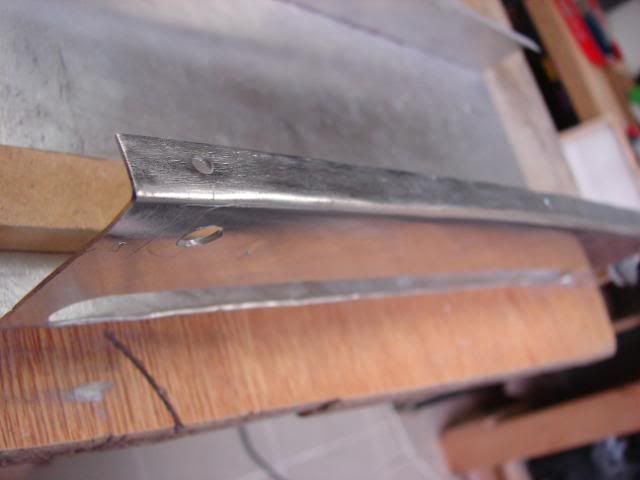
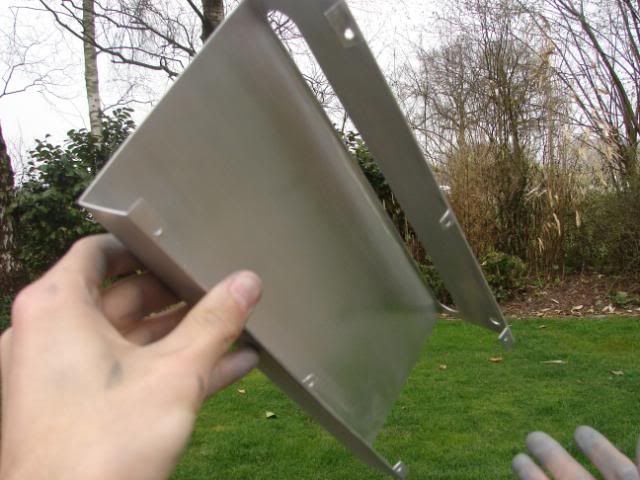
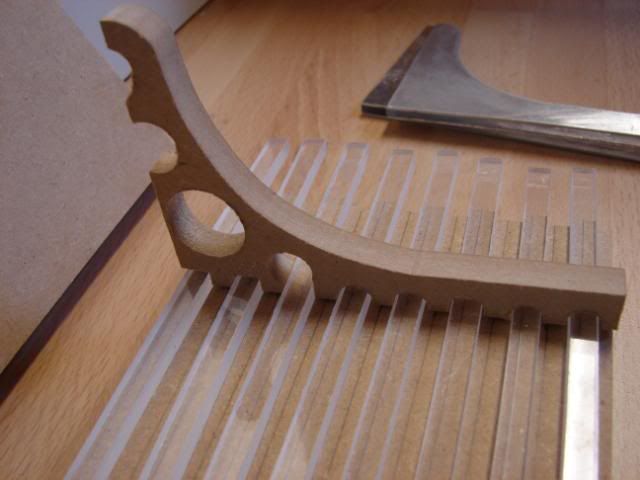
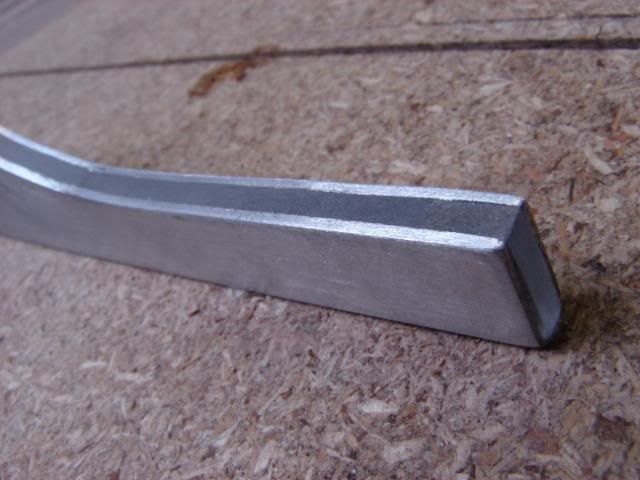
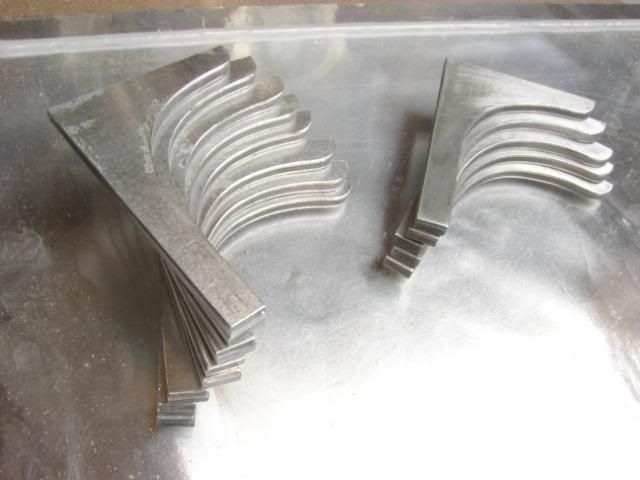
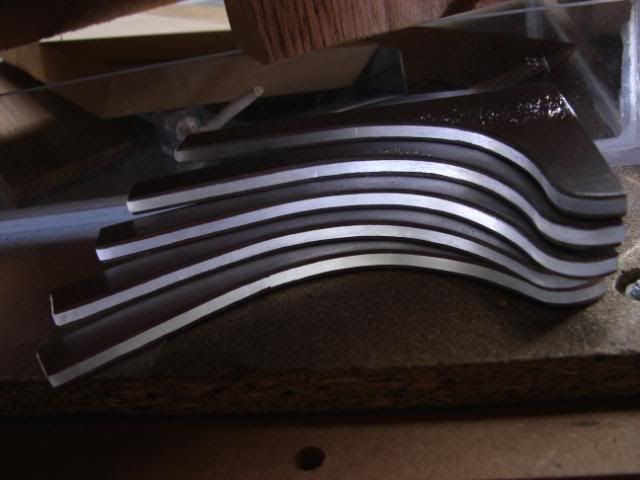
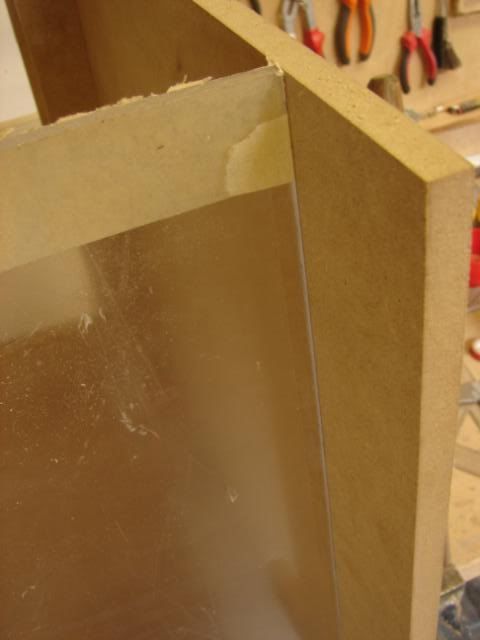
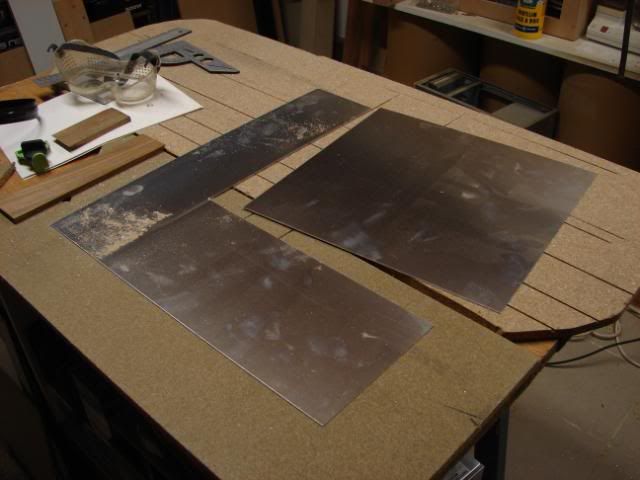
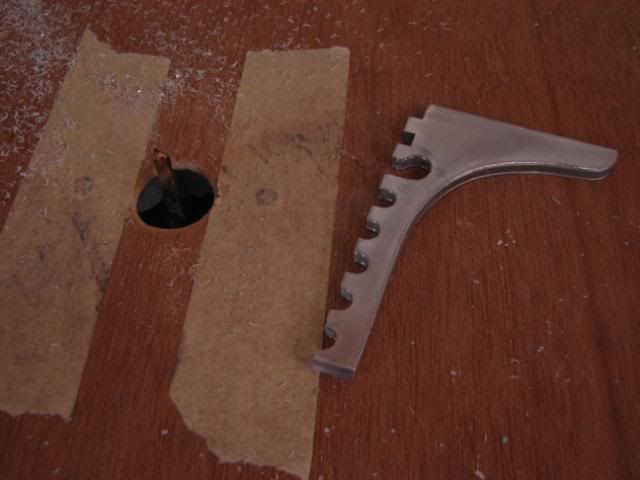
I have used a hammer and some grips to bend the aluminum.
The result is not that great but it’s ok
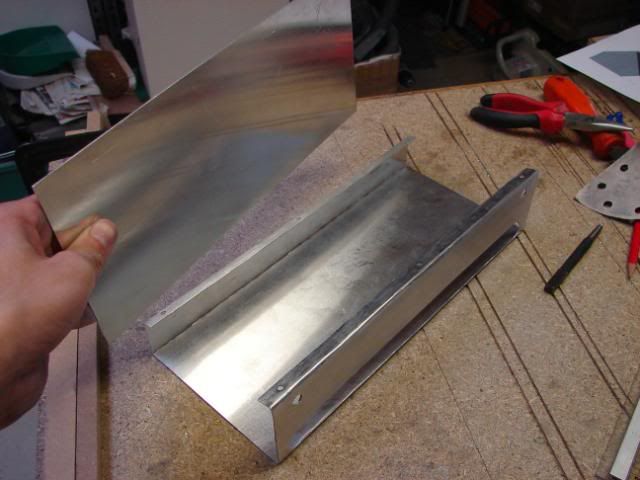
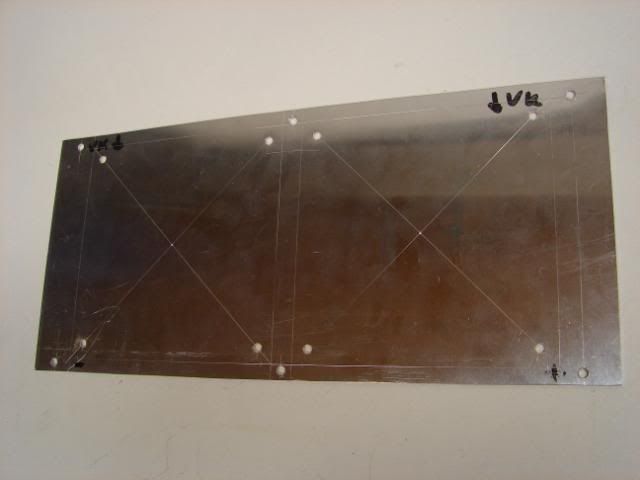
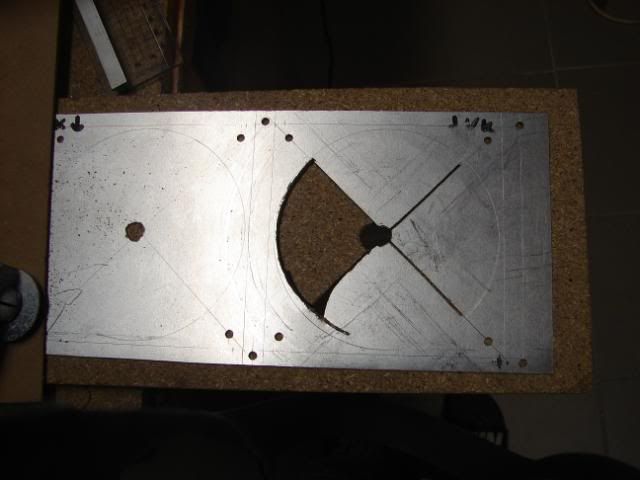
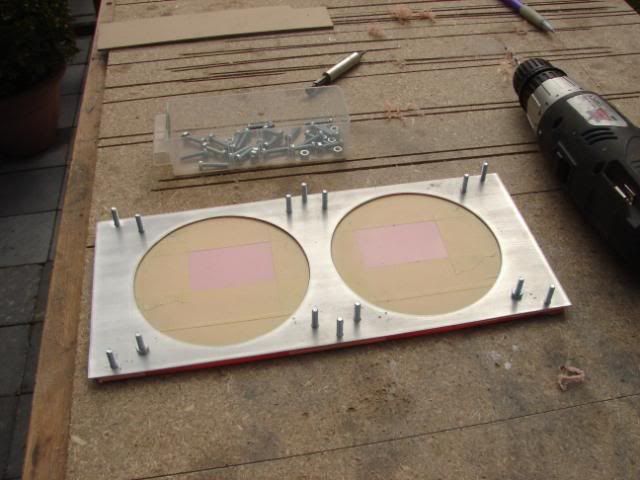
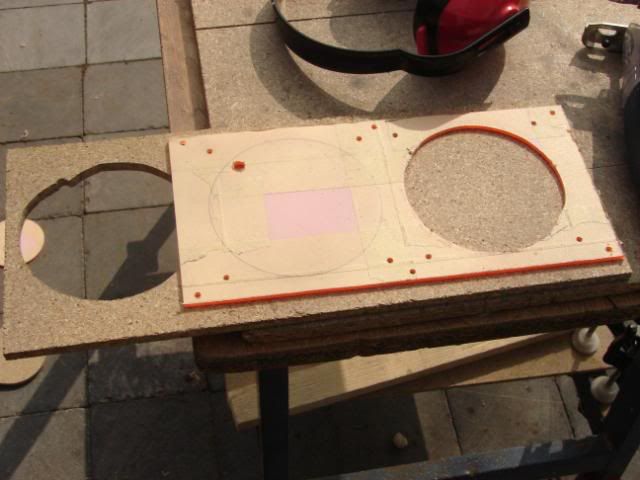
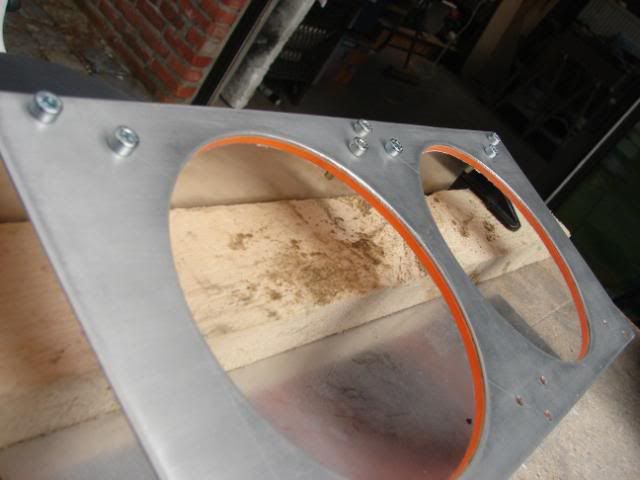
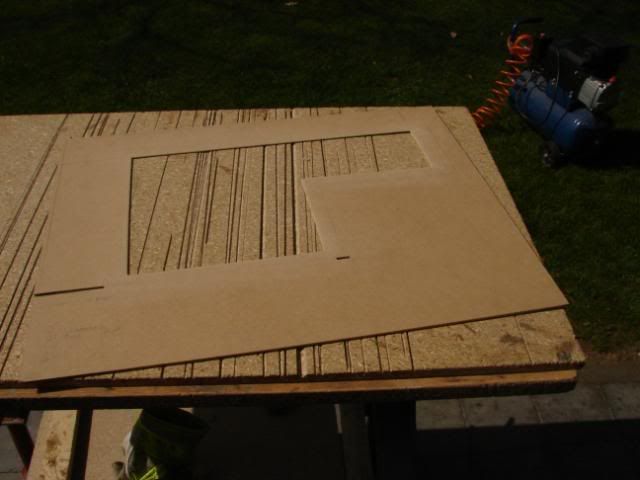
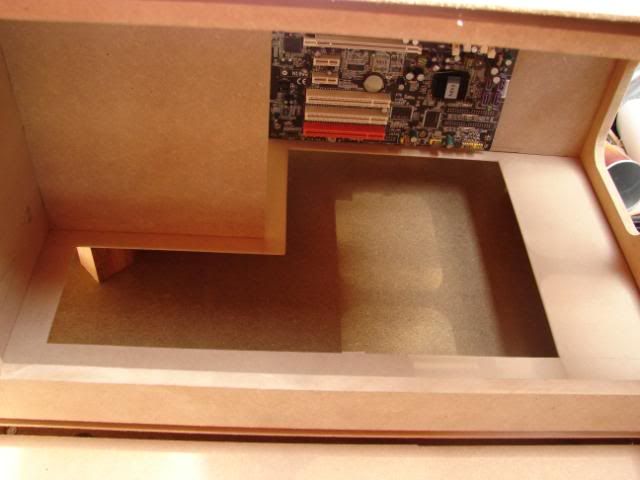
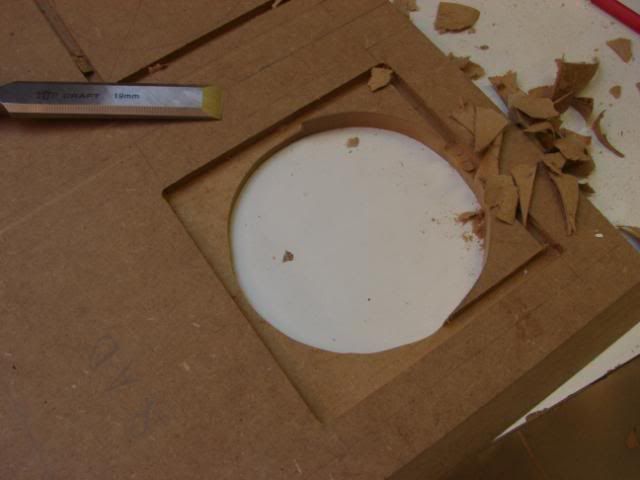
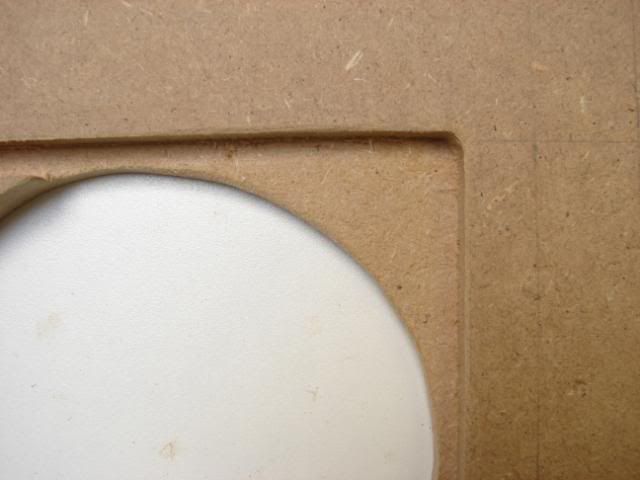
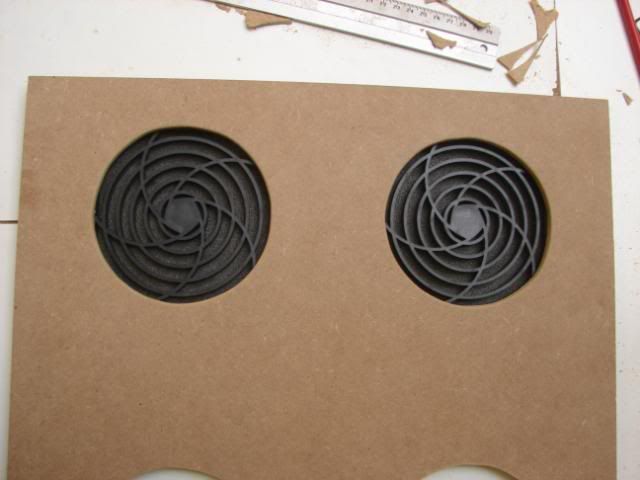
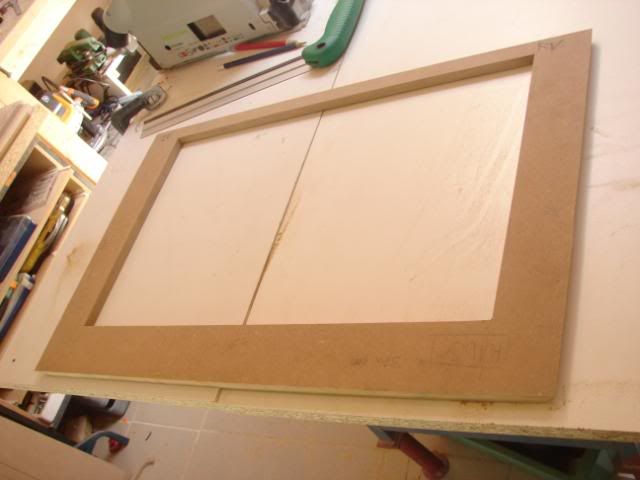
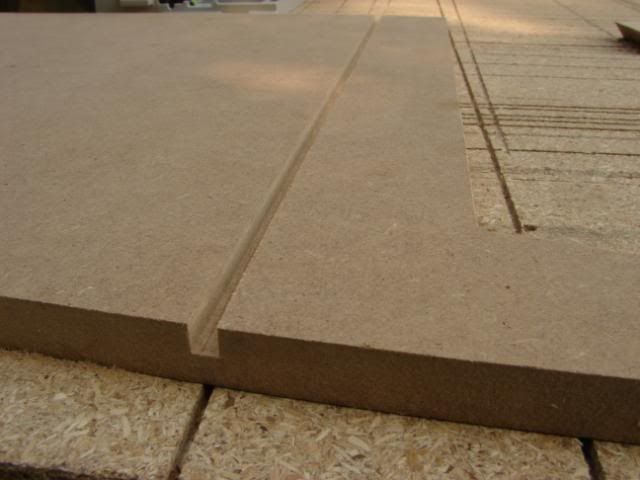
The hole for the intake
More bending
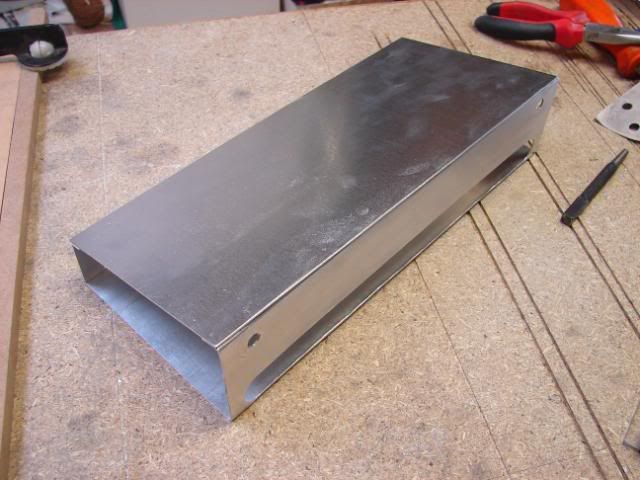
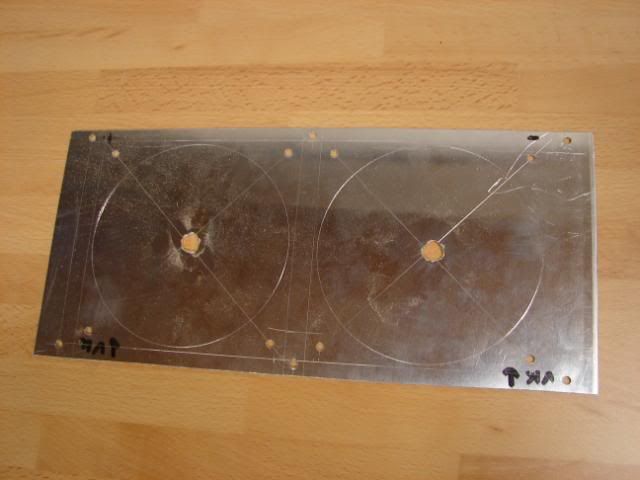
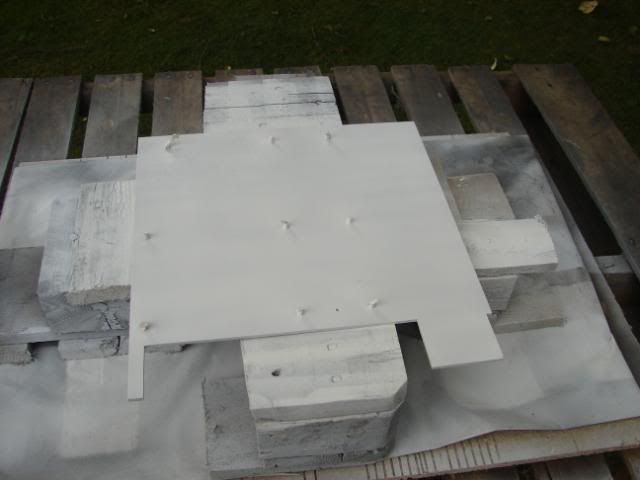
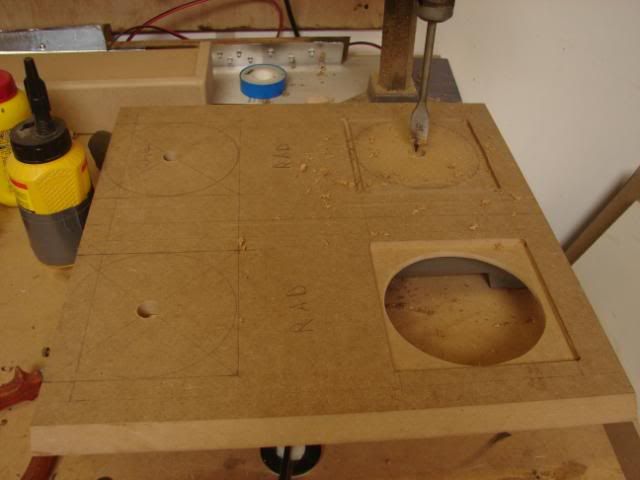
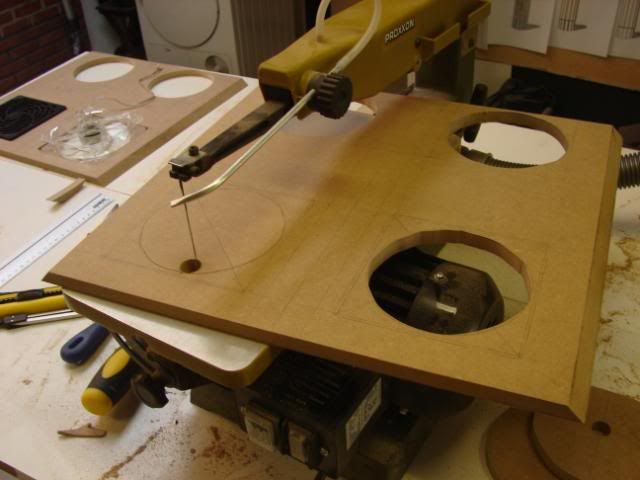
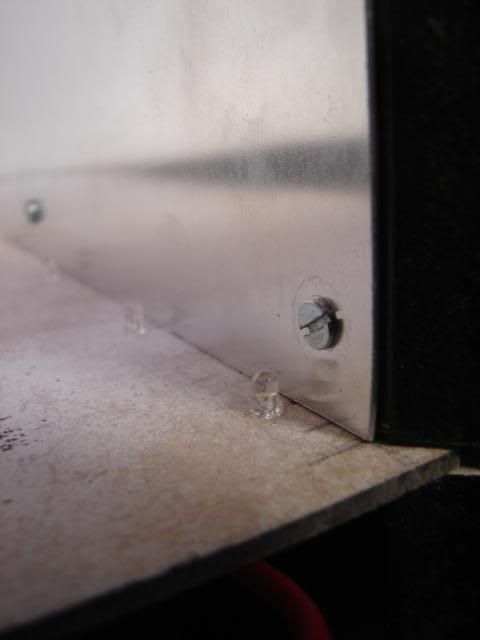
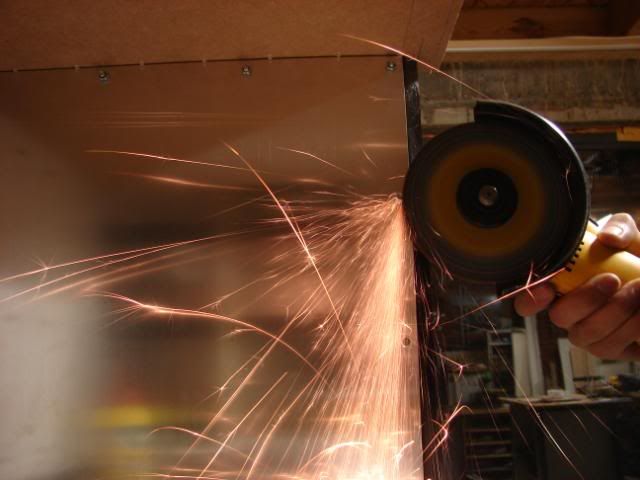
I made holes for the two 120mm FANs
This is not the final result, but I got a lot of screens to share :D
04-05-2009, 07:37 AM
DonT-FeaR
Re: Project: Elements of Fortune
wow... what program did you use to make that cad?
looks really really nice GW
04-05-2009, 08:54 AM
tomcatt
Re: Project: Elements of Fortune
Quote:
Originally Posted by DonT-FeaR
wow... what program did you use to make that cad?
looks really really nice GW
I just used Sketchup from google, Although I am learning Solidworks and 3DS max ... but I kinda suck in those programs :rolleyes:
04-05-2009, 12:13 PM
rendermandan
Re: Project: Elements of Fortune
Wow, just, Wow.
You are putting a ton of effort into this. Keep it up! +rep.
04-06-2009, 02:51 AM
DonT-FeaR
Re: Project: Elements of Fortune
wow... compared to every1 i suck at sketch up
04-06-2009, 06:11 AM
tomcatt
Re: Project: Elements of Fortune
hmm hehe, Thanks everyone !
I got nominated on Bit-Tech.net, normally I would be happy, but not this time
Why? Well I don't have anything to show what is realy "WOW" ... so my chances of not getting the winner are once again not good :(
anyway - update is coming !
04-12-2009, 06:58 AM
tomcatt
Re: Project: Elements of Fortune
Okay, here is some progress on the work…
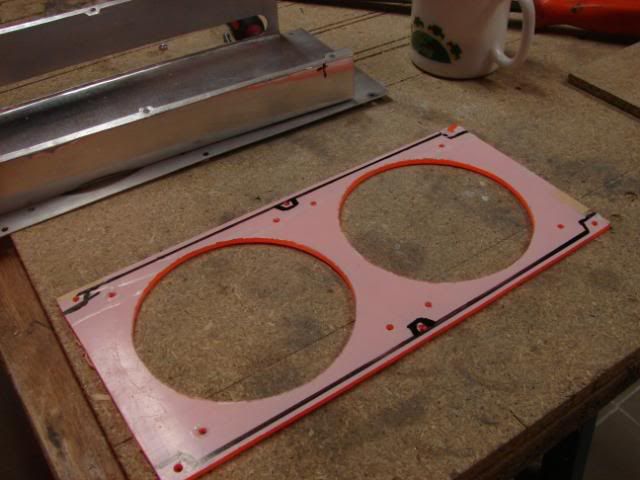
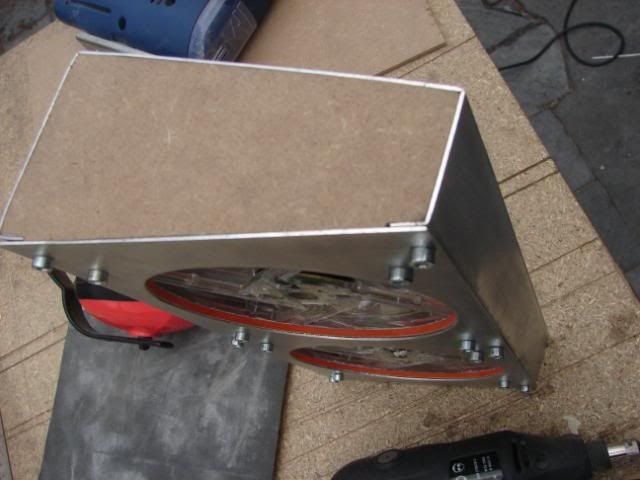
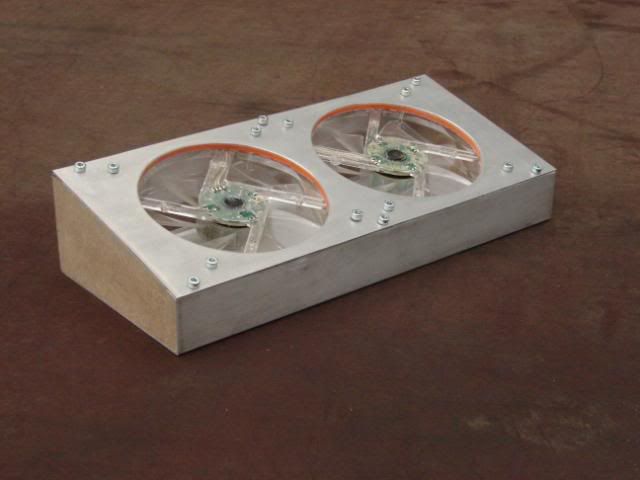
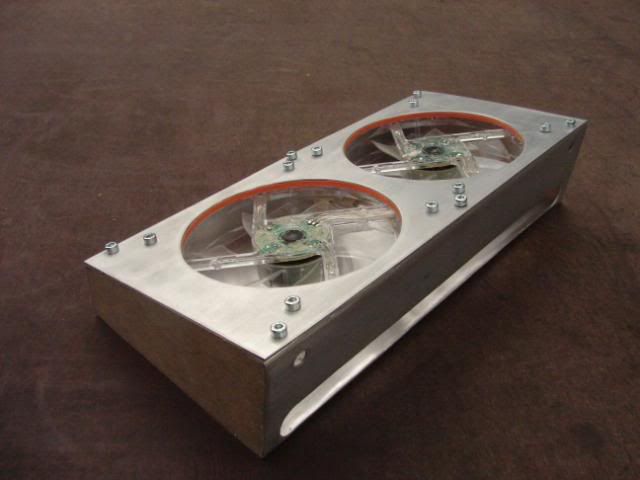
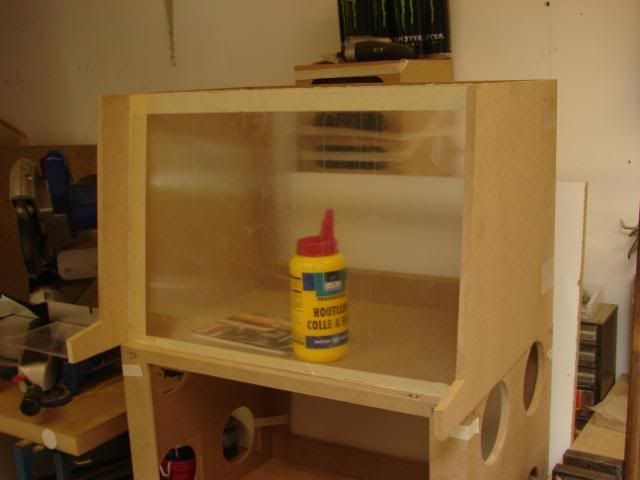
The intake Cooling box was not entirely finished, it needed to have a plexi border.
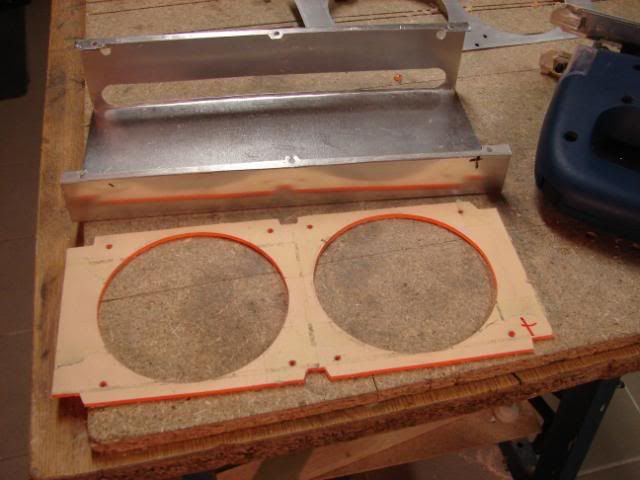
Not good, I only need the borders above the FANs, and I don’t want to see them on the box itself. So I made it a bit shorter…
That is what I wanted :D
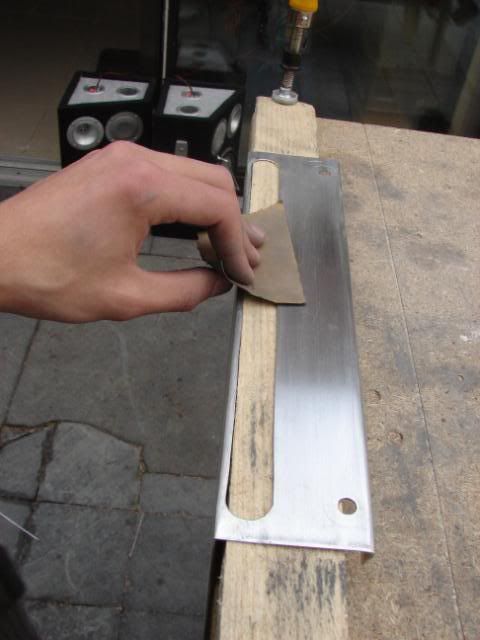
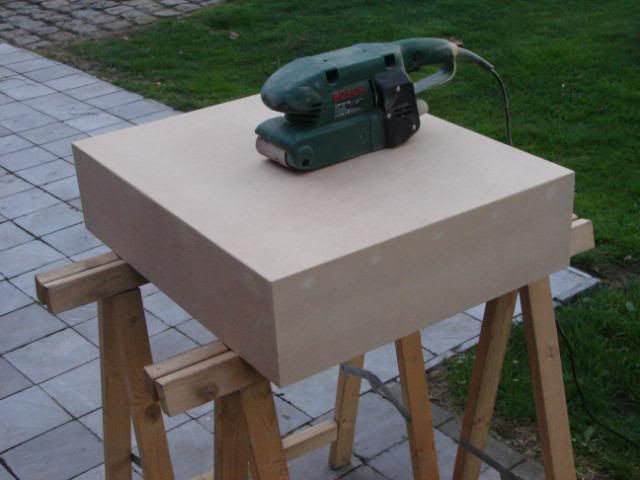
After this, I sanded the box
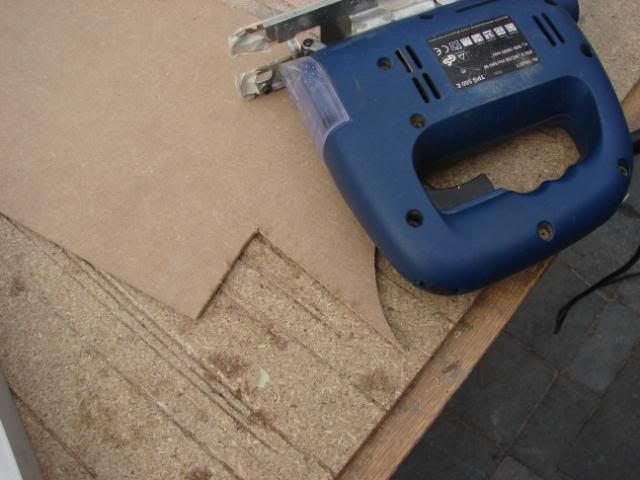
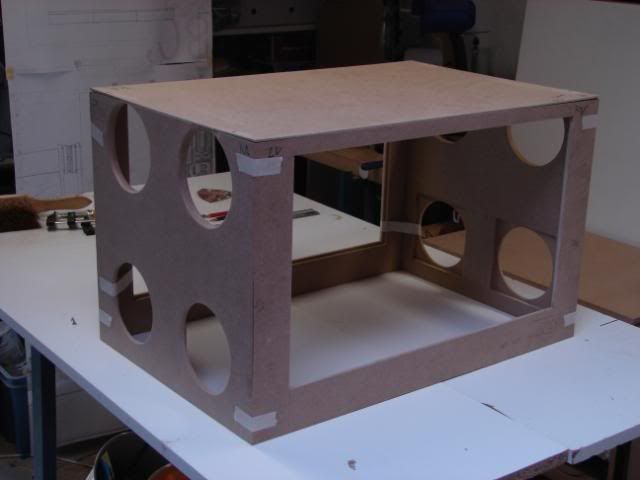
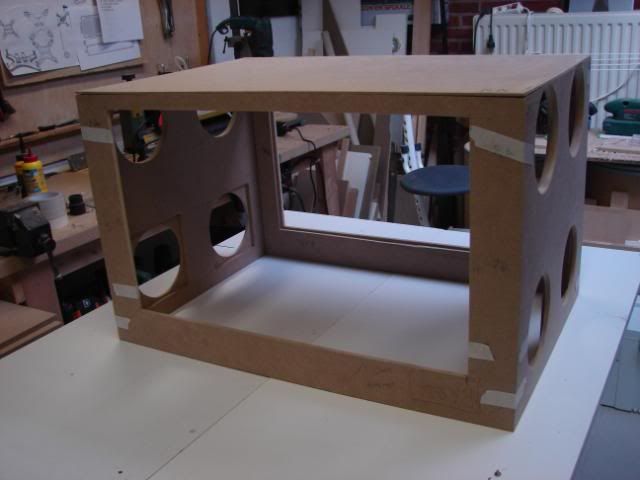
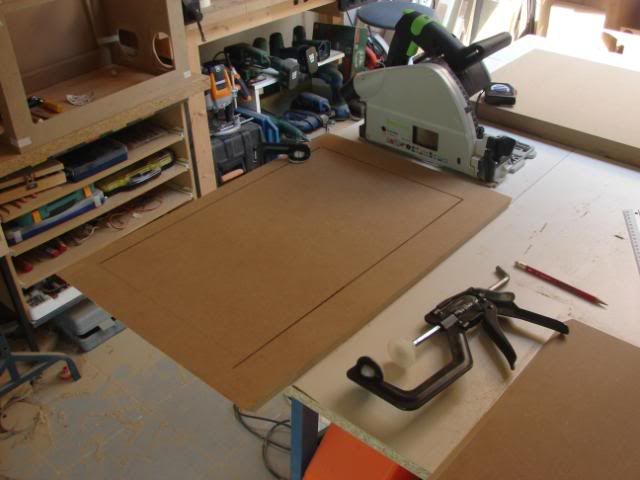
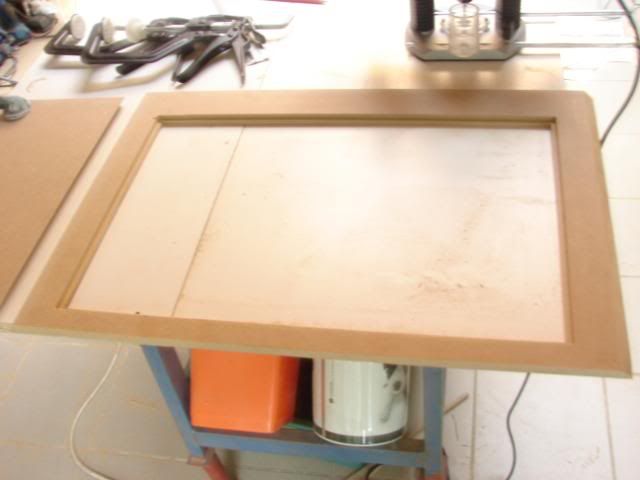
Using MDF 4mm wood, I made the sides of the box…
As for now, the box is at rest… I only need to add the right orange coolers, polish the box, and use some dustfilters to complete it. :D
04-12-2009, 07:14 AM
tomcatt
Re: Project: Elements of Fortune
On to the next part ;) …
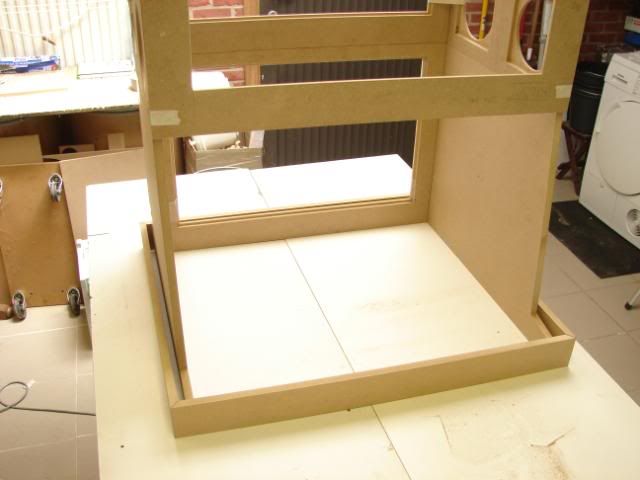
But before I began on the hard drive casings, I sanded the bottom so that I could leave it besides for a month. When I get my new figure-saw-machine, I will go on with the bottom and stuts ;)
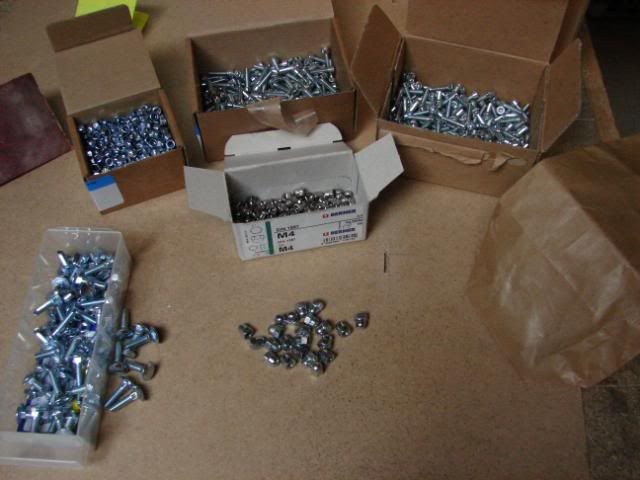
In the beginning of the week, I bought some bolts that I will use in this project (of course)
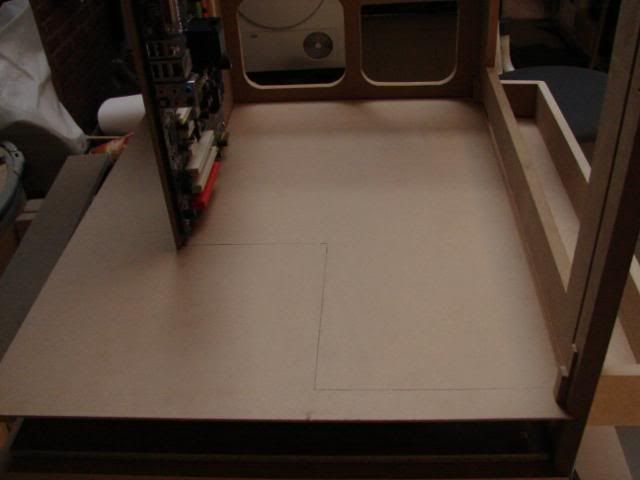
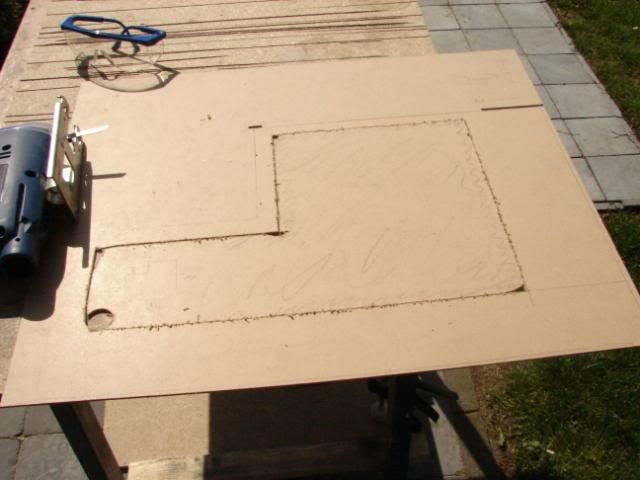
And I also made the window in the bottom.
- the beginning of the hard drive cases ! :D
This is the idea:
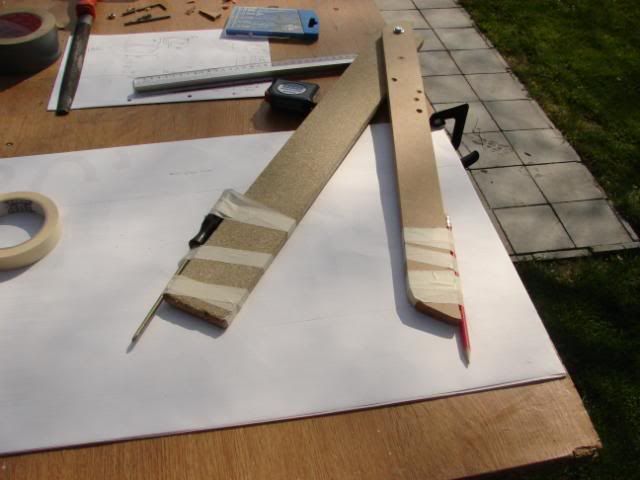
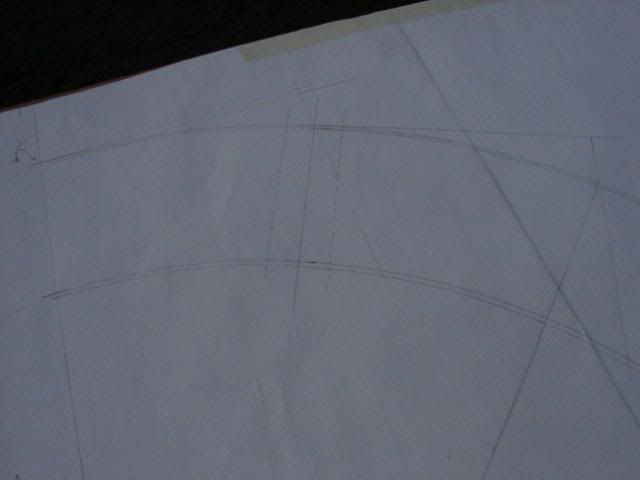
For sketching the right angles and round shapes, I made my own compass
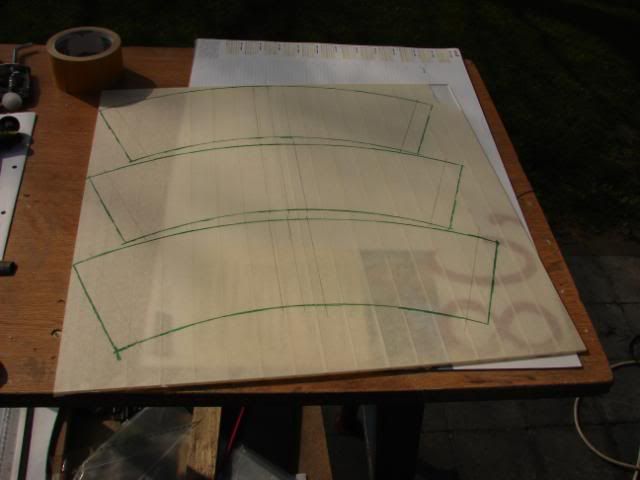
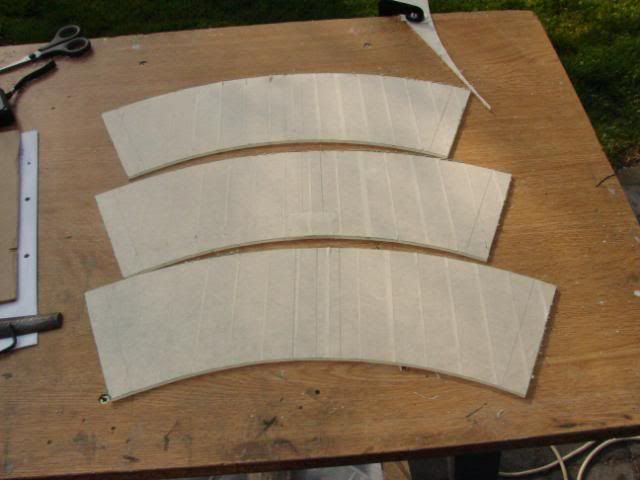
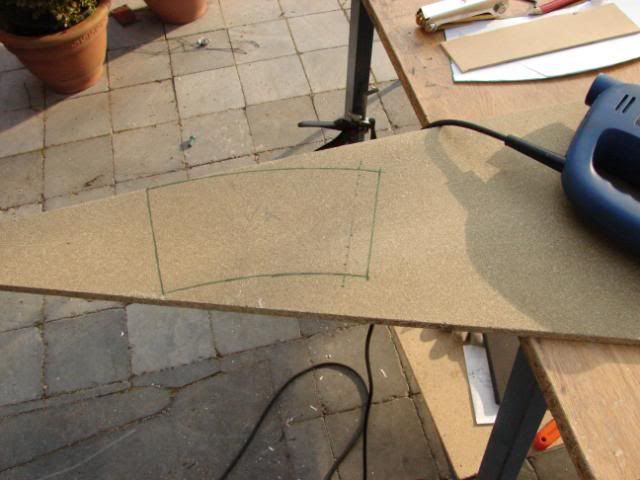
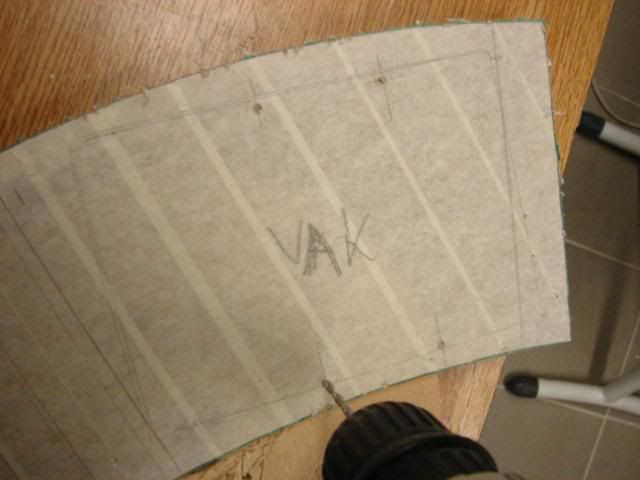
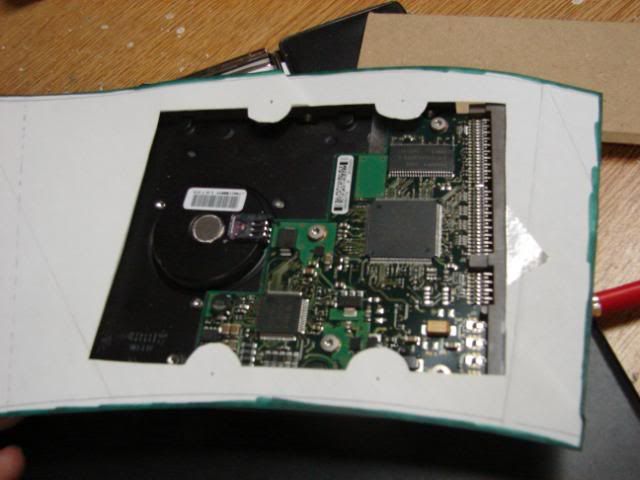
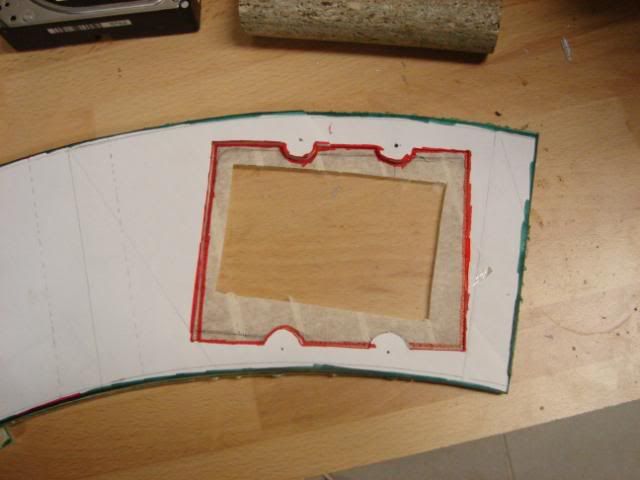
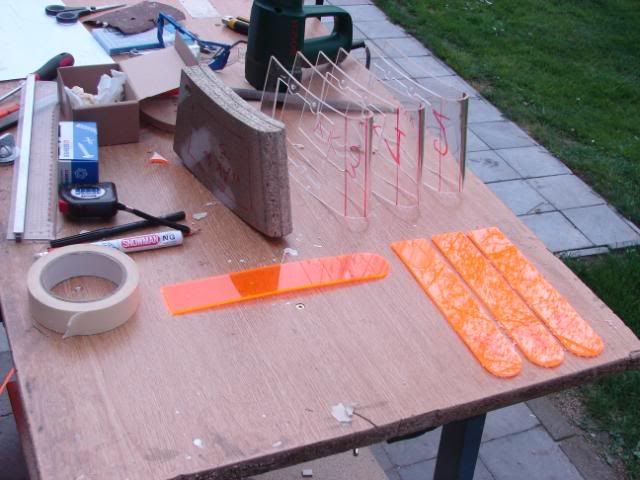
Using the paper mold on the plexi…
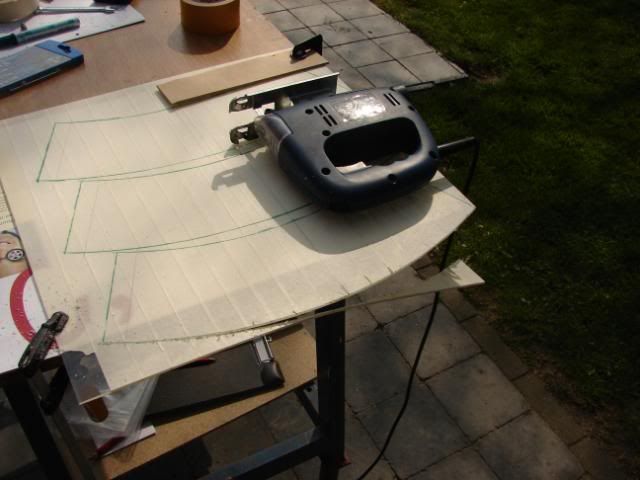
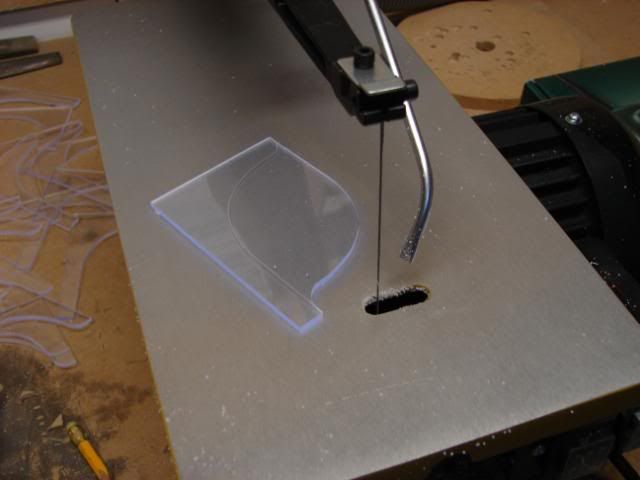
And using the saw ^^
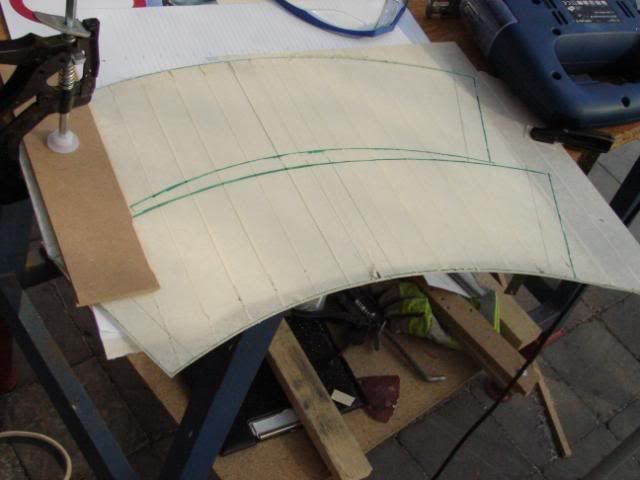
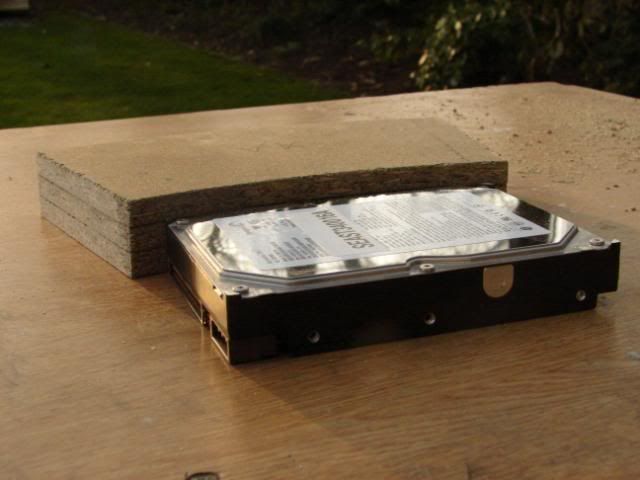
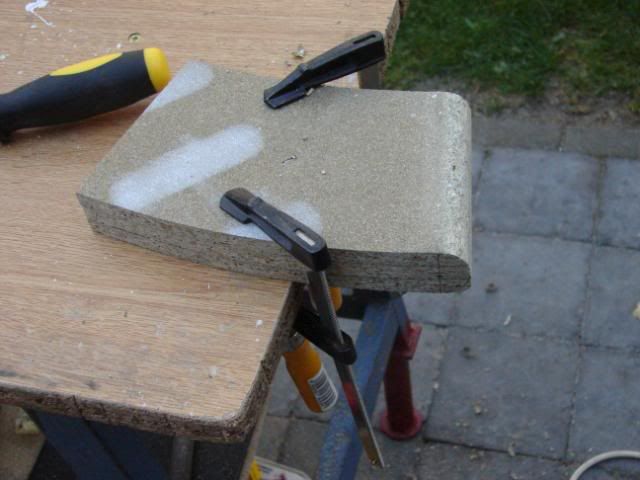
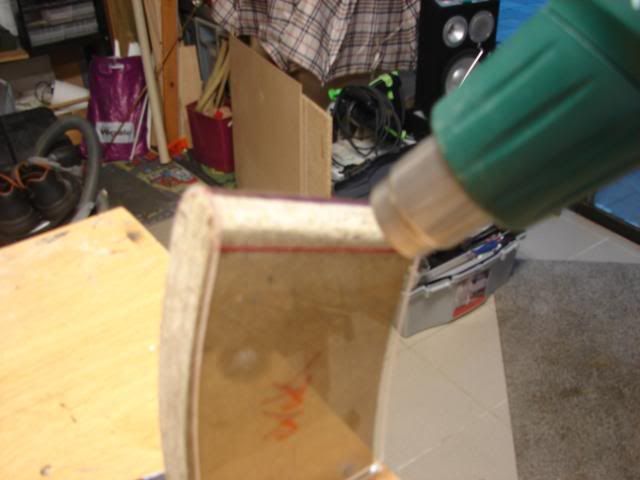
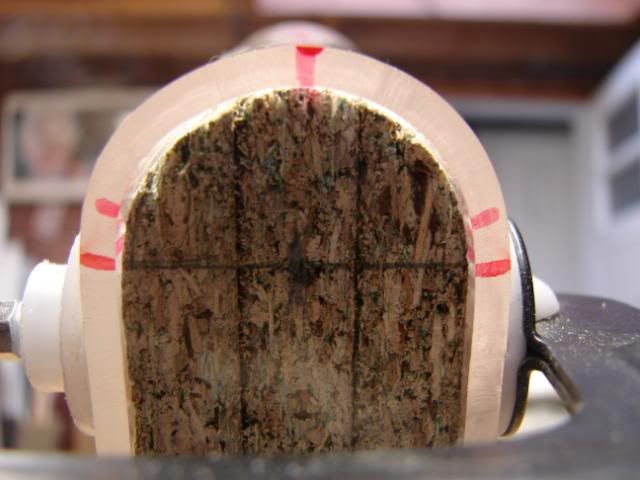
I need to bend these 3 sheets of Plexiglas. But with the difficult angles and problems of bending, I made the inner side of the actual box (from wood).
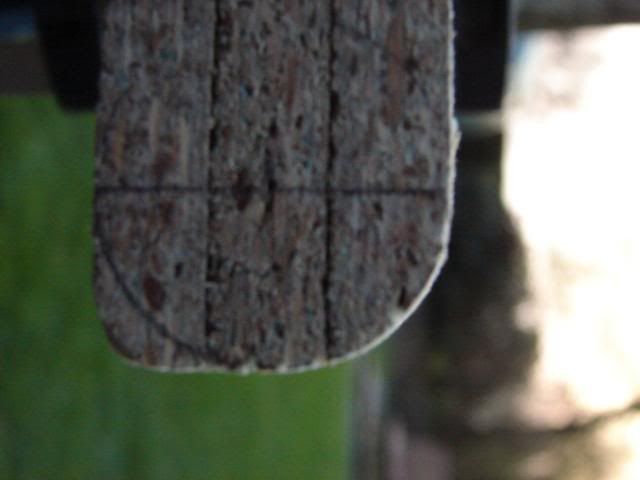
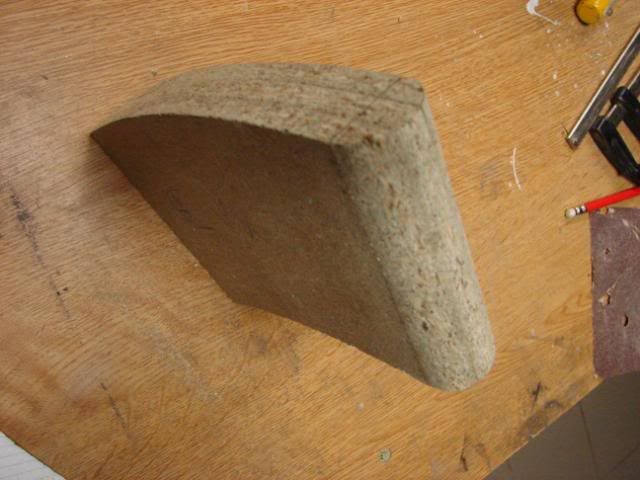
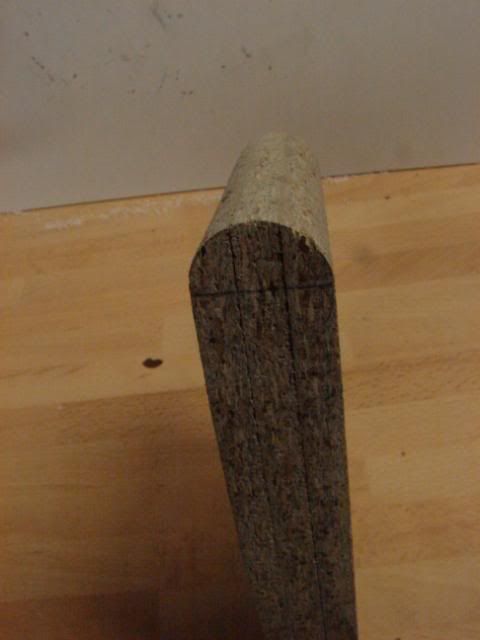
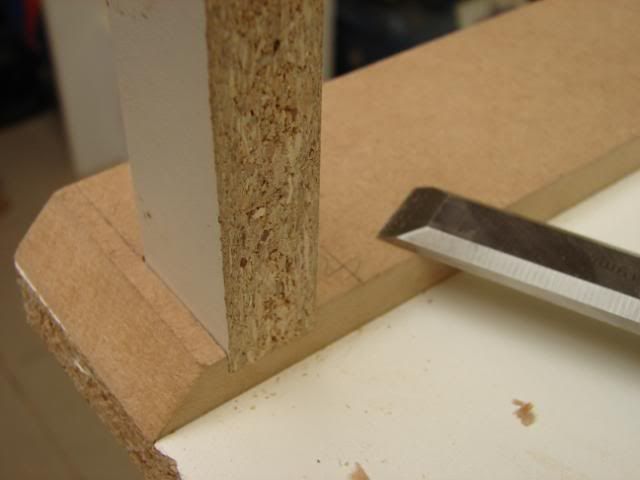
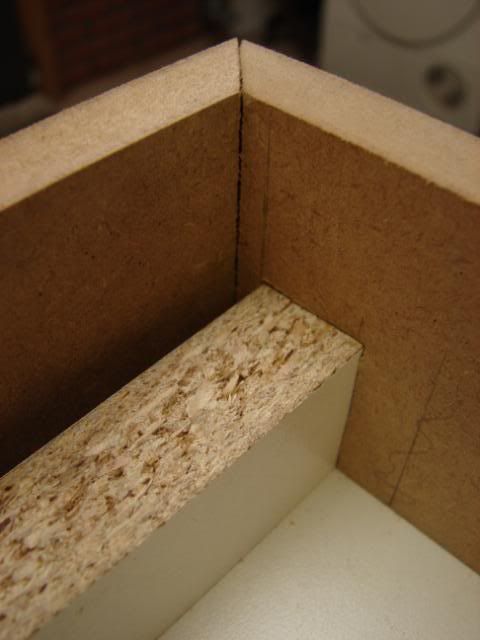
Using a chisel, I rounded the piece.
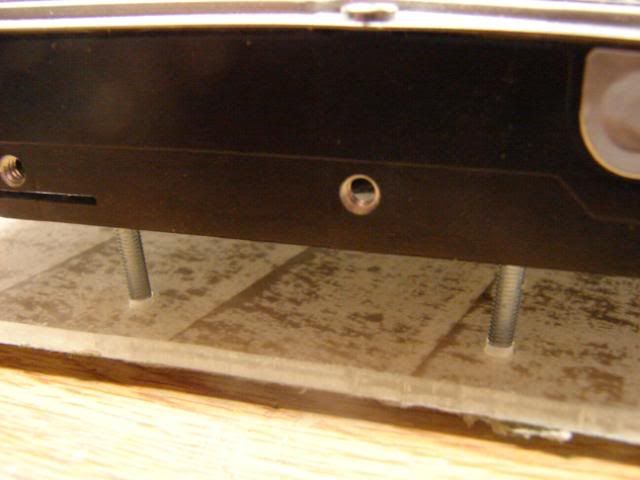
To attach the hard drives, I will use screws with rubbers (rubbers are for later ;) )
That’s ok ! :)
Hard drives will be warm, to cool them, I will be using the cooling box (update before this update) But there needs to be a hole in the plexi so the fresh air can flow good.
A lot of things need to be done, but that’s for the next update ;)
04-12-2009, 07:18 AM
SXRguyinMA
Re: Project: Elements of Fortune
lookin nice!
05-03-2009, 01:13 PM
tomcatt
Re: Project: Elements of Fortune
An overview of what I have done.
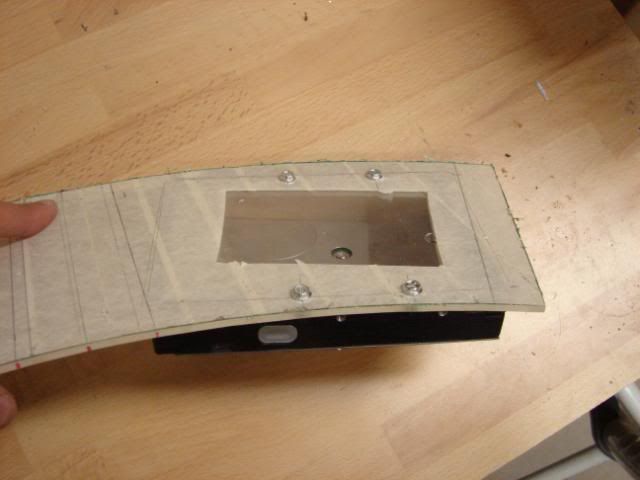
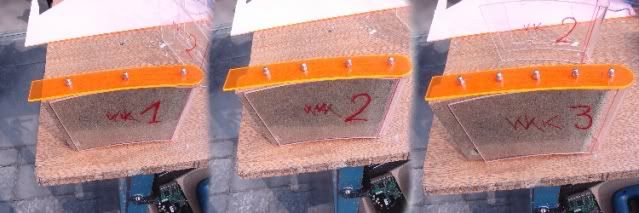
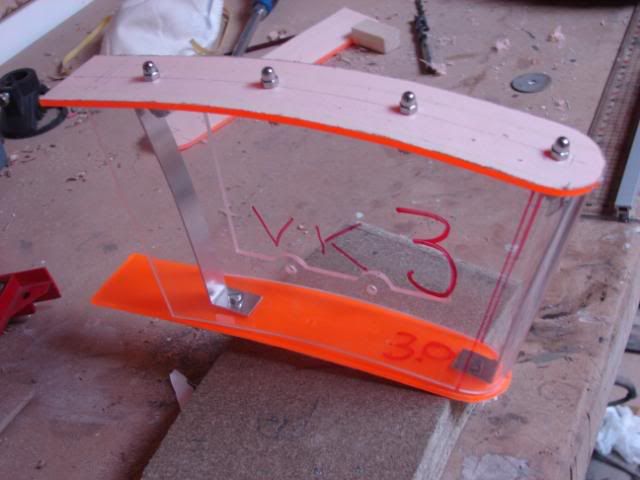
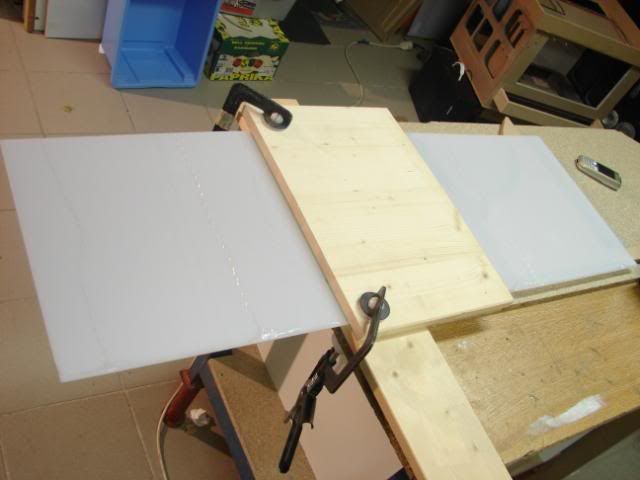
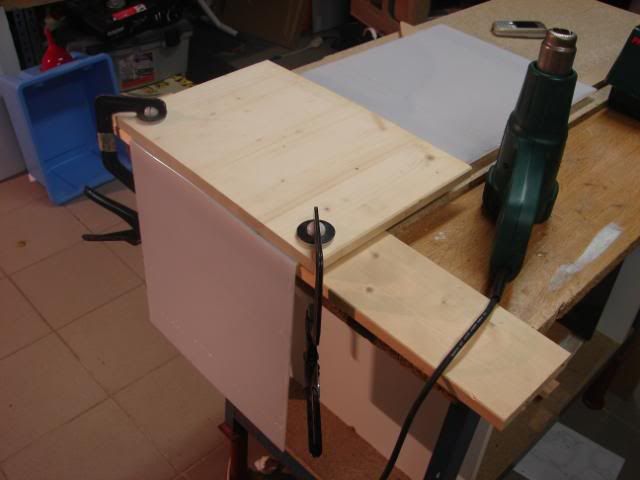
I used the mold to bend the acrylic
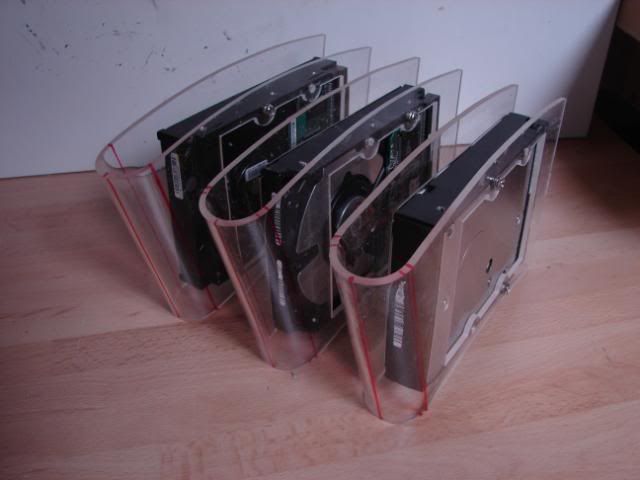
Here you can see the Hard disks that will take place inside those hard disk casings.
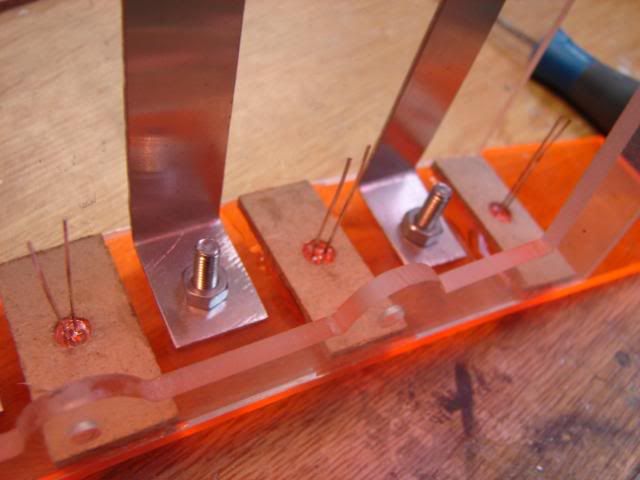
I also had to decide how much bolts I would use to connect the upper and lower side of the hard drive casings.
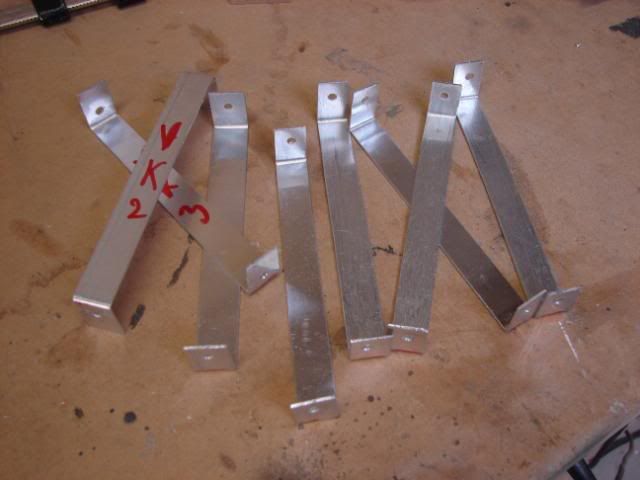
I choose 4 bolts, and I used some metals to connect the sides
There will be lights inside, so the orange acrylic will light up.
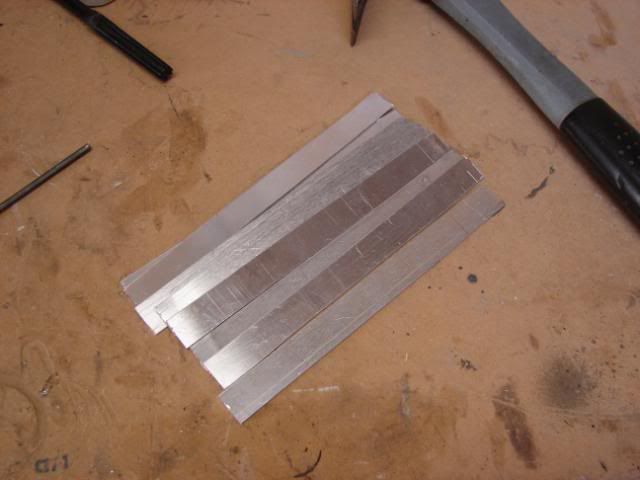
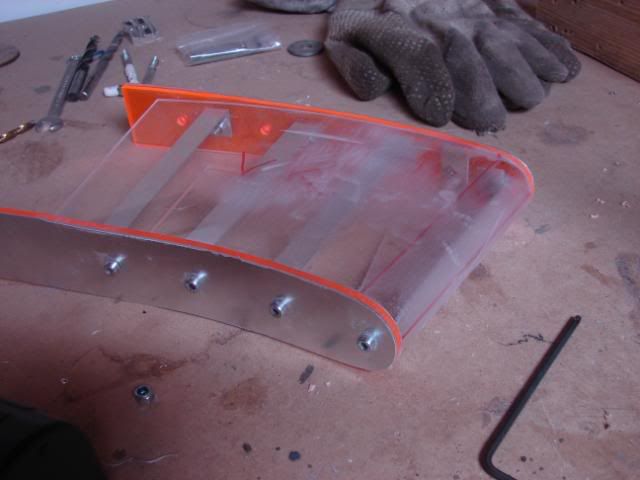
After this, I also made the aluminum that will cover the orange acrylic
Because my aluminum is out of stock, I began working on the assembling of the hard drives to the case construction.
Currently, that’s it for the hard drive cases. I’m waiting for lights, aluminum and high gloss paint…
My new machine finally arrived.
:D
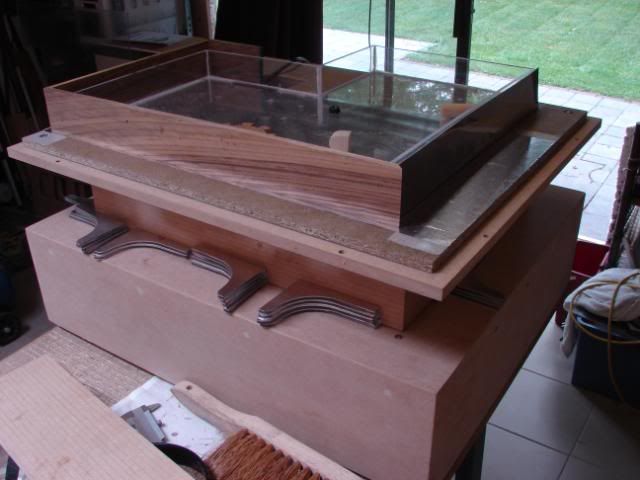
So I could start making the stuts for the bottom.
I spent several hours making these things.
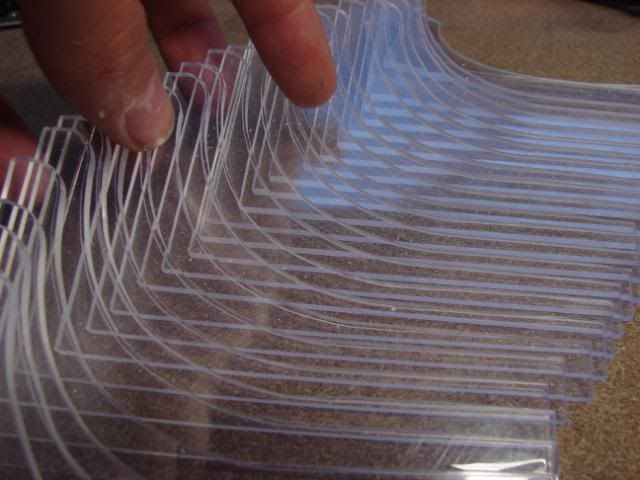
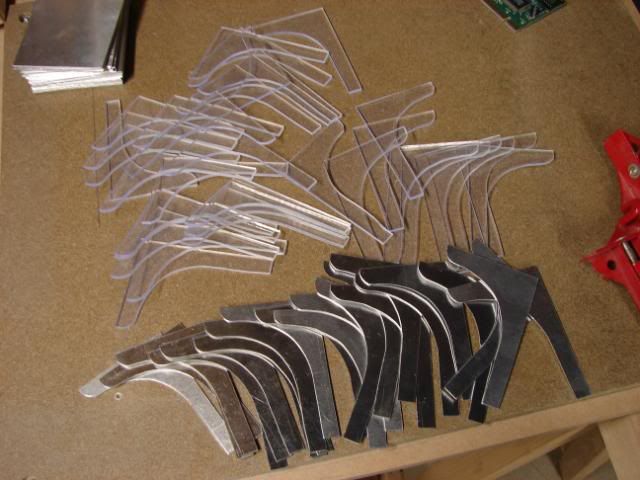
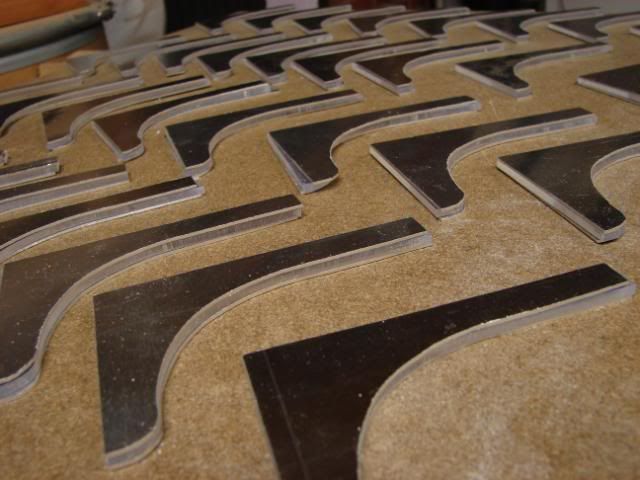
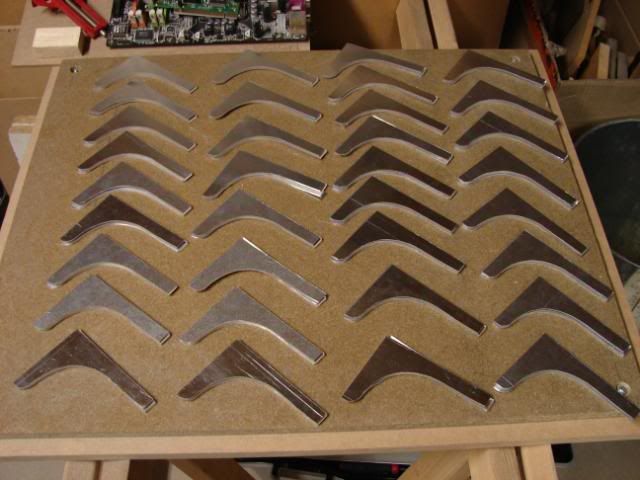
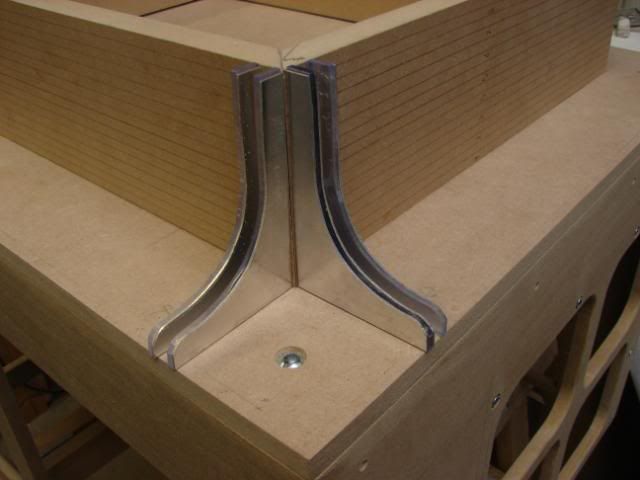
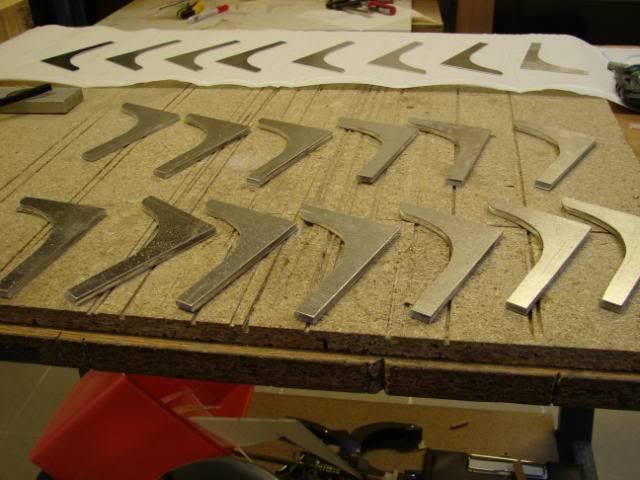
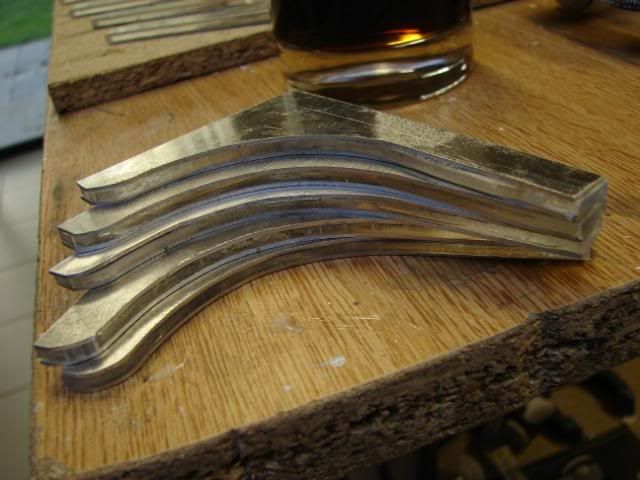
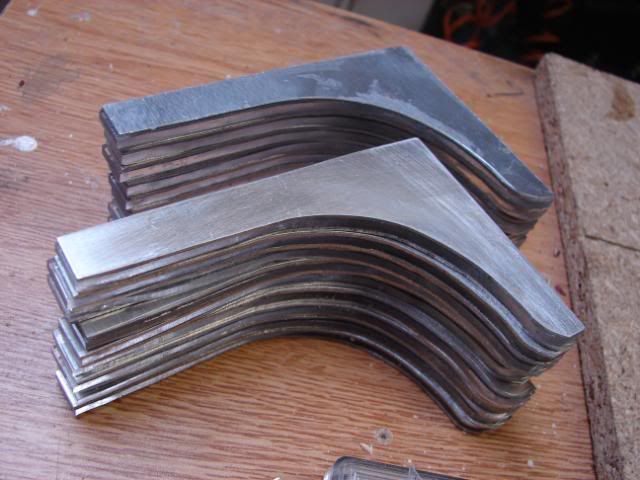
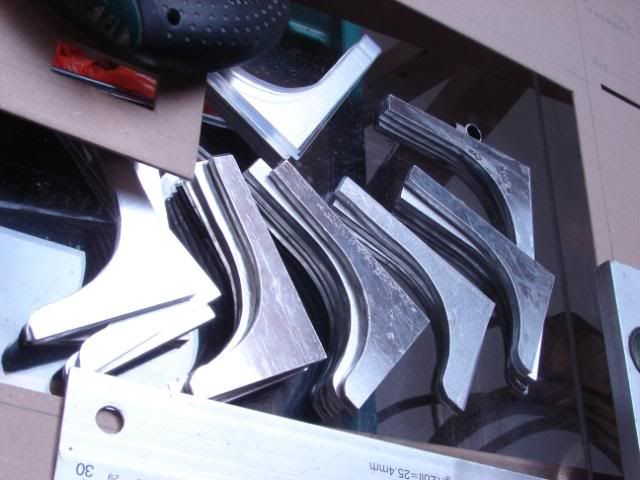
There are about 72 aluminum stutts and 36 acrylic.
They all need to be glued and filed/sanded. After that, I’m making the holes and then they are finished!
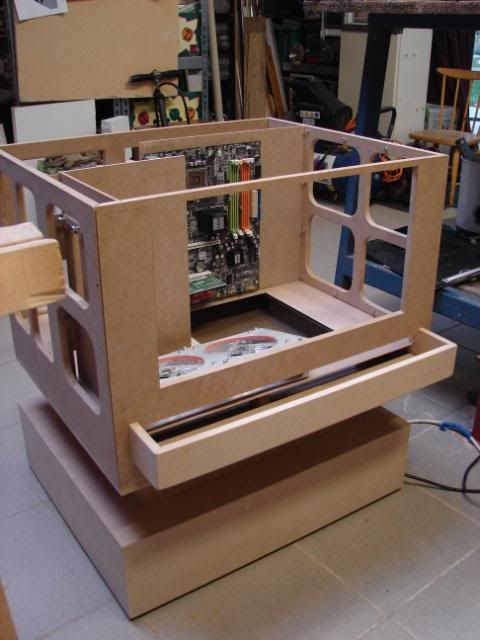
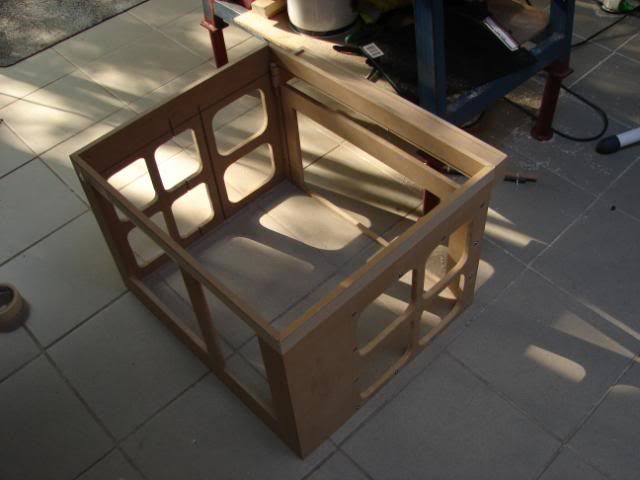
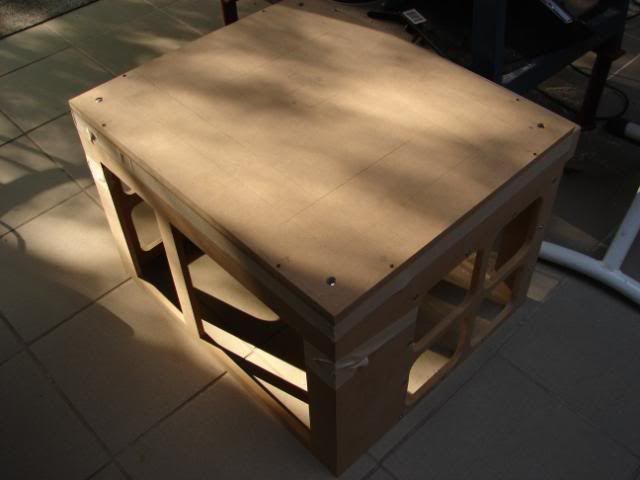
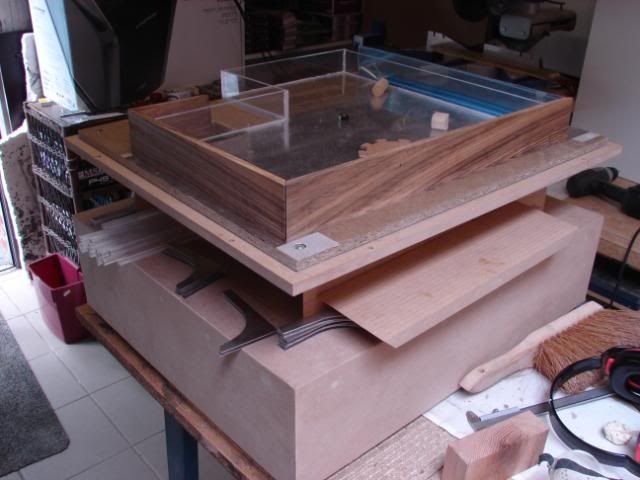
The case so far…
For the assembling of the side panels and front/back panels.
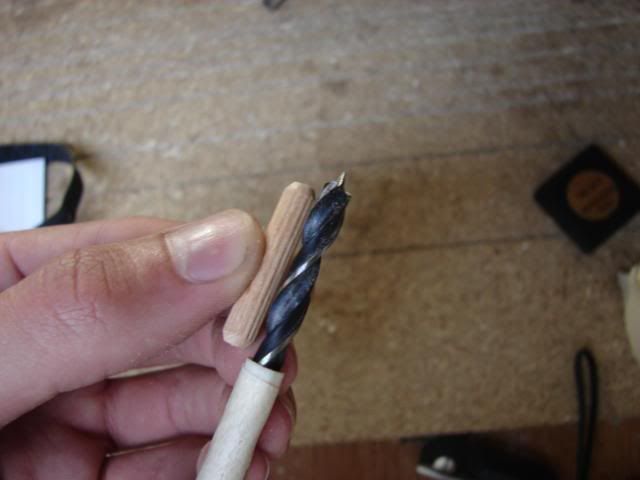
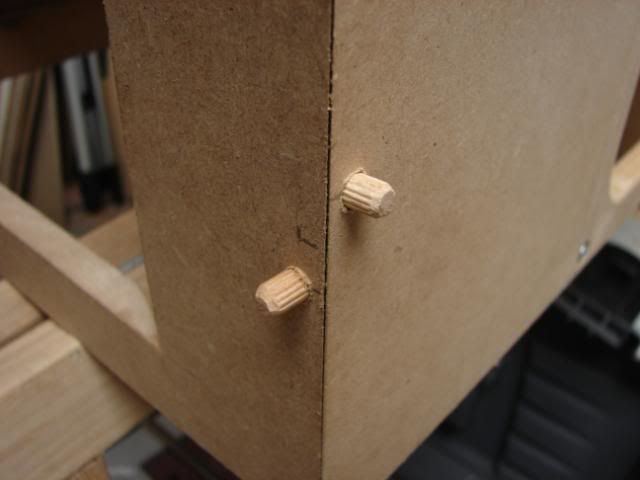
I’ll use these pieces of wood (don’t know how you call them in English)
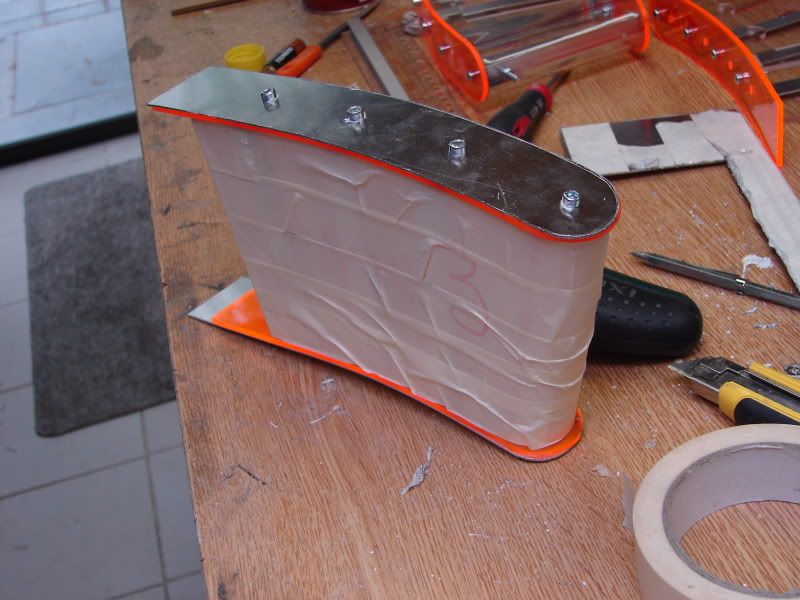
Now, I don’t have to use tape anymore to assemble the case.
… the stuts are still being glued and they have to dry…
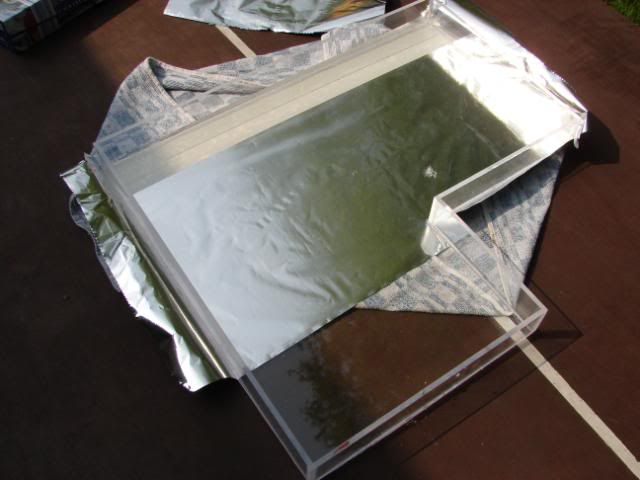
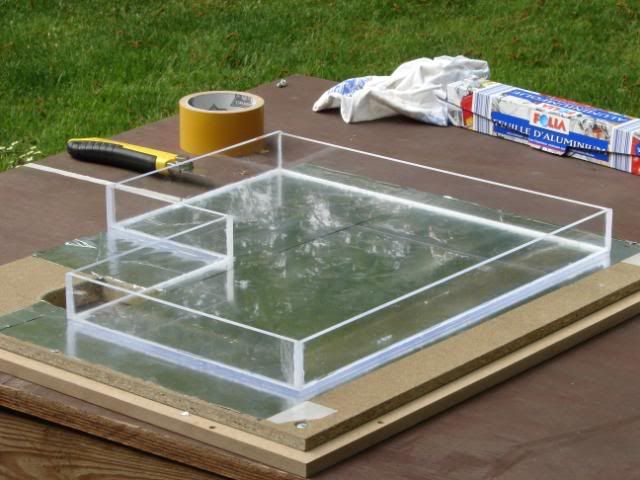
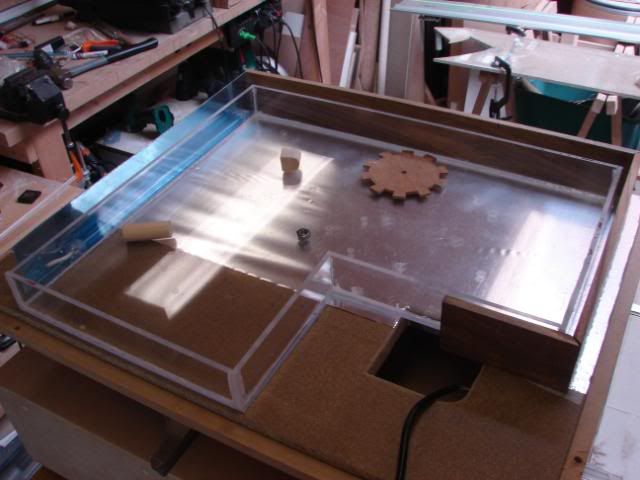
So I took the bottom reservoir at hand, and worked a bit on that.
I used some glue (or something lookalike) and now, there is no more water dropping from the sides ;)
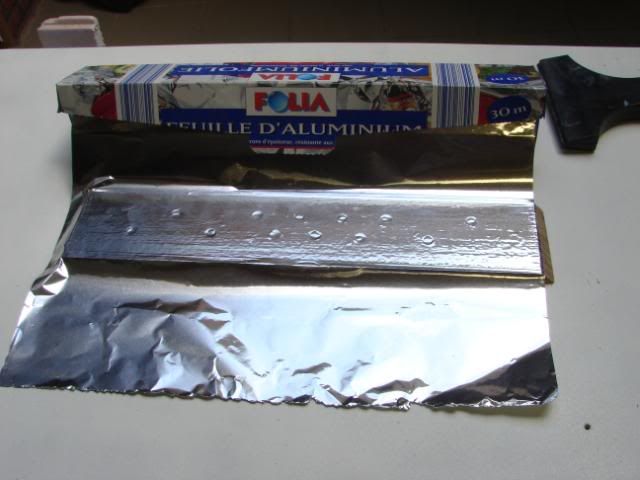
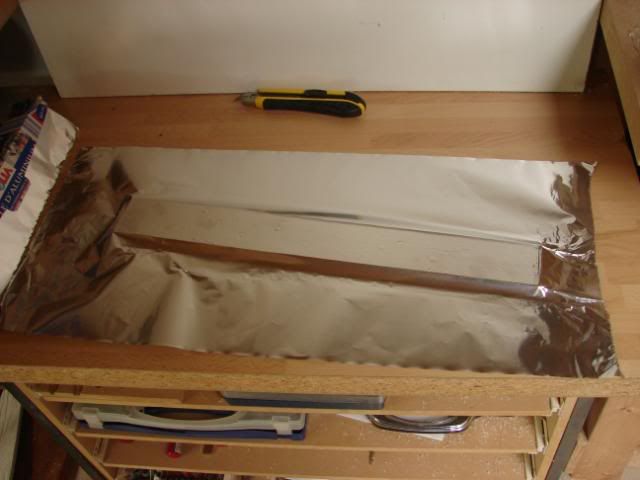
With aluminum foil, the bottom of the reservoir will be something like a mirror
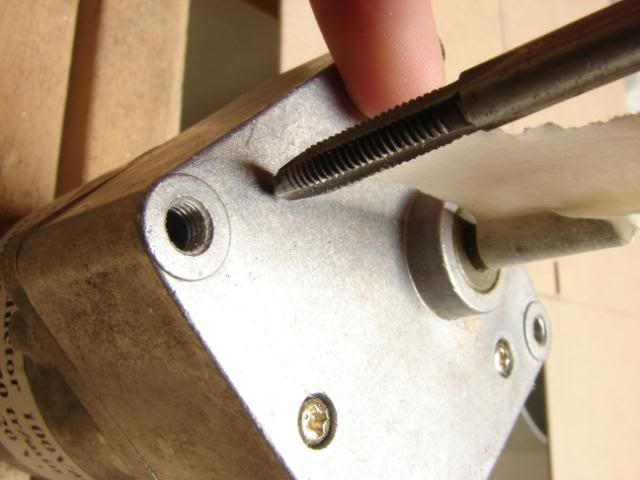
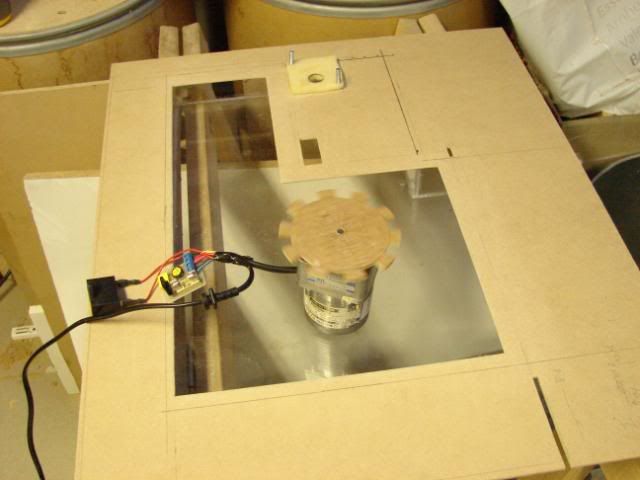
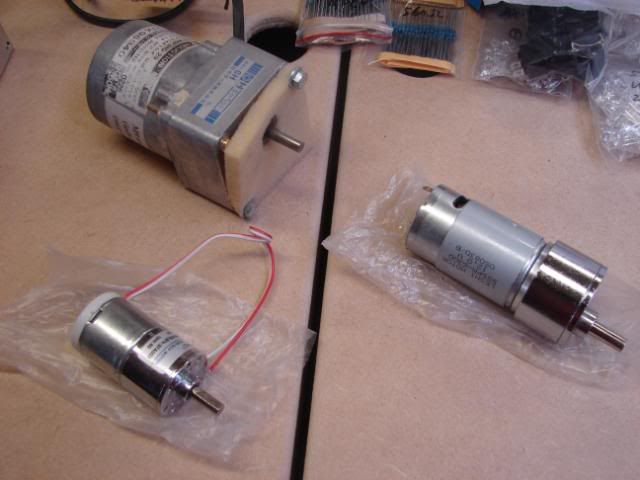
This reservoir has the purpose of being eye-candy. There will be cogs in it that will flow the water around… For spinning the cogs, I’ll use a little motor.
That’s it for now
Feel free to comment or criticize ;) ;)
05-03-2009, 06:07 PM
Mark_Hardware
Re: Project: Elements of Fortune
Very nice work, really nice attention to detail. This thing looks like its gonna be huge! oh yeah,
Quote:
Originally Posted by tomcatt
For the assembling of the side panels and front/back panels.
I’ll use these pieces of wood (don’t know how you call them in English)
They are usually called "dowel rods" :)
05-04-2009, 02:58 AM
DonT-FeaR
Re: Project: Elements of Fortune
wow,,,looking great man.. cant wait to see more.
05-04-2009, 05:50 AM
madd0ct0r
Re: Project: Elements of Fortune
A few idea regarding part holding i may well pinch.
that's a lot of work there.
05-04-2009, 10:39 PM
billygoat333
Re: Project: Elements of Fortune
those HDD cases are suweeet! very nice work dude. :)
05-09-2009, 07:07 AM
KiLLERMAN21
Re: Project: Elements of Fortune
Wow... nice job on the scroll saw, that would have taken a looooong time but it was worth it!
05-09-2009, 07:36 AM
jdbnsn
Re: Project: Elements of Fortune
Featured!
05-09-2009, 08:03 AM
tomcatt
Re: Project: Elements of Fortune
waaaw thank you very much !! ;) you won't regret this - This will be my best project ever ! :D
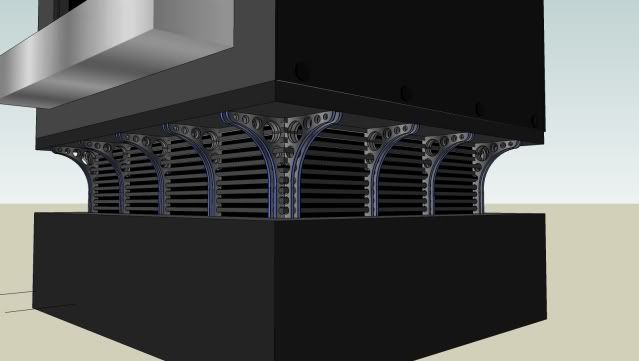
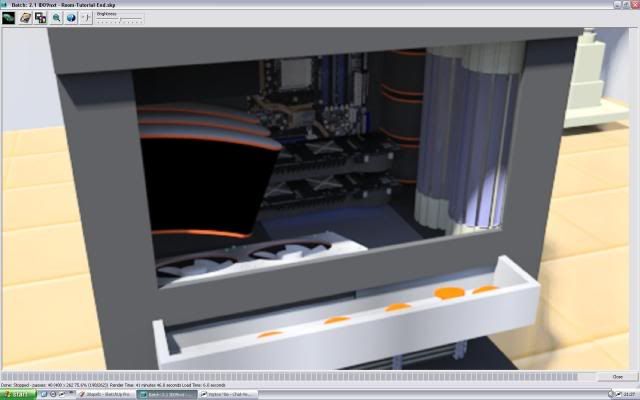
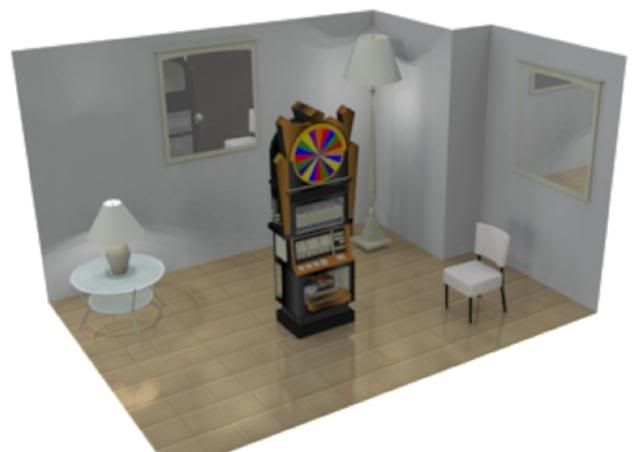
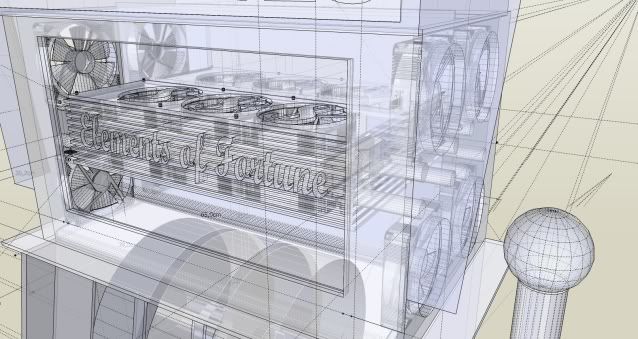
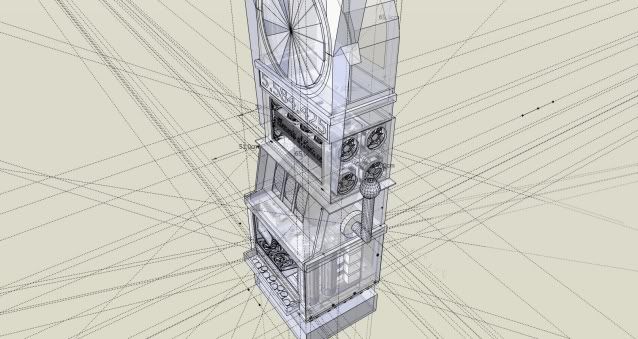
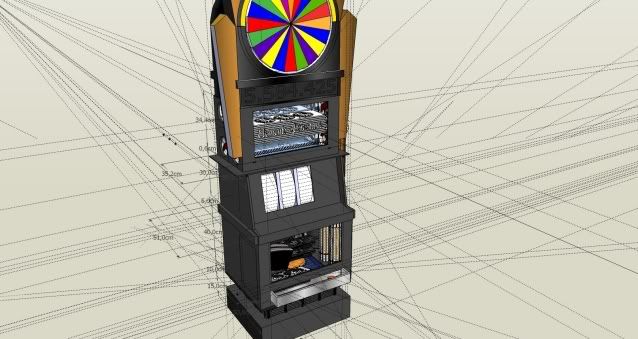
As sketchup is a very simple program... there are some plugins that allow rendering. This is the result:
every strut is made by hand, one by one...
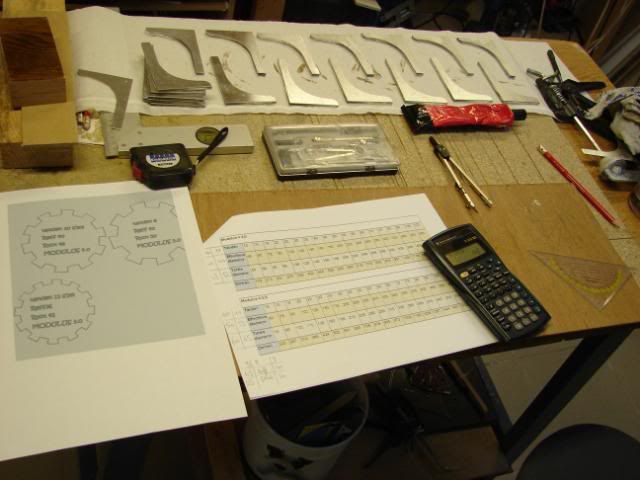
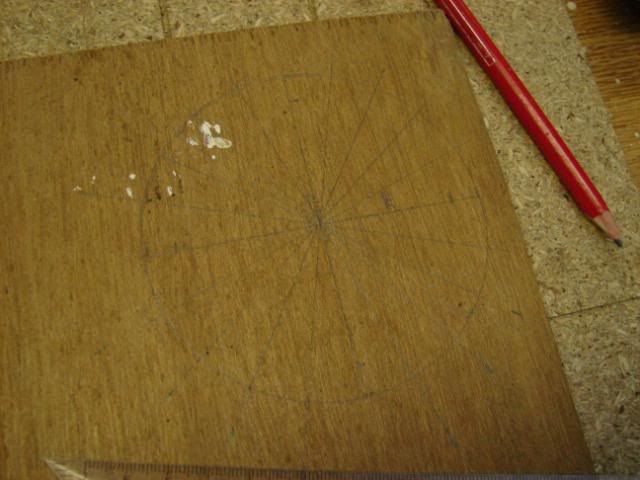
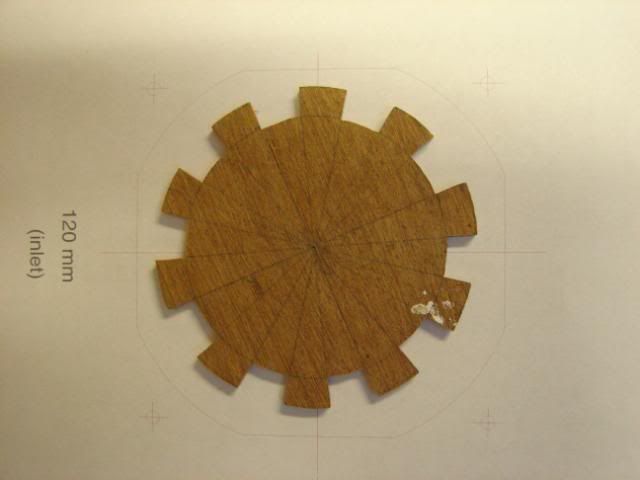
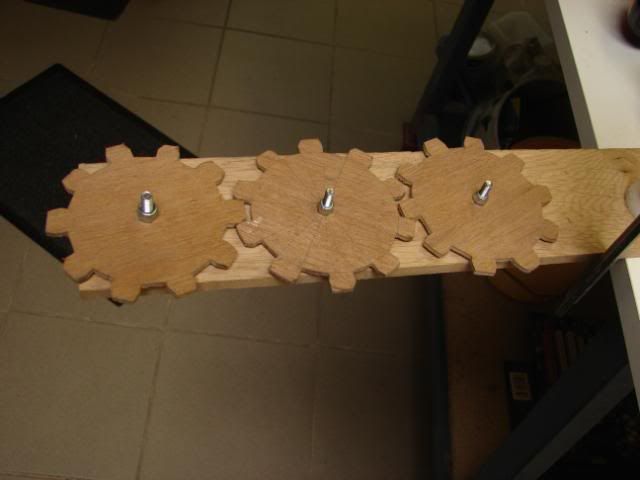
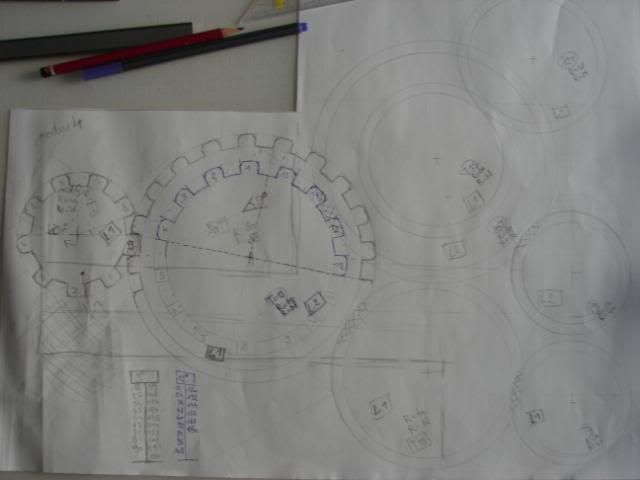
This takes much time, so I started to calculate the cogs and gears that will come inside the "eye-candy" reservoir.
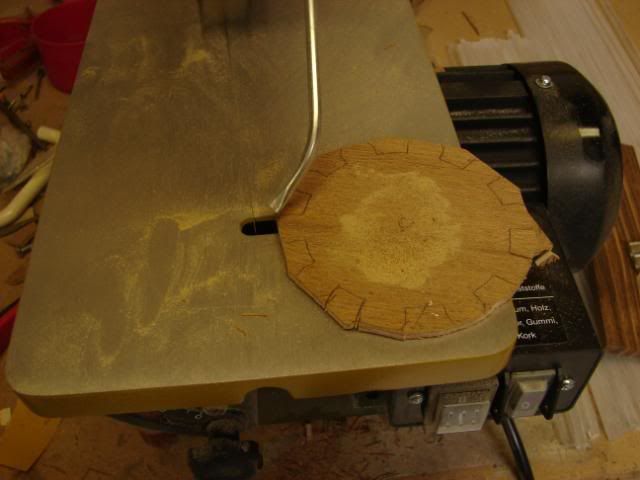
First, I'm going to make them in wood... so that I can see if they really are working (because I don't want to throw away good plexi if my calculations are wrong)
The idea is to put several cogs in the reservoir: as shown in the sketch:
bye
Tom
05-09-2009, 10:32 PM
DonT-FeaR
Re: Project: Elements of Fortune
oh thats gunna be really cool
hope it works out
05-14-2009, 06:05 AM
KiLLERMAN21
Re: Project: Elements of Fortune
Nice man, the attention to detail here is great!
05-15-2009, 08:39 AM
tomcatt
Re: Project: Elements of Fortune
thank you killerman and dont-fear ;)
The struts are still being glued together. A lot of work there :o
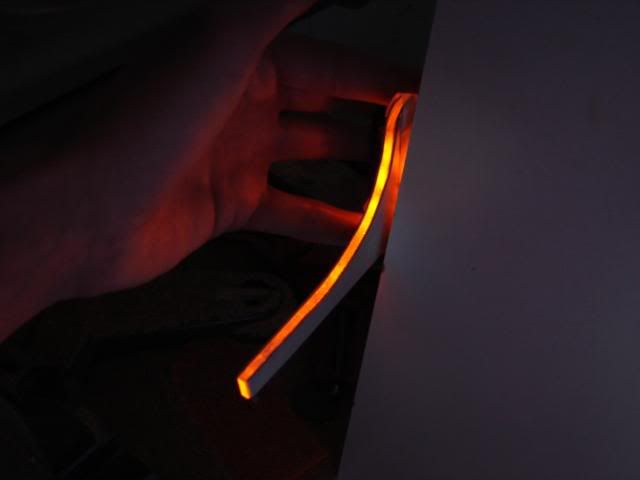
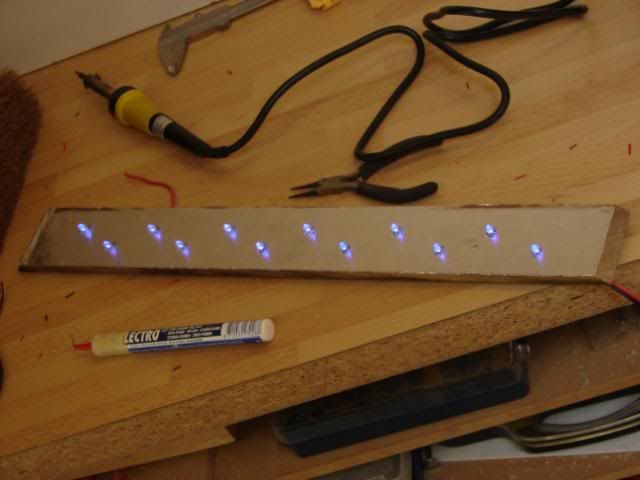
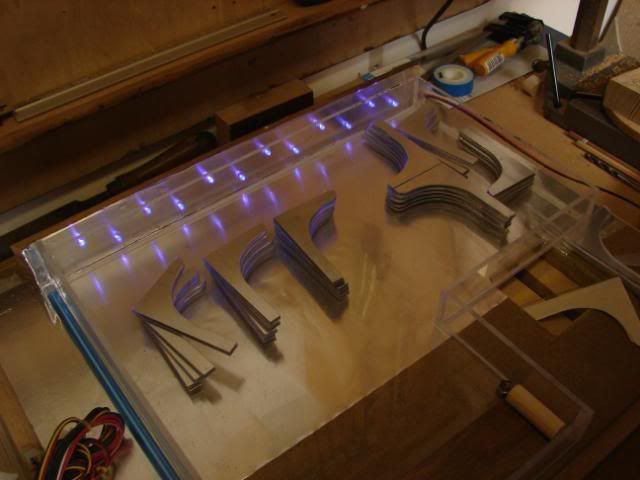
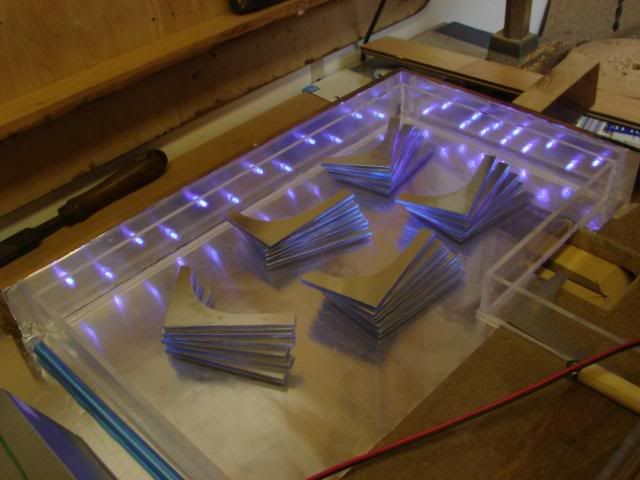
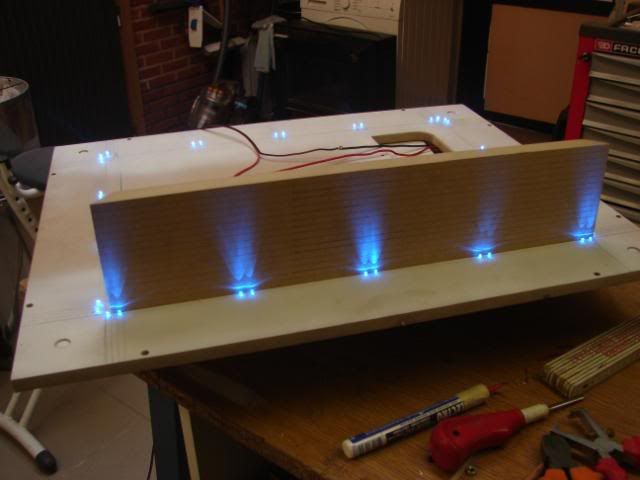
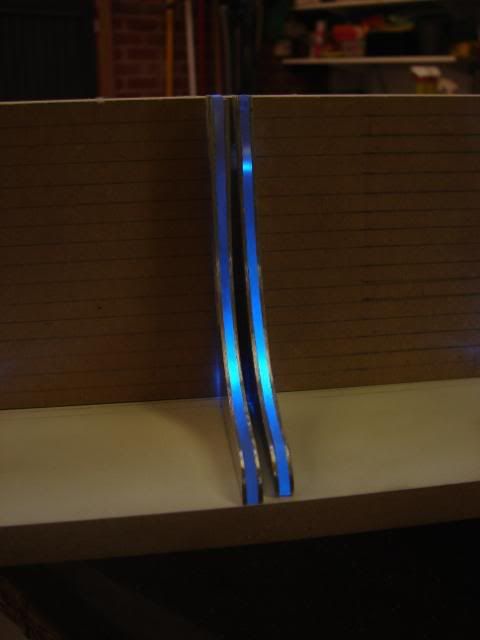
I also tested them if they give a good look with LED light.
Final LEDs will be blue though ;)
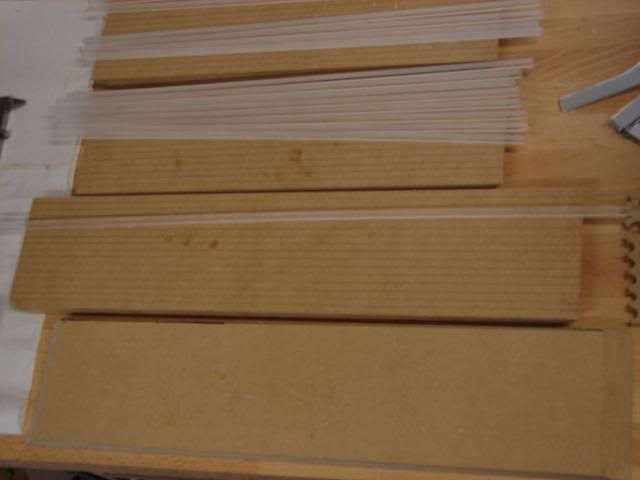
I also made the other white rafters
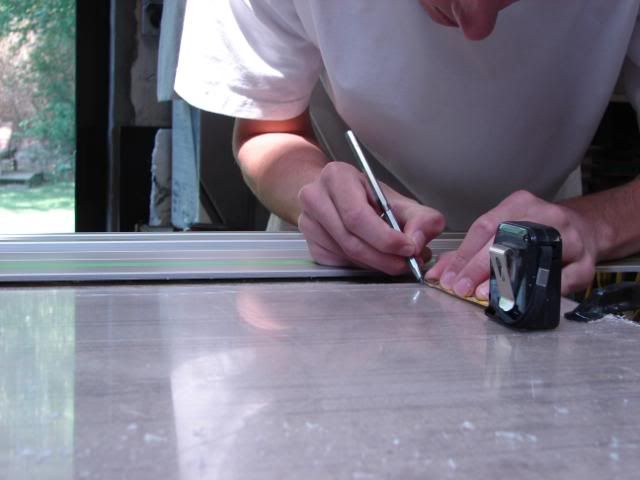
By measuring
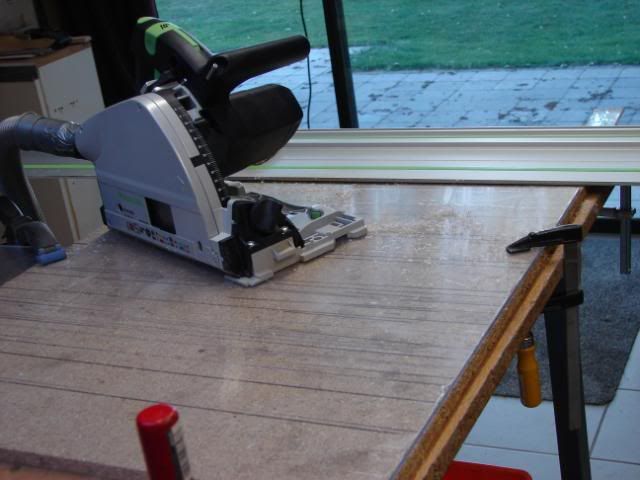
Sawing
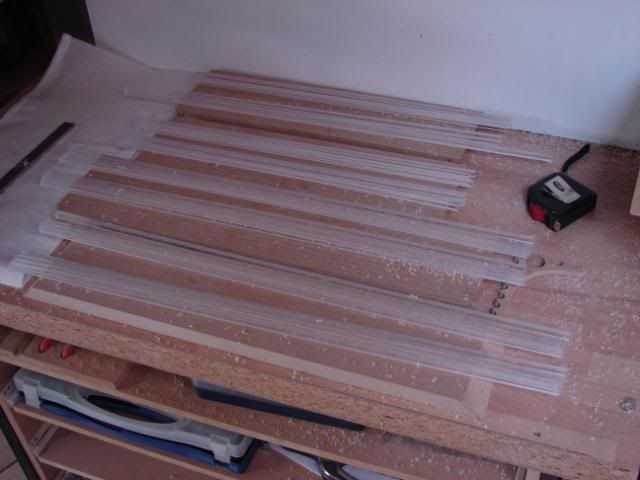
And then it has to look like this when it is placed in the bottom.
I also need to make holes in the struts, so that they can fit like I had in mind ;)
bye
05-15-2009, 01:57 PM
a.cowen
Re: Project: Elements of Fortune
Looks awesome.
If you get the LED blink right it's gonna look exactly like these ones I saw in Vegas. How cool.
05-15-2009, 04:48 PM
Eclecticos
Re: Project: Elements of Fortune
Truely amazing project you have going on here. Incredible design sketches. +²Rep
I have subscribed to your project, and plan on watching it take shape.
05-17-2009, 07:10 AM
DonT-FeaR
Re: Project: Elements of Fortune
wow this is gunna be sweet... i believe i may be repping you soon....
05-17-2009, 07:14 AM
tomcatt
Re: Project: Elements of Fortune
thank you everyone !
It is a lot of work, but I surely think it will be very sweet when I get the LEDs installed and the cogs spinning in water ;)
05-29-2009, 11:31 AM
Dane Bramage
Re: Project: Elements of Fortune
that's a friggin sick design, man. i don't think there has been a total build like this since Doom2. your attention to detail is quite impressive. hope you can pull it off. you got the skillz... just need the stamina. too much detail for me to even fathom.
+rep
05-30-2009, 12:20 AM
DonT-FeaR
Re: Project: Elements of Fortune
yeah man the stamina is all that you need and skill helps to.
you have both so far so good luck
05-31-2009, 04:11 PM
tomcatt
Re: Project: Elements of Fortune
Struts … soon I’ll hate them ;p
There is just very much work on them, but I know it will be worth it !
The sanding
Tested with a LEDlight from my bike
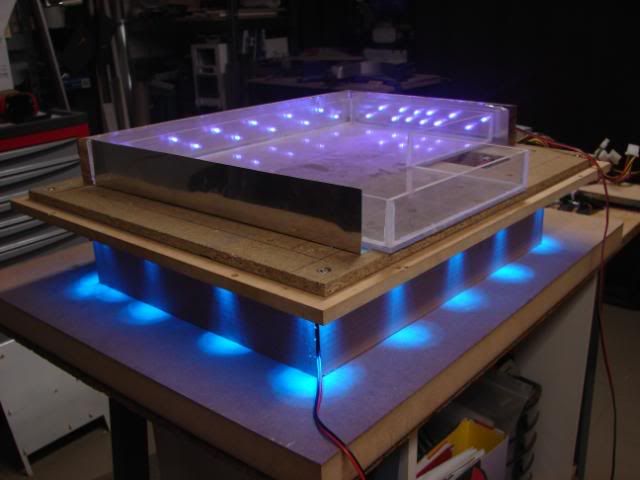
Then I worked a bit more on the reservoir.
There will be cogs inside the reservoir, as you may know … but the cogs/gears need to have some light too.
Therefore I’m making a wall around the res, and I’ll use aluminum foil to get some reflection.
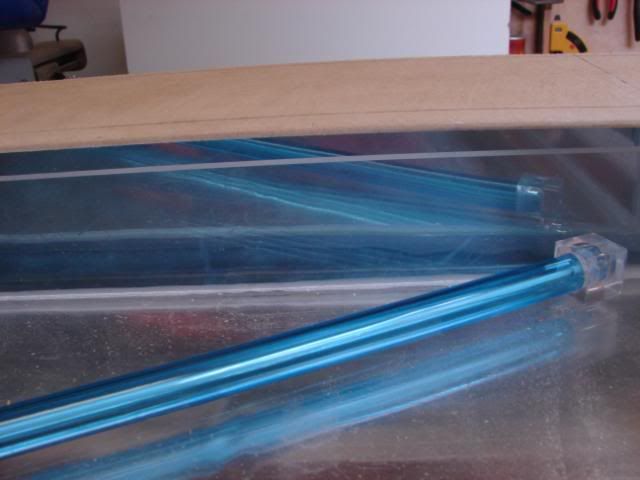
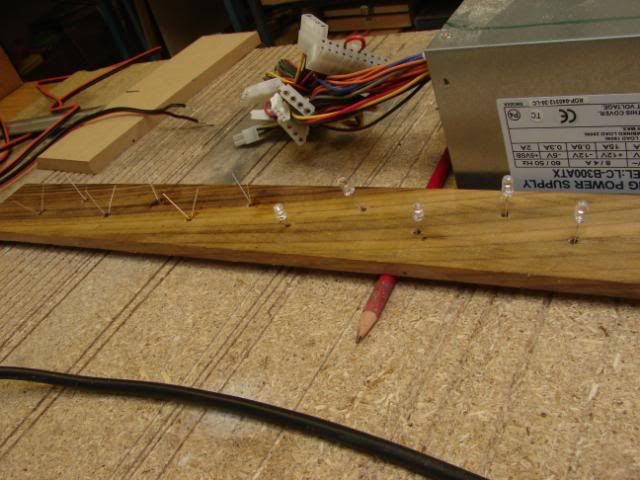
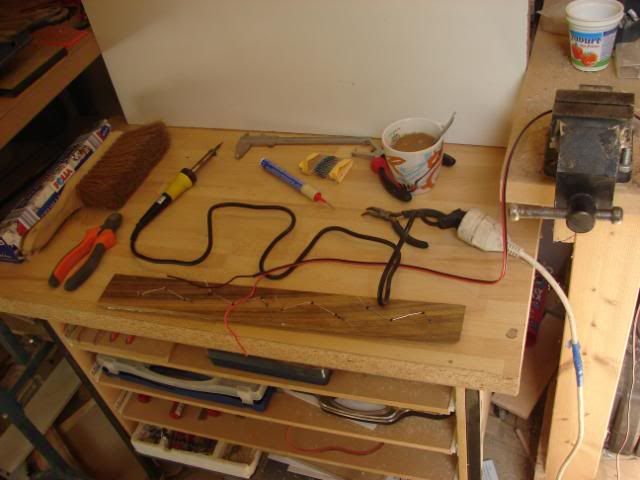
In these wooden walls, I will attach LEDs. But I also use a UV CCFL (now blue)
The LEDs:
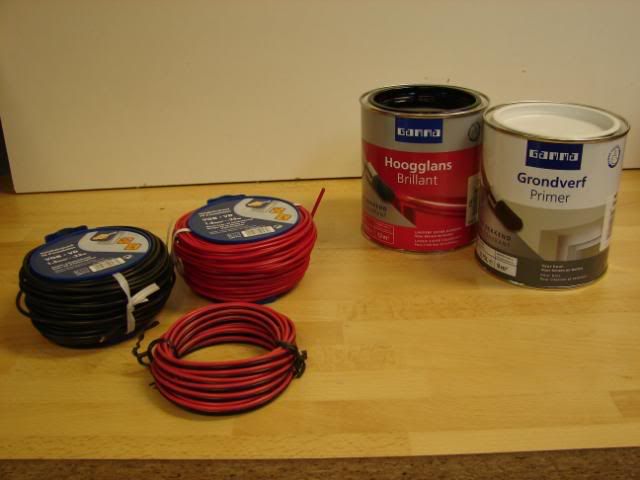
Then, I went to the local hardware store to buy some paint and wires.
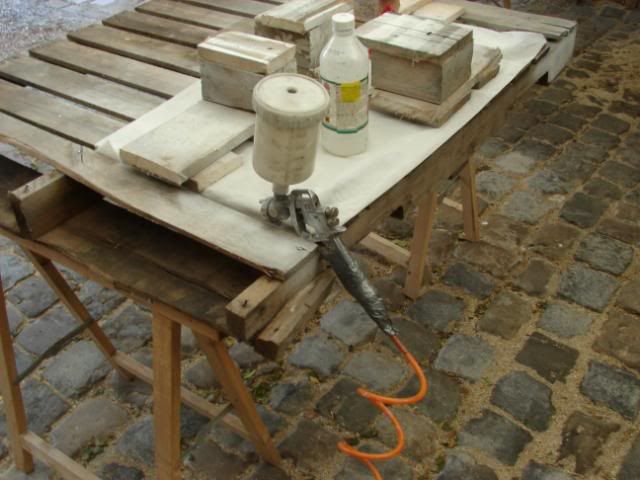
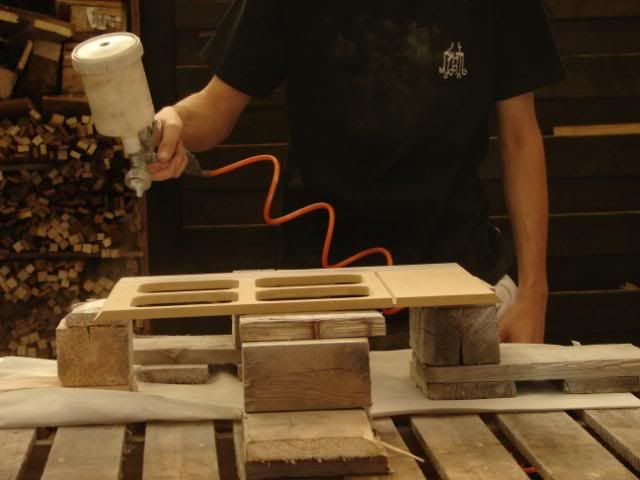
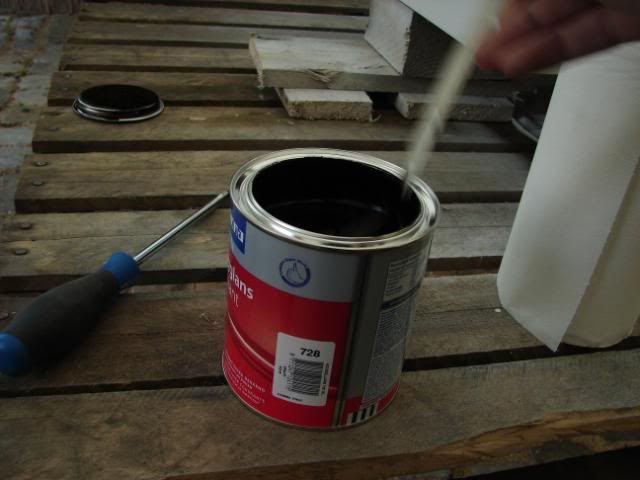
First 2 layers of primer, then highgloss black …using this paint-tool.
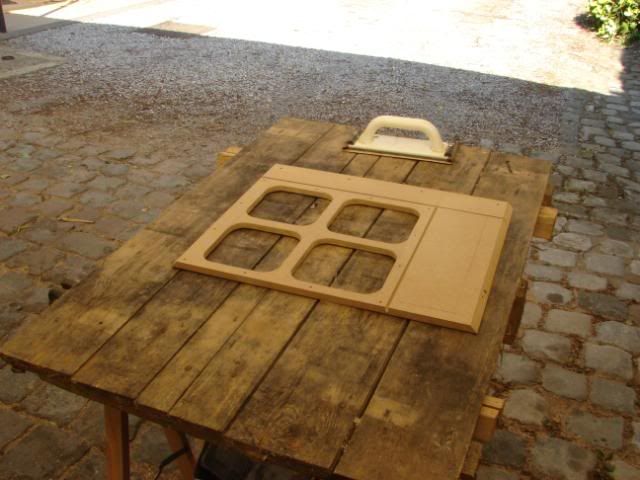
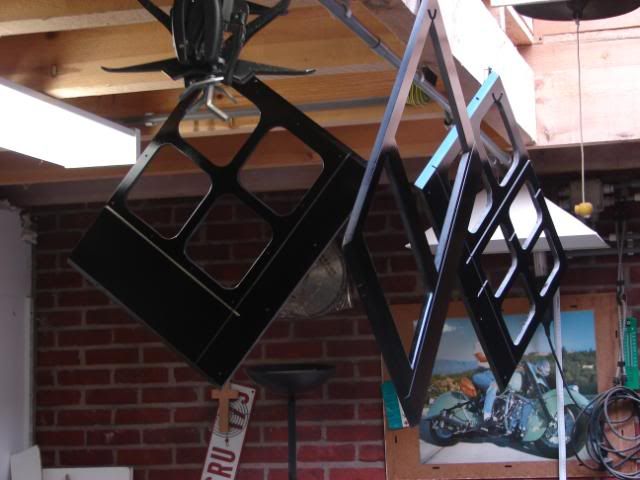
I painted the sidepanels, bottom panel and motherboard panel.
The bottom:
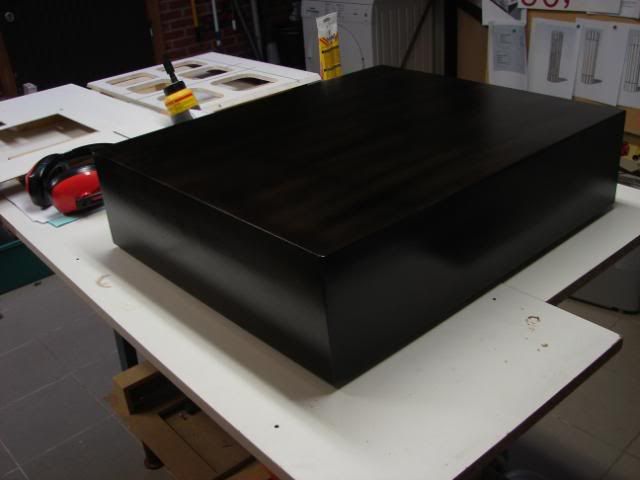
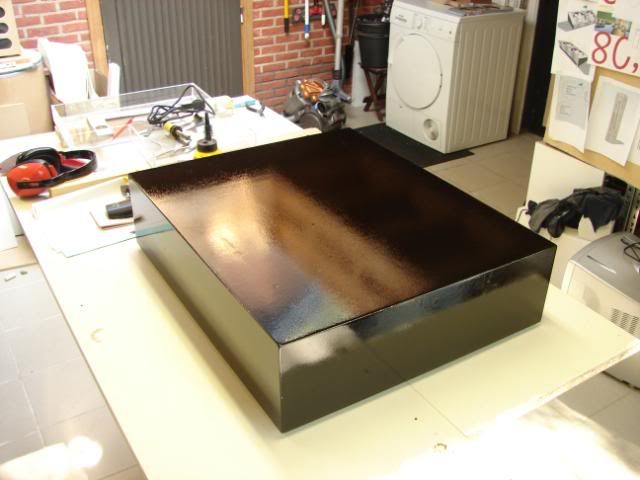
After 3 layers of primer on the bottom block, it’s now time for the first high gloss black layer.
The day after painting this, I sanded and painted the block again.
The result of the block:
The texture is a bit rough … actually this was not my intention, but it is really cool looking. I know how this comes, because the first layer primer wasn’t perfect smooth :D
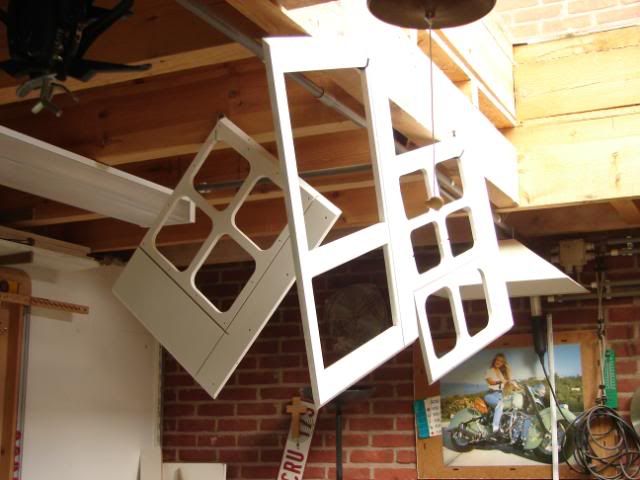
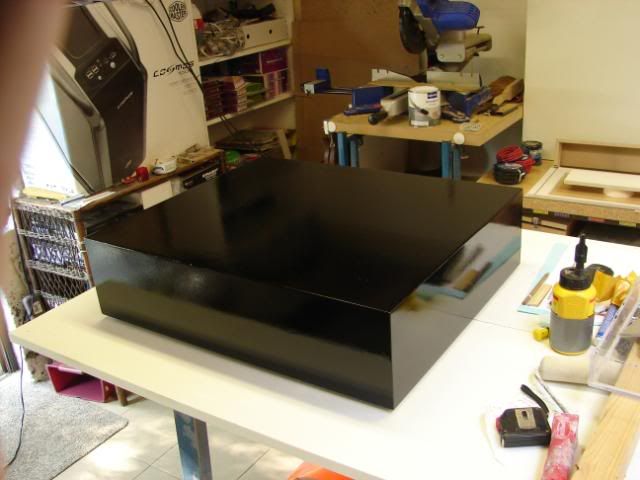
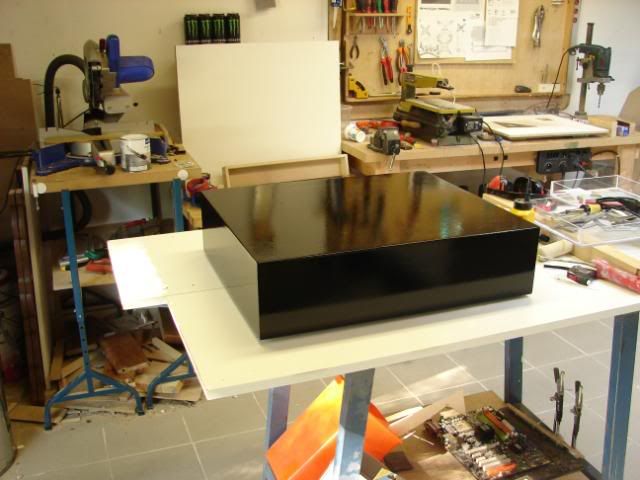
The other panels got a first high gloss paint layer too.
I also made a movie during the paintjob.
Note that it’s my first time painting something like this…. I think it worked out good.
Because I’m out of materials for the cogs and lights, and a lot of people don’t know what I’m making. … I’m going to make an example of the total case.
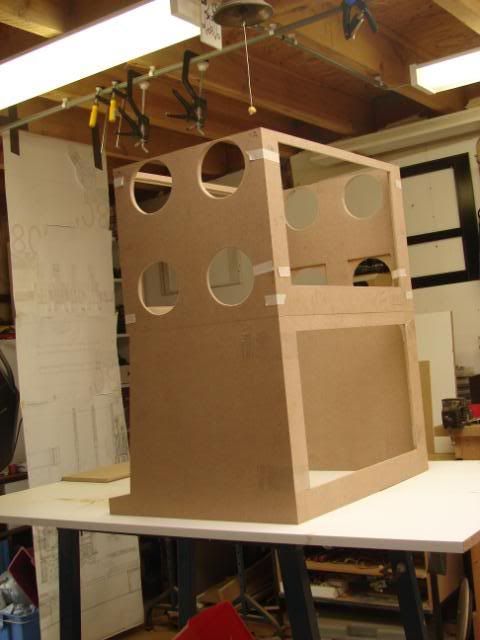
I will begin on the frame (fully MDF wood)
+The top
There won’t be a bottom, because I think I like the fact that you can see the ‘mechanics and cogs from the wheels’.
In every side panel there will be 4 FANs. So that makes 8 FANs on both the panels.
+ The FANs on the radiator … that will be 2x 6 (+8) = 20 FANs
I hope to get noctua fans on a lower voltage (Noctua U.L.N.)
This is … don’t know how to explain in good English :p lol
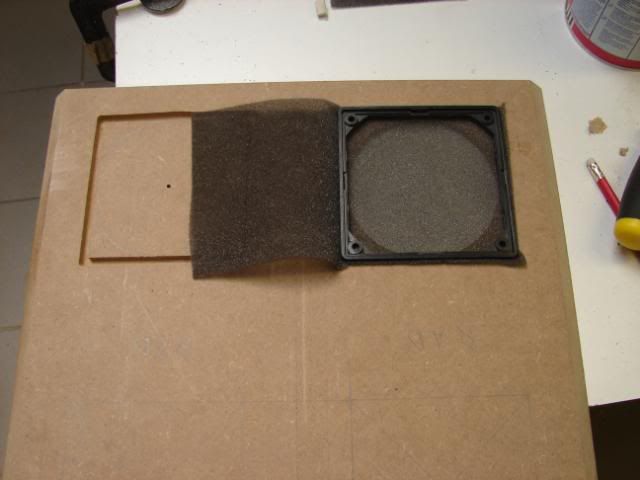
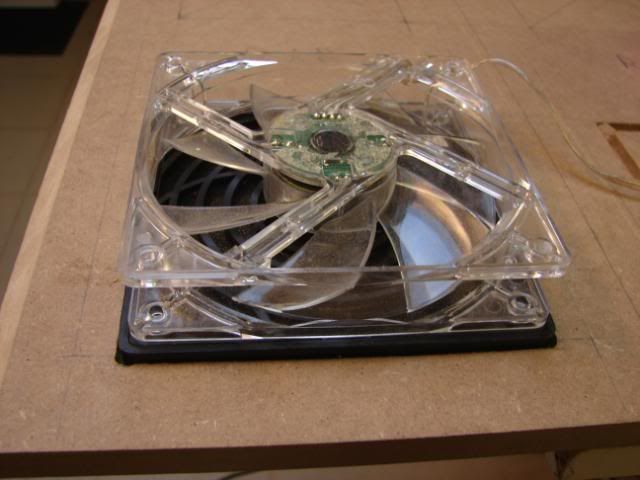
But It is for the finishing of the dust-filters (intake FANs)
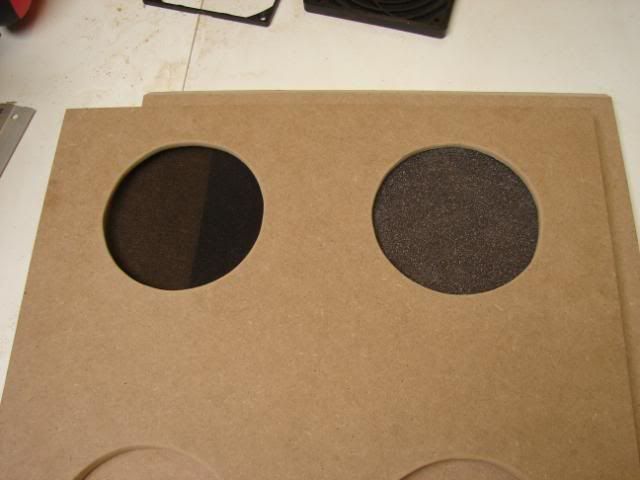
Then I finished the intake holes
Before:
2 finished panels
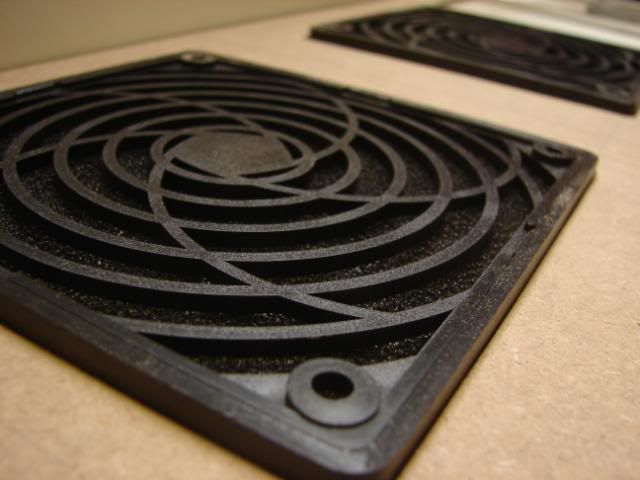
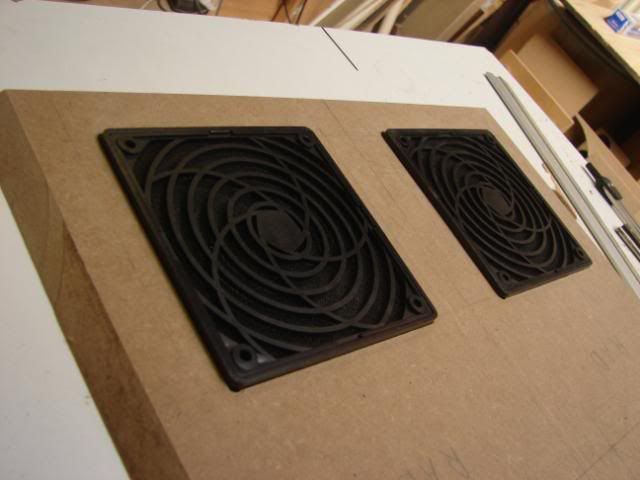
These are the dust-filters I got from a store
But I don’t really like the shape of the grill … hmm
Then I broke them
It’s a cleaner smoother result now, I think
But I’m going to make it better in the future
Now back to the frame
Because I’m going to make that first now !!
The making of the windows
The total picture for this subject of the total case
Thx for reading/watching ;)
07-03-2009, 07:52 AM
tomcatt
Re: Project: Elements of Fortune
Update time !
I already started to begin on the layer where the 3 wheels will be spinning.
The back panel is almost the same as the other one.
And of course also a “gap?” where the acrylic will fit in.
The side panels are a little different (with different angles and so … :) )
The front side panel will be shiny. I hope to get this effect with using acrylic that will be painted high gloss on the back. So It almost look like glass.
After sawing the acrylic
Because I needed some space in between the hardware layer, and the gambling wheels… I made another small layer.
this is what I mean:
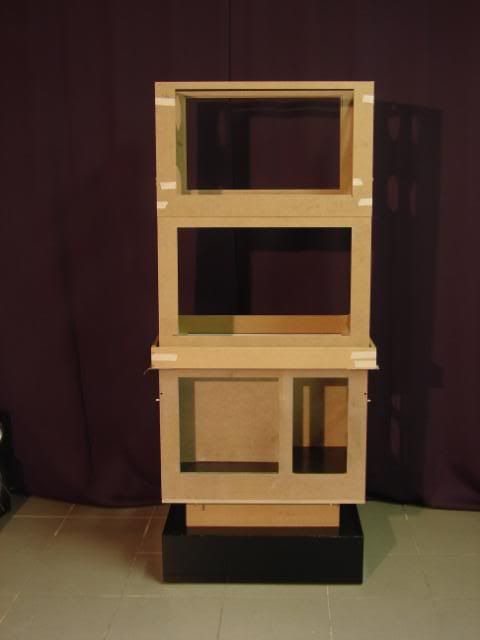
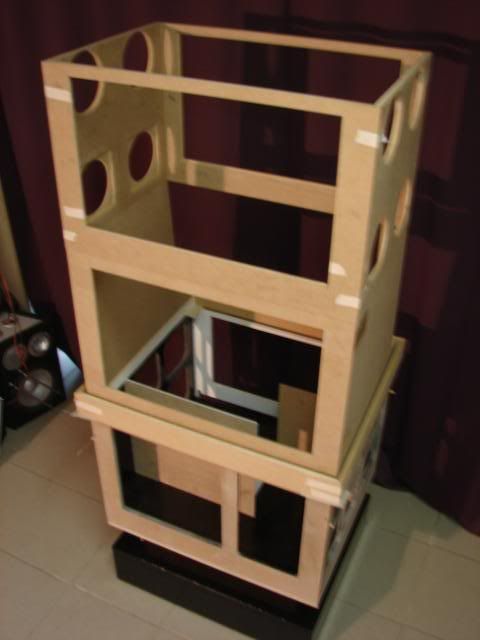
Again, this basic frame is almost ready
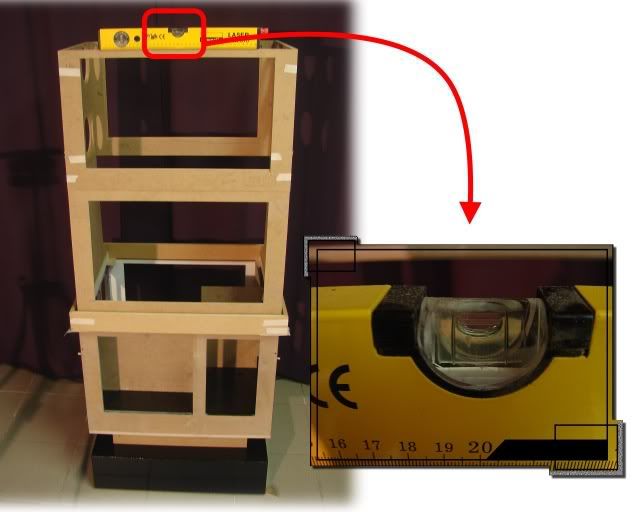
One of the most important measurements :D
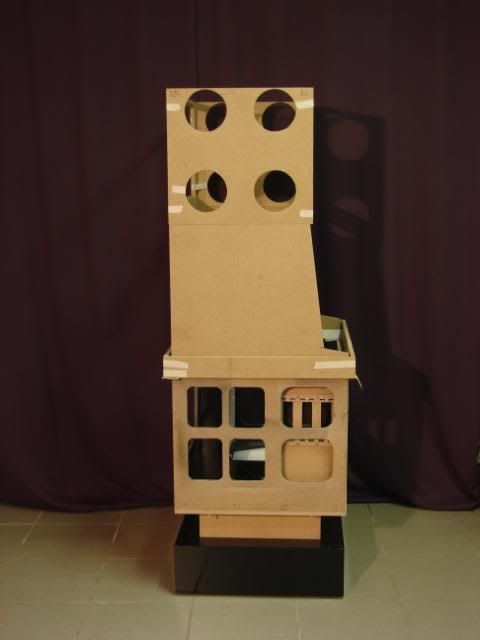
Good! the ground is not totally even … so It may be a little bit leaning.
The highest layer is the layer of the wheel of fortune.
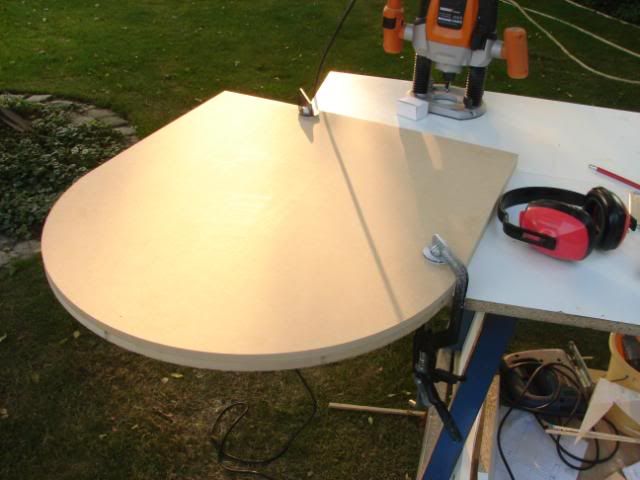
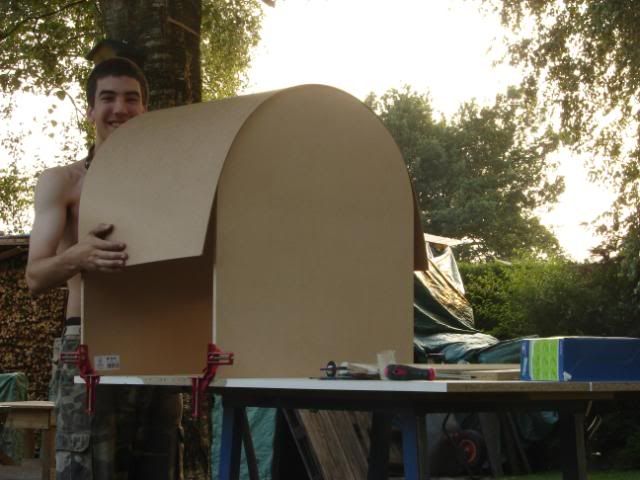
And I will use a very thin sheet of MDF to make the top
Hehe :p – the sun is shining btw Very warm ! xD
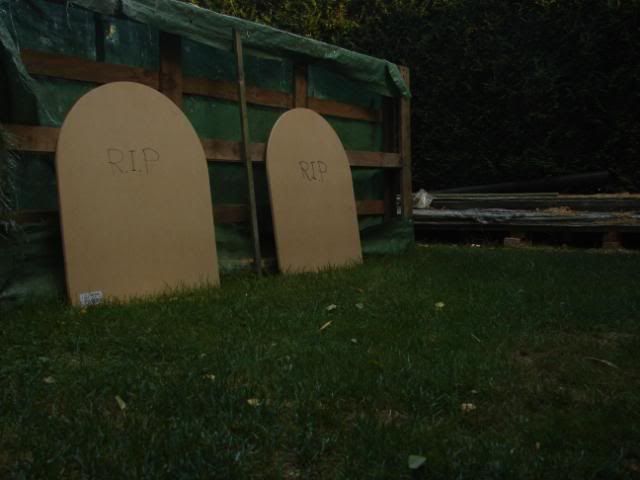
LoL – I hope I don’t have to use these on a day
^^
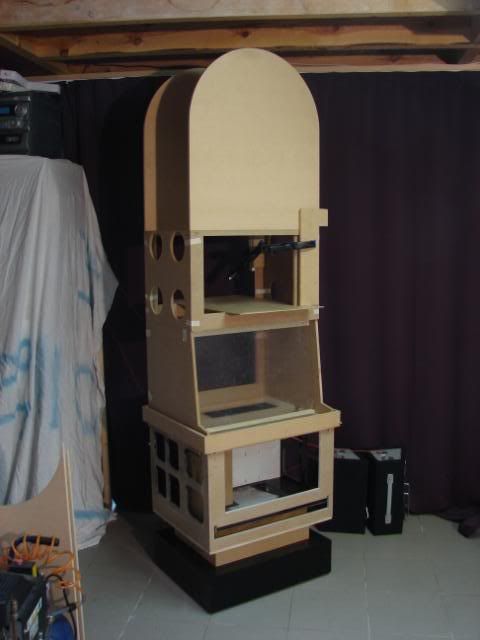
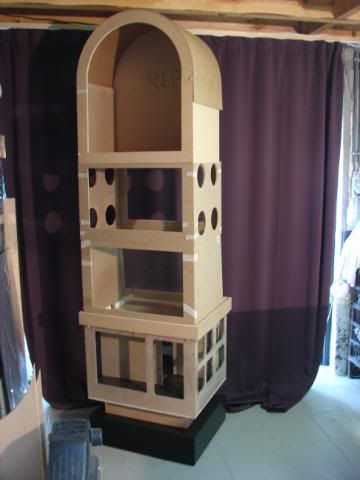
The project will be very tall. About 2.5 meters high.
The weight or height doesn’t matter to me actually …
The whole case can be dissembled in 6 pieces, so I can transport it to another location without problems ;)
I also will use aluminum or another kind of metal to make the frame stronger ;)
Tomcatt
07-07-2009, 09:40 AM
gaz_the_chav
Re: Project: Elements of Fortune
Awesome I am going to be following this very carefully! Keep up the good work.
-gaz
07-09-2009, 04:20 PM
Mark_Hardware
Re: Project: Elements of Fortune
Boy that thing is taller than mine lol! Excellent work, keep it up!
07-09-2009, 09:03 PM
Trace
Re: Project: Elements of Fortune
This is a very amazing build. +rep
07-10-2009, 05:47 AM
tomcatt
Re: Project: Elements of Fortune
thx !!
Alright listen up y’all ! :D
Plans are changed, well the plans in my memories actually
I planned to make something very special in the upper side (with the wheel of fortune) of the case. But now I found something cooler!
I hope I can figure out how to make it though ^^
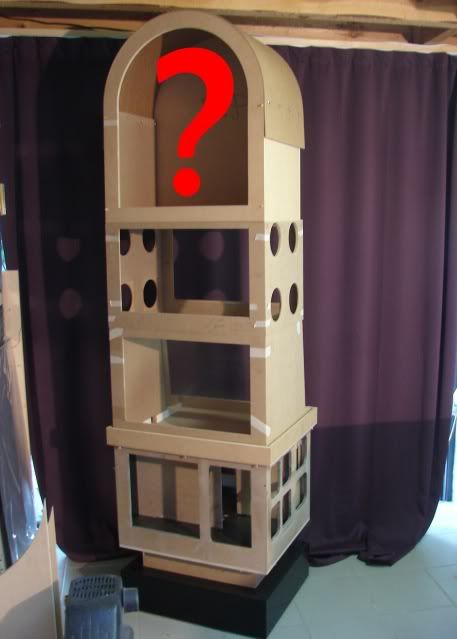
Just like my last completed casemod HELGHAN, I had a mysterious question what would take place in the front of the case. It wasn’t a LCD, or watercooling stuff, but a HELGHAST head made out of clay.
This time I also have 2 mysterious questions in this case.
The second questionmark will appear in the future :)
…
Tomorrow, I will order the parts of the electricity, and after that I will see what I’m going to do. Probably finishing the bottom.
For the progress of the case… I couldn’t work on the frame because we are redecorating the bathroom and toilet in our home. I’ve got lots of work, but I’ll try to give you all an update on the case ;)
cheers
Tomcatt
07-10-2009, 11:36 PM
gamer_from_aust
Re: Project: Elements of Fortune
Bloody awesome if i must say.
07-13-2009, 01:02 PM
p0Pe
Re: Project: Elements of Fortune
?=42 inch plasma slightly resized with a dremel?
looks great man... its gonna be frigging tall!
07-13-2009, 03:02 PM
AntraxLife
Re: Project: Elements of Fortune
nice Lan case :P
just kiddin, looking awsome mate, keep it up, still curious about what you going to do with the ''?'' there :D
-AnthraxLife
07-19-2009, 04:57 AM
DonT-FeaR
Re: Project: Elements of Fortune
haha thats soo cool great work mate!
11-14-2009, 10:00 AM
tomcatt
Re: Project: Elements of Fortune
Waaw xD it’s a long time ago since I posted an update !
Well, XS is not the only one … I have been busy for school and other stuff … so I didn’t have a lot of time to mod.
But – here I am back again, with lots of pictures and info
It’s time for a huge UPDATE !!! Elements of Fortune !!!
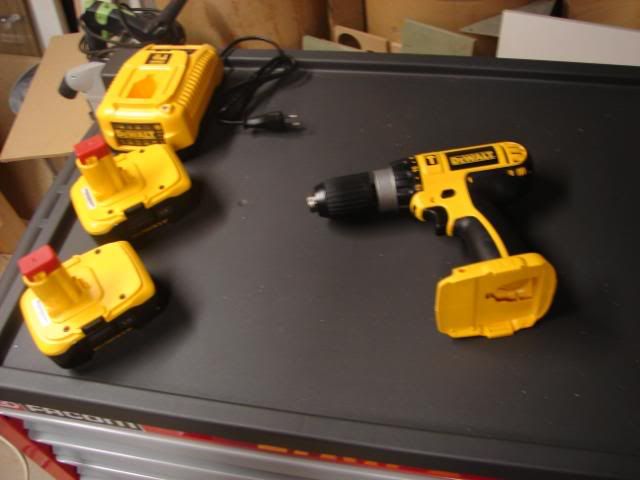
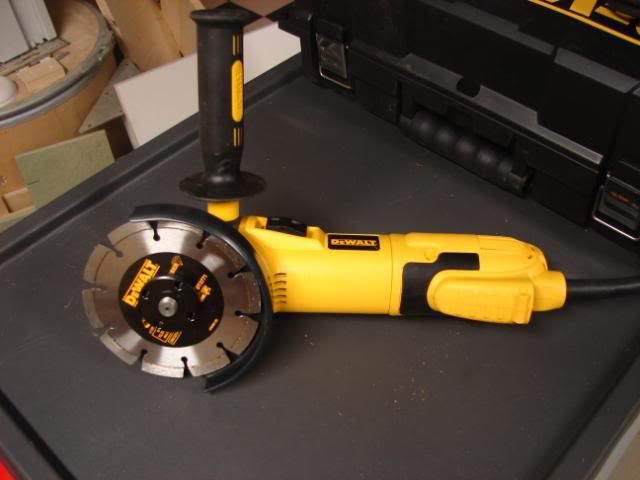
In the beginning of august, I bought some new tools for a good price.
There goes my money :P blahblah, I’m happy ! At least I got some good quality tools now ;)
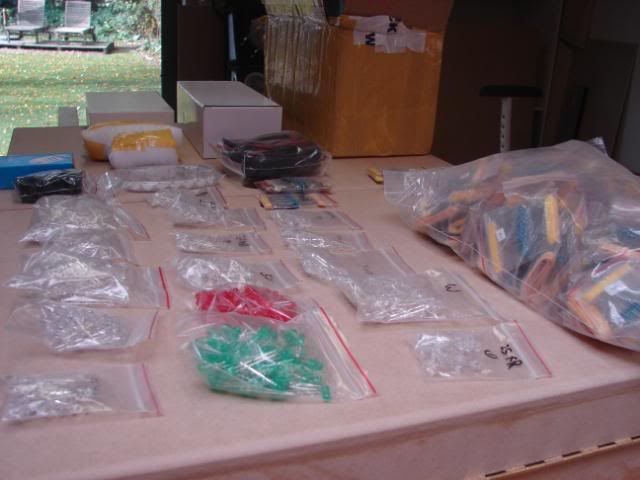
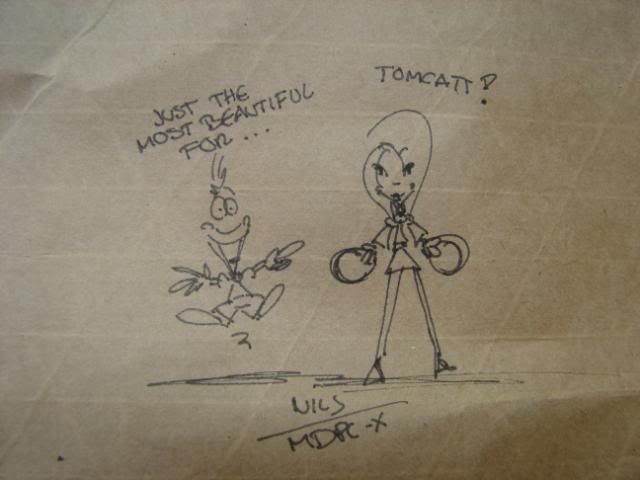
I also made some orders in China for LEDs and electronics, and I got some very nice stuff from MDPC-x.
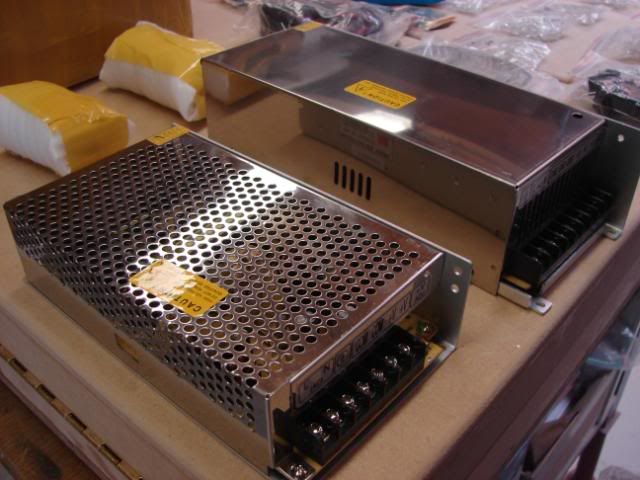
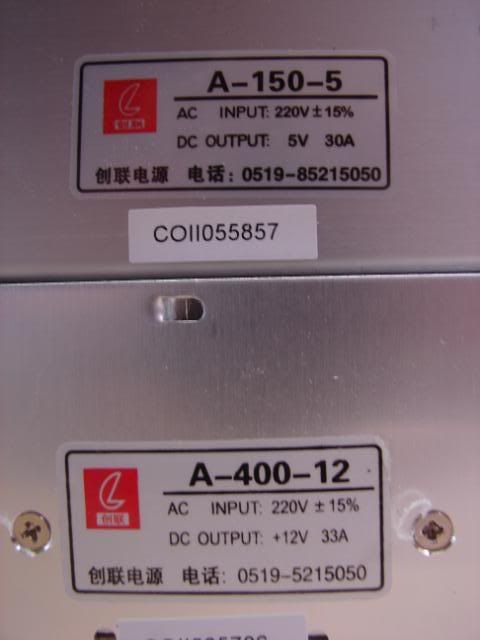
And because pictures say more than 1000 words : tadaa
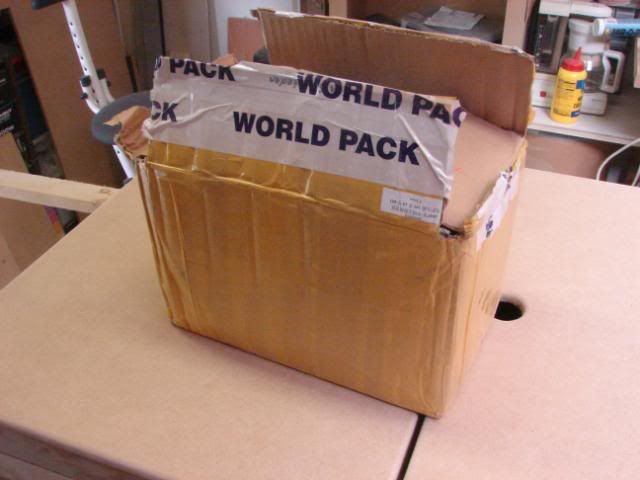
The package from China
PSUs
Little motors
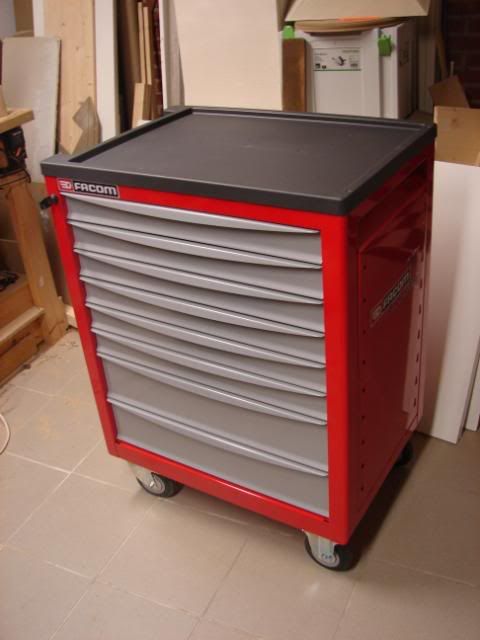
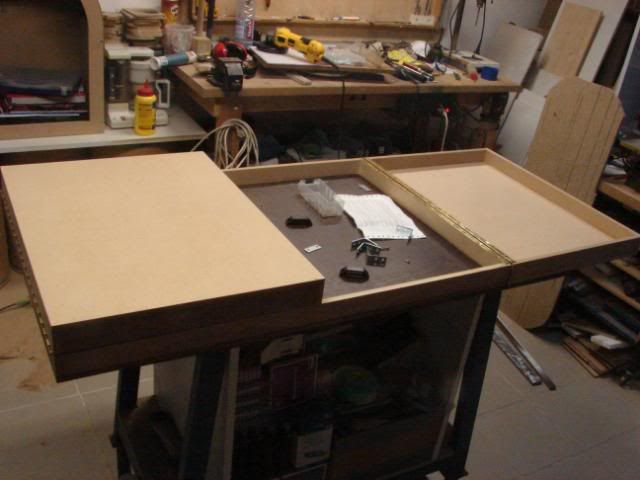
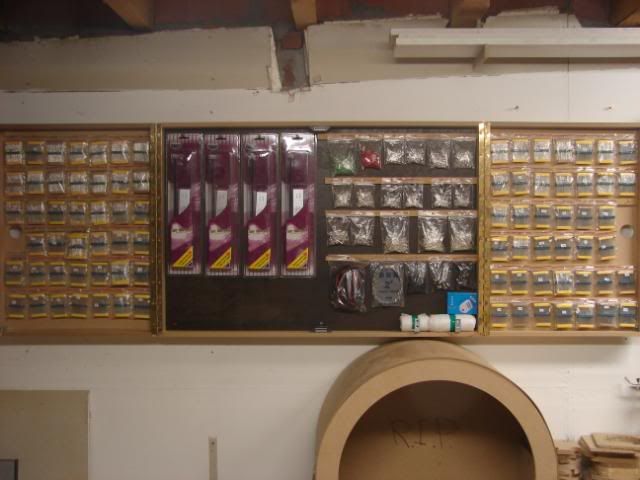
And for these things, I also made a “cabinet” ? Well I mean a thing to store things :P
Kinda WaW huh !? :P This cabinet will be empty once I finished this mod ;)
And then another package from Germany…
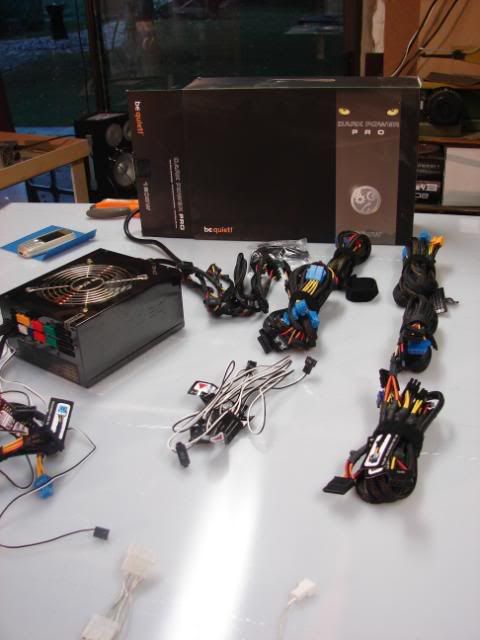
Now this is quality stuff :o !! amazing
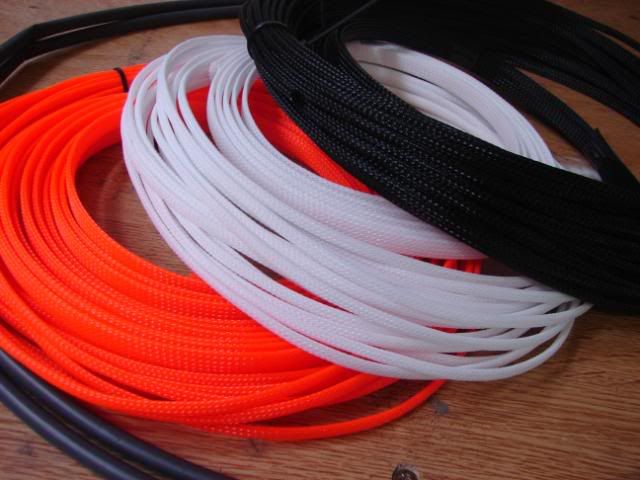
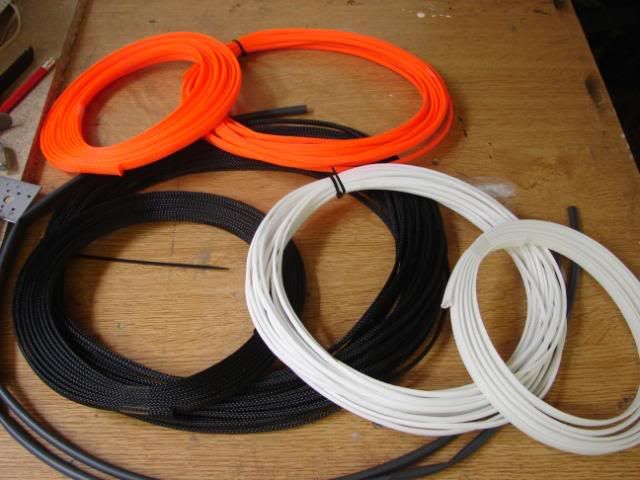
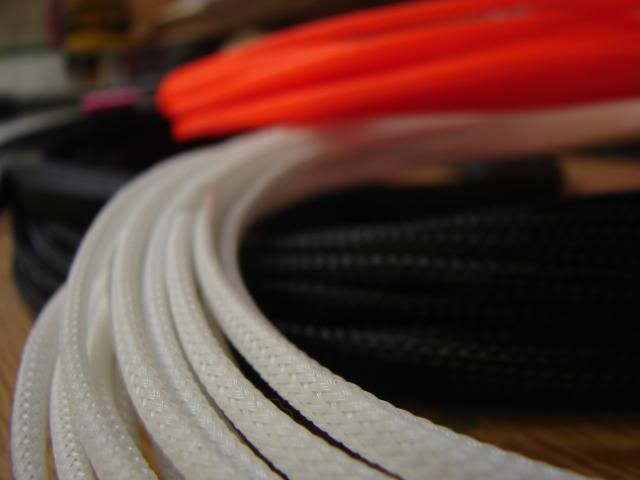
I will sleeve this 1200W PSU from BeQuiet and all the other cables that will be visible inside the project.
-- aye – now all eyes back to the case
We continue from here:
Still remember it? Here we go
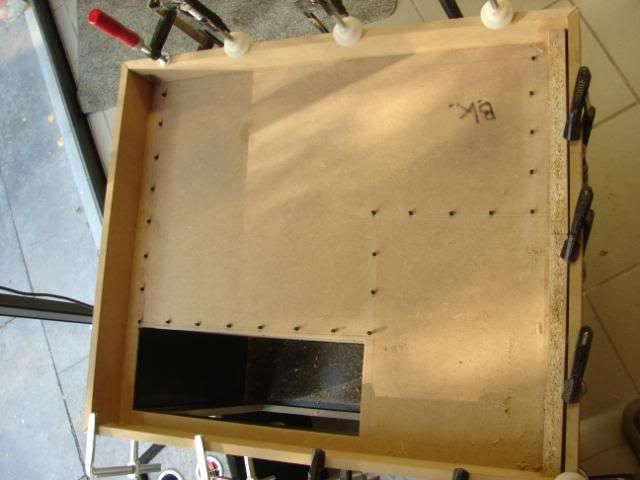
I continued with the bottom side of the case, the part where the hardware will fit in.
Before that, I had no idea what colors I would be using. But when buying the sleeving and LEDs, I made a decision.
Colors will be: Black, white, orange and aluminum
The hardware components will be black/ orange / the cable-sleeving as well. :)
So I needed to find a color for the background … White !
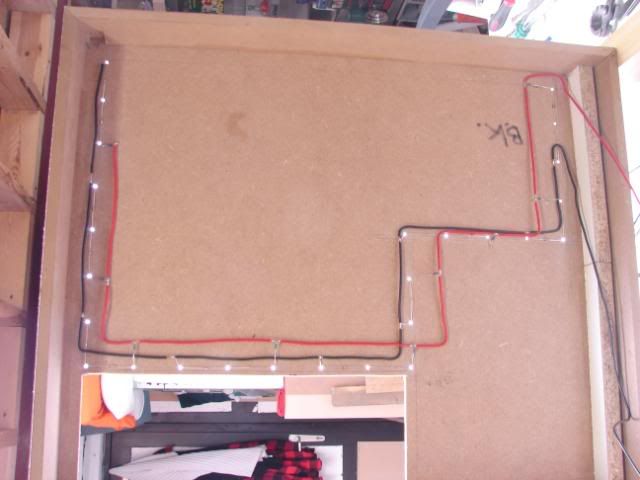
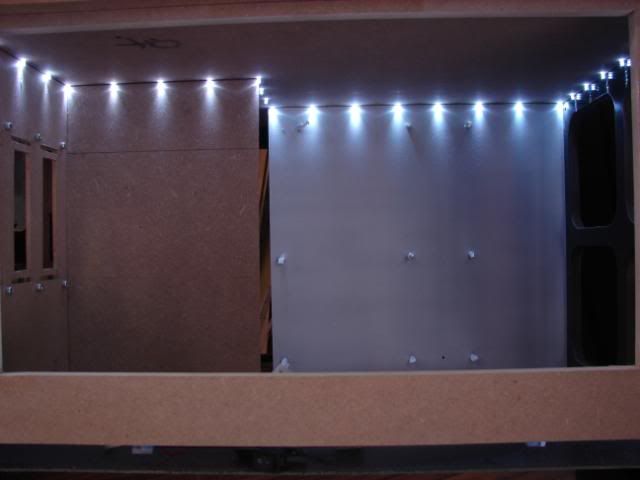
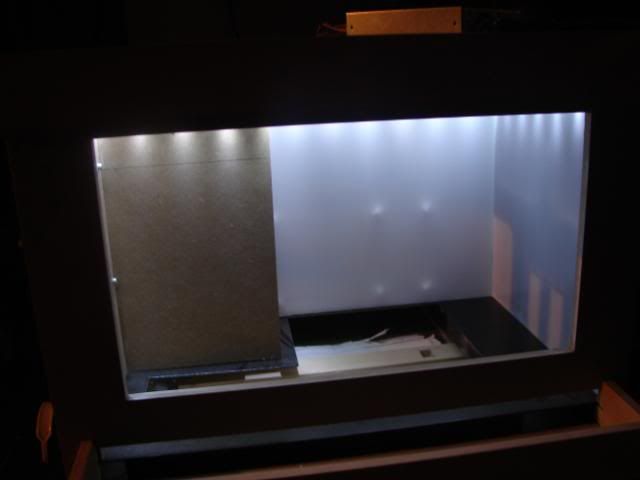
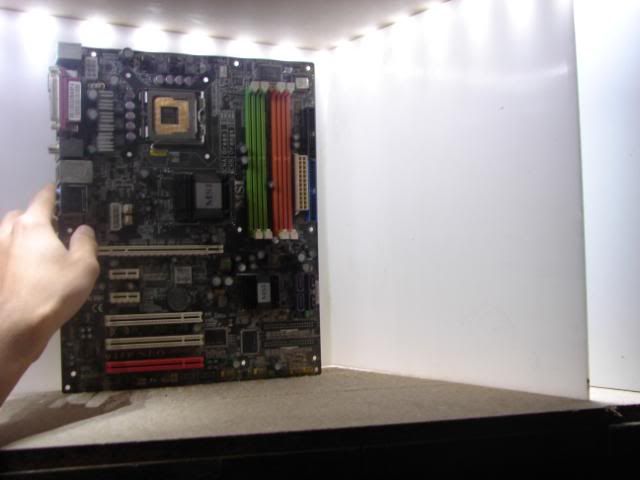
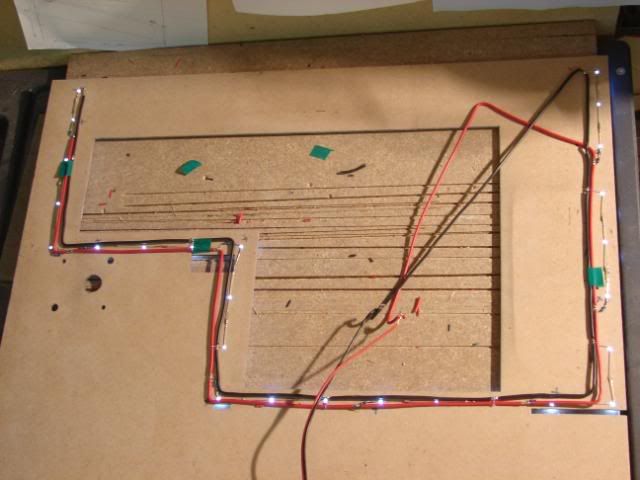
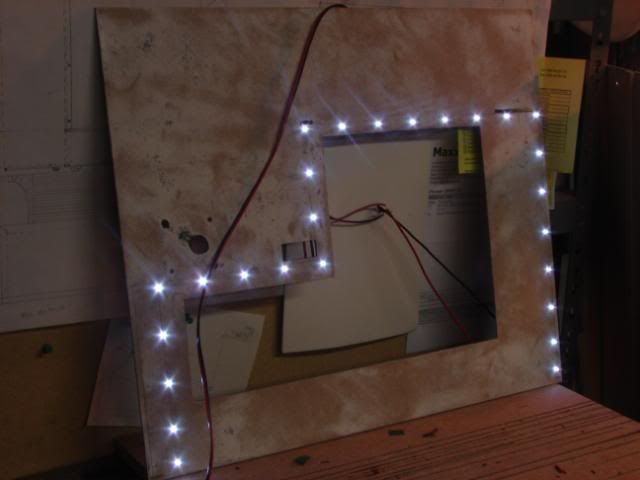
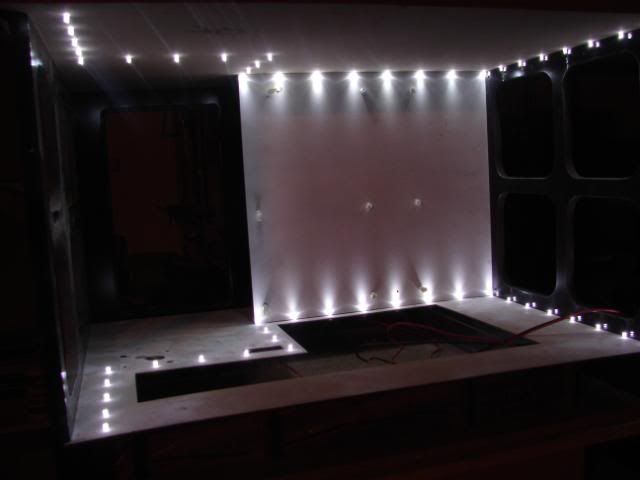
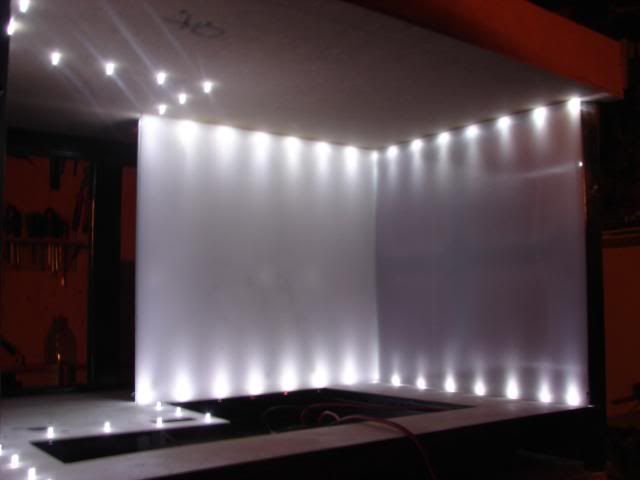
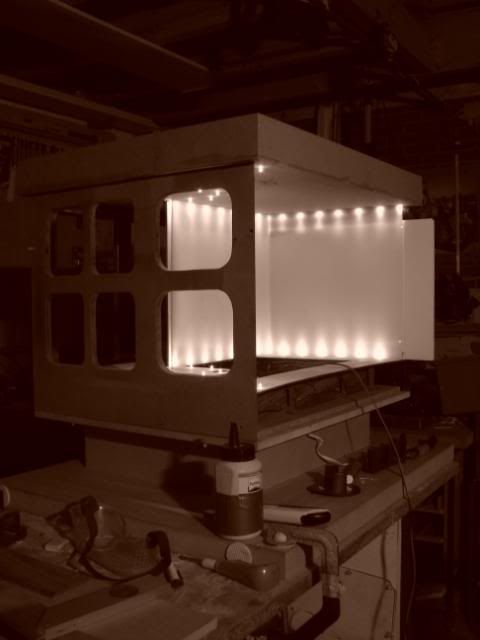
To make a good white (and not gray looking background) I bought some white acrylic. Behind that white acrylic, I will use small White LEDs to give it a cool look.
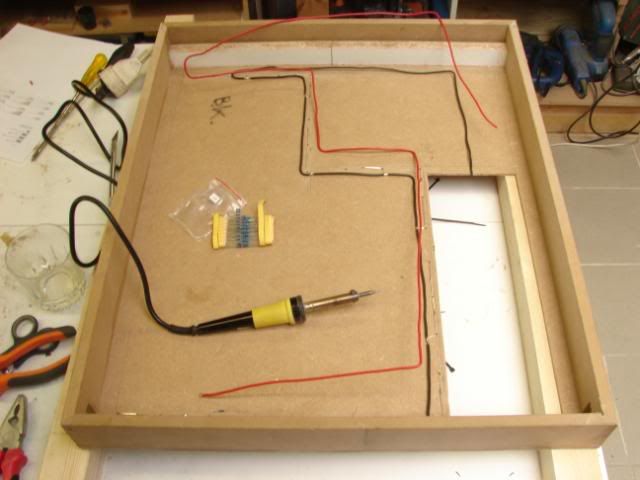
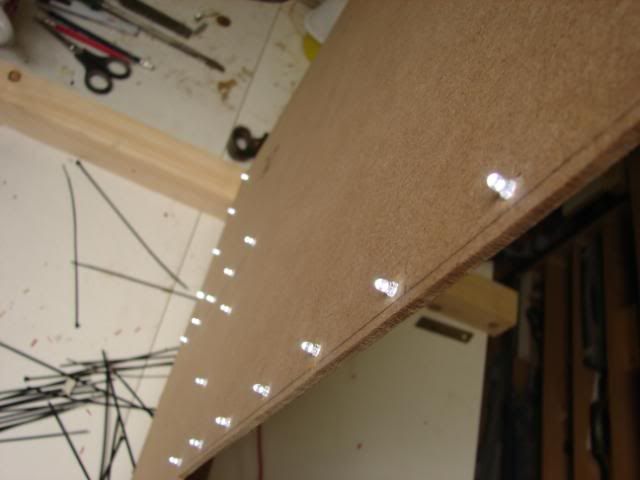
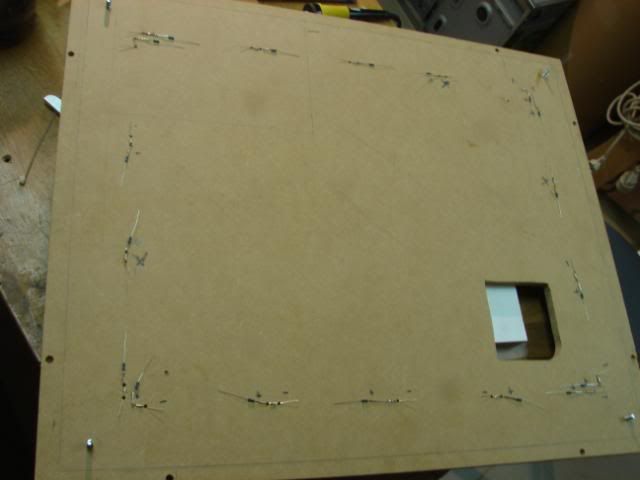
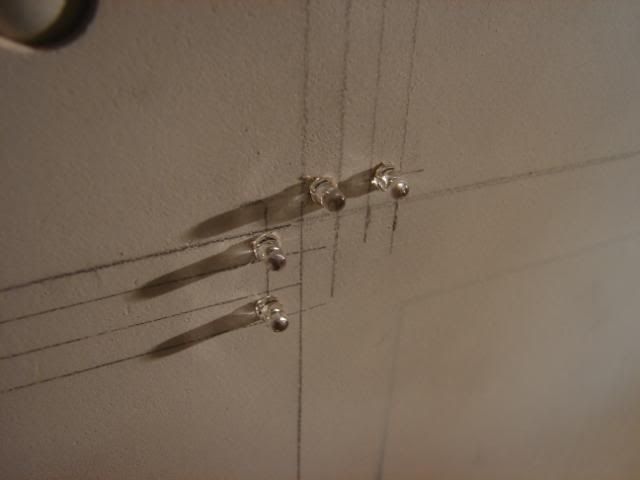
Placing of the LEDs
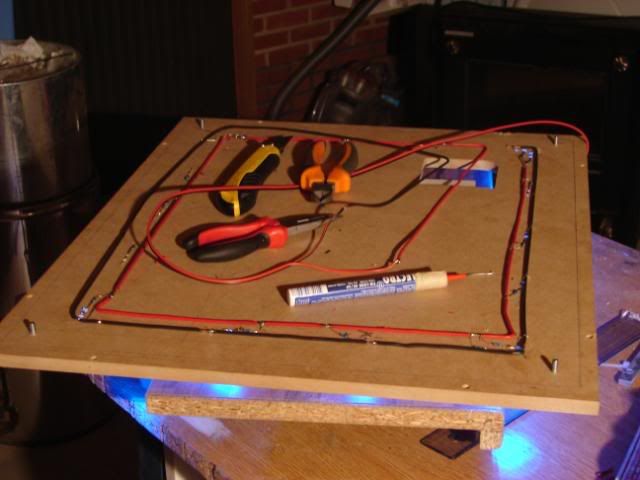
Started to soldering
It’s still a dark look, so let’s begin with making the acrylic.
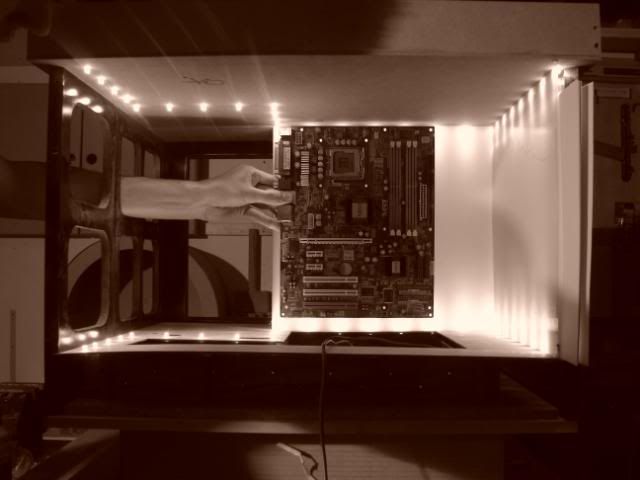
It looks great when because it has a good contrast with the hardware ;)
I’m not really satisfied with the result, So I will also make LEDs in the bottom.
Don’t mind the rusty look, it will be painted :D
Without acrylic
With
Still looks a bit dark on the right side… that is because the background is black. I tested the difference with a white sheet of paper. Much better ;)
But I’m not going to use paper … aluminum is a better quality material. And I will paint it white in the future.
I used small bolts most of the places. Because they would dim the small LEDs.
The other ones I gave a smooth finish :P
Meanwhile I also worked on the struts beneath the hardware layer.
Remember these?