Wow gave me my second bar! Sweet thanks man!

Printable View
Wow gave me my second bar! Sweet thanks man!
Sooo.... Let's take a look at the material I'm using, as well as some of the methodology as it's evolved.
Here is the source of the material.
They are data recorder boxes. "The little black boxes." On the end you'll see where the heatsinks come from.
The boxes are made from some kind of aluminum (alloy?) cast, hard as hell
(hardened?) and a nightmare to work with sometimes. So far I've ruined my (really nice) jigsaw, dulled three files, and gone through more jigsaw and sawzall blades than I can count.
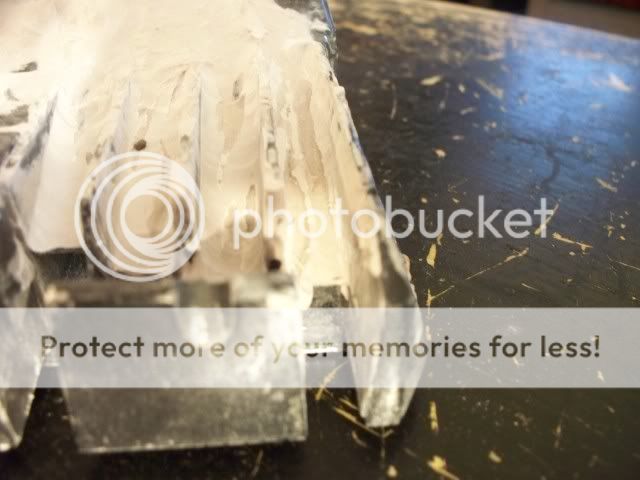
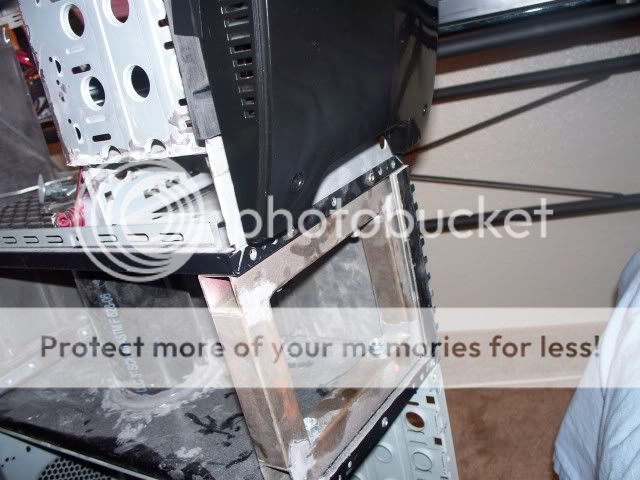
Speaking of sawzalls... When I started, I didn't have a sawzall. See this lip?
It's not possible to cut with a jigsaw. Solution? Drill a hundred holes then file down all the ridges.
Sweet baby Jesus that did suck. Also it resulted in piles and piles of metal shavings, which my wife was just thrilled about.
I don't have a workshop, I live in a crummy little apartment, so I work in my living
room. (in case you haven't figured that out by the backgrounds in my pictures lol)
Something else my wife is thrilled about.
Here is the result of the drill/file method
I am happy to report that I finally made the trip to my friendly neighborhood Harbour Freight and got a sawzall and a new jigsaw.
Much better. Still, each cut is a pain, and I have to file and file and file..... Gawd I am
sick of filing. I don't even want to use my filing cabinet anymore. filing.....
Here we go, nother update.
Got the front piece glued together. This weekend I will be working on filling all the
gaps. I cut down the pcb,
Well crap. I cut it down to the point where I didn't need to cut the groove in the second
fin. Oh well.
Anyway, I figure I won't be using the plastic piece I cut out. I will just make my own
cover. Here is a test piece. This is not the final piece, but something to give me an idea
of what to do. First, I apologize, I had a hard time getting good pictures.
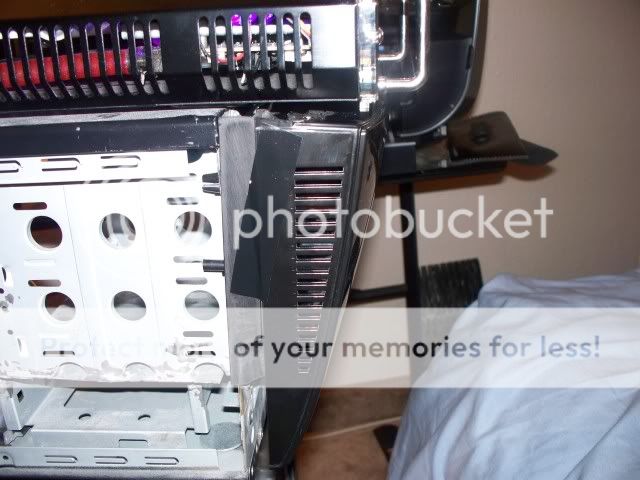
Here you can kinda see what I am going to be doing to match and blend that bodyline
of the case.
Here is something that will boggle everybodies minds.
That's right, door. Permanently glued shut.
Made some cuts...
and we have access again.
Sanded down the edges, to clean it up a bit.
The cover still fits nice.
OK, so the next couple of days will be spent switching all my pictures to photobucket, cause I am tired of imageshack. first that crap with the big black boxes filled with some psuedo political crap, now I got the red X of shame and my pictures don't show up on imageshack's own site. Soooo, excuse the lack of progress this weekend :mad:
OK, so it has come to my attention (more than once) that people may feel a lack of direction in this build, hence a lack of enthusiasm.
I admit I did not undertake this project with a concrete plan. I had a general idea, a few things I wanted to do, then I let the inspiration come to me. I took an artistic approach to this whole project. Da Vinci reworked his ideas many times before realizing a final result. And just like Da Vinci, I have a few things I know for sure and hold to, and let the rest come to me as the pieces speak to me.
K enough art teacher speak.
I have a few ideas that I've had from the beginning, and that I know for sure that I am going to implement. Namely, Largely, the doors.
Ahh the doors. Something that can make or break a case. Or just plain break and screw the whole deal up. This case has a neat looking door. Sharp body line that I love, cool lighting....
Now how can I make it better. How can I make it, different.
You saw that I glued part of the door on, then cut part off
Here's the idea, presented in no-talent sketchup.
This is the front piece to the door.
The whole front of the case has these matching pieces with this beautiful finish.
I am going to cut that in half. I will mount a servo that will open the door as such,
then another servo, mounted on the inside of the door, will "slide" the door back, as so;
this of course will be mimicked on the other side. (and remember, that door will be cut in half)
There are three places this will occur.
On the mini-case, where the Imon holds it's place of honor,
Of course the main drive bay area,
and...
On this bottom section,
Those are some progress shots showing the bondo work coming along.
Think armoire doors,
if i mod inside i have to clean it up b4 mum gets home :P
nice work
You have made some really nice progress mate, keep at it, I can see your vision, not to my personal tasted but it is very interesting and unique in its own right and I still enjoy watching this build thoroughly.
I'm really interested in the servo part. That's a cool idea.
I'm watching :)Quote:
OK, so it has come to my attention (more than once) that people may feel a lack of direction in this build, hence a lack of enthusiasm.
You have my interest in what is building up, I like mods where I have no real idea what is happening or what to expect and then all of a sudden I go ahhh wow cool, keep it up m8 look forward to seeing what comes next :up:.
Thanks for the kind words guys. I am trying to make sure I keep the progress flowing, and keep makin ya nod your head and say wow lol
OK ladies and germs, here we go....
Not much of an update today, but I promised I'd get something out this week.
This piece has been kicking my butt all week.
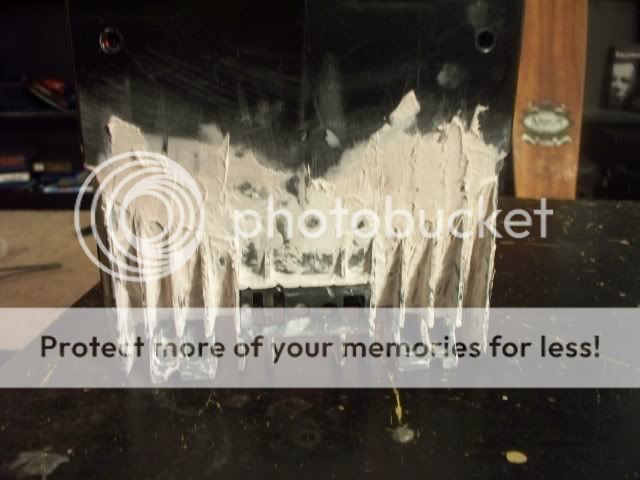
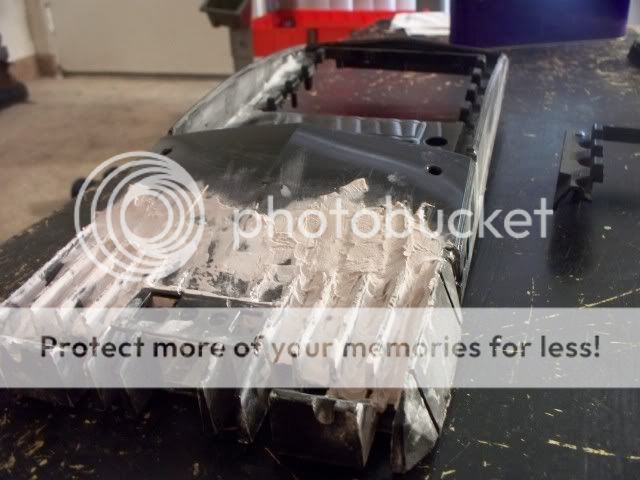
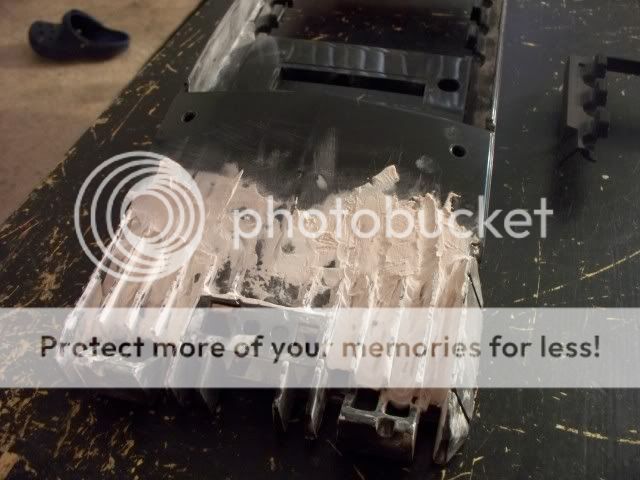
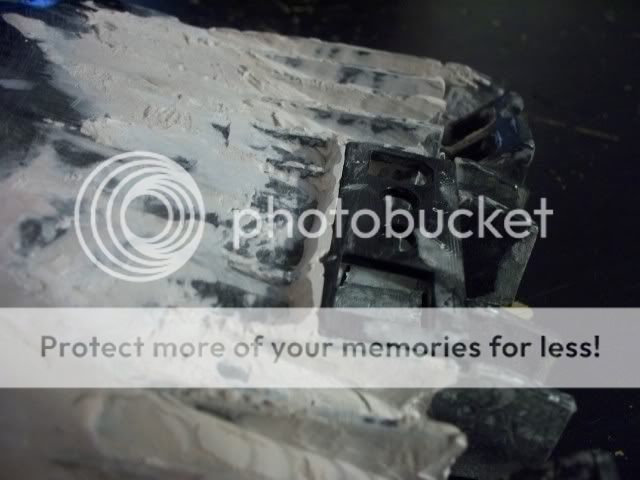
Hopefully you can kinda see where I'm going with this. I have to sand down all the bondo in between all the fins, for one. The problem is, it's very difficult to do by hand.
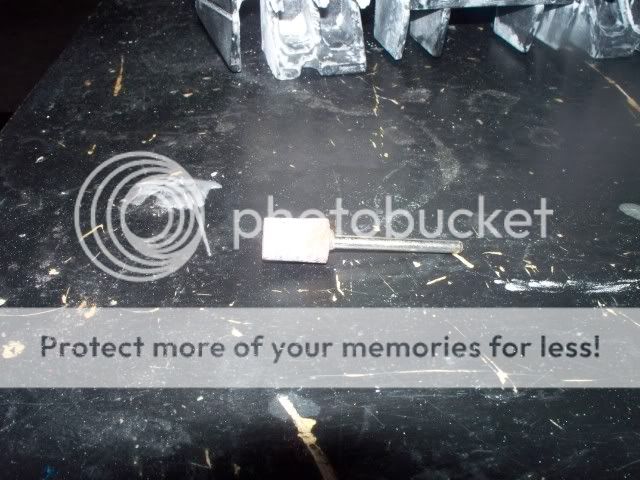
I used a dremel with this attachment,
But that left a rough finish. Btw I know that's not the designed use for that attachment, but it actually worked really great for that. I still use it, but only to take the bondo down a little, not all the way.
I have come up with a potential solution to this problem, a simple block of wood, sanded to the size to get in between the fins.
Here's the other problem area.
I am trying to get a smooth transition between the plastic cover for the front header, and the rest of the cover. This really is the area I am having the most trouble with. I can't quite figure out how to attain the look I'm going for.
I'm thinkin I will just take a break from this part and work on a different area for a while....
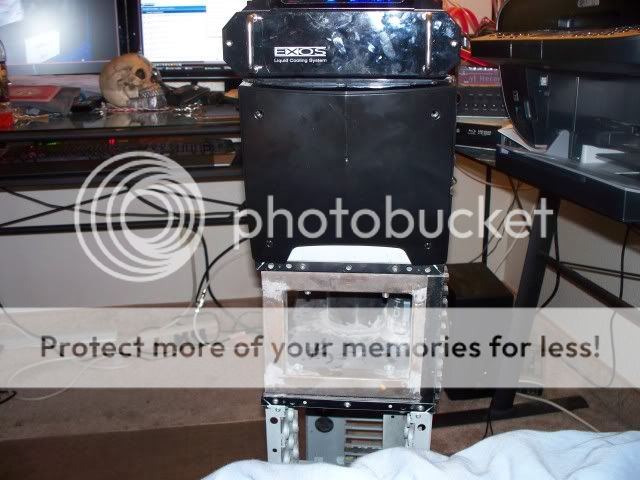
Here is the front of the minicase. The plastic there is cut off the front bezel from the second case.
Here is the piece I am thinking I will attach here.
I know it seems a bit odd, or backwards to attach the bottom piece here. My reasoning for that is twofold; one, I it will make the plastic level with the front of the Koolance unit. Two, it is longer, so it comes down to about where I want it. One other thing (ok so it's threefold) is this gap will be a great spot to mount this remote control reciever that came with my Hauppauge tv tuner.
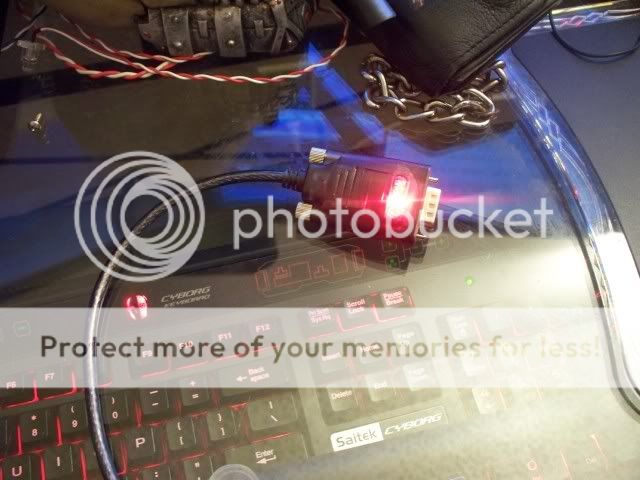
One other thing, got a surprise in the mail today, the data cable I ordered. It's a usb to serial cable. I have to give a quick shout out to bestlinknetware.com. I searched and searched for this cable, and I would find a 12" one for $13, but the wouldn't work. Then I would find a 6' cable for $30 plus. That wouldn't work either lol. Plus, they were all blue. Yeah, so, anyway..... But this site had this cable, in black, 40" long, and for 8 bucks. Oh hell yeah. And it got here really quick, I was surprised! [/schelling].
This cable is for my servo controller, when it comes on Monday.
So that's all for today. I was hoping to show some more definitive progress, sorry guys.
That fin sanding is a byotch.... and you did the right thing by coming up with a custom tool. Keep an eye out for needle files, those would likely work great in that tight space. If yo uhave a HArbor Freight near by, you can get them for cheap.
For the plastic cover/front header area, get some shortstrand fiberglass filler. Since you are going to be plugging stuff into that area I'd be concerned with all that bondo built up like that, seems like a potential for cracking.
This is one helluva case... and you running with the muse is keeping everyone guessing.
You keep building for you, and not everyone else. If you follow everyone else's desires on design, you are not building your case anymore. :)
As it stands, one thing that is driving me nuts is the butt end of this thing, and I'm sure you have a plan to clean up the seams and the various "levels". Still early in the build, and the artist is still working! So, keep on going and I look forward to what you will be doing!
You like your JB Weld.... they sponsoring you? ;)
Keep up the great work!
-=TD
looks good mate! i really like
this look really, really good! i miss some more "overall pics" where you see the whole case. just went through the entire log dude:) great work! and wicked choice in material.
have a +rep and lets se some more work!
Hello all again just a quick text update today....
Thanks for your comments and support everybody, sorry I didn't say so sooner.
TD, Yeah I have needle files, they are a life saver I use them constantly. And I assume you are talking about the back of the case? I still don't really know for sure what I'm gonna do. I knwo I want to use the plastic it came with as well as hide every wire back there. And the seams I am thinking a gasket maker. Will ensure no gaps and clean transitions.
Pope, I will try and get some more pics like that, it's just usually in pieces so I can work on one part at a time.
So starts the beginning of my weekend today. Gonna run a few errands, including a trip to ye olde Harbour Freight as well the my freindly local neighborhood Home Depot for supplies.
Quick stop by the doctors office (always fun) then it's on to modding! Oh yes I plan on getting some serious work done this weekend. It's on like Donkey Kong.
Gonna do some (more) work to the front piece, as well as an idea I recently came up with, a place to stash my ipod.
I got my servo controller in the mail, and I only got one servo (lame) cause I'm perpetually broke these days.
But I plan on figuring out how to mount one of the servos for the doors, and hopefully get those going in the right direction.
We'll see!
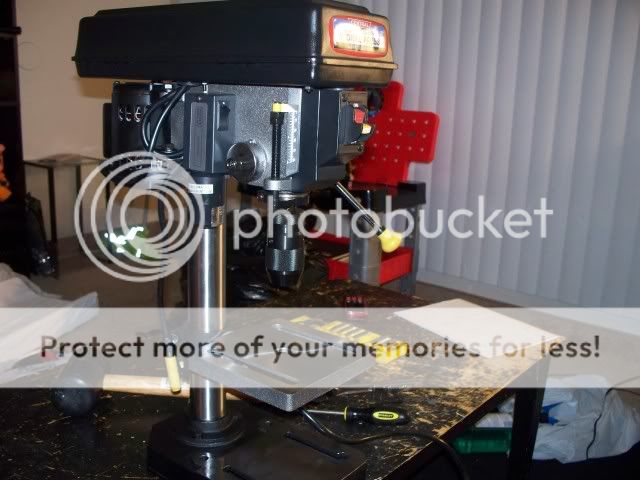
So just got back from running around... Got cleared for surgery (yay) and a trip to Harbour Freight resulted in a little more than just sawzall blades.
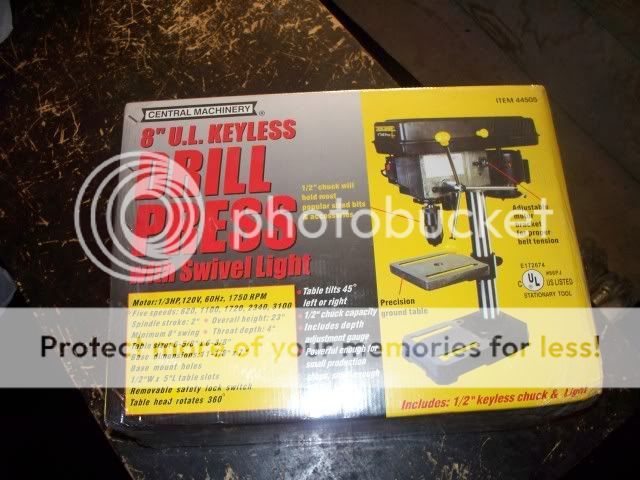
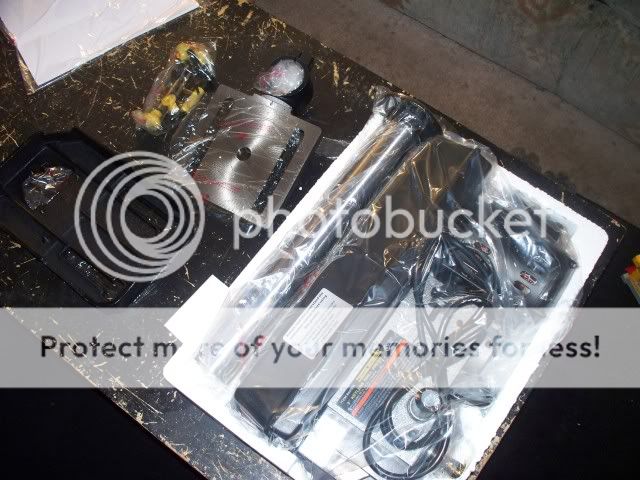
Oh yeah. It's not huge or anything, but hey it's a friggin drill press heck yeah! I'm super excited I've wanted one for a long time. This will definitely come in handy!
I think you'll be amazed at how useful that little machine is. I know I use mine a LOT more than I thought I would when I got it. New tool rep!!
Nice drill press. I was going to get one but ended up getting the Dremel workstation instead lol.
I've always wanted a drill press that doesn't wobble when it comes in contact with the material... An exact drill press would come very much in handy with metalwork and circuit work. I'm jealous. Also, I'd love to see you use one of those black box... boxes as carryon luggage.
nice drill press mate! looks good
Update for today, and as usual, I didn't get as much done as I had hoped. But in my defense I had an excuse today. car drama, and some kid drama too.
Anyway, Been working on a special place for my ipod. A door, behind the vent, that will open and presto, docking station.
Here is the rough cut hole.
And ipod for perspective.
Filed smoooooth;
This is the backside of the door. I am using 5/8" U channel for the ipod to slide in. Eventually I'll mount the connector in the bottom, too.
(I realize I should have set it on the table, not on top of another panel, to avoid confusion. Oops)
Now, the putting a hinge on here is way trickier than I thought it would be. Hopefully you can get an idea why. Here it is closed;
Here it is open;
It lifts just a little in the back, so a straight hinge won't work. This kicked my butt all day trying to get something worked out. I tried making a hinge with a bar and lines cut in sheet metal, but it wasn't stable. So, I decided to try making an assemblage that would allow the door to slide straight out.
The concept;
mocked up in place;
and trashed;
Sigh. Came up with a different solution. It won't be hidden, like I wanted, but if it works, then it's what I have to do. It's a simple as just flippng the hinge around, and making a notch for the barrel. Here it's done on a scrap piece for testing;
Here it is mocked up, to give you an idea of what it will end up looking like...
Oh, and for anyone interested, I have still been working on that pesky front piece. I don't make it focal point for now though. I work on it when I feel like taking a break.
I like your iPod dock idea, should look great when finished.
/\ ditto.. looks good
Nice one :) good drill press, really is fantastic how accurate and clean you can drill now with one of these, even going through multiple layers is so easy, and yeah the ipod docking idea is nice :).
Quick update today, not much work done.
I decided to make a groove where the barrel of the hinge will rest, instead of cutting a notch. This will make it more discrete, cleaner, smoother.
Here is the hinge resting in it's new home,
And getting glued.
That's it. Tomorrow when the glue is dry we'll see how it fits/works.
keep up the good work mark.
Thanks guys! I appreciate the comments.
Not much progress today, just little work on the ipod door. Good news is, the hinge will work just fine!
Now, one thing I've noticed while parruzing through hundreds of photos in countless worklogs, is the exurberant number of pictures of peoples cats. My wife asked me about it, and I have to admit, I just don't know why there are so many cat pictures.
Now, I don't own a cat. However, I don't want my worklog to be viewed as sub par due to feline deficiency. So, I, ahem, borrowed the neighbours cat for a quick photo shoot.
Can't wait to see that iPod dock together.
rofl u borrowed a cat!
im a dog person and i would like a cat if that counts?
I think most people have pictures with their cats because cats just love to get in the way. Anybody who was a cat probably has a picture with their cat. Cute borrowed kitty, by the way.
Me too :DQuote:
rofl u borrowed a cat!
Here we go.
Been working on my ipod dock this week. I've been doing little bits before going to work. Little bits of progress that aren't worth posting about, but are time consuming nonetheless.
Here is the door, with the guide in place and sanded down a bit.
Made a bracket to mount the servo;
Ha didn't see that one comin, did ya!
Here it is all clamped up
Now the last step, glue on the piece for the armature mount.
I did this last because I wanted to test out the servo first and determine the best postion for the mount.
Now I have to wait till tomorrow for the glue to dry (dammit) then do some sanding, and cult some felt to line that uchannel with, but other than that, the ipod door is done!
Can't wait to see the door in action, you have done a very nice job with it.
So is the goal on this project to make everything completely bomb-proof? If so, you're off to a great start! I've always wanted to use servos in a case, just never had the inclination or the money. Looking good!
Here is a short, crummy video of the door in action;
I know, it's just full of action and suspense. But hey, it's shot in HD :D
AWESOME! Been watching this and really linking what you're doing. +rep can't wait to see it finished.
You have made some good progress while I was gone keep up the good work.:banana:
This is the way modding should be!
haha thats wicked!
Nice work mate, loving that door.