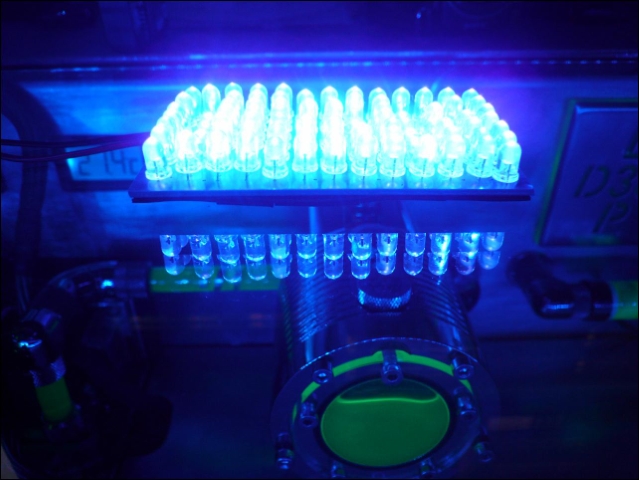
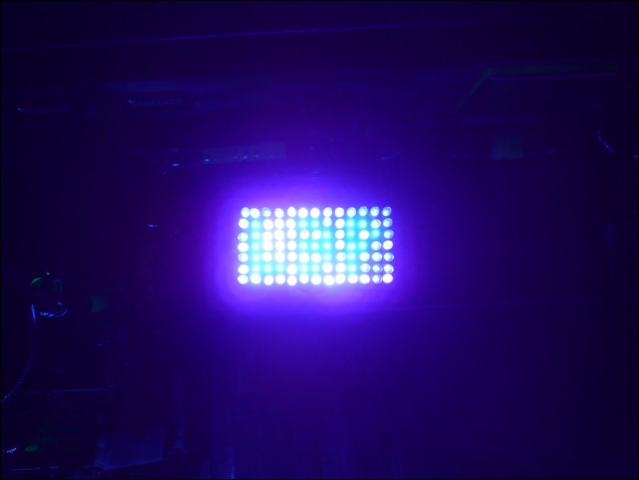
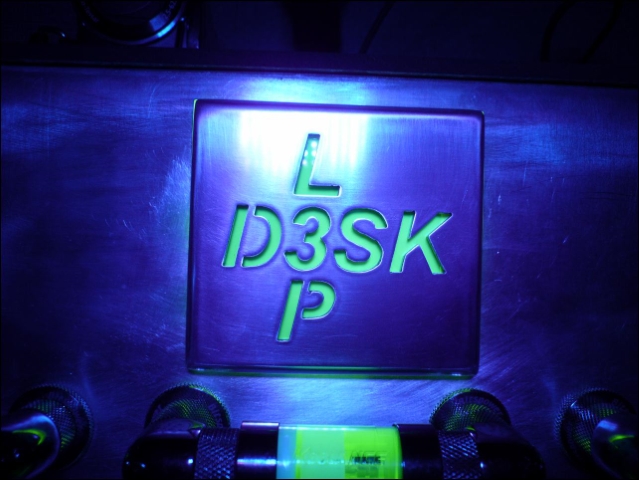
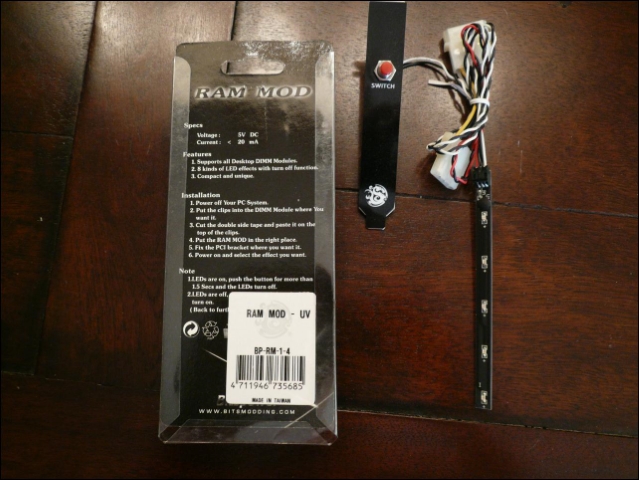
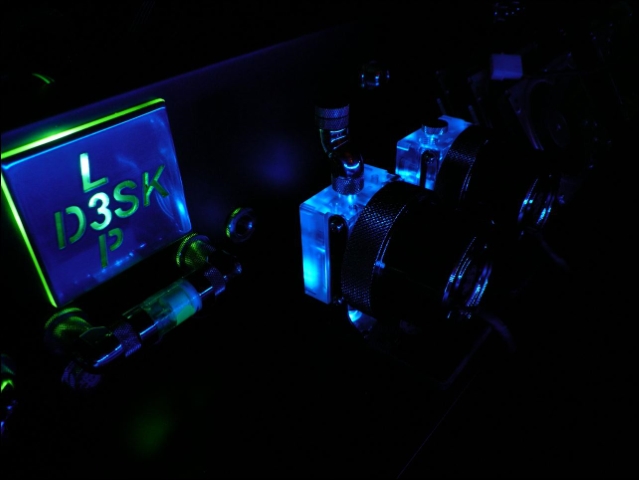
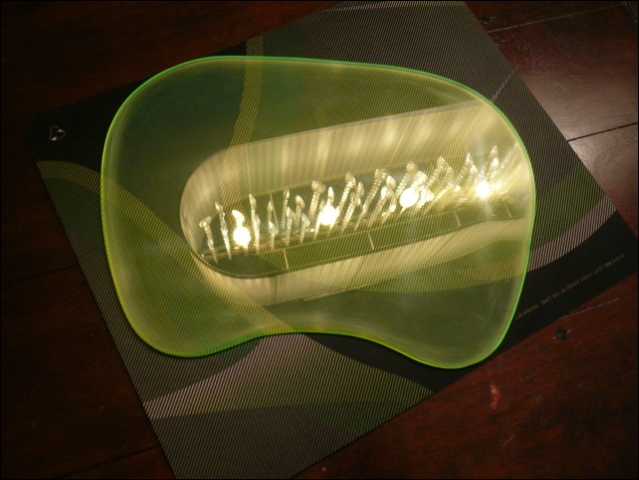
Received a nice UV led board today.
It's specially for making photo's from UV-active parts.
You can only use it for 5 minutes per time, else it gets too hot
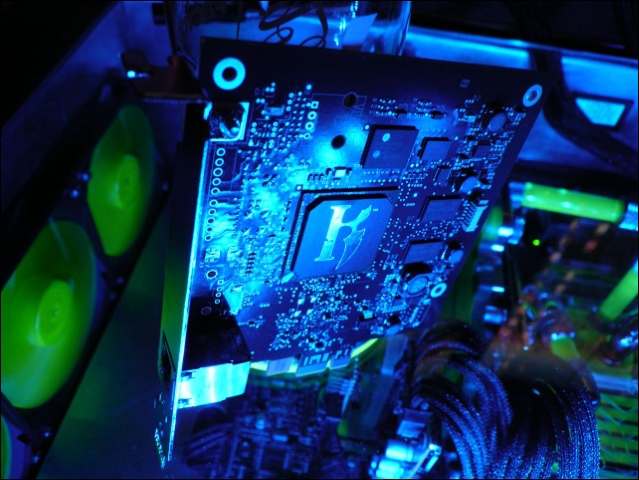
Small surprise between the UV leds :)
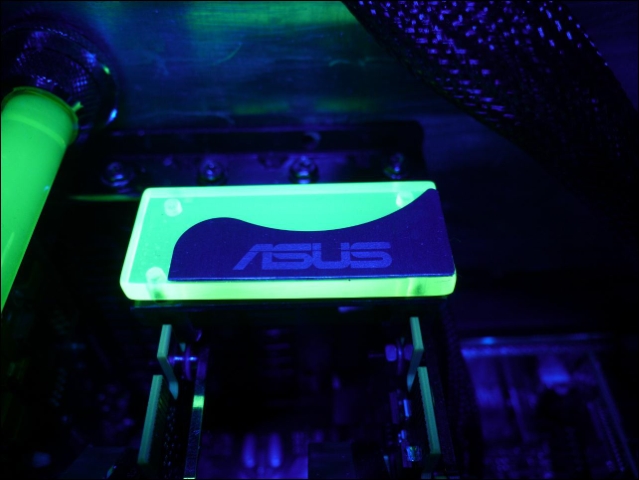
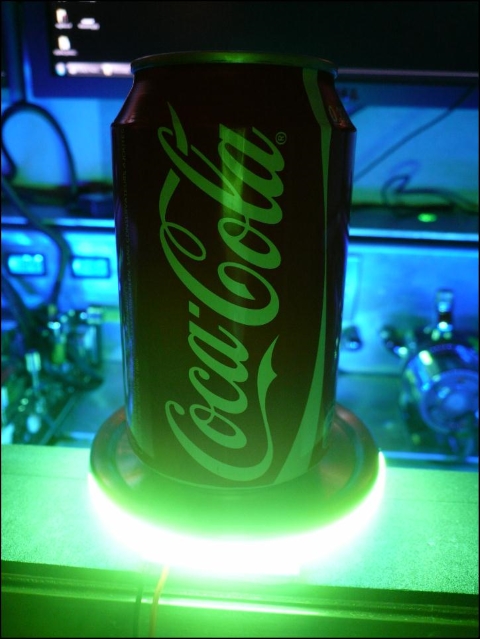
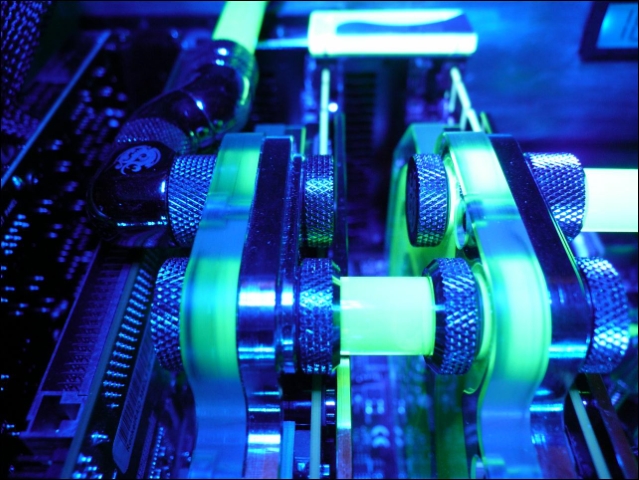
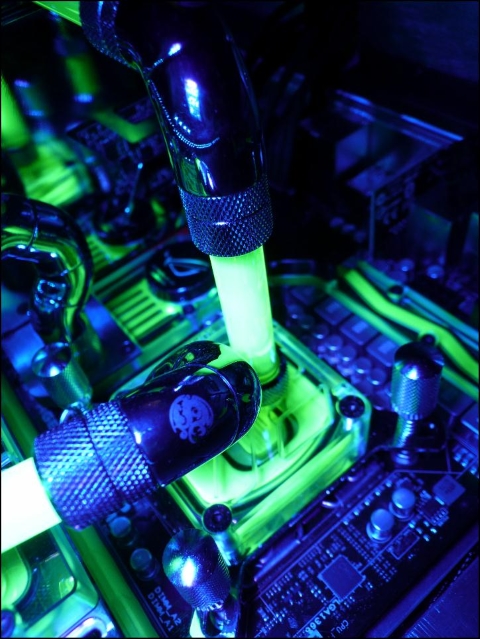
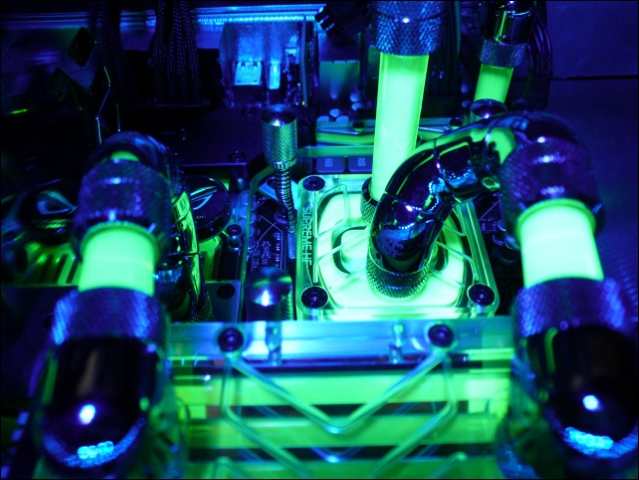
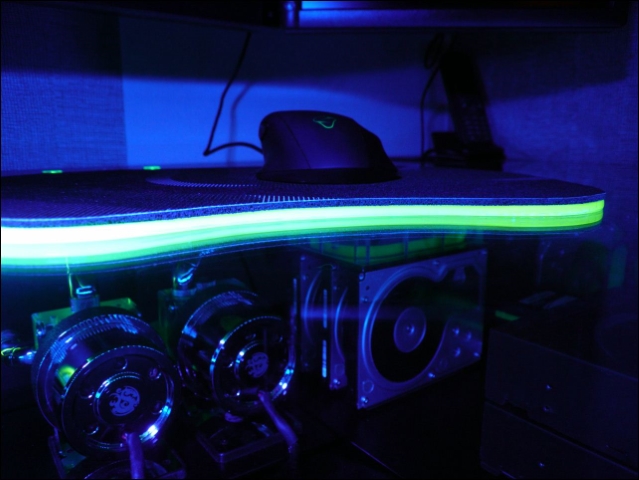
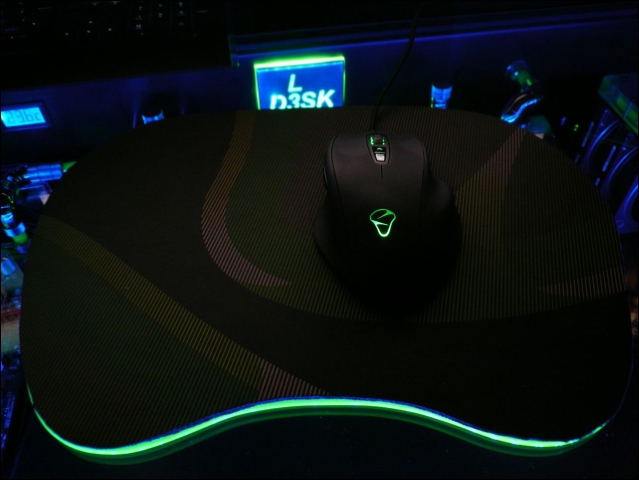
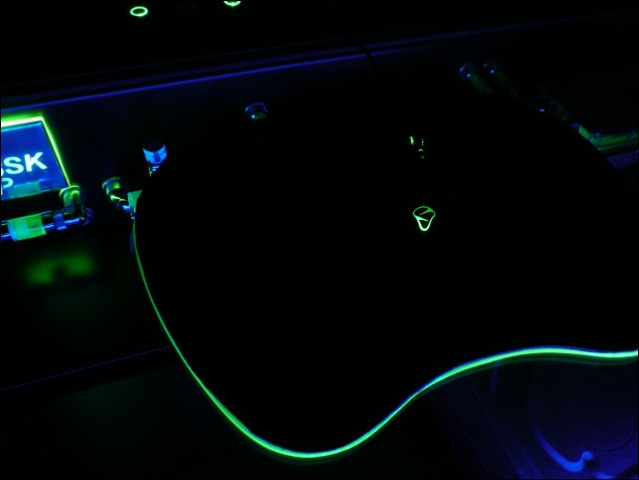
And some pictures with the effect

Printable View
Received a nice UV led board today.
It's specially for making photo's from UV-active parts.
You can only use it for 5 minutes per time, else it gets too hot
Small surprise between the UV leds :)
And some pictures with the effect
The date for powder-coating the desk has set !
10 minutes before unplugging it
And 3 hours later : )
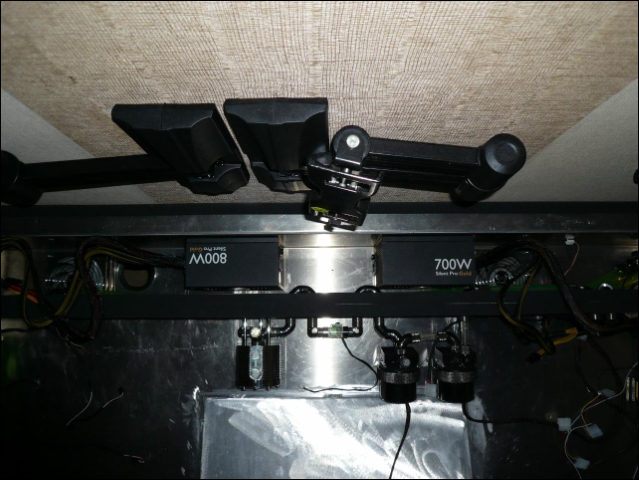
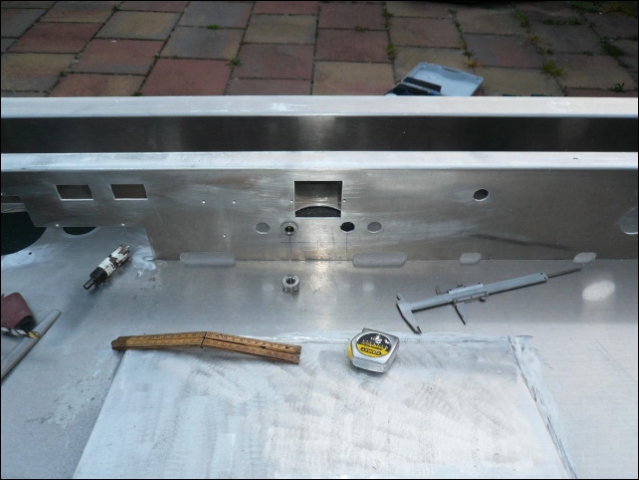
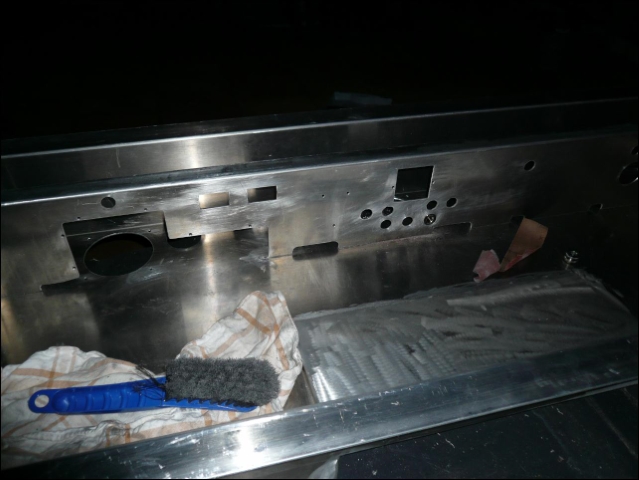
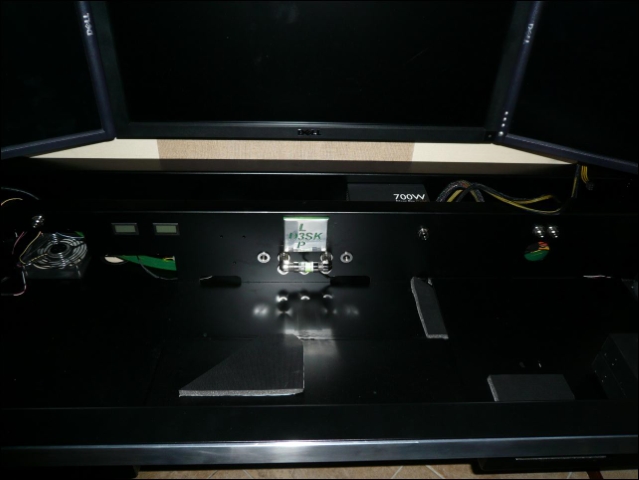
Also took me half an hour to think how i will place the second PSU.
Decided to place them like this, ill creata another 120mm fanhole between the psu's tomorrow
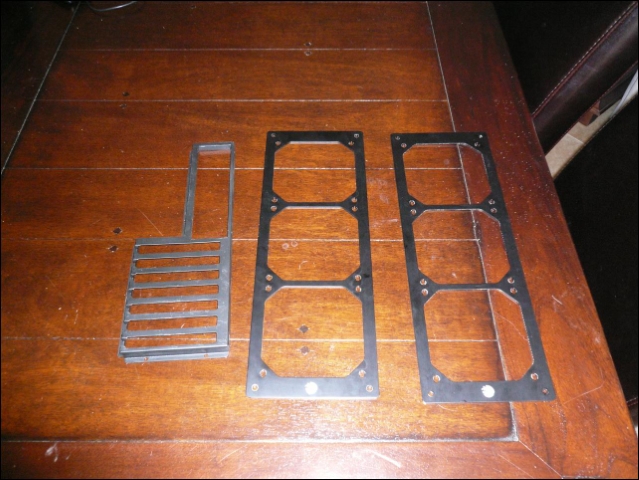
Wanted to use these for my quick connectors outside the desk
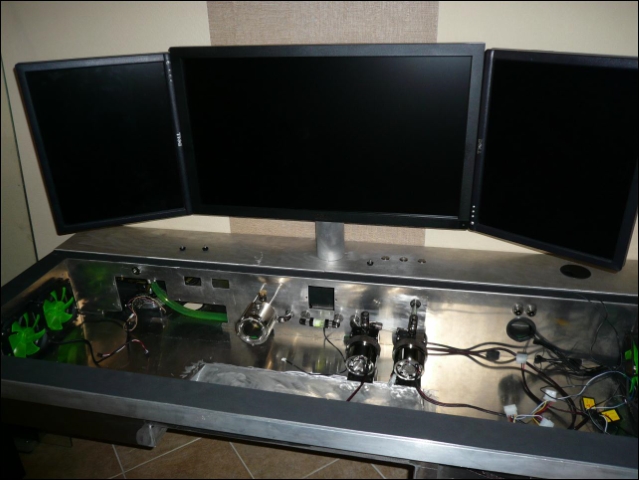
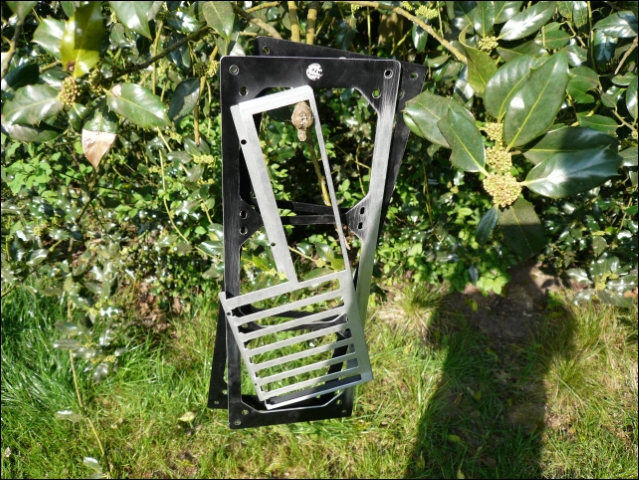
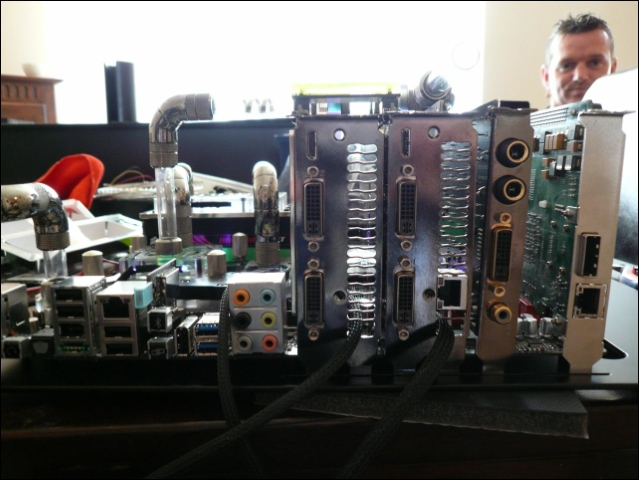
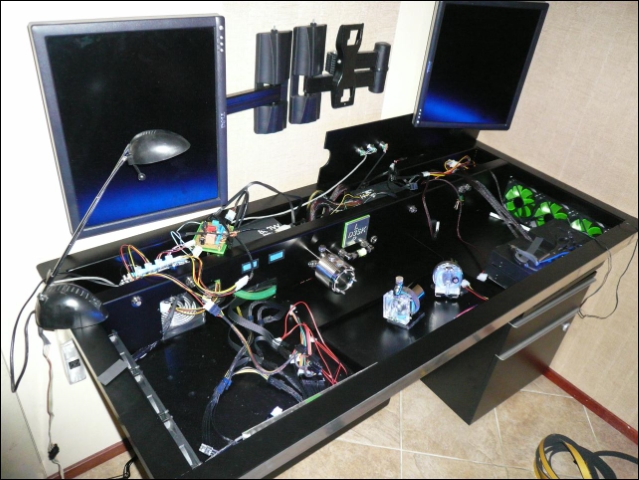
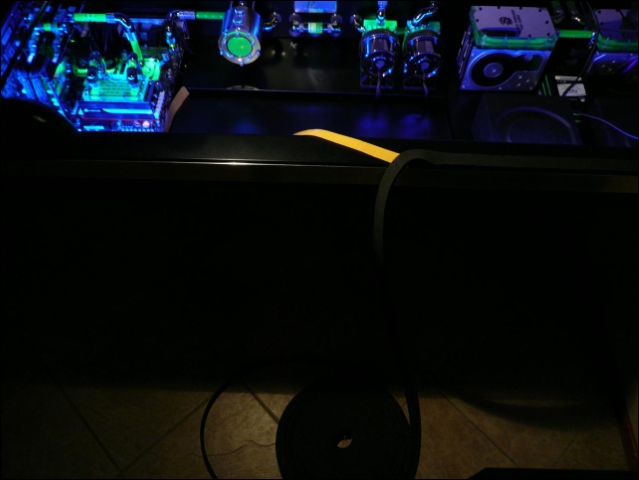
Yesterday the idea came up for hiding my cables from the 3 screens.
Some won't like it, but for me this works great since my pc is more open then closed :P
So this way it's very easy to take away the backplates.
It's only connected with the left side of the panel.
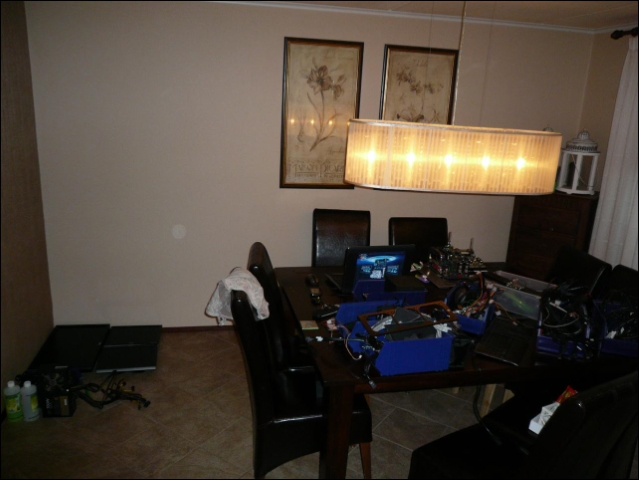
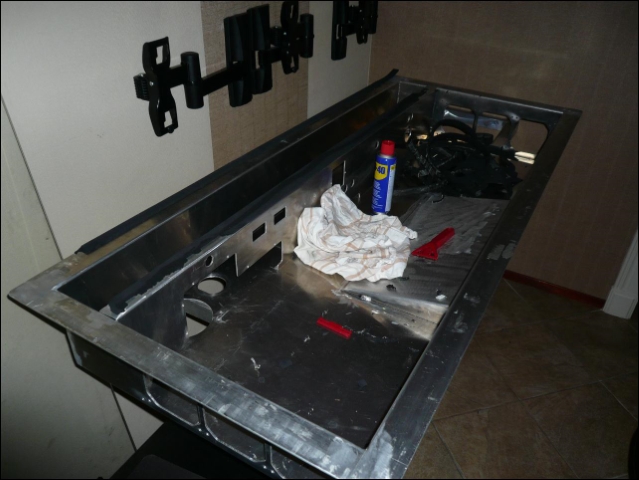
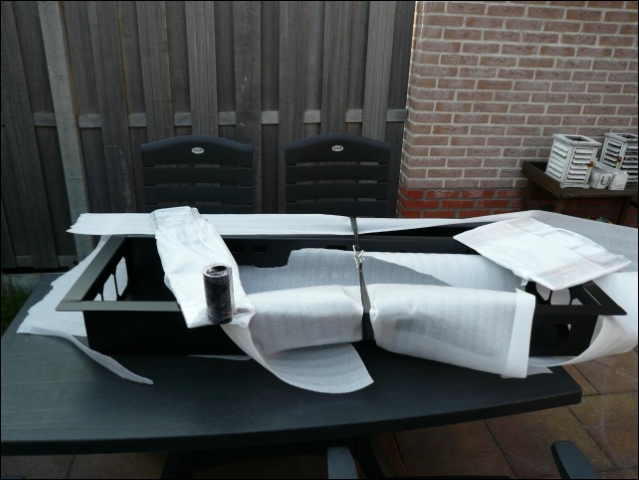
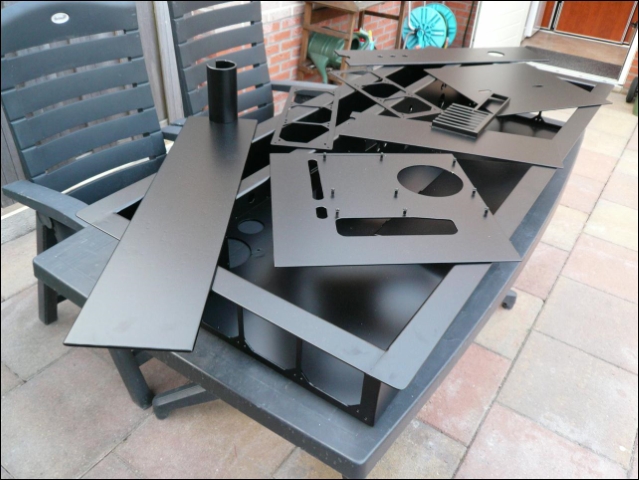
2 hours later it was really empty, looks like a reverse buildlog
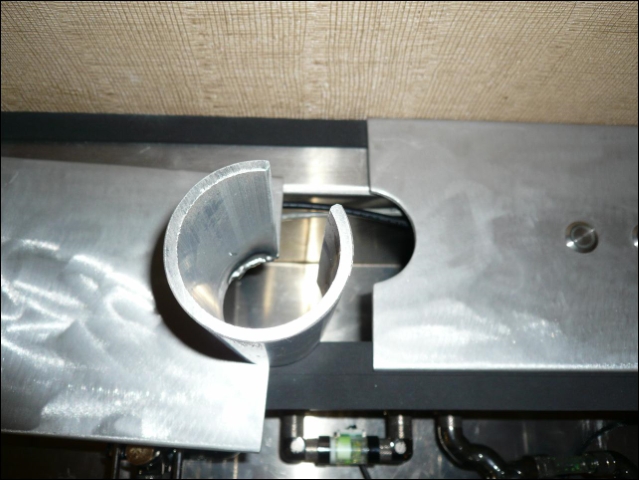
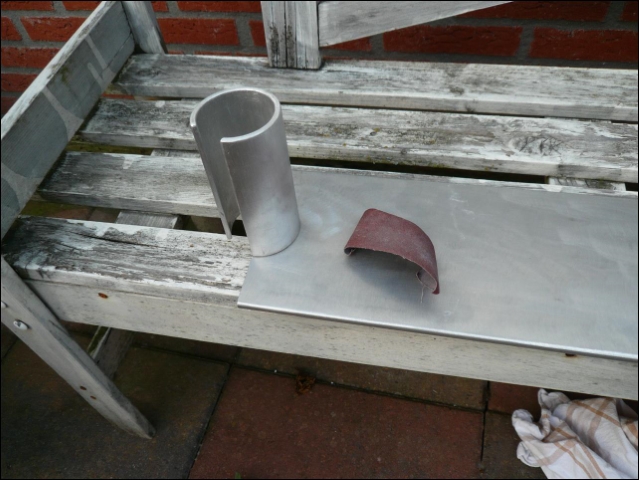
Sanding it some.
Like a bomb exploded.
Here i was finished for today
Thanks man !
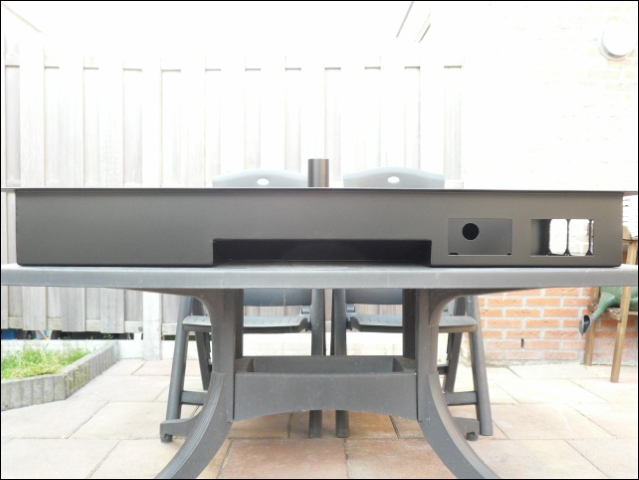
Finally got the rubber removed.
Thank god for WD40 :)
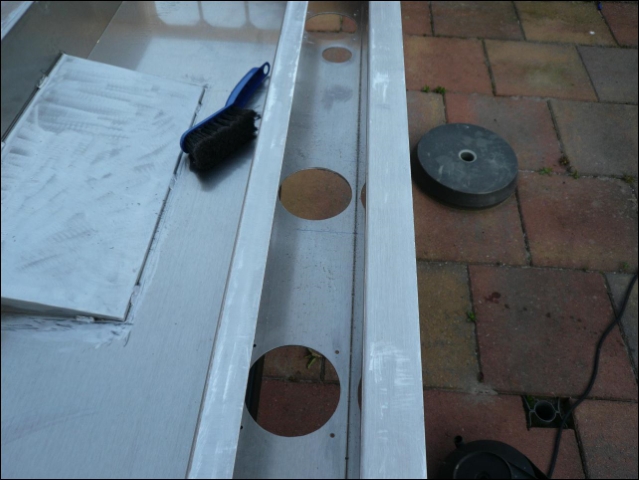
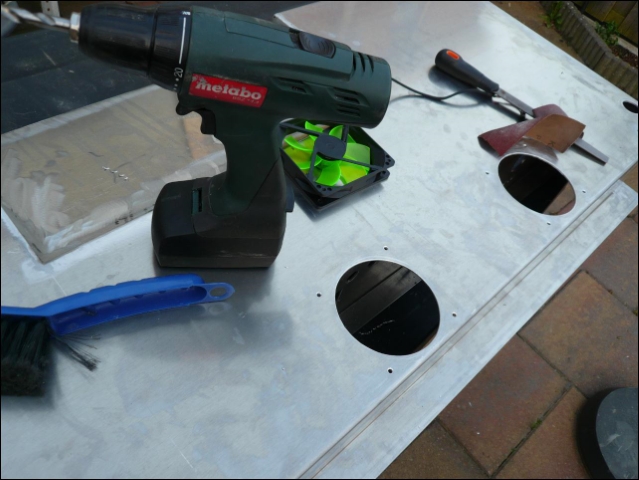
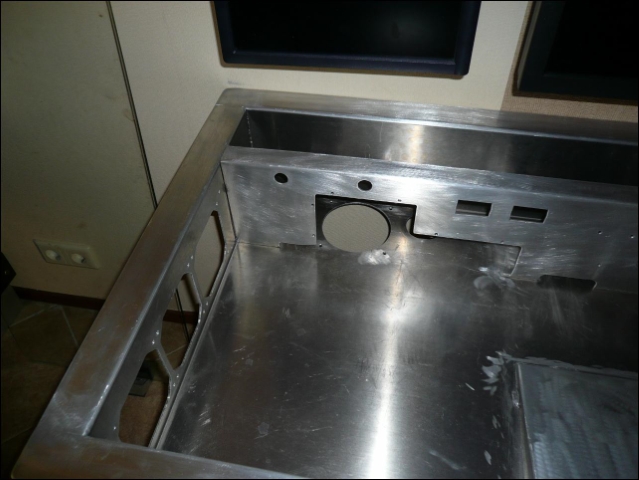
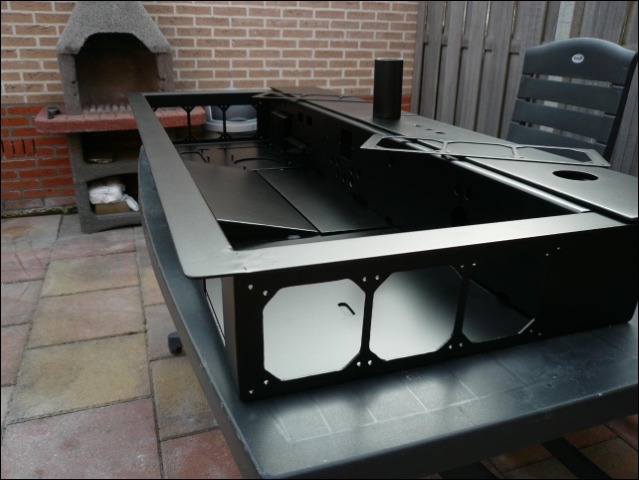
Also made the fanhole for between the 2 psu's
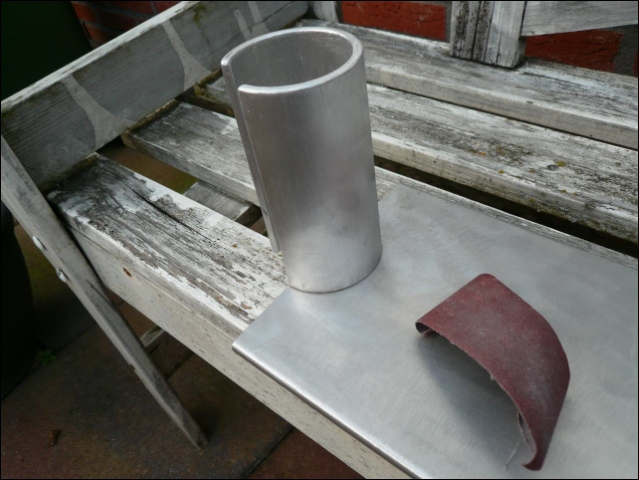
Just some sanding left
And the extra fillports for future usage ^^
Also removed some of the backplate again, this time with a grinder :)
Made the last fillport hole for future usage
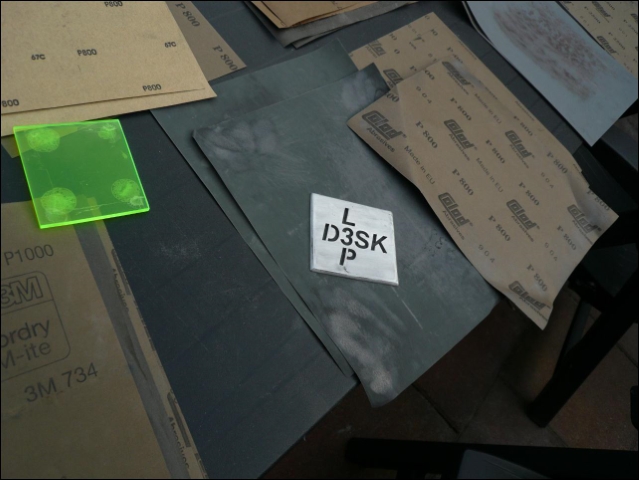
Almost forgot i need to sand these too so they can be powder-coated in the same color.
Hmm nasty job, sanding anodized aluminum by hand, think i'll use the grinder for it.
Quite a busy day.
Still had to sand some plates.
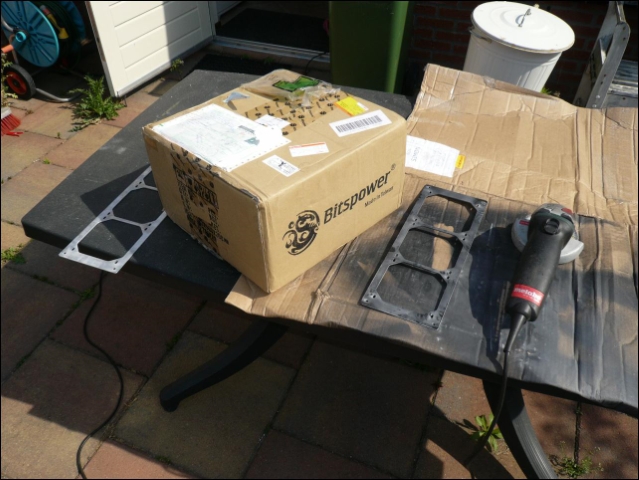
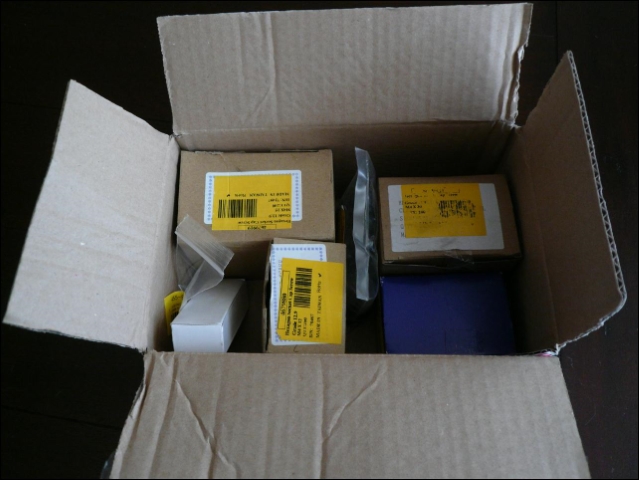
Then my wife came in with a nice box.
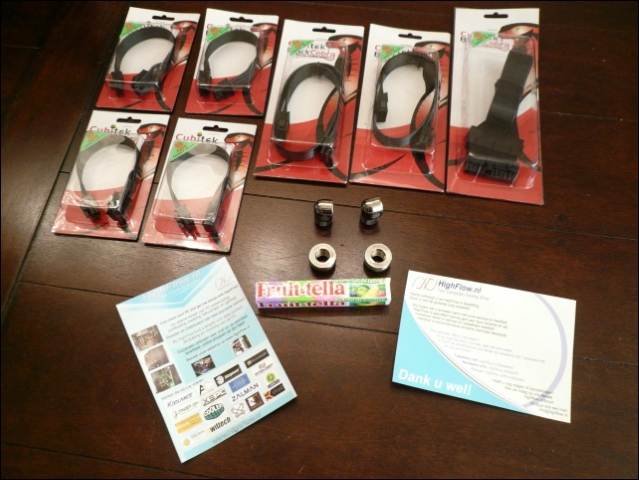
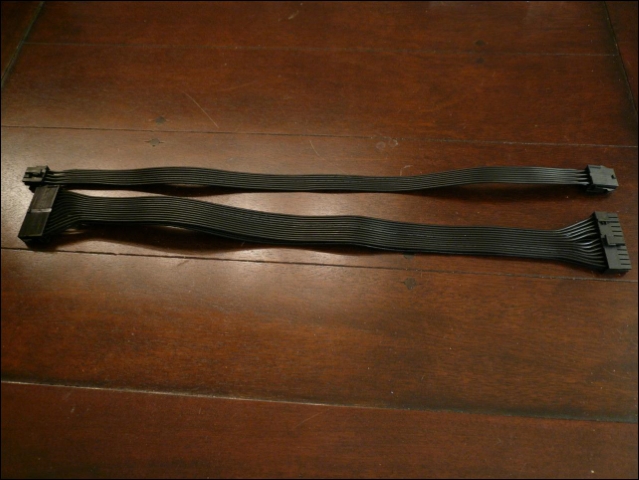
Also an other package i ordered at Highflow
These Cubitek extension cables are 50cm, very thin and not expensive at all
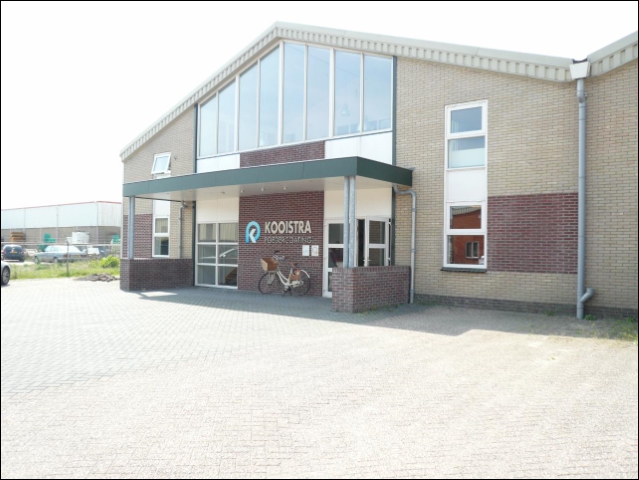
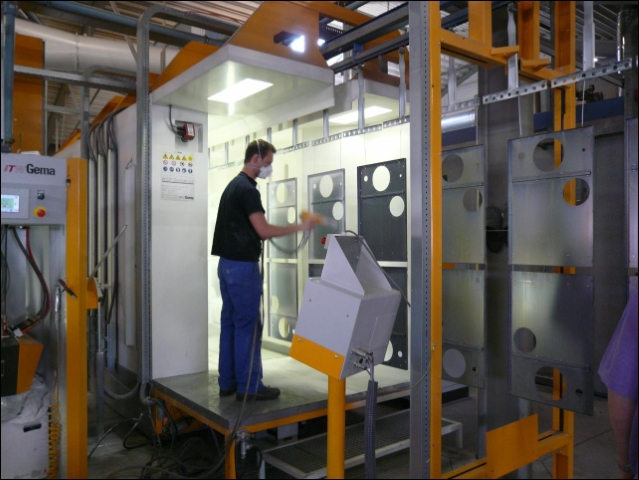
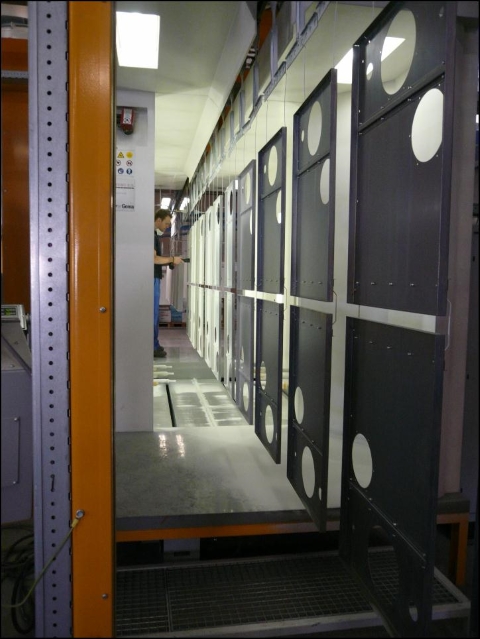
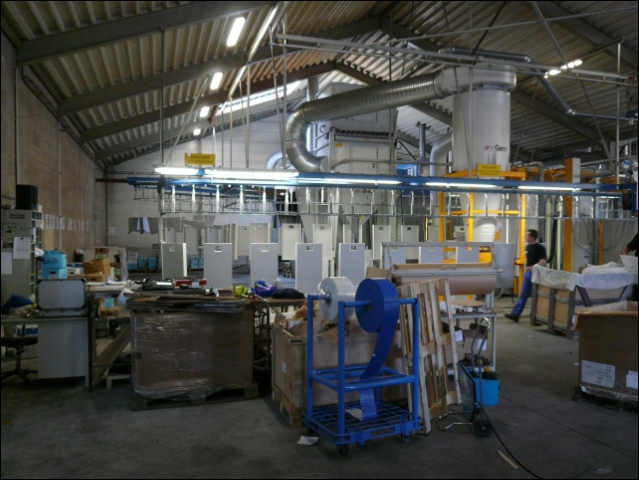
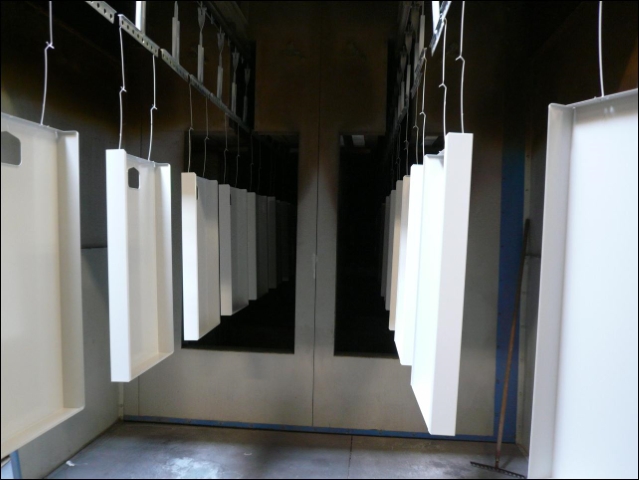
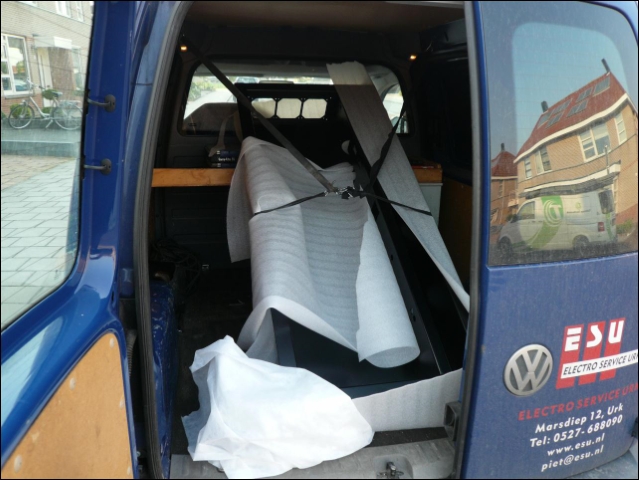
Later that day i brought away my desk to the powder coater.
As curious as i am i asked everything :)
Here all the uncoated products slowly move to a man who "powders" all the hard to reach spots.
This guys :)
2 meters behind him the machine powders the rest.
It's just some sort of dry powder that normally would let go.
But because it's electrically loaded it's sticks to the product.
After that everything goes to the oven.
Here it's heated up till 200 degrees Celsius so the coat gets very hard and equal
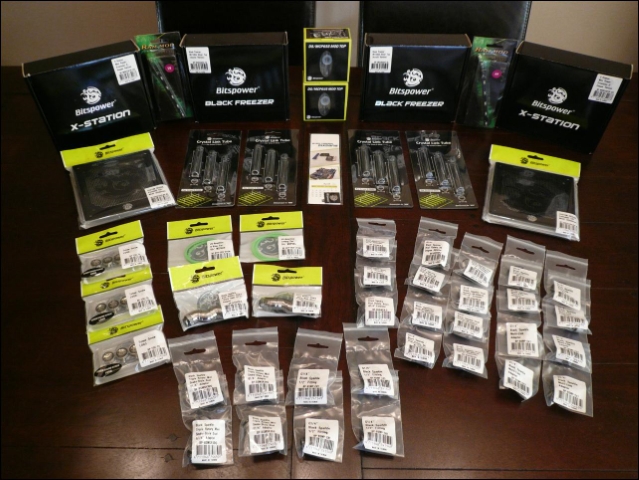
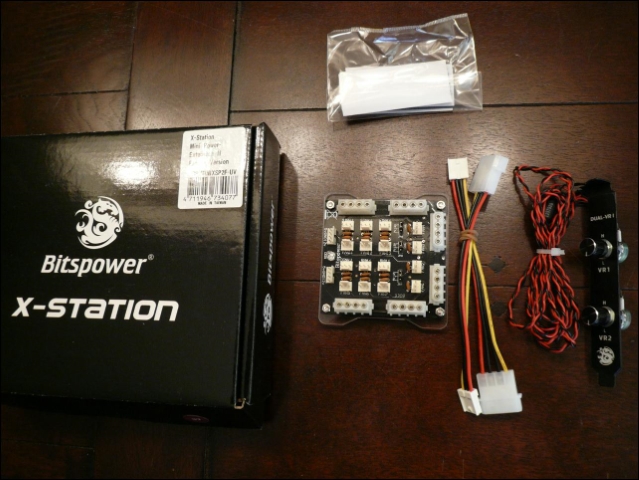
Back home i had to unpack the BP box :)
Offcourse i want to use these on my backplate after getting such a nice box :)
Want to use these Ram Mods for under my GPU's.
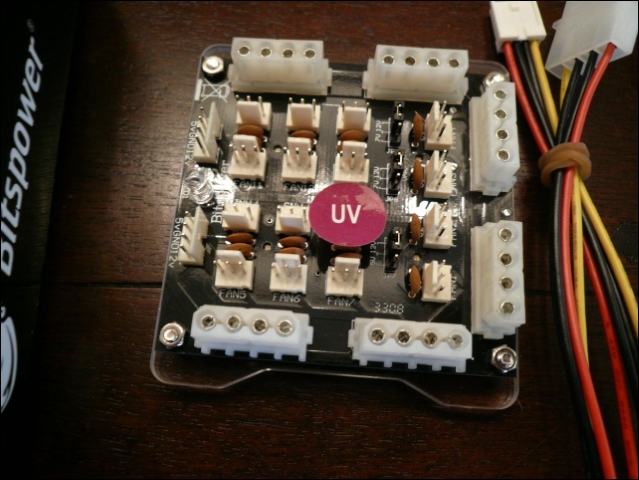
Also want to use these X-stations since they are smaller and have female molex.
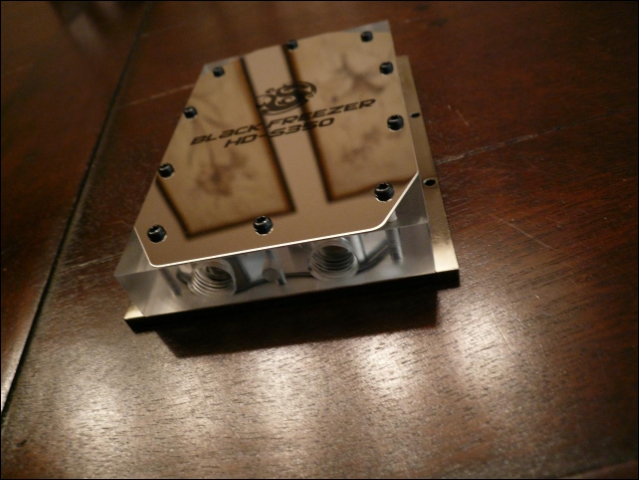
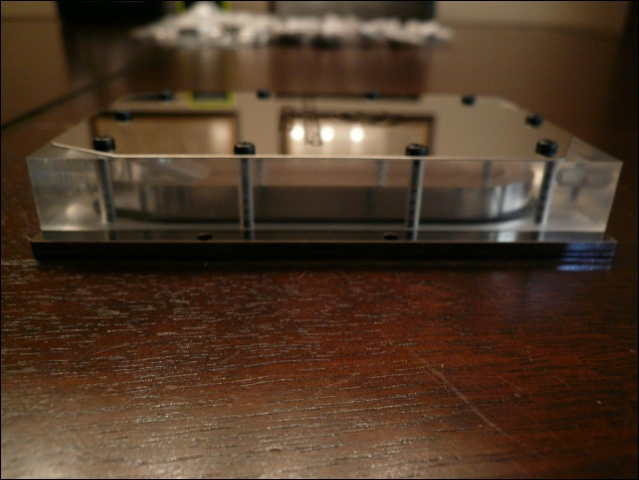
Cause the desk will be black soon and all my blocks are plexi, i will try these blocks in plexi too.
Same here.
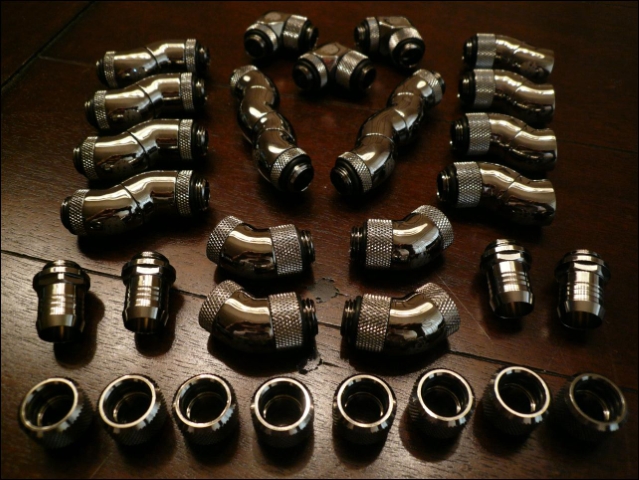
And some extra and new kind of fittings, ill need them for future updates :P
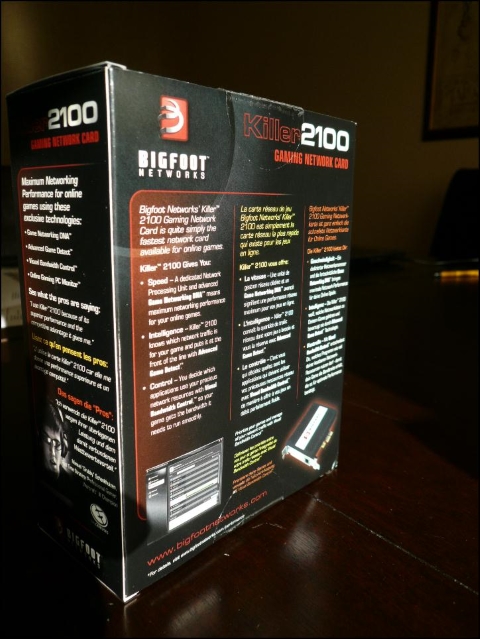
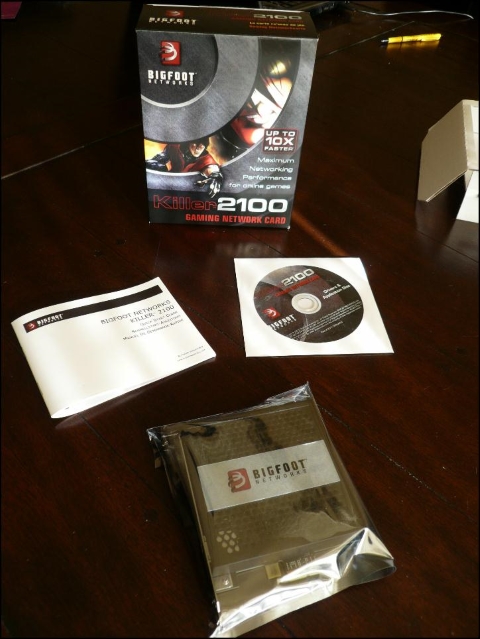
Got a real nice present from Bigfoot Networks
A Bigfoot Networks™ Killer™ 2100 Gaming Network Card
Thanks Timo and thanks for the help Xtrafris !
"The Killer™ 2100 Gaming Network Card delivers maximum networking performance for online games, whether you’re playing MMOs or first-person shooters. Featuring Advanced Game Detect™, Killer™ 2100 automatically classifies and accelerates traffic to your game ahead of other network traffic for maximum online game performance and a competitive edge."
Off course i want to try that out, im really in for some on line gaming after such a year :)
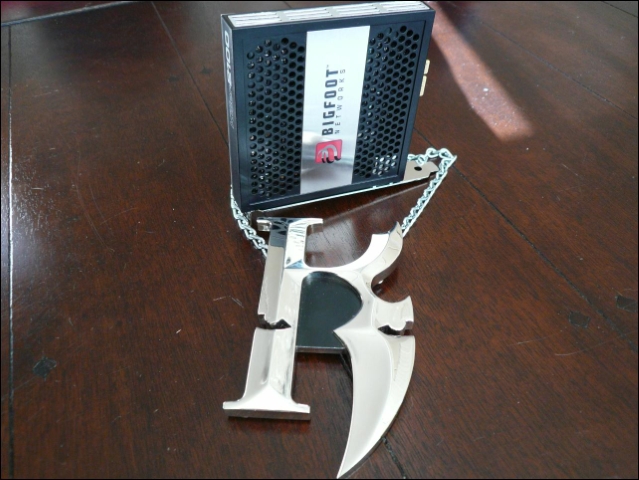
Casemodder Xtrafris also sent me a K`Bling :D
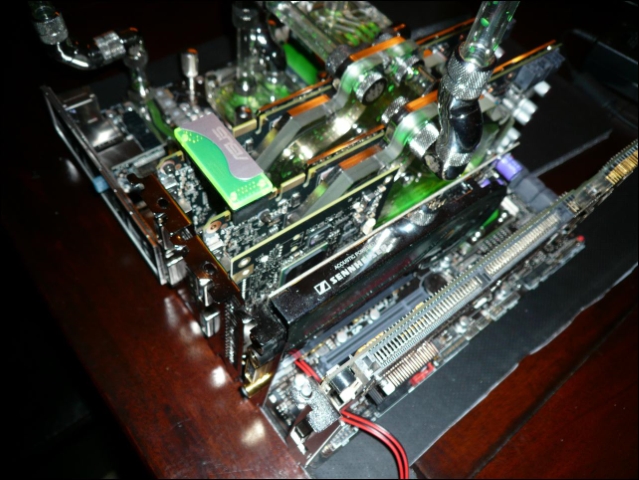
Wanted to use this to mod it on the Killer™ but seems i don't have enough space.
So first with it's cap removed next to the Gpu's.
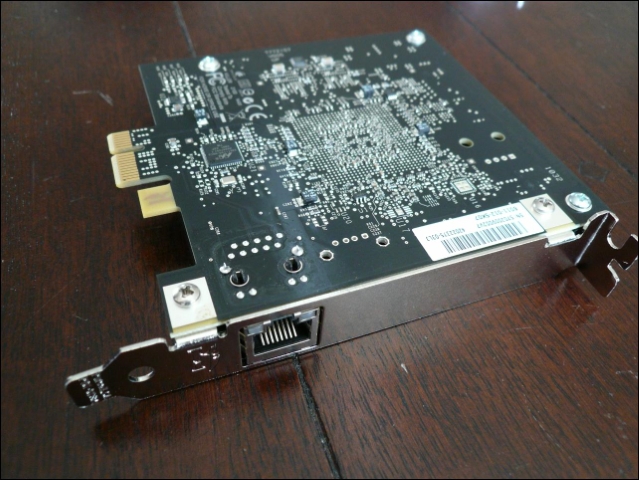
Maybe later i'll use a pci-e extender to make some space.
Think i'll just make a square hole in the gtx580 backplate for the network cable.
It's the only Pci-e 4x slot left.
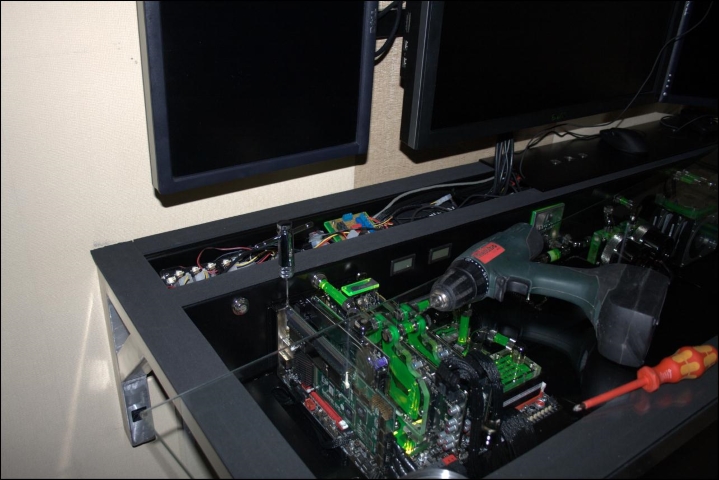
Also got a 7000rpm polisher with some sort of wax from my brother-in-law.
You need to hold it tight, but the effect is perfect !
Finally !! :P
And still exciting :)
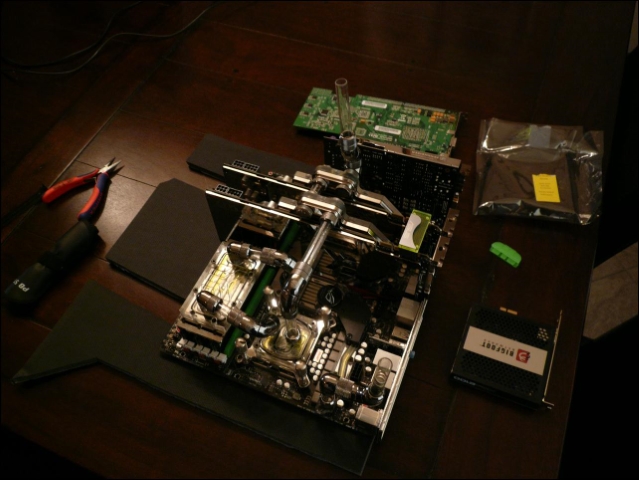
All unpacked.
Very glad i coated the Bitspower radguards in the same color.
Also the lianli backplate.
This is how it will look.
Monday ill get some new rubber tape for the desk and glass so i can lift it in the desk holder.
Before the desk goes into desk holder i first wanted to polish it, but need a new polisher first, this one had no hairs left :)
Small update.
Changed 2 fittings, looked nicer .
Sleeved some led cables, and modded the Killer 2100 in the gtx580 backplate.
(Also a beer with my neigbour :P )
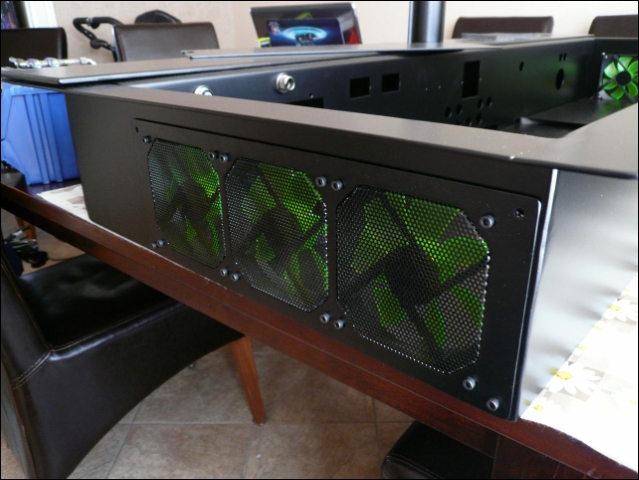
Fans also in its place.
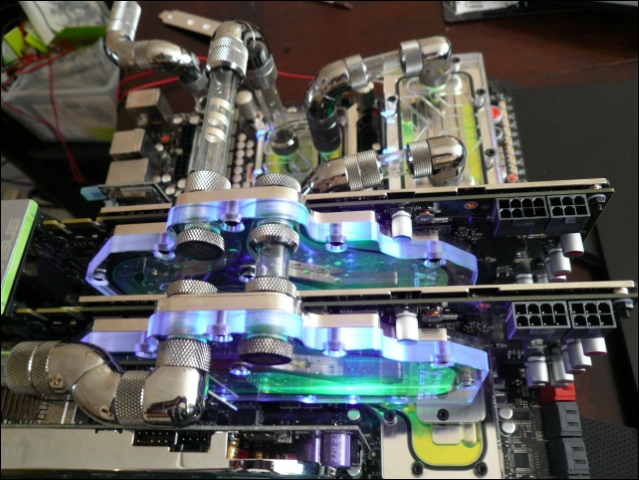
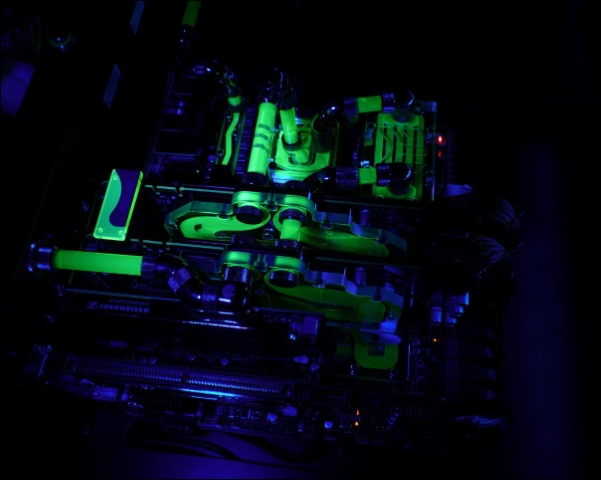
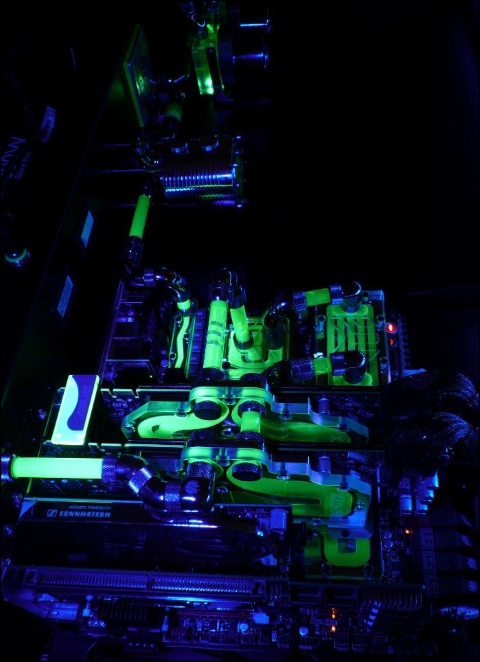
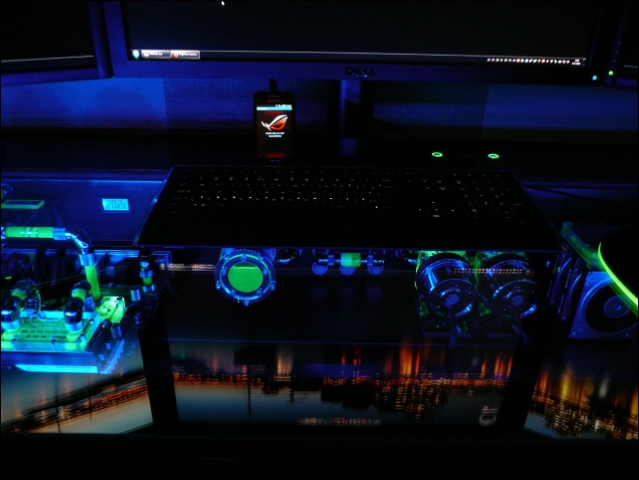
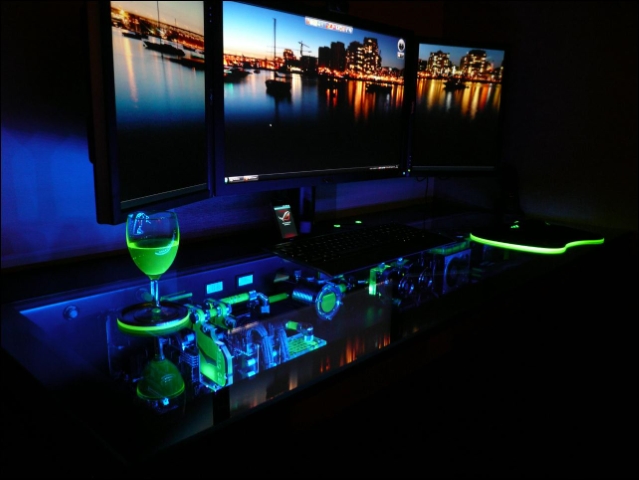
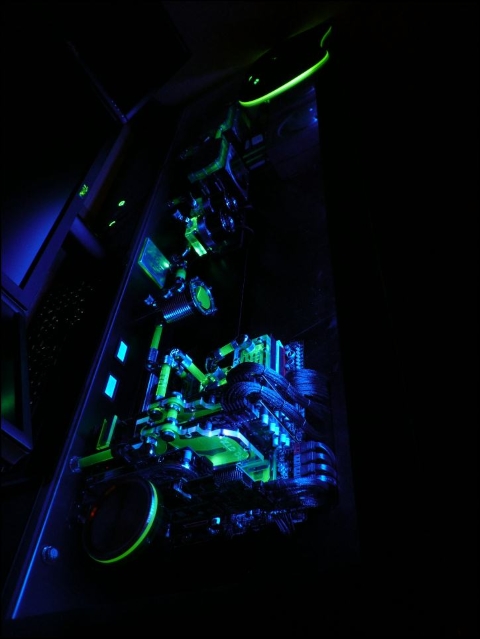
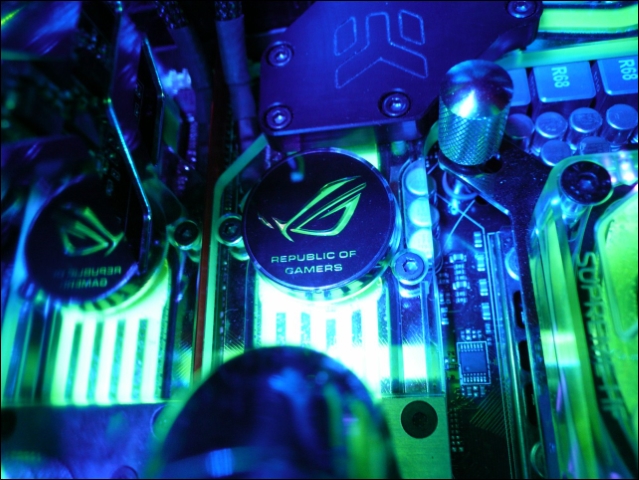
And the Ram leds in action.
Think it'll look nice in the dark.
Also made a small movie of the leds and the mess :)
http://www.youtube.com/watch?v=bQMYN9EZgJ0
Waited for this picture for 8 months to see this result myself :)
Im Very happy with it !
Bottom almost ready, still need 1 radguard.
Very slowly it gets its old shape :)
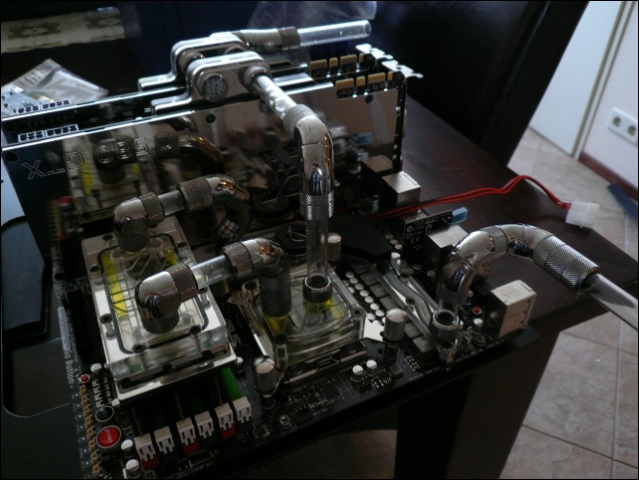
Been busy with the PSU's, needed the most efficient way for the cables and the airflow
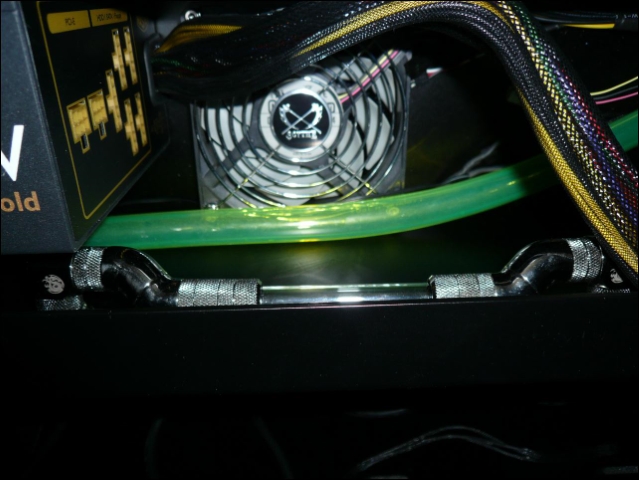
Also the loop is ready in the backside.
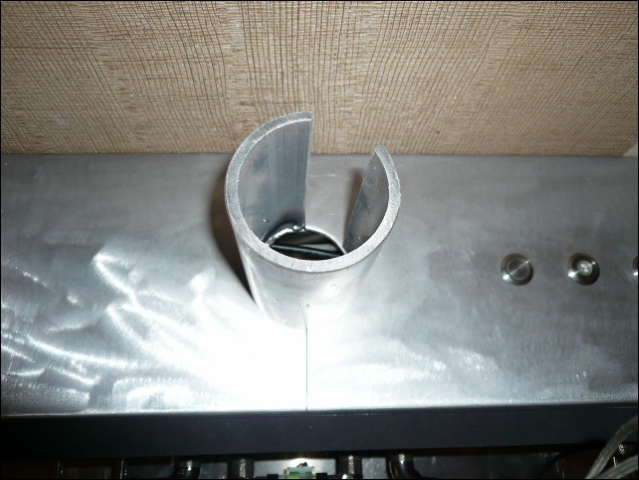
This was a small solution to get as much as possible space for cables next to the psu.
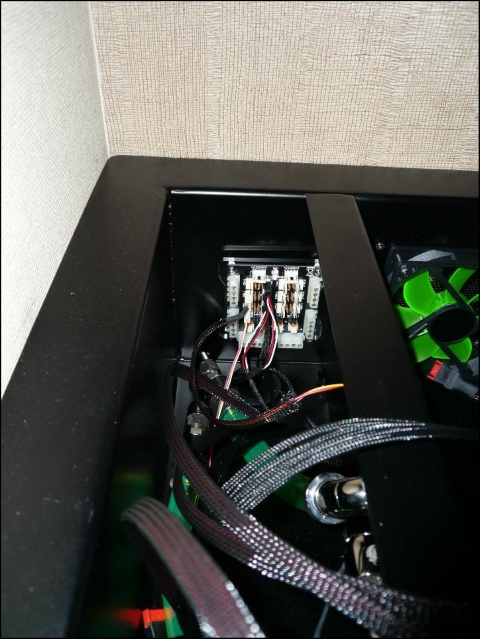
On both sides of the desk a Bitspower mini X-station for fans and molex connections.
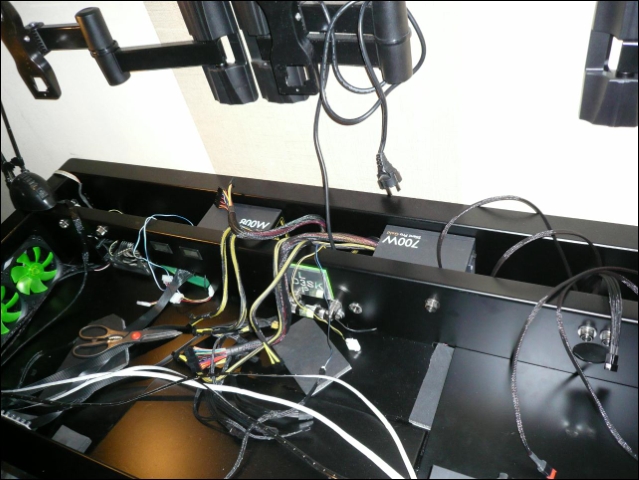
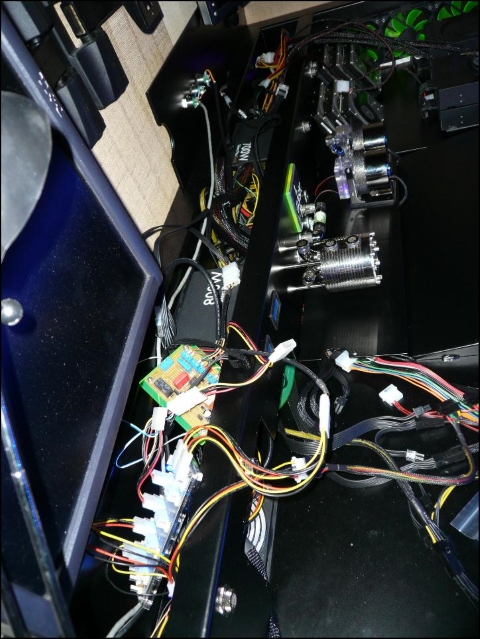
Here i had war with the cables a few times :P
And the main battlefield.
I knew i could get it smaller ! :P
First leds are working.
Also some cables ready for under the mainboard tray.
Further on with the pump-tray and got the reservoir hanging again.
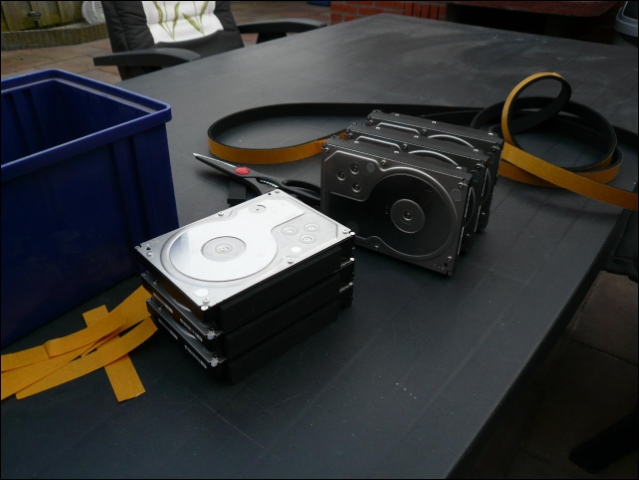
Used the same anti vibration rubber under my HDD's and tray as i use for my glass.
I really love this stuff.
Guess cable management will come later, more and more cables every day :)
Also a small uv led stroke for the right side fans.
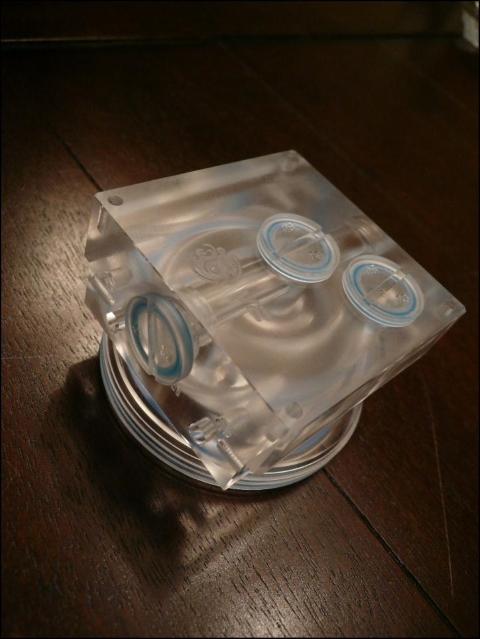
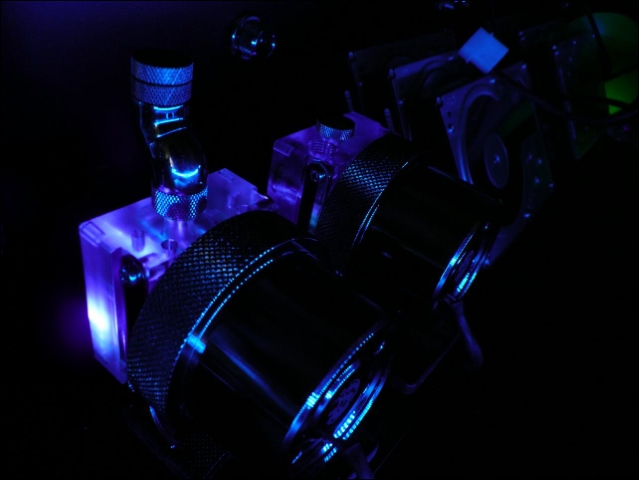
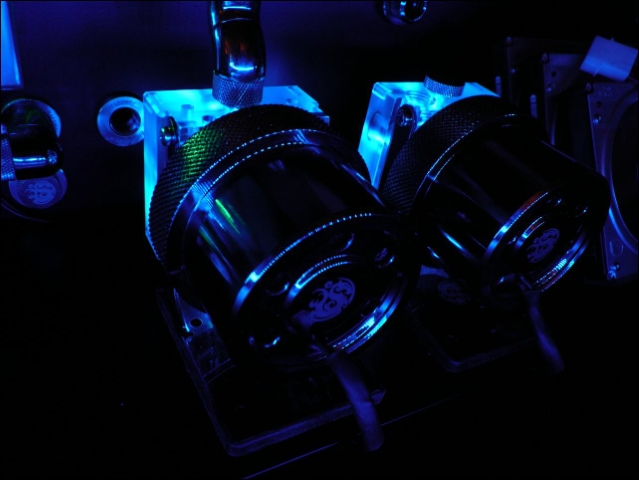
Now also leds in the pumptops.
I like it more then the regular black ones i had.
This photo is with UV leds in it, but thats WAY too purple.
But somehow i cant show it in photo's
So i tried blue leds after that, and i liked it :)
Took me a full hour to find the combination so i can use 2 SLI pipes for the right pump :P
Molex plugs on the leds of the mainboard
So ill be busy the rest of the day connecting all these cables :)
What a long week this was :)
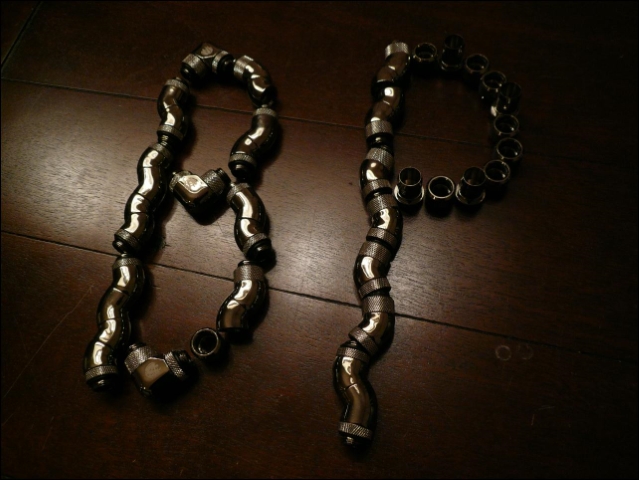
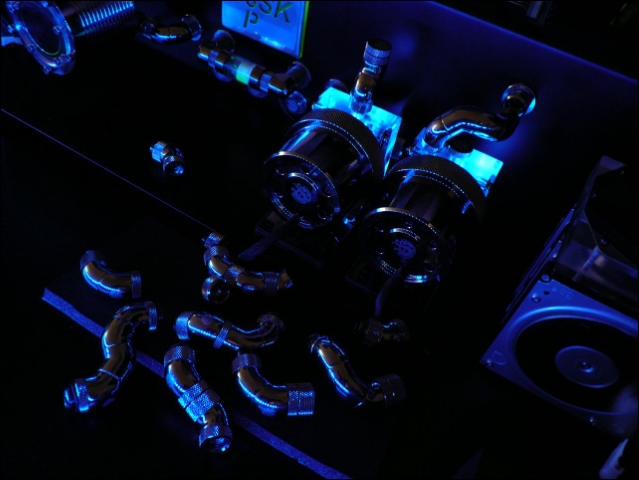
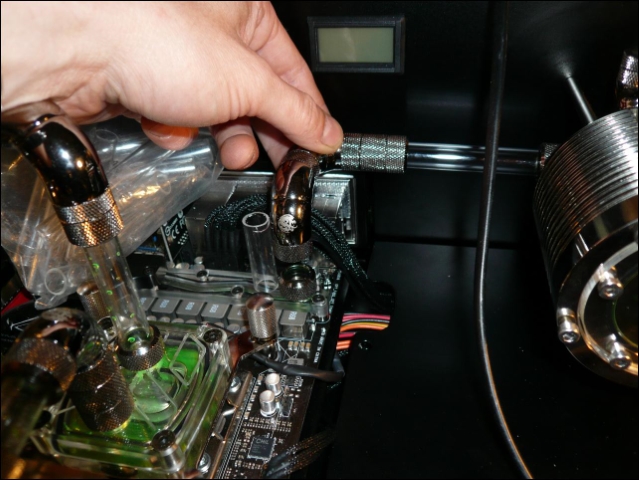
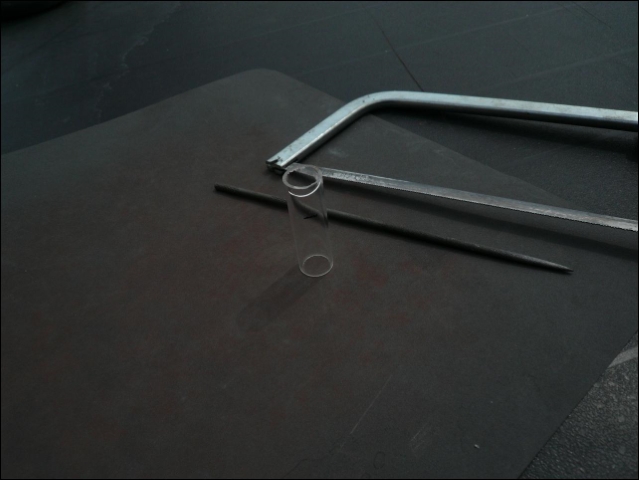
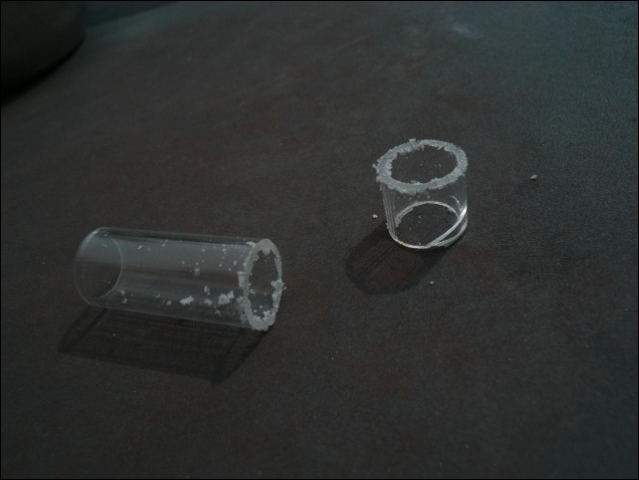
Custom length BP pipes
Bottom also finished.
Time to fill up :P
Just had to make some pictures.
Back to getting the system up and running :)
So the rubbers for the glass.
First "backplate" in it's place.
Now find a way to work away the cables for 3 screens.
Wow second boot it was up and running.
I really was happy with this.
And im so glad i was able to disable the red leds of the Killer 2100 by the software.
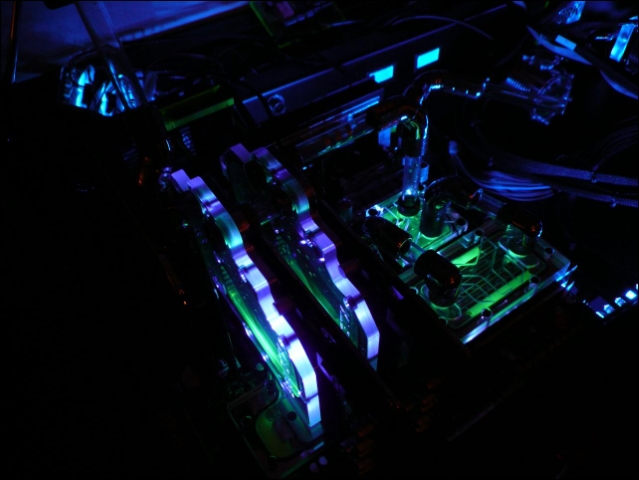
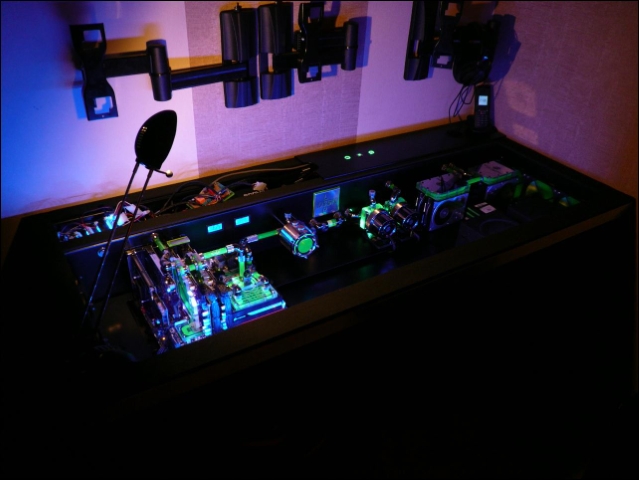
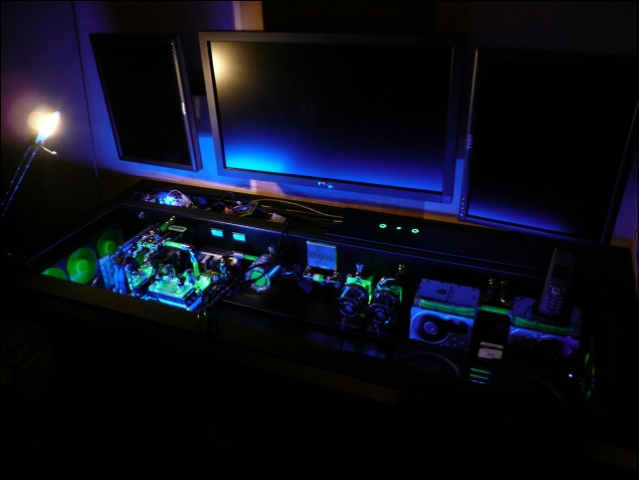
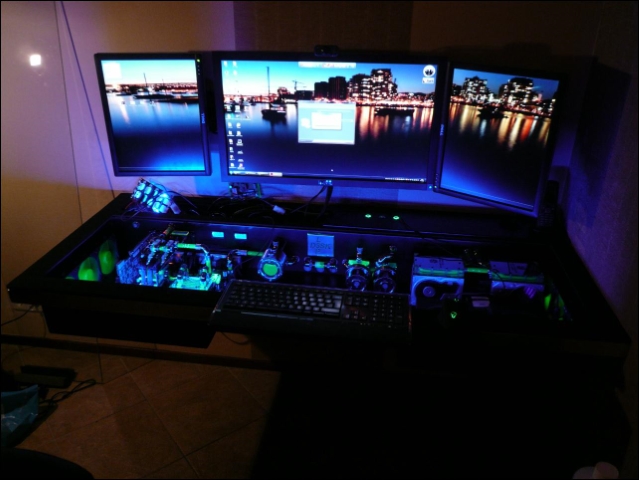
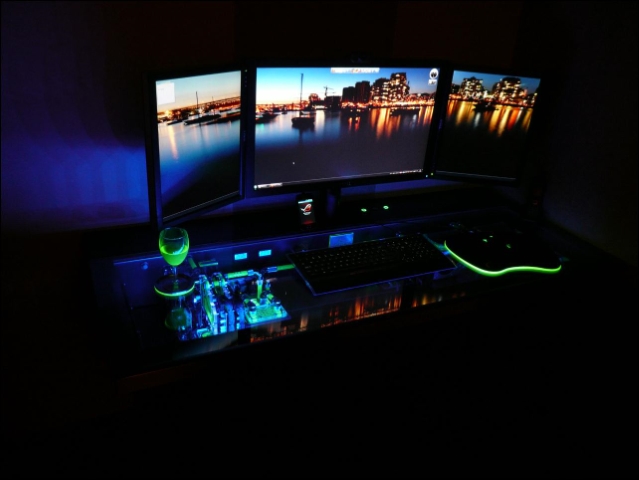
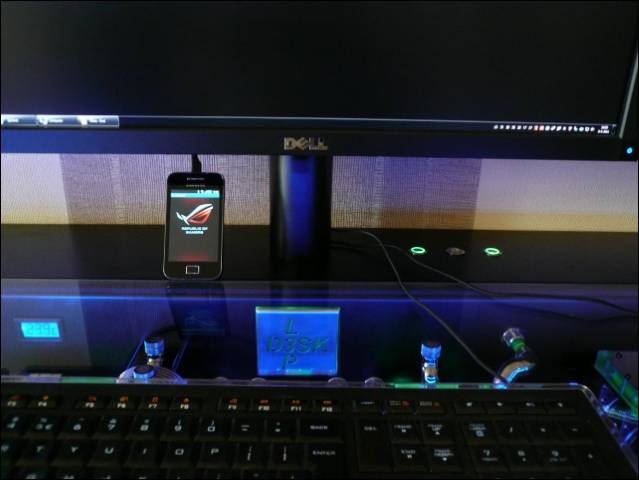
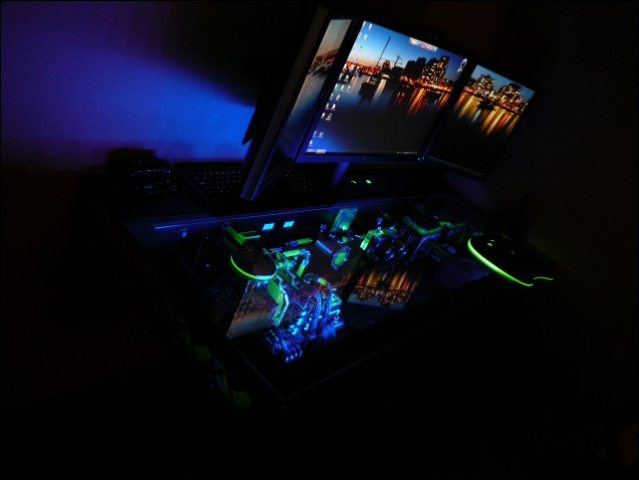
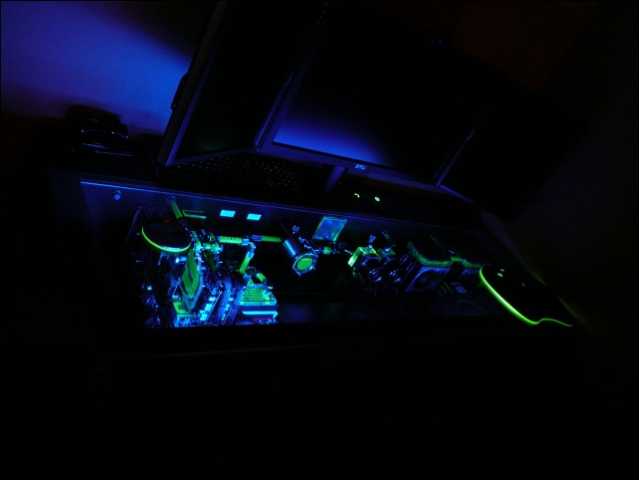
And some pictures of last night.
This morning went up early again and it was smiling to me :)
Also very handy those usb connections on Dells
And some more night pictures.
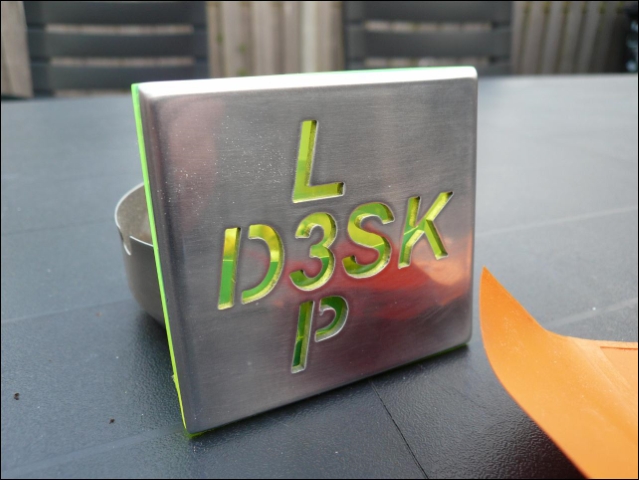
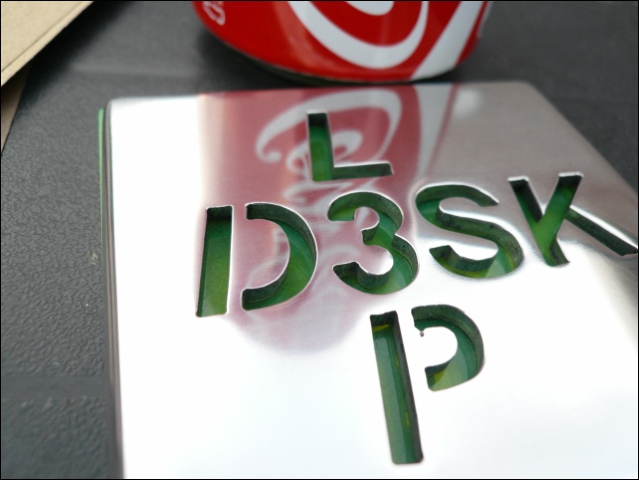
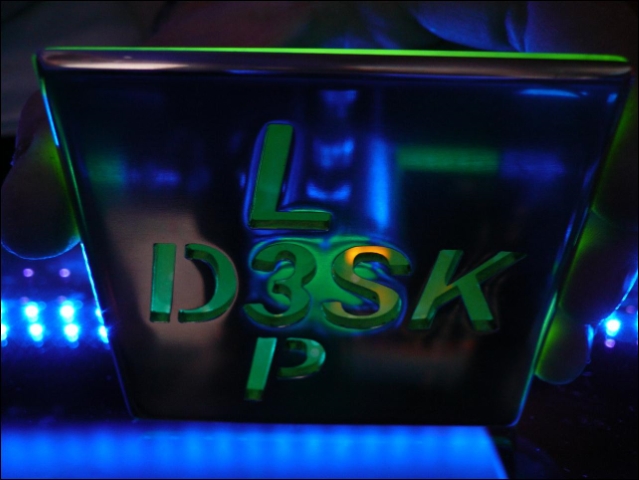
Sanded and polished the logo again.
Quite some work.
Don't wanted it to mirror to much.
Freddy from Highflow was my saviour :)
Sometimes you can't go on cause you miss 1 cable or connector of a few euro's
Thanks Freddy !!
Also ordered some other stuff also for future projects.
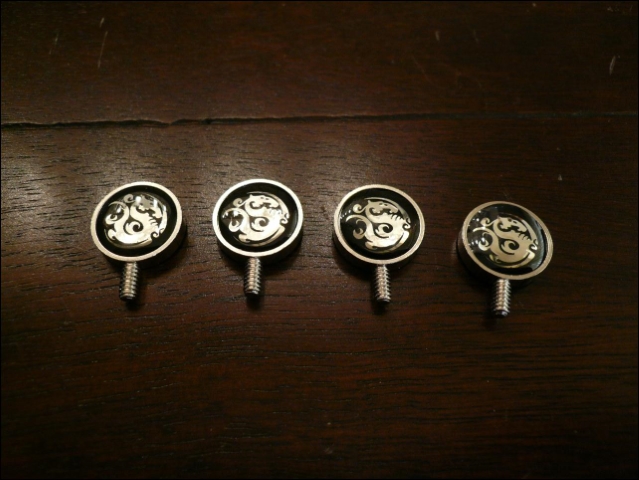
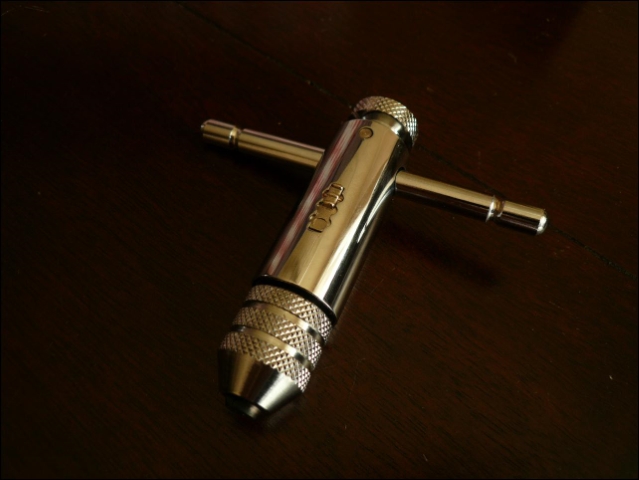
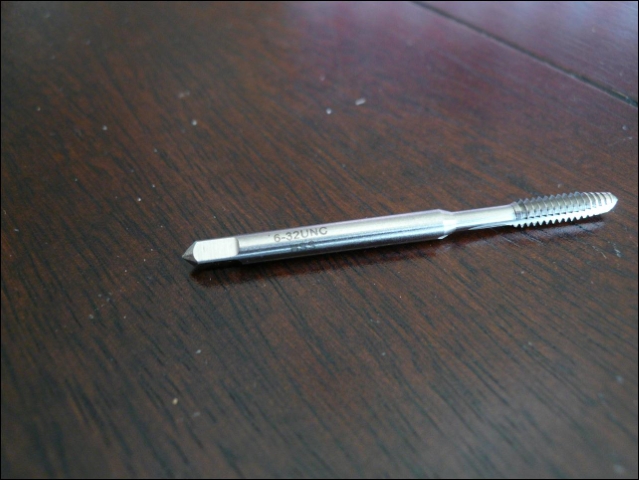
Different sizes of M4, next week i get M3 too
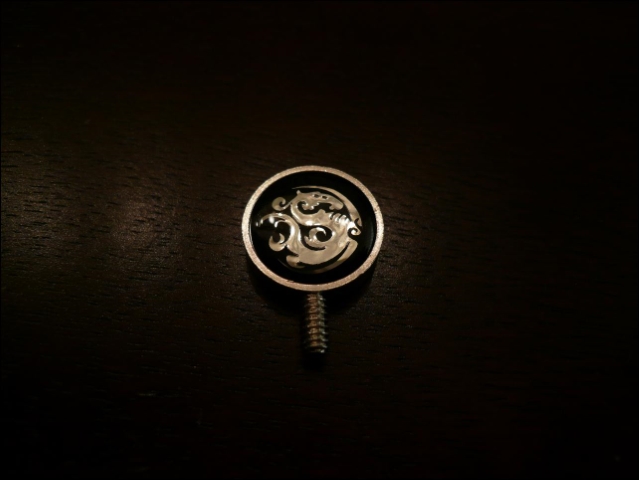
Tapped it at the last moment for the bitspower thumbscrews.
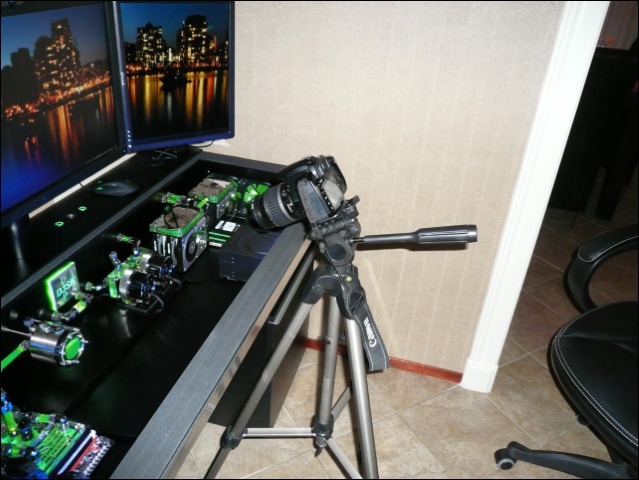
And ready to shoot some photo's.
Here's the link to post #2 with the pictures i took for the Cooler Master Casemod Competition :)
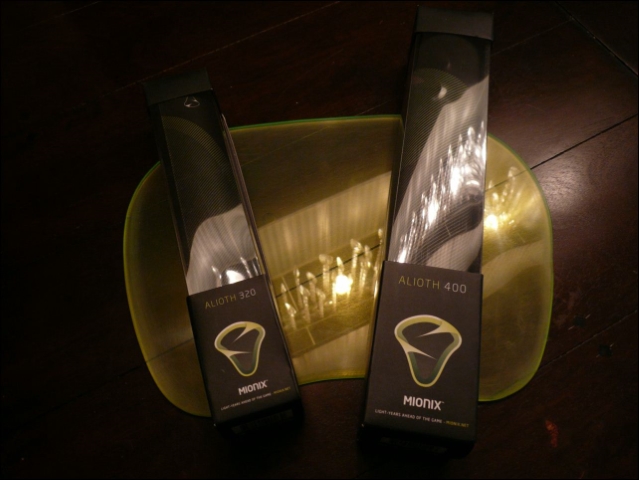
Had a Q-pad CT for 4 years and was still very happy with it.
But i just needed a smaller one so ordered a Q-pad UC small.
But somehow it doesn't registrate my mx510 and mionix anymore that good.
Contacted Mionix and they wanted to send me a mousepad for on the plexi plate !
Thanks Peter & Richard !
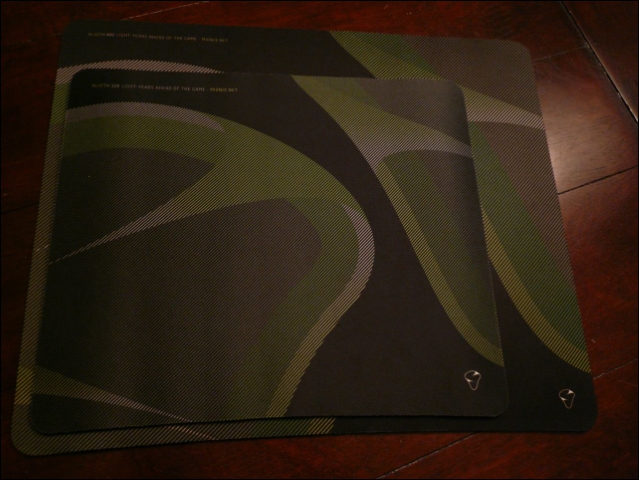
Going to cut it this way i guess.
And almost done !
Still need to make the edges a little more rounded.
Ordered something at work, they use it for small 9-30V motors on ships etc.
Im very curious about it how it will work.
I want to use it for the 2 D5 pumps later.
This way i can use 2 Bulgin momentary switches to set the speed from 10% till 100%
Also when it's powered off and on, it will remember the last speed setting.
I just can't stop, so some pictures again :)
This is my latest update 28-5-2011.
So i hope you liked this buildlog with a lot of pictures :)
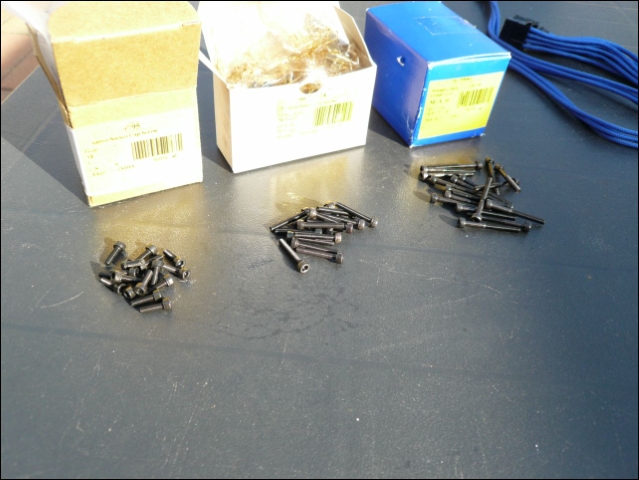
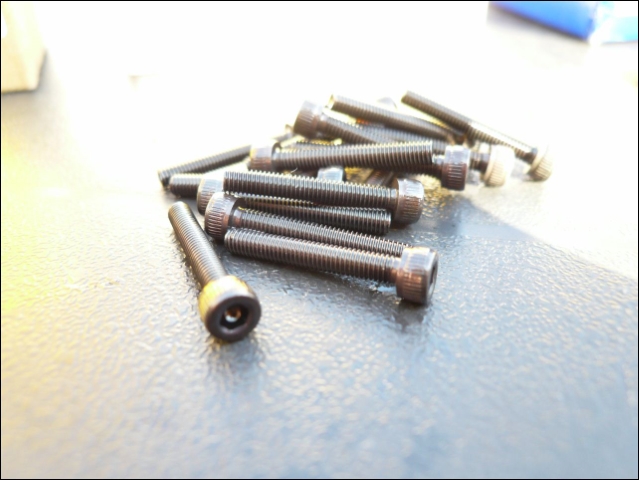
Ordered some extra black bolts for fixing fans to the rad.
Also for future usage off course.
Also got a nice package from Highflow
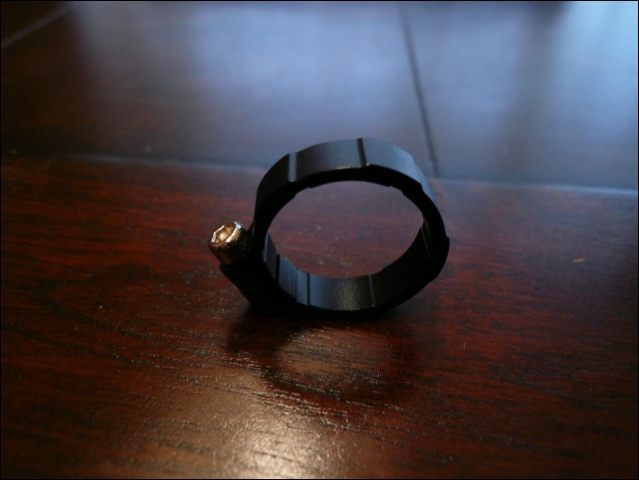
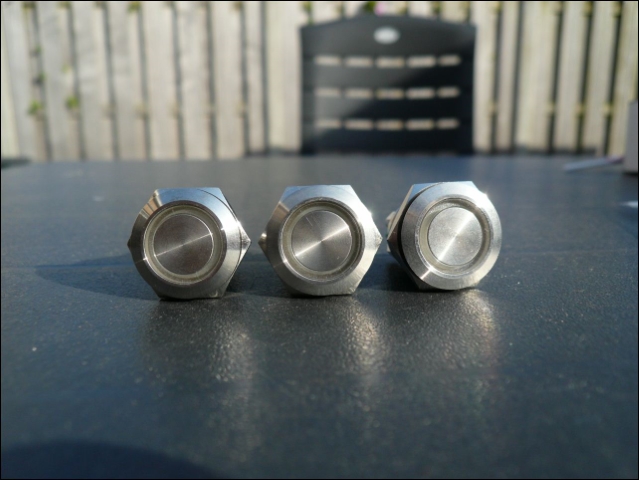
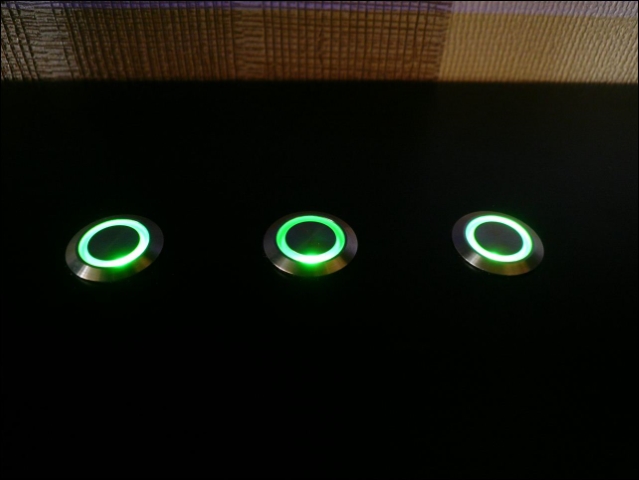
2 momentary switches will be for "dimming" the 2 pumps.
The 3rd is to replace the "dot illuminated" switch i use for the reset button.
I do like the ring illuminated more.
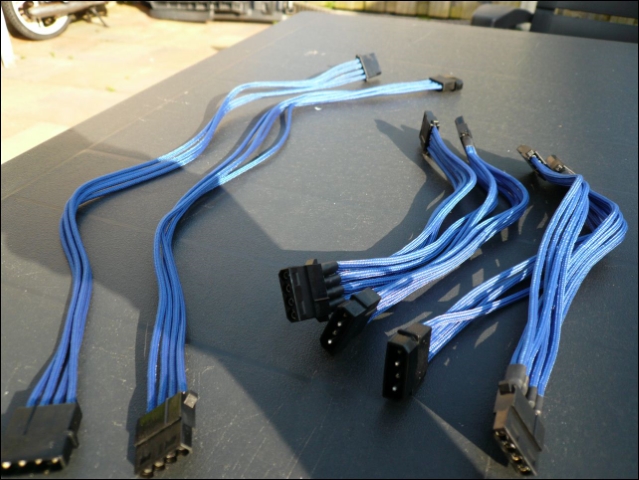
Also wanted to try the Bitfenix sleeved cables.
I'll use these for the pumps too.
Very nice and soft sleeve by the way.
And this is all i was able to do this week :P
Here a movie with the noise the desk creates while gaming :)
Great piece of work, how can you personally better that!
I think you may be too late to get many votes for the CM2011 as we have some members here that are entered and not wishing to sound biased but....we have already voted for them :D but I don't think you will need them.
I also don't know yet what ill do next :P
No problem man, after this week im already happy enough :)
This is so, so awesome.
How are you splitting the components between the dual PSUs btw?
Thanks man !
If i remember ..
800W
- 1 x 8pin CPU
- 24pin mainboard
- 2 x molex for pci-e ports
- 2 x D5 pump
700W
- 2 x 8&6 pin pci-e
- 6 x HDD
- 4 x SSD
Makes sense. Thanks - I was just curious :)
No problem :)
Hey L3P,
First congrats on placing in the competition. Second, have you thought about marketing this desk design to some desk makers? I'm sure there's a market for this kind of desk, would be worth poking and prodding to find out.
Thanks man !
Marketing ? Nah already got a full job, simply don't have the time for that :)
What I meant was selling the idea to a desk company, hell even a pc case company. Sell them the plans and than retire, or use the money to come up with something else =PQuote:
Originally Posted by L3p
Well they know how to find me :rolleyes:
I got the Second place in the Cooler Master Compo !
I'm so proud !
http://casemod2011.coolermaster.com/
Some guys from Spain thought it was a good idea to make 1 post on 3 huge Spanish sites with all my 800 pictures in it :) (150 GB a day)
If anyone wants to see the all the 800+ buildlog photos or the photoshoot, i also uploaded them here until my host goes up again.
Tweakers.net buildlog Buildlog Photo Album
Facebook Buildlog Photo Album
-
Tweakers.net Photoshoot pictures
Facebook Photoshoot pictures
Here's a small update about my plans :)
This summer I will continue with a custom reservoir in D3sk.
It'll be located in the middle of my desk, below my keyboard.
I'll do this later because I had just had it with the desk for now :P
I do have been busy with planning the next build.
This time not a scratch build but a casemod, especially to visit lanparty's.
So more on that later in a new buildlog:)
My Site + photos from the build logs http://www.l3p.nl are still not working.
There are still so many requests that 3 servers till now couldn't hold it
Some gentlemen of Tweakers.net are now looking what they can do.
(Thanks Bo, zeef and Kees!)
This week i tested the controller that I would use for the 2 Laing D5 pumps.
On one way or another, it doesn't adjust the speed as I wanted it, with 2 Bulgin momentary switches in 8 increments from 0% to 100%.
Later that evening I tried it with 120mm fans and it worked perfect.
The LED in the Bulgin even dims along with the fan speed. (Although this is difficult to see in the movie)
So I think i will use it with the 8x120mm fans in the desk that are now running at 5V, but then @ 12V with 2 Bulgin switches do arrange 0% -100% in 8 steps.
The two extra buttons will be placed just next to the power, reset button and lights button, so five in a row.
I went to look at the worklog again. all your pictures are down!!
Read the 2 posts above your post. :whistler:Quote:
Originally Posted by diluzio91
lol... good catch.
My own site is finally up again, so all the pictures are available in the buildlog again :P
I'm also very proud of being ROTM @ Guru3D.com !
Some small changes i did the last few weeks on the desk.
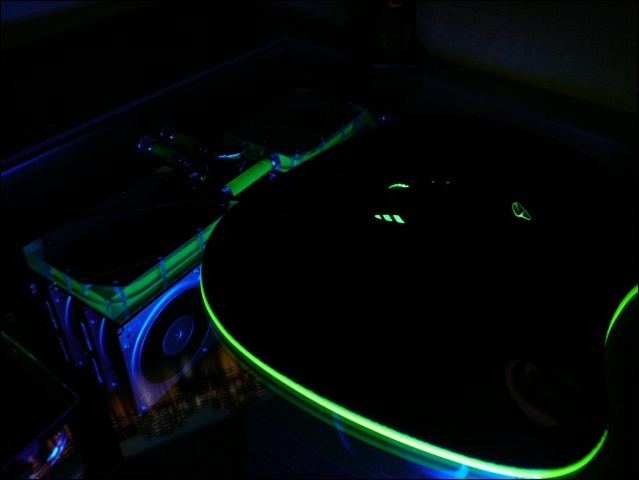
Made the ROG logo more visible with an "acid green" look.
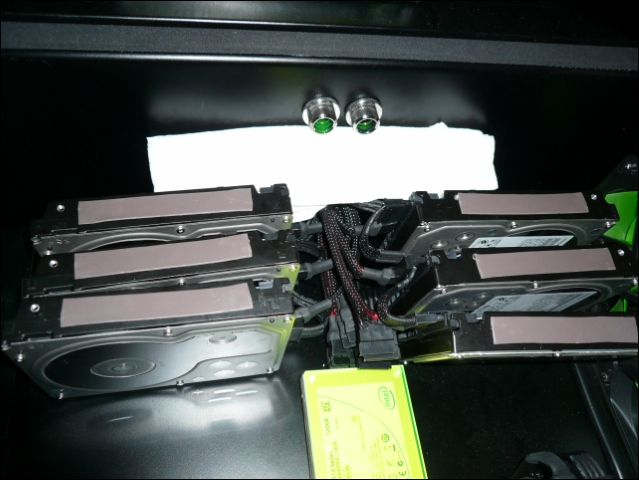
Also used EK thermal pads for the HDD's, not for the cooling but for the resonance.
It's even more quiet then in the video now.
This summer further on with the custom reservoir in the middle of the desk.
At this moment im busy with my new build 'L3p L4n' specially for the lans im attending next year.
Well, it's been a truly indescribable modding year for me, and I wanted to close out this tremendous honor by thanking the following sponsors, friends and fans.
In case you missed it (pun intended), I somehow managed to scrape by extremely talented competition and pull some awards in the process.
It still makes me so proud, as the competition was refined and full of talent!
Bit-Tech Mod Of The Year and Guru3D Rig Of The Year
Other achievements
As a bonus to the supportive community, I am sharing some unseen photos of the finished project.
After submitting this post, I will be focusing on my current casemod and company, Red Harbinger.
I have met some incredible people along the way with the L3p D3sk.
I know a lot of you were very interested in building or buying the L3p D3sk, and I am happy to announce we will be producing it for sale; the manufacture prototypes are being created as I type this final message.
As a founding member of Red Harbinger Inc., you can expect to see current and future builds (including the L3p D3sk) for actual purchase.
Again, thanks for all your support and feedback; I could not have done it without the strong support of the community!
Acknowledgements:
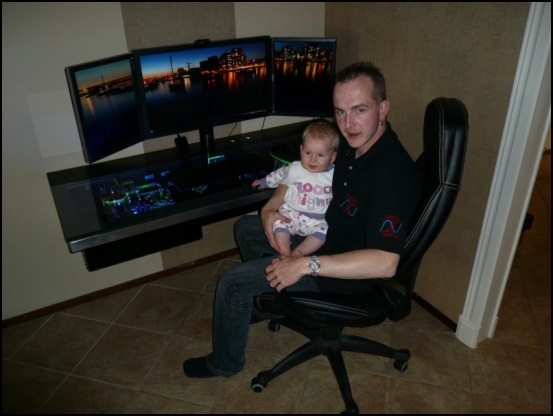
My wife and daughter for all their patience.
Neighbors Babs & Gepke
Rudi & Susanne Kirst van Camping de Kuilaart.
Pascal for inspiring me.
Hendrik van Slooten
Richard Keirsgieter
cK-Leds
Freddy from the Highflow forum.
Vincent from the Highflow forum.
wwwicked from the Highflow forum.
Antony Leather from Bit-Tech.net
Hilbert from Guru3D.com
Highflow.nl and all the forum members for making me addicted to water-cooling.
Bit-tech.net and all the forum members.
Guru3D.com and all the forum members.
All the supporting sites who placed articles or where I could place my buildlog.
All the readers, supporters and voters from all the buildlogs all over the world.
Fans for all the emails and compliments coming in from every part of the planet!
I can't express what it really means to have so many fans interested in my design!
And off course all people who I might forgot to thank in person!
Also not to forget the sponsors who made this all possible.
Thanks again for being an integral part of this process.
-Peter Brands (L3p)
Redharbinger
Redharbinger Facebook
My Facebook
Hey man can you give me some info or more pics about your HDD setup. Does that setup actually cool the HDDs? Or is it just for show?
It really cools the hdd's :)
Temperatures went from around 45-50 degrees to 28-35 degrees.
That is with a loop temperature of 22 degrees and 1 Bitspower block just on one side of 3 hdd's as on the pictures. Did add some pads on the hdd's to conduct the heat better.