lol thanks : )Quote:
Originally Posted by Richie123
And Hope you take plenty of pics while tackling that to-do list!

Printable View
lol thanks : )Quote:
Originally Posted by Richie123
And Hope you take plenty of pics while tackling that to-do list!
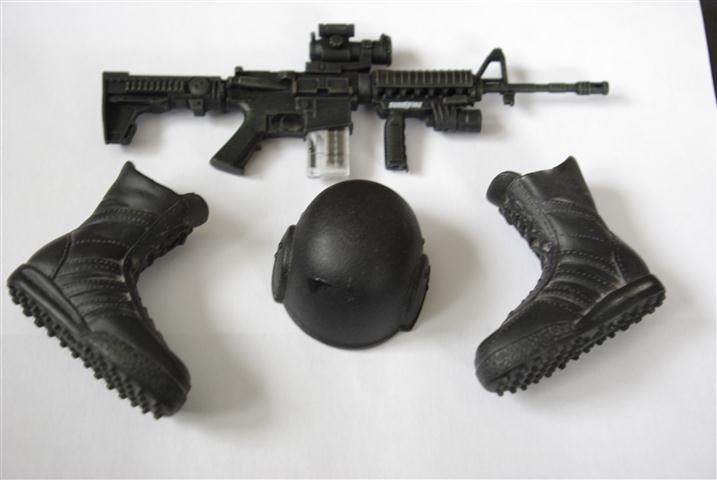
What even a photo of my 1/6 scale boots, helmet and weapon for fallen soldier tribute that will be put some place on or in case?Quote:
Originally Posted by Twigsoffury
oh man that would be cool!Quote:
Originally Posted by Richie123
Especially if you vinyl the interior with the POW/MIA flag along the bottom.
Picked these bits up to make a Fallen soldier tribute in or on the case
Not sure how i will fit these into the mod, but I think it is a nice touch.
How big are those they look pretty small.Quote:
Originally Posted by Richie123
Might be cool inside a reservoir? *shrugs*
not that small :PQuote:
Originally Posted by Twigsoffury
Sorry about the lack of updates guys, still got to get case prepped, anyway I thought while were waiting,
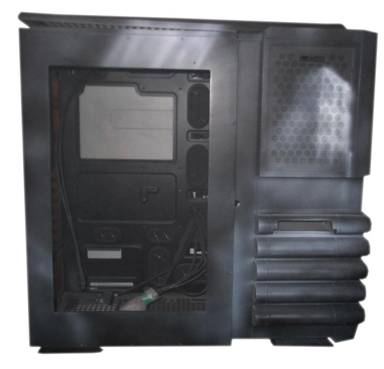
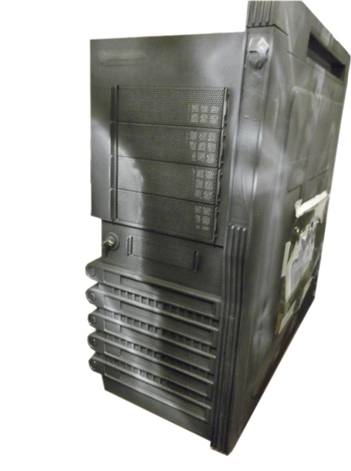
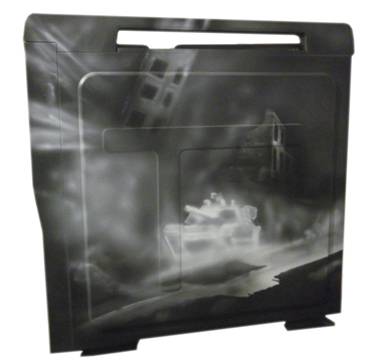
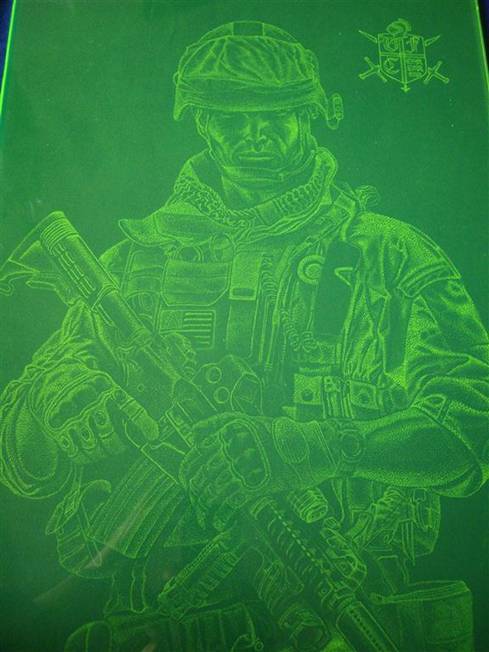
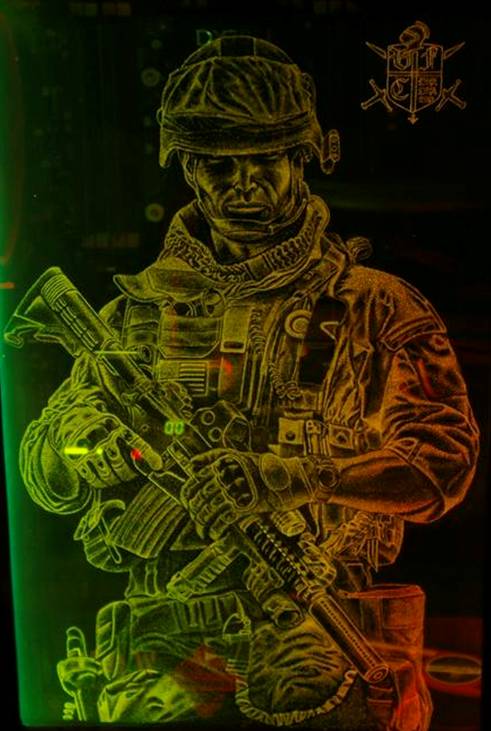
I thought I would show you how the case is getting on (this is only layer 2 of the artwork there are a few layers to go yet).
I cannot wait for it to be finished so I can carry on with the finishing touches to the mod, until next time (hopefully in the next week)
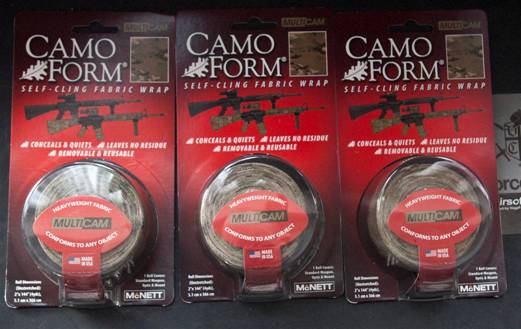
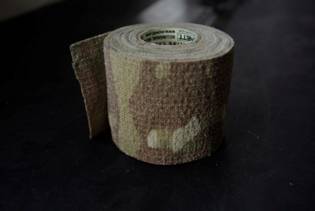
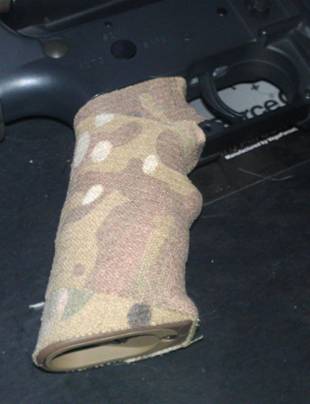
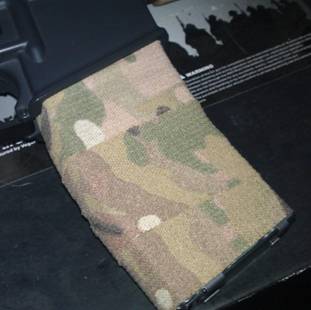
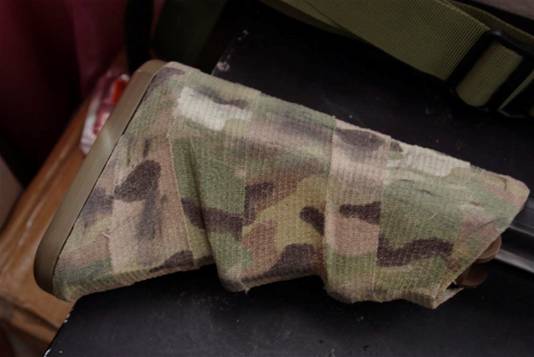
Well thankfully McNETT were kind enough to get involved in this mod, and supplied me with a few rolls of Camo form/wrap in multicam style,
McNETT are a us based company that supply all sorts of products for the hunting and fishing market as well as products for military use. You can find out what over products they make here http://www.mcnett.com/
As mentioned the product they supplied us with is camo form which is popular in the military as well as the hunting and fishing market,
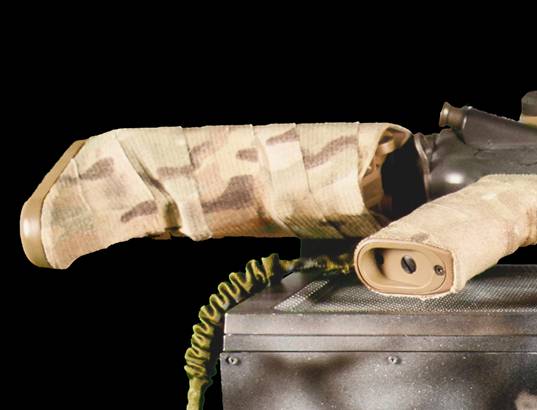
This stuff is pretty amazing to be honest as it simply clings to itself, without having that Velcro feel to it, what makes it good is it also is washable and once dry it returns back to its stick state (useful if you have been rolling around in some mud, thankfully the rig won’t be doing that :P)
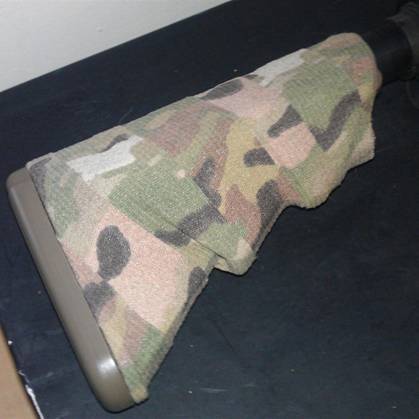
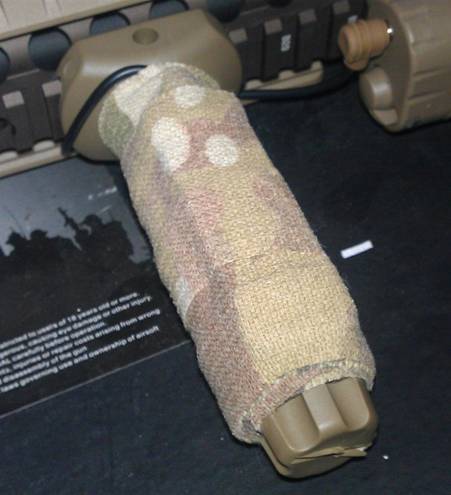
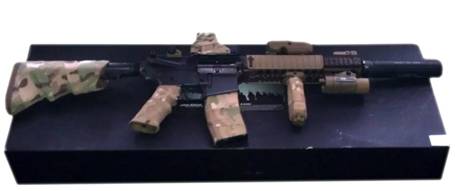
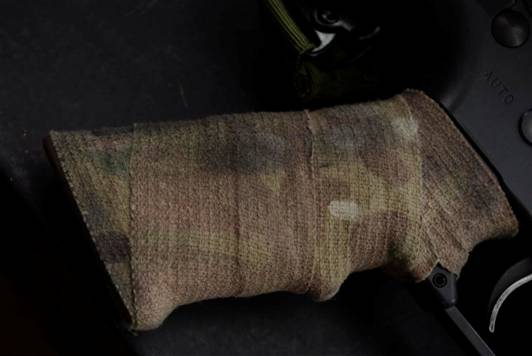
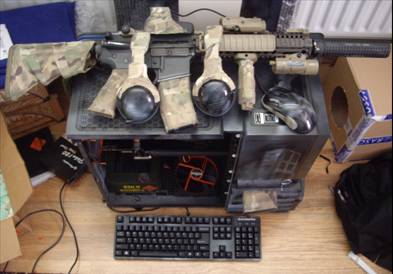
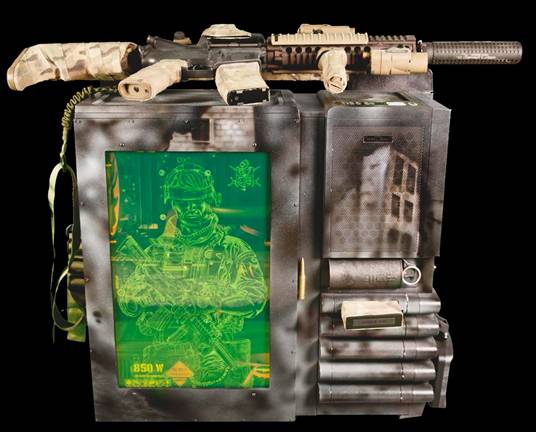
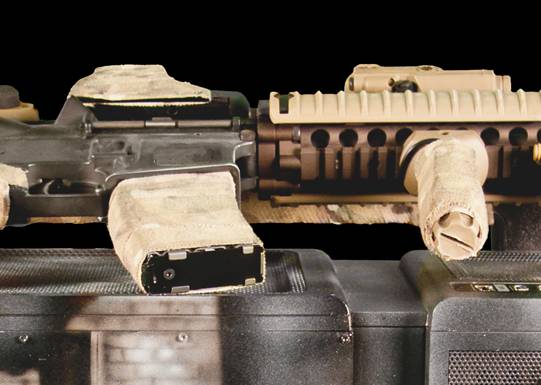
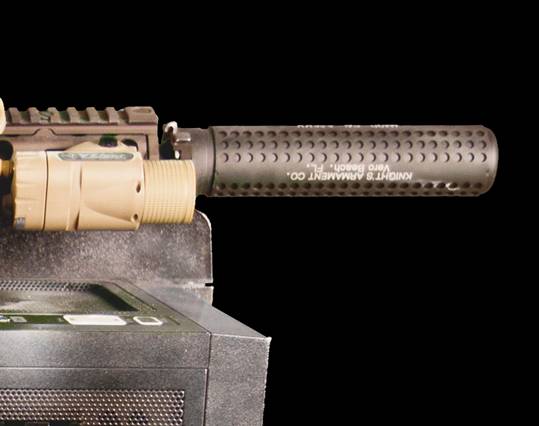
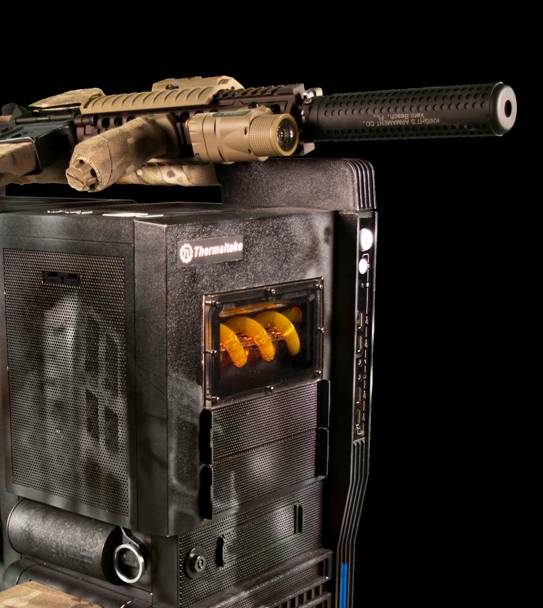
Anyway I thought I would start applying it to the weapon that is mounted on the roof of the case and this is how it came out.
What was also handy is it also made it very easy to mount the pressure switch for the tactical light on the foregrip.
I still have a few more things to do to with the camo form, but I need to wait until the building stage of the rig to do these, but I thought I would just share these with you for now.
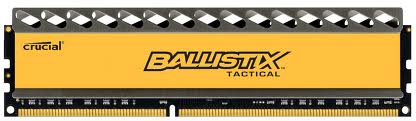
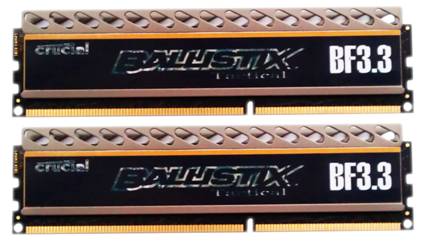
While I was here I thought I would also show you these, which arrived from crucial
These are part of the Ballistix range (http://www.crucial.com/ballistix/) of memory, the kit supplied was a 16 GB quad kit so I set about making custom heat spreader stickers for them.
Ties in with my theme better I think, more updates coming soon as more stuff turns up for the project, I should also have a nice update on the case for you next week.
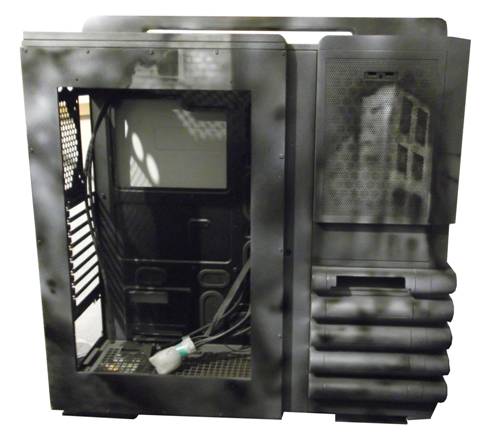
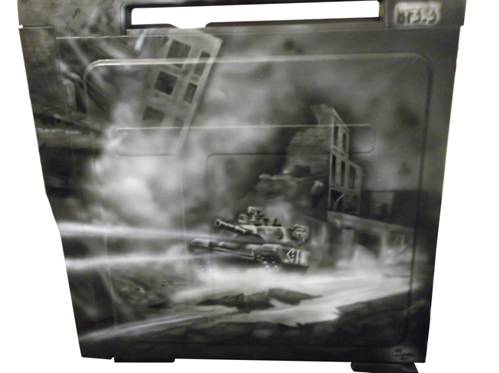
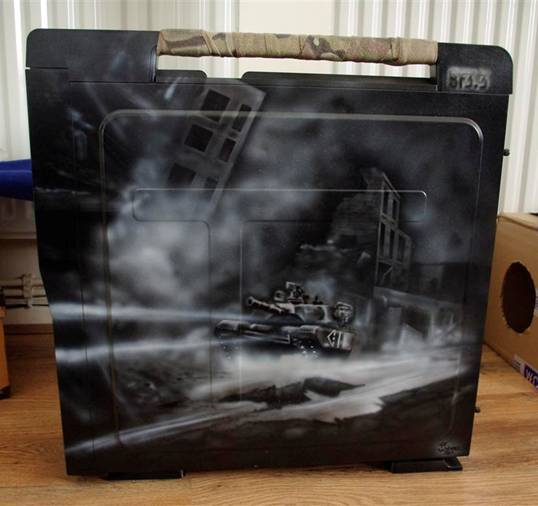
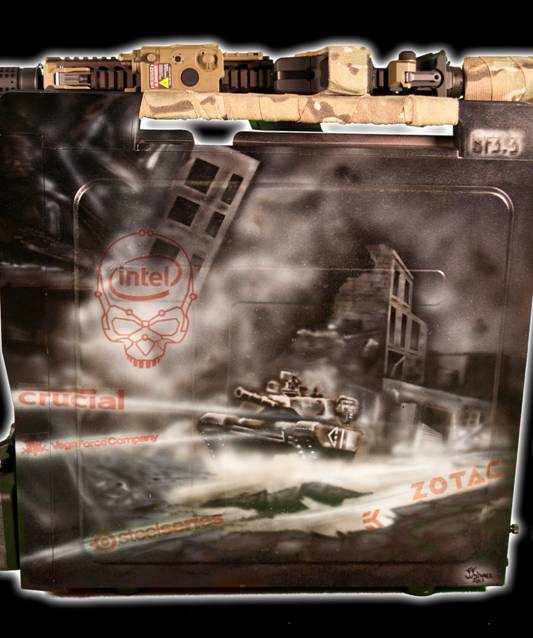
Oh well even the best laid plans go out the window when modding, this time bad weather and couriers are the delay. Anyway to keep your appetites wet I thought I would share a couple of photos with you before the case got lacquered.
The main side of the case, cannot wait to mount the etching in there, even though it will be one of the last things I do.
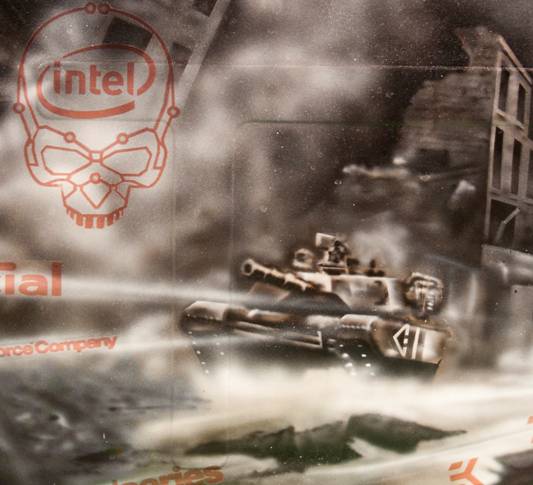
And for those of you that want a little close up of the tank
Will post some more stuff soon as the light at the end of the tunnel is in sight
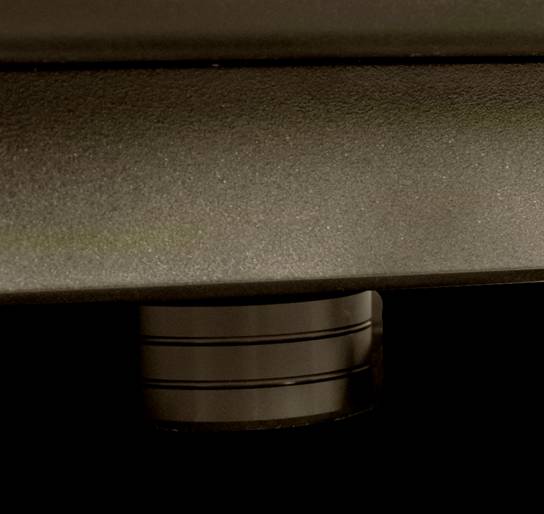
Another day another update, got really lucky again this time with Bill Owen of MNPCTech fame offering up a set of his feet for the case.
Click Image To Case Mod Store
Click this Link to Machined Computer Case Feet Sets
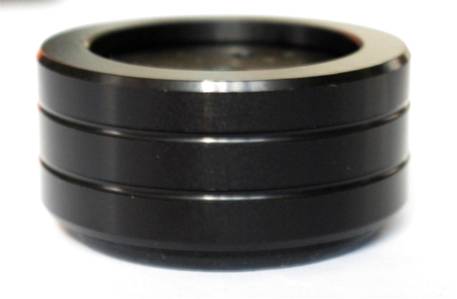
you can clearly see why I wanted to use a set of these :)
Well guys Back for another update,
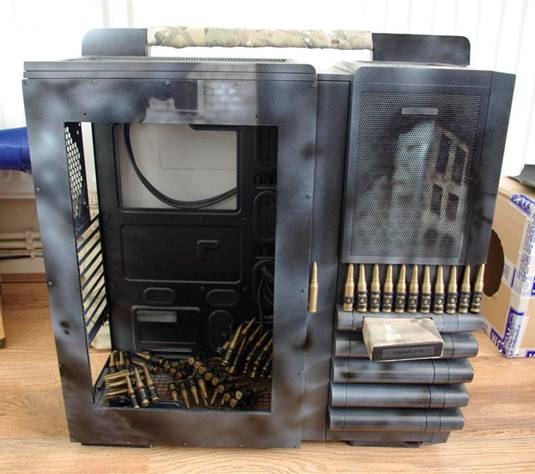
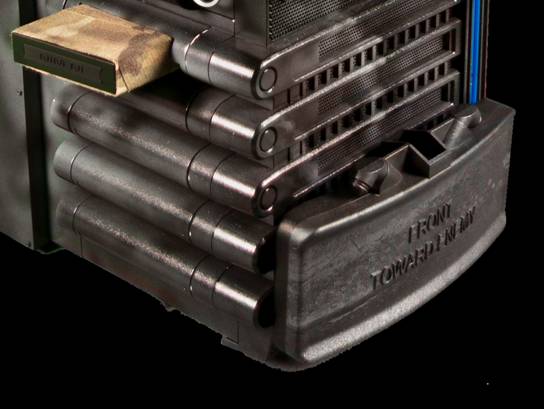
Not sure on bullets over hard drive compartments and will be removing these I think.
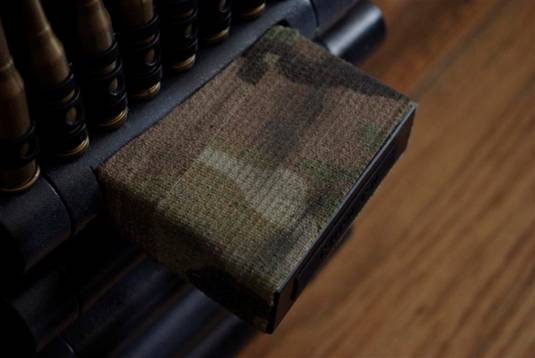
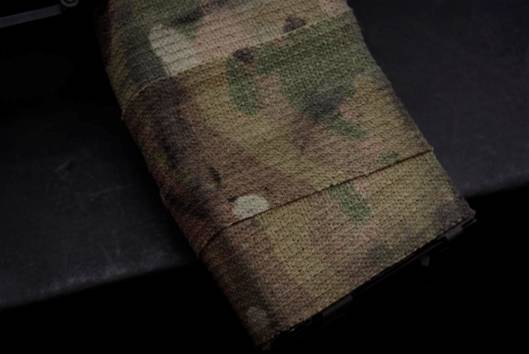
The back artwork is better than I expected, you may have also noted the Camo Form on handle and on security magazine, these looked way to clean when I first applied it so some aging was in order, I also aged the Camo Form on the weapon too.
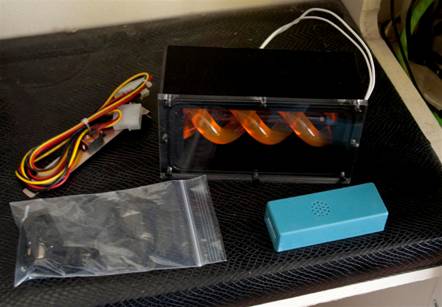
I like how it’s come out if I am honest, and getting happy with the way it is starting to look, while I am here I thought I would I would show you that something that arrived from the guys at FrozenQ.
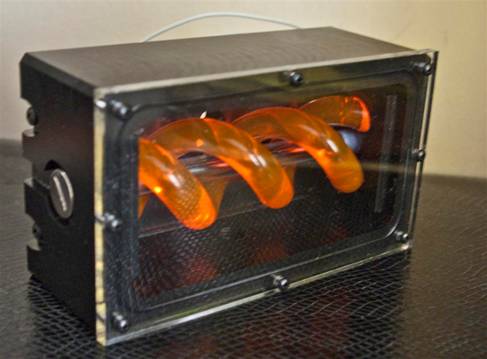
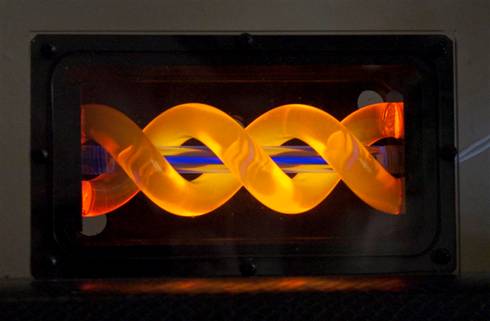
Yes it is there Dual Bay Helix res, with orange helix
The res feels well constructed and is hopefully going to match the scheme properly with the orange glowing claymore on the front. I know the shot most of you are interested in is this one though.
Very nice indeed and I think it will fit in with the mod just great, Ill post an update again this weekend, got a few 100 tiny things to do on the to do list
Lucky bastard to get FrozenQ to send you a res. I'm super jealous.
I know been very lucky with this mod and sponsorship, even managed to get dremel on board after 3 years of trying :)Quote:
Originally Posted by Fuganater
This is looking great!!!
Thanks, cant wait to get it finished and get some proper pics done, not long now i hope :)Quote:
Originally Posted by jdbnsn
Back again with a minor little update, decided against the bullets and thought I would mount the Dice nade that I harvested from the Calibur Battlefield 3 vault.
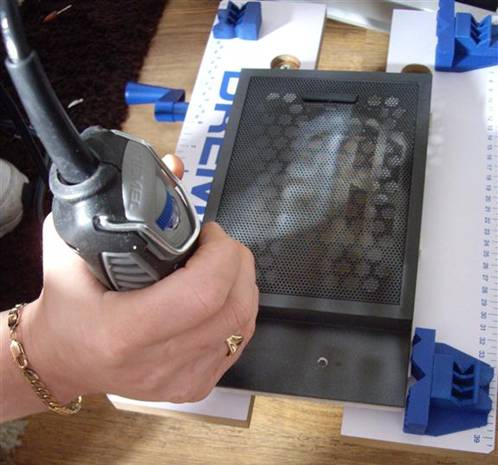
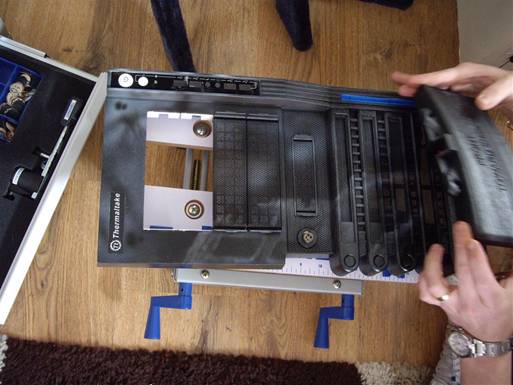
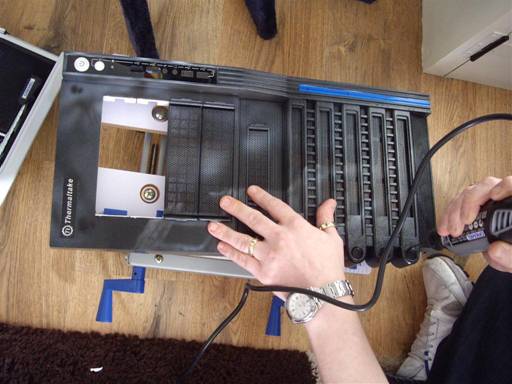
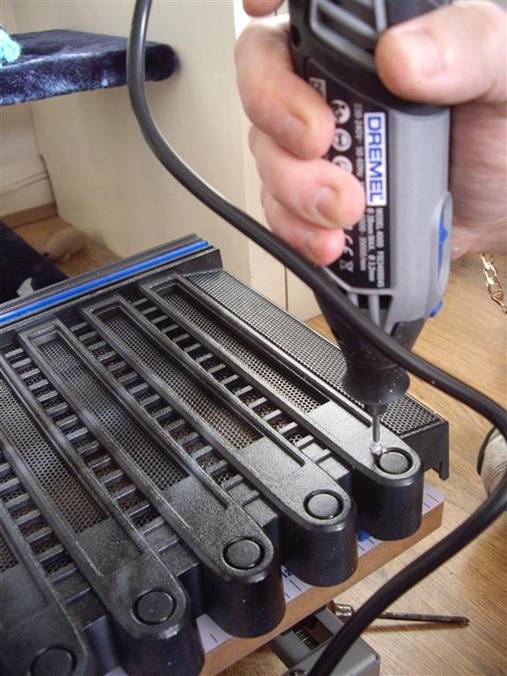
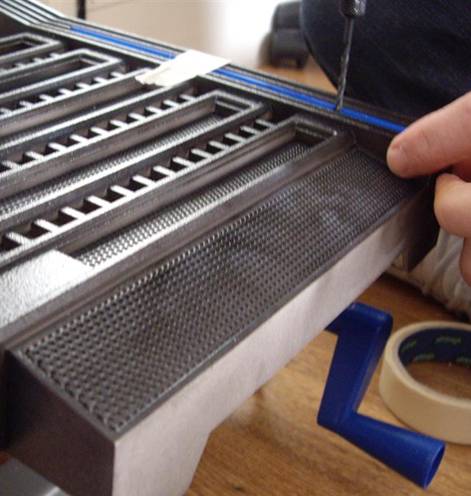
Used a dremel drill piece with some masking tape, to make initial guide holes in the right place, then removed the tape and put a grinding piece on (pointy thin type). You may have noticed I removed the tape, the reason for this is when grinding plastic, the plastic can get hot and if you leave tape it will get caught in the tape. Removing it allows me to quickly remove any that may come up through the top onto the paint.
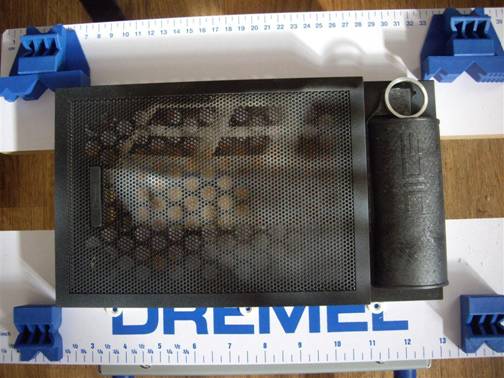
Mounted nice and tight to the panel, now time to move onto the claymore and mounting that, this means it’s time to do the same thing with that, but it’s not going to be as quick as this.
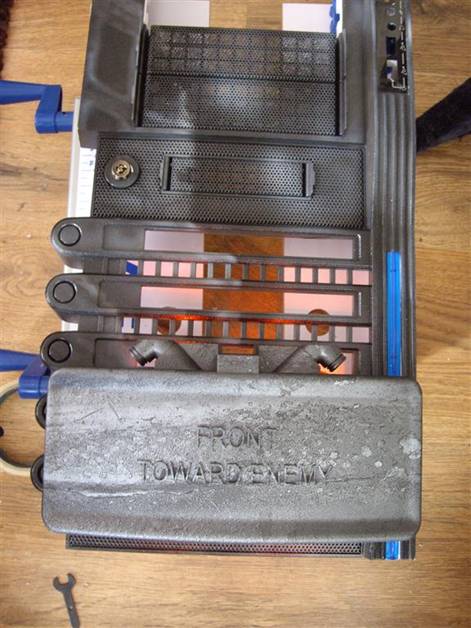
The first thing I done here was get the placement right, I wanted a small gap at the bottom, those of you that have actually dealt with the level 10 case will know how awkward this is going to be to mount, the front of the case is very uneven and just select were to put the mount holes is a bit awkward.
So after a lot of trial and error, I worked out my placement for the mounts to get it into the right place, the issue with the spot though is one is right next to the HDD tray release button, not ideal but with the right tools possible. As it was so close to the button a smaller pilot hole was made this time with the tape, then I had to remove the tape and use a bigger drill piece, just to ensure I was careful enough not to damage the button.
Then as with the previous mount for the nade I had to grind the hole to the right size without the tape.
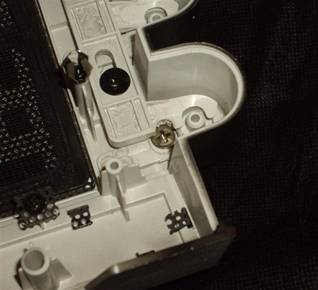
As you can see I had to grind down 2 pieces of plastic so the button still had full function, at least the opposite side was not as troublesome.
Same as the previous side, small pilot hole was made with a smaller drill bit, then the tape removed and a larger piece used, this was then grinded open as with the previous holes.
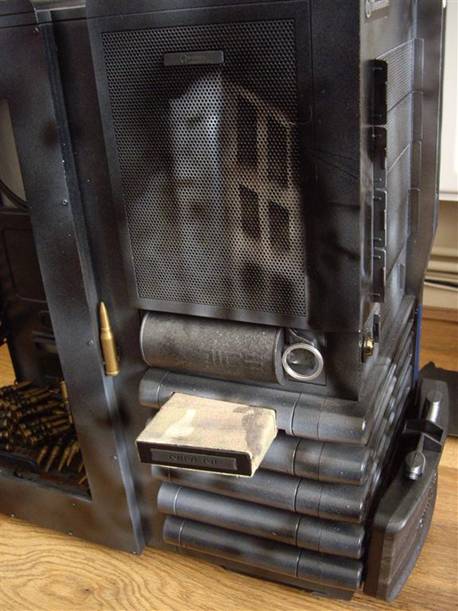
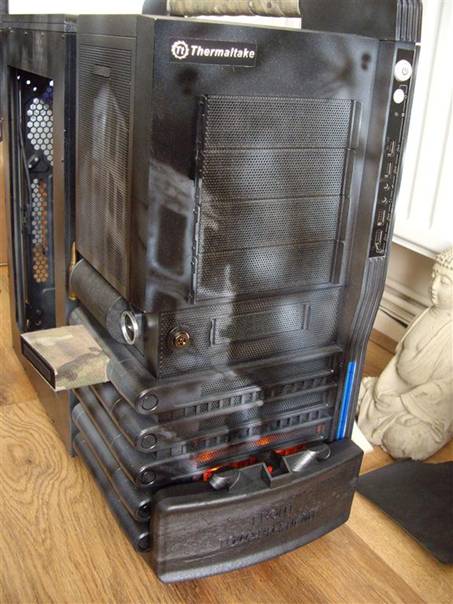
Now the clay more was mounted and I was happy with how it came out, time to see how it all looks on the case.
Overall I am happy with the way this is starting to shape up and look like what I had planned in my head, once I decided to go with the BF3 artwork, see you at the next instalment.
That grenade looks sweet!
I likey!
Gettin there slowlyQuote:
Originally Posted by Fuganater
Back again with another update, first off I’ll show you the products that arrived from some of the sponsors.
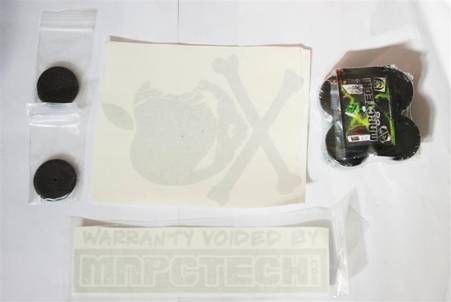
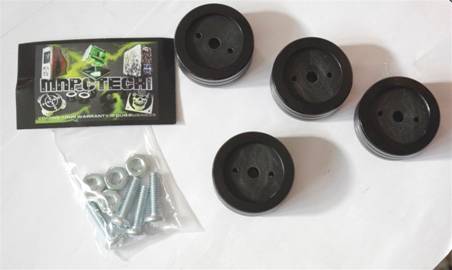
First up Bill stepped up and offered a set of MNPCtech Grooved feet,( nice to get sponsored by someone whos builds you have followed for a long time) his BF3 mod and another are the reason this mod was called BF3.3 as it is the 3rd BF3 mod to be done at time of planning.
Nice little package from them cheers bill.
I have used MNPCtech’s feet on a build before and they were the obvious choice for this build.
I think we can clearly see why MNPCtech’s products are loved by us modders, (yoda Bill defo knows what his doing over there at MNPCtech).
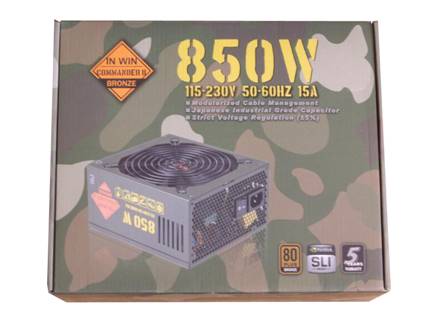
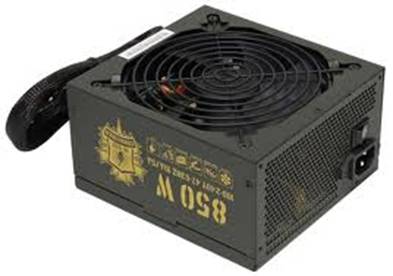
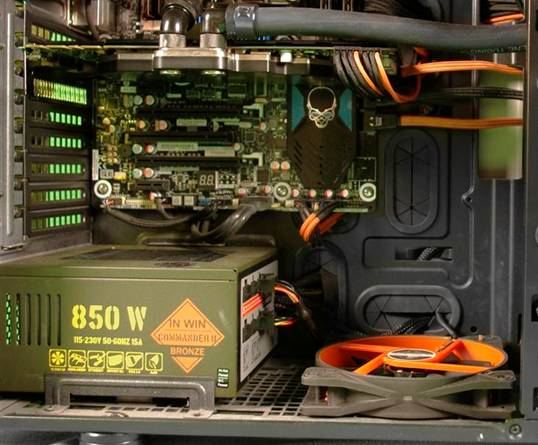
The next item to arrive from a sponsor was the military themed InWin Commander 850w PSU.
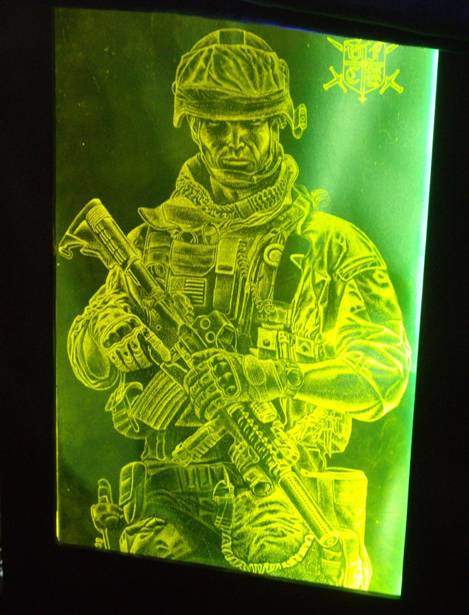
Credit were credits due to the sponsors for supplying these products, Back to modding and it was time to finalise the etch, this meant adding the only logo that would be visible on the window as it has a miltary style to it.
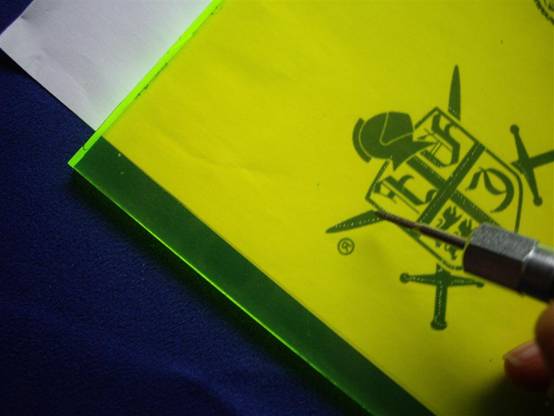
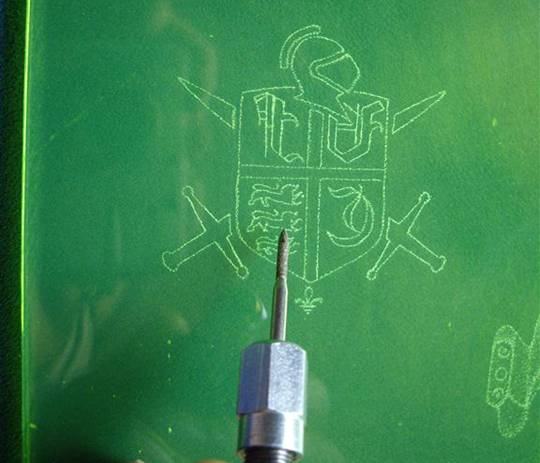
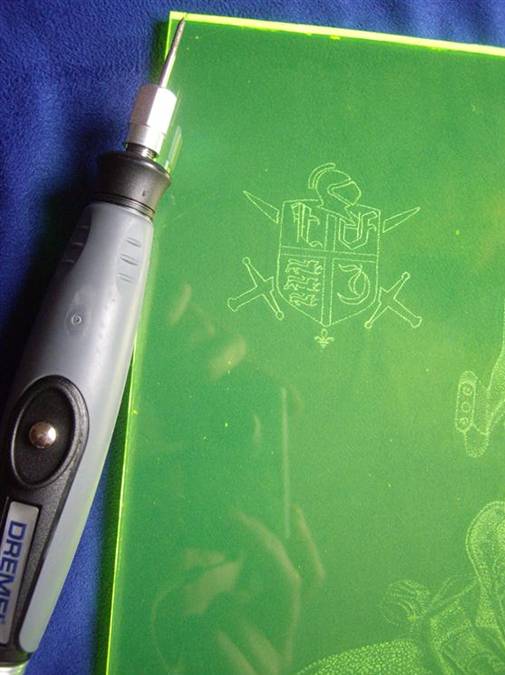
Logo Printed out and flipped, the first thing done is too do a gentle dotted line around the edges.
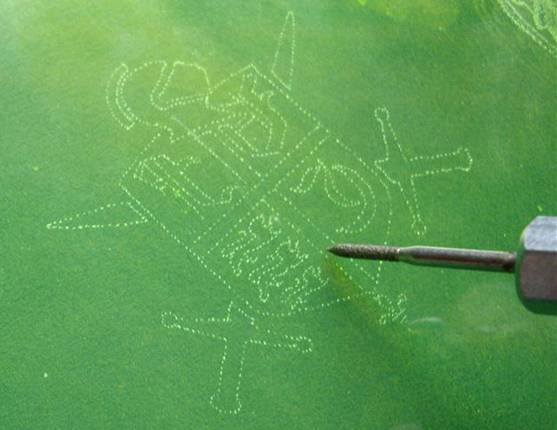
As you can see once you have done that, rather than lines you can see from this picture the logo is gentally put in with dots. (this also allows for small errors to be corrected).
Closer image of the outline in dots, as you can see its very light indeed
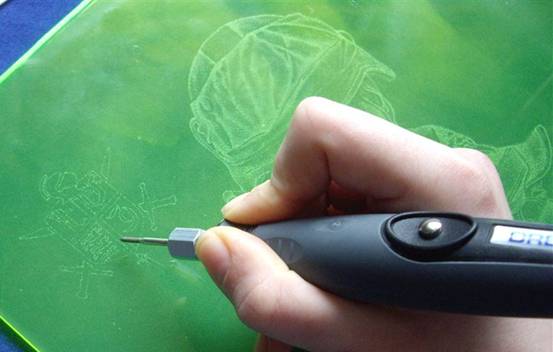
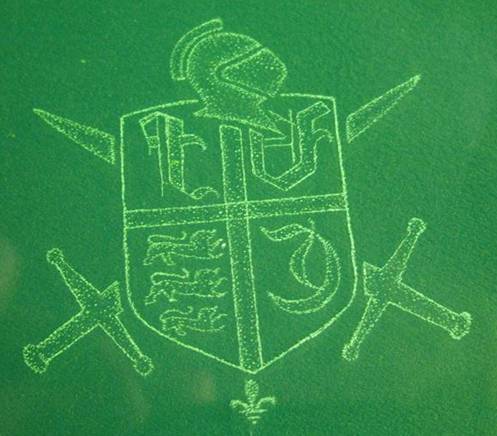
Then by adding more dots you can thicken up the lines its quite time consuming but it’s the best way to etch imho as you get a better overall finish.
Now the outline was more bold you can go in and give the shading effect to the etch.
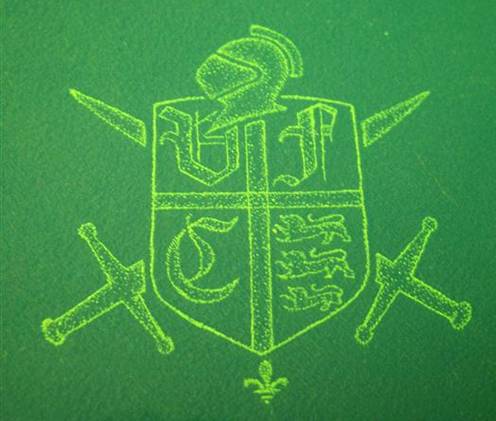
And that’s it, the overal logo is done, flip it over the right way and then you have this.
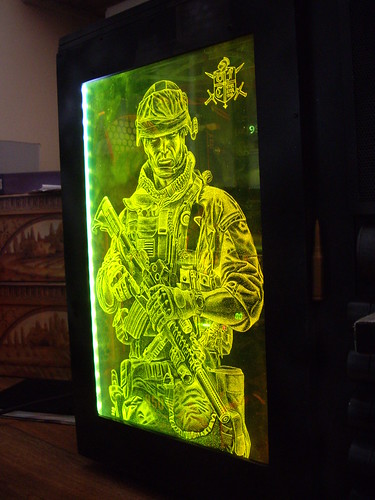
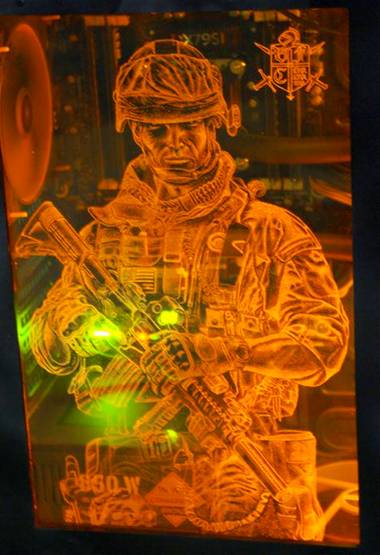
Ok I suppose you just want to see what it all looks like with the BF3 etch don’t you, well here is the final result.
I can not wait to get this in the case and lit up, anyway that’s all for today, more work to do.
Opps what a meany I am :eyebrow: should at least let you see a larger picture of the etch, link to larger image here
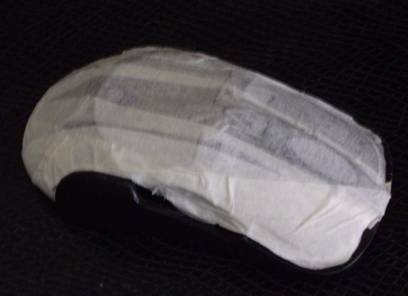
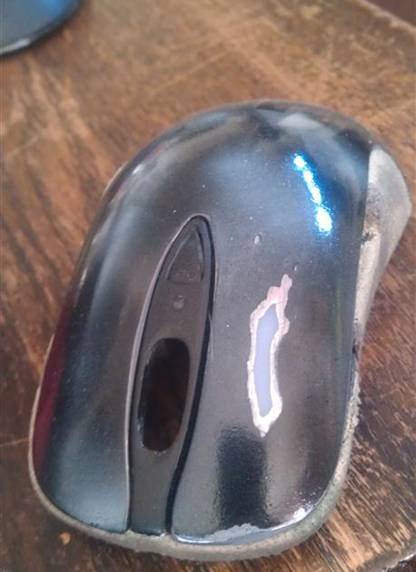
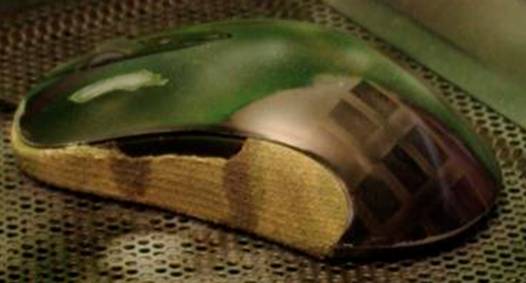
Back again with another small update on the mouse, I have to say I love it, but I am sure it will not be to everyone’s taste but matched the used and worn look I am going for. With the mouse stripped to just the base I had to mask up certain areas.
The reason for such an extensive mask on this was because of the fact I was going to use some really messy airosol furniture glue. This stuff sprays out like a party streamer spray and is used for sticking material to furniture.
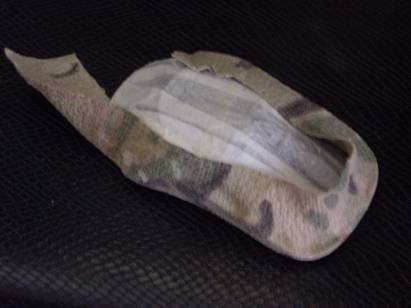
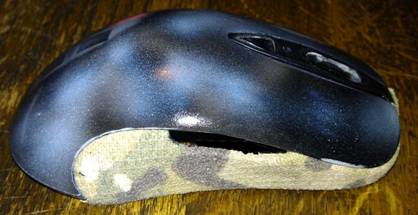
After a good coating the wrap was added to the base, held in place for 10 seconds and left to dry for an hour, after which I took the craft knife to it, the trick here was not to make it perfect to match the mouse top and look used.
Just a little excess to trim here and there but overall I am happy with the result, one thing that I did discover doing this is how much better a mouse feels to have a material edge, does not sound like much, but it feels a lot better than plastic or rubber.
Still waiting on more lacquer to turn up to give the top of the mouse another few layers so I can rub it down smooth, thanks to the Steelseries sensei mouse’s silver surface making a worn scrape on the left click was easy, I also added a few nicks just down to silver next to it for the keen eyed. Before you ask why the wear down to the semi transparent white plastic ill explain.
I want to basically cut a thin slice in main base next to were the wheel is ( I will post pics once I am on that stage) so the orange light from wheel will spread under the left click and glow through that area.
Now for a small Homer Simpson moment twist, the shot above was took using my mobile, just after I clicked the snap button, an email msg popped up on lappy, as I had been waiting for an important email as this was sitting next to my lappy mouse (top left of pic) I just without thinking grabbed the above mouse and for 10 seconds was thinking what the F*** is up with my mouse… What a Dingbat rofl… Stay tuned for another update this weekend.
Awesome work so far. keep it up!
lol to the hollow mouse.
I know he heQuote:
Originally Posted by Outlaw
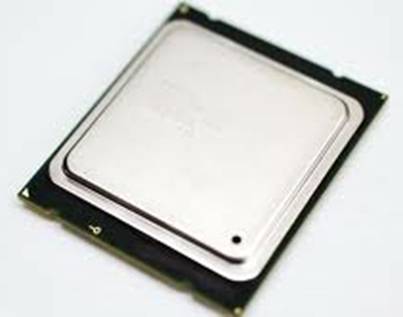
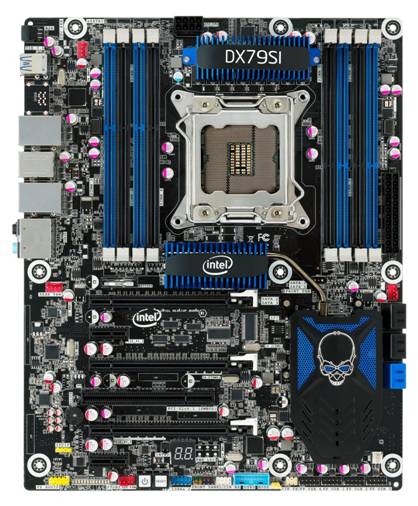
First off I would like to thank Intel for stepping in with these parts for the build
Intel 3960X CPU
Intel DX79SI motherboard, and before I anyone says it, I do count myself really really Lucky to have secured their sponsorship.
Anyway back on course with a small update this time, first up I ran a quick test to see how the Etch would look in the custom side panel
I love the way it has come out and looks in test run, on the left is white LED strips, the glow on the right is from a UV tube in another case and shows the reason why I decided to ditch the UV as you can see it makes the actuall acrylic glow and etch, were the left side with white LED’s the light focuses more on the etch itself.
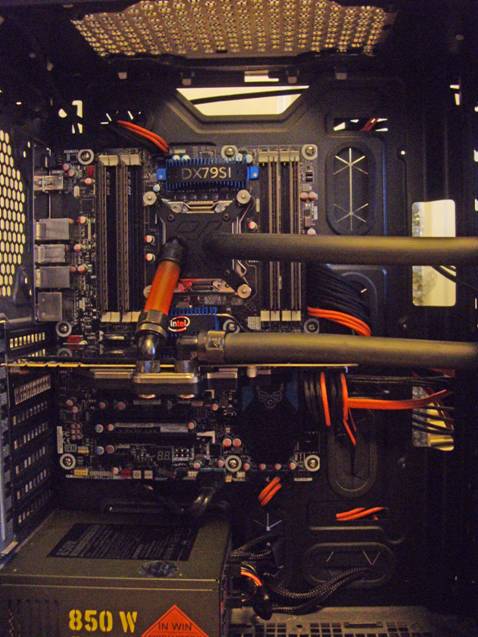
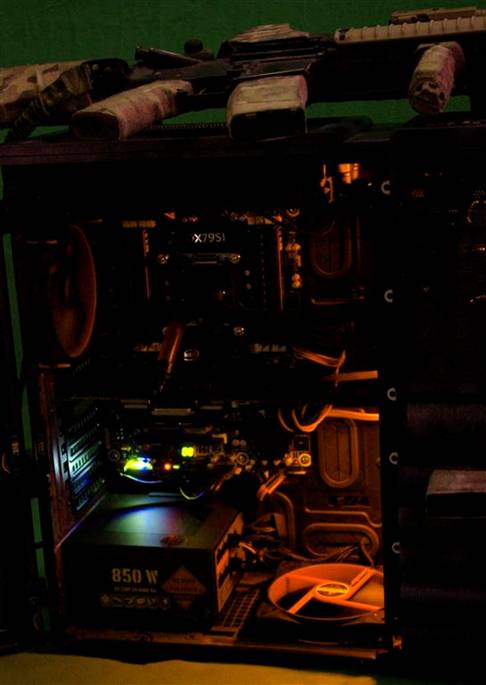
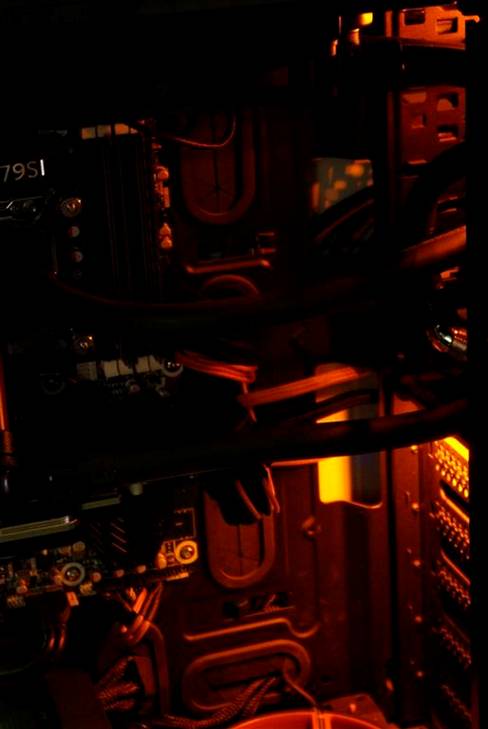
Also spent the day mocking up placement of tubes wires ect before the fans arrive
Please excuse the colour, had to shadow highlight the picture as it was very dark and yellow, hopefully the Fans will turn up this week and I can get this puppy up and running.
Looking steller man!
Claymore is awesome to, You ought to rig a wide angle laser in there so it'll look like the trip beam. (even though real ones use strings, not lasers...most everyone thinks lasers because o' video games)
lol, lets just hope i dont get a lot of people walking into the claymore as they do in game (well i do pesky things)..Quote:
Originally Posted by Twigsoffury
i got messed up the other night, its like the guy was following me in one map claymore done me 9 times grrrr
Been a while since I updated, as I thought I would hang for the radiator to do another update, sadly still not here, but it is due to hit me this week, anyway here is what I have been upto meanwhile.
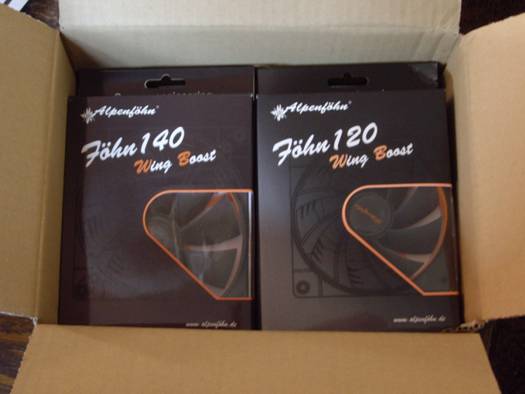
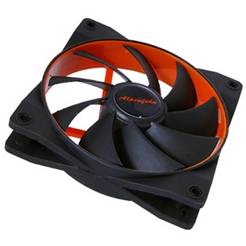
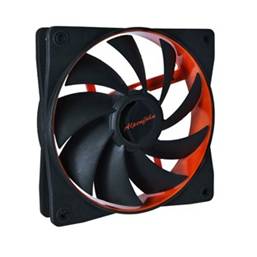
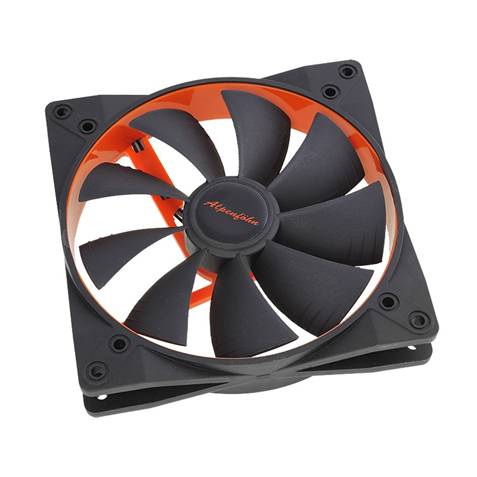
After being let down with my fans for this mod I quickly reached out and overclockersuk stepped in and supplied me the fans I needed, Originally I had wanted orange bladed fans but when my contact suggested I use the Alpenfohn fans that have a hint of orange I thought no way until I saw the link. As the build is black and orange (with only hints of orange inside).
So Thank you to OCUK
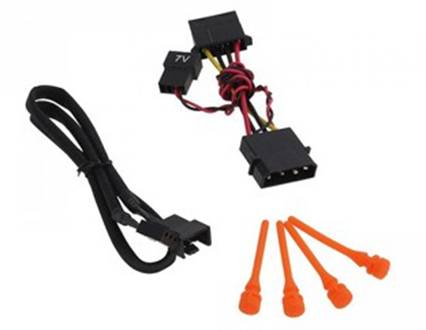
I was pleasently surprised with the build quality of these fans, especially with the rubber like coating on the frame and blades. And up close they look very well made. The fans themselves come with PWM connectors as standard, but come with this inside the box.
What yo basically have is a 4 pin to 3 pin adptor, a molex adaptor and 4 silent fan grommets in the same colour as the orange hint on the fans, A nice touch if you ask me.
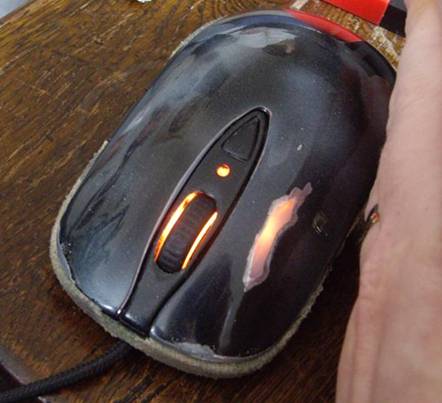
Mod wise I put the mouse back together, but not before I re hacked away and the mouse base to get the orange to bounce out of the worn trigger finger button.
Ok so first attempt at filling down the base to bounce the light down almost worked, so it was back to the drawing board with this.
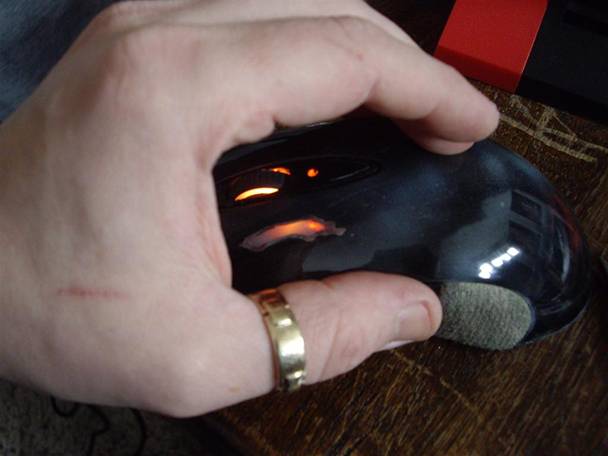
( yes my hands are really that big and yes they are covered by modders tattoos (tattoos in this case means loads of little scratches and nicks lol)
Second attempt worked out a lot better with the glow finally reaching the bottom and having the bright spot in the middle instead of all the way to the back of it, this was done using a bit of foil stuck to the back of electrical tape inside the main body (only stuck to the back of tape so it was no longer conductive).
So here is how it looks in the dark
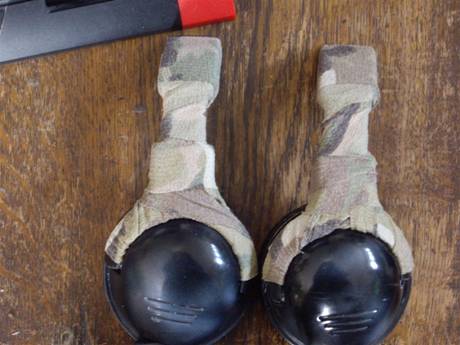
Next up was the headset, after wearing it down a bit I took the camo wrap to them
Funny thing happened just before I went to post this the radiator turned up!! So I went to town installing it and took some more pictures for you guys. So here are some pics, these were rushed so I could post this before trotting off to work.
That’s all for now folks, I am hoping to have some final shots done by next week fully assembled and up and running.
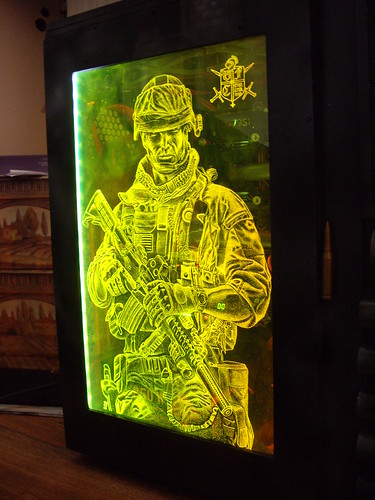
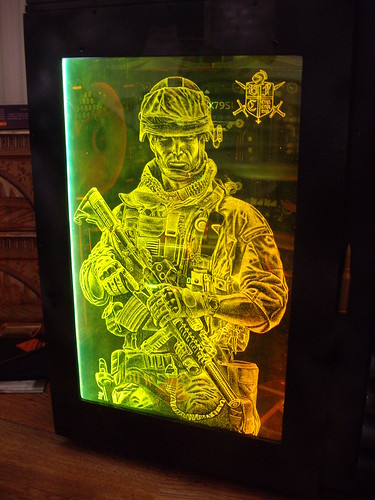
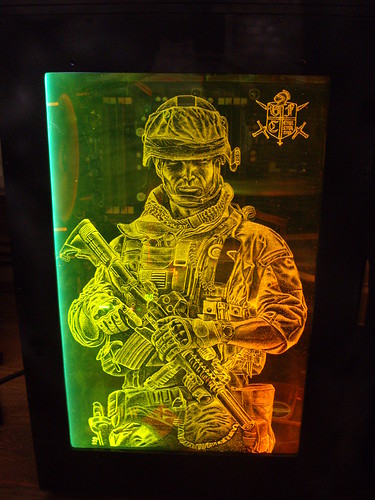
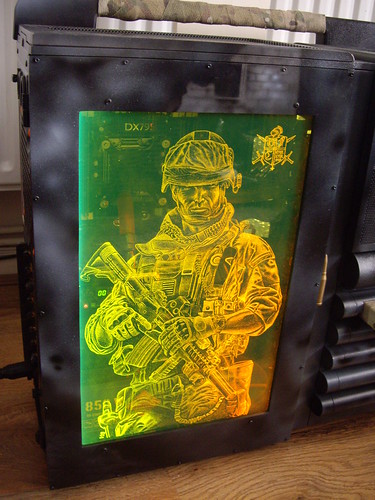
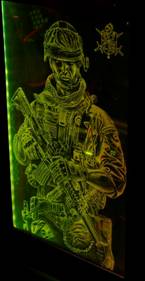
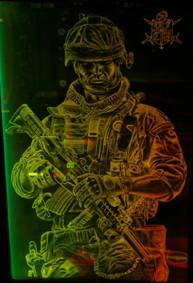
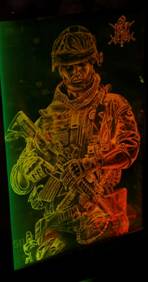
Messing around with different colour lighting one the window, made something wierd happen when you walk past the panel (sorry could not help myself and had to show this.
As you can see the colour changes as you move from side to side, but the amazing side effect makes it look like he is watching you and turning body to follow you too..
full pics here flickr
Found you again Richie and simply awesome !
cheers mate, its been a twisty road, still a few more tiny things left to do and a few more wear marks hear and there to do.Quote:
Originally Posted by mybadomen
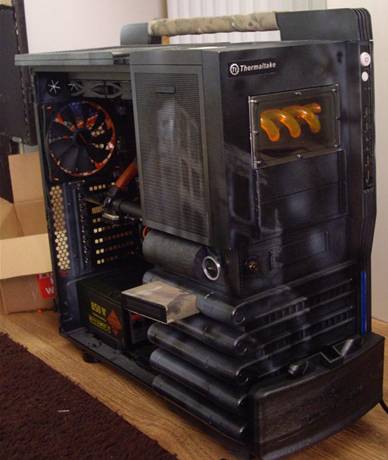
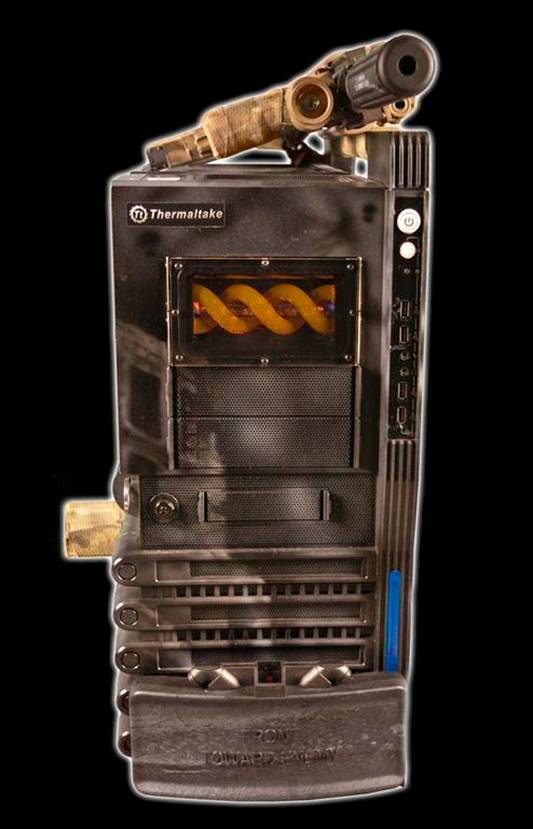
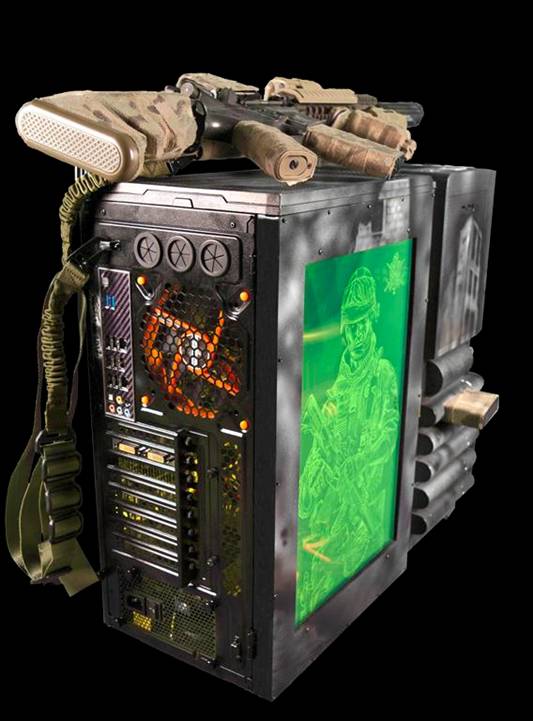
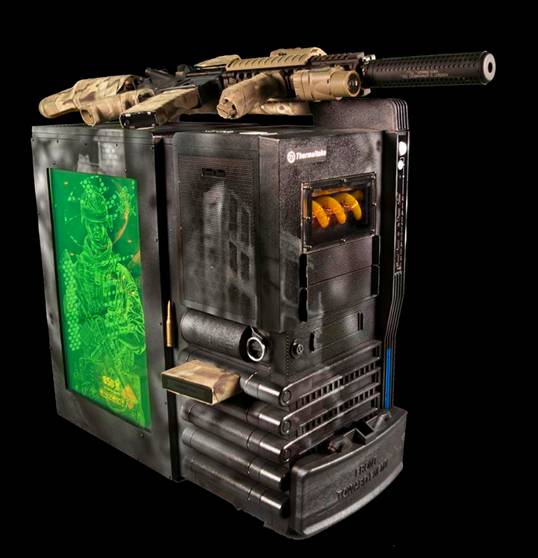
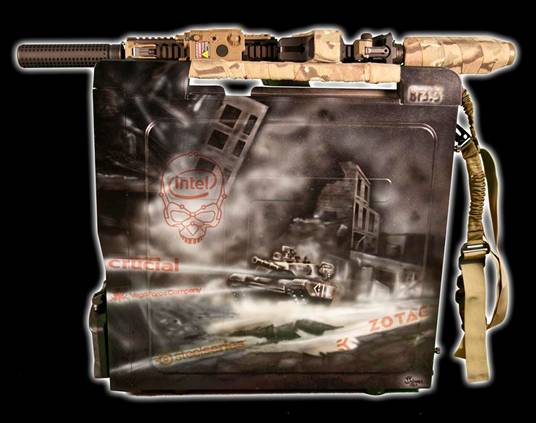
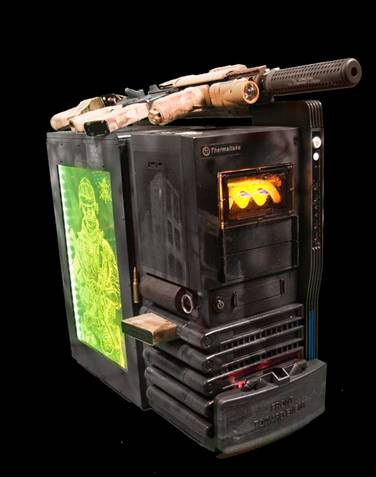
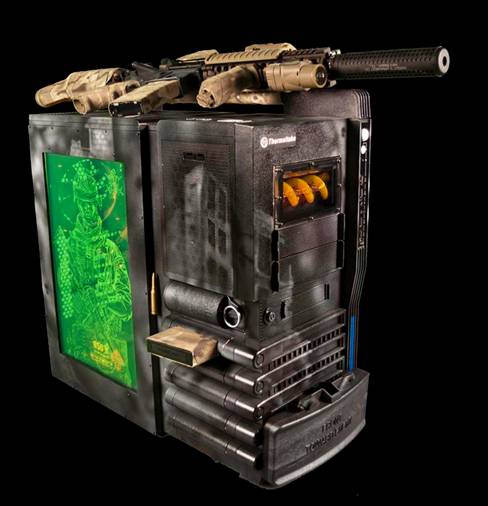
Well after a good few months and a lot of work it is time to show you what has been done, as the finish line has been reached, I know some people will have some different opinions on this mod as I had a hard time deciding where to make the right marks, scuff marks and loose cables, as well as adding scratches mark and even dirt in some places, I know it sounds strange, but I found it hard second guessing myself on this project.
Anyway guys here are the final pictures, I hope you enjoy, added some white edge on a couple of pics that edges were not clear with black background.
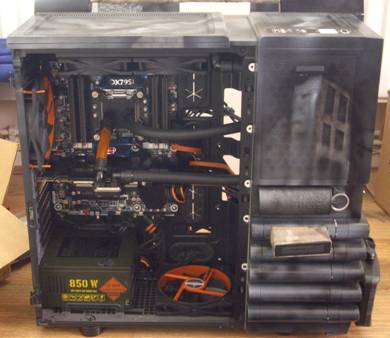
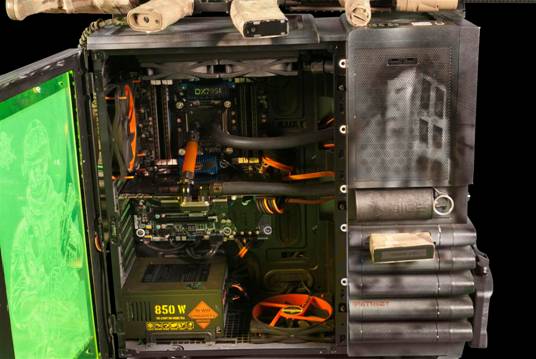
Now we have seen the outside and a few wear marks here and there, let us take a look at the worn used been In a battlefield look (excuse the lame pun :P ) inside.
The picture below and above should give you some idea of some of the work gone into this, you would not believe how long it took me to get the back panel and the bottom of the case looking like that, it’s a in use for months look that looks dusty and dirty, but you cannot actually wipe it or move it.
I think I nailed it tbh, but that’s my opinion.
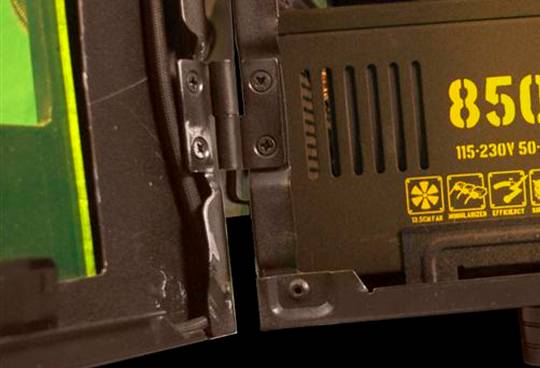
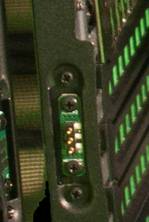
Wear and tear on inner door hinges, as well as rough looking edge cut to tie it in ( I did of course plan to file down and add u channel, but it just looked too clean), I also done some nicks and a few notches on this edge (using small thin round modelling file) and loose molex pushed down into groove of at back of window frame, the actual molex is not needed as the lighting I done for the window (orange leds one side white the other) runs from the contact switch on the chassis (black wire next to hinge)
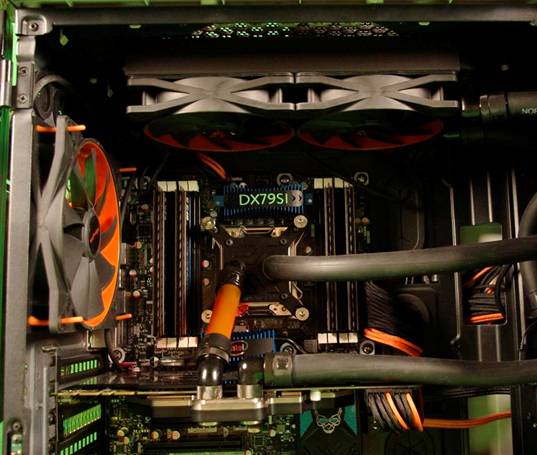
I know some will either like or love the rough and ready look, but again I had give it a Battlefield used feel as well so for me it was a must, nearly got a bit carried away with the used look though as I was going to take the sand paper to the back plate on the EK GPU block as well :O, but as I could not do the cpu block as well so I decided against this.
I am well happy with the used dirty look I got on the inner section, but yet keeping the actual components of the rig squeaky clean, I also love how the dirty industrial tubing looked as well, and I think it ties in nicely with the build.
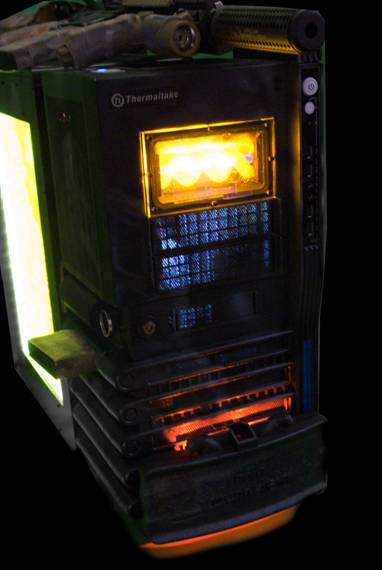
Now let’s power it up shall we
Side panel without the Left sided LED lit up, and yes that is a green piece of acrylic looking like its orange
Now a few of the side panel lit up showing how it looks when walking left to right at the window
Thanks to the contact switch when the case is opened the lights cut on the windowed panel, which leaves the inside lit up with a nice calm orange glow.
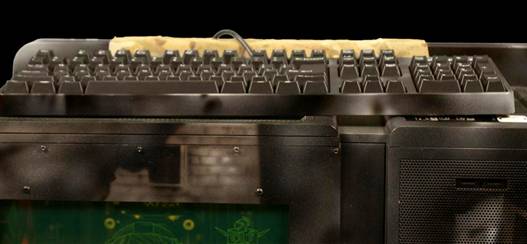
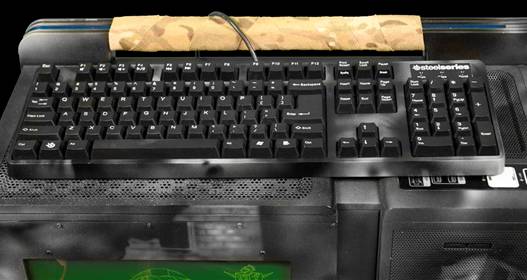
Last but not least, the Keyboard and mouse, here is how they came out.
They keyboard is just right a small hint of the theme, but making it still tie in.
Have already had a bash with the mouse and keyboard gaming and all I want to say is manufactures take note a material side feels much better than a rubber or plastic one!
I do have a little more planned for this, but that is once it gets back from its outing later this month.
I also plan to do a little video of the rig running, Until then I hope you enjoyed my take on a Battlefield 3 PC that has seen a bit of action.
nice! +rep