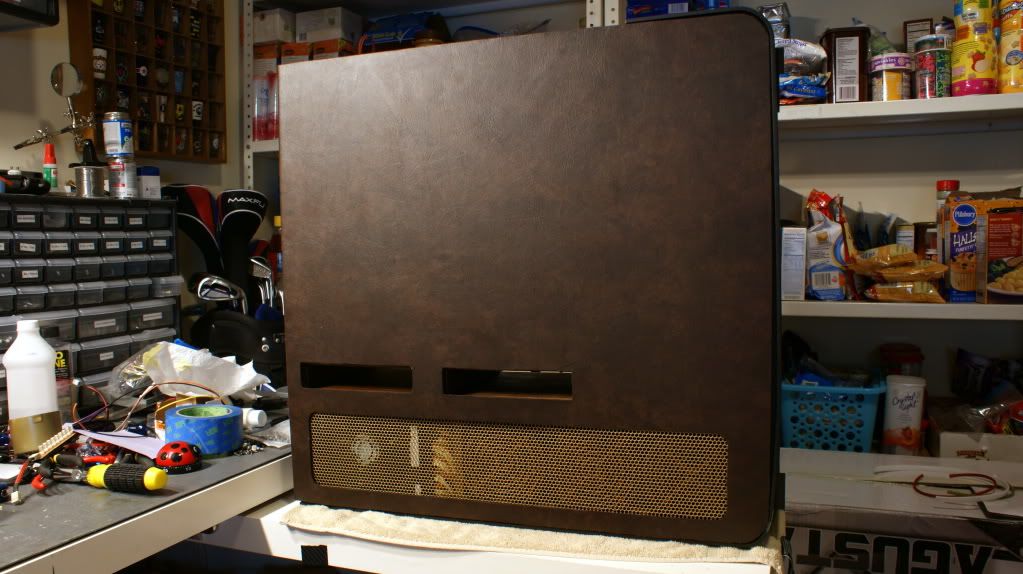
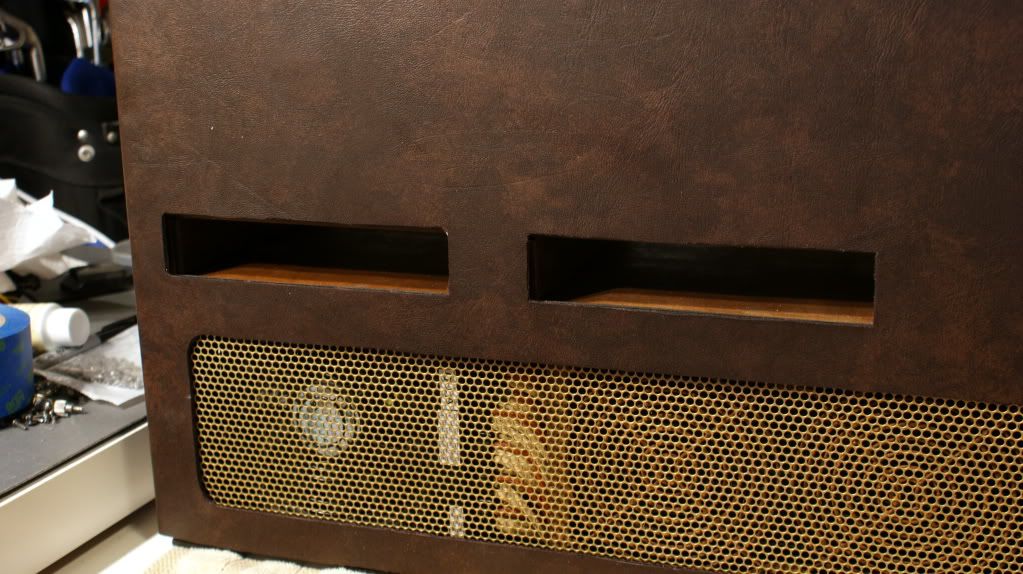
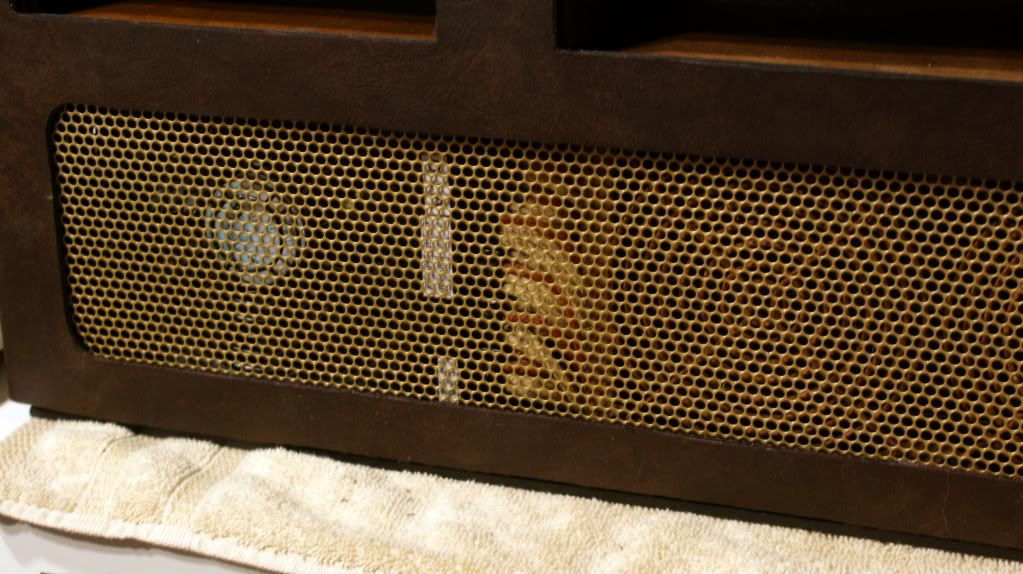
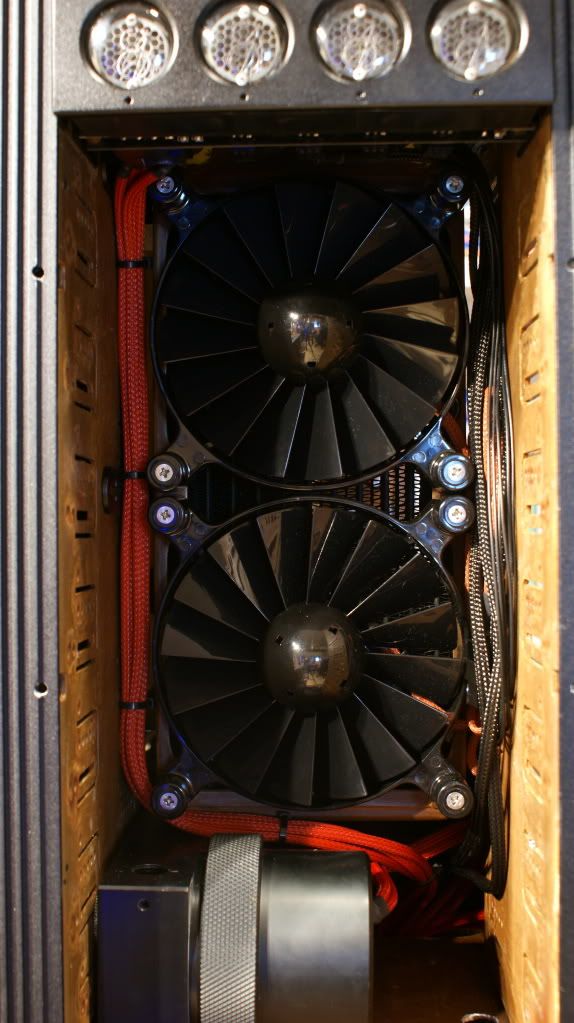
-
Re: Project: Steampunk'd TJ11
Quote:
Originally Posted by
billygoat333

Looking good bud! :up:
Thanks!
Quote:
Originally Posted by
Stonerboy779
First time I will have said this but am loving the gold in the build usually think gold is tacky haha
Thanks! I'm also really happy how it turned out.
Quote:
Originally Posted by
d_stilgar
I completely agree. I saw the cans and thought, "oh no," then looked at all the rest of the photos and wondered where the crappy looking gold was. Looked again and was amazed at how good it turned out. It really looks great.
lol thanks.
Quote:
Originally Posted by
SXRguyinMA
She's coming along nicely. Keep up the good work! :D
Thanks!
Quote:
Originally Posted by
SgtM
Dude, that's looking awesome!
Thanks!
Quote:
Originally Posted by
modscases.com
looking good cant wait
Thanks!
Quote:
Originally Posted by
msmrx57
I was also nervous about the gold, but the way you're using it works well with the leather. :up:
Thanks! more leather action in the next update so don't miss it!
-
Re: Project: Steampunk'd TJ11
Quote:
Originally Posted by
Fuganater
:eek: :eek: :eek:
-
Re: Project: Steampunk'd TJ11
Quote:
Originally Posted by
TheGreatSatan
:eek: :eek: :eek:
That a good :eek: or a bad :eek: ?
-
Re: Project: Steampunk'd TJ11
Quote:
Originally Posted by
Fuganater
That a good :eek: or a bad :eek: ?
I would say good :up:
first time i have seen someone sleeve without shrink and it is fantastic.
-
Re: Project: Steampunk'd TJ11
-
Re: Project: Steampunk'd TJ11
Happy to say that EK is sponsoring my build!!
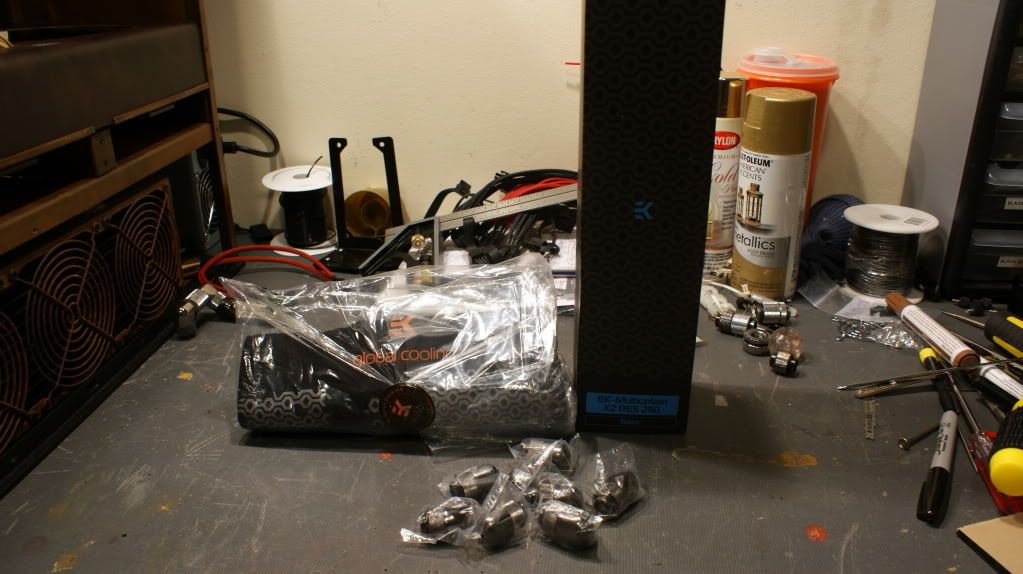
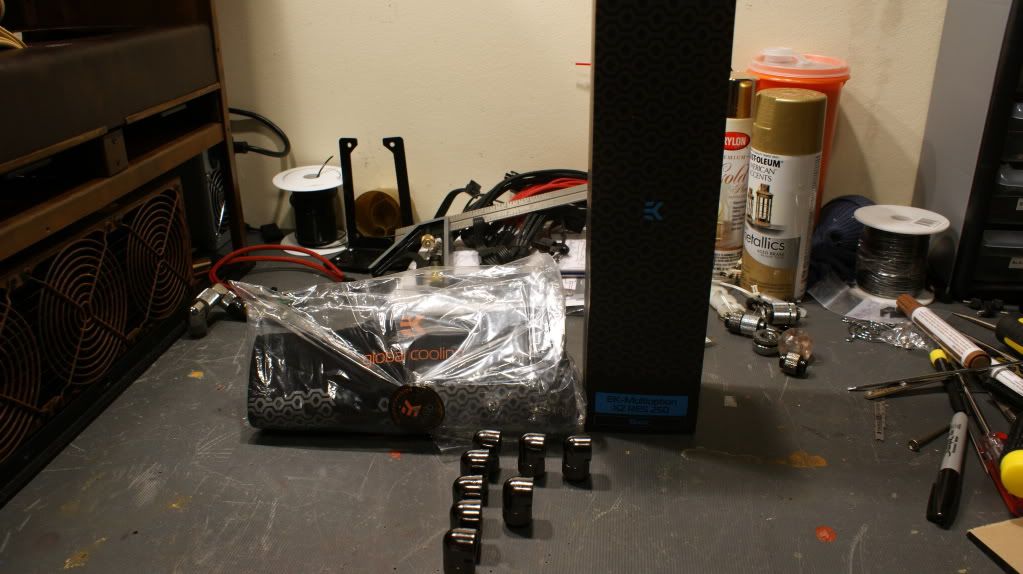
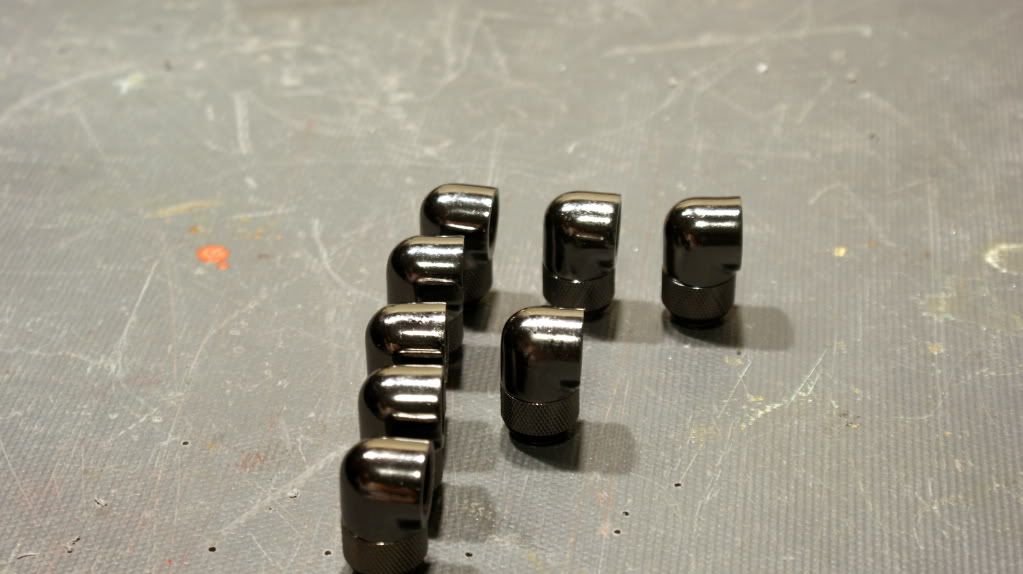
Gregor was able to send me a few things. EK-Multioption 250 Basic Res, 8x 90 Degree rotary fittings and a T-Shirt.
Now for the update. It is kinda big because I have not had time to write it up so here goes.
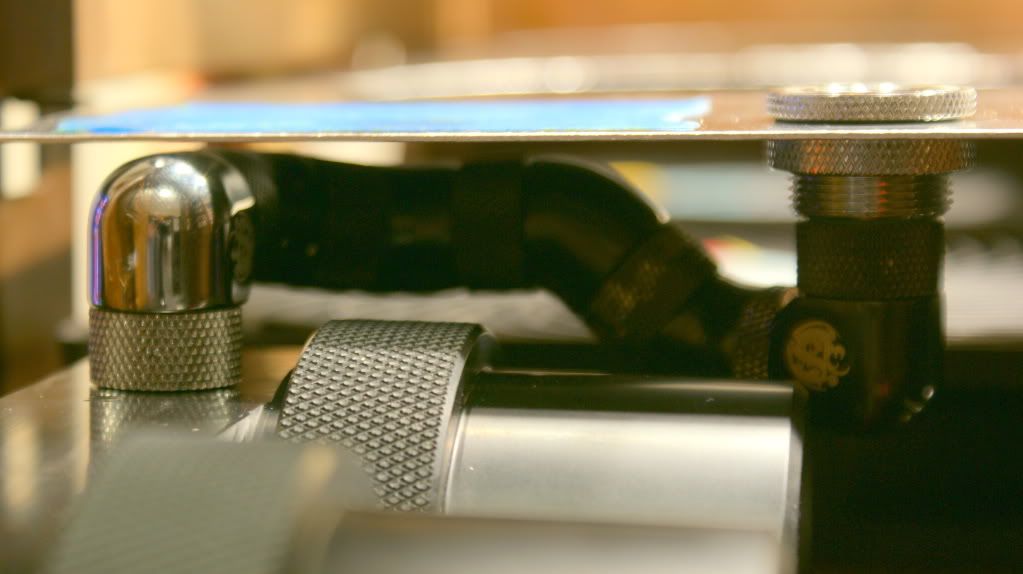
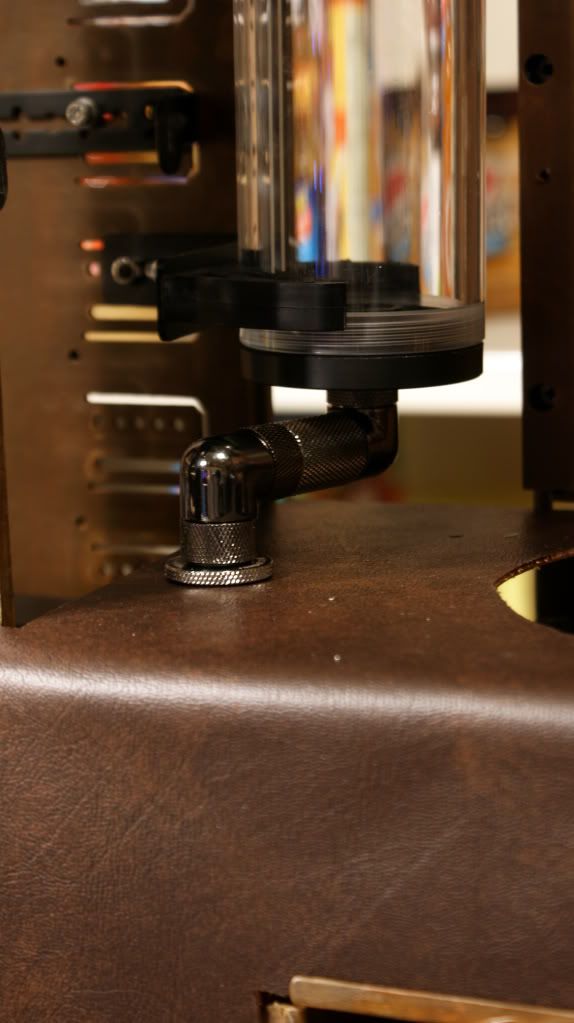
I had to figure out a way to get the water from the res into the dual pump top. A direct run would not work so here is what I had to fashion out of fittings I had laying around. Kinda ugly but it works and its out of sight.
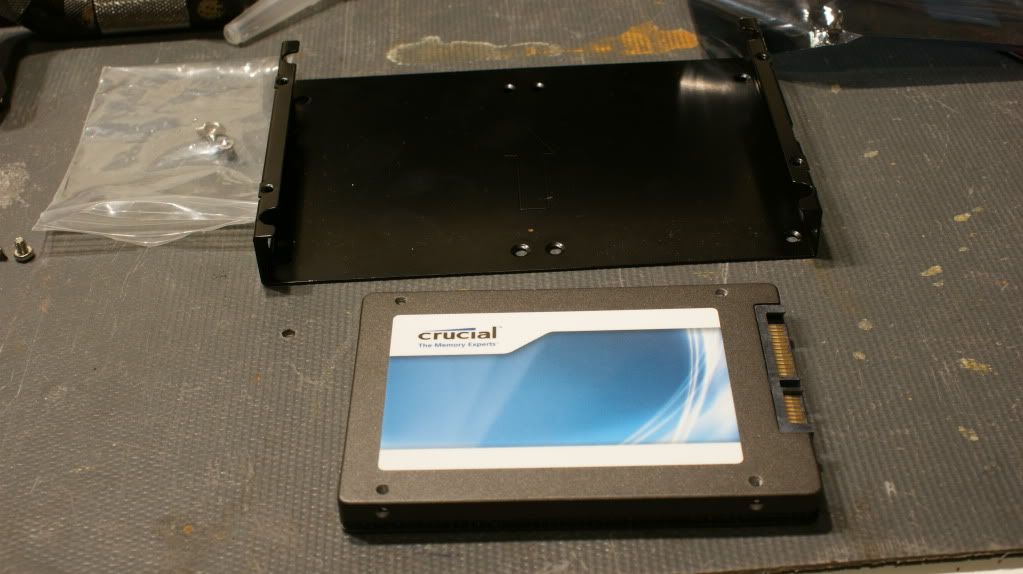
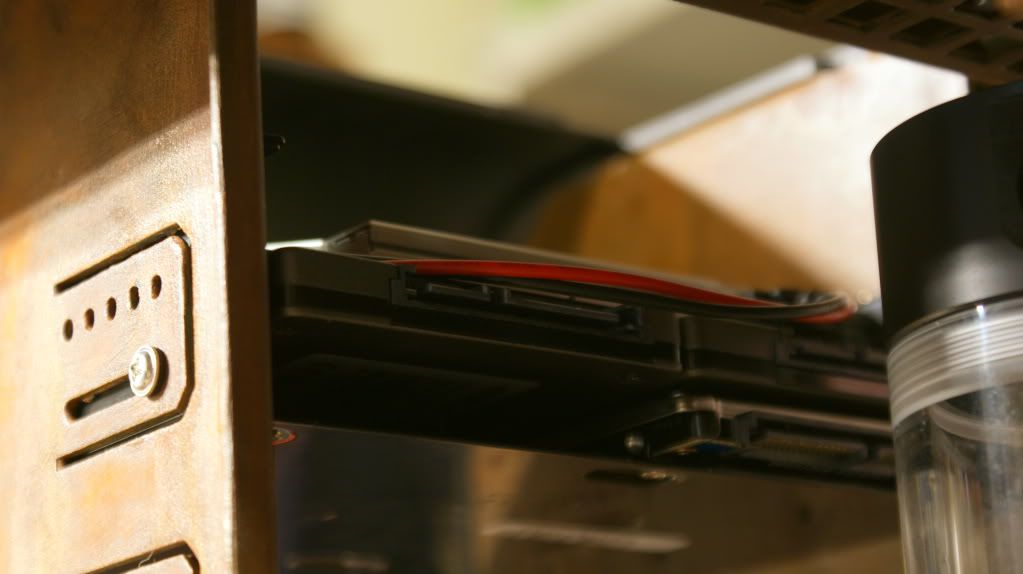
Got out my Curcial M4 128GB SSD and installed it on the Silverstone bay.
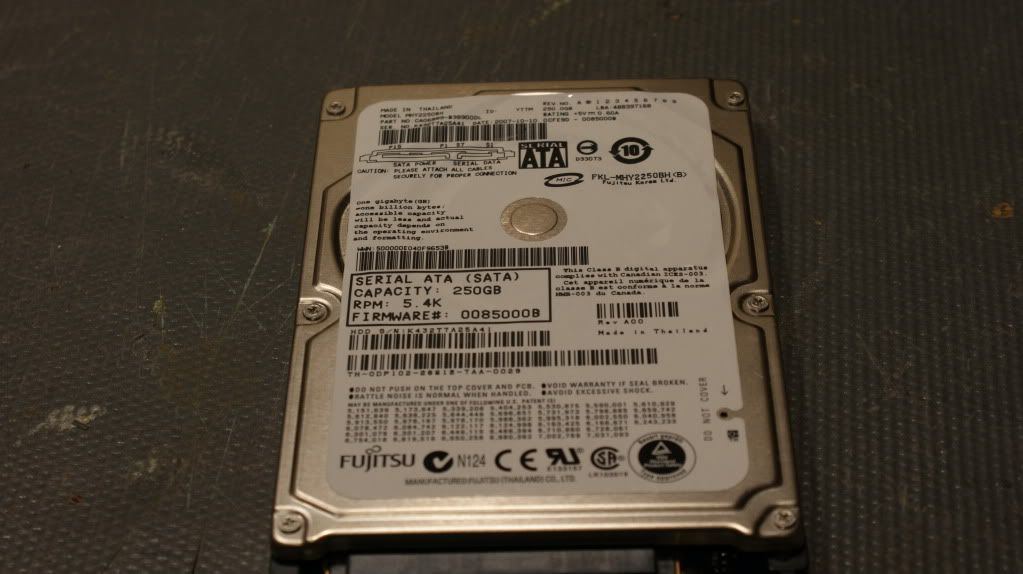
Found a 320GB HDD so I'll put that on there for now. I'm trying to get a 512GB SSD for games.
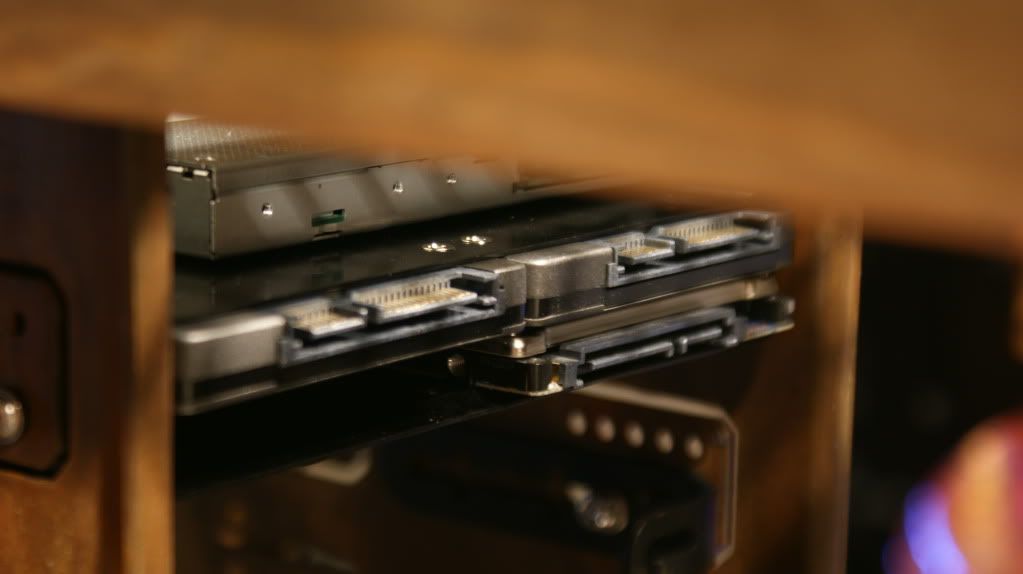
Now to figure out how to wire them all and make it look good...
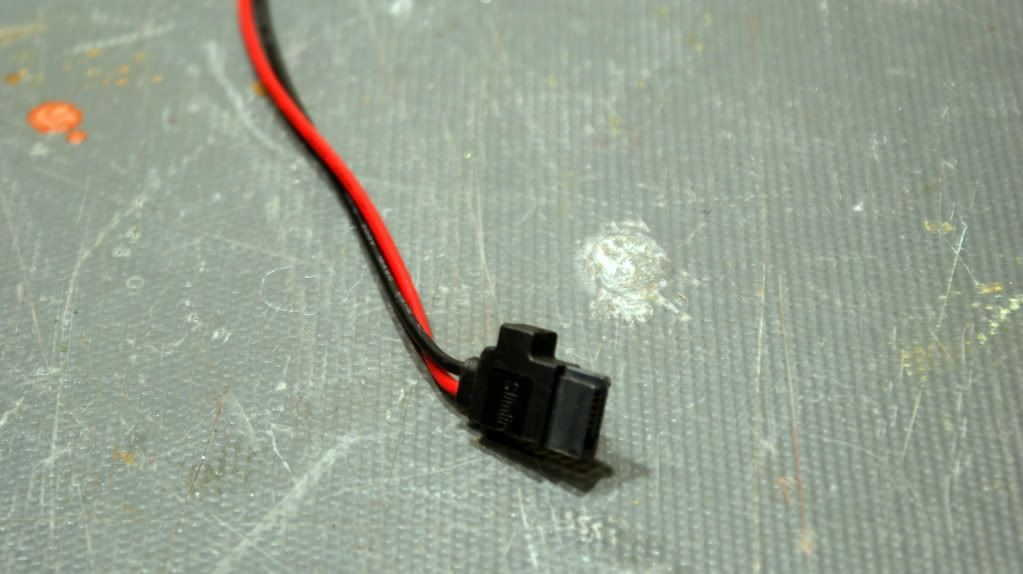
I also cut the Slim ODD cable so only the power cable is left. I have to use a longer SATA cable than what came with it.
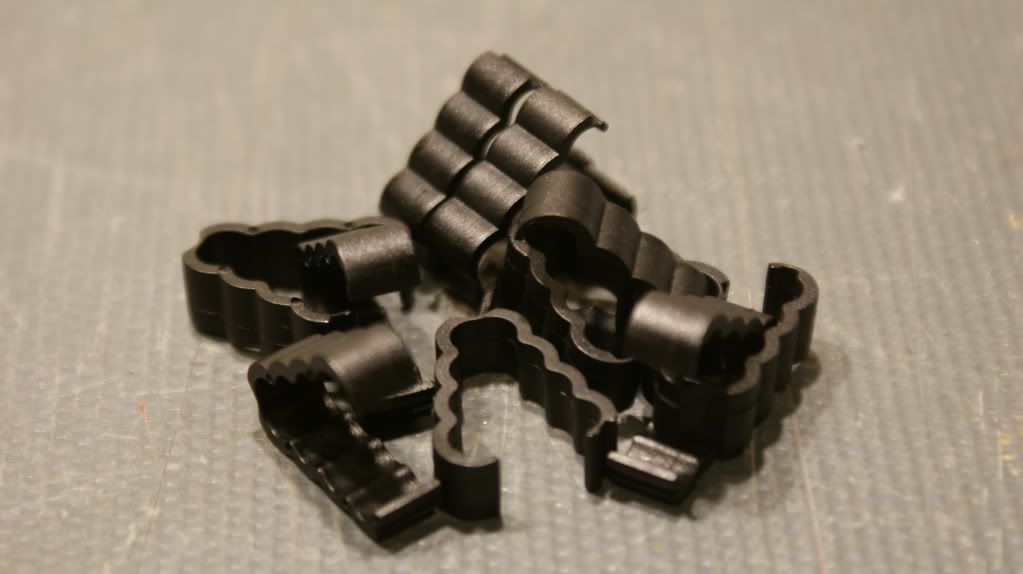
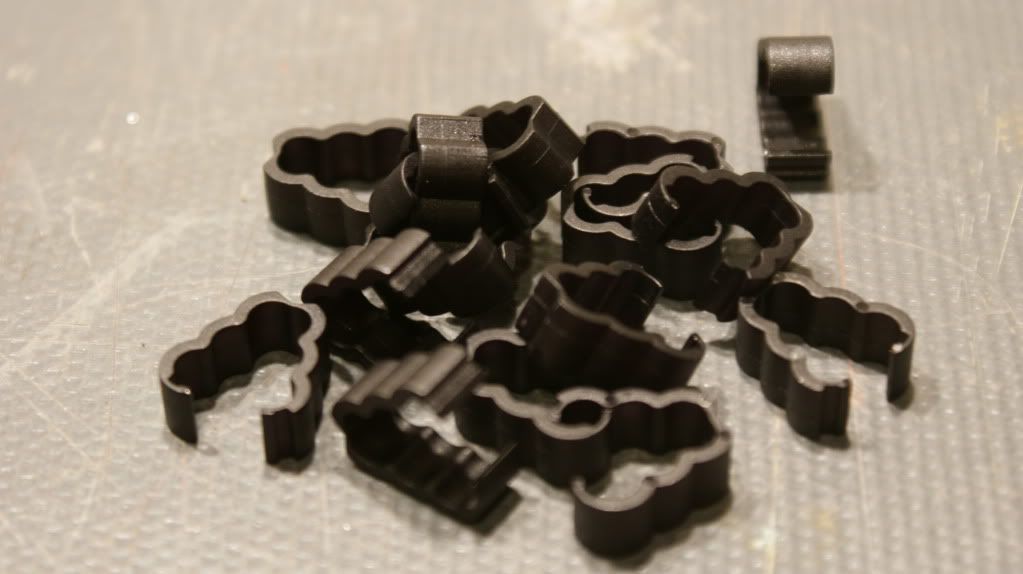
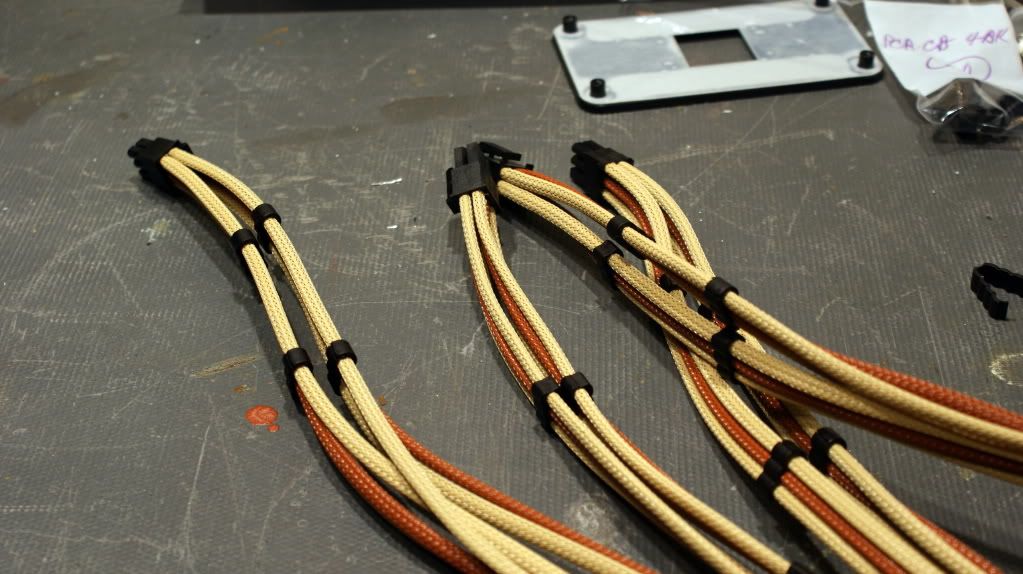
The 3-cable and 4-cable clips came in.
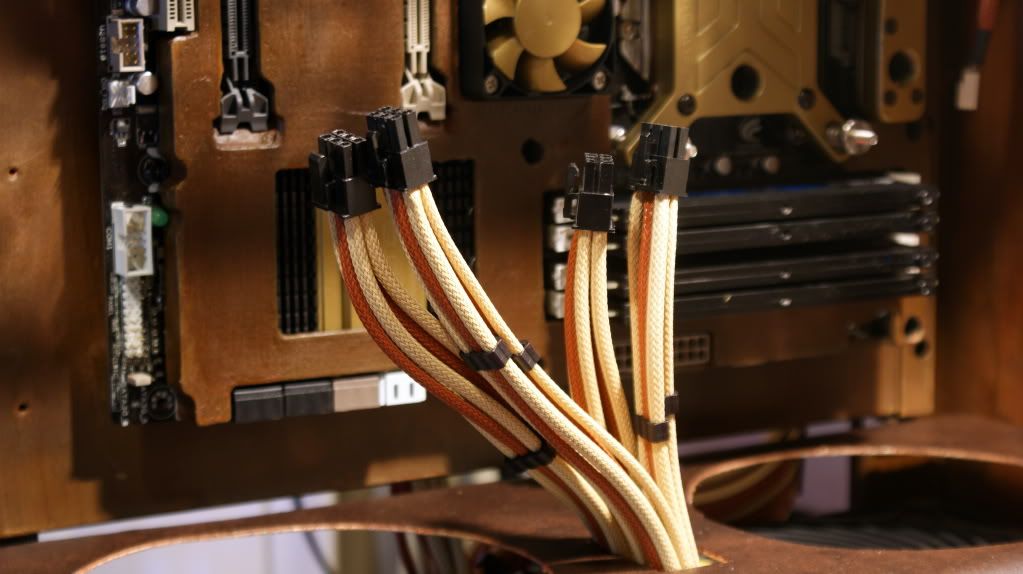
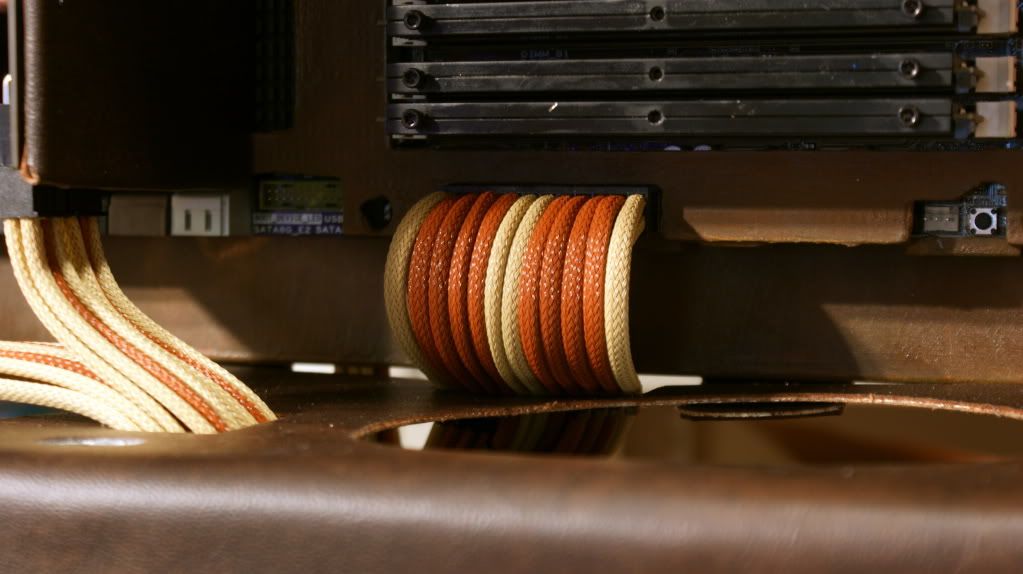
Added a bunch of them to the PCI-E cables and they look pretty good.
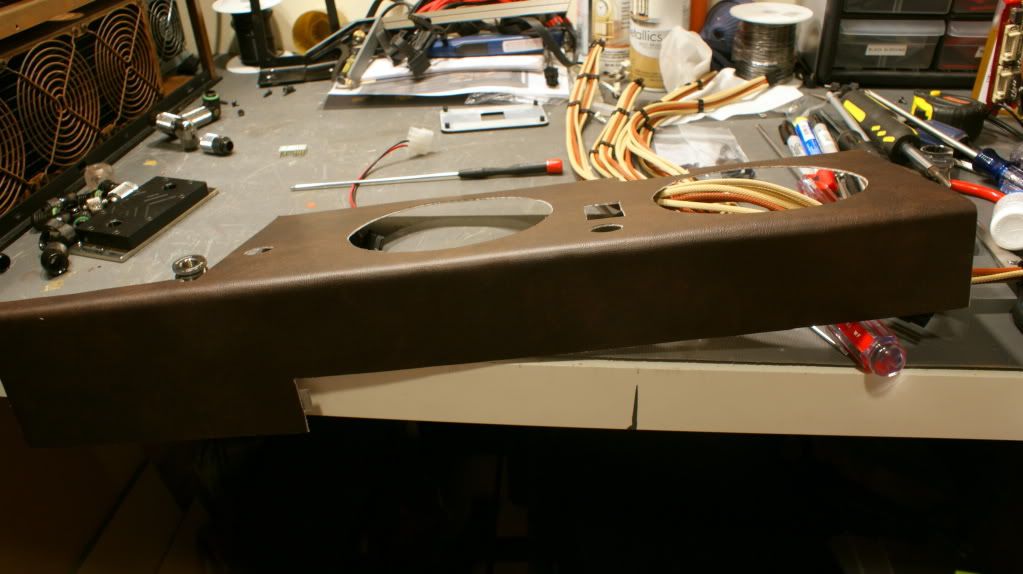
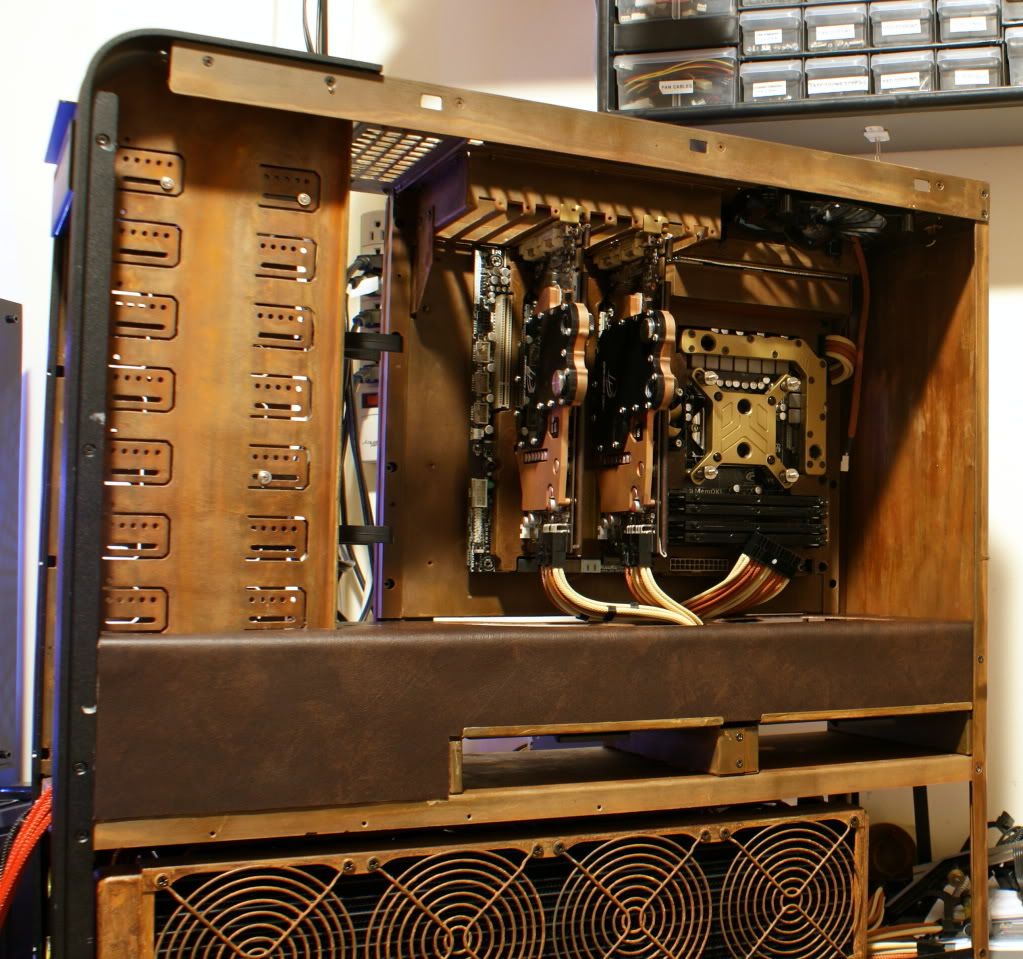
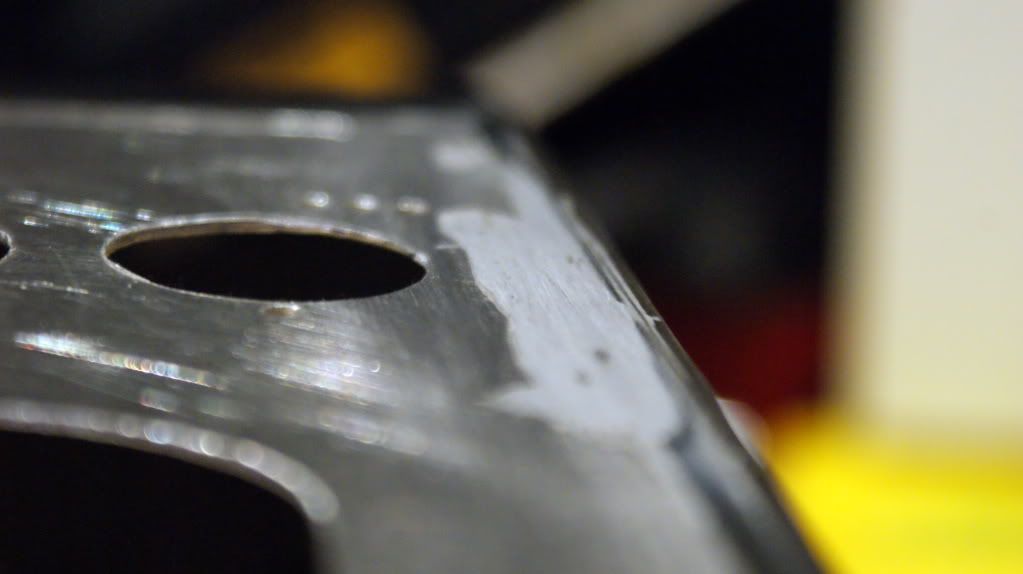
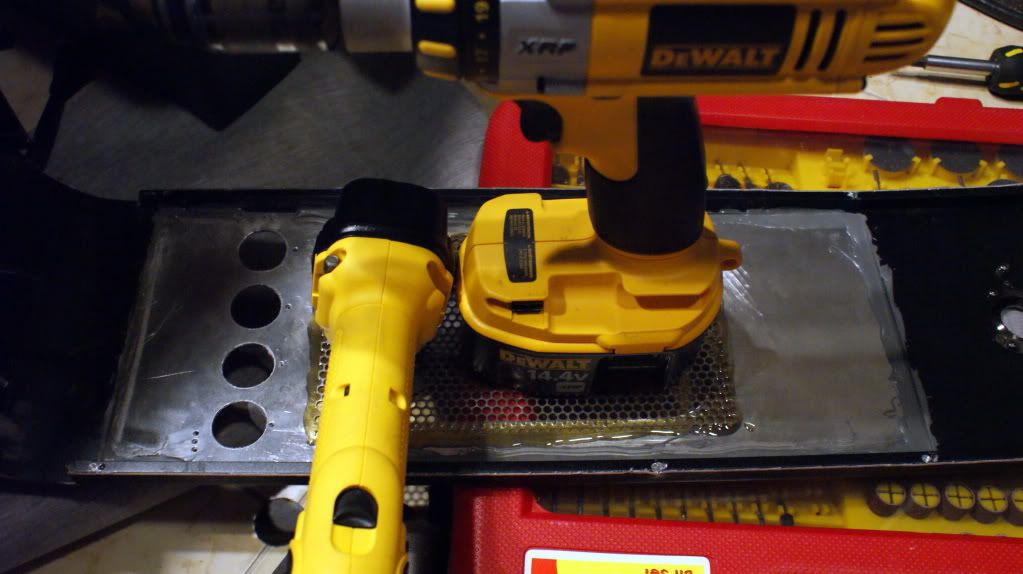
I finally got all the holes cut in the midplate so I put the leather on it.
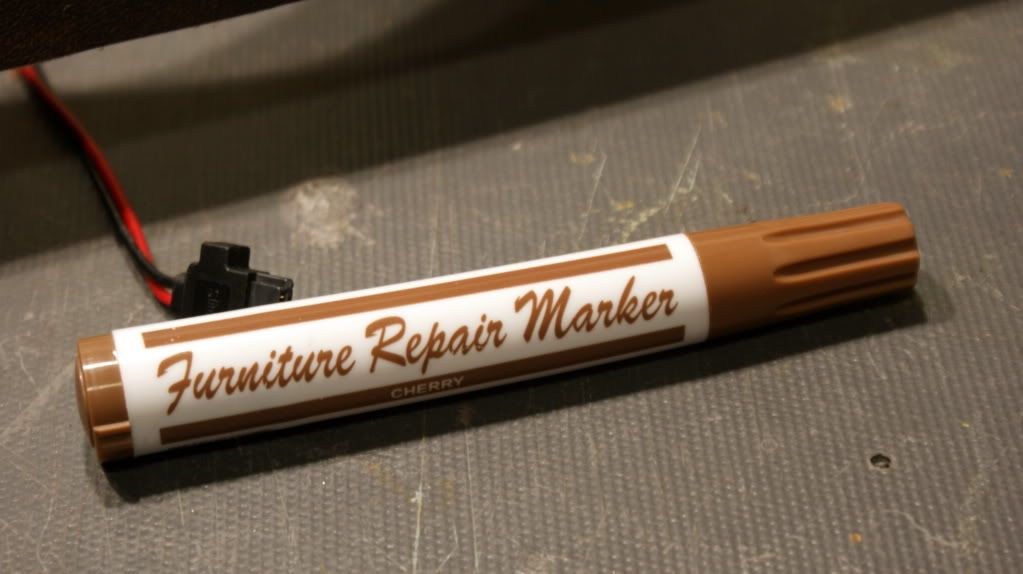
Then I used a furniture marker to color the edges since its fabric and the back of the leather is white.
I like it.
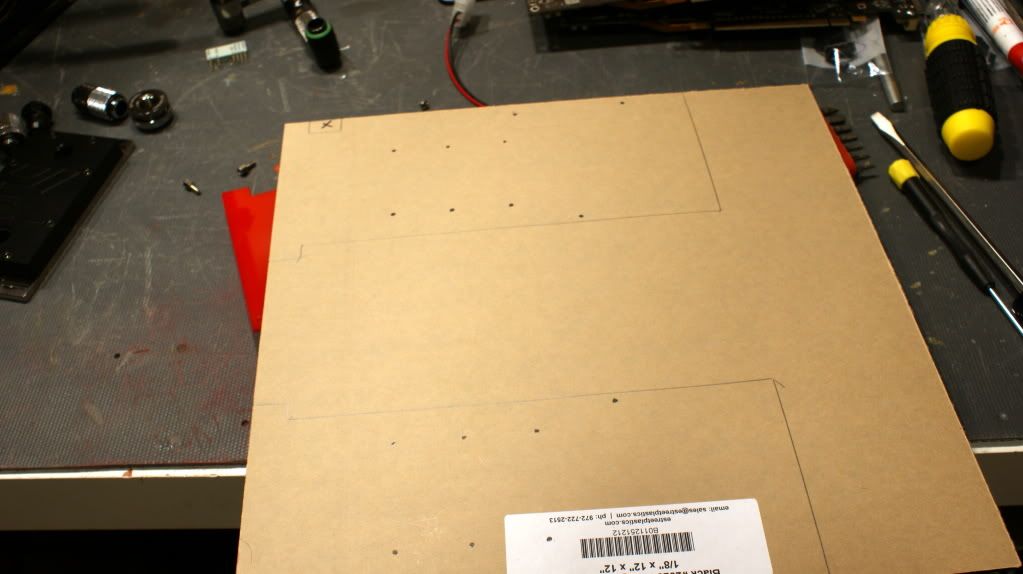
Now for a fun mod. Old GTX 560Ti backplates.
Traced
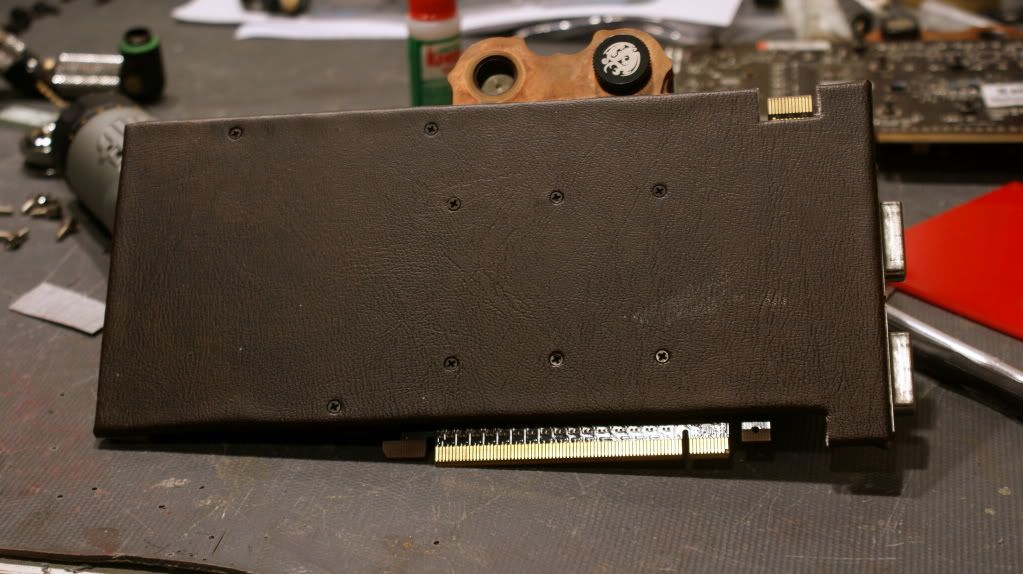
Cutting and drilling is boring so I skipped that part... and now we have... leather backplates!
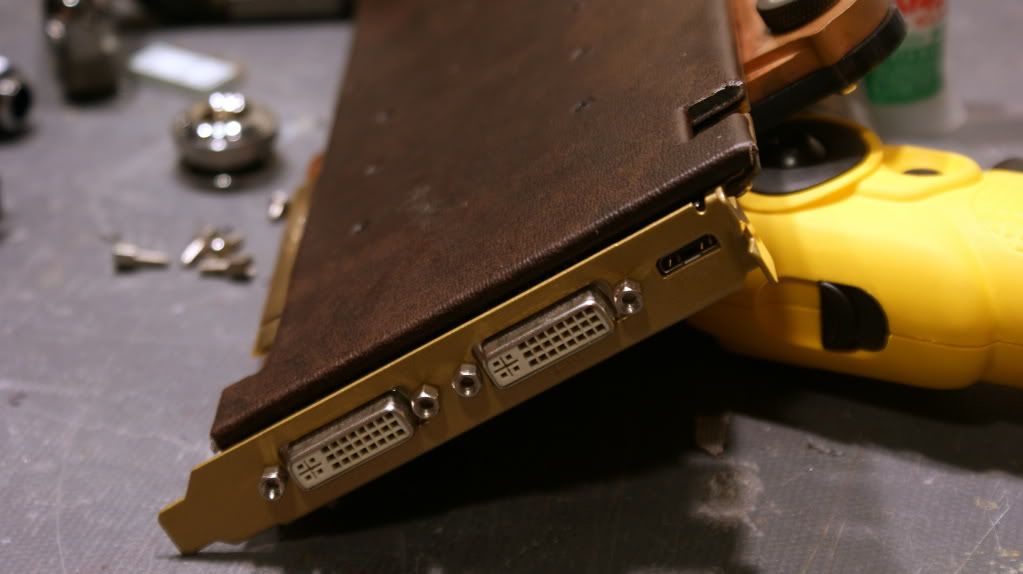
And gold brackets
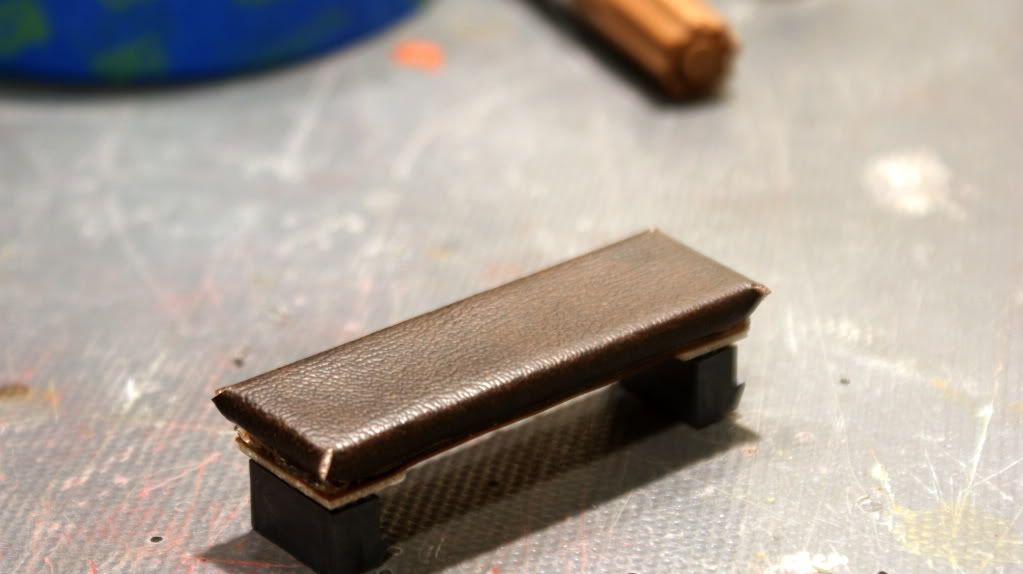
I also covered the SLI bridge with some leather.
Looking good IMO...
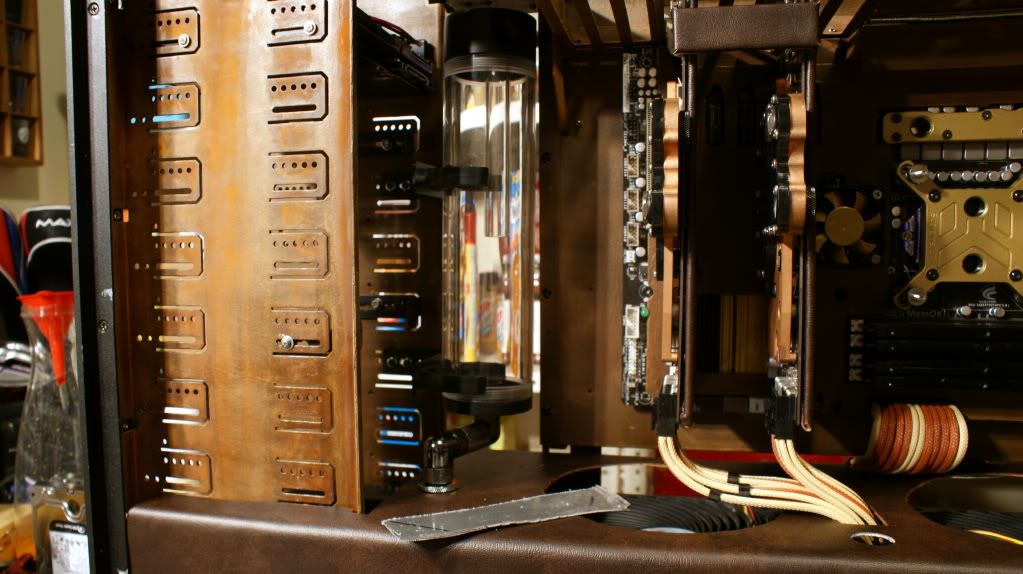
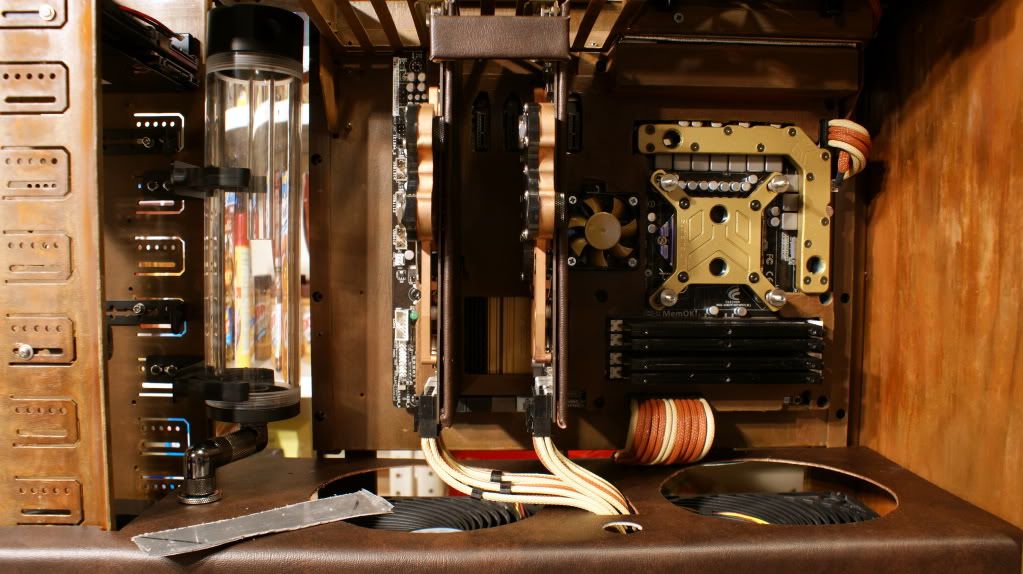
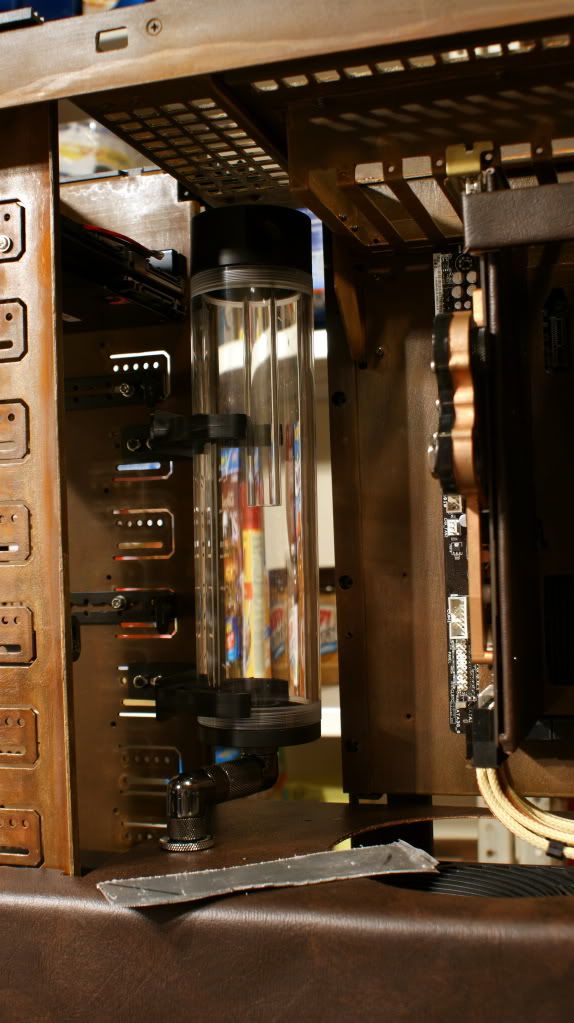
I put the res in and added some random fitting to see how it will all work.
I had to make some brackets for the midplate to keep it level. The 24-pin cable pulls it down a bit in the back. Pics later of how they are mounted. (Ya I forgot to take them...)
But here is how it looks from the front.
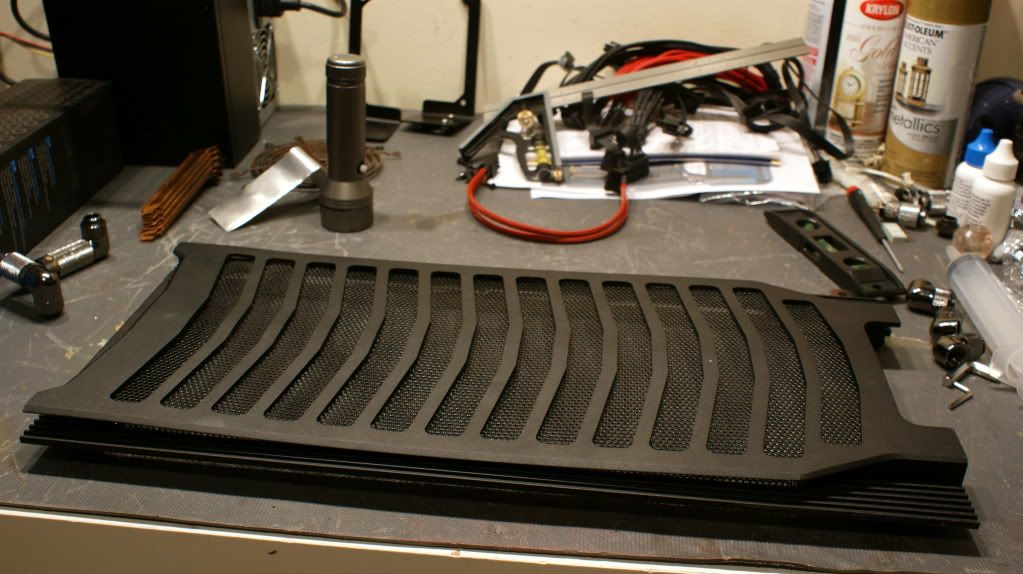
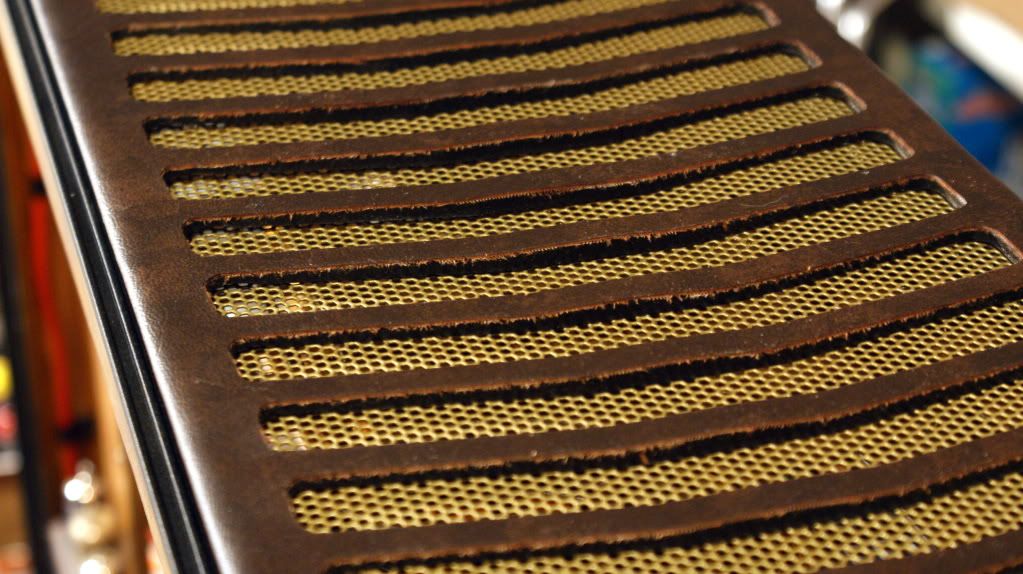
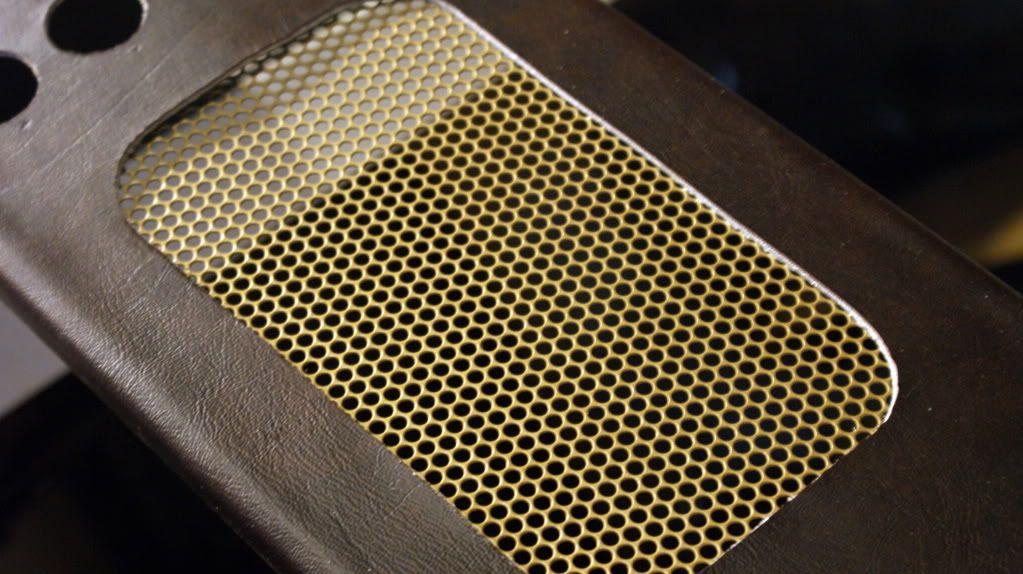
Top panel before...
And after!
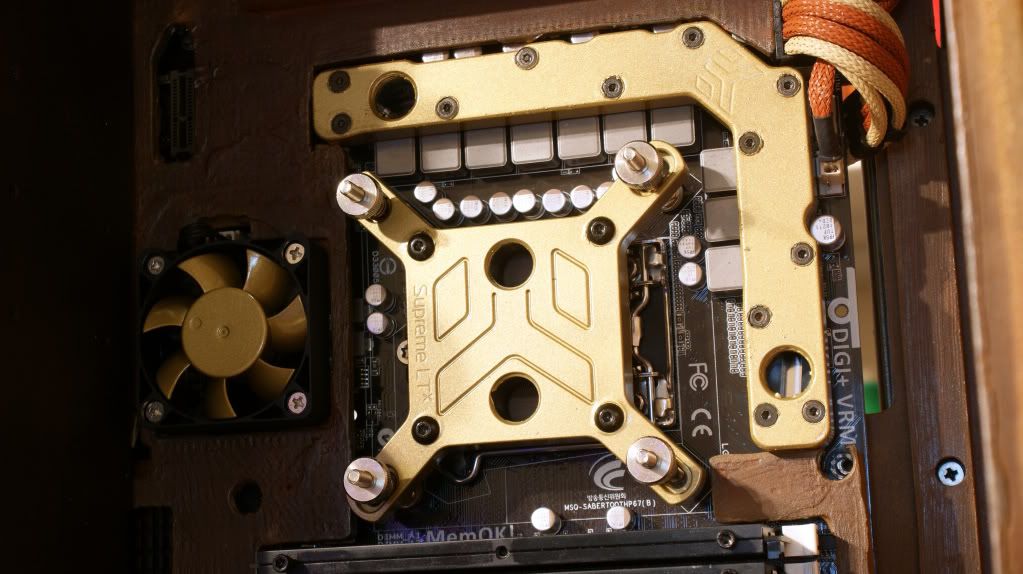
Paint the mesh gold and it looks great!
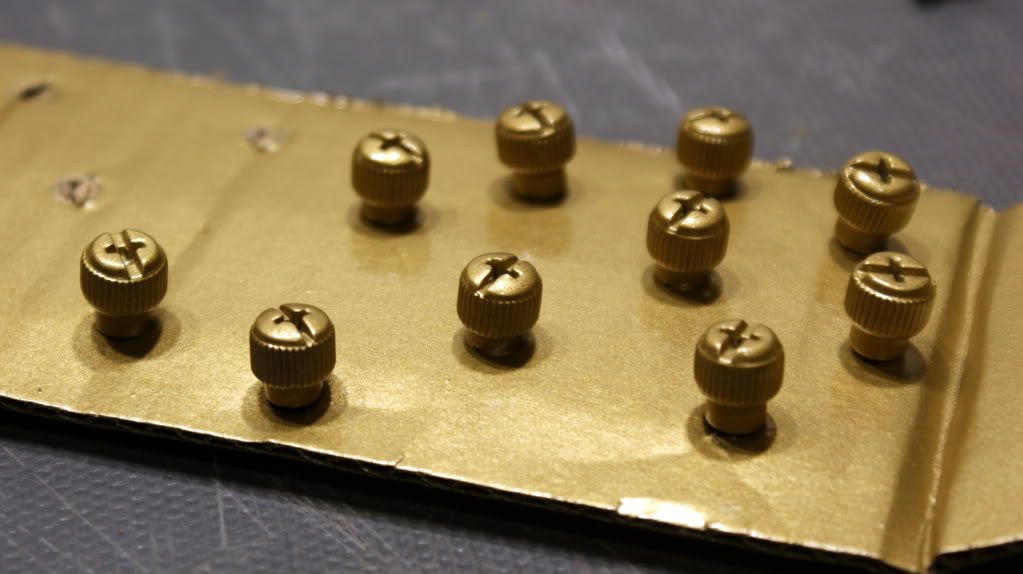
Painted all the thumb screws gold.
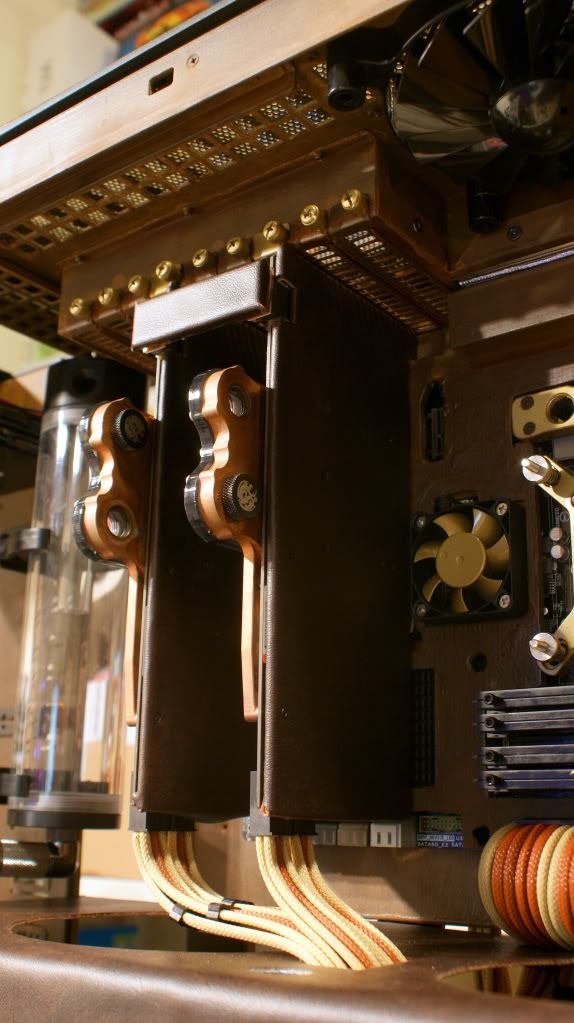
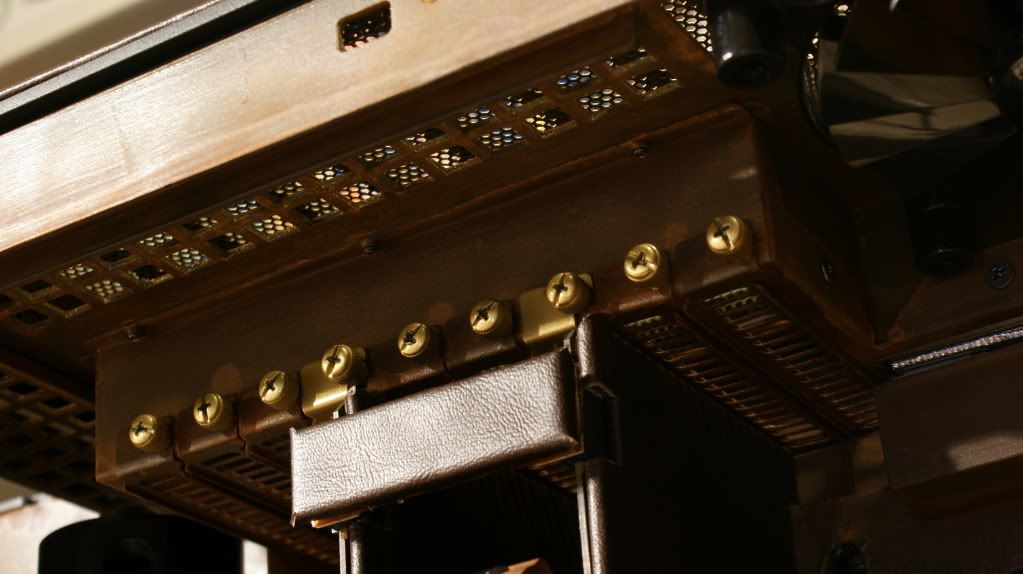
And installed.
Random shot...
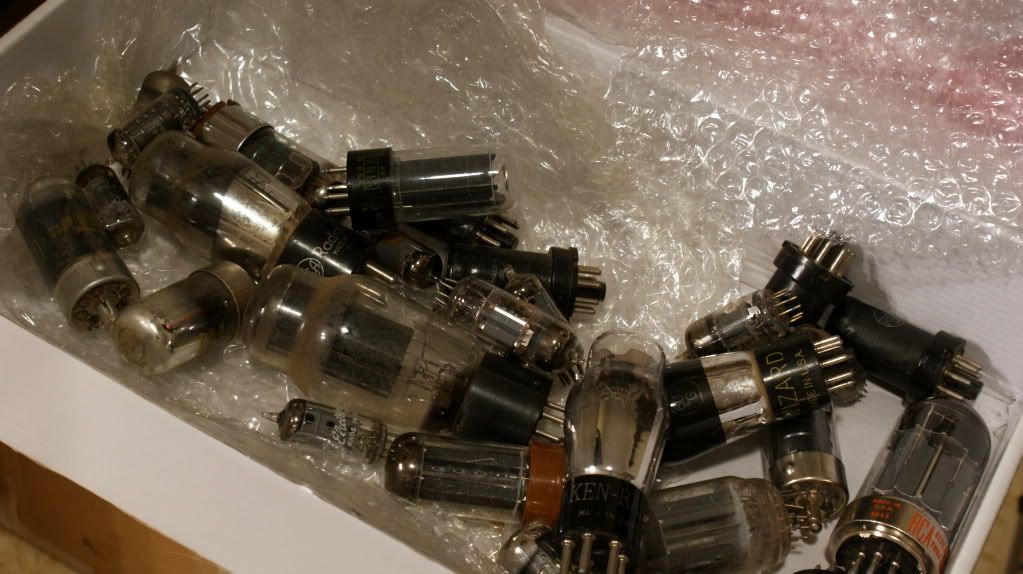
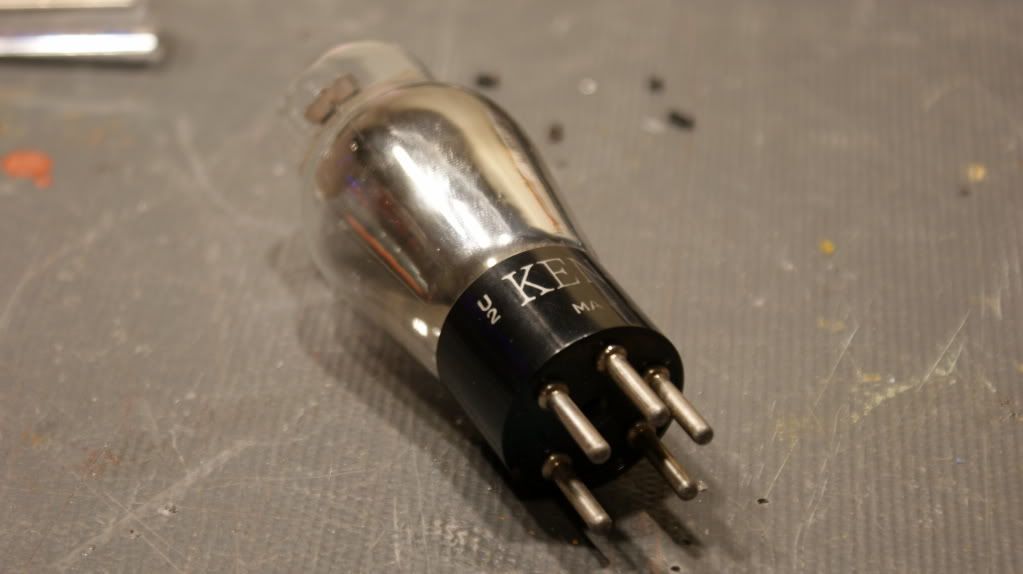
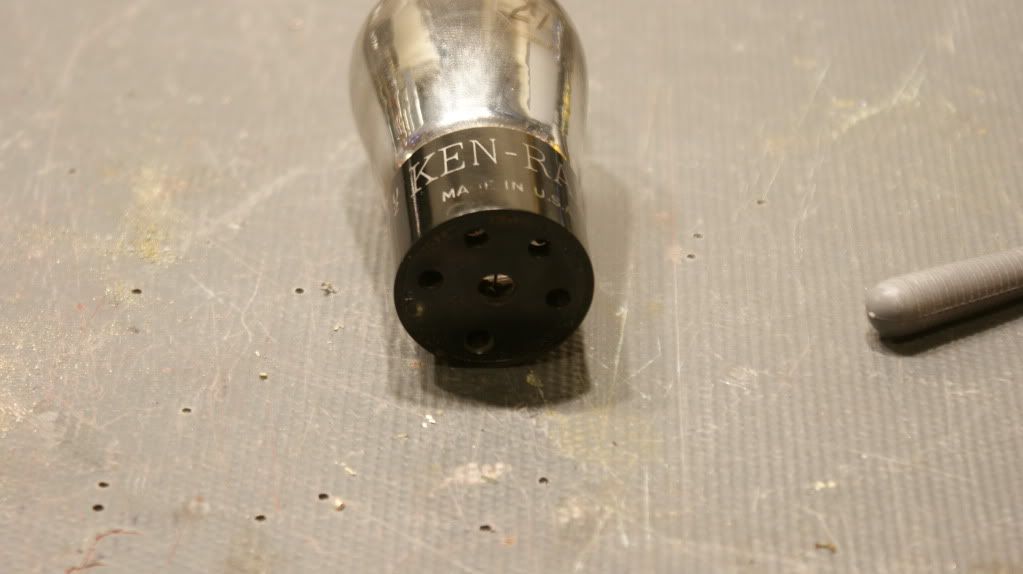
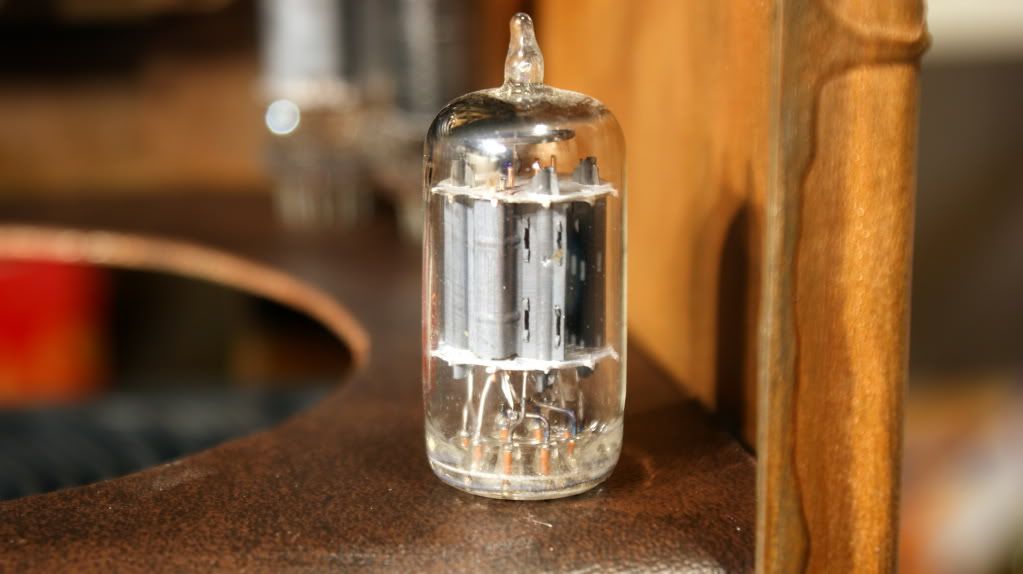
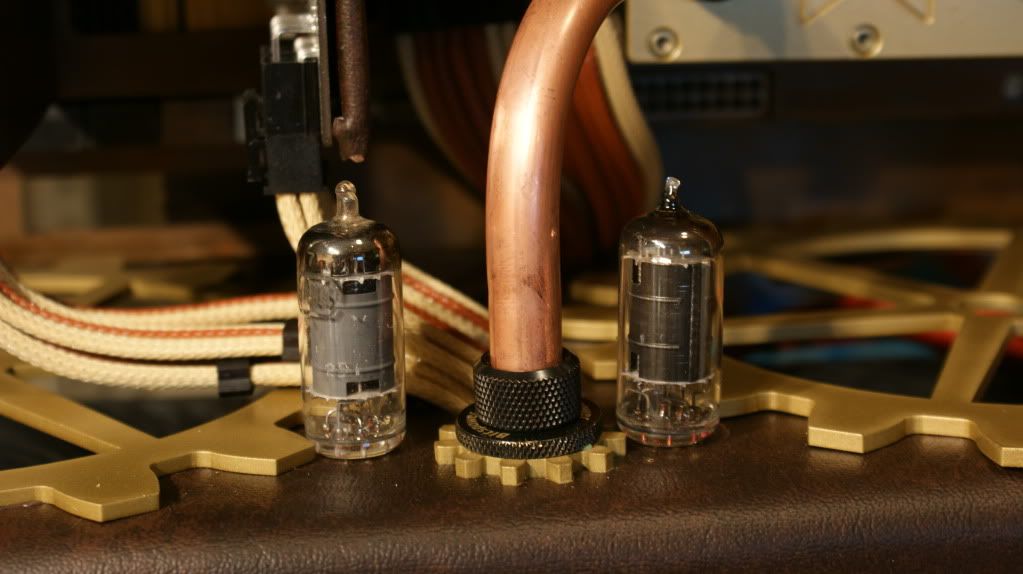
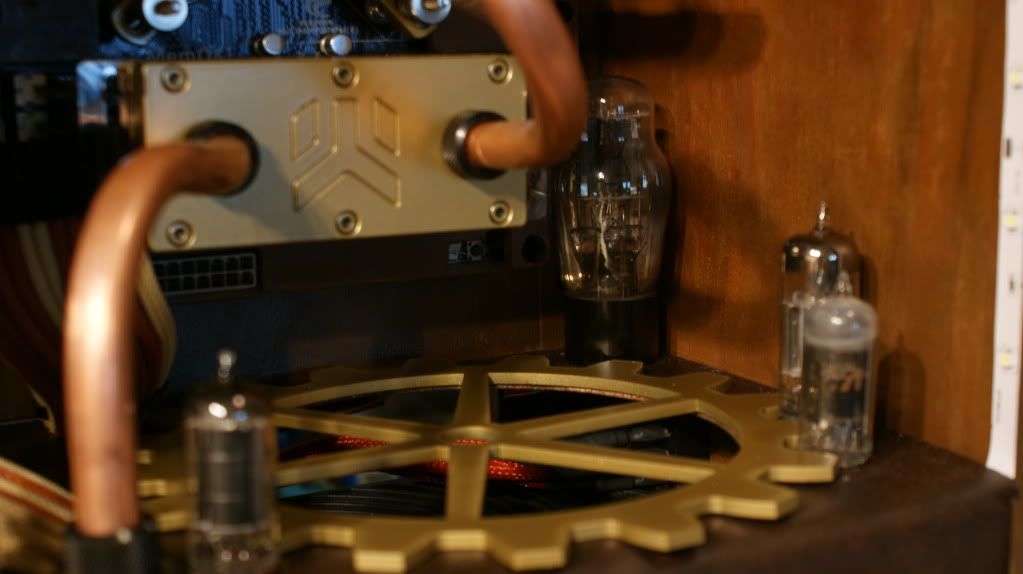
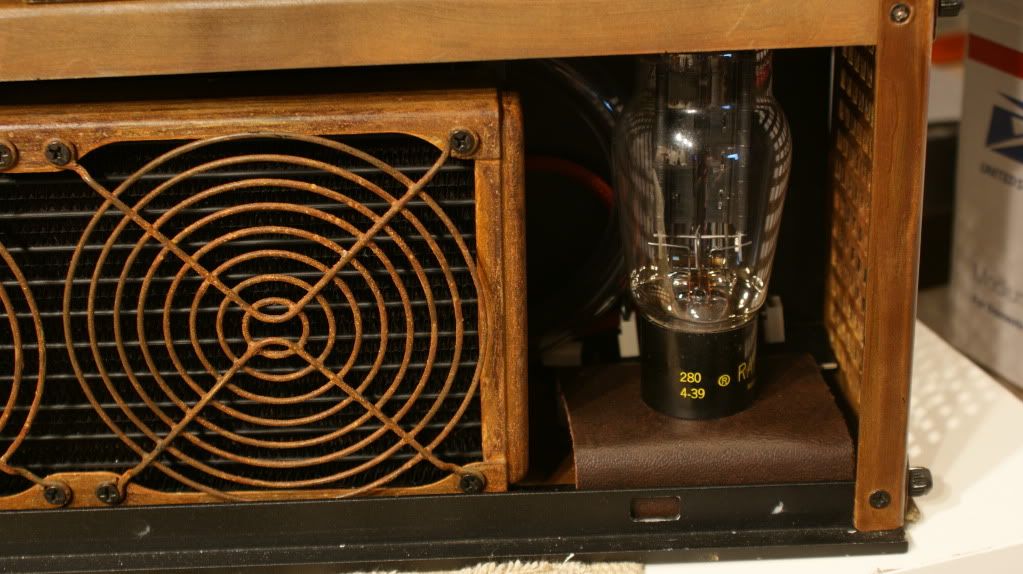
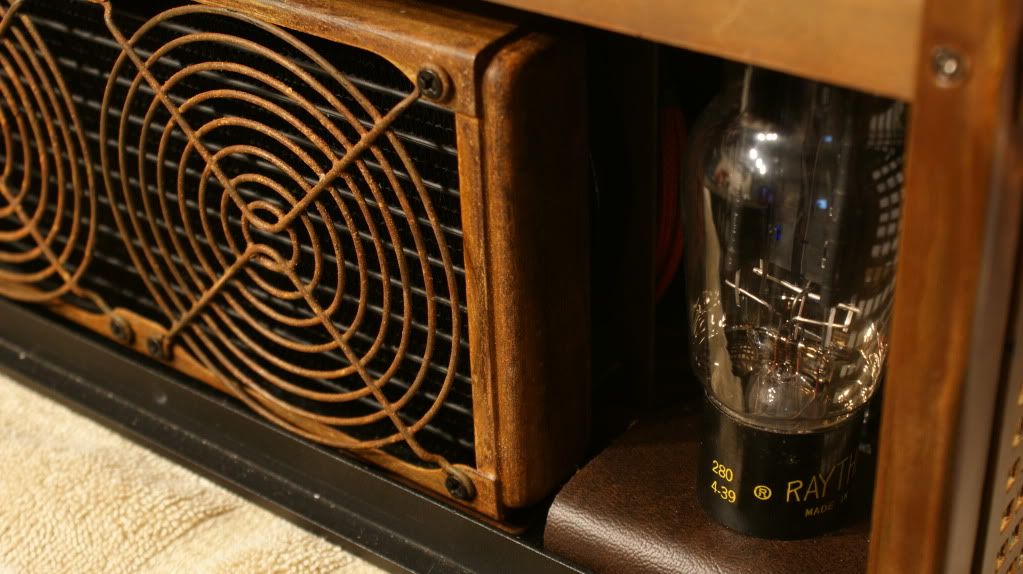
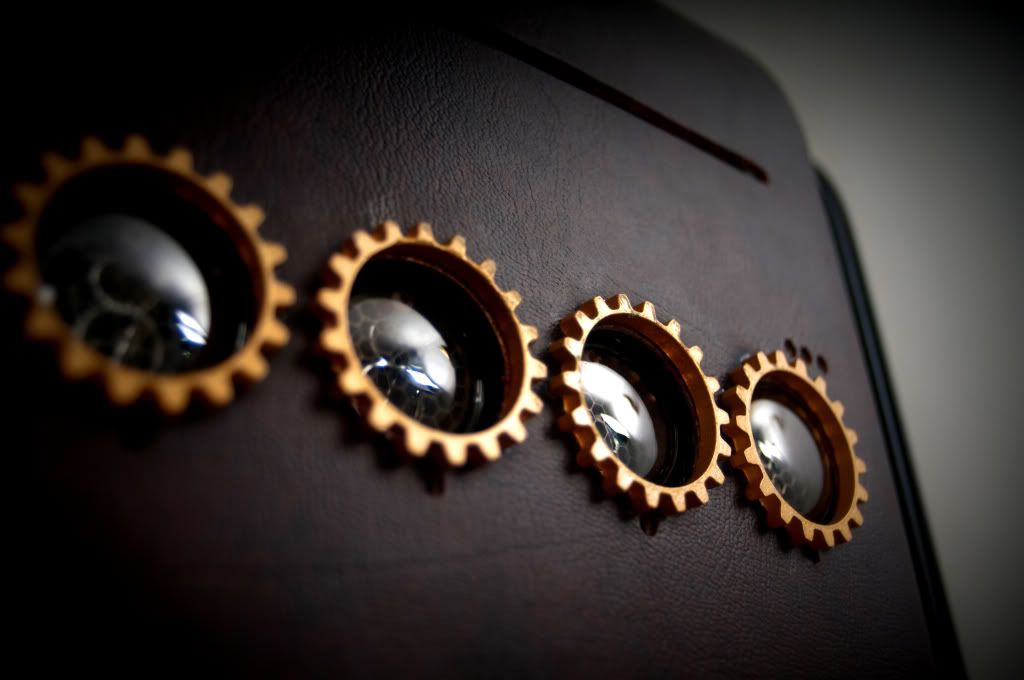
Vacuum tubes!!
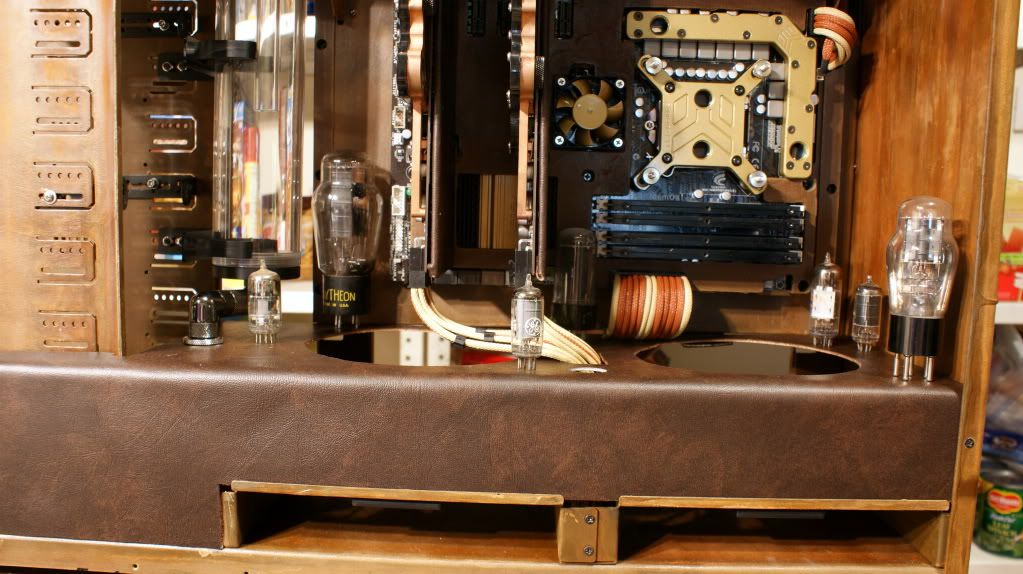
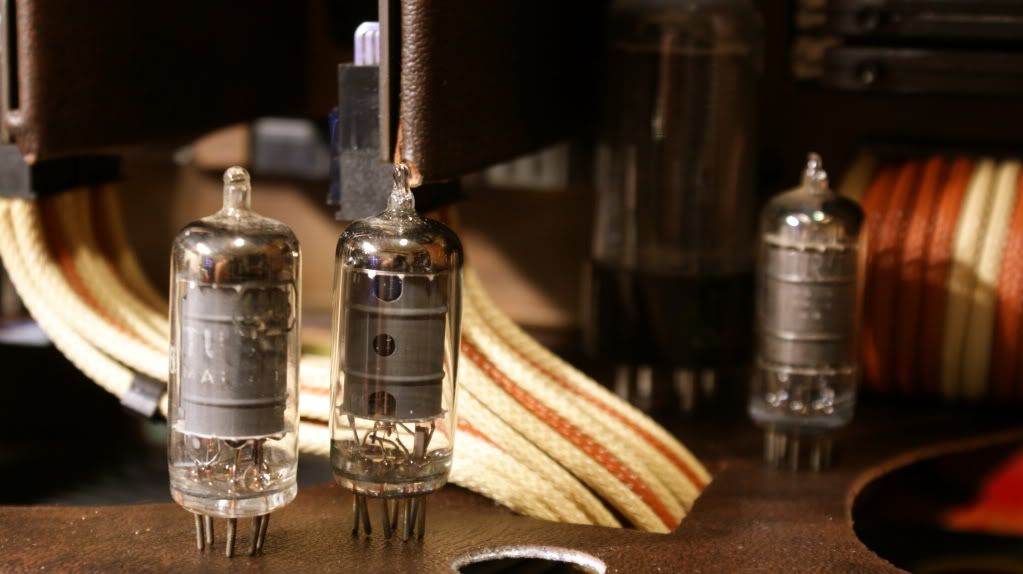
Playing around with how they will be sitting. (Not sure of final setup yet)
Cut the leds off the bottom so they sit flat on the midplate. I'll drill a hole under them for the LED.
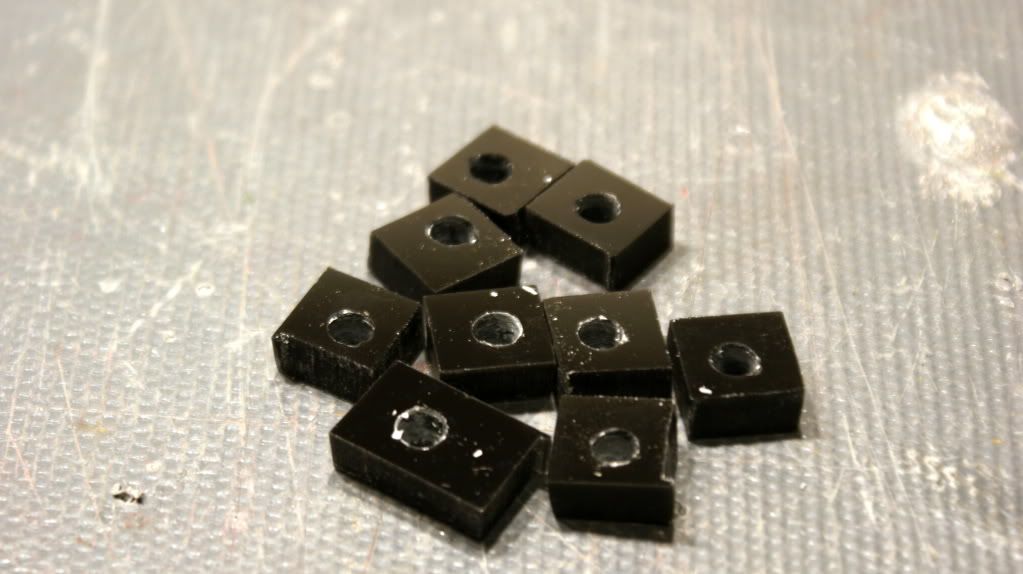
I cut some small pieces of acrylic to hold the LEDs under the mid plate.
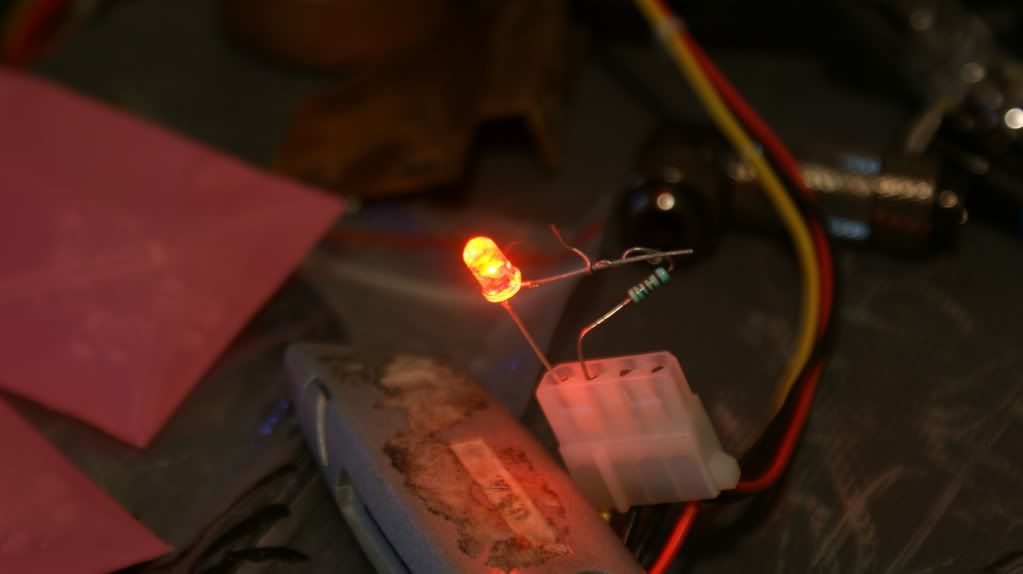
PROBLEM! I bought Yellow single LEDs instead of Amber so they don't match!!
I put in a order yesterday for some Amber ones and resistors.
I think we need some lighting.
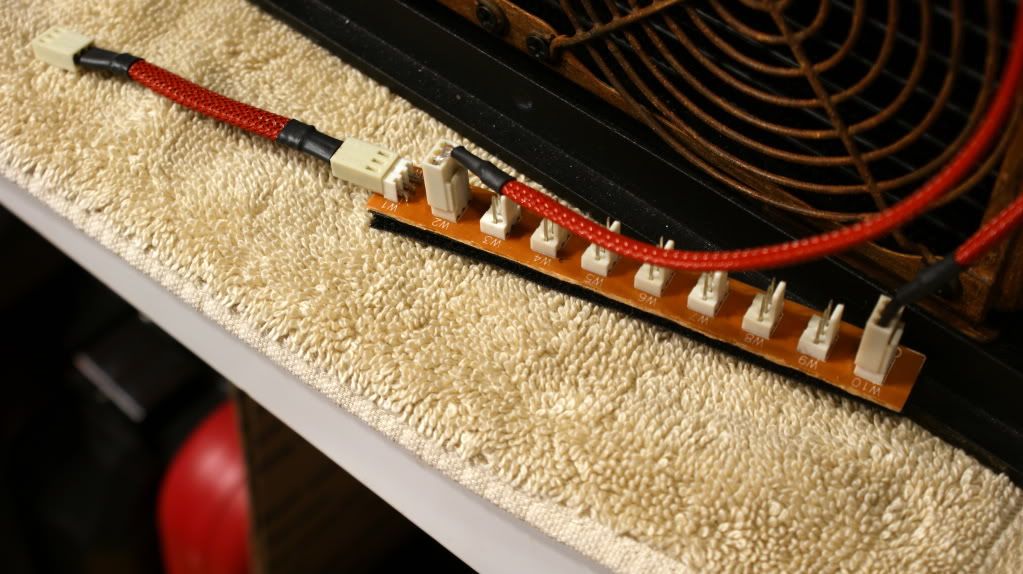
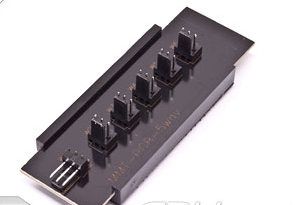
Using a fan bus to power the LEDs
I bought 2 of these new ones since I only have 1 of the above one. (They have to be the same since I'm OCD like that)
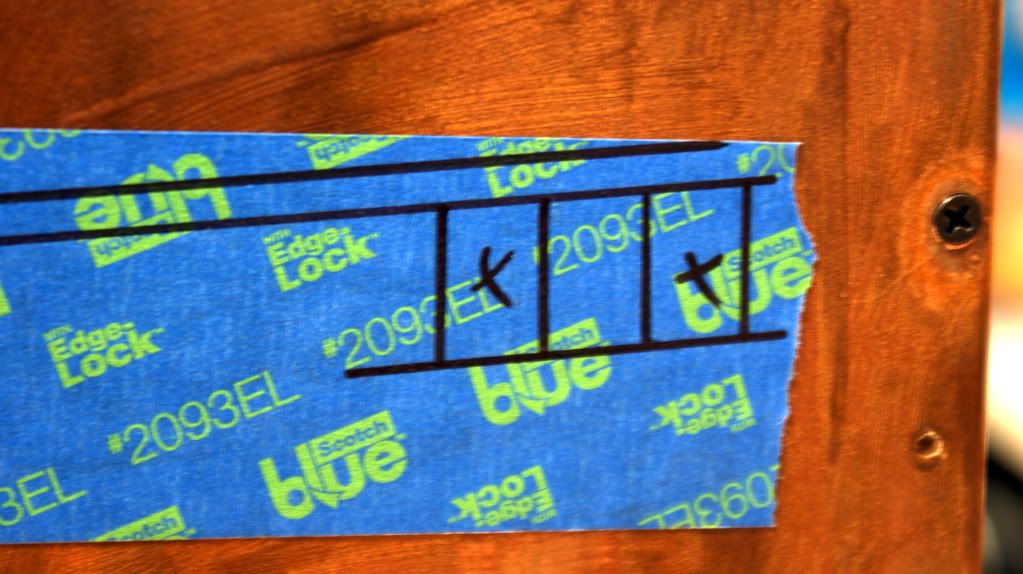
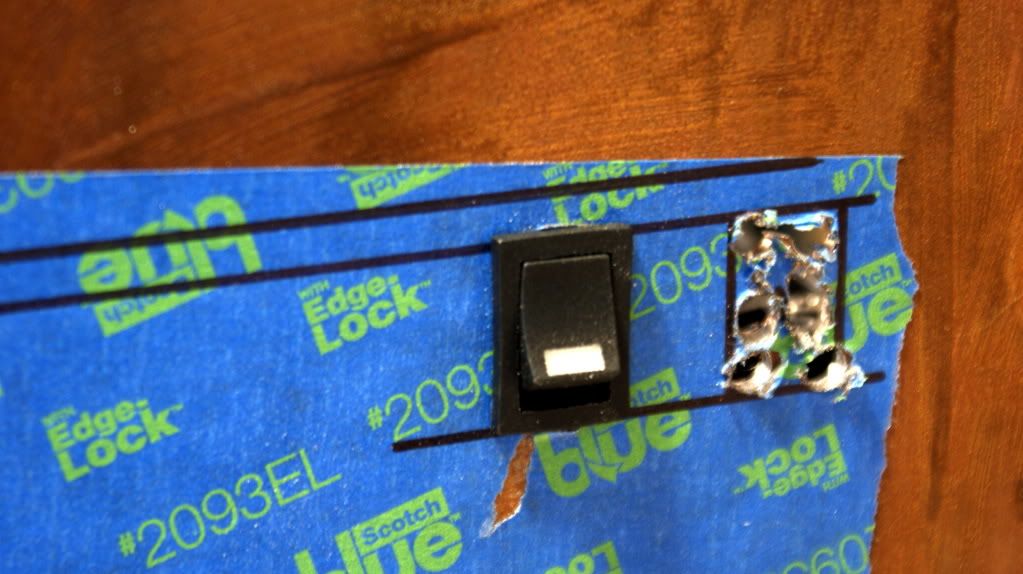
I'm not set on only having Amber lights so lets add some switches so I can have white too!
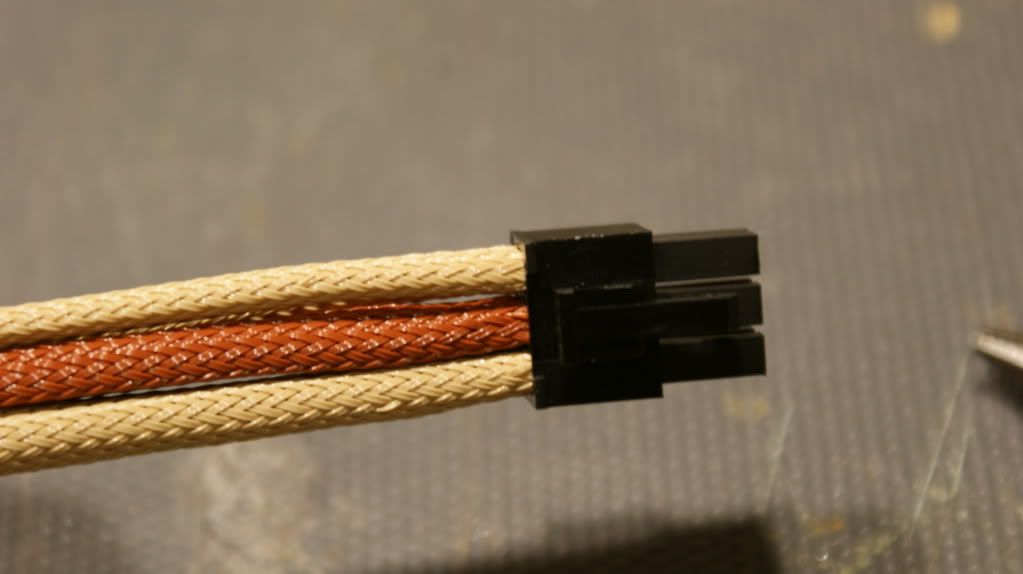
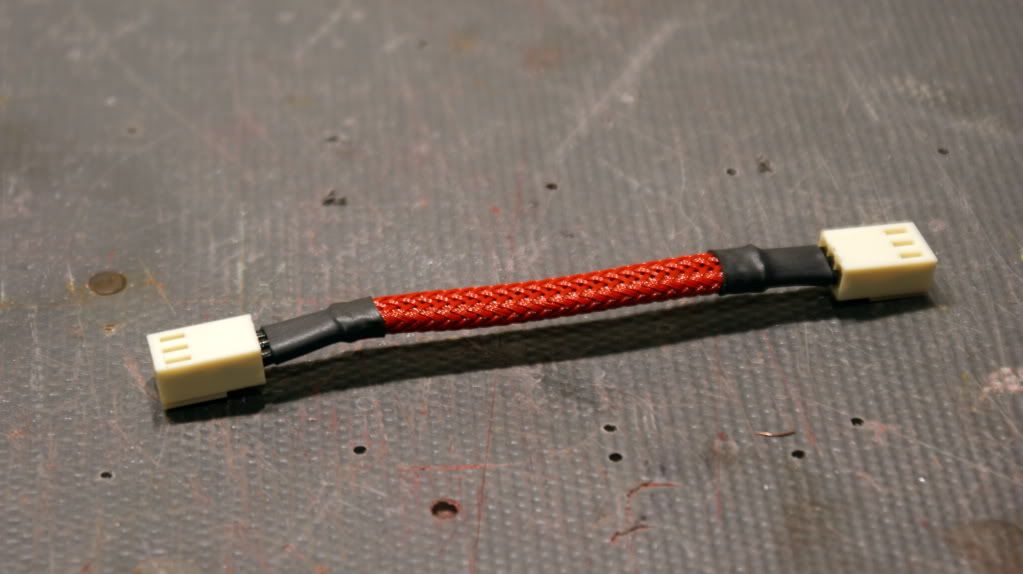
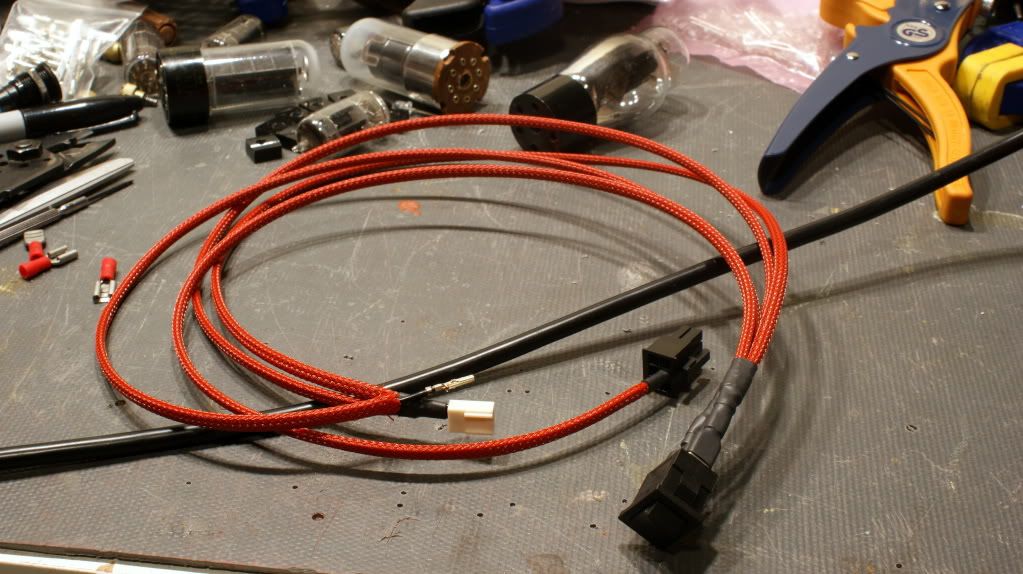
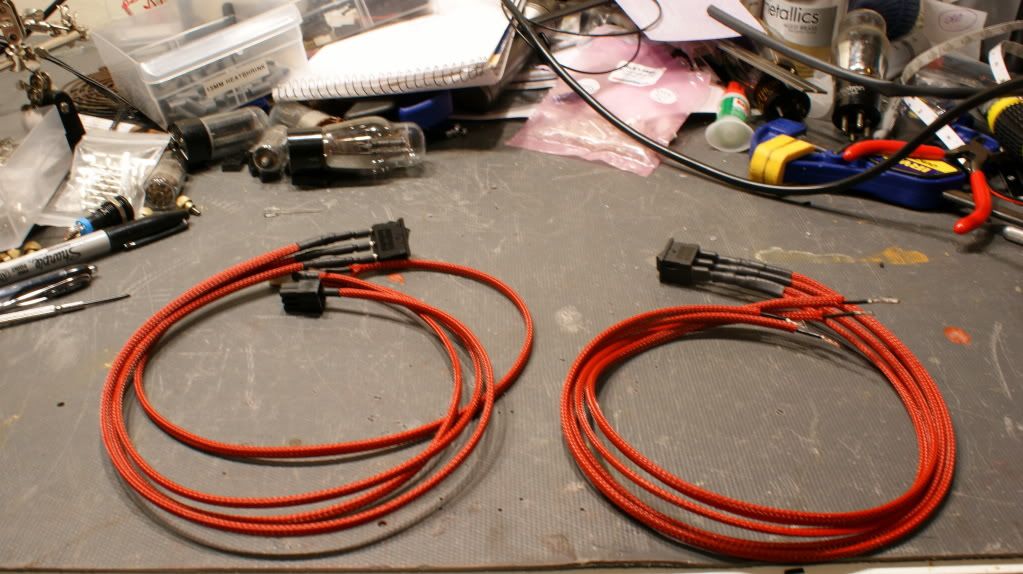
Start making cables.
Finished. (More pics of this later)
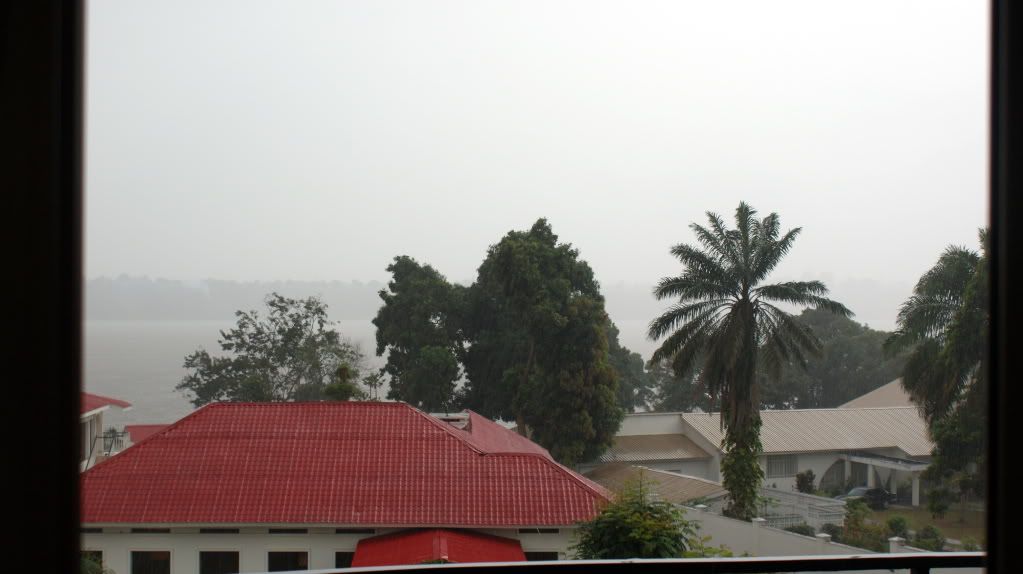
Finally the rainy season is here! (It rains every... single... day...)
That's it for now! I have some more stuff coming this week so next weekend I will be busy.
Cheers till then,
Fuga
-
Re: Project: Steampunk'd TJ11
Man, you'd think I'd need a doctor's visit, as my jaw just keeps on rolling across the floor :D
-
Re: Project: Steampunk'd TJ11
-
Re: Project: Steampunk'd TJ11
Not a big update but an exciting one.
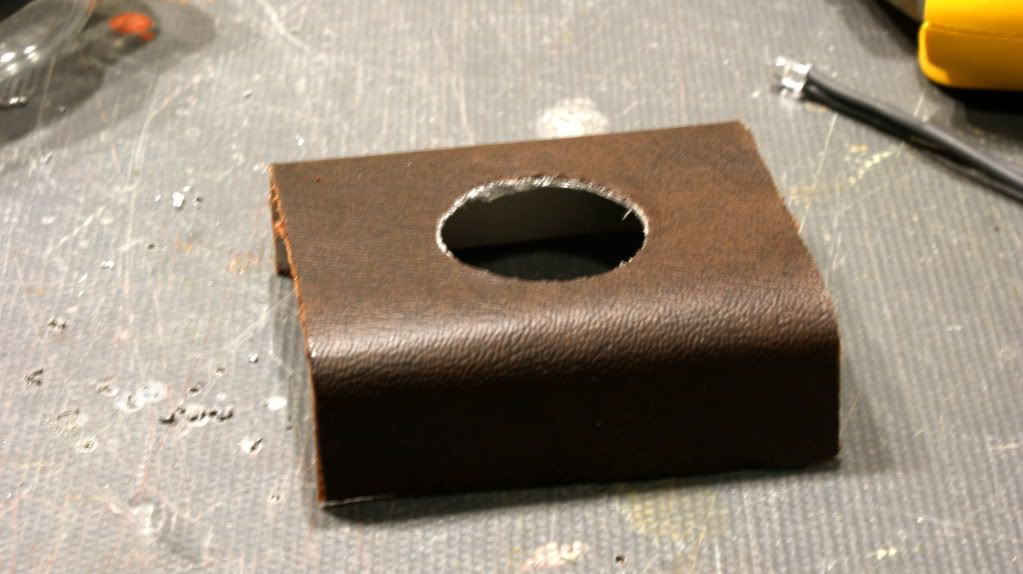
I wanted something to put behind the 2nd PSU bracket that looked cool so I made a stand.
Drilled a hole and covered it with leather.
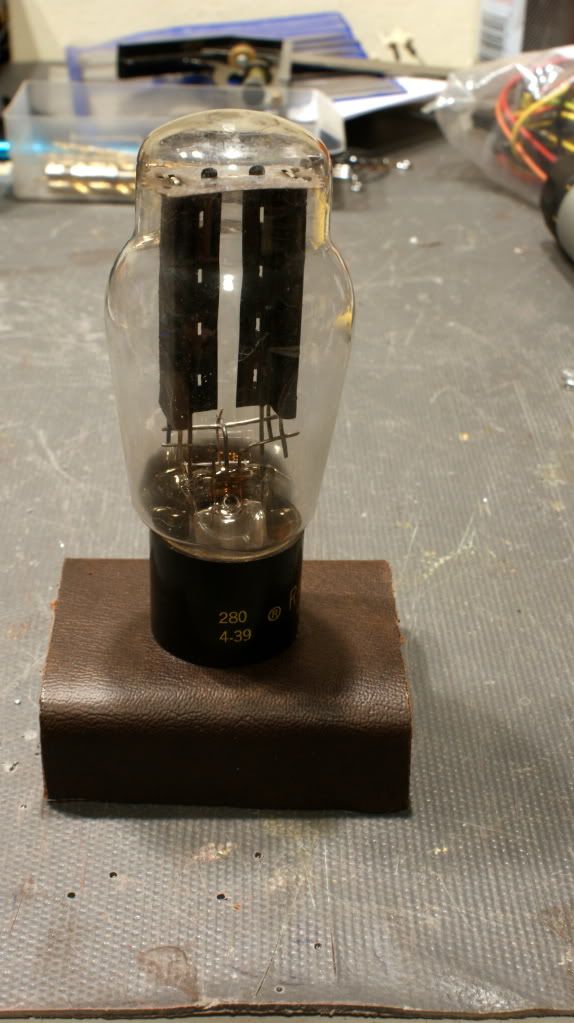
And added a vacuum tube. I drilled out the bottom so I can put several LEDs in it to make it super bright.
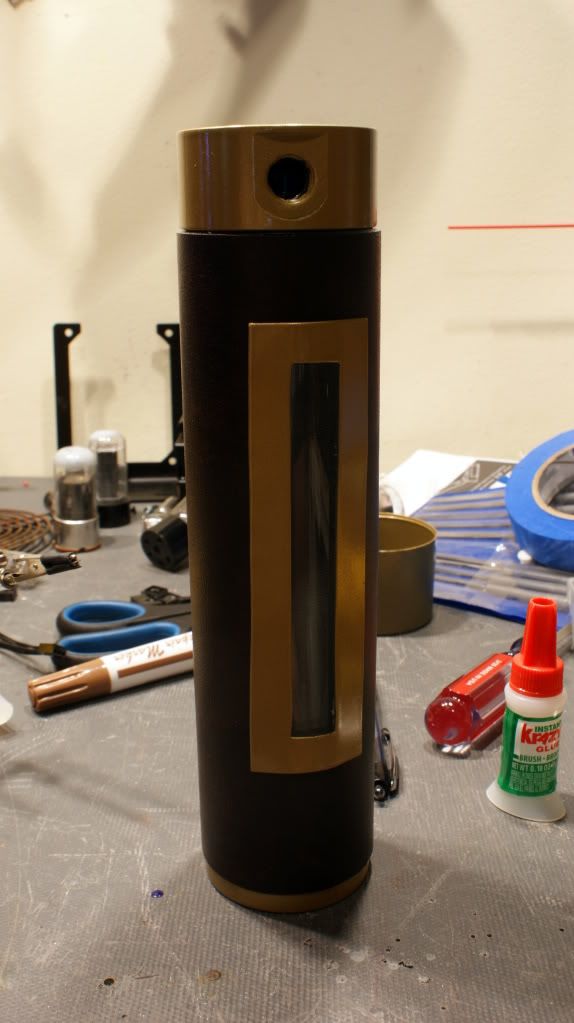
Next up was to mod the EK-Multioption Basic 250 Res. I actually got some of this idea from B Negative.
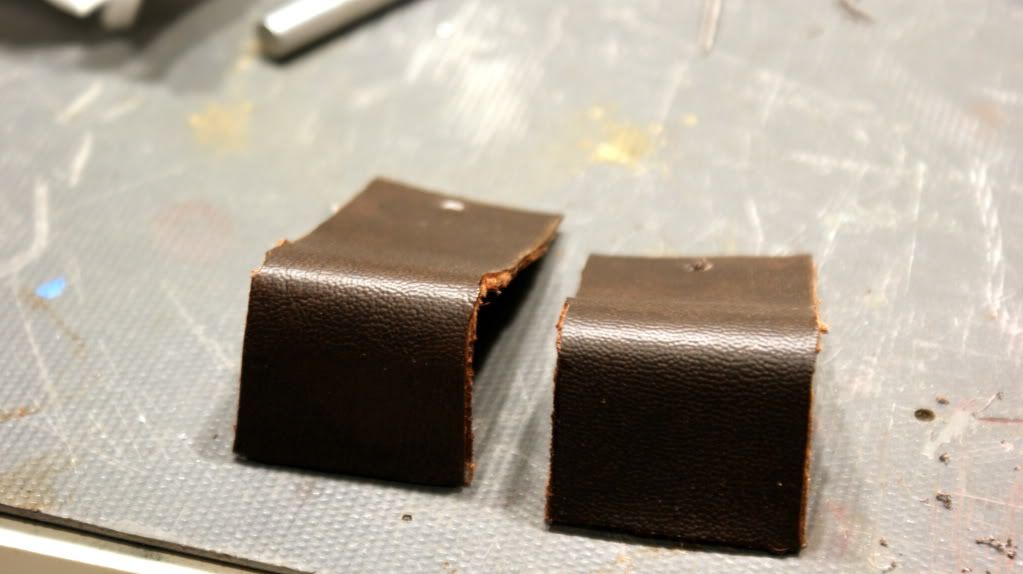
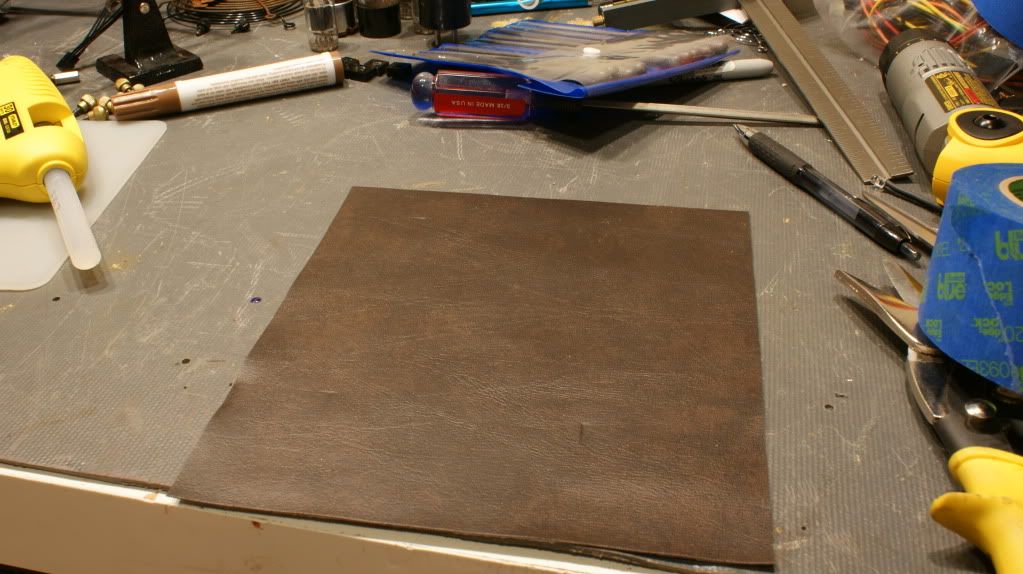
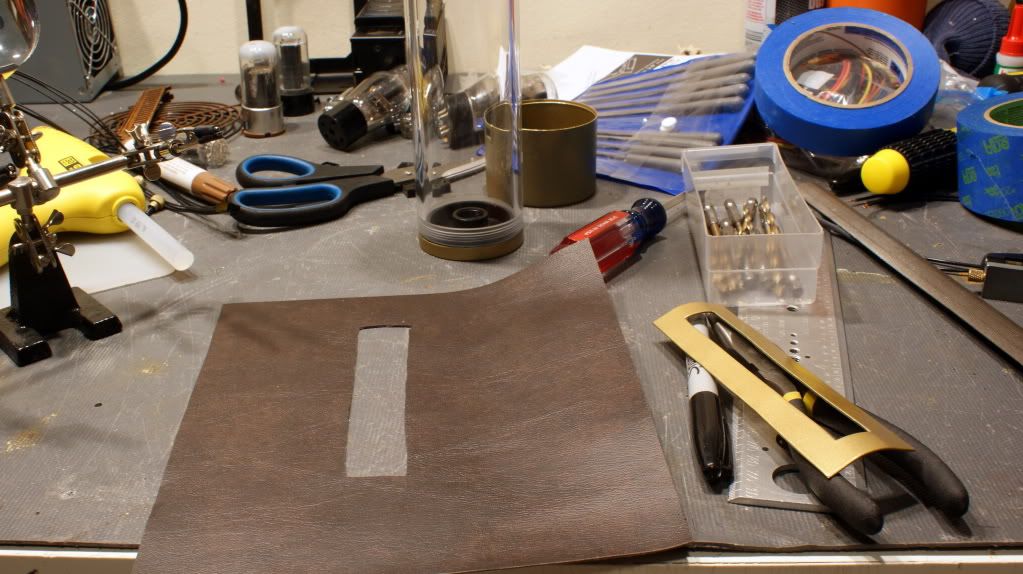
Cut some leather.
And tested how it looked. Hmm needs something
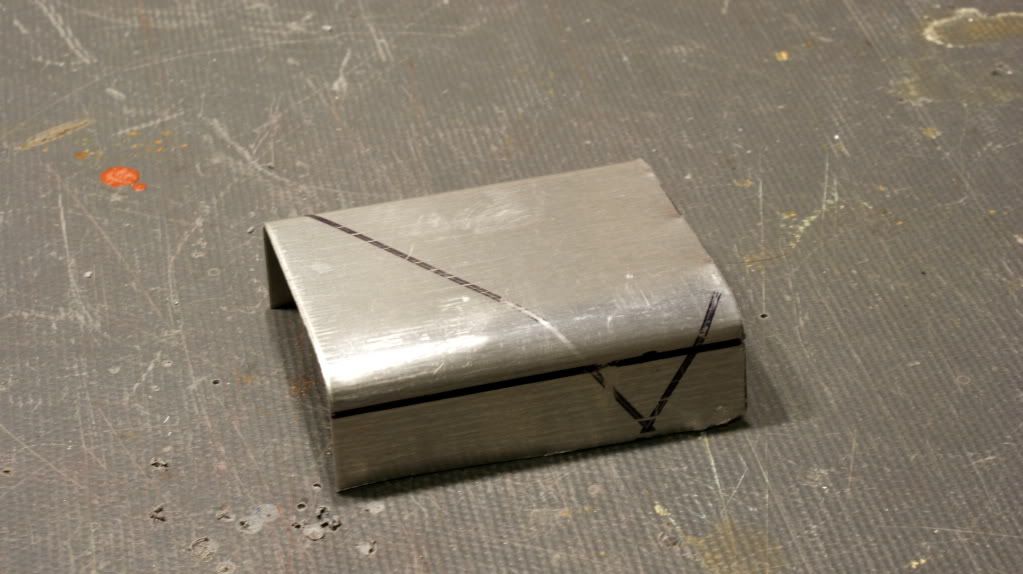
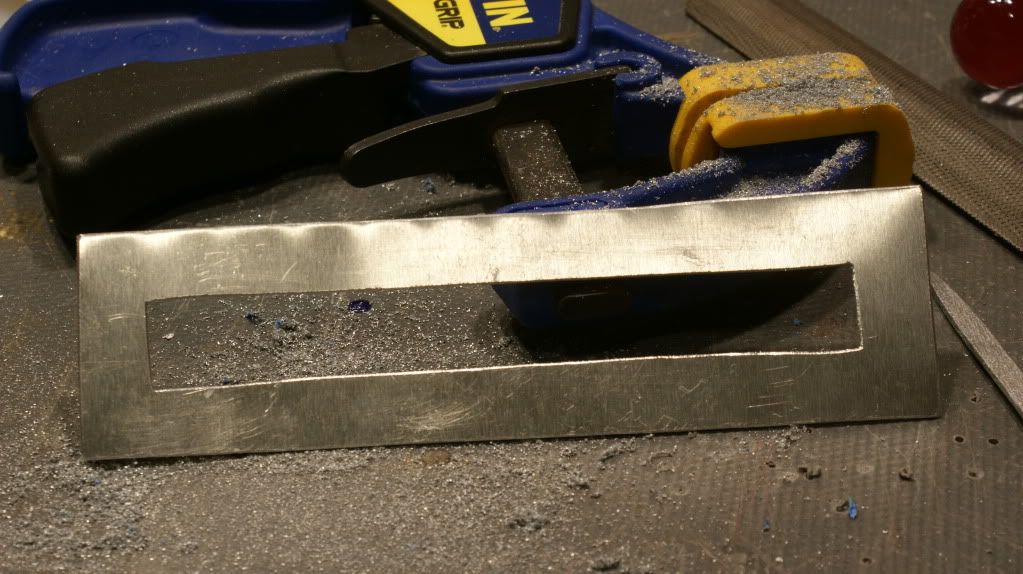
Got a piece of aluminium.
Cut it and filed the edges
Painted it gold and cut a slot in the leather.
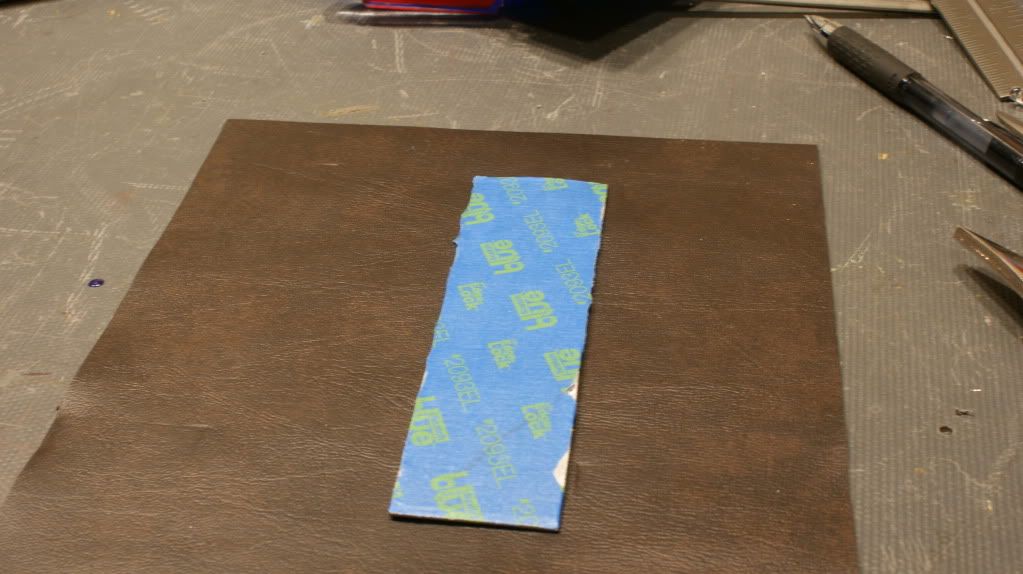
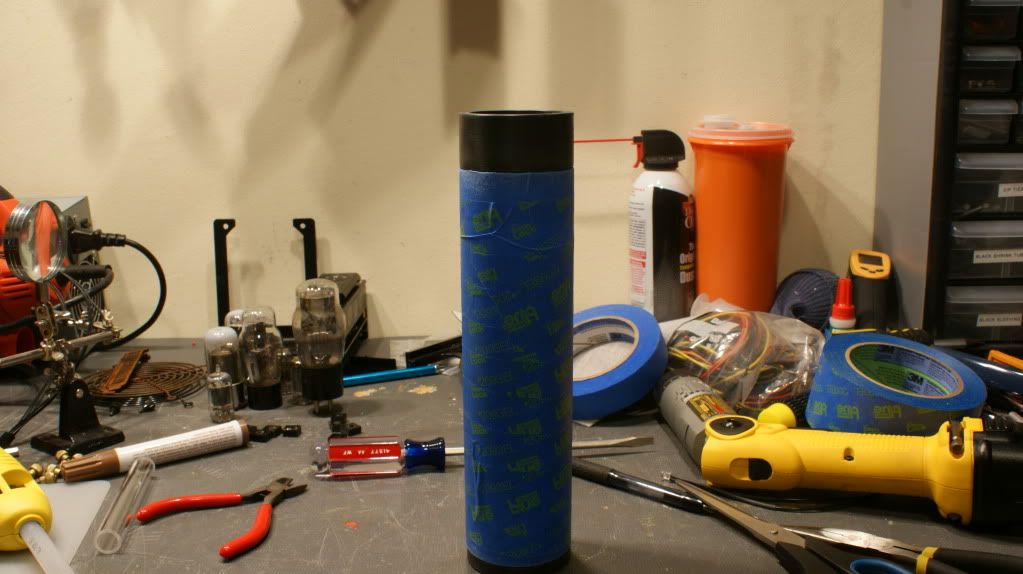
Taped off the res
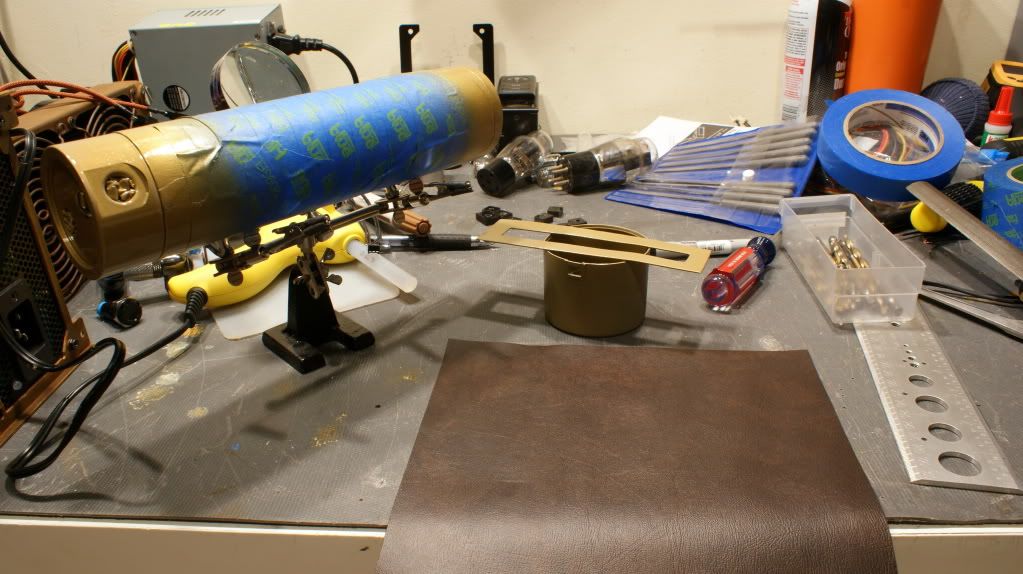
Pained the end caps gold too
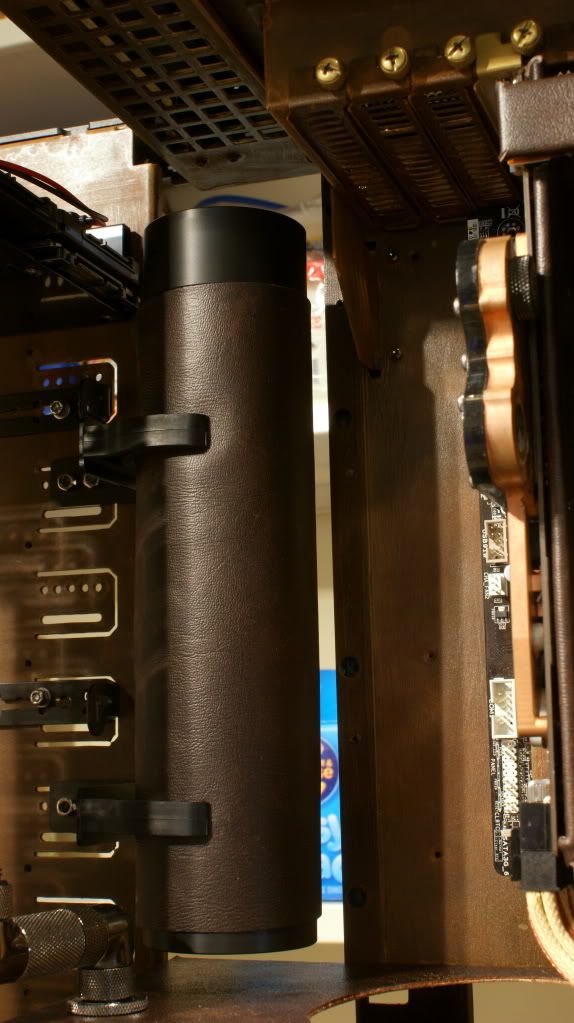
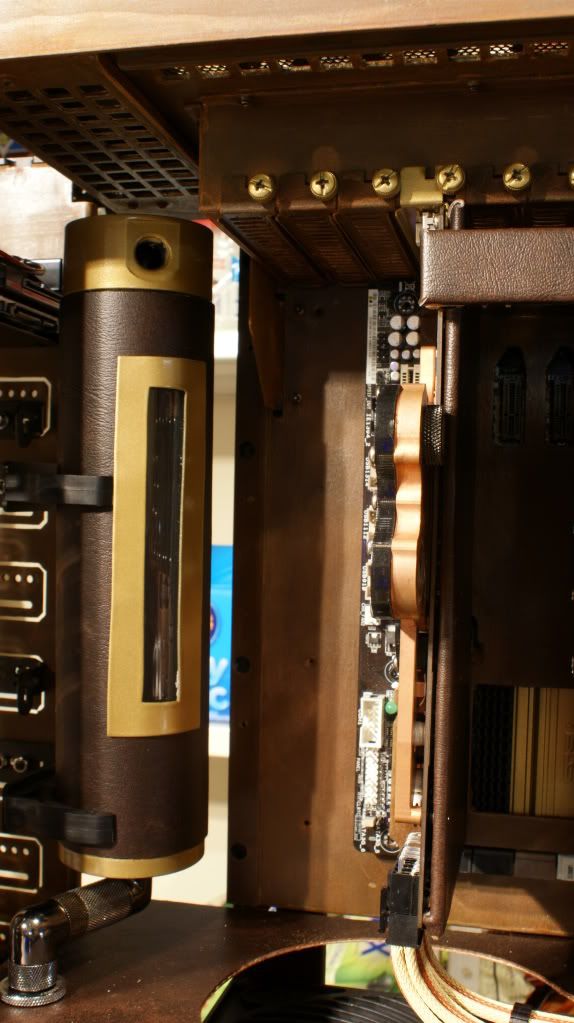
Put it all together and what do you get??
Not to toot my own horn but it looks freaking awesome. There will be 2 LED stop fittings in the top to illuminate the water inside.
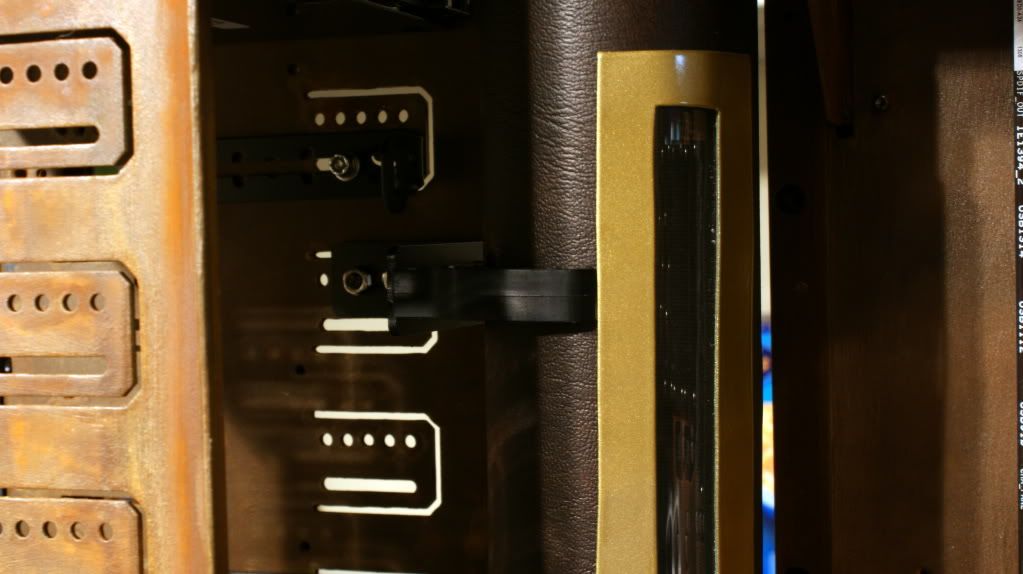
Minor thing but I need move the top clamp up...
Thanks it! I changed up some things in an old build to get some more fittings for this one. I'll hopefully have some pipe next week so I can get the water going. Also my laser cut parts should be here the end of next week!
Cheers till next time,
Fuga
-
Re: Project: Steampunk'd TJ11
This build is looking epic Fugs! I absolutely love the colors you are mixing here and those tubes are a very nice touch. This is going to be your masterpiece!
-
Re: Project: Steampunk'd TJ11
Quote:
Originally Posted by
jdbnsn
This build is looking epic Fugs! I absolutely love the colors you are mixing here and those tubes are a very nice touch. This is going to be your masterpiece!
Well thanks! I'm hoping I'll want to keep this one around for more than a year lol.
-
Re: Project: Steampunk'd TJ11
The res is gonna be killer lit up. :up: This just keeps getting better and better.
-
Re: Project: Steampunk'd TJ11
Quote:
Originally Posted by
msmrx57
The res is gonna be killer lit up. :up: This just keeps getting better and better.
Thanks!
-
Re: Project: Steampunk'd TJ11
Little bit of work this week.
Got a package from Nils
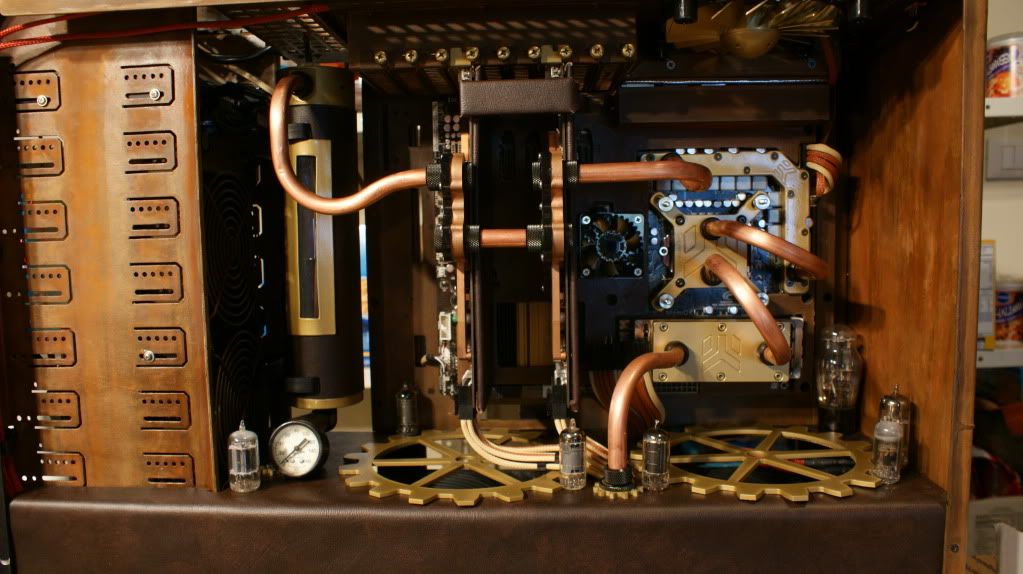
I've been asked by several people for a pic of the whole case. Here it is.
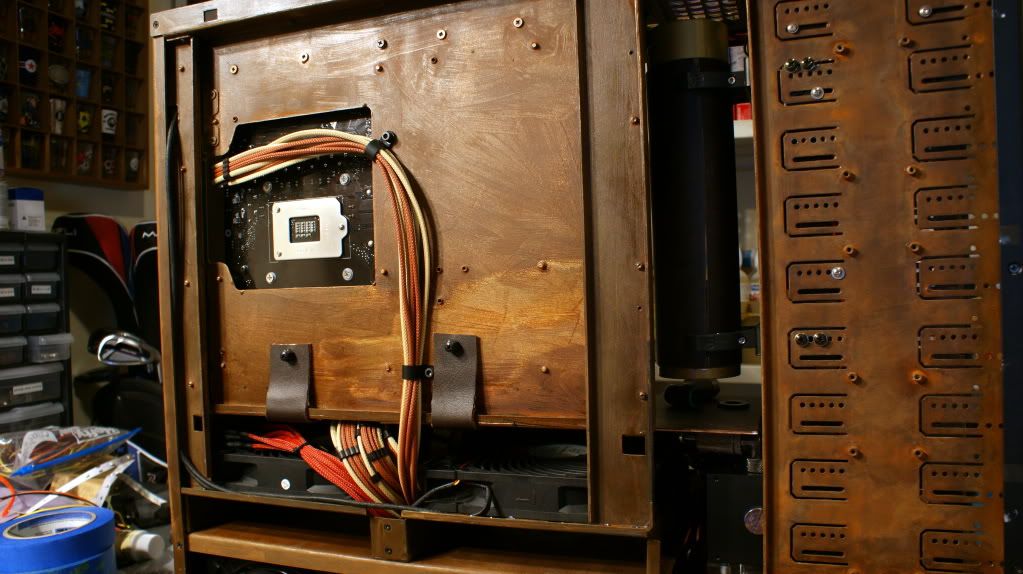
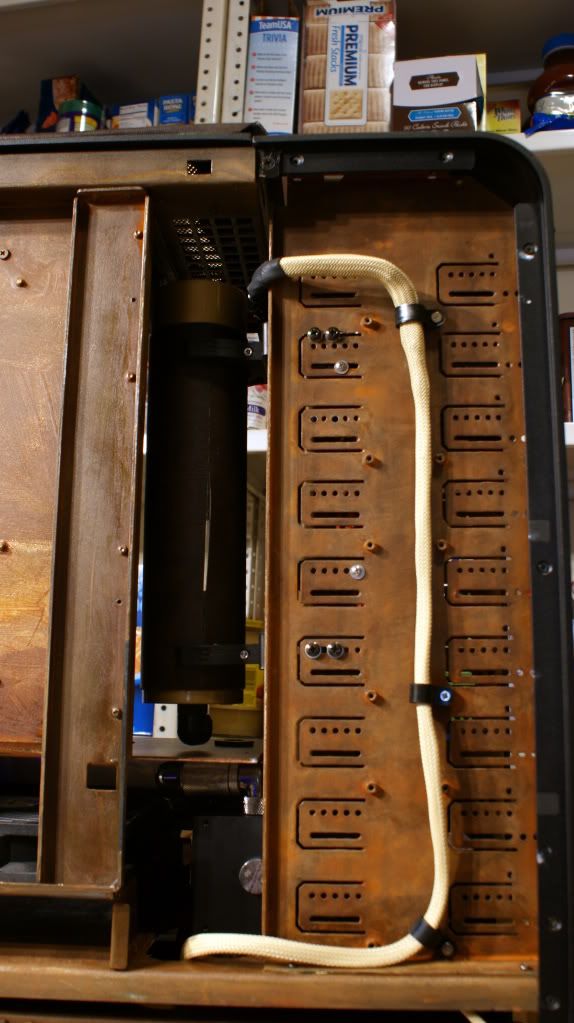
I forgot to post a pic of the back of the mobo panel with the cabling and mid plate supports.
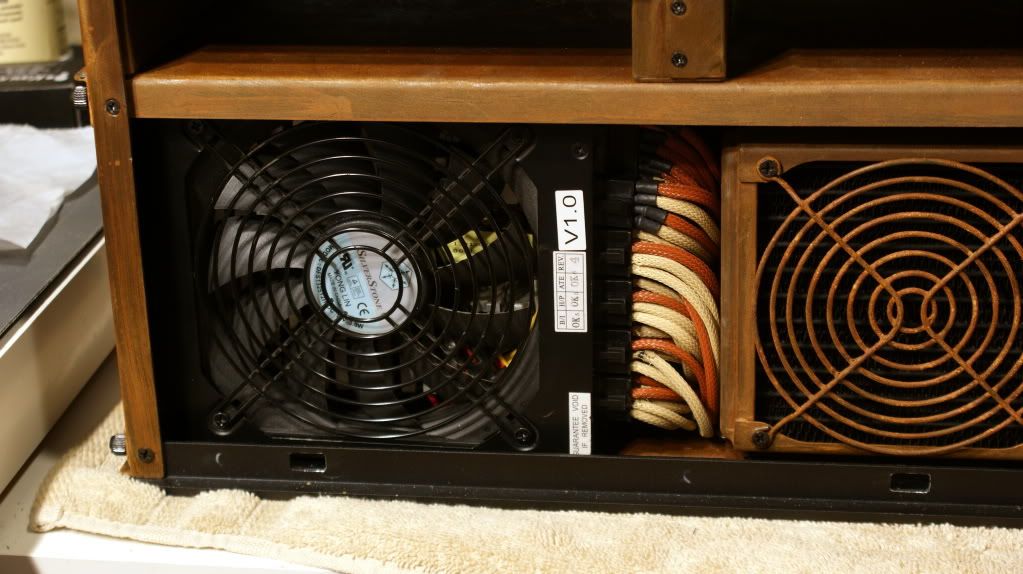
I installed the PSU and connected all the wires. Here is what it looks like.
I put the back side panel on to see how it looks.
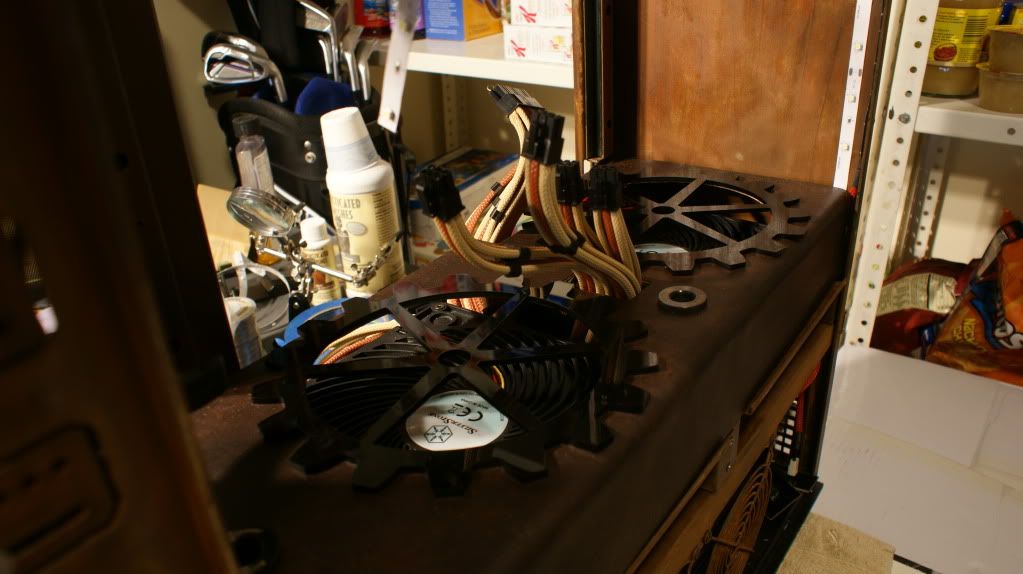
I may make something to hide the PSU...
I put the 240 rad back in the case and ran all the wires to the FC10. Still need to zip some of the wires together.
I learned that I can connect a Bitspower thermal probe stopp fitting to my FC10 so I did. I used one of the open ports on the EX360 Multiport rad.
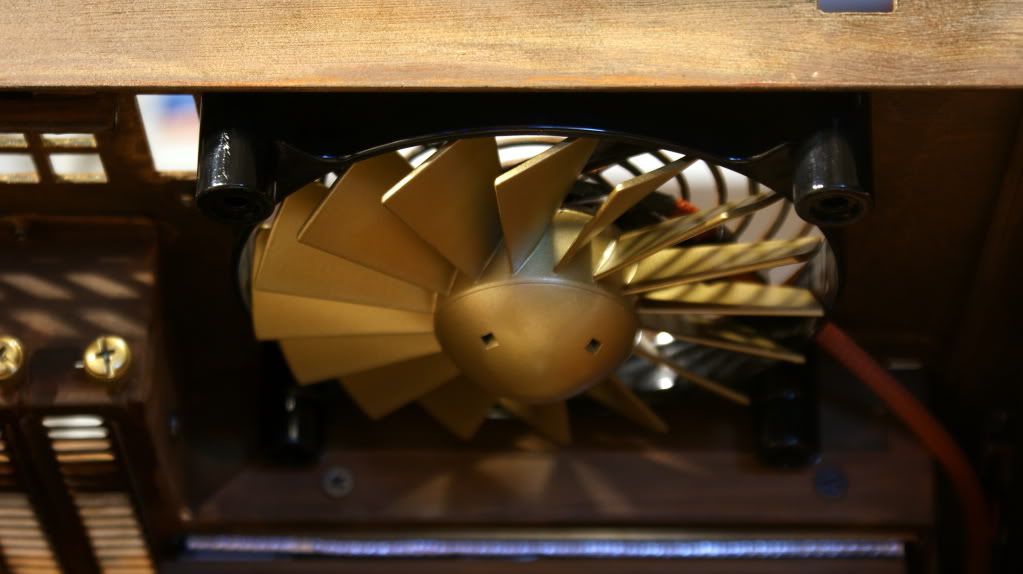
And I decided the fan in the roof of the case needed painted.
Looks better now.
Still more to do. Some of my packages were delayed so I might need another 2 weeks to finish this.
Cheers till next time,
Fuga
-
Re: Project: Steampunk'd TJ11
Looking great. Can't wait to see the rest.
-
Re: Project: Steampunk'd TJ11
Quote:
Originally Posted by
d_stilgar
Looking great. Can't wait to see the rest.
Thanks! Going to be done soon.
-
Re: Project: Steampunk'd TJ11
Quote:
Originally Posted by
Fuganater
Thanks! Going to be done soon.
Yeah, I think I'm going to have to pick up one of those fan controllers. It's too cool.
-
Re: Project: Steampunk'd TJ11
Quote:
Originally Posted by
d_stilgar
Yeah, I think I'm going to have to pick up one of those fan controllers. It's too cool.
Good luck. I've only seen them at Xoxide.com and they sell out in like a day. + now I think they are around $100? I got mine for $60 on there. Also I hear that Lamptron is going under. I'm trying to find out more.
-
Re: Project: Steampunk'd TJ11
Looking good, I love the leather. Glad the tubes found a worthy home.
-
Re: Project: Steampunk'd TJ11
Quote:
Originally Posted by
Fuganater
Good luck. I've only seen them at Xoxide.com and they sell out in like a day. + now I think they are around $100? I got mine for $60 on there. Also I hear that Lamptron is going under. I'm trying to find out more.
I haven't heard anything about them going out of business. I know they've been having lots of issues with the FC10. Maybe if they go out of business they'll sell to someone who can get more out on the market.
I know that the MSRP is like $75, and yeah, I've seen them at xoxide for $100. I'd pay it though. It's a pretty sweet bit of hardware and would go so well with my 5.25" bay tube amps. They were in stock a couple days ago but are now gone. I've signed up for the email notification for when they are in stock again.
-
Re: Project: Steampunk'd TJ11
Things have been pretty busy for me so sorry for the delayed update. I try to do at least one update a week but sometimes that doesn't happen. Lately, Photobucket won't let me upload from home. Probably because of my shotty internet. Oh well, On with the modding!
I got a few things in the mail.
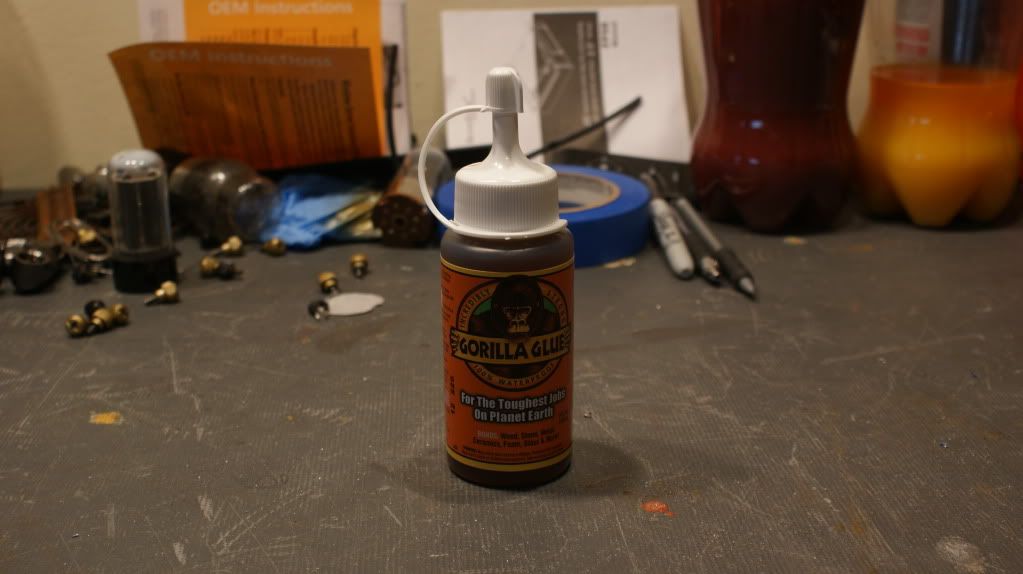
Gorilla Glue (This actually didn't work so I picked up a different kind)
You all wanted it so here it is. Copper tubing and a bender.
Another bender which I need to mod to accept the 12mm tubing and a cutter. The cutter is for hard tubing so I have to be careful when cutting the copper.
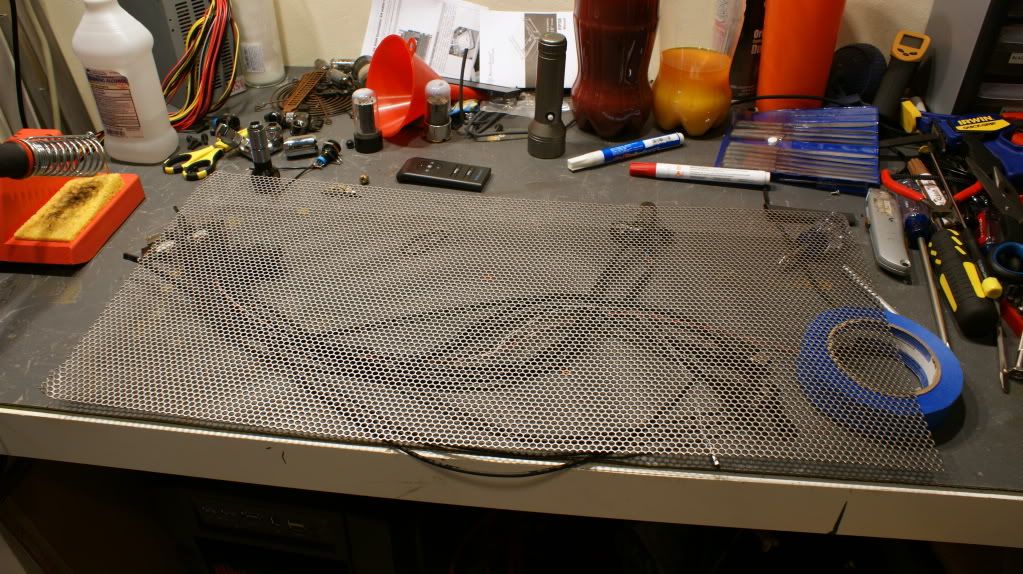
Modders Mesh
LEDs and LED strip
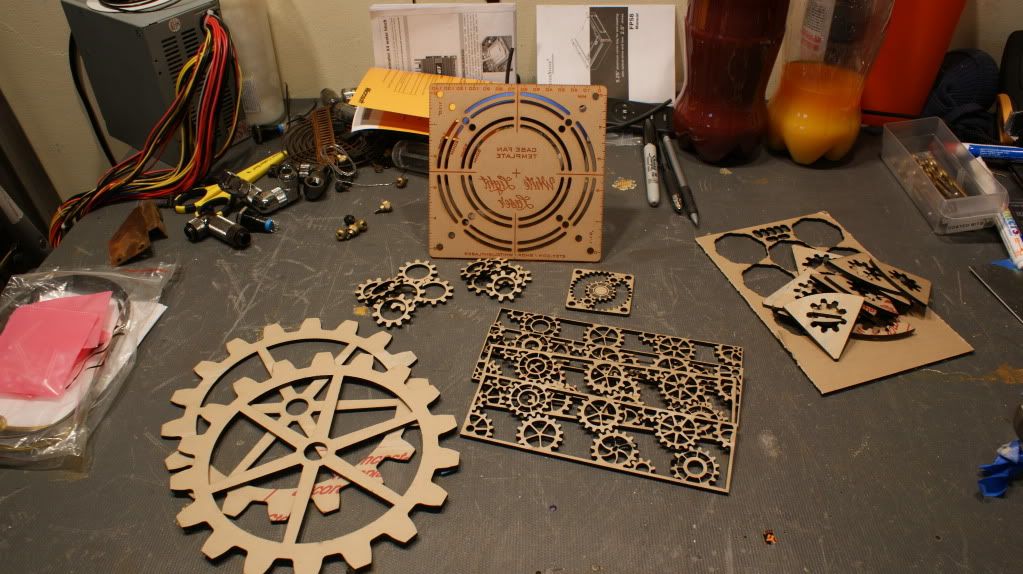
Acrylic order from Thomas at White Light Laser. He threw in tons of extra gears and stuff at no extra cost :D
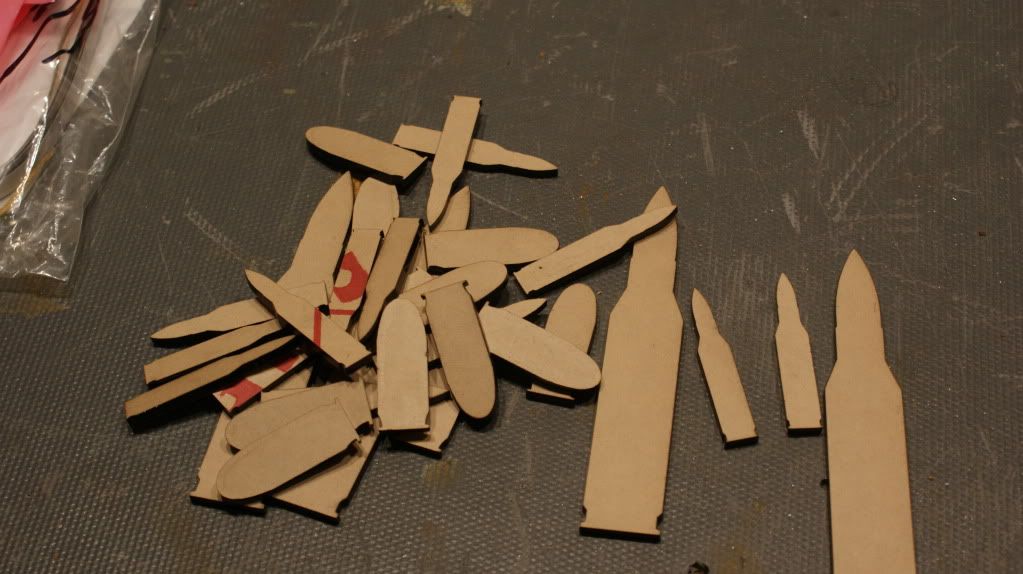
Maybe for a future military mod?
These grills are for the vets on the doors. I painted them gold.
And glued them on. Pics later once they are dry.
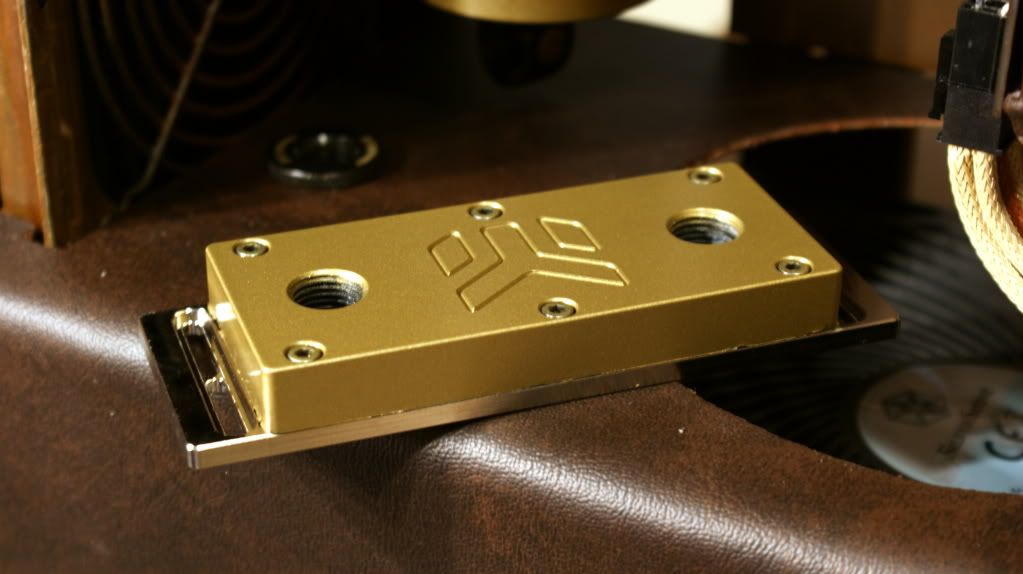
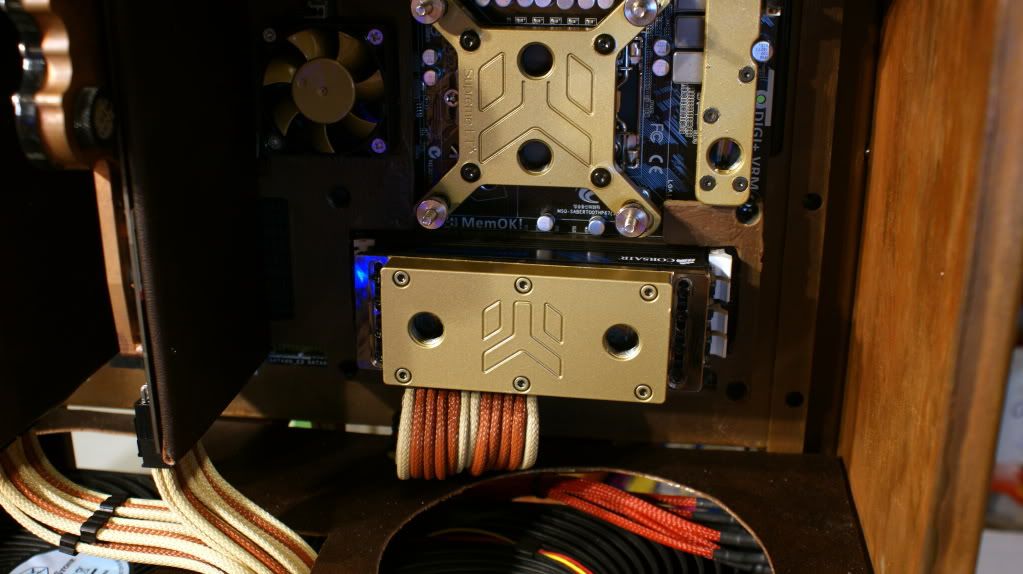
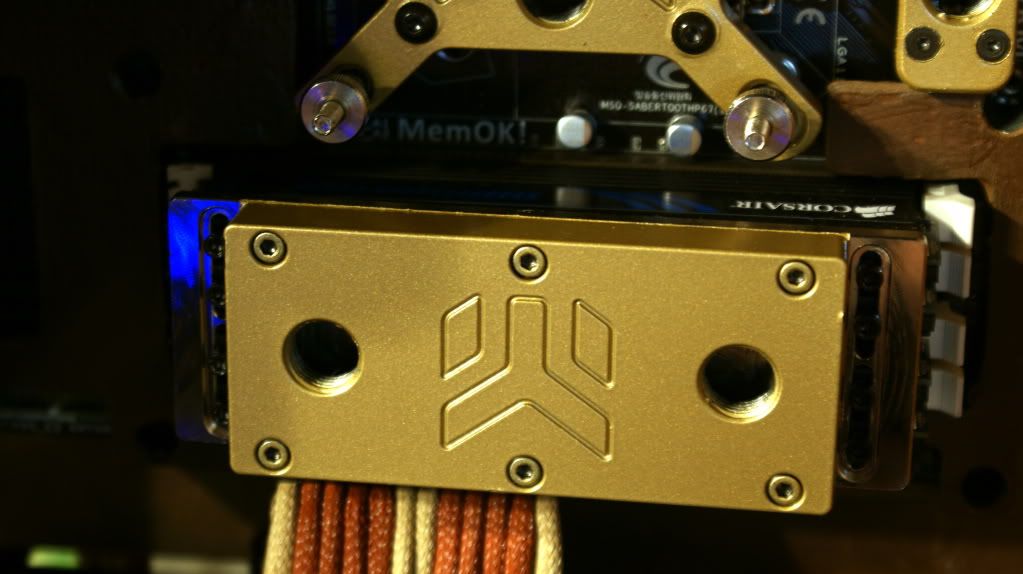
I got my dual channel EK-RAM Dominator block so I painted it gold.
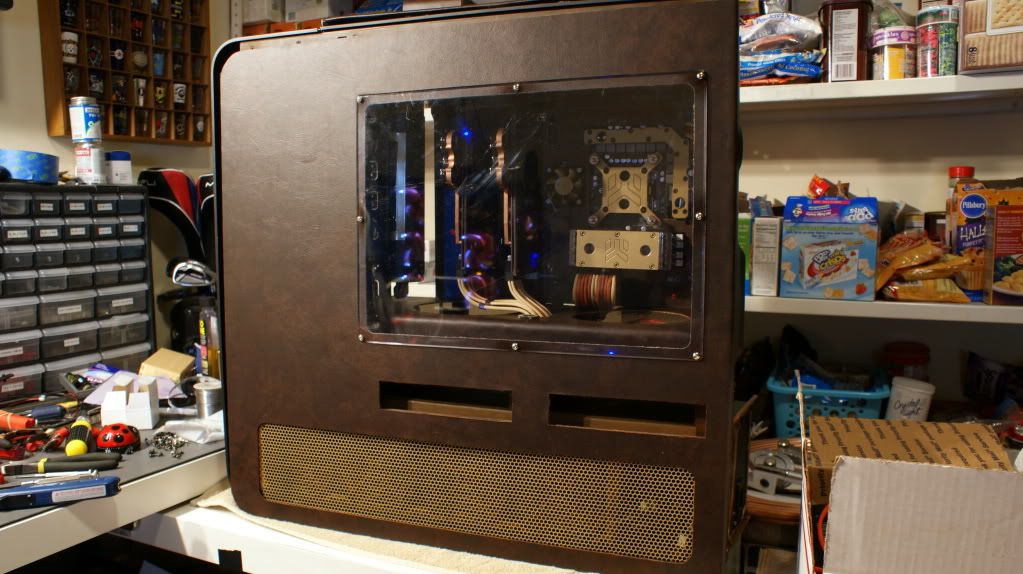
Random side panel shot
Added some foam under the pumps.
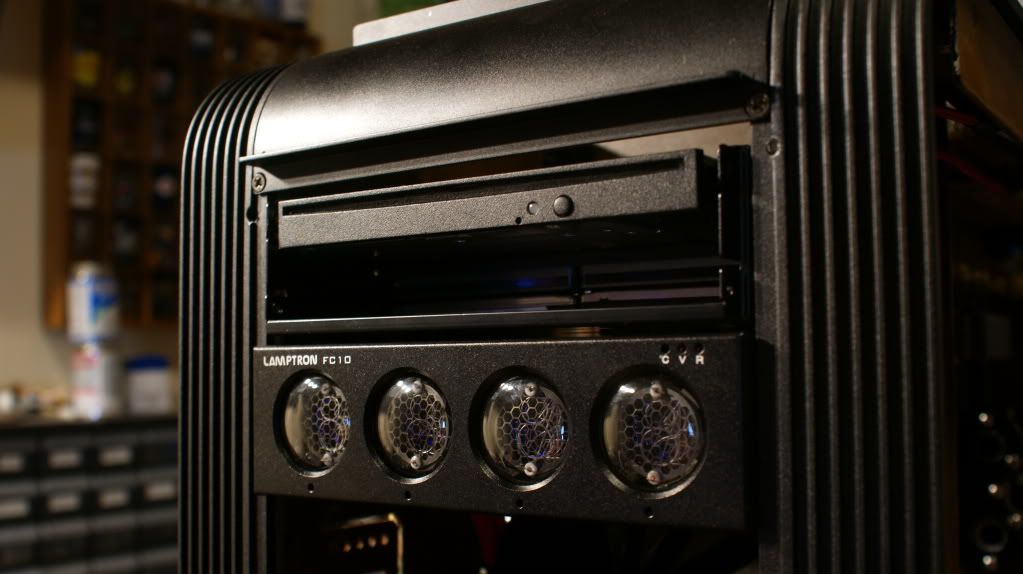
Got the FC10 installed and the DVD drive
I then made my own power cables for the DVD drive and 4x HDD/SSDs. Sleeved it and make it look as pretty as I could.
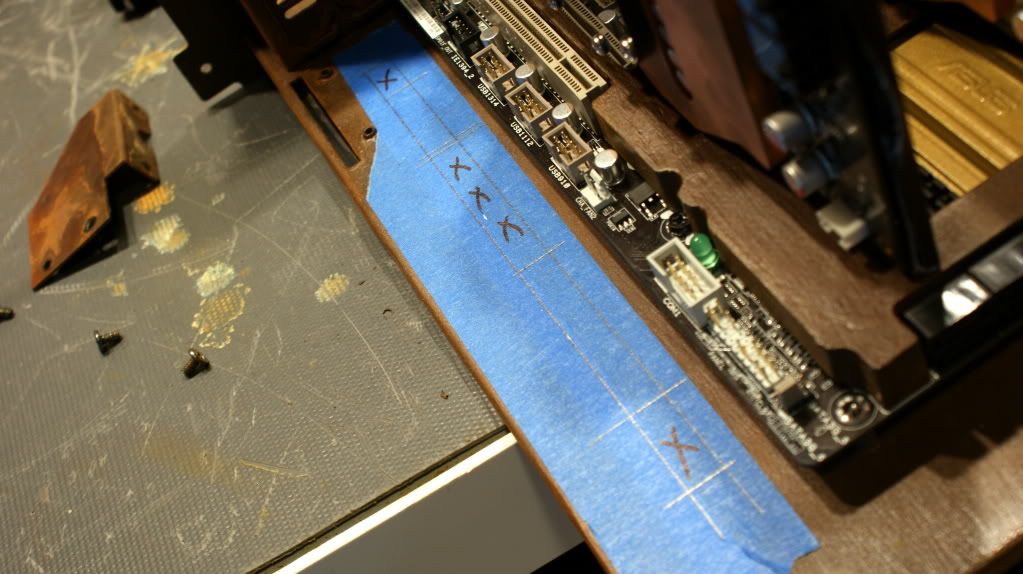
I need to cut some holes in the mobo tray for all the cables. I'm still filing but here are the marks.
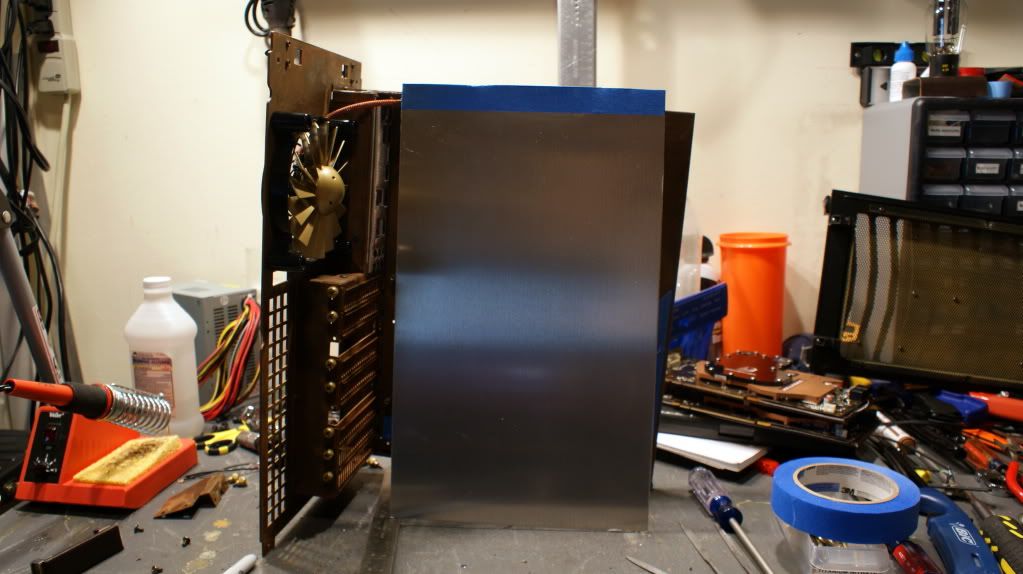
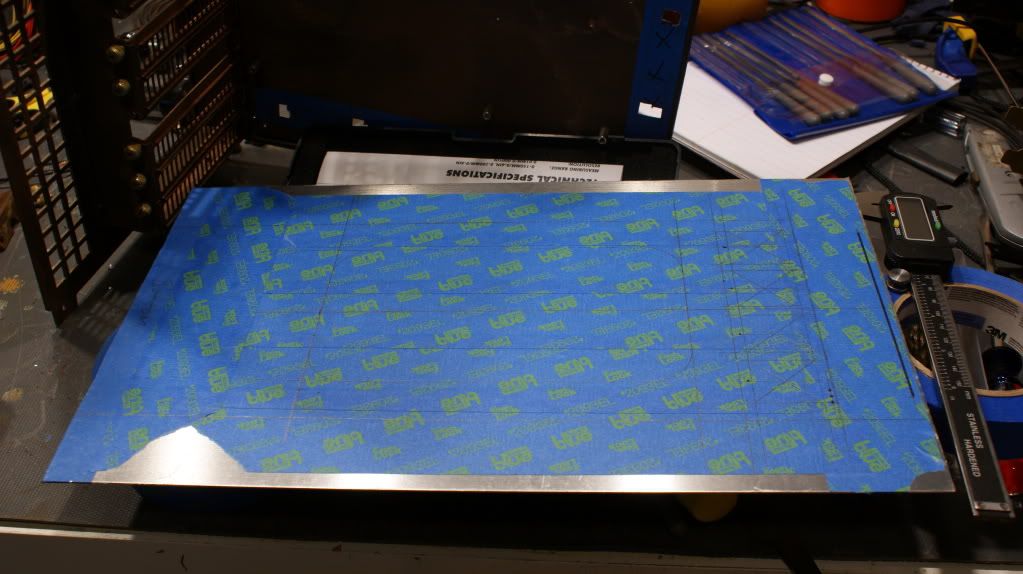
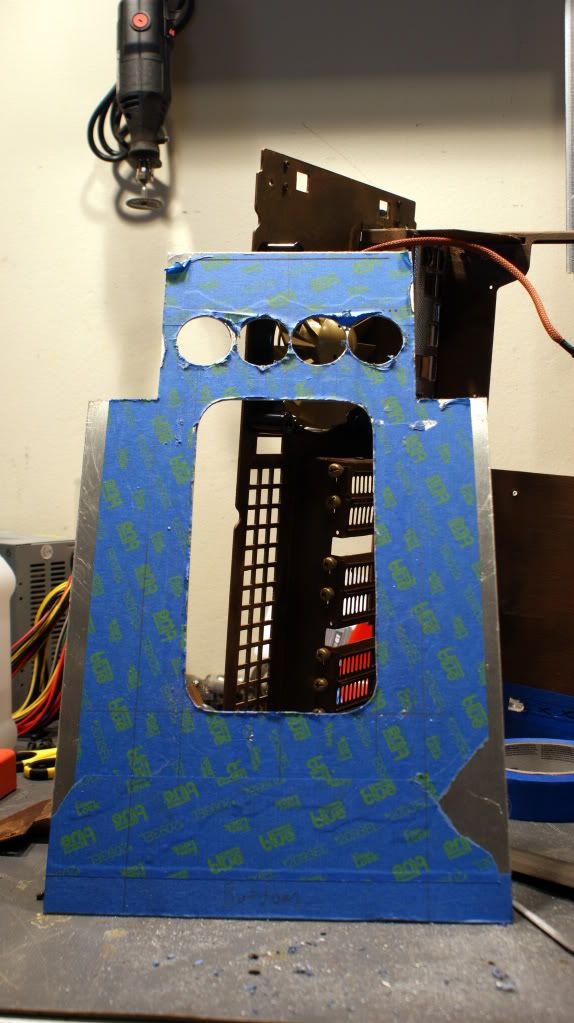
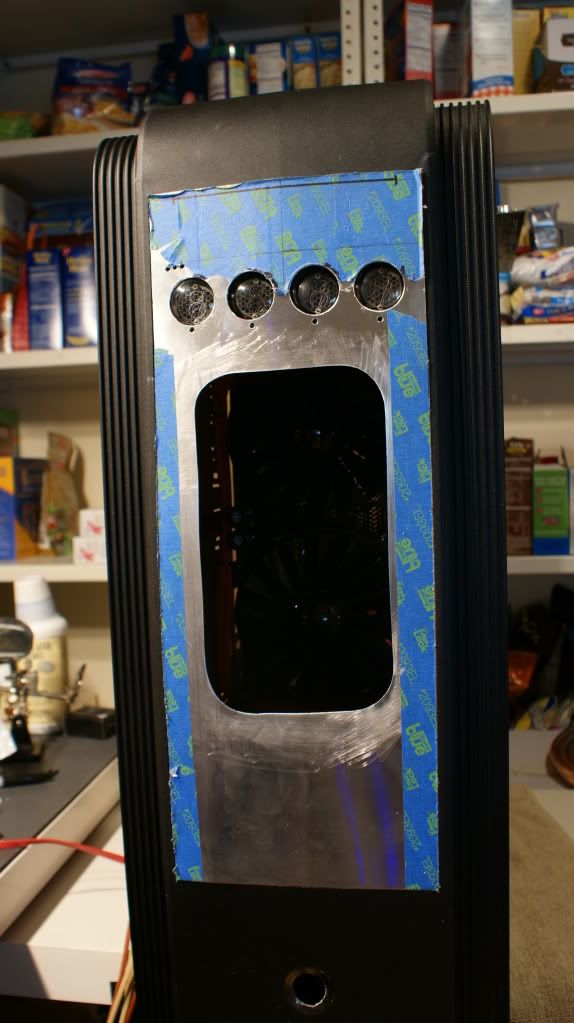
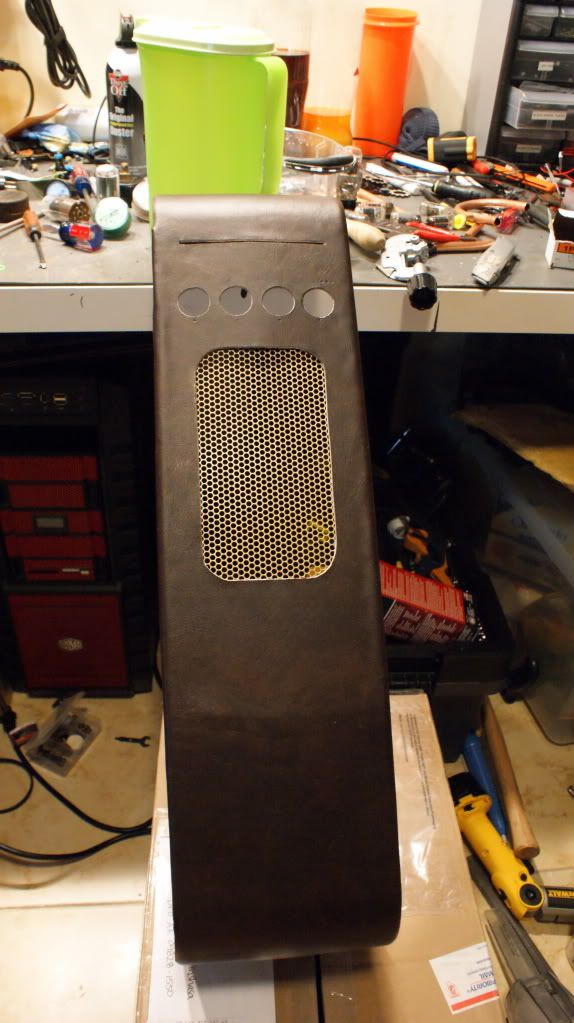
Now to make the custom front panel.
All cut
Epic fail. I used too big of a hole saw...
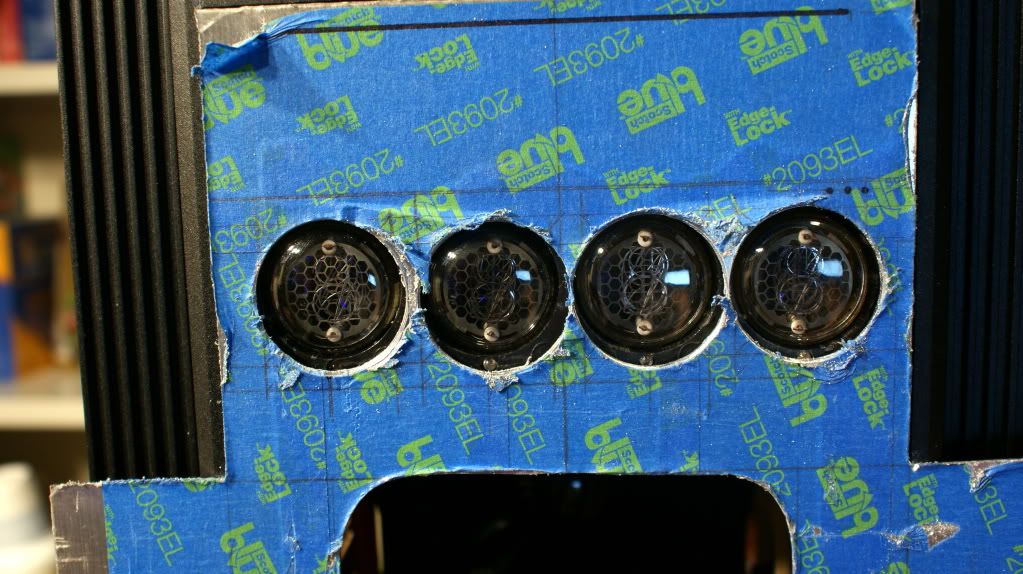
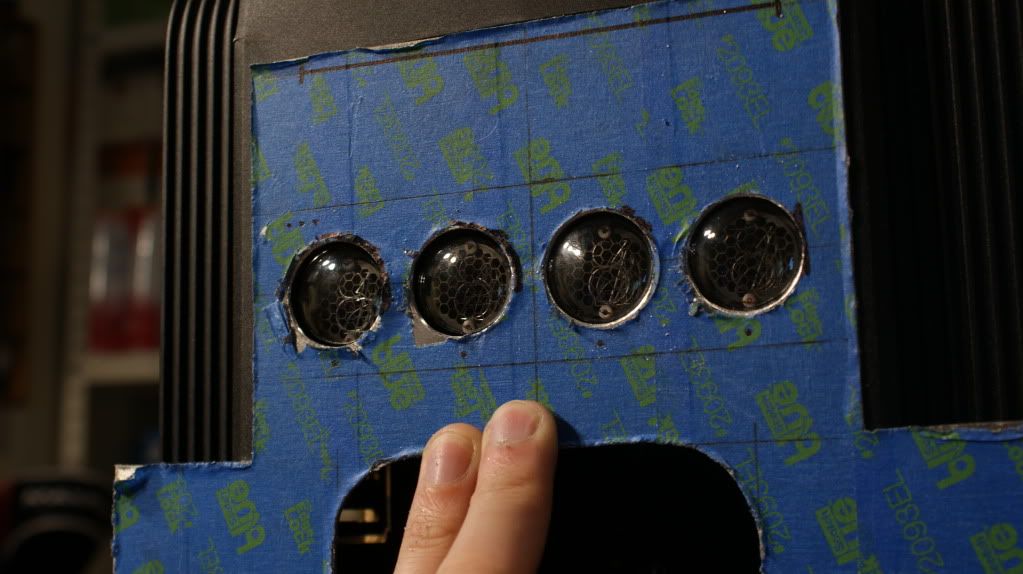
Remade!
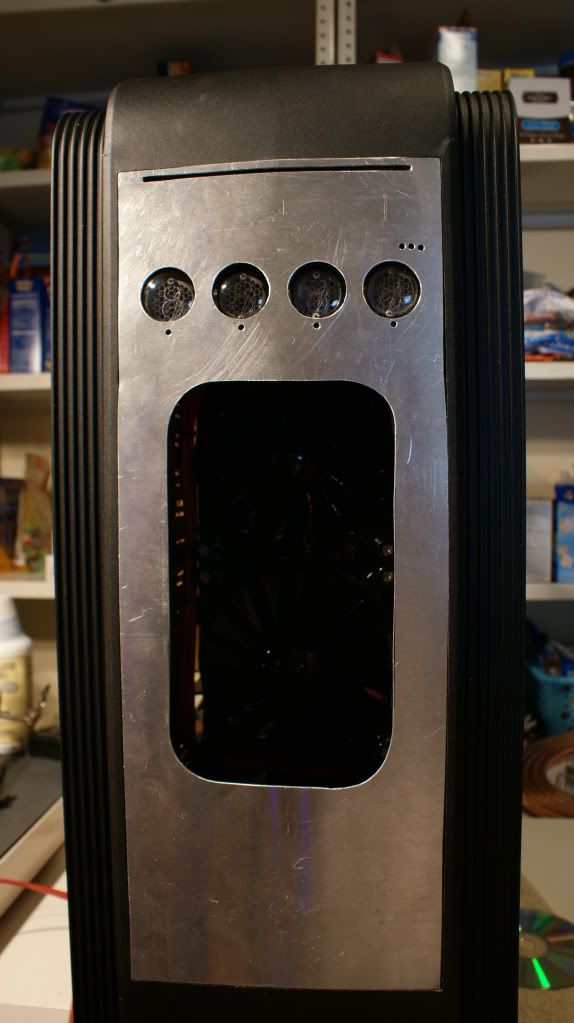
Perfect fit.
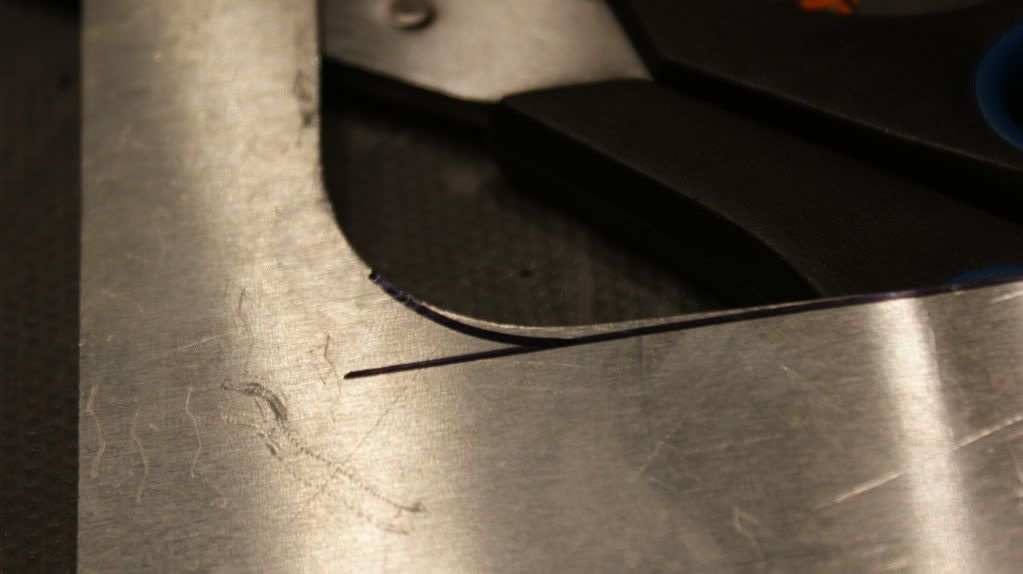
Trimmed off the wings. I was going to fold them in but it would have been more work.
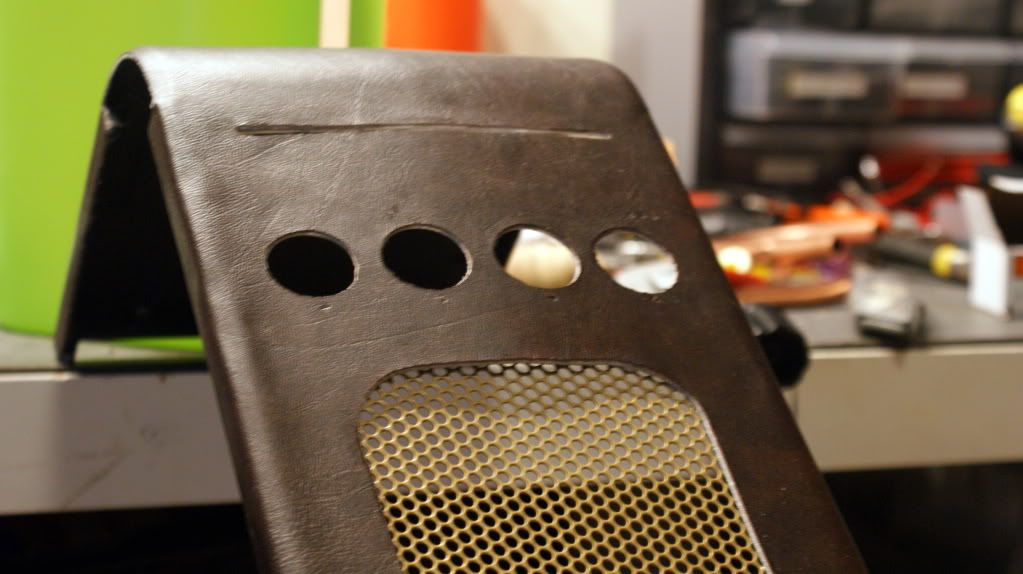
The big hole in the middle will be covered with gold mesh just like the side panels. The entire front panel will be coverd by leather to match the doors.
The big hole looks a bit crooked... After getting out the square, it is. I'll be cutting/filing that soon.
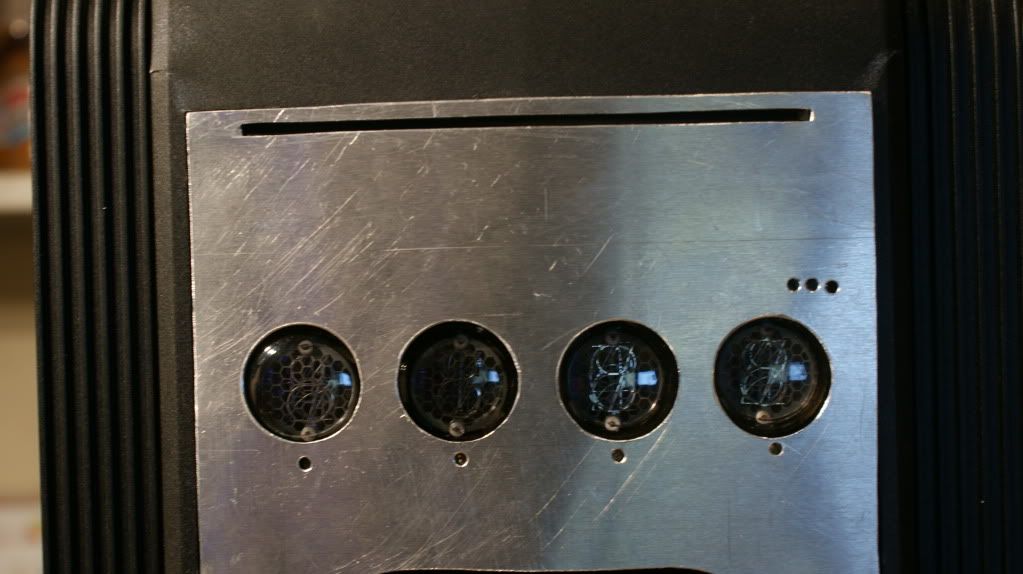
Cut and filed the DVD slot
Drilled all the holes for the FC LEDs to show through
So those LEDs I ordered... look freaking orange again! They say amber though. I ordered some more from a different place, well same place I got the LED strips from so hopefully they will match. They are from Hong Kong though so shipping takes like 2 weeks.
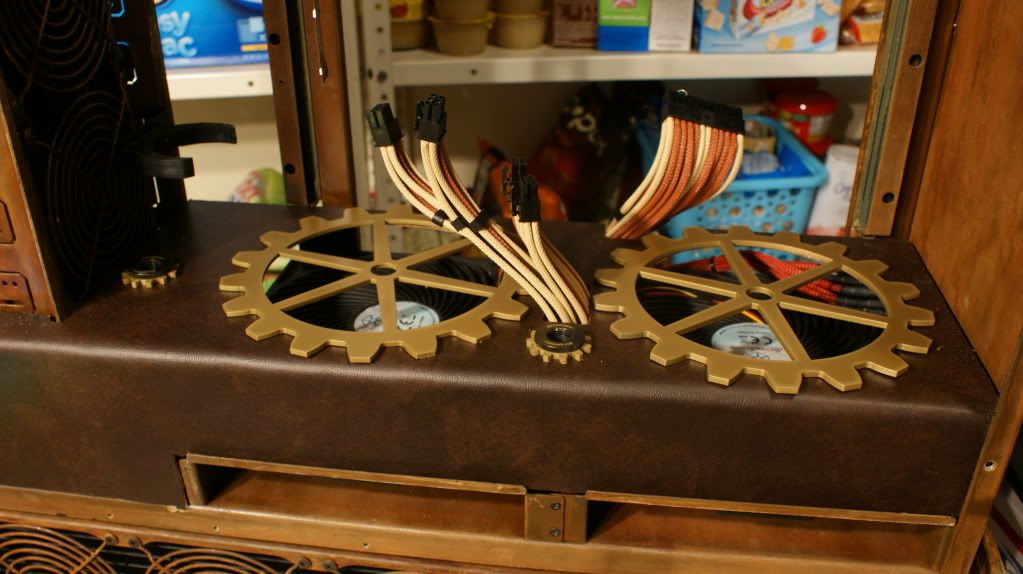
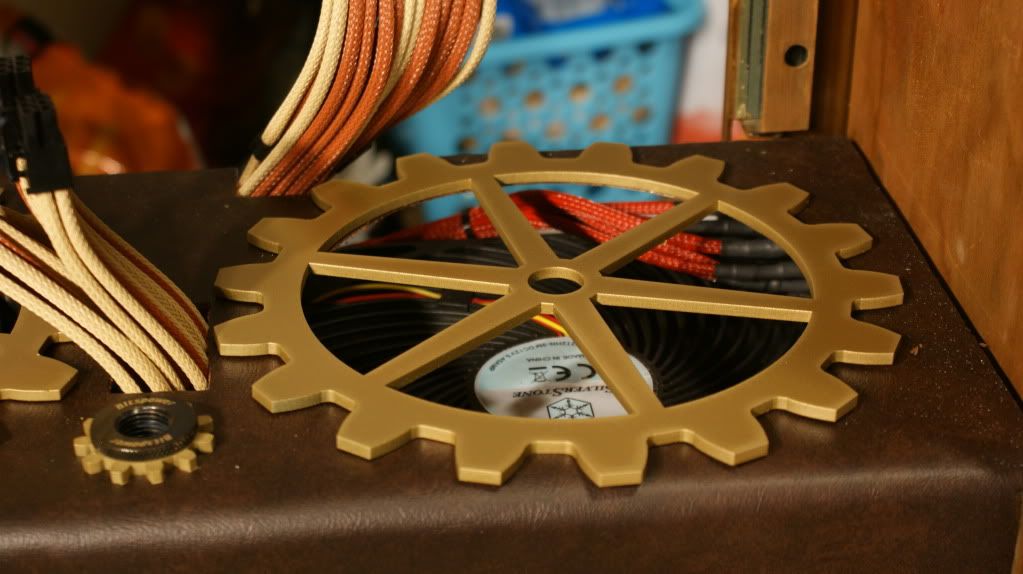
So out of the acrylic parts there were 2 big gears. Here is where they go.
Paint them gold.
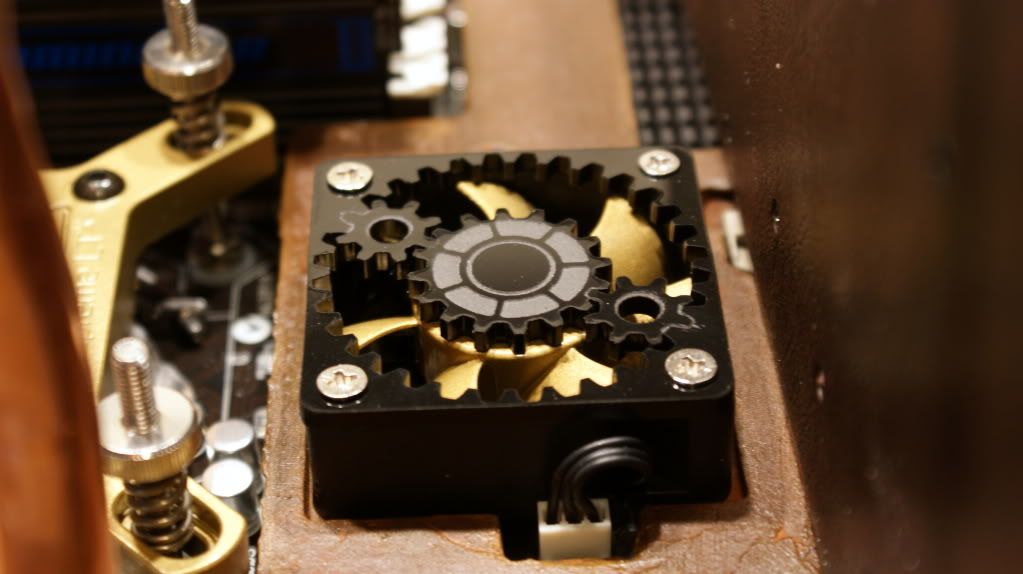
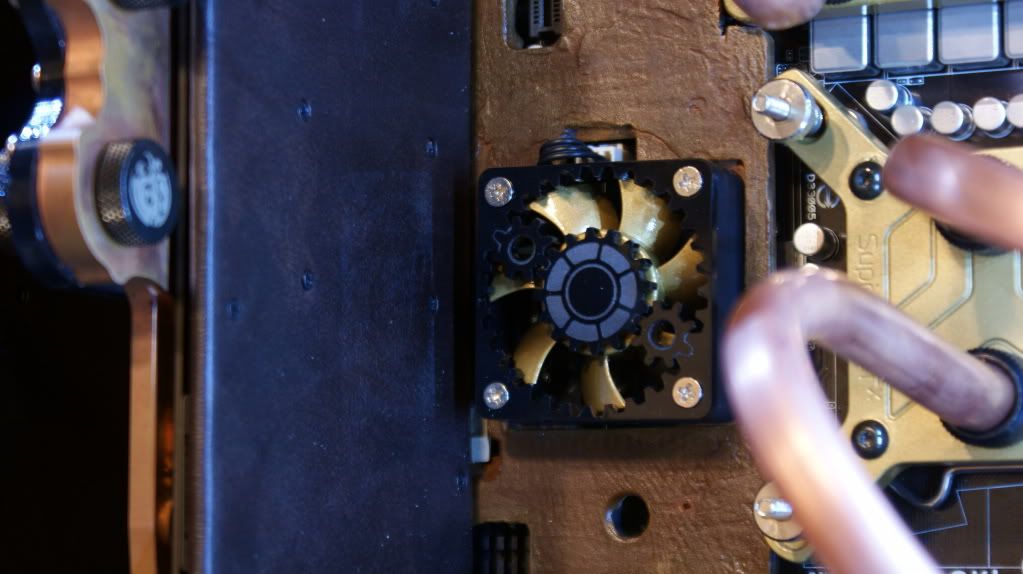
They looks good. Also you can see a small gear around the fill port.
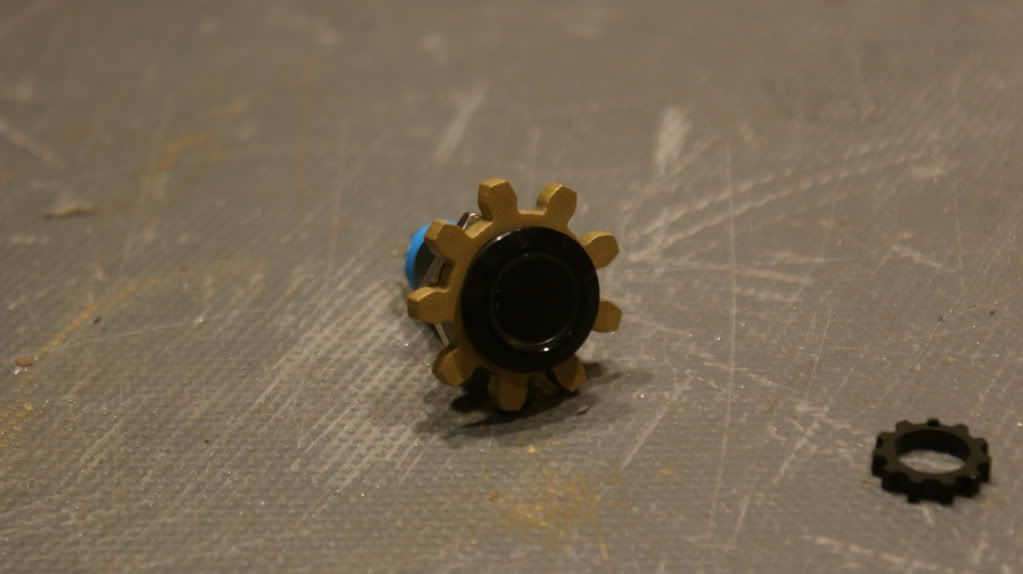
I also had gears made for the power buttons.
Thats it for this update. My to do list is getting shorter every day but I keep adding one or 2 things a day... but thats modding for you. Only things I'm waiting on is the fittings for the tubing and new LEDs.
Cheers till next time,
Fuga
-
Re: Project: Steampunk'd TJ11
:eek: HOLY CARP!!!! This just keeps getting more and more awesome!!!
Love the details like the gears around the fill port and power button. :up:
-
Re: Project: Steampunk'd TJ11
It still scares me how I am not really all that bothered by all the gold.
-
Re: Project: Steampunk'd TJ11
Quote:
Originally Posted by
Stonerboy779
It still scares me how I am not really all that bothered by all the gold.
I think it has to do with the overall design pallete he has chosen. It doesn't stick out because he is consistent with it and it matches the steam punk aesthetic nicely.
-
Re: Project: Steampunk'd TJ11
Quote:
Originally Posted by
msmrx57
:eek: HOLY CARP!!!! This just keeps getting more and more awesome!!!
Love the details like the gears around the fill port and power button. :up:
Thanks man!
Quote:
Originally Posted by
Stonerboy779
It still scares me how I am not really all that bothered by all the gold.
Haha, ya me too. I wasn't sure how it was going to look but it seems to be a good accent color aganist the leather.
-
Re: Project: Steampunk'd TJ11
Been working hard to get everything done.
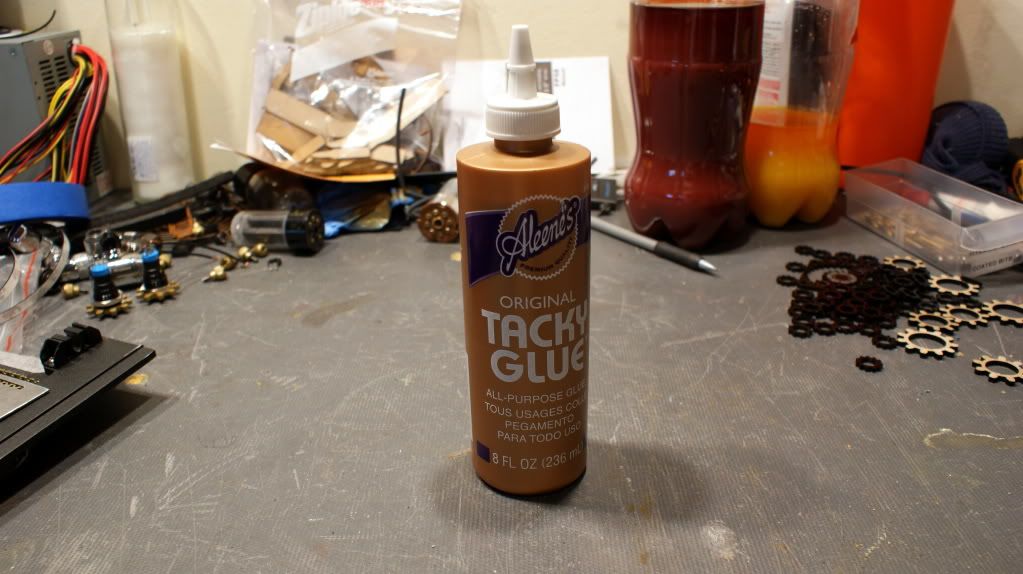
Here is the glue I ended up using. it works great.
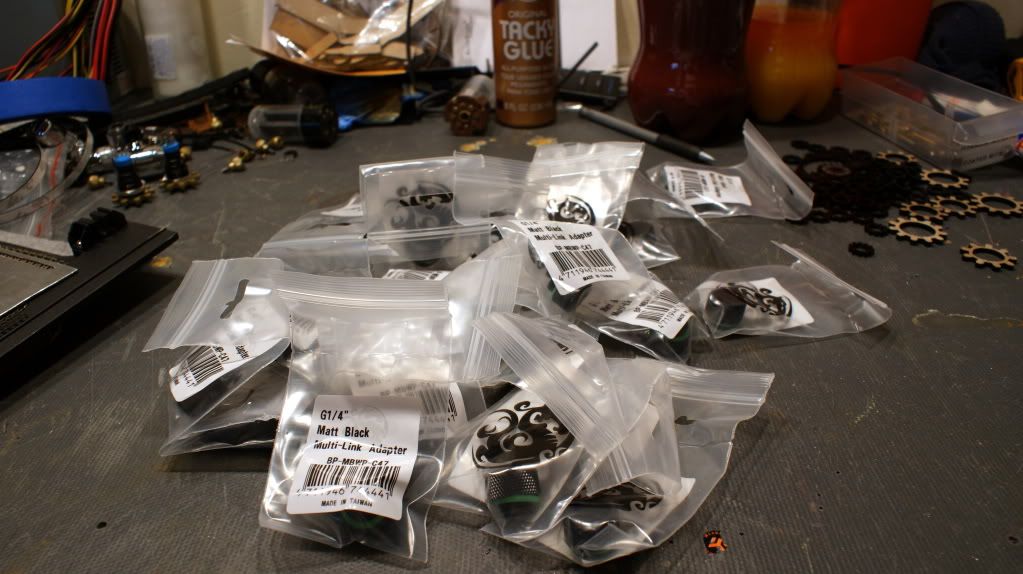
Got my Bitspower Multi-Link adapters in.
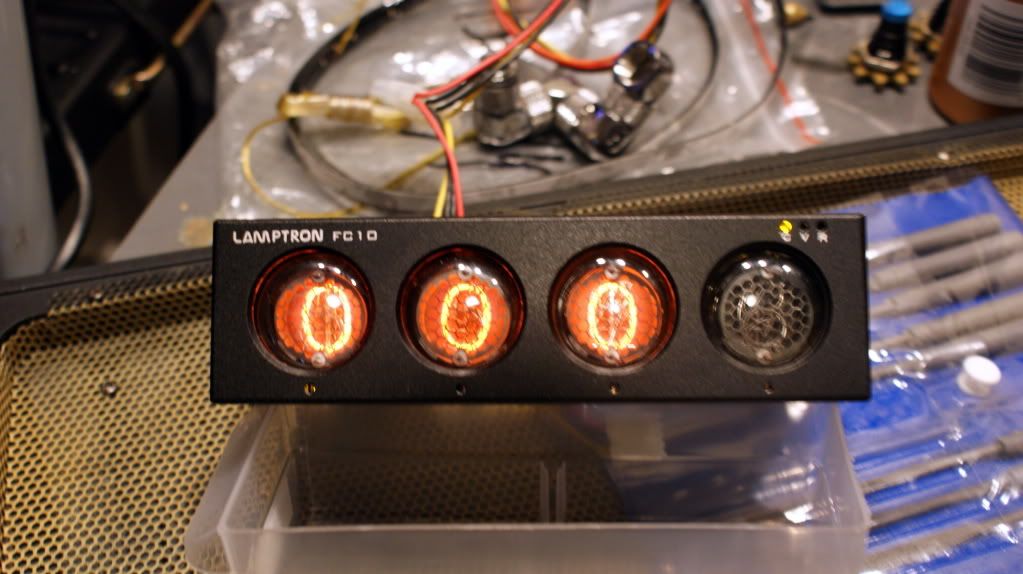
Bit of bad news... FC10 broke. I think it broke when I way trying to push it into the 5.25" bays. its a tight fit and my finger slipped and hit one of the vacuum tubes. Lamptron is sending me 2 new ones :D
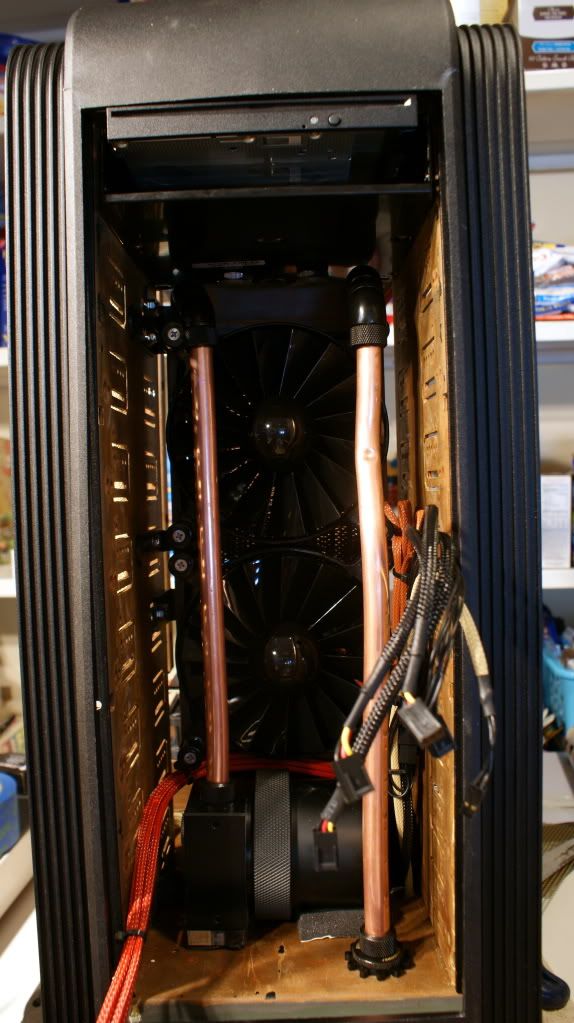
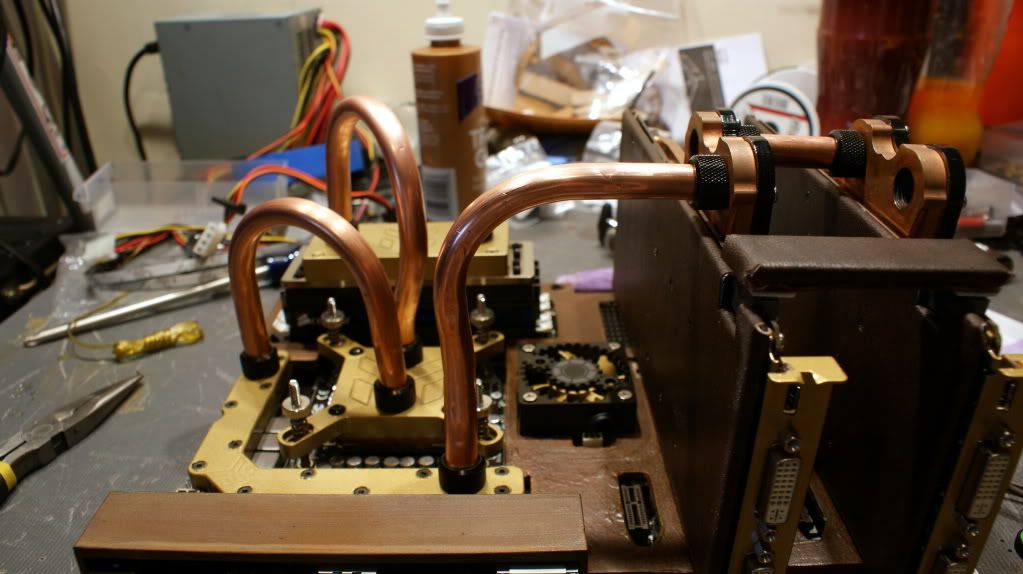
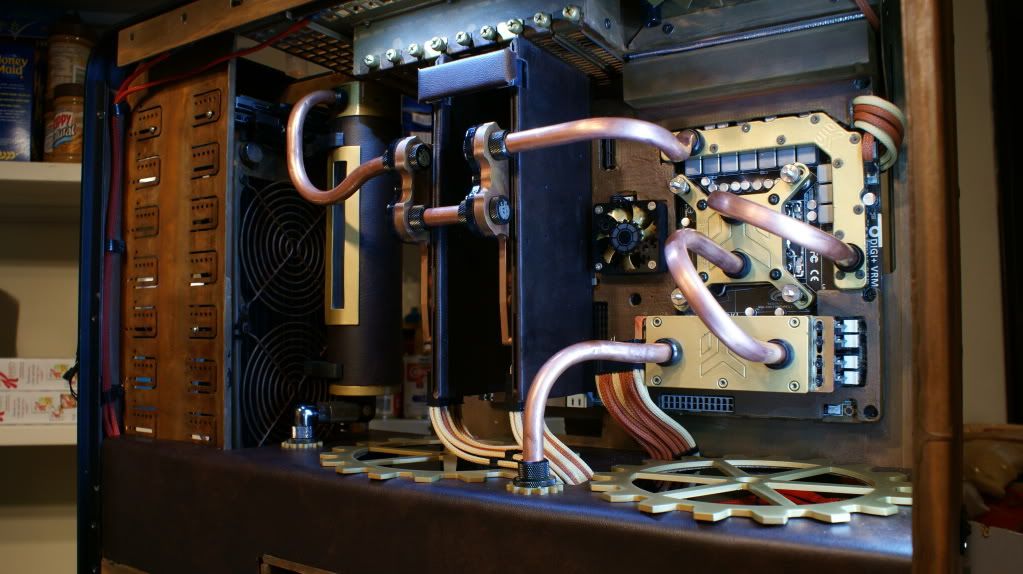
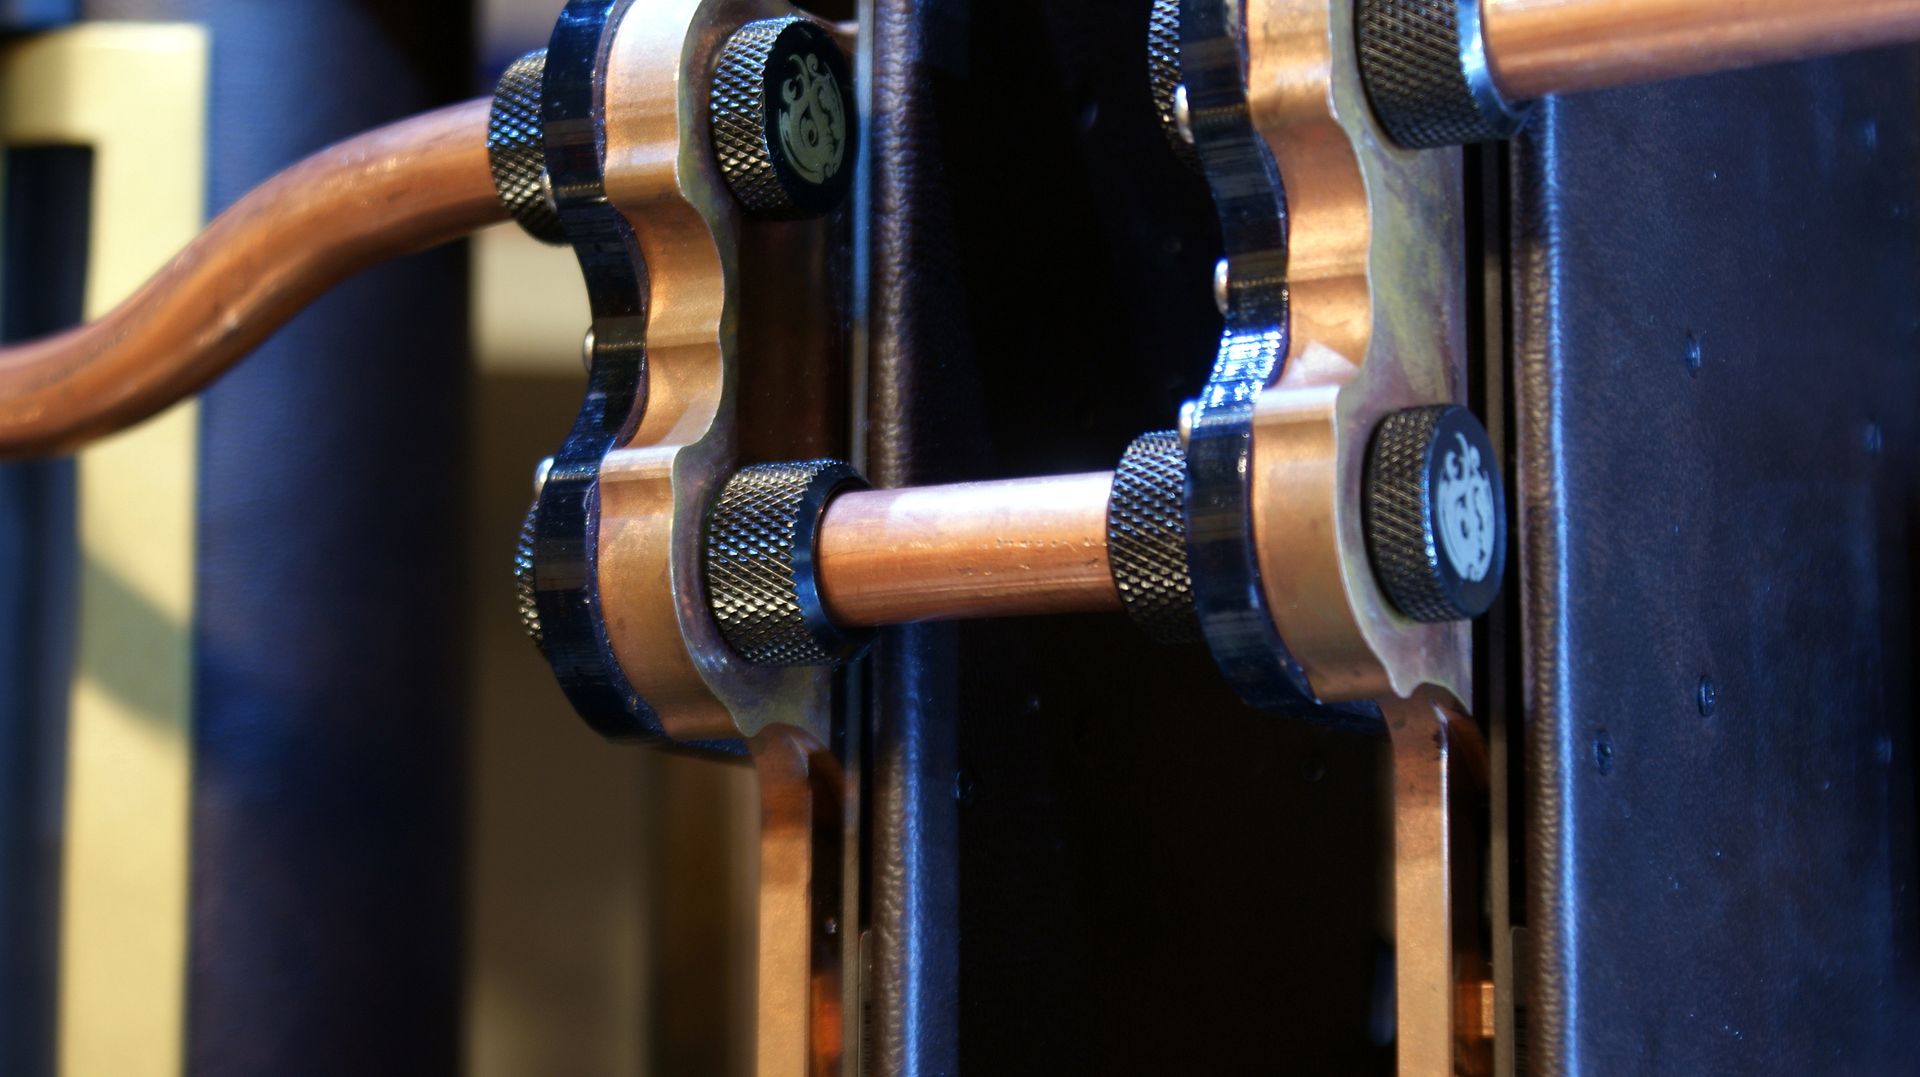
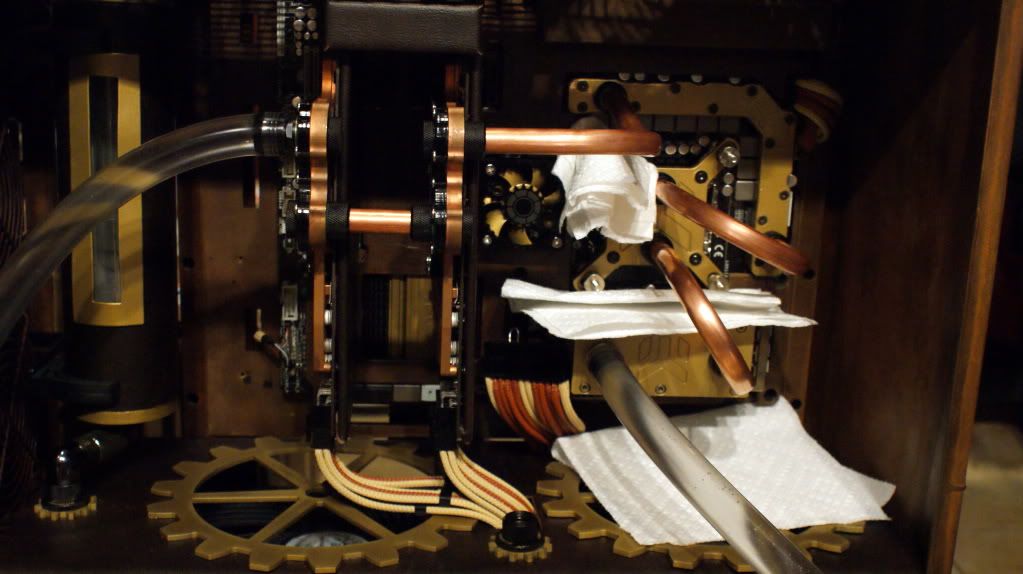
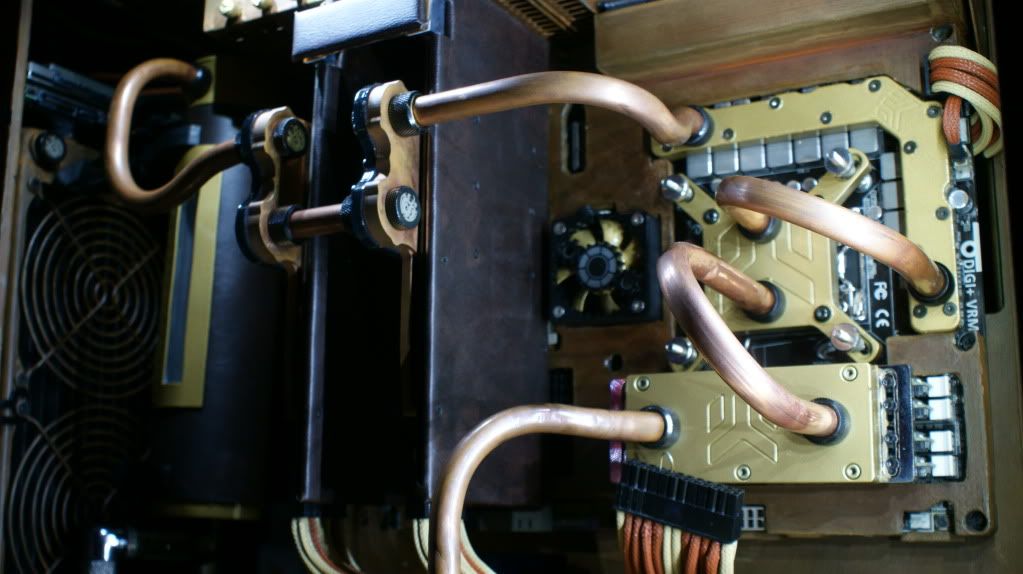
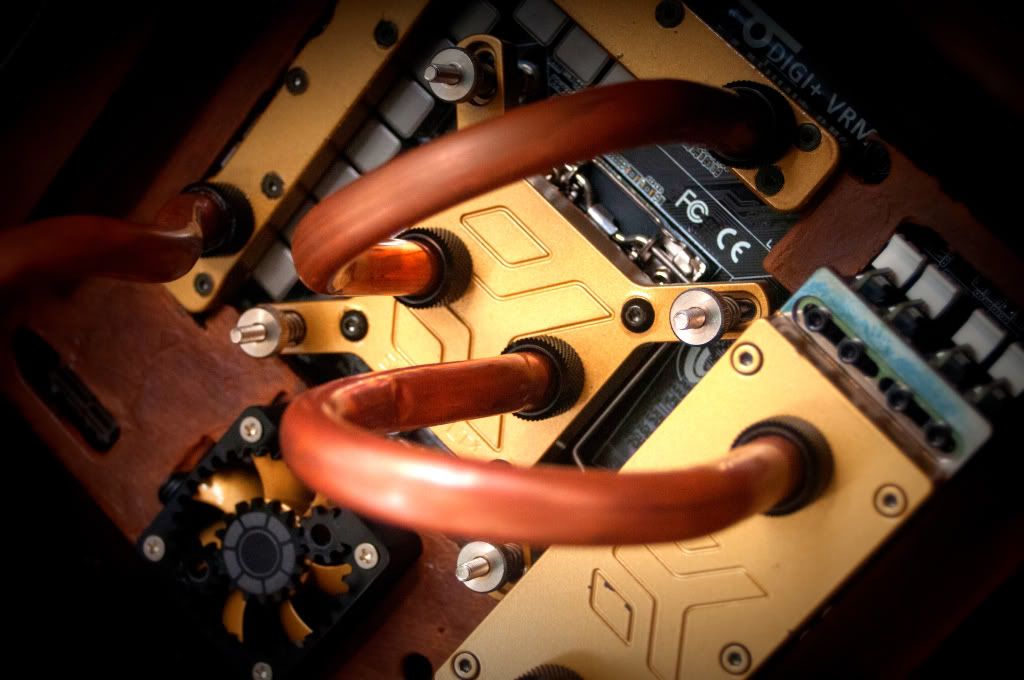
I started the piping. Left pipe is from the pump top outlet to the 240 rad. Right pipe is from the 240 rad to the 480 rad.
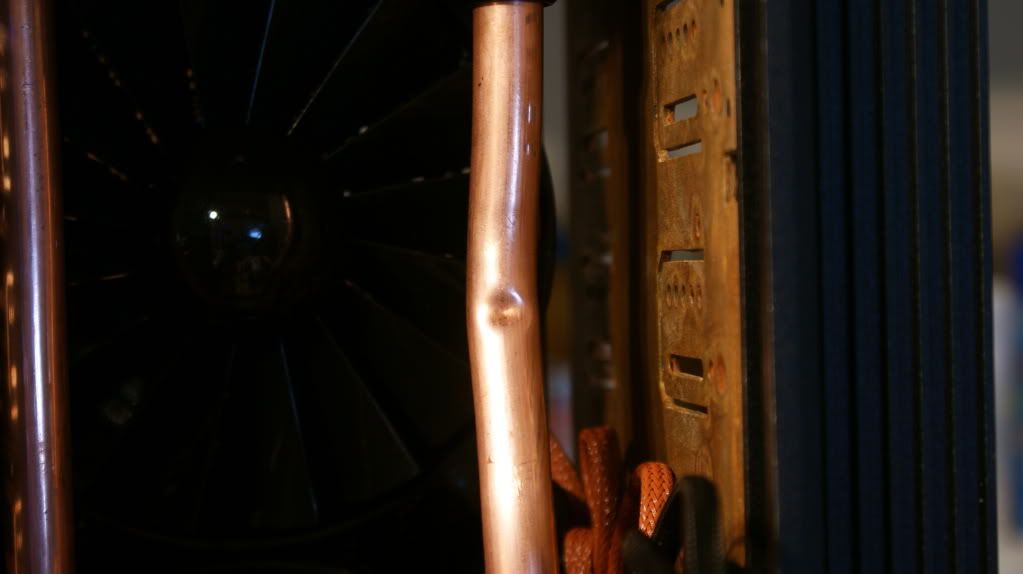
Right side has a small dent. I may replace this pipe but you can't see it with the front panel on.
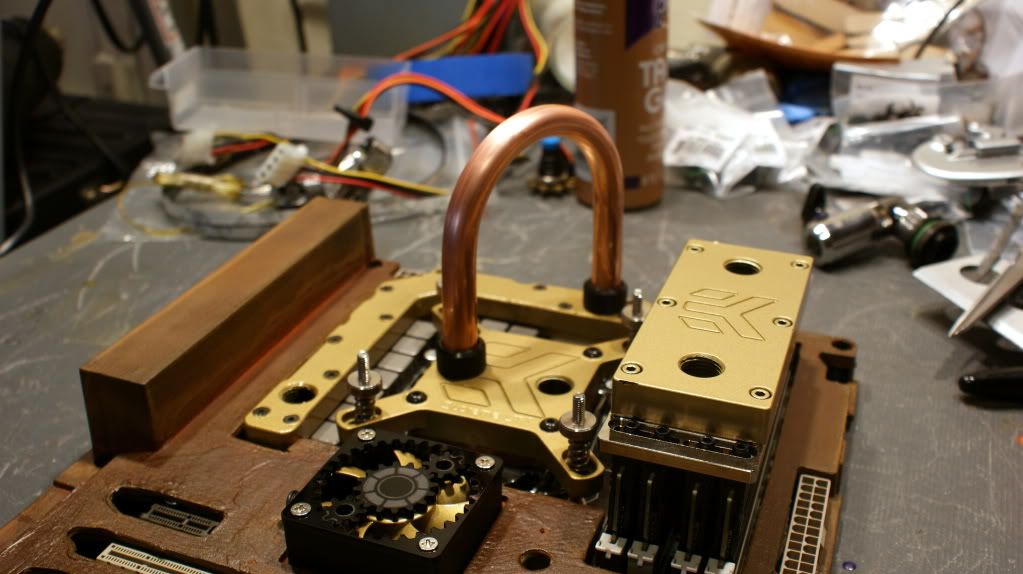
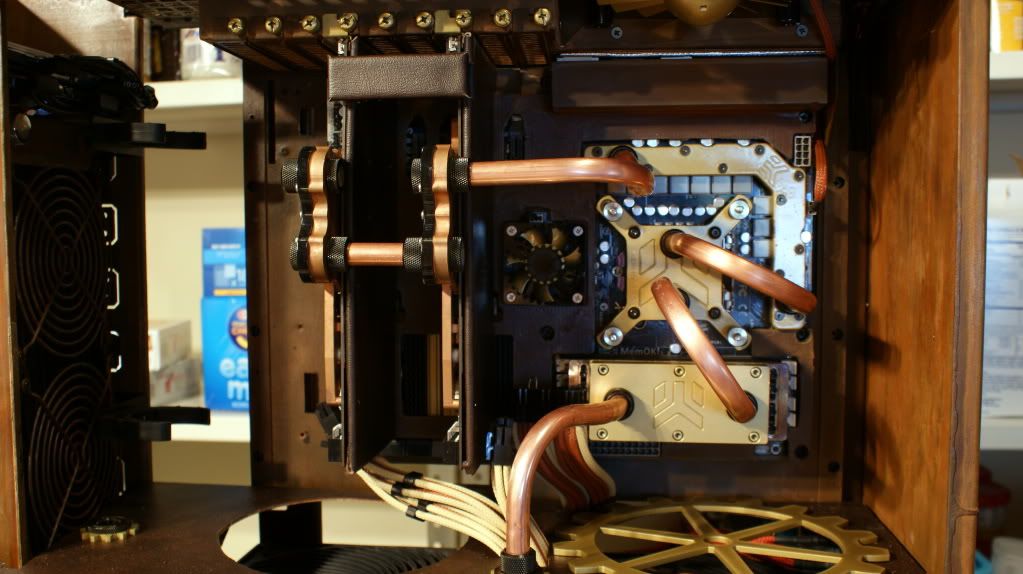
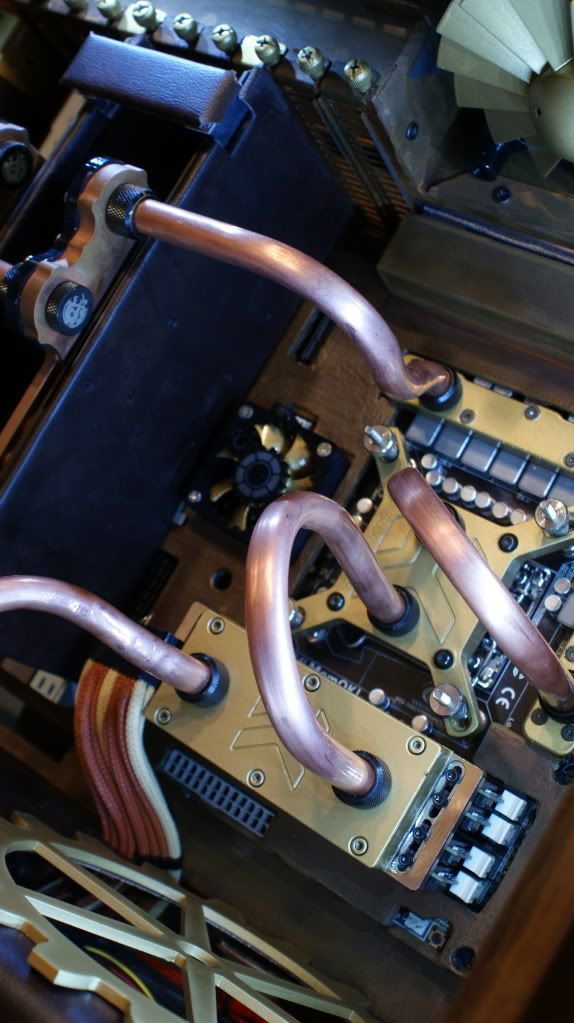
First connection on the mobo.
2nd
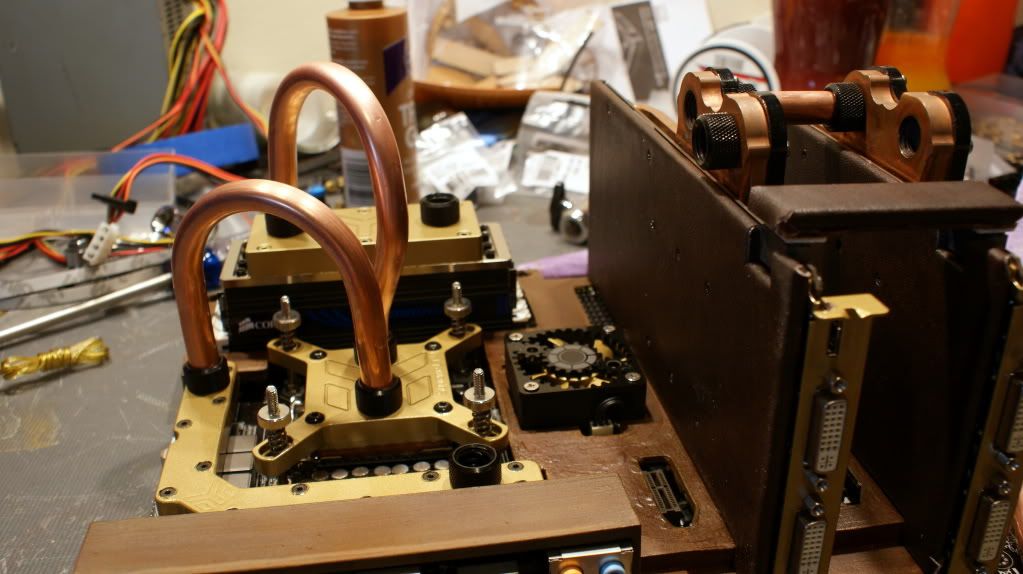
3rd & 4th
Inside the case with the 5th tube
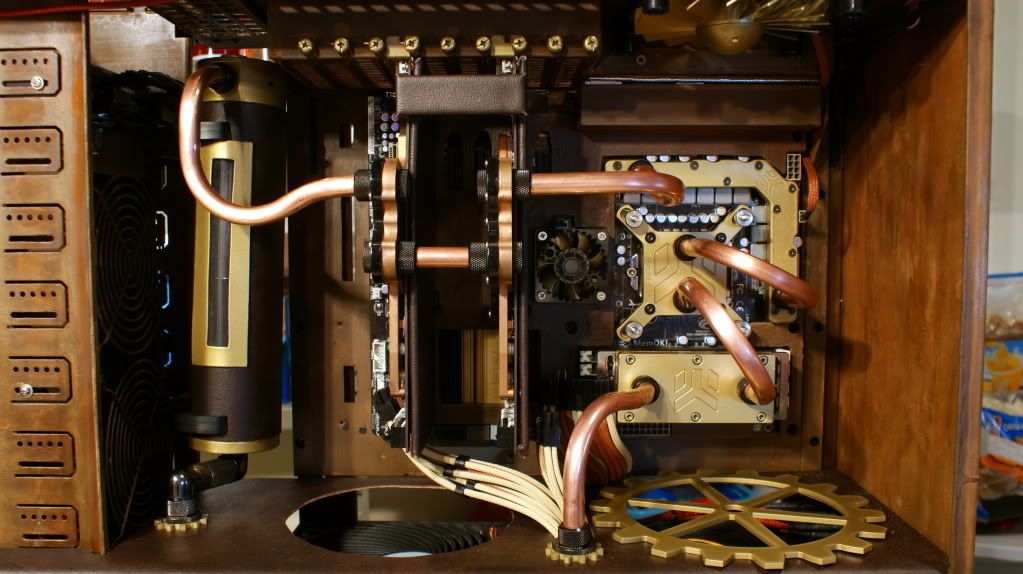
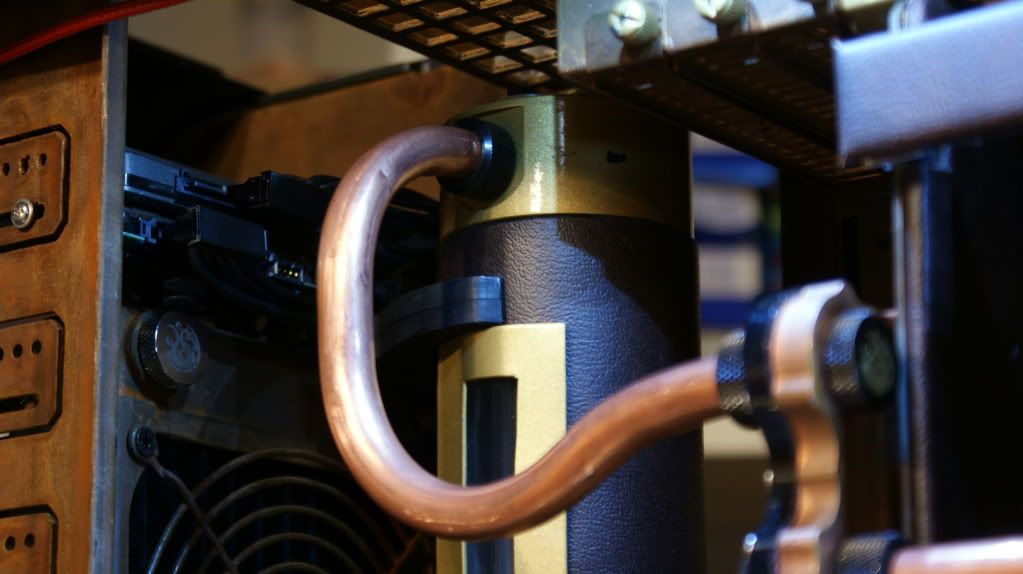
Last tube from the GPU to the res
More fittings came in!
Here is the grill for the 50 mm fan
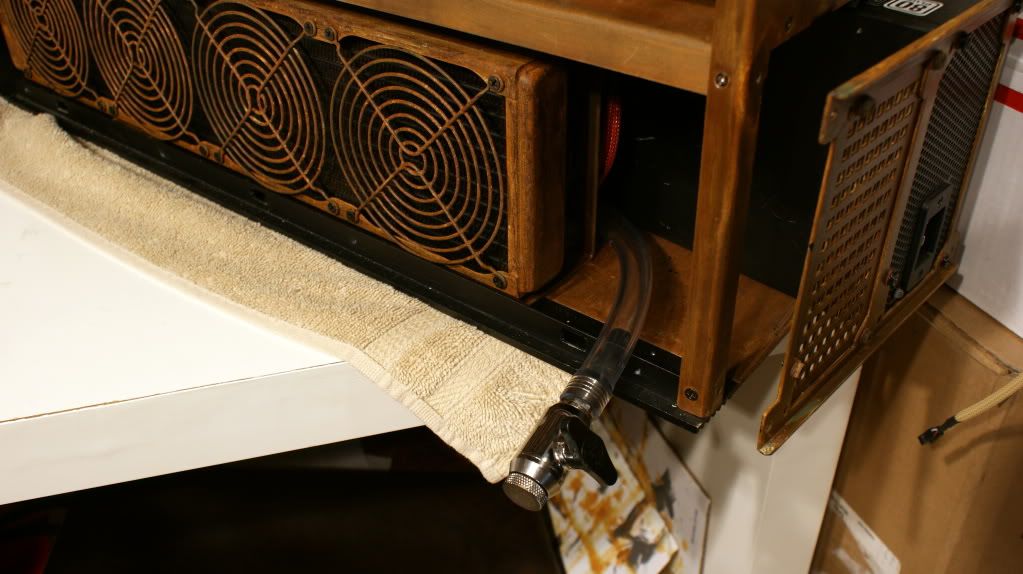
Drain port. there is a T line between the 360 and 480 radiator.
LEDs on
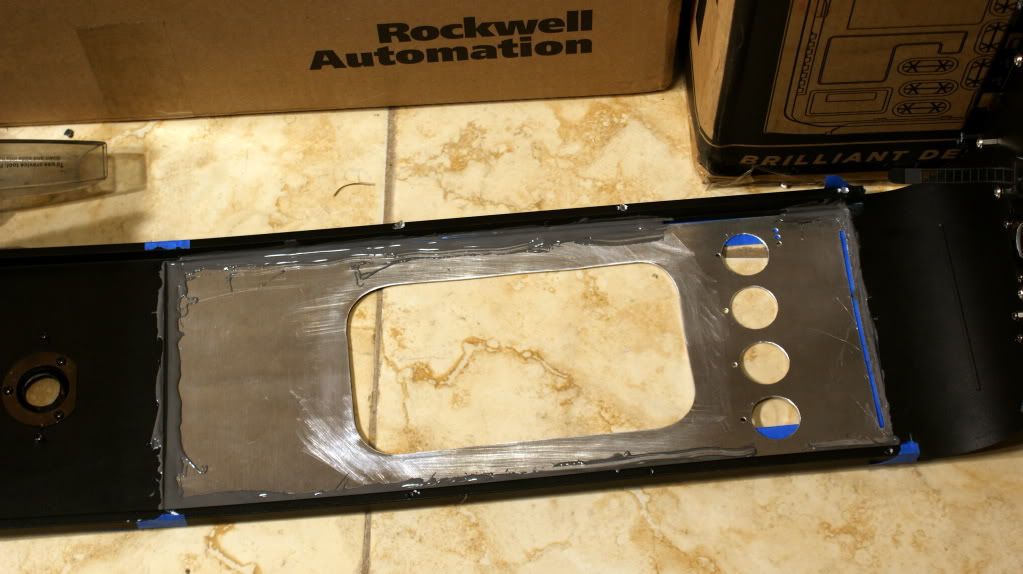
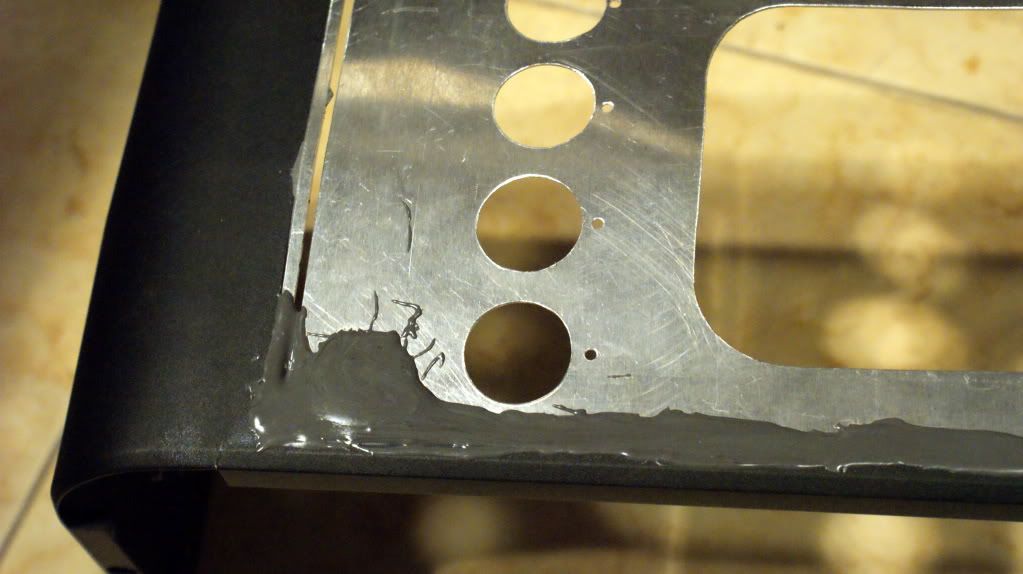
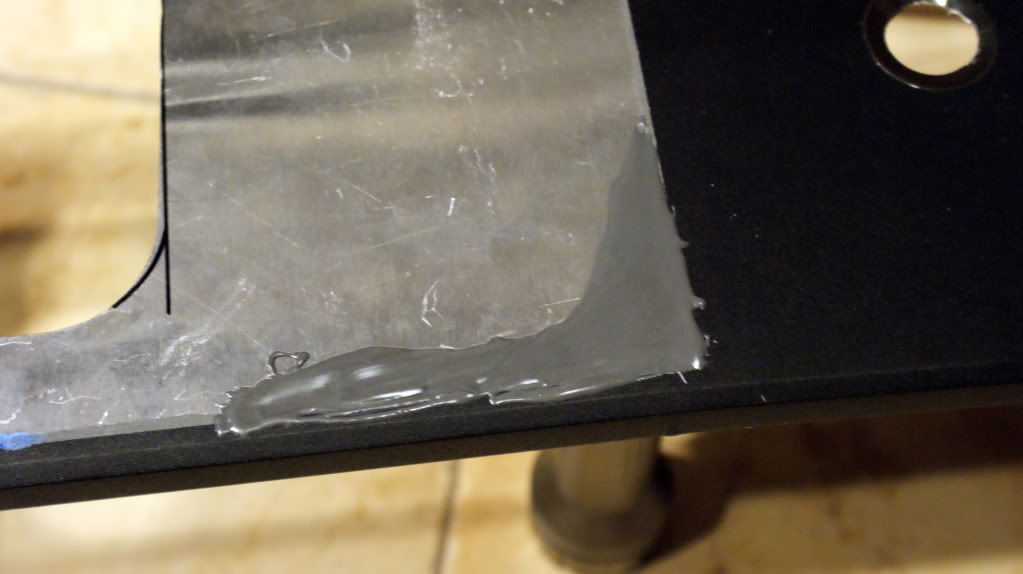
Now for the front panel. I used JB Weld to hold it in place.
BAH! A gap...
Add more JB Weld
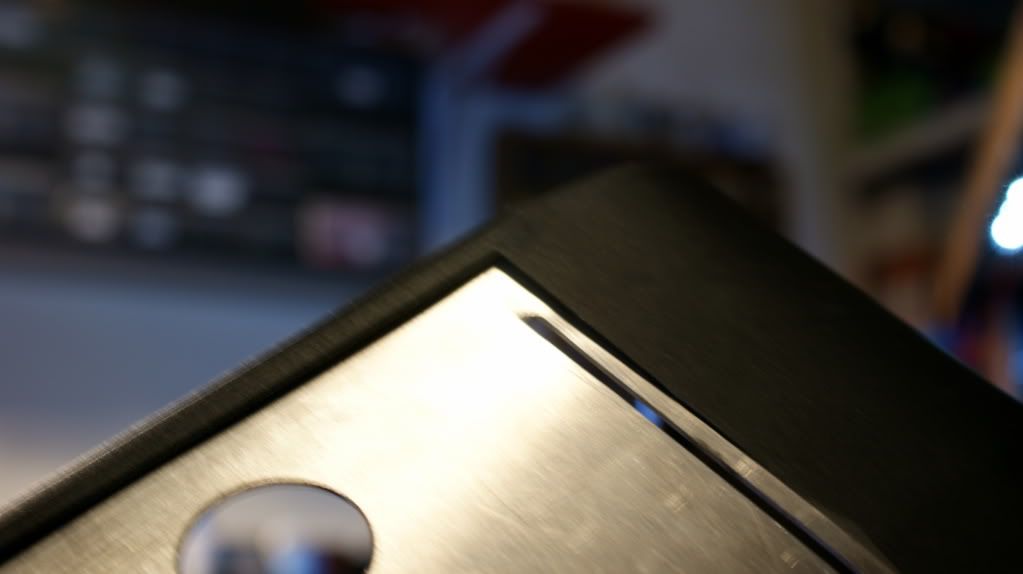
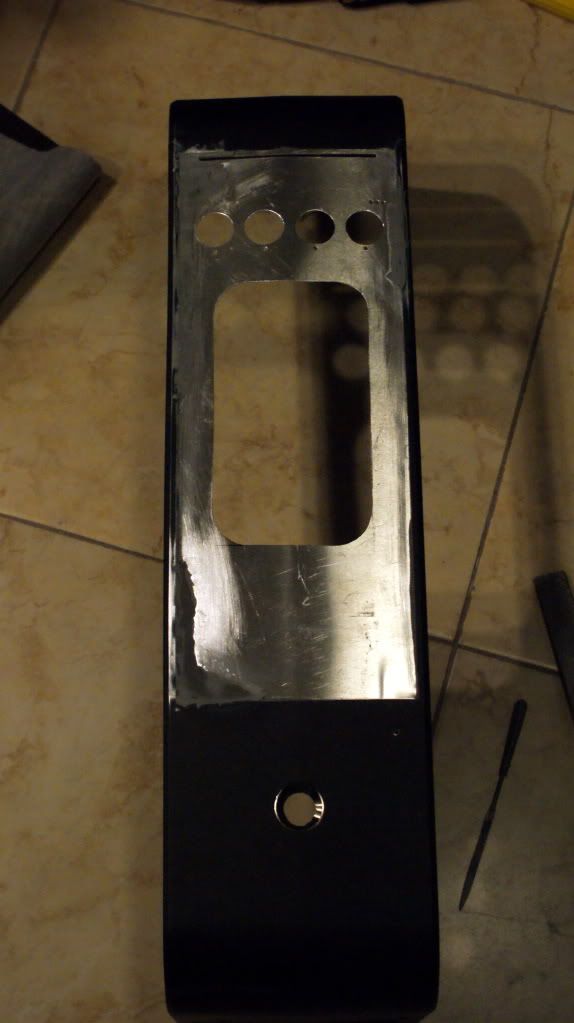
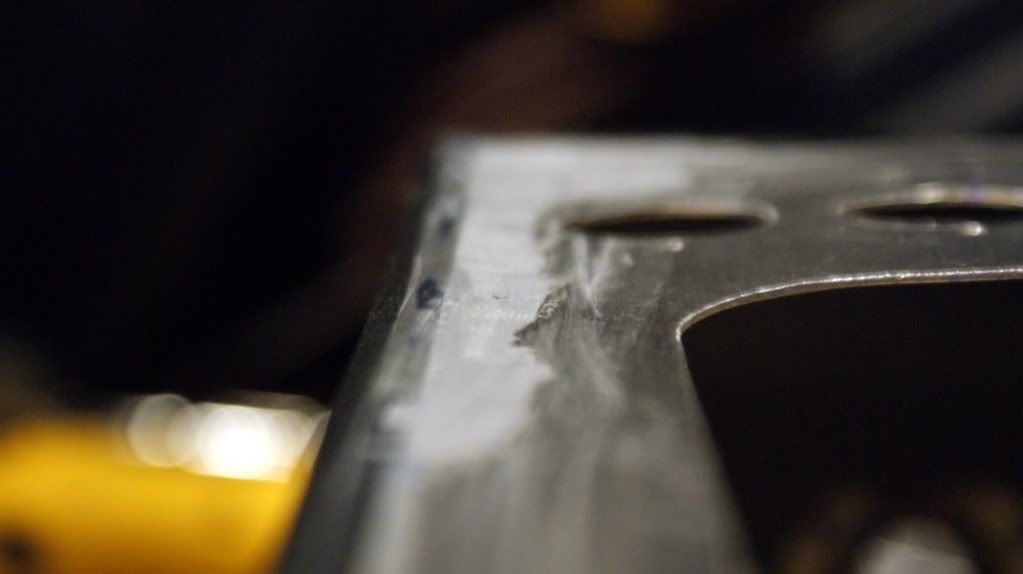
And then sand the hell out of it.
Now that that is done I need to add the leather and grill. I like it!
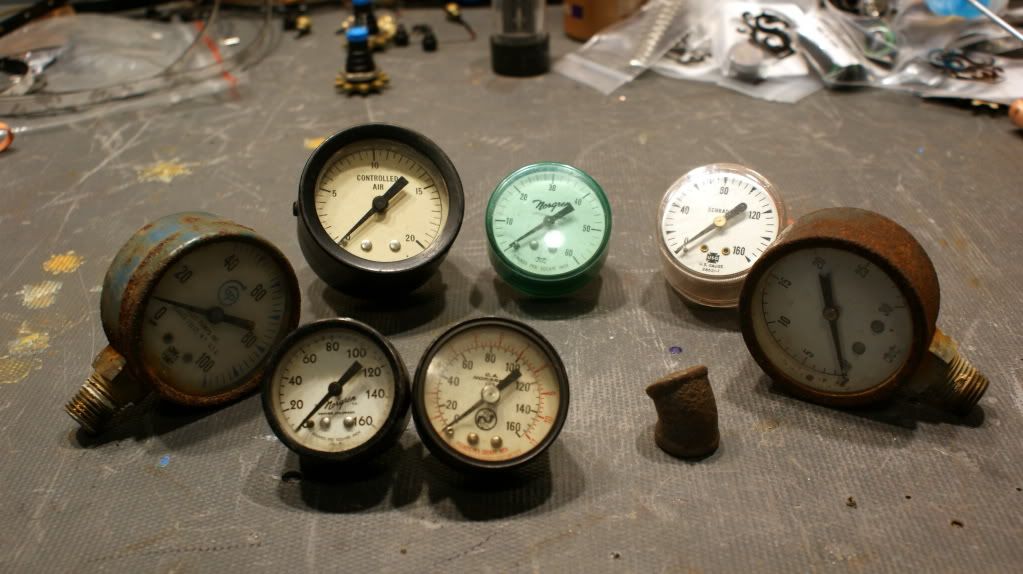
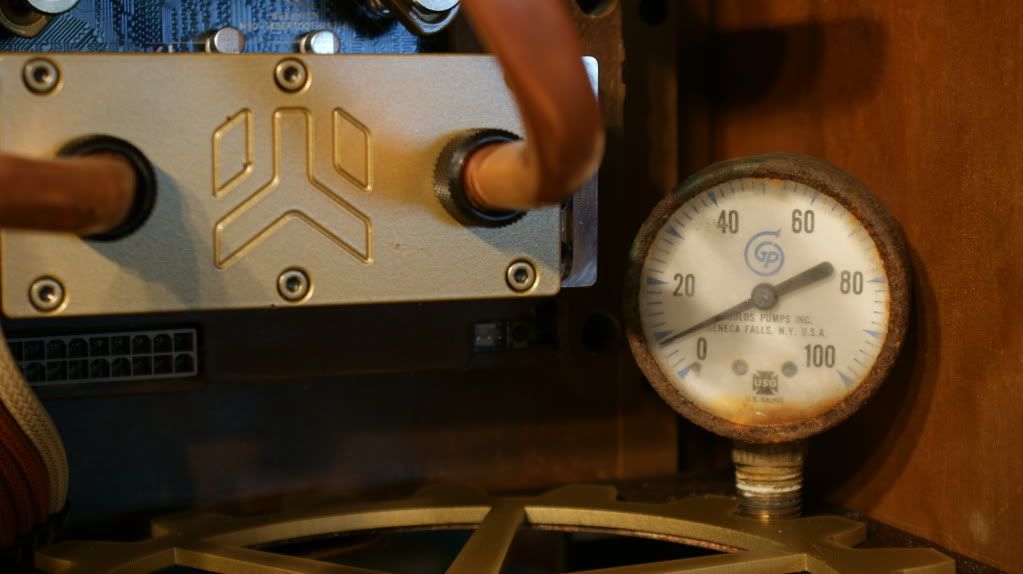
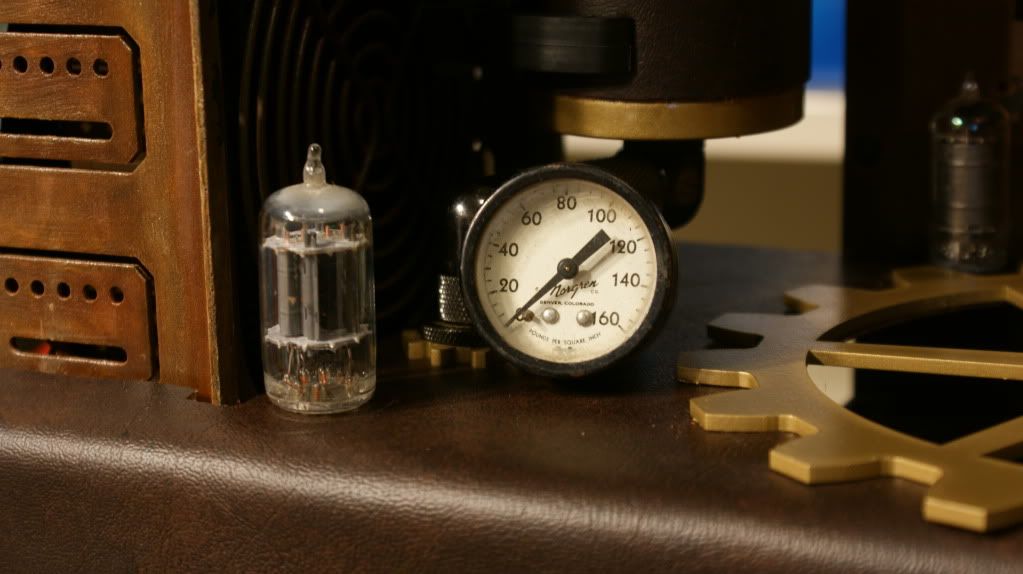
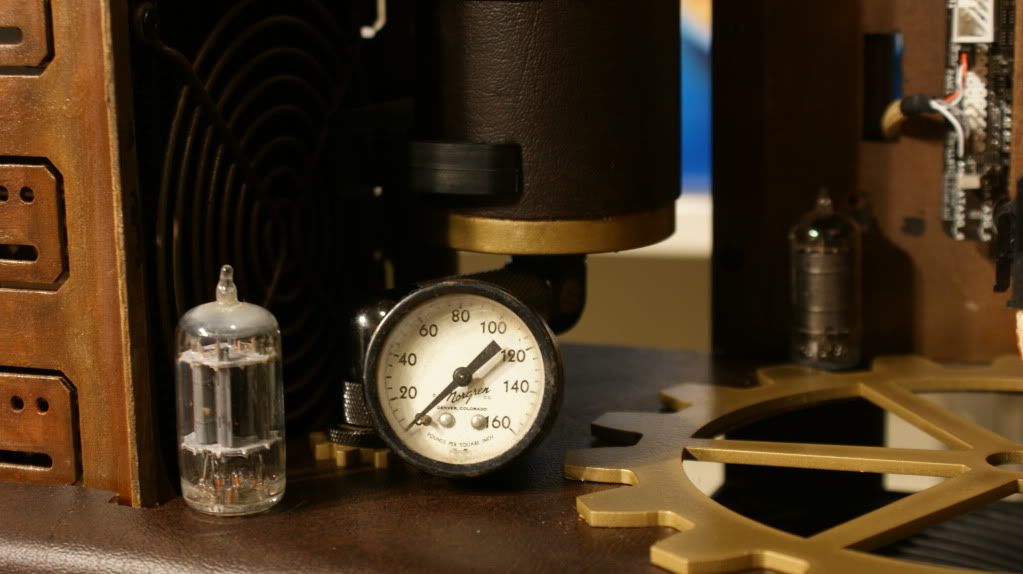
I picked up some old gauges. Not sure if I am even going to use them but they were $10...
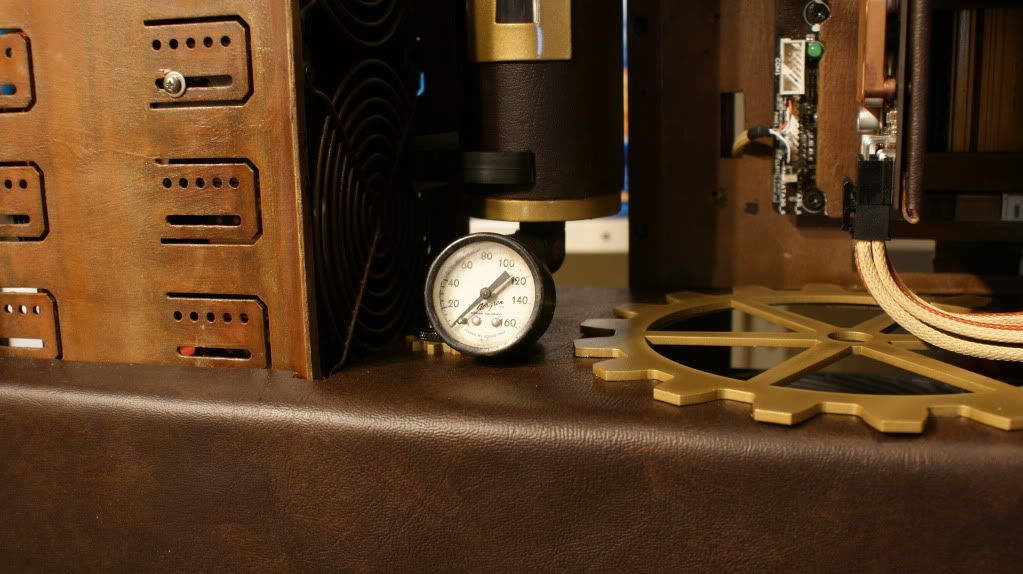
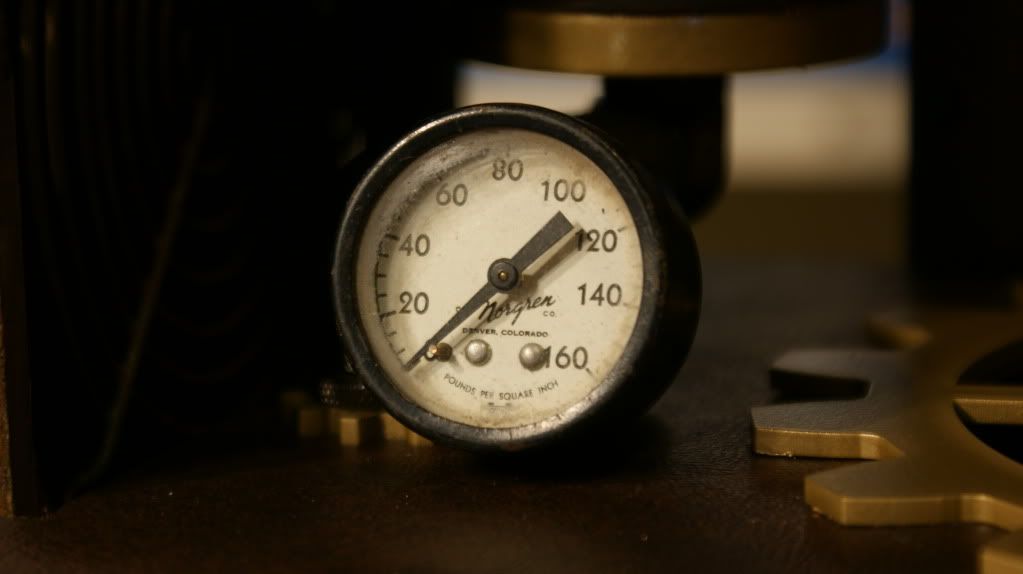
Testing...
Add some tubes
I threw a blue LED in the res to see what it would look like.
Underexposed
No idea how to hide these cables from the front I/O ports...
My fill port :D
And finally I flushed all the blocks to make sure no crud was in there.
More to come soon. I got my LEDs in today so I'm going to start working on that ASAP.
Cheers till next time,
Fuga
-
Re: Project: Steampunk'd TJ11
Not a huge modding update but I got a bit of cool gear in.
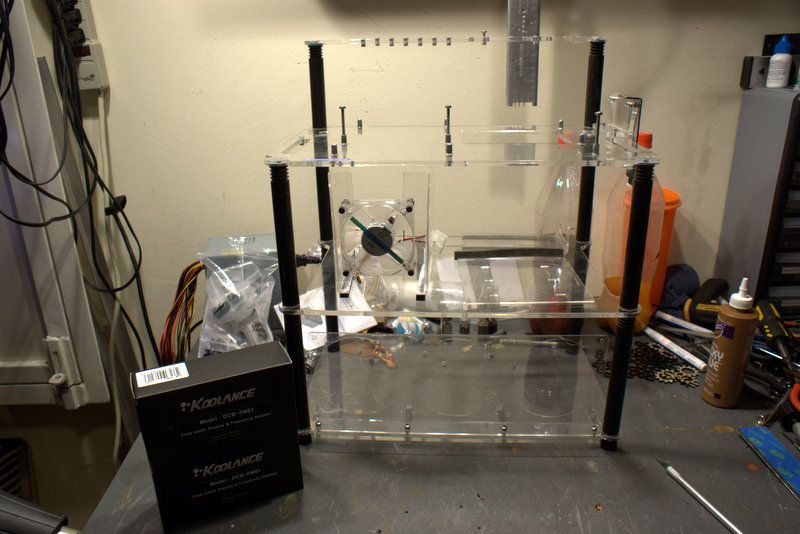
I got a Technofront water cooling test bench and 2x new Koolance flow meter displays. Can't wait to use em!
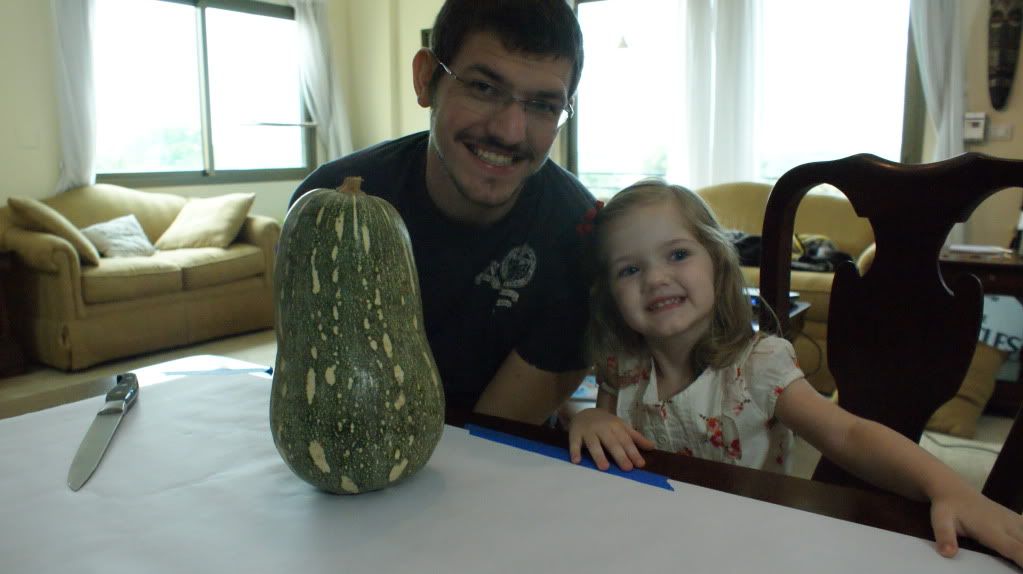
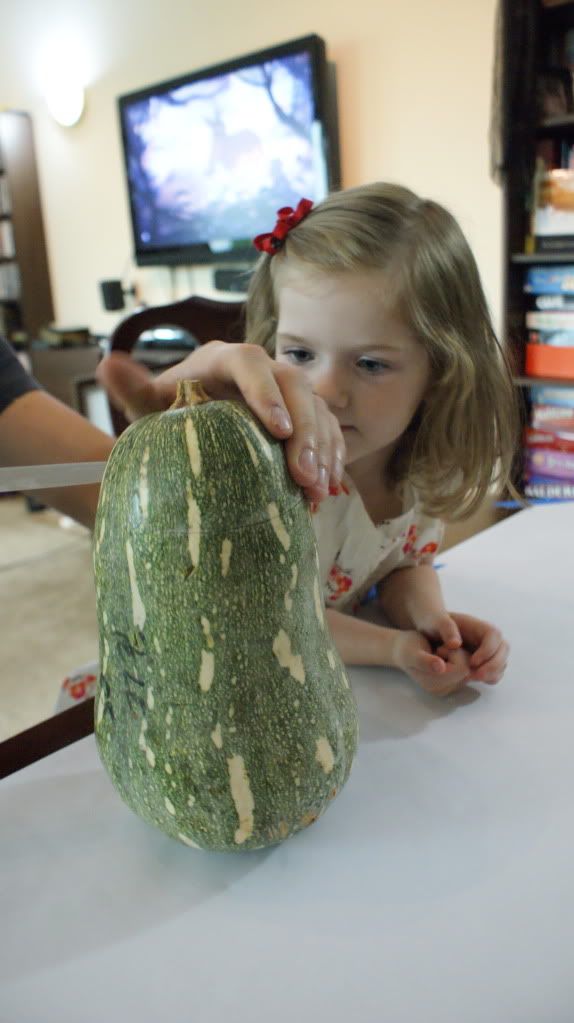
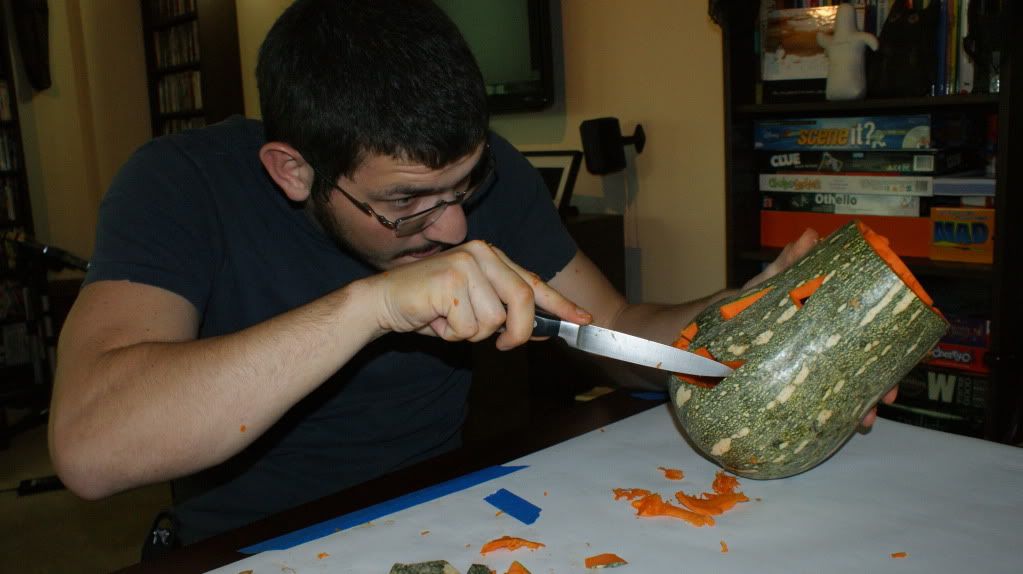
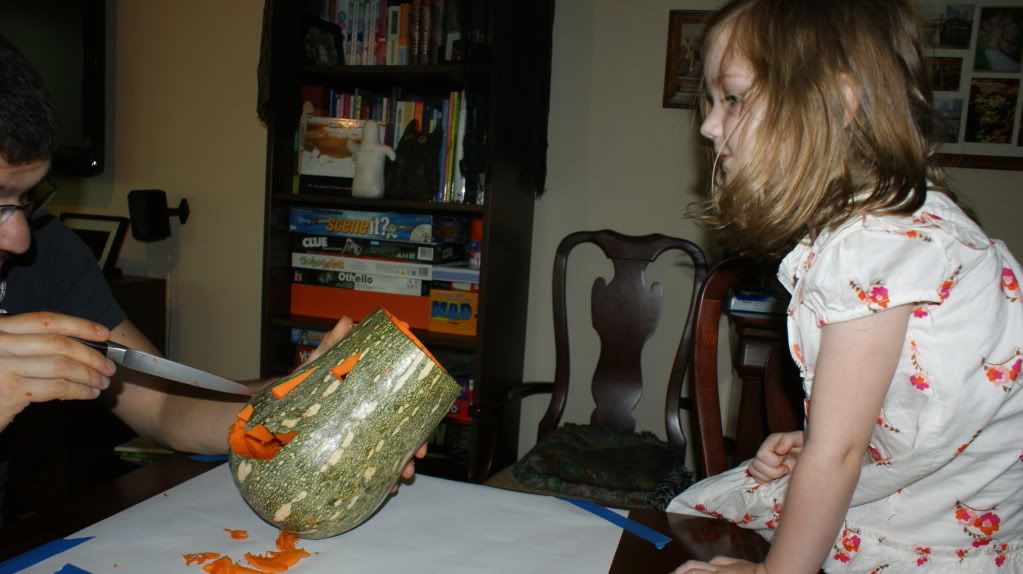
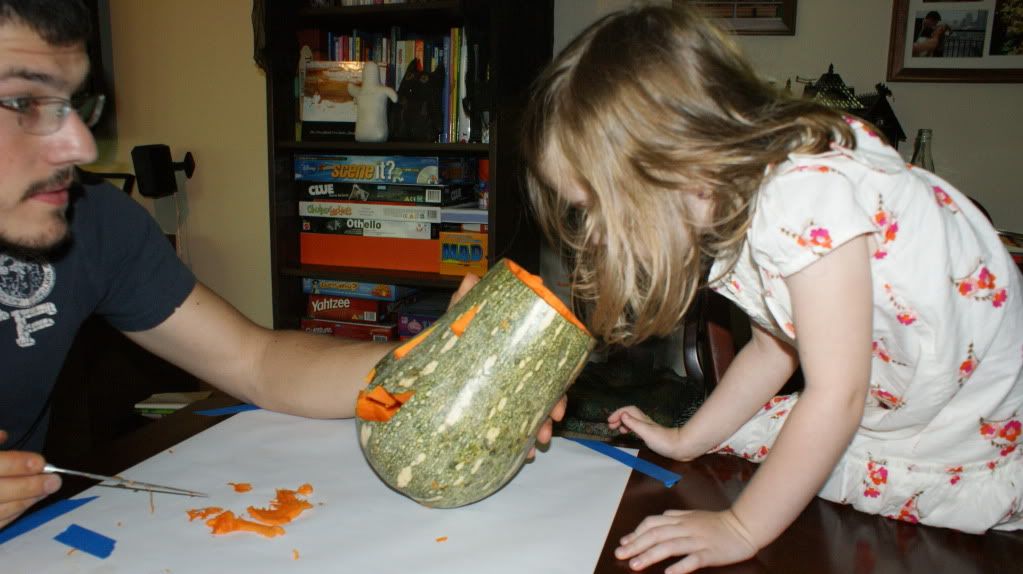
And its Halloween so the family and I did a bit of pumpkin, I mean gourd carving.
She was very interested... made it kinda hard to carve lol.
All done!
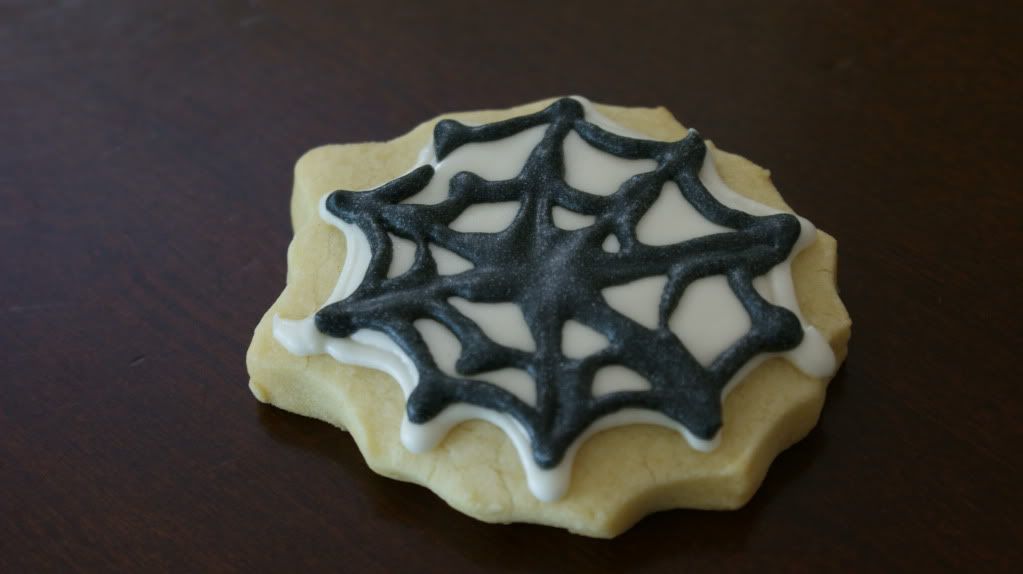
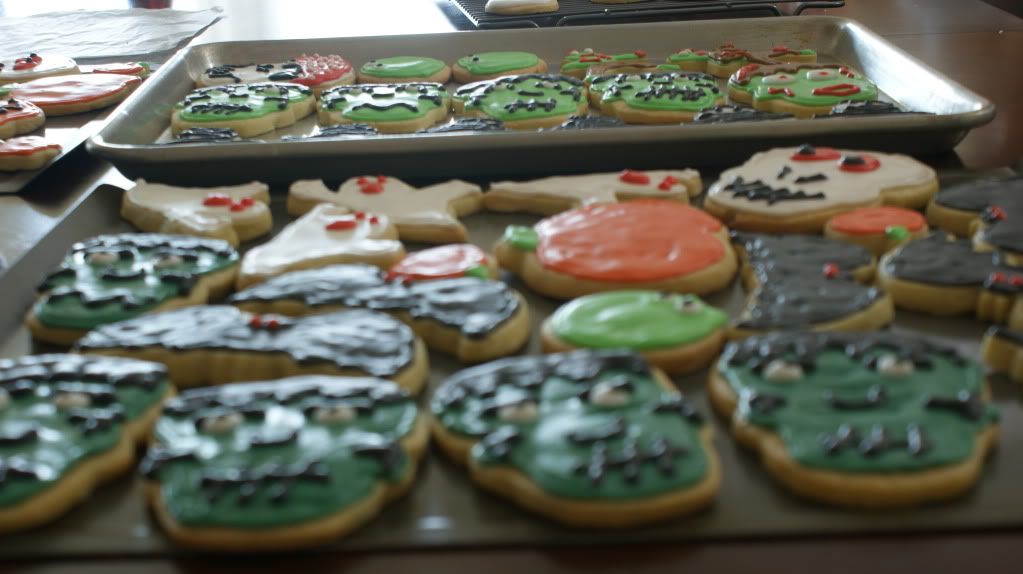
Now not to brag, but my wife makes some damn good looking cookies.
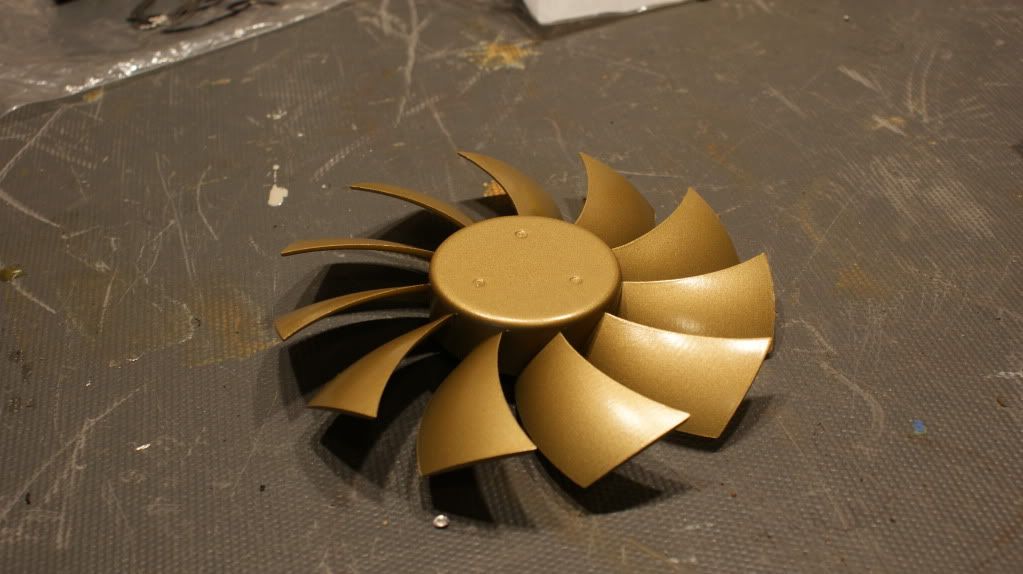
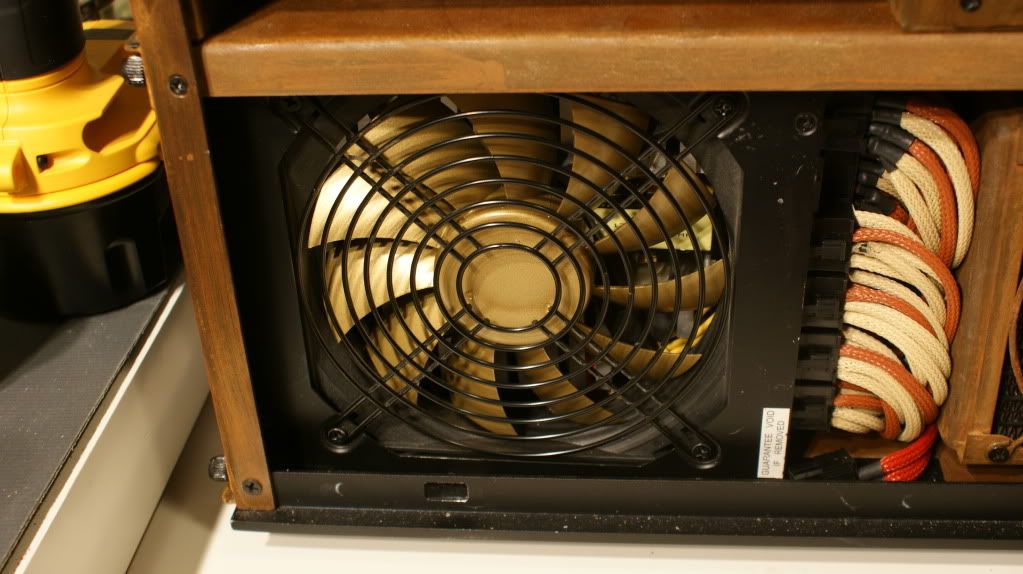
Now for the real work... I painted the PSU fan.
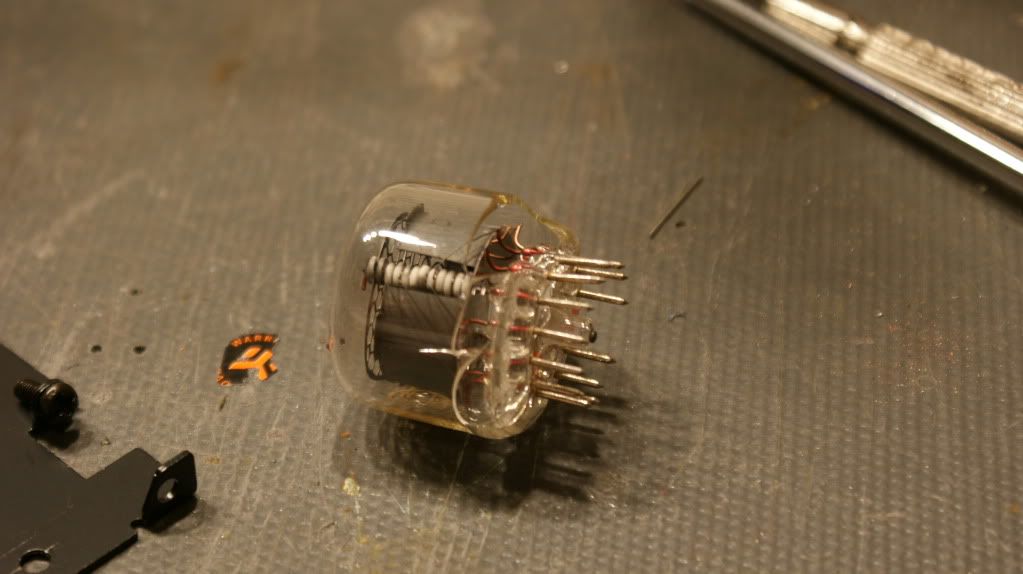
Here is a picture of the broken FC10 nixie tube.
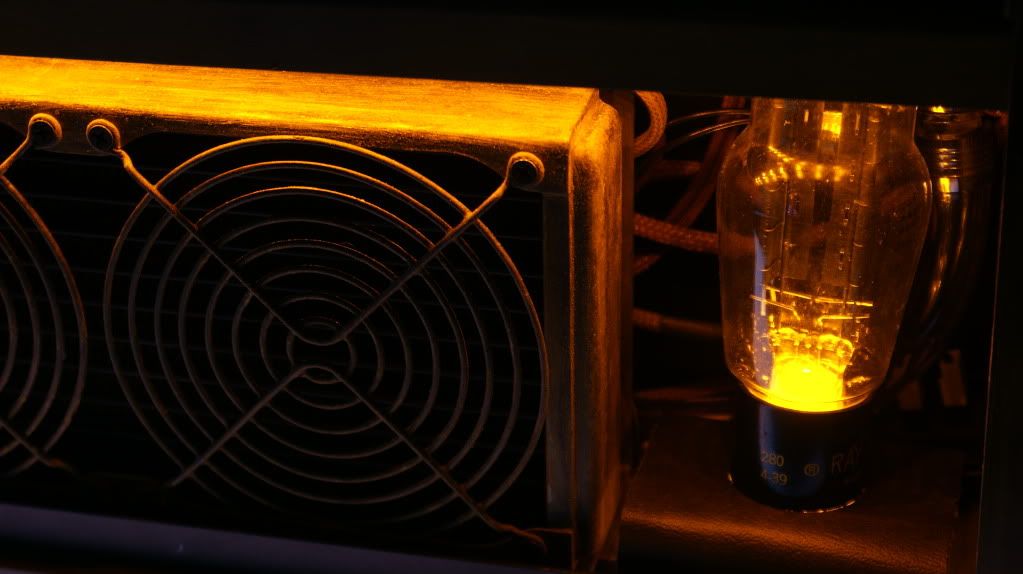
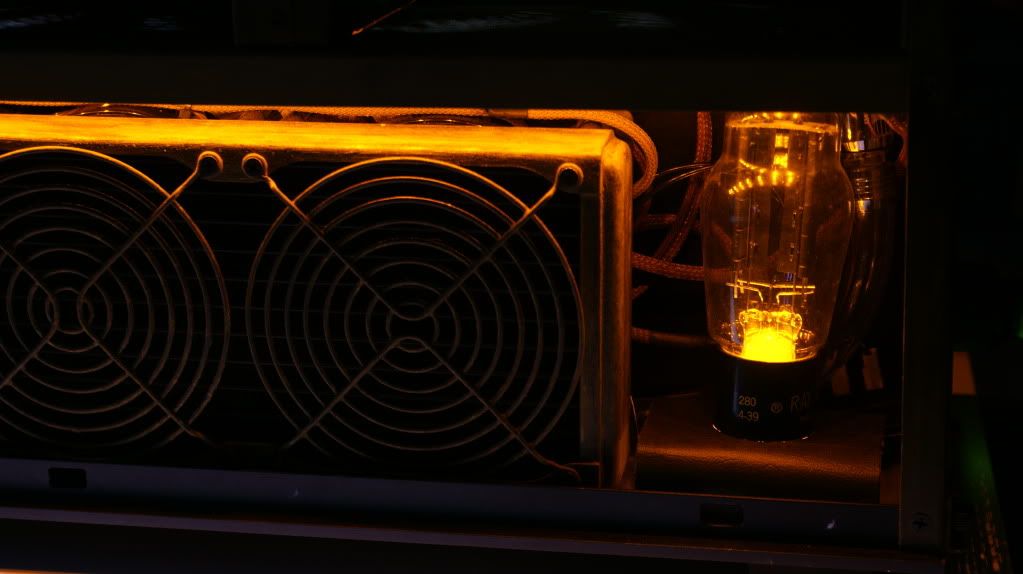
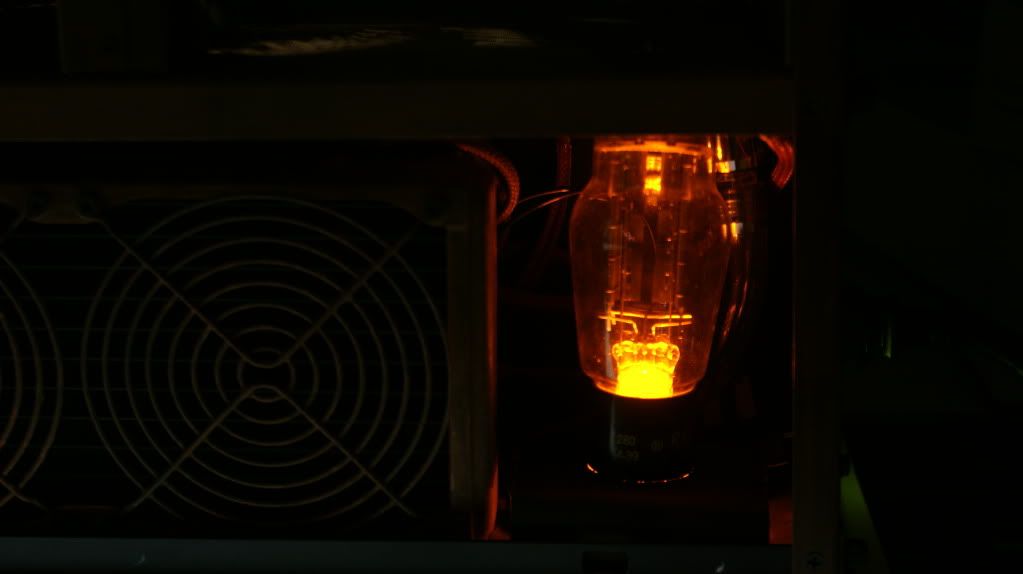
Now remember that huge vacuum tube I made with a bracket? Well I got the Amber LEDs in and its time to light it up.
Here is what all the cables look like coming from the front I/O panel.
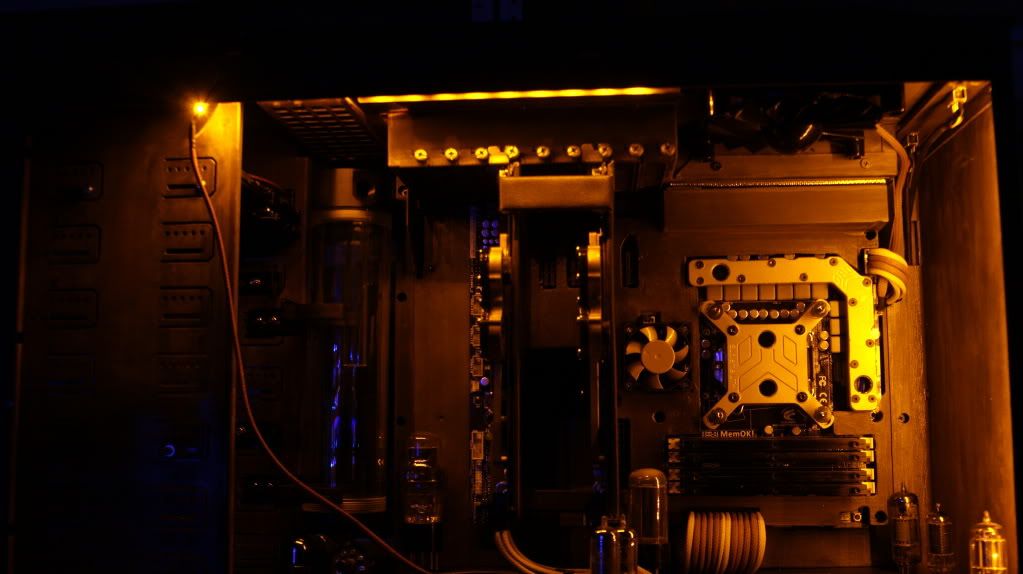
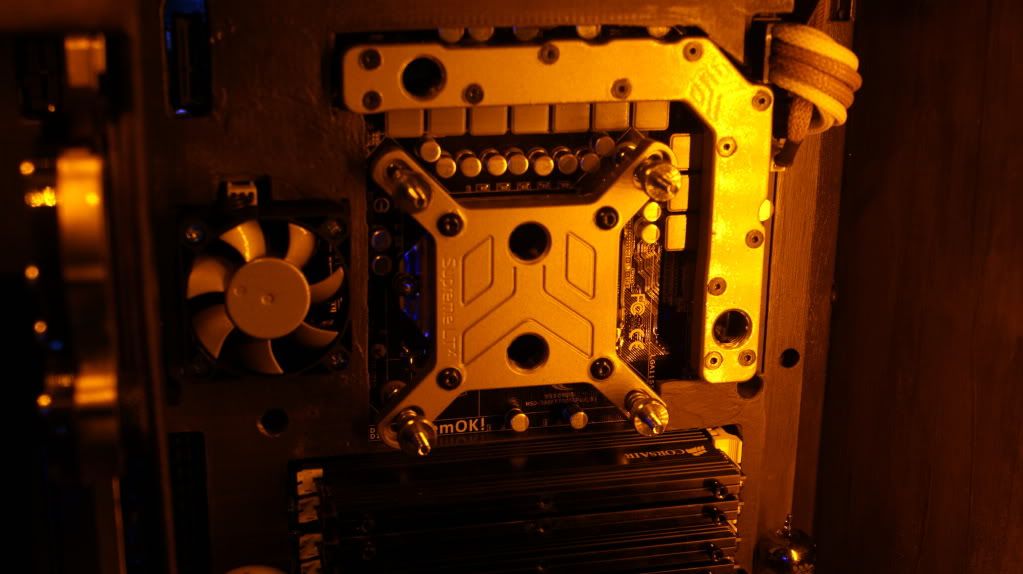
And just some lighting shots.
Cheers till next time,
Fuga
-
Re: Project: Steampunk'd TJ11
Wow. Awesome update! Are you going to be using both FC10s? Willing to sell one? The copper tube looks great. I've always wanted to see someone use metal tubing in a project. I mean, it can dissipate heat itself while moving the water around. It's like tube and heatsink all in one. Next step is to add fins over all the tubing, haha.
Also, great gourd and awesome looking cookies.
How much is left before you call this one finished? It's looking really close now.
-
Re: Project: Steampunk'd TJ11
Quote:
Originally Posted by
d_stilgar
Wow. Awesome update! Are you going to be using both FC10s? Willing to sell one? The copper tube looks great. I've always wanted to see someone use metal tubing in a project. I mean, it can dissipate heat itself while moving the water around. It's like tube and heatsink all in one. Next step is to add fins over all the tubing, haha.
Also, great gourd and awesome looking cookies.
How much is left before you call this one finished? It's looking really close now.
Well I only got 1x FC10. They are sending me 2 new Nixie tubes for it, not 2 whole new units.
Not much left.
Need to install the vacuum tubes (If I still am).
Add more gears once they get here.
Fix and re-install the FC10.
Leaktest the full loop.
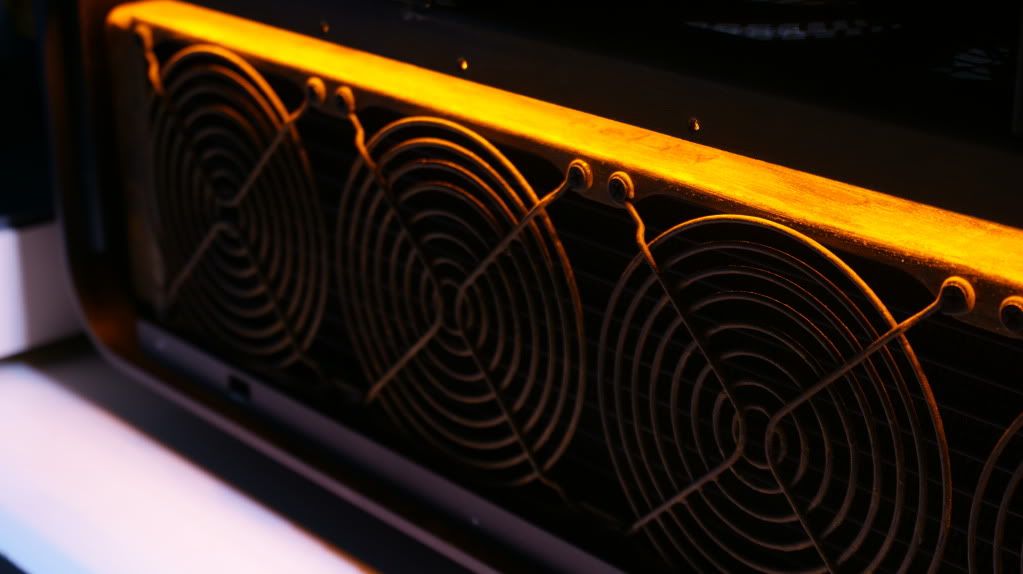
Maybe add lighting to the vents.
Install the SATA cables to the SSDs/HDDs. (Waiting for the 36" ones to arrive.
-
Re: Project: Steampunk'd TJ11
Quote:
Originally Posted by
Fuganater
Well I only got 1x FC10. They are sending me 2 new Nixie tubes for it, not 2 whole new units.
Ah, that makes sense. That's really cool of them in any case.
-
Re: Project: Steampunk'd TJ11
Looking great. :up: The pluming is killer.
-
Re: Project: Steampunk'd TJ11
Saw you got nominated for Mod of the Month at bit-tech. Congrats!
Now everyone else, go throw your bias at Fuganater and vote!
-
Re: Project: Steampunk'd TJ11
Quote:
Originally Posted by
msmrx57
Looking great. :up: The pluming is killer.
Thanks!
Quote:
Originally Posted by
d_stilgar
Saw you got nominated for Mod of the Month at bit-tech. Congrats!
Now everyone else, go throw your bias at Fuganater and
vote!
Thanks!! I was just going to post that.
-
Re: Project: Steampunk'd TJ11
Thanks to everyone that voted! I'm sorry there hasn't been an update lately. The hurricane really messed up our mail here but I finally got my gears last night. I'm started painting them right away but that will be in my next big update in the next day or 2.
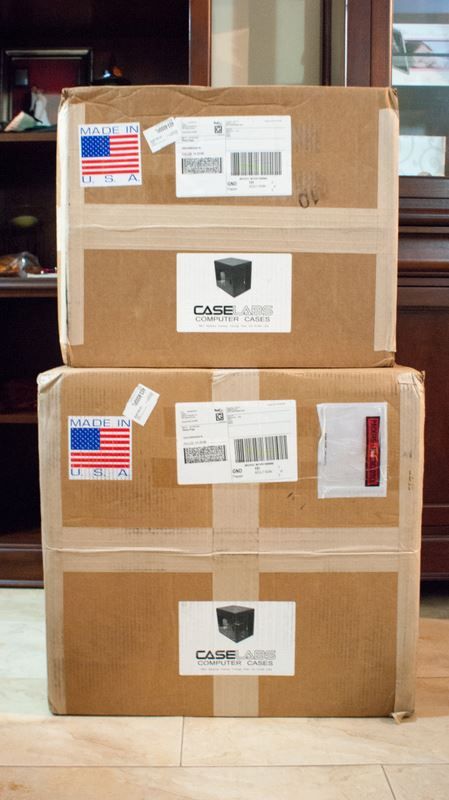
I also got myself a Caselabs case for a project next year. M8 + Pedestal
More soon!
-Fuga
-
Final Update
Here it is. The final build update.
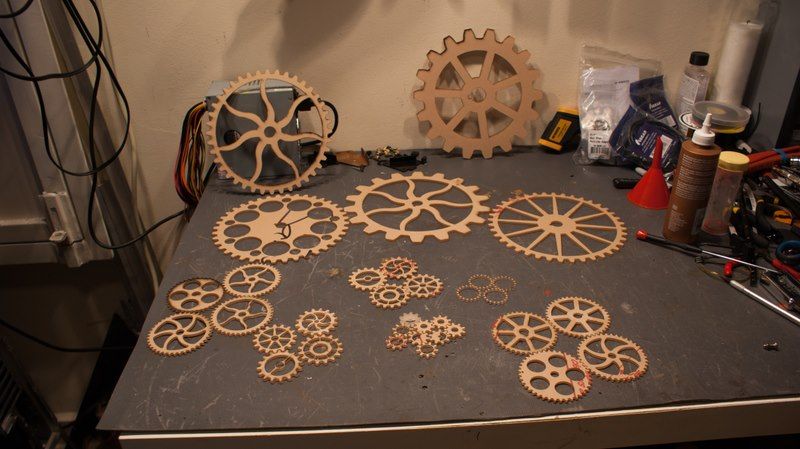
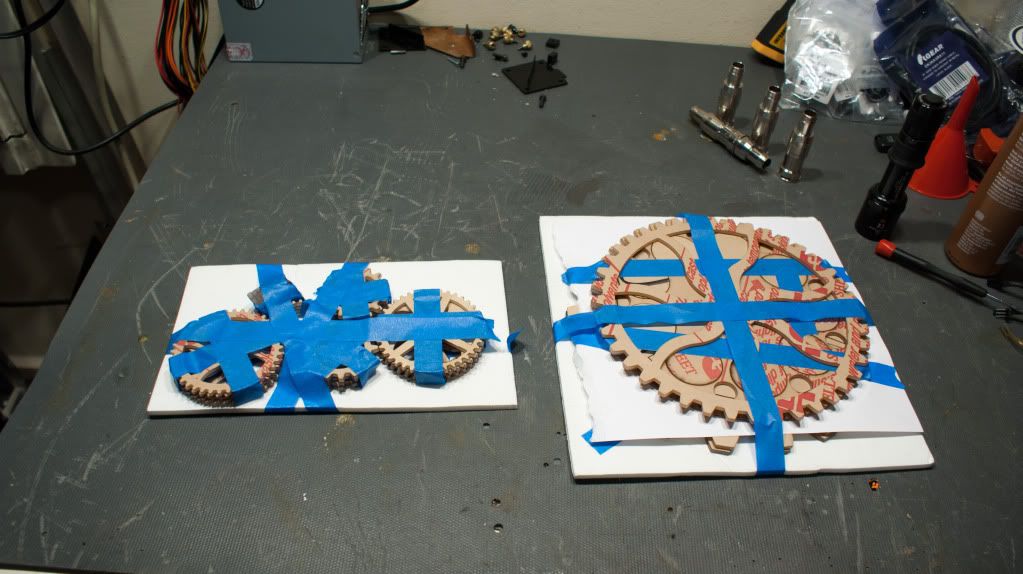
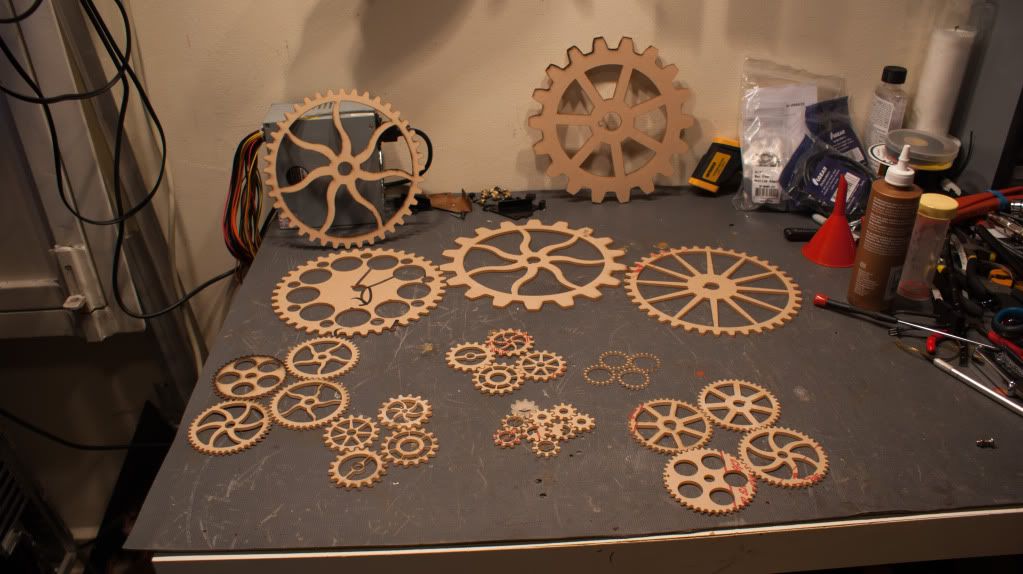
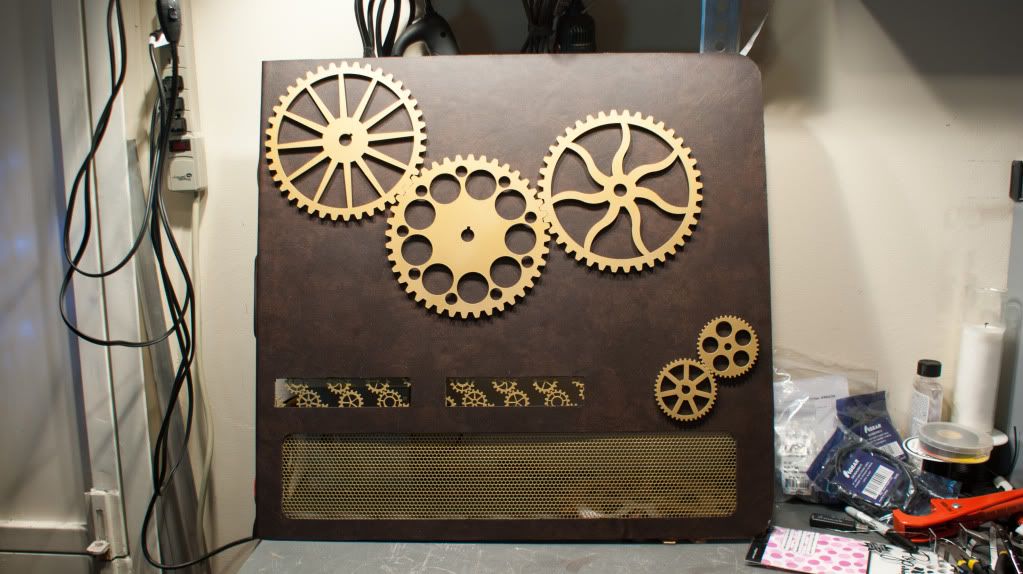
All the gears neatly packed by Thomas.
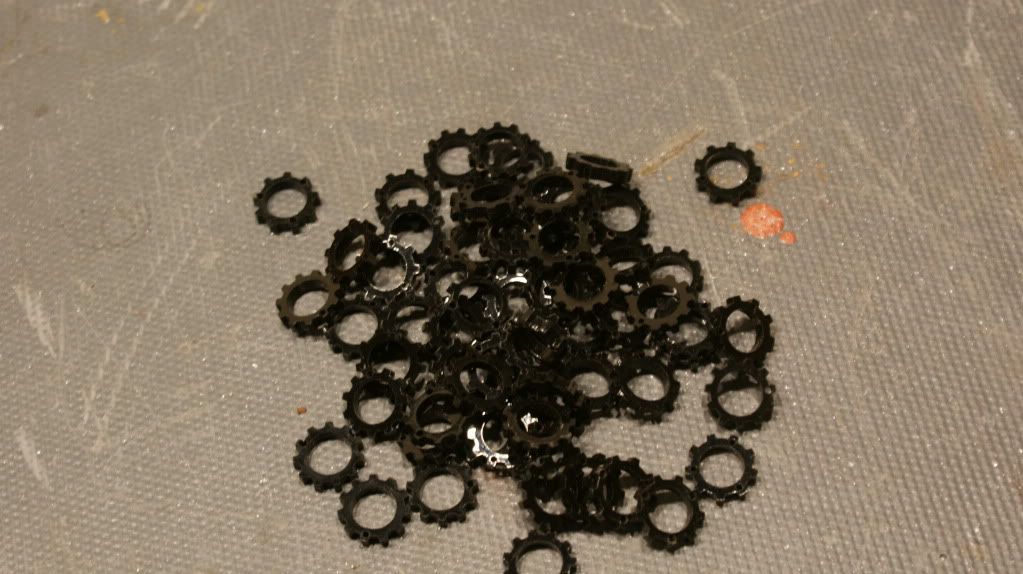
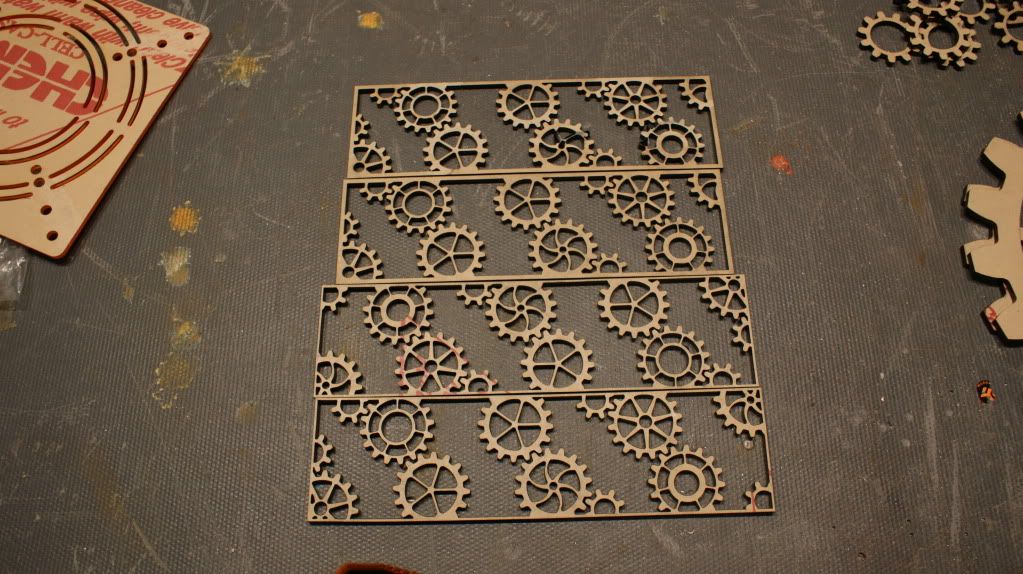
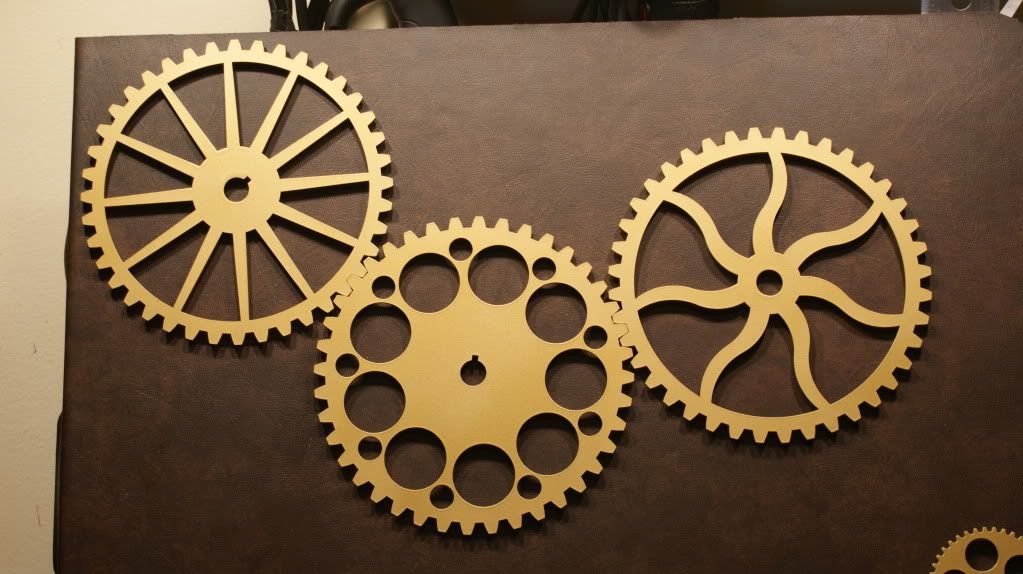
I got quite a few.
Took me about an hour to peel off all the paper from the MDF... fingers were killing me.
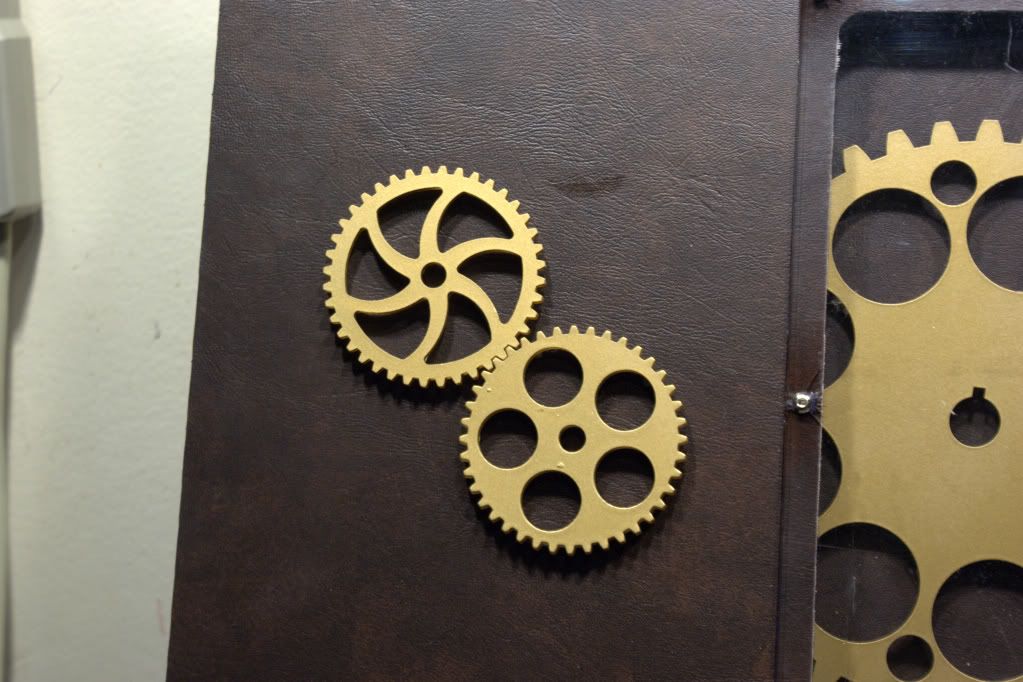
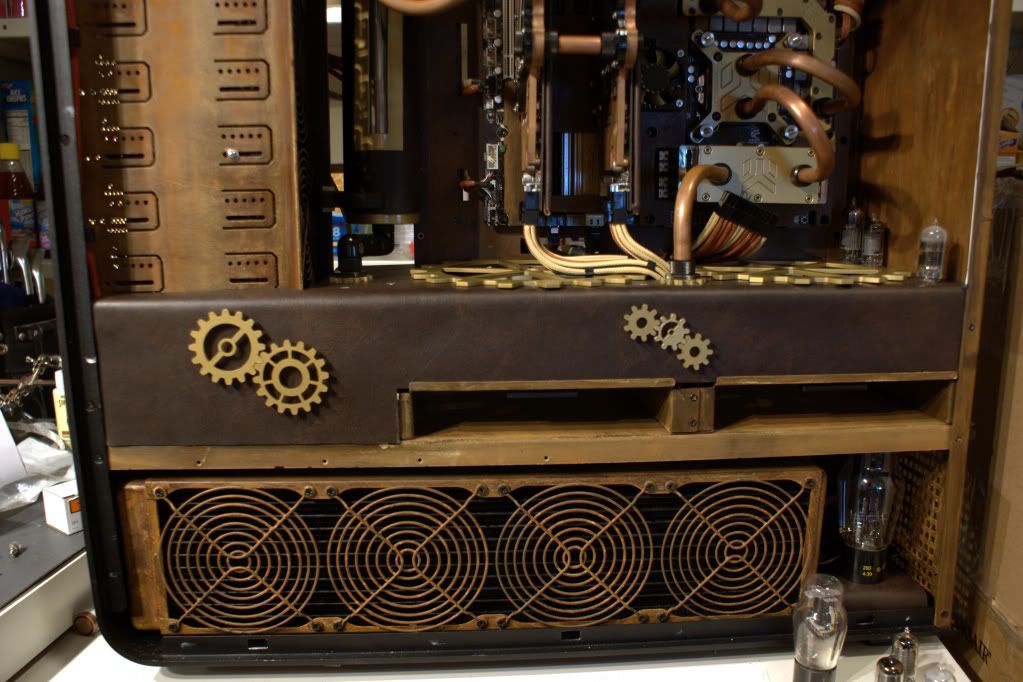
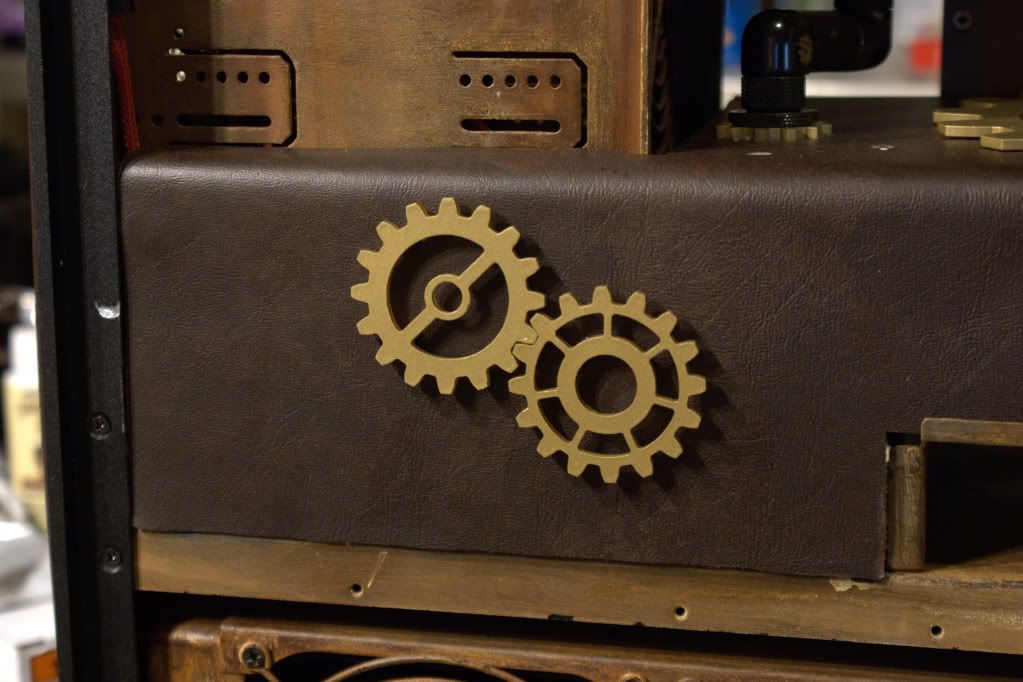
Once that was done I painted them all gold and started putting them on.
Back panel.
Window side
Midplate
And that's a wrap! Here is a teaser for the final photos. Those will be posted tomorrow.
Thanks for all your support and thanks to my sponsors for their help!
Cheers till next time,
Fuga
-
Re: Project: Steampunk'd TJ11
-
Re: Project: Steampunk'd TJ11
Looks great. Can't wait for the final results.
-
Re: Project: Steampunk'd TJ11
Quote:
Originally Posted by
TLHarrell
Looks awesome!
Thanks! Lots of your handy work all over it :)
Quote:
Originally Posted by
d_stilgar
Looks great. Can't wait for the final results.
Thanks!
-
Re: Project: Steampunk'd TJ11
Quote:
Originally Posted by
d_stilgar
Saw you got nominated for Mod of the Month at bit-tech. Congrats!
Now everyone else, go throw your bias at Fuganater and
vote!
It's done, great build, you have twice as many votes of the nearest competitor 8)
-
Re: Project: Steampunk'd TJ11
Thanks. I know right! I'm pretty siked about that.