Either way, I'm sure it'll rock!

Printable View
Either way, I'm sure it'll rock!
I sent a link off to the USMC public affairs office tonight. Hopefully, they'll stop by and have a look at the worklog.
Trying to fill the joint with leathernecks eh? More the better in my opinion, seem to be decent folk so far!
That would be cool too, but exposure to TBCS is more of what I'm aiming at. I kinda like it here.Quote:
Originally Posted by jdbnsn
Anyone have any ideas on what I can do to this keyboard?
http://www.microsoft.com/japan/hardw...ternet_1-2.jpg
Match the case with the keyboard - black with red lines (just a suggestion) Looking great so far!!!
Well...this is pretty nuts, but you seem to be able to get some really intricate shapes going there.
You could replace each letter with the radio equivalent, so that T then becomes Tango, b becomes Bravo, etc.
How you'd do this, i don't know. But it's an idea all the same.
-Dave
Good idea Dave. Unfortunately, I won't be able to implement it though. This is the family PC, so I have to keep the letters plain for the kiddos. +rep for the suggestion though.Quote:
Originally Posted by DaveW
While coloring the individual keys on the keyboard is not a simple task (I have seen it discussed here somewhere and I think fabric dyes turned out to work good, Crimson Sky also knows lots of ways to do this), I really think it would look best dyed black. The biggest issue to my knowledge is the wear than develops over time and repetative use, so after a while the tops of the keys may "rub beize". With your black case and the red mouse (sure you don't like that black?) I think this would look good with an all black coat and red LED's interspersed inside the keyboard for back-glow. Then I would cut a piece of red plexi in the shape of the Seargent's badge and bevel the edges, and cover the top surface with brushed aluminum vinyl so that the bevelled edges create an outline, and of course lit-beneath by LED will make an great accent.
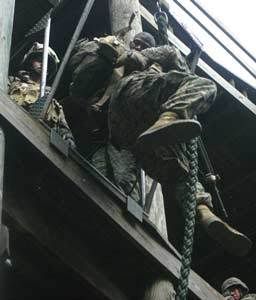
If you made the srg's badge big (3-4 inches wide) I think it would look best unfortunately right where those shortcut keys are, but if you made it tiny it would fit nicely where the microsoft logo is. And I would mod the cable also (hell yes, why not?). Not sure quite what would be the most USMC'ish, maybe to use black cable sleeving to make it look like a fueling hose, or tie knots every couple of inches to look like those ropes you gung-ho folks climb.
I added a pic of a scope, think this would make a cool webcam?
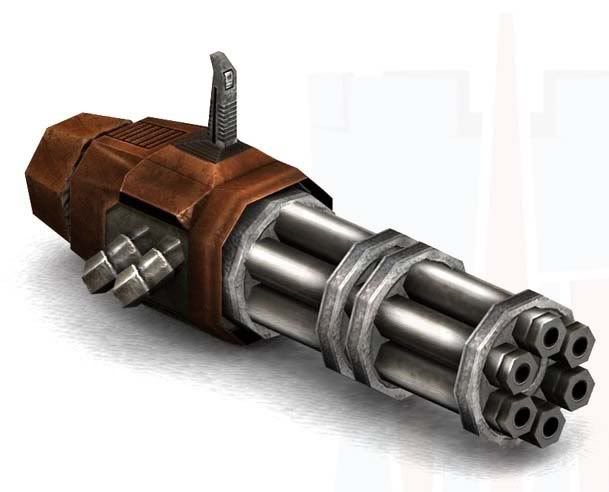
Also, have you considered adding a woking minigun? I know I sure have, I had drawn up some plans long ago to build a minigun that actually spins when activated and each barrel has it's own orange LED inside to fire individually. Let me know if interested and they are yours. BTW-this is not my drawing, I grabbed it off the net.
And lastly, you know you HAVE to work a saber in there somewhere right?
Weekend progress.
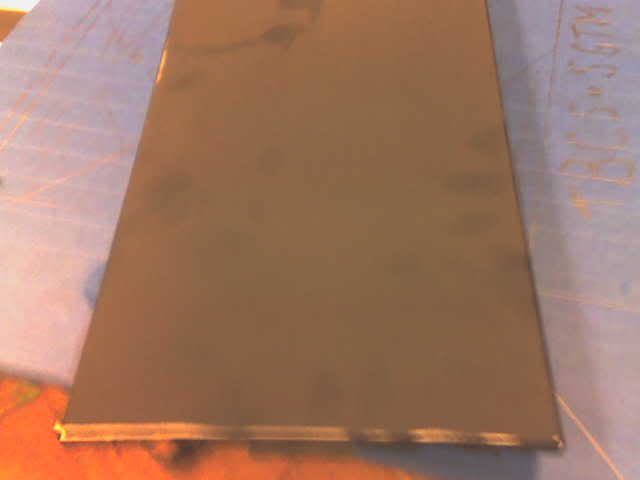
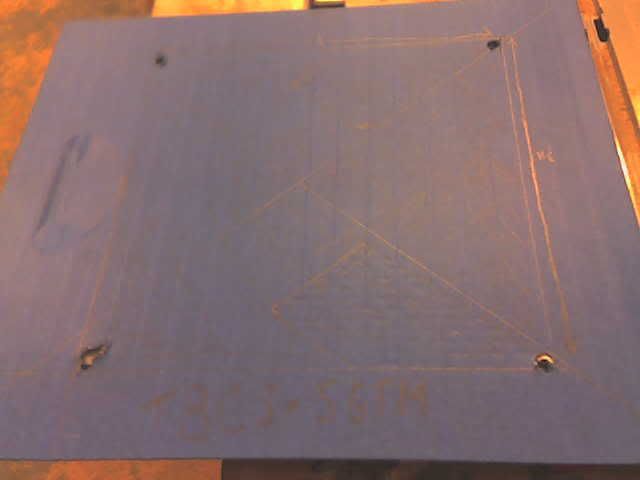
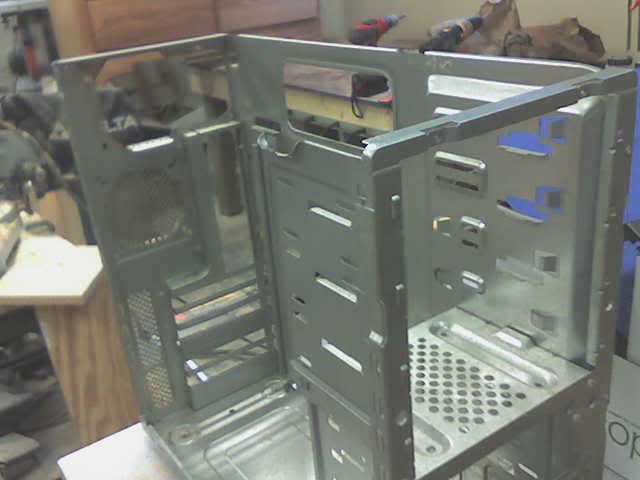
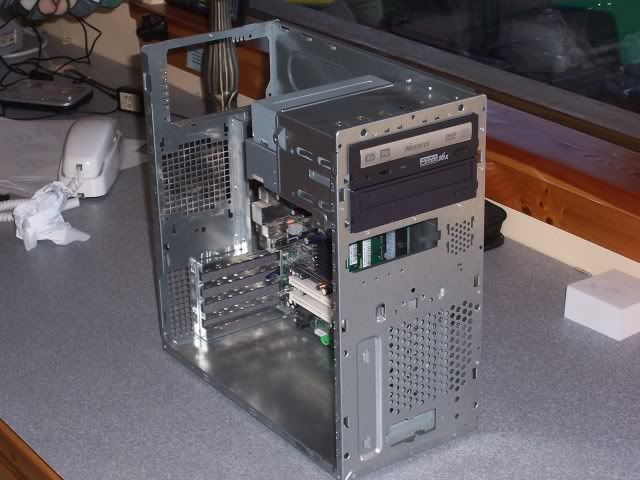
I spent a couple hours in the shop on Saturday. I was helping my dad with a dresser he's making, and I did some prep work on the case. I got everything sanded. I marked my window, and drilled pilot holes in the corners. Sorry for the crappy pics. I forgot to take my good camera with me. I had to take these on my cell phone.
Jon, you've got as many ideas for this case as I do. I'm trying to keep things rather small/simplistic for my first time out. One has to know their limits. I don't have a web cam right now, but if I ever get one, I'll keep that sight idea in mind. I do have 2 NCO swords. Could never cut them up though. I'm pretty sure there is somewhere that sells miniature models of them though. I have a few of these lying around. Maybe they can find their way on the keyboard. I just think It's going to be hard to do something with that since it's starting out white... I'm sure I'll come up with something. The biggest thing is keeping the letters. Maybe water decals, then a flat clear coat over them? Hmm....
All the panels look like this
The side panel. Couldn't resist the TBCS tag
The nekkid guts
Quote:
Originally Posted by sgtm
dude, we have youngins heres...:smoker:
looking good sgtm, I'm lovin it so far, the mouse looks killer.
Man, the case is coming along nicely and sounds like some cool ideas.
The rifle scope in jdbnsn's post is called an ACOG and they are really awesome. The thing that is interesting is in the picture that is posted the ACOG has a bullet through it. I've seen that picture before, I think in Marine Times, and it has some crazy story behind it, but I don't remember it.
Keep up the good work.
I knew it. Here's the story about that ACOG. Didn't mean to hijack the thread. I just thought that was cool.
http://www.usmc.mil/marinelink/mcn20...ghlight=2,ACOG
Cool story about the ACOG. Never got to use one when I was on active duty. They only let us use iron sites. No worries about hijacking. This is a military themed case, so why not have some military stories to go along with it? If anyone has any other military stories, please feel free to share them. Oh, and why not debunk stuff while we're at it? Have a question about the Marines, or the military in general? Know a rumor or military myth? Ask away.
No case is complete without it! Wannabeamodder made one of these, and shows pics in his Doom3 Blast door worklog (now featured.)Quote:
And lastly, have you considered adding a woking minigun?
PM him for info, or maybe he'll drop by.
-Dave
Hey that kind of looks familiar!Quote:
Originally Posted by sgtm
My Skeleton ^_^
I like yours more :p
That... would make an awesome webcam!Quote:
I added a pic of a scope, think this would make a cool webcam?
Just read that story...you think this guy gave his real name?
-DaveQuote:
“After he was cleaned up, I knew he would be okay, but I was surprised that he didn’t want to leave on a medical evacuation,” said Sgt. Jung Kil Yoo, a member of 4th CAG.
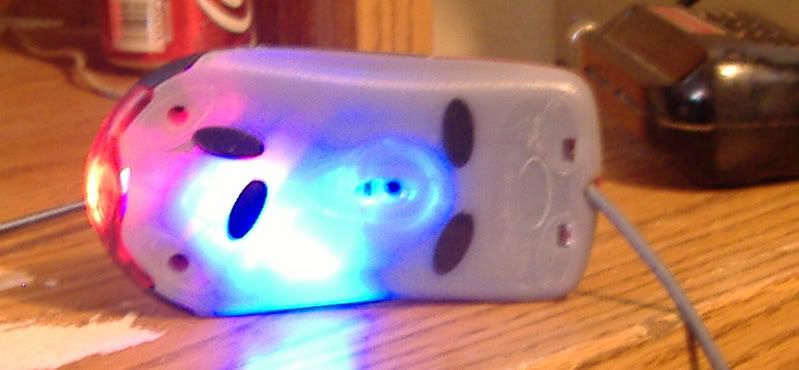
It's funny. This log is 7 pages long, and all I really have accomplished is changing the LED on my mouse. More to come soon. Here's the Blue LED mod:
GAHHH TAKE IT AWAY TAKE IT AWAY MOOOMMYYYYY!!!!:eek:Quote:
Originally Posted by Aero
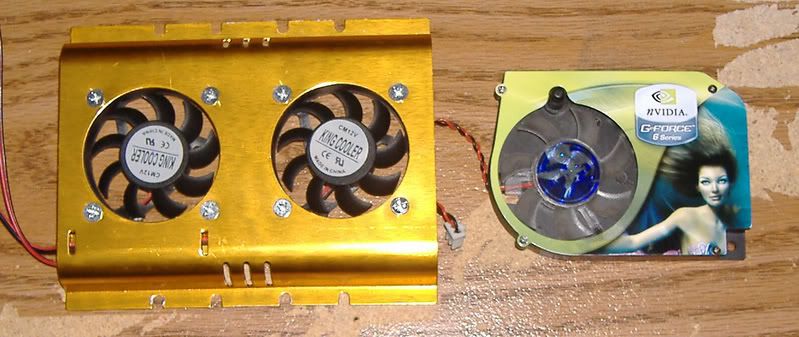
d00d!!!! Those are aweome! The gold HDD cooler will go great with the anodized emblem on the front of the case. I think that GPU cooler will work. It might take a bit of modding. My card is a 5950 Ultra. They look close. We'll just have too see when it gets here. The only other thing I have to pick up in the near future would be red and blue LED's. I'm going for the 5500mcd type cuz I like things bright. I'm going to pick those up for .45/ea from a company in Oregon. I'm going to be getting paint (hopefully) next week. I'm really anxious to get the mouse going again.
+1googoplex rep.
hey minty why do u have a stock 6800 cooler available is the card wc'd or sumtin?
Yeah, he's water cooled now.Quote:
Originally Posted by armadilloben
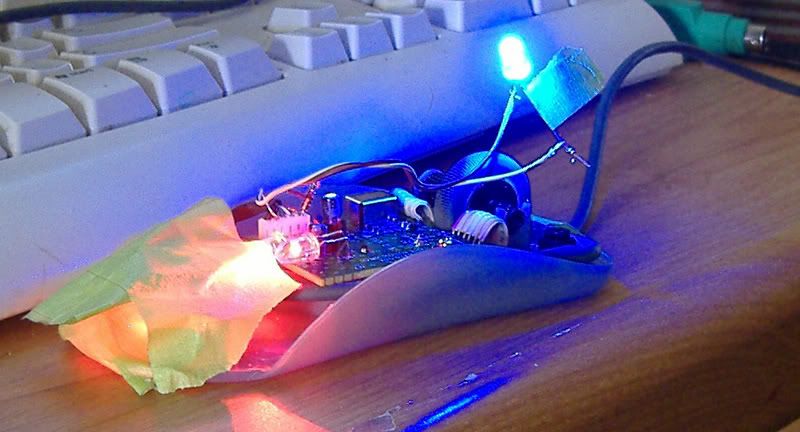
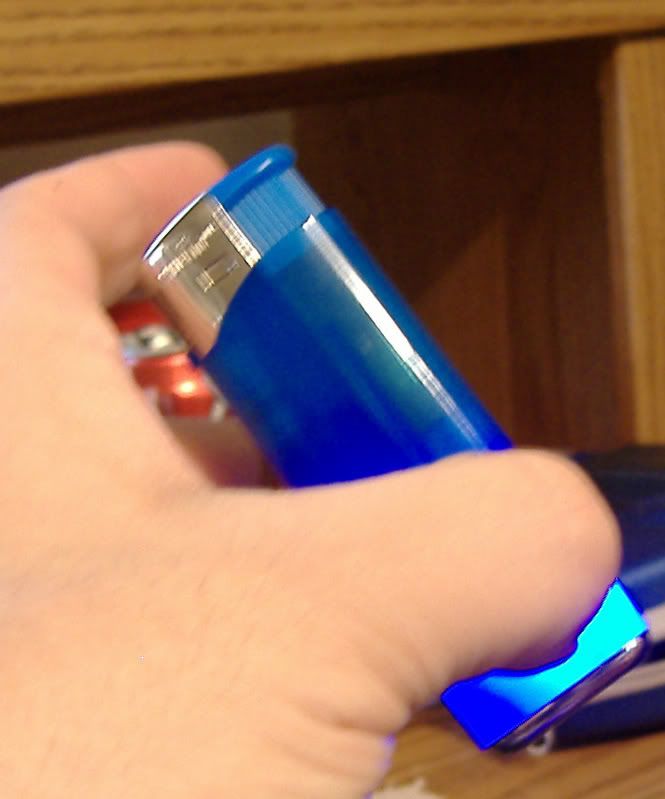
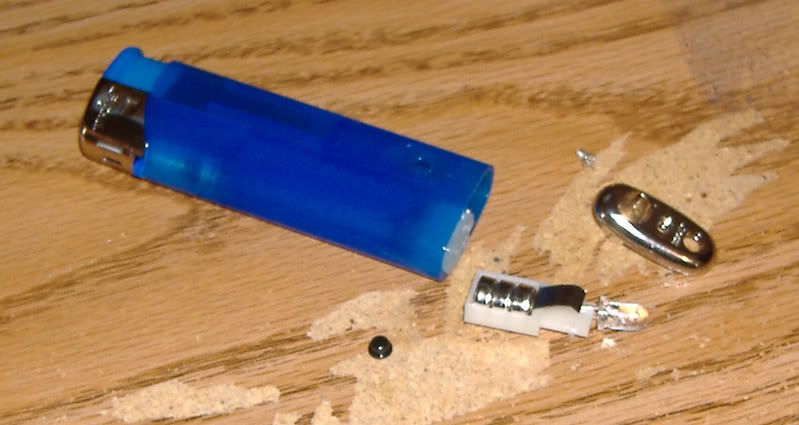
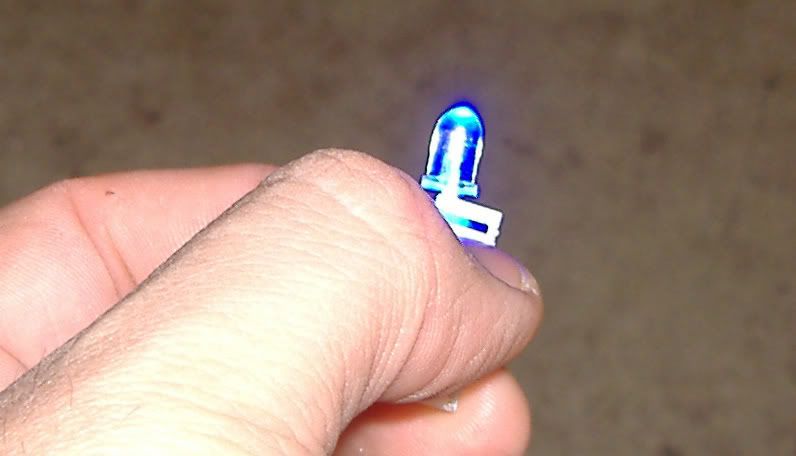
So check this out. I went and bought a new lighter today. I was pleasantly surprized to find that it contained a blue 3v, 5500 mcd LED. I immediately started thinking "what can I use this in?" Well, I didn't think the mouse was bright enough with the LED I put in the other day. So, I decided to add one. Here are some pics.
Lighter
My favorite part, disassembly
Checkin it out
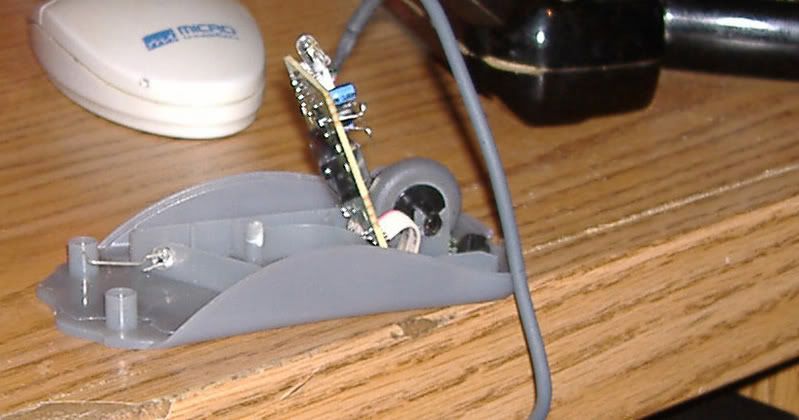
Placement in the mouse. What I did was dremeled a small hole and stuck the LED in there. I was so close, I don't need glue to hold it in place. The soldering iron in the background is about 20 years old.
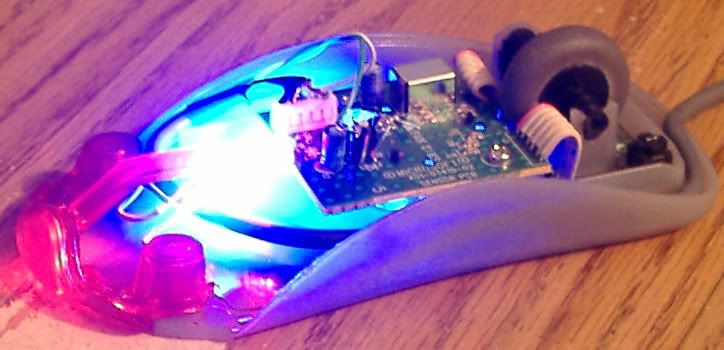
Hooked up
Underside. The feet will go back in place once painting is done (hopefully soon).
I'll see what I can do about getting some better images to you. The LED replacement is really simple. Soldering can be a pain if you have an overpowered and oversized soldering iron like I do. I'll be happy to help you with the install.
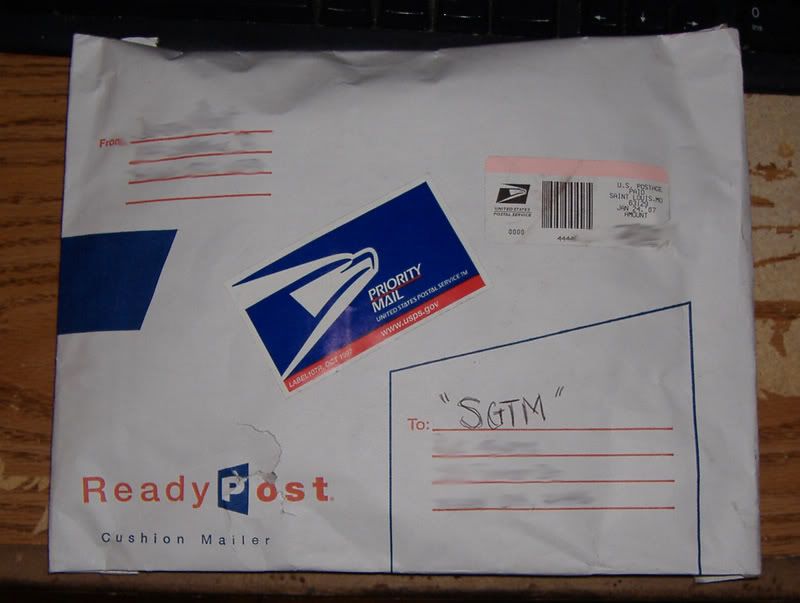
Look what came in today.... Big thanks and +rep to MindyMadness for sending these!
Lol...nice. Way to fuzz the address, can't have me sending you political fliers, eh? :D
-Dave
So yesterday was my birthday. My mom and dad got me 2 cans of paint. The mouse mod is back on. I'm going to have to repaint the buttons though because it doesn't match up right. No biggie.
Here's some progress shots on the mouse mod. The body of the mouse is dull because it's wet sanded waiting for the sticker to be applied. I'm about the wet sand the buttons to clean some imperfections and add the final color coat. Believe it or not, there isn't 1 drop of clear on this yet.
Another angle
Buttons only
Looks even better then before. Very clean and even, can't even see any small scratches from your wetsanding.
Doesn't look like you need to use any rubbing compound.
Thanks Drac. I don't have any clear coat on it yet, so we'll have to see about the rubbing compound/wax. Thoughts on the new sig anyone?
Signature looks ultra sharp! A+
Great work on the mouse (again lol). Are you adding the sticker (?) to it again? I loved how it looked with that on it.
And the sig looks killer!
Thanks guys. I was a little worried that it was too big. I'll be adding the sticker probably sometime tomorrow. I have the painted parts hanging from a heater vent using some CAT5 that I stripped. Hopefully that will help the paint cure a little.
Looking good as usual Sarge. I agree that the sticker lookd awesome, I definitely think you could do it again. It's a shame, that last paintjob was SLICK. But I have no worries that this one won't be just as cool - heck, it all ready looks cool with just the red!
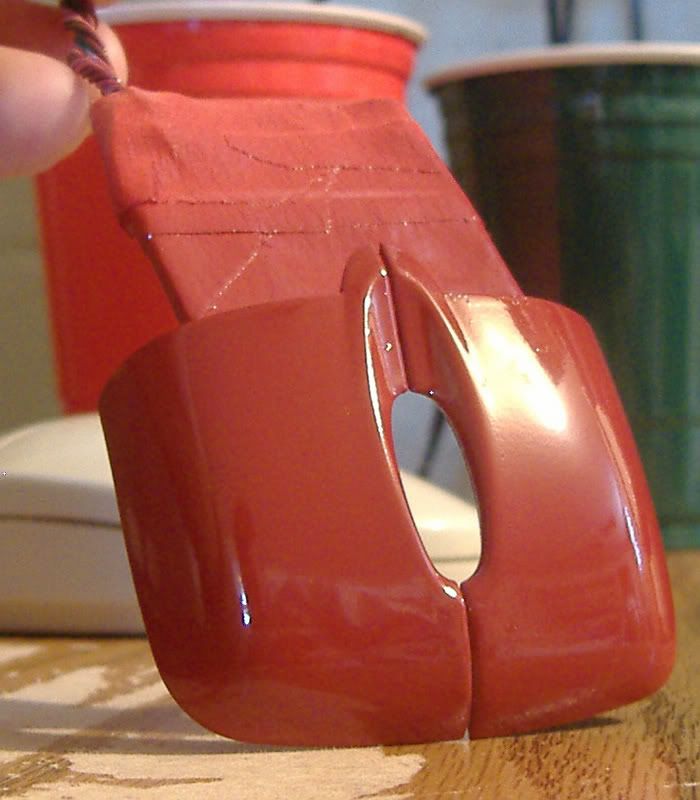
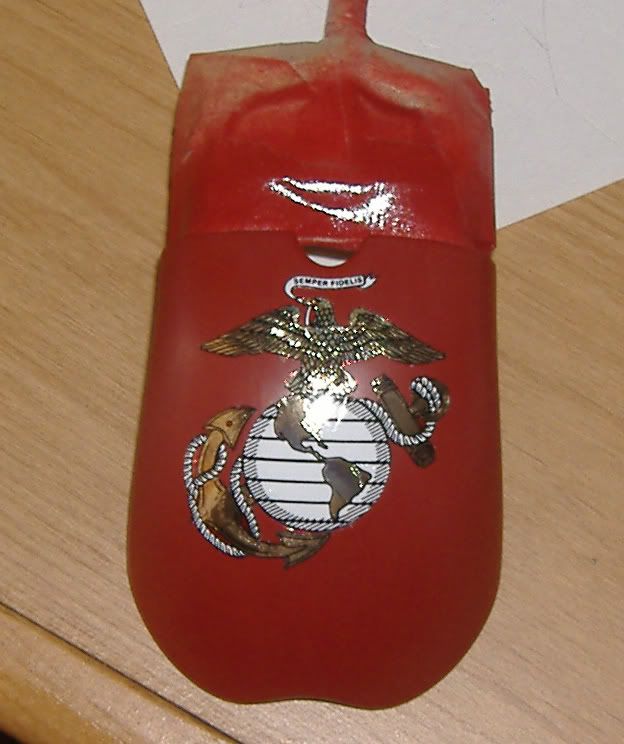
Sticker placement. I've conceded that I'll never get the little wrinkles out. There are 3 small ones. I'll just have to hope that I can lay down enough clear to smooth it out. What do you all think?
i think it looks really nice! I bet it's gonna look nicer after a few coats of clear.. and, aaa, where are those wrinkles? i can't see any :)
I can't wait to see it with the clear on top. I'm sure it's gonna look awsome.
A word of caution, make sure you check the coating times for the clear your using. You don't want to lay down the clear until the color coat is ready. I've learned that the hard way.
Looks great dude! Nice work sanding it smooth. As nice as it looks I think it's missing something for that nice balanced look. I think it would look good if you painted the other half (base) black, or maybe even a black outline around the edges. What do you think? By the way, I can't see any wrinkles either, the emblem looks awesome!
If you still have any bubbles just pop them with a pin. Also, the best way to eliminate wrinkles is the apply the sticker wet. Dunk it in some water with a drop of soap and it'll just slide into place.
Quote:
Originally Posted by Commando
Quote:
Originally Posted by jdbnsn
Thanks for the advice guys. It's VERY MUCH appreciated.Quote:
Originally Posted by tybrenis
Commando: This has been "curing" in my basement for about 48 hours. I hung it from a heat vent. By the time I get some clear, we'll be good to go.
jdbnbn: I agree. It does look like it's missing something. I think some black accents somewhere would look cool. I'm just not sure where to put them. I don't think I can paint the base black because of the blue accent lights I put in. I'm gonna play around with photochop and see what I can come up with.
ty: This was cut out of a rather thick foil sticker. I'm almost wishing it was waterslide at this point though, but I don't think the detail would be as high.
Ahh, I see. Yeah, waterslide decals are great but I don't think the effect would be nearly the same. I don't know about foil stickers, but I know that the waterslide method works for other stickers too, not just waterslides. It does NOT however work with paper stickers, obviously, as they get nice and soggy...