Thanks mercerman! :DQuote:
Originally Posted by mercerman318
Actually though, boy4rm oz was right. The mouse is a G9. It's the keyboard that's the G19. My fault, I mis-typed. :redface:

Printable View
Thanks mercerman! :DQuote:
Originally Posted by mercerman318
Actually though, boy4rm oz was right. The mouse is a G9. It's the keyboard that's the G19. My fault, I mis-typed. :redface:
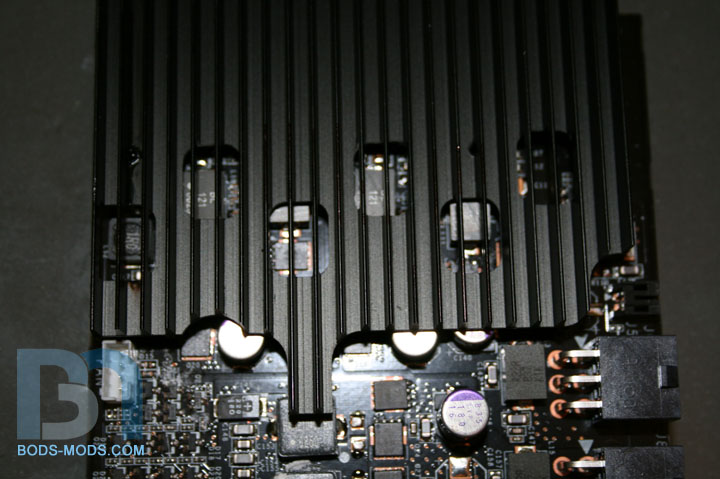
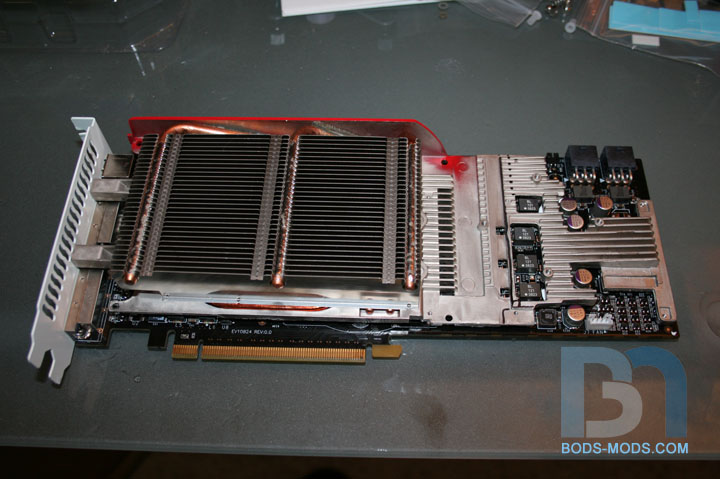
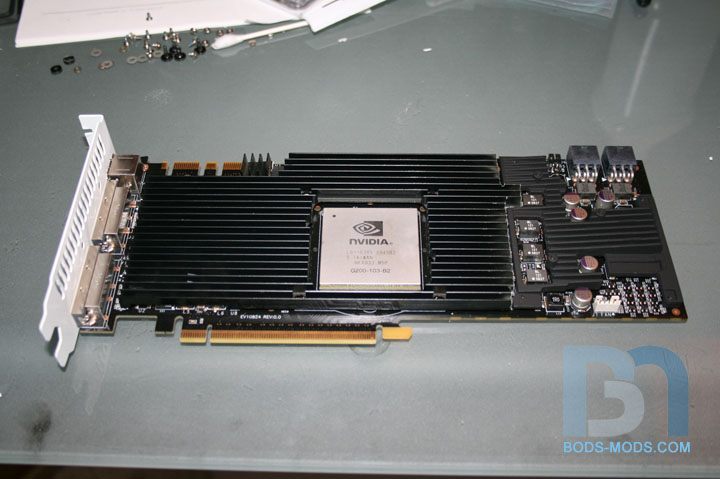
Of course system installations never go issue-free. I ran into a problem with the video card heatsinks (Swiftech GTX200).
It appears that two of my 260 cards have a slightly different board design than my other one. As such, the heatsink
won't fit properly. So now I must modify it!
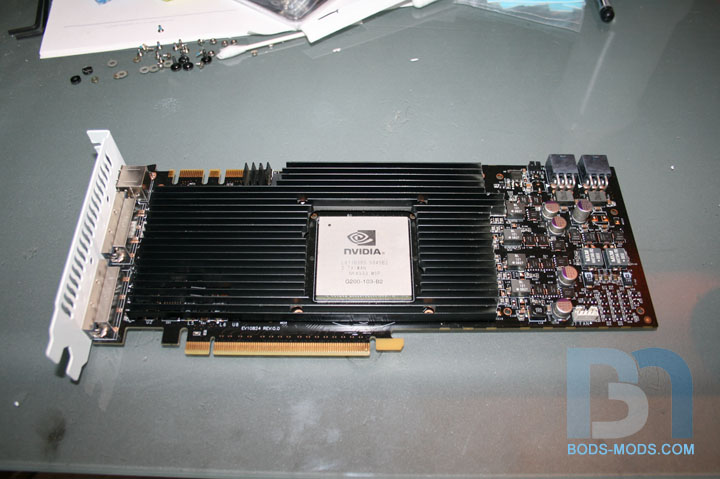
Here's the card with the heatsink:
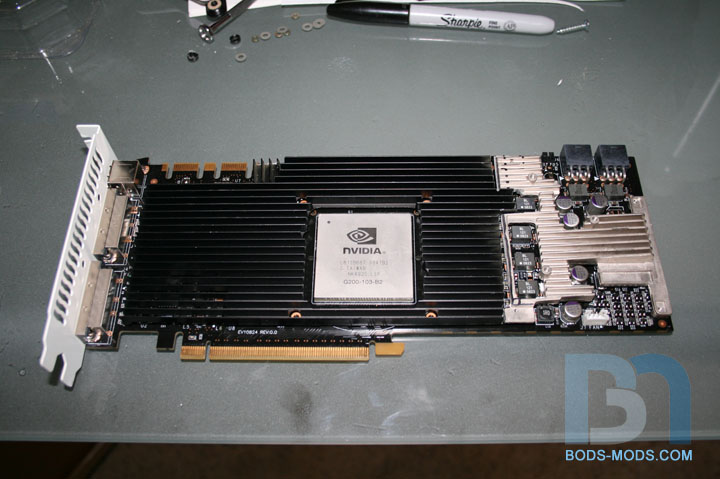
You can see here how the heatsink is designed to fit around the components on the video card.
however, on the newer GTX260, it doesn't fit quite right.
The chips and capacitors have been relocated.
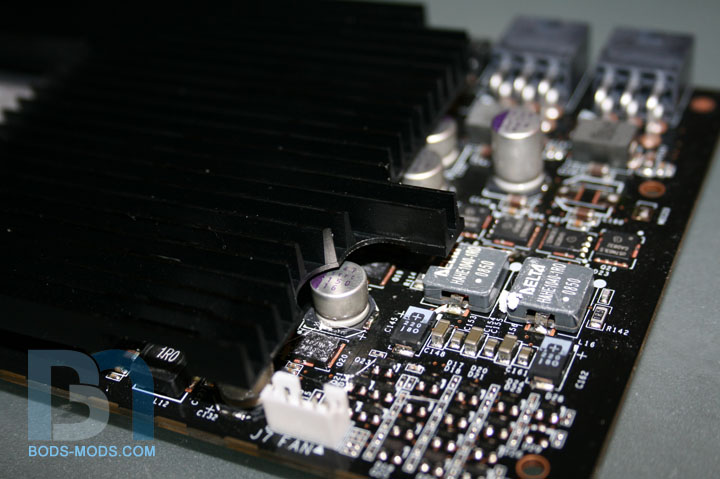
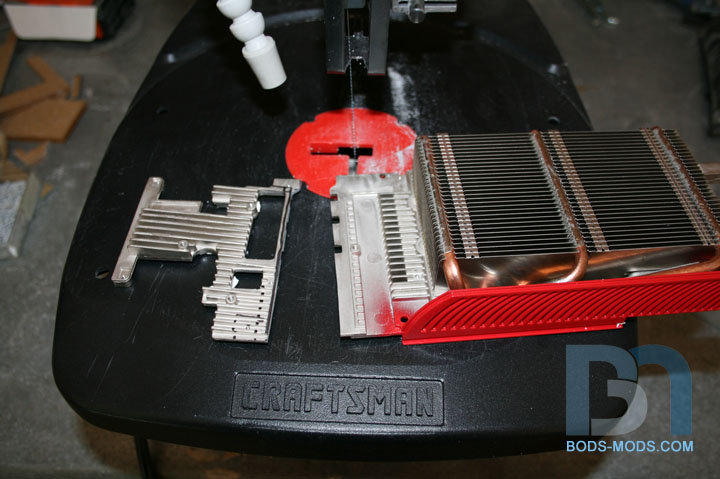
So I lopped off the offending section of the heatsink...
Now it sits flush onto the video card, but what to do about the exposed components that need cooling?
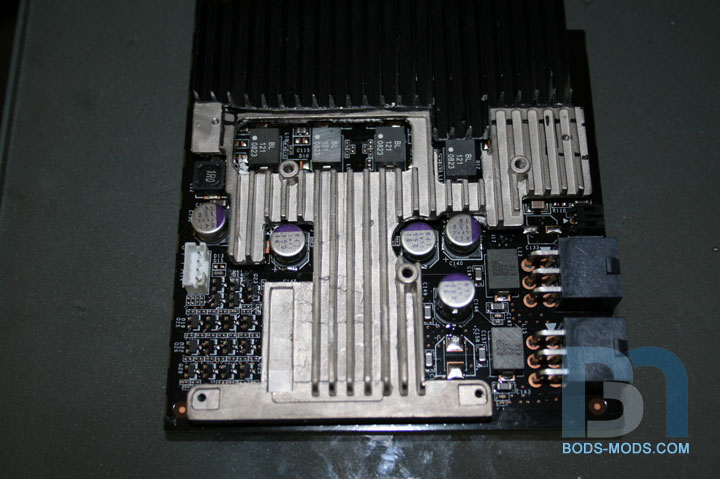
Enter the stock cooling solution!
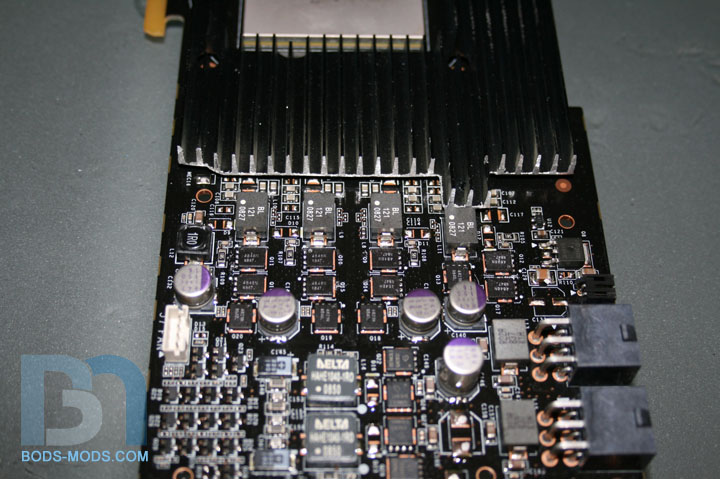
I cut along the dotted line...
Made a couple adjustments to take advantage of the screw holes...
and voila! Problem solved.
Gave the stock part a coat of black to match and it's done.
So now installation can continue (until the next problem arises) lol.
this just gets better and better:) keep it up m8! the monitor and g19 is absolutely GORGIOUS!
B-E-A utiful!
-gaz
WAUW!!! all i can say for now! :P :D
I was glancing over this. I thought you had moved the chips and caps. Had me thinkin "damn, this guy just took it to another level" to say the least lol.
Can't wait to see the end result!
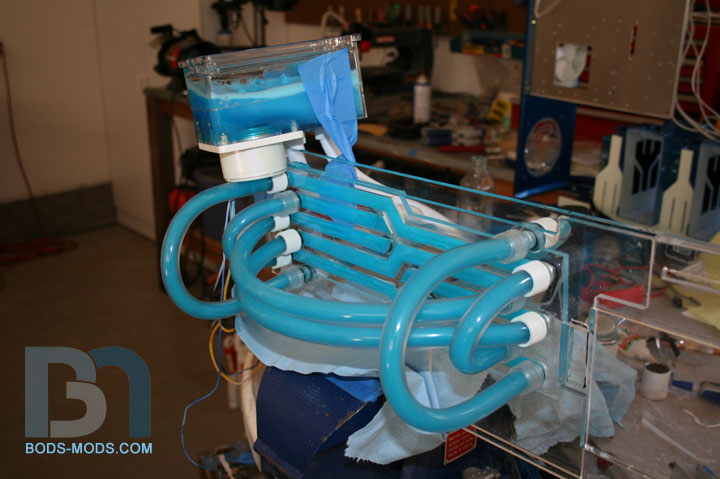
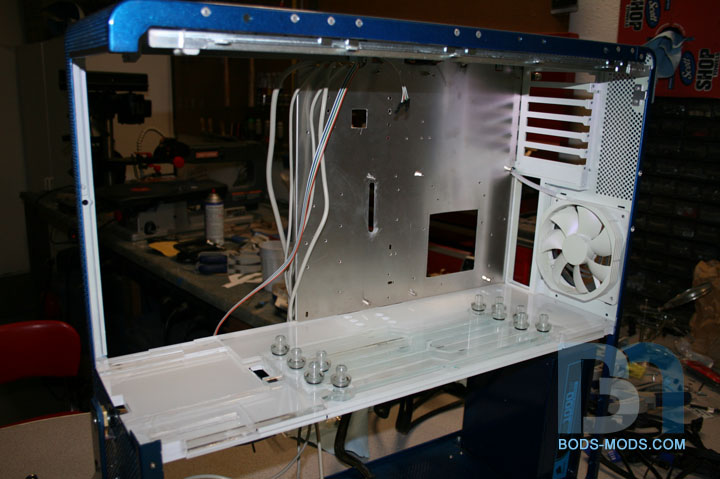
Ok, here's an update (not that I have time for it, seeing as how I haven't even installed the motherboard yet lol)
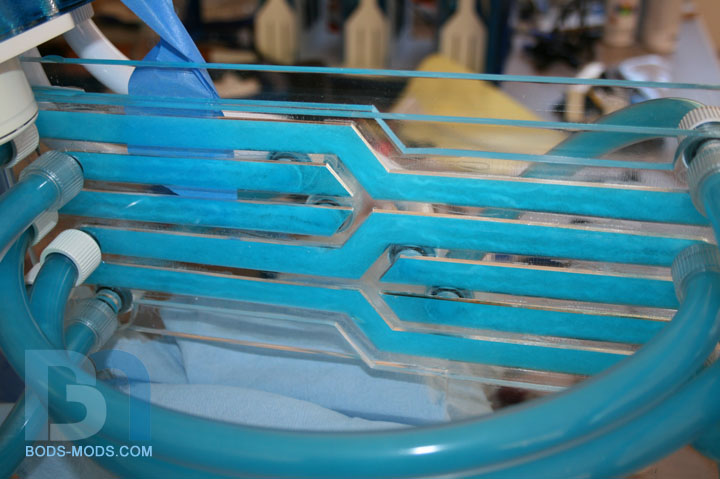
I had to leak-test the floor before mounting it into the case. So I hooked up a bunch of hoses so that I could test all channels at once.
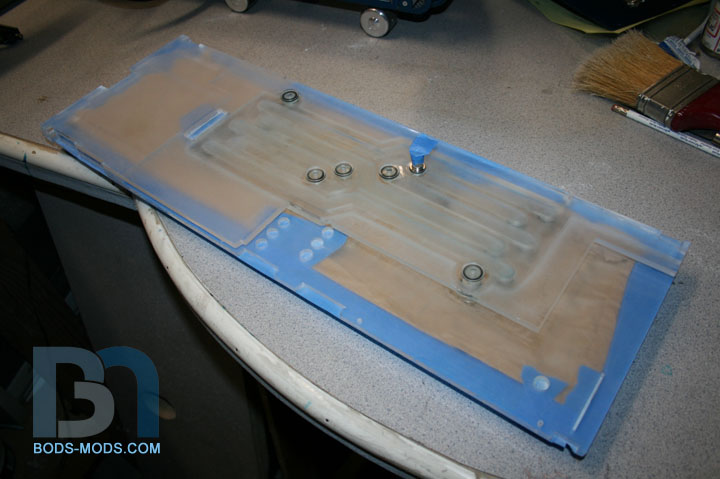
Once I knew there were no leaks (yay!), I prepped the underside for paint and taped off the top.
In order to get the same white/pearl effect on the floor, I had to spray the pearl first directly onto the acrlyic, followed by the white.
Looking at it from the top down, the effect is intact.
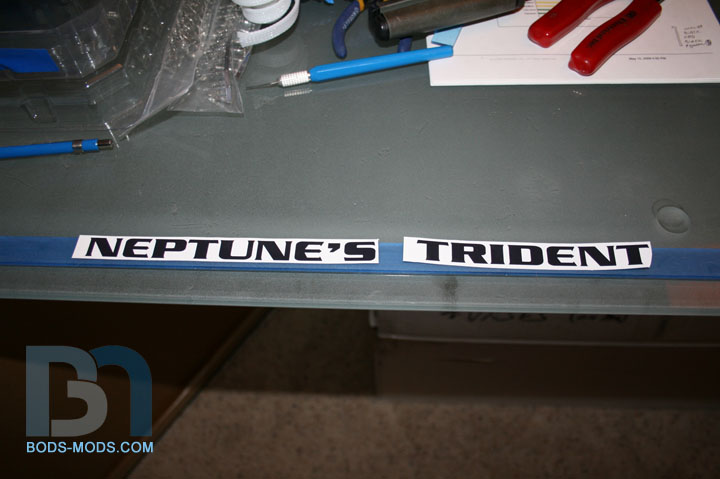
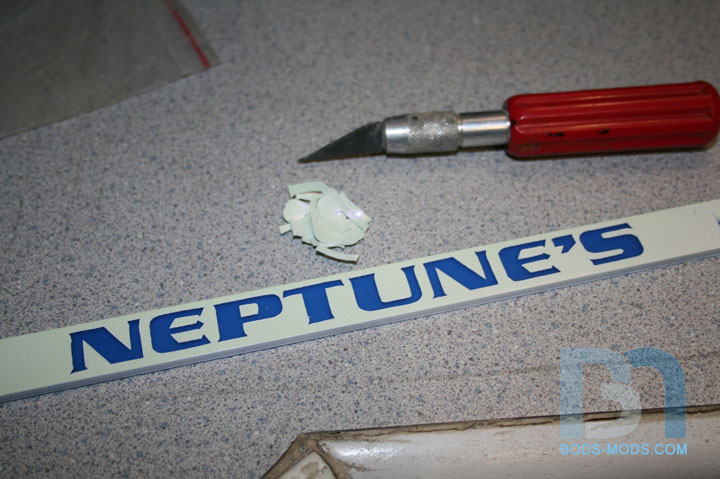
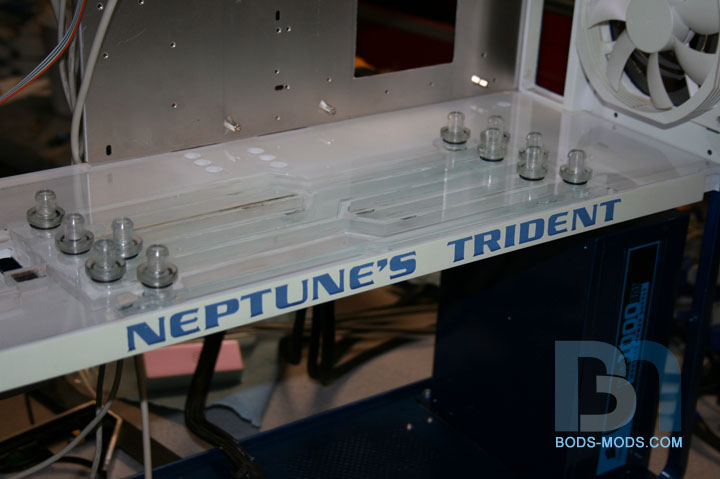
To finish off the floor, I wanted to make a nice logo trim piece to go along the visible edge. So I took some blue
transparent acrylic, scuffed it up and applied some custom lettering. I first printed them out on label paper, then
cut them out of that masking material with an exacto knife.
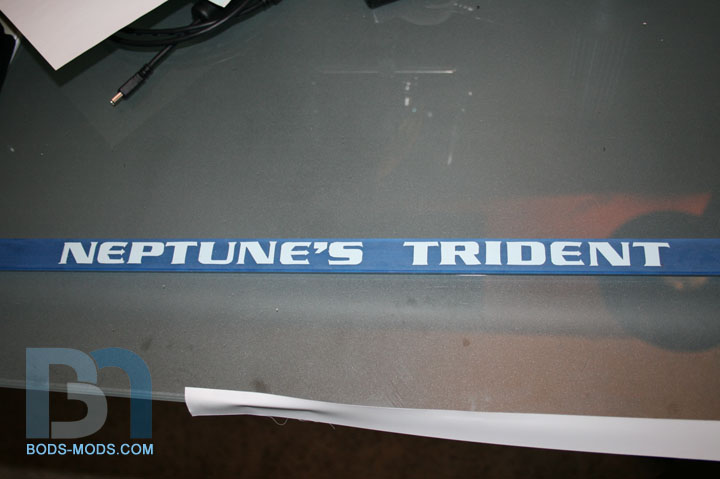
Painted.
un-masked (the blue you see through the letters is the blue masking tape on the back side).
Close up of the un-masking.
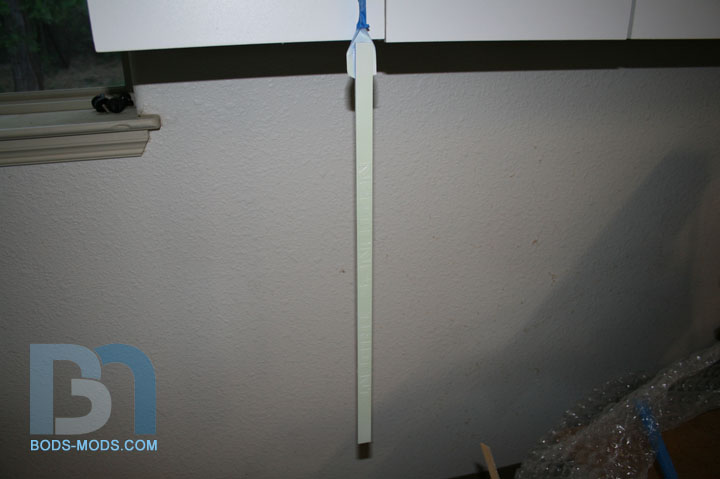
And here's the overall shot of the final effect. When I designed the floor, I left a cavity behind the letters for a 12" ccfl.
Should glow nicely! :D
That's all for now. It's back into the garage for me (and a late night I'm sure!)
thats seriously insane :bowdown:
that floor is just insanley sick, man... too cool. can't wait to see that under UV.
+rep
:eek: Just plain WOW!!! :bowdown: