-
Re: Monitor MOD
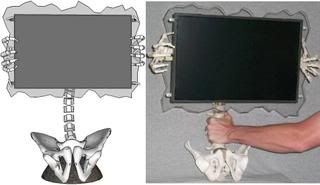
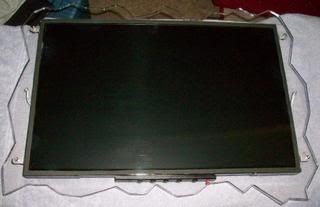
Since I'm still waiting on my switch for my LEDs to come in the mail I decide to tackle the back bone stand. I have some updated pix of my progress. I've put a 1/4 inch steel rod in the center of the backbone for strength and shaved off all the unnecessary parts on the monitor bracket and screwed the hands in place to the mount. The whole setup is still a little unstable, the monitor sways left to right, that's why I had to hold it still in the pictures and the base it's flat enough to stand up on it's own.
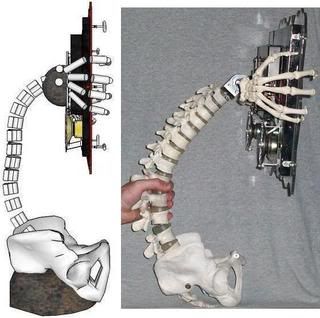
*SketchUp Design**What it really looks like*
*SketchUp Design**What it really looks like*
The whole thing is about 26 inches tall from base to top of acrylic panel and 23 inches wide from skeleton hand to skeleton hand. As for wieght it's already at about 15 pounds and I still need to add the base platform. I'm guess this it going to end up around 20-25 pounds. THIS THING IS HUGE.
I'm not completely satisfied with the side profile but if I curve it to much it creates ugly spaces between the vertebrae. I might still try to straight it out a little more like I have in my SketchUp design. I also need to get rid of all the visible bolts and screws on the bones and create a stable platform for the pelvic bone to sit in. I think when I put the car bondo on the base and on the monitor bracket and gluing the individual vertebrae in place it'll help stabilize the whole thing.
-
Re: Monitor MOD
Your right, this is huge. A very awesome mod all the same, I can't wait to see it finished.
-
Re: Monitor MOD
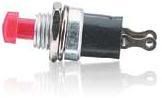
My switches came in yesterday. The button wasn't long enough plus it was to big and square to fit in the hole I drilled on the button panel so I had to round the edges and take the red portion of this switch and secure it to the other one because I thought it looked better and made the switch stand out from the other ones so you can easily turn the LEDs on/off.
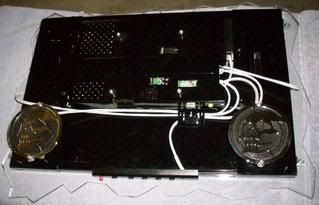
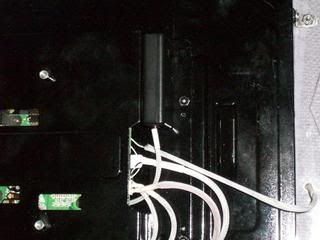
As you can tell I also installed the battery pack for the LEDs, wired and installed the LEDs, secured the button panel and put white sleeves on all the wires. Here's a close up of the AAA battery pack. I think it blends in nicely.
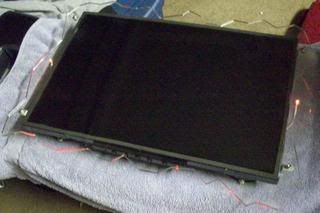
Here's the LEDs turned on with the room lights on.
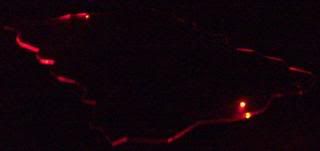
As you can tell you can barely tell they're on, that's why I installed an on/off switch so you can turn it off when you don't want them on. Now for a shot with the room lights off.
The only major thing now is making the base strong enough to handle the weight and balance the monitor. After that it's just clean up, bondo and then paint.
-
Re: Monitor MOD
A battery pack. Who would have thunk it lol. +rep for the awesome idea
-
Re: Monitor MOD
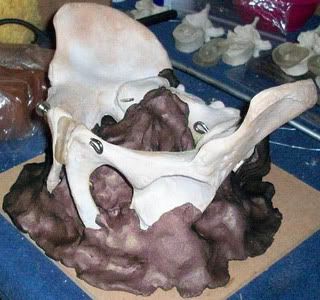
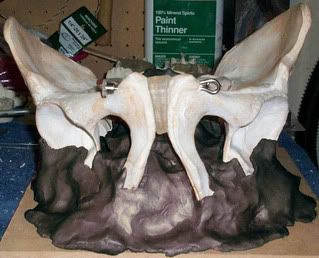
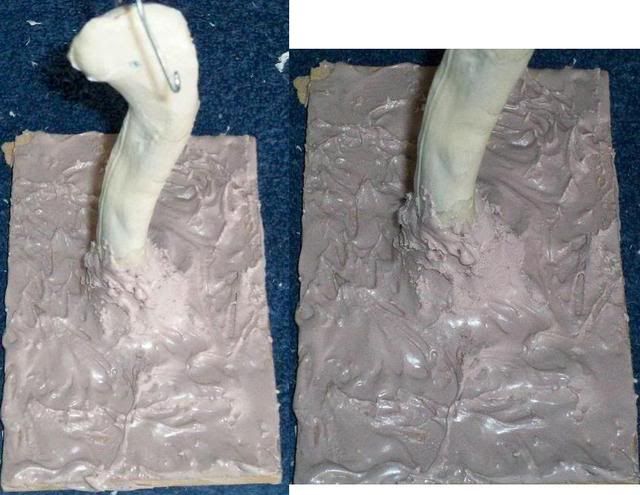
I decided to work on the base. I secured the pelvic bone down with some screws and now it's stable as a rock. Instead of just slapping down some bondo and only having a few minutes to shape it before it hardens I decided to play around with some modeling clay first to help give me some idea of what I want. As always I took a few pix. Remember this is just a rough idea of what the rock will look like. The texture will be completely different since I'll be using bondo instead of clay.
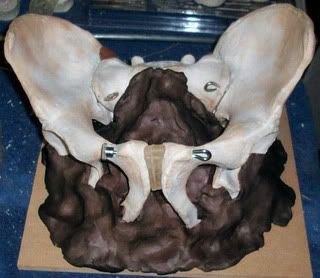
As you can see in this next pix the pelvic bone isn't sitting level, can't believe I didn't notice that, so I'm going to have to unscrew it and readjust to make it level.
My wife thinks it covers to much of the pelvic bone. I was just trying to make sure I hid the screws and most of the rods. The rock will also be covering the entire surface of the base board so you won't be seeing that either. As far as the texture when I bondo it I'll be using the same technique that Crimson Sky used when he made his alien mouse to give it a rough look. I would like to hear your honest opinion on this because I would hate to mess this project up when I'm so close to finishing it up. Is the placement of the clay look good or should I subtract some to show off more of the pelvic bone?
-
Re: Monitor MOD
I like what you have done with the clay. I don't think it covers up too much of the pelvic bone. It makes it look like it it coming out of the ground, not sitting on top.
-
Re: Monitor MOD
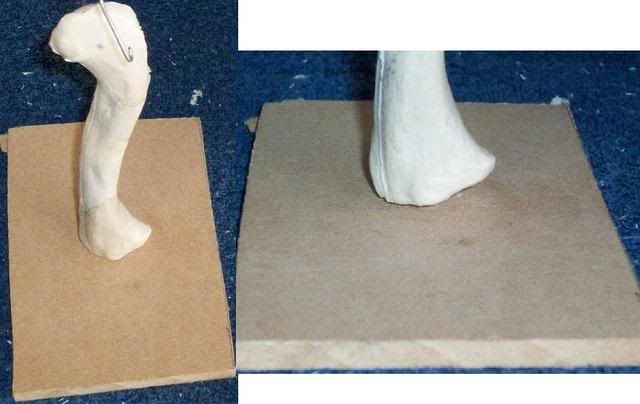
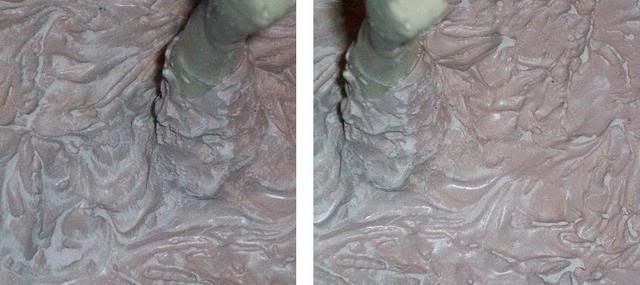
I tried out some more tests with the base. This time I used some bondo on a spare bone to see what it'll look like. Here are the test shots. Yes I should of layed the bone down on the board but for some odd reason I decided to stand it up.
Before adding bondo
Wide Shot----------------------------------------------Close-Up
After adding bondo
Wide Shot----------------------------------------------Close-Up
I sanded the sharp points down. I then scratched one side up a lot more than the other side to see which looked better. I think the scratched up side looks better.
Scratched Side----------------------------------------------Smoother Side
What do you think?
The next step after I figure out which looks better is deciding what color to make the rock. BLACK, GREY or BROWN?
-
Re: Monitor MOD
Black would look good. Perhaps black with grey dry brushing?
-
Re: Monitor MOD
I would paint the rock grey.
Then go over it with Dark Grey/Black on a sea sponge, and add hints of green, and brown.
Looks really good! Makes me want to start a new mod.
-
Re: Monitor MOD
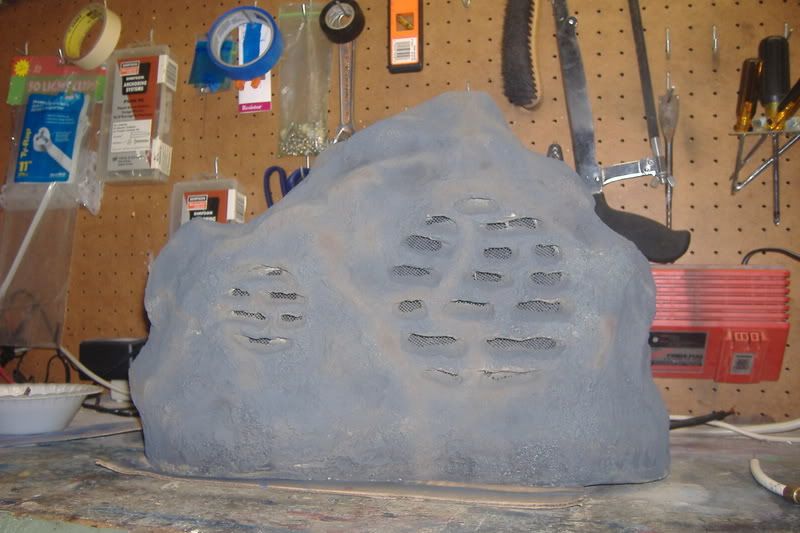
Go grey. Get some of that modeling moss from Hobby Lobby, and dry brush some brown and black spots here and there. Here's some outdoor rock speakers I airbrushed recently. And of course, you have some rep.
http://s47.photobucket.com/albums/f1...ck%20speakers/