Looking good! That frosting spray seems to fit the bill, pretty good. Like you I had my doubts, but it seems to be perfect for your application. Nice work!

Printable View
Looking good! That frosting spray seems to fit the bill, pretty good. Like you I had my doubts, but it seems to be perfect for your application. Nice work!
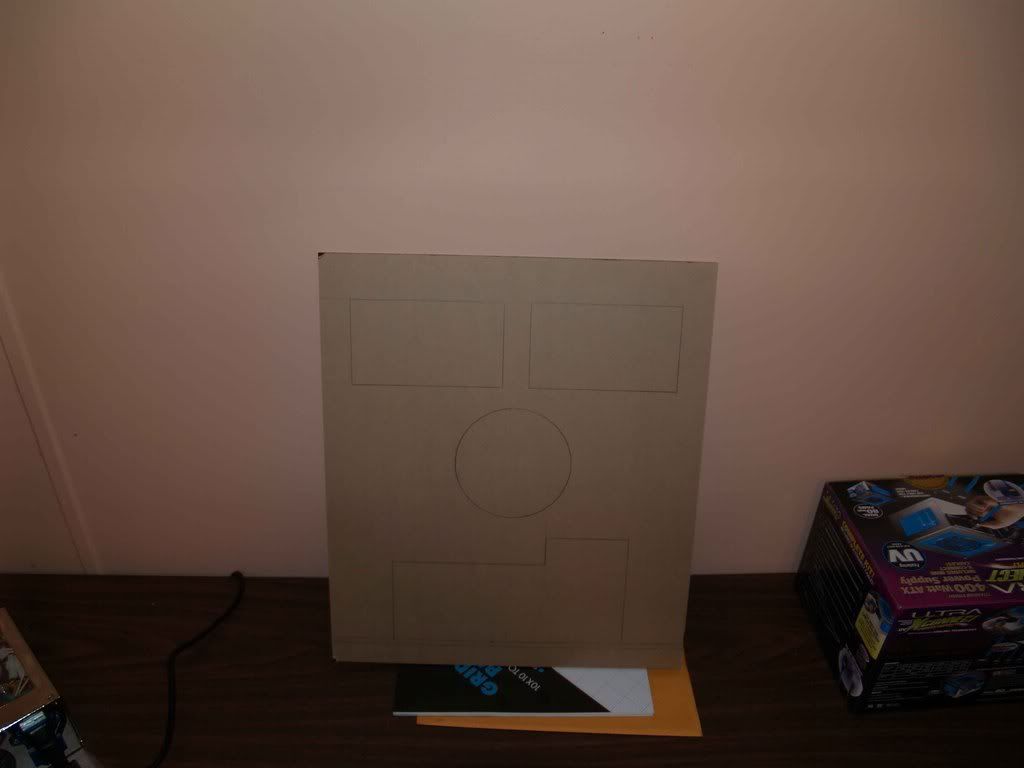
Just a small update tonight, got the rear panel laid out...
I had to make a concession here. I wanted to build this thing with as few factory made components as I could. That included cutting i/o slots & circles in the rear panel. But I wondered how I was going to upgrade? I plan on having this thing for a LONG time, and who knows what components are going to do?
I've decided to steal the removable motherboard tray out of my Microfly. It's metal and therefore the enemy, but it solves SO many problems. The big hole on the bottom of the layout is for the rear panel of this tray. Large expanse of metal in my beloved acrylic, but I think once I spray paint it satin black and cover it up with all the other stuff it will blend right in.
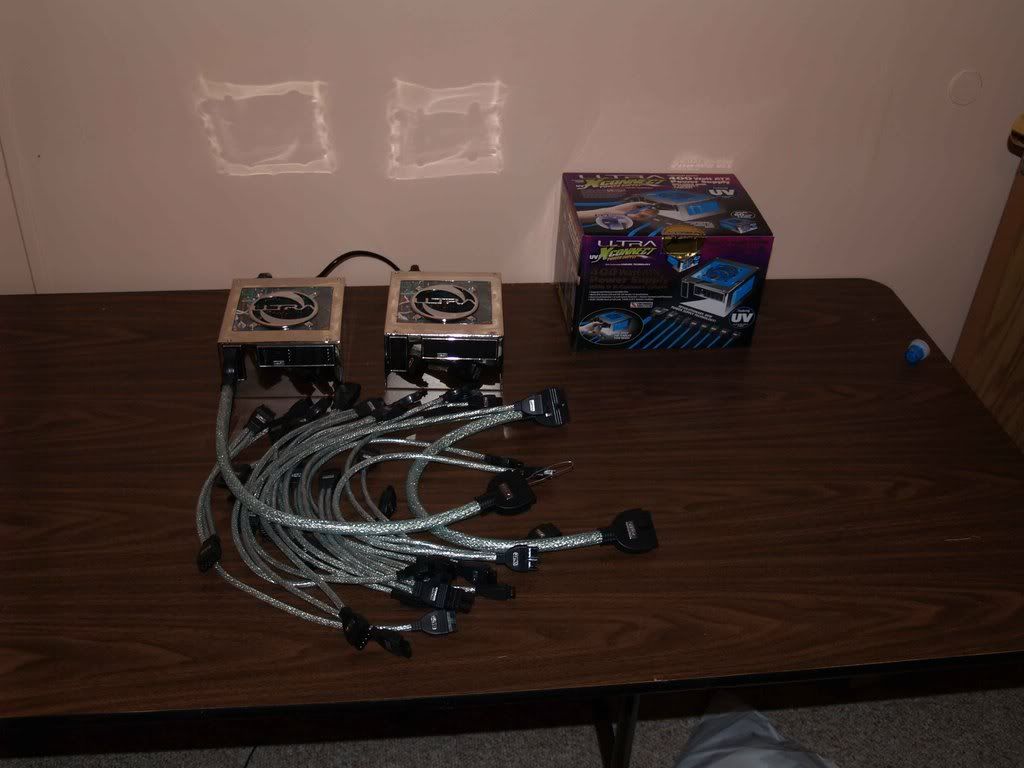
On to the title, when I started this thing, I went dashing around frantically looking for case components. I even deluded myself that this hobby wasn't all that expensive. (yes, I actually believed that) I mean, you add a light here, $20, a window there $50, some copper heatsink shinies on your boards $10.... So I was looking for shinies. I came across these:
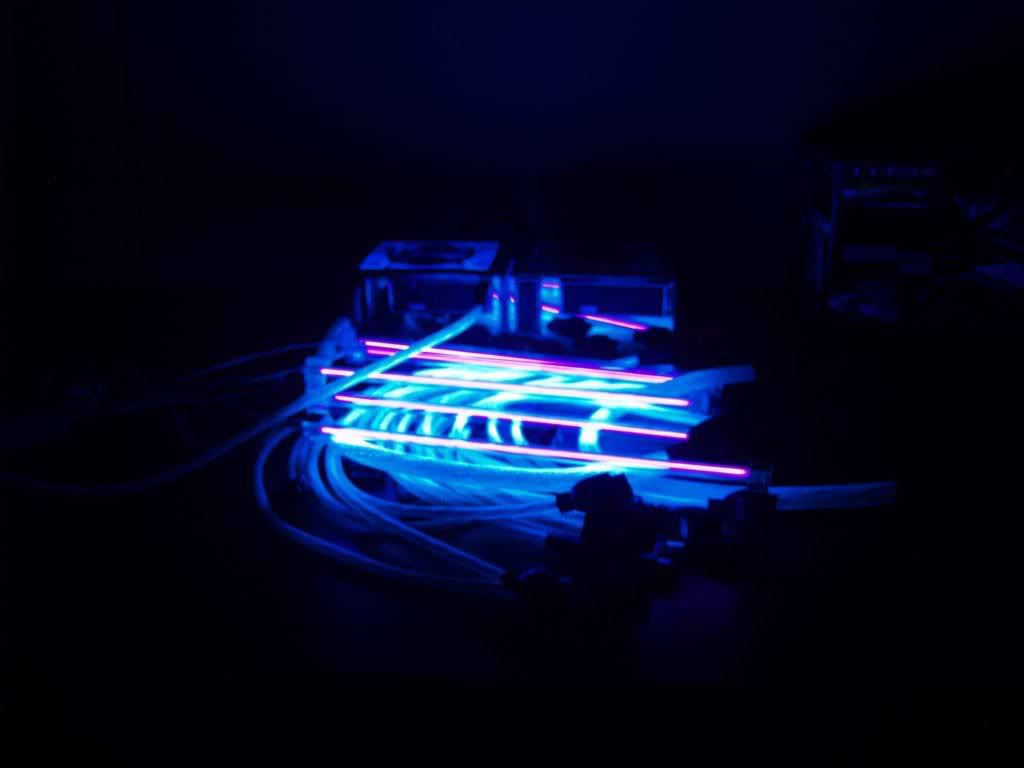
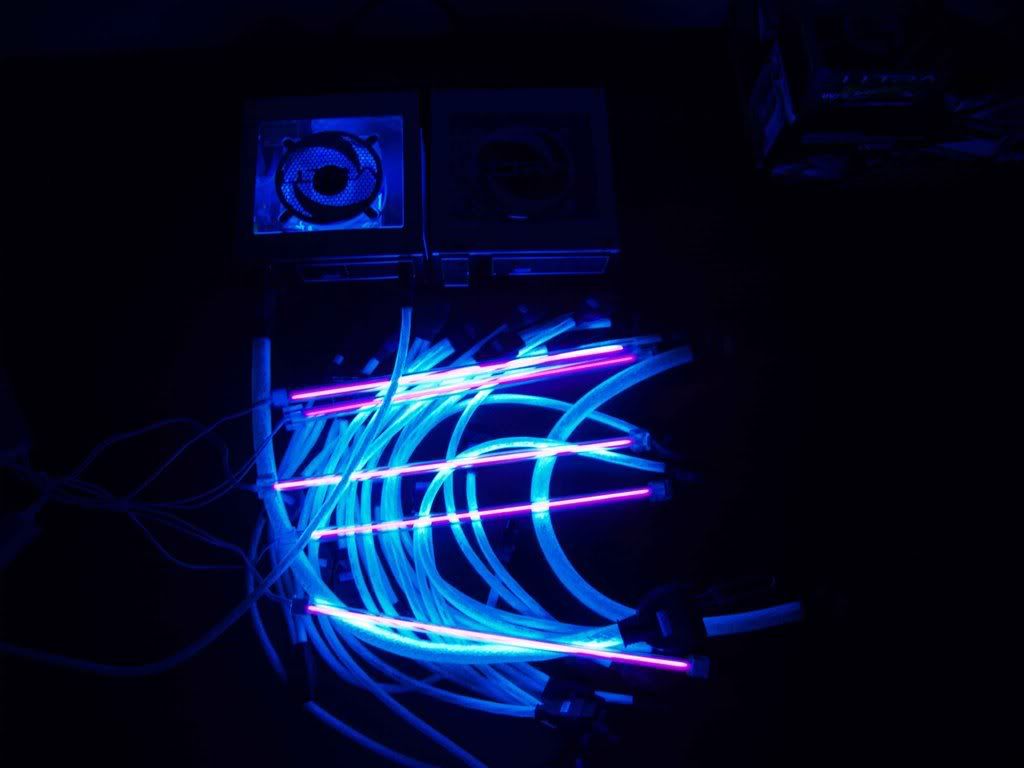
These are 400-watt Ultra X-connect modular ATX power supplies, with the heap of cables included. I came across these at TigerDirect and ordered them. The design has always called for two power supplies, and now I'm glad. I learned a lot about wattage, amperage, number of 12-volt rails, thermal protection, oversurge protection, etc etc etc. Running both of these in tandem should give me all the juice I'll need. I've read reviews on these from every different perspective, from God himself uses them on the Divine Server to them being agents of Lucifer sent here to steal our souls. Me in the middle, I already bought them, hook 'em up! At least they glow nicely.
Hope to get the rear panel cut tomorrow and start on the bottom shelf, have to nip the corners on it to fit the grooves in the columns. Catch you guys later!
(Hey, that "Front Page" thing isn't anything like the piece of paper hanging in the post office with all the black and white pictures, is it?)
________
Medical marijuana
Sweet Build wish I had thought of that designr + rep!
grats on front page...go to the home page to check it out
this mod is shaping up quite nicely
This is looking to be an awesome mod. Great work so far. Keep it up.
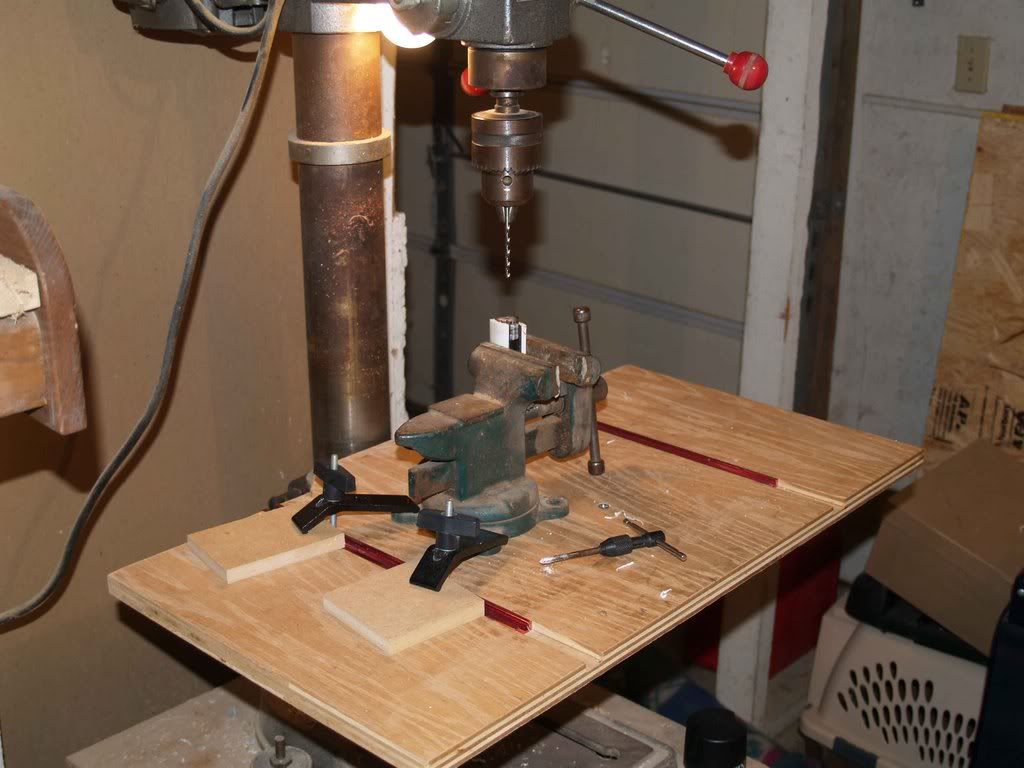
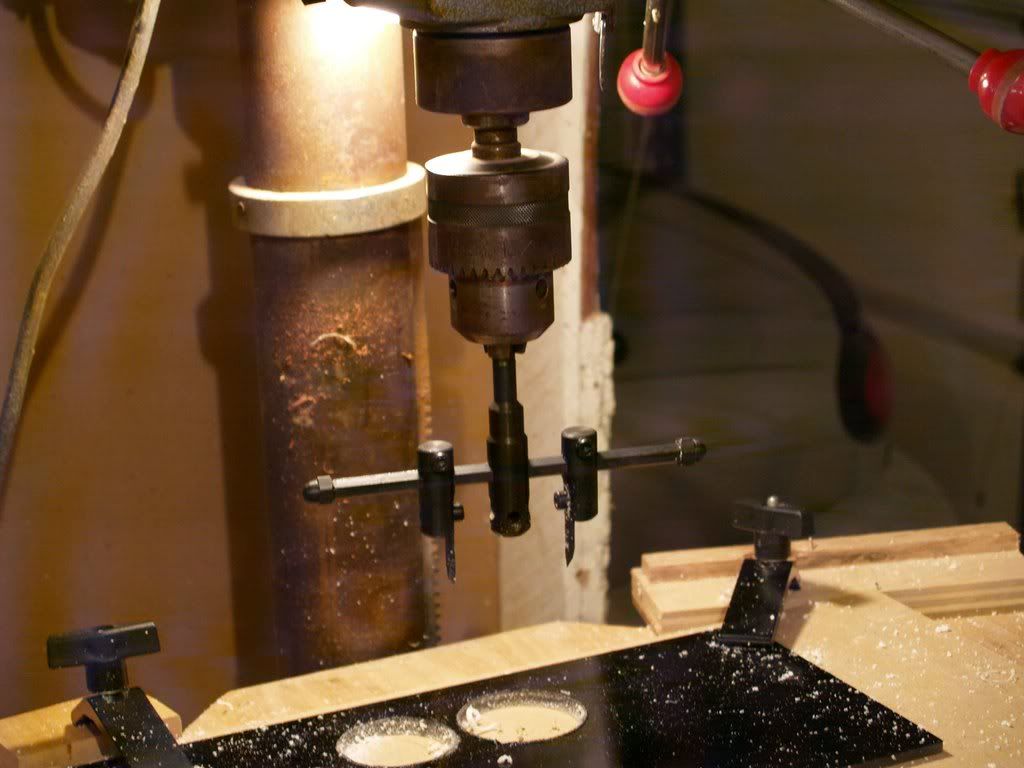
Getting some work done tonight, this is the setup I am using to bore the horizontal support rods for tapping. Never let anyone tell you that you can't tap threads into cast acrylic and expect them to hold. :)
If all goes well will have the front back and bottom glued up tonight with the support rods in place.
________
Mflb Vaporizer
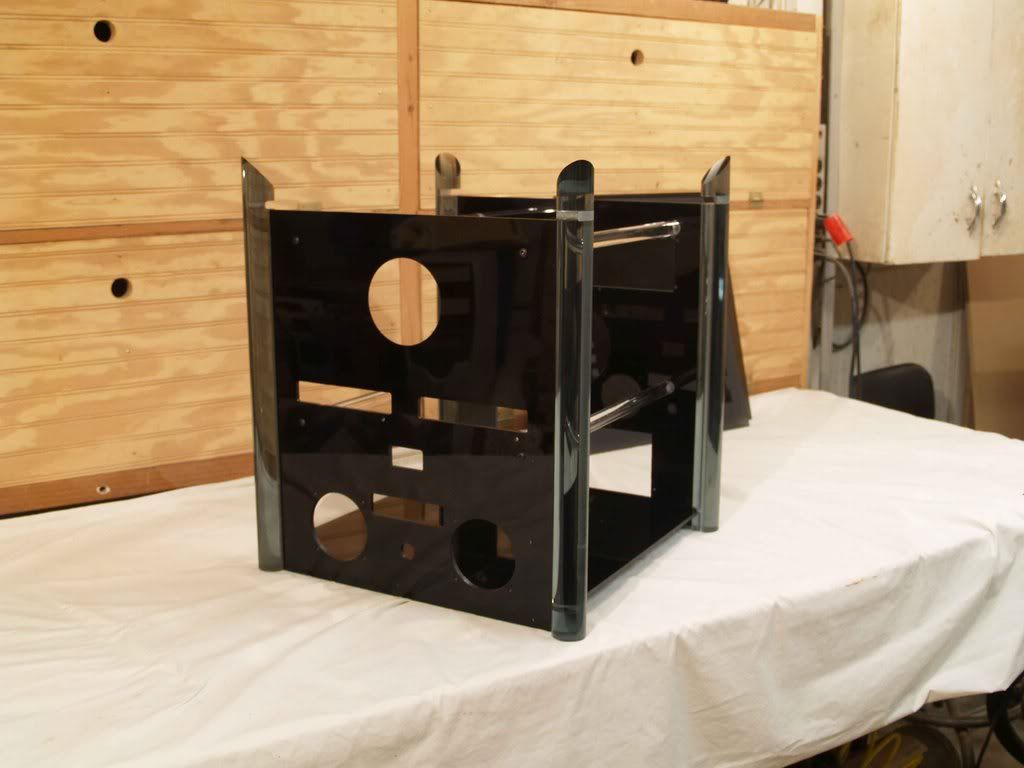
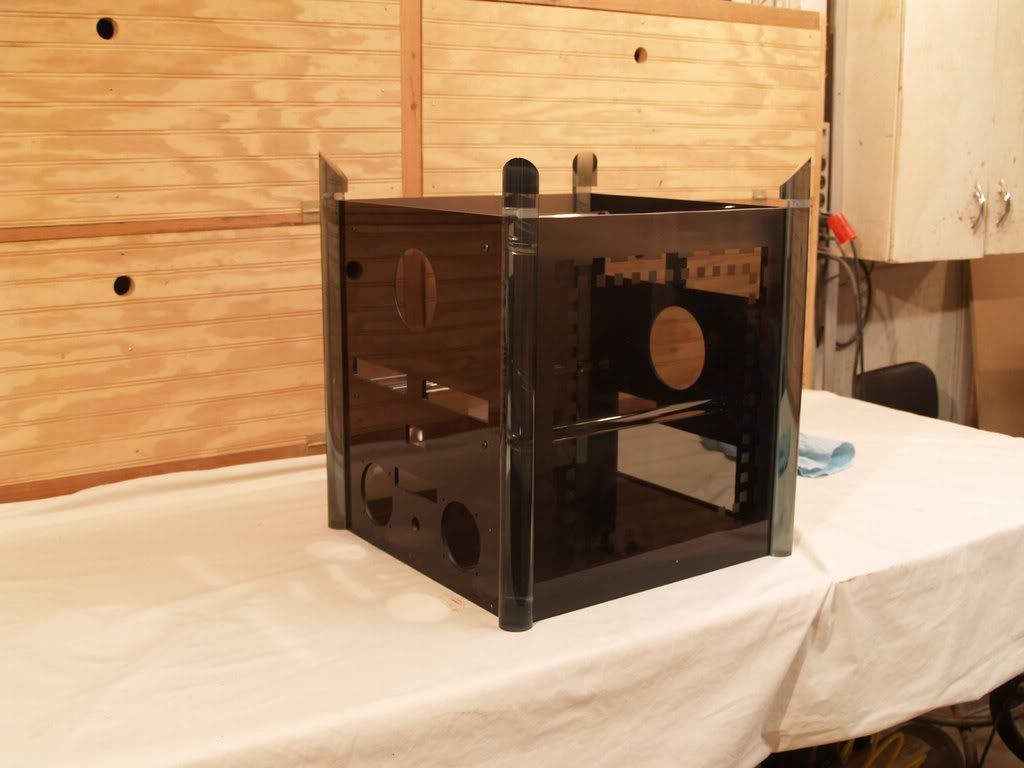
This thing is finally starting to look like a case. Got the front and rear panels glued into their respective support rods (the sides will not be glued but will slide out the bottom as needed for access), the bottom cut and glued in, and the horizontal support rods in place.
With one side in place:
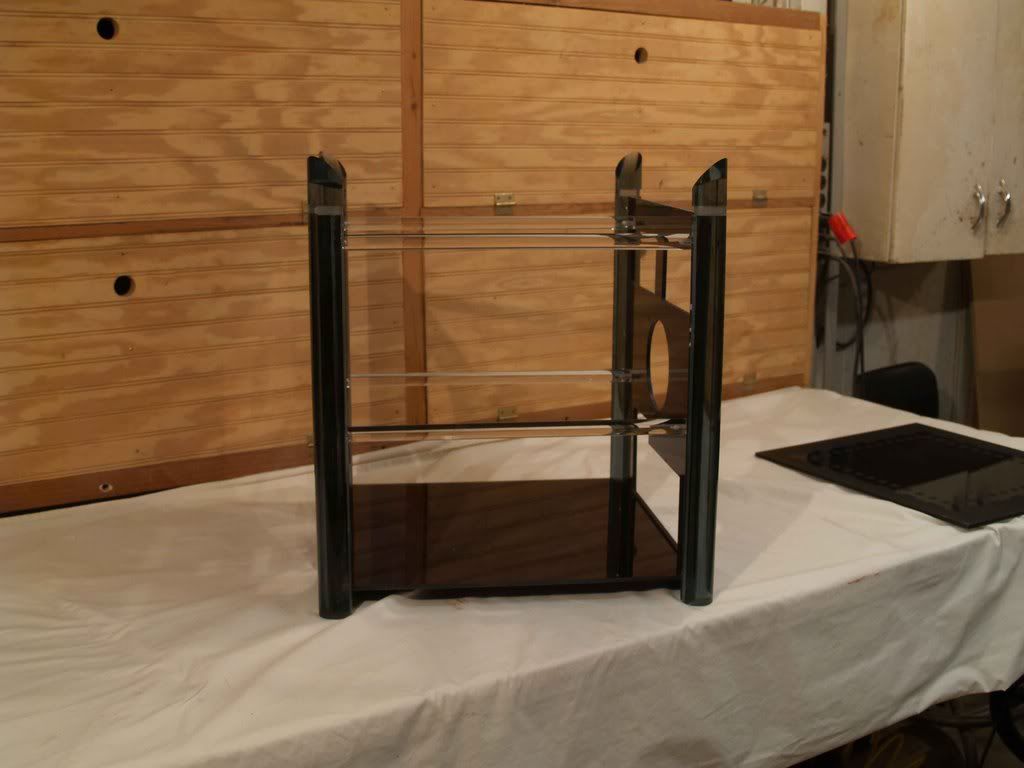
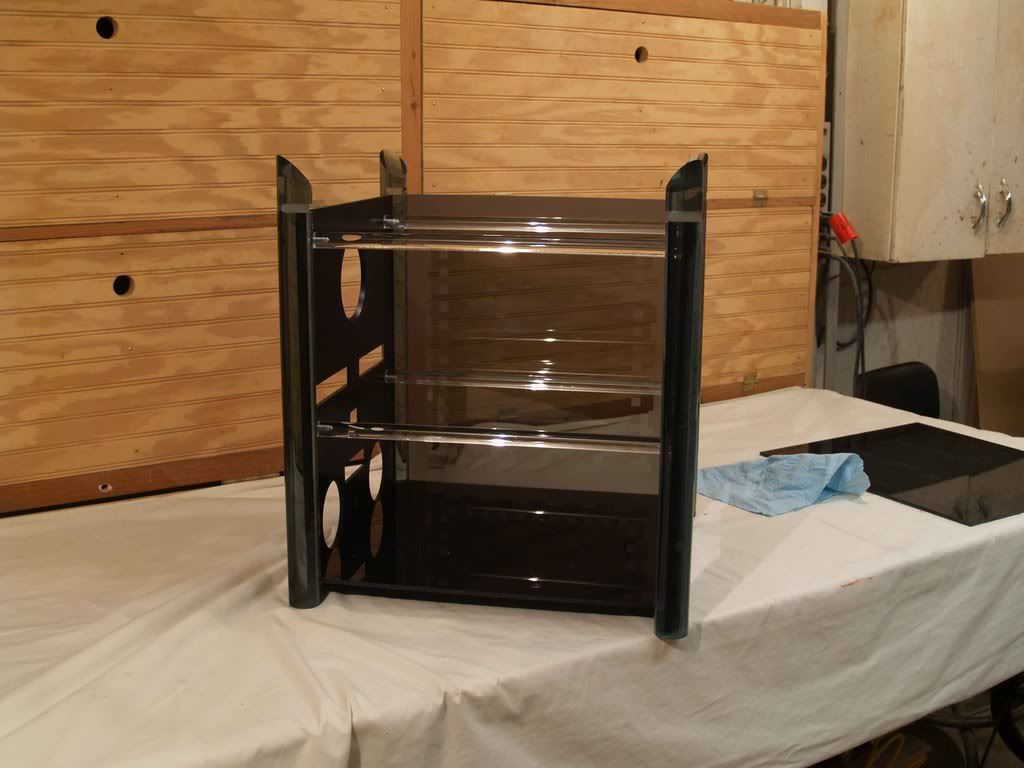
And all put together (except the top):
:banana:
________
MAGIC FLIGHT LAUNCH BOX
Looks very cool. UBER sexy lol.
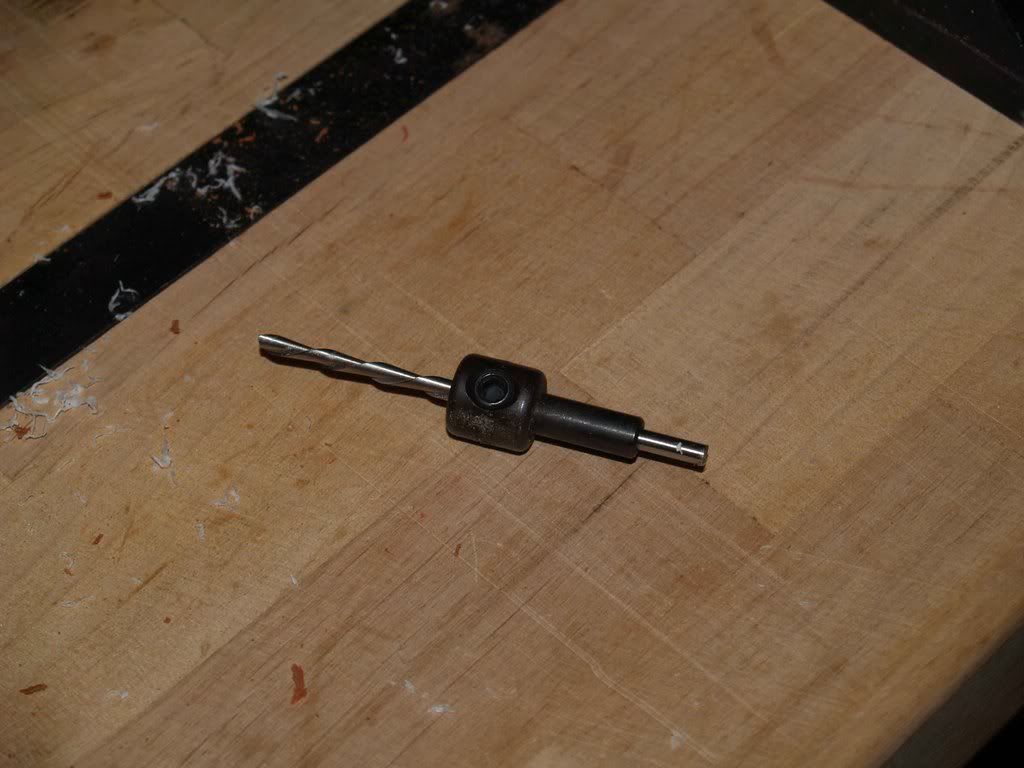
I just realized that I haven't shared my cutting methods. Being new to this scene and this site, and seeing all the amazing work here, I just assume everyone knows how to do everything I've done. In case anyone cares, I used a double-carbide-tooth circle cutter on the drill press for my fan holes (had to use it in a hand-held drill for the big rear hole, ouch), cuts this stuff very well if you go slowly.
Cut the hole for the power switch with a forstner bit. I was amazed at how well those things cut plexi. Perfectly round, no burning, no melting, and you can get a pretty decent set at Harbor Freight for $30.
As for the straight lines, I am blessed with a large router table. I cut pilot holes in the corners of the holes I needed to cut out, then used a Rotozip spiral cutting bit chucked into my router (with an adaptor I got at Sears for $10), along with my router table fence, to cut the lines.
Again, excellent cut and perfectly straight this way. Only drawback is you can't cut square corners, but the bit is only 1/8" in diameter so the corners are only very slightly rounded.
________
Tf103