Re: Project: Accelerated Fear
Glad to hear the plexi snapping went well. The idea is to snap it fast not slow, the slower you go the more chance it has of cracking. I also found that if you score both sides of the plexi it makes it easier and reduces the actual chipping and cracking of the plexi. Something else I have tried is using a glass cutter, that works pretty well on plexi, to score for snapping or to cut.
Re: Project: Accelerated Fear
That's looking great so far. I wish I had thought of snapping the plexi for my case since hack saws mean 5 hours of filing. +rep, and +sub.
Re: Project: Accelerated Fear
wow... very impressive work. mind if i steal that technique?
Re: Project: Accelerated Fear
Thanks for the comments guys, will hopefully have another update towards the end of the week.
Quote:
Originally Posted by
Dane Bramage

wow... very impressive work. mind if i steal that technique?
I asked Mr Miyagi, he said NP Dane-yul son. :)
Re: Project: Accelerated Fear
lol that guys a legend keep up the good work :P
Re: Project: Accelerated Fear
header image has been inserted. There are two options, just delete the one you don't want.
Re: Project: Accelerated Fear
Quote:
Originally Posted by
jdbnsn
header image has been inserted. There are two options, just delete the one you don't want.
Cheers jdbnsn, those graphics are awsome! I picked the one with the eye as it looks pretty freaky :D
Thanks again
_'J5
Re: Project: Accelerated Fear
Hey guys, wow, its been about 2 weeks since i updated this project, ive been so busy at work and at home so its been hard to get anything done.
For this update iv been working on the PSU, i dont know why but i like power supplys, maybe its a case of liking the underdog, what i mean is the PSU almost always gets pushed to the side, overlooked and not very well thought of even though without it your pc wouldnt even switch on! Well not anymore! Gonna spend a while giving this PSU a good makeover and making it a focul point of the case.
Im a fan of the old saying "you cant polish a turd" so for a good PC i think you need a good power supply, im not just gonna bung a standard old 350w generic PSU in this machine, a while ago i bought myself an Antec NeoPower 480W, its been powering my current PC solidly for about 6 months, i wanted to use it for this mod as its a good piece of kit. I took it out of my shark and began modding that sucker!
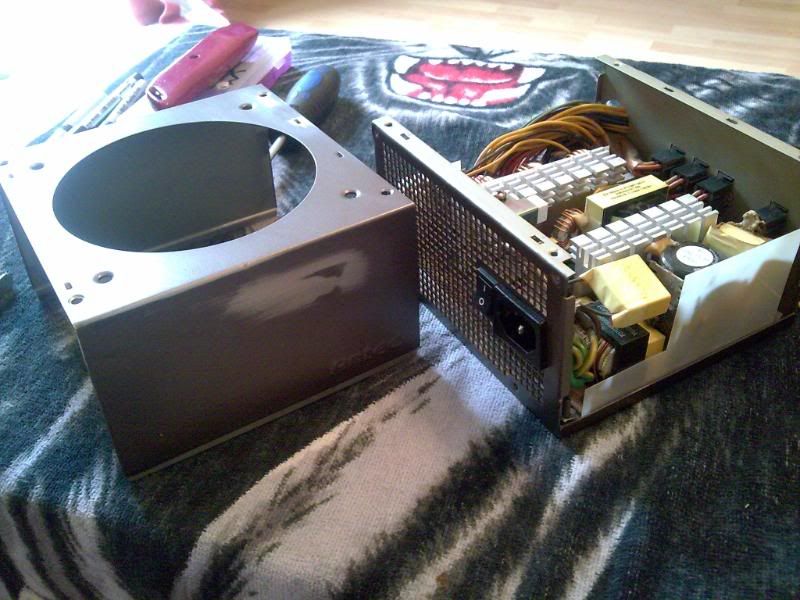
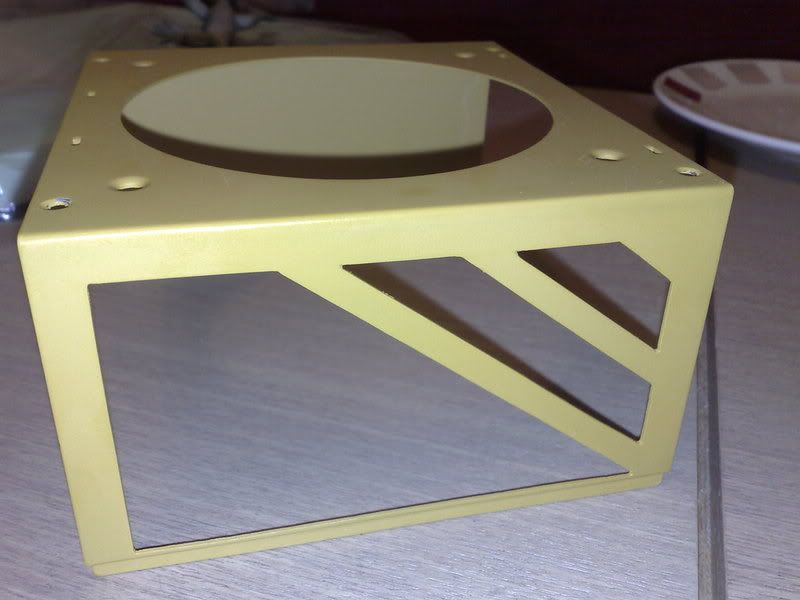
Took the cover off, removed the switches and power plug, scrubbed of the old antec labels and calibration stickers.
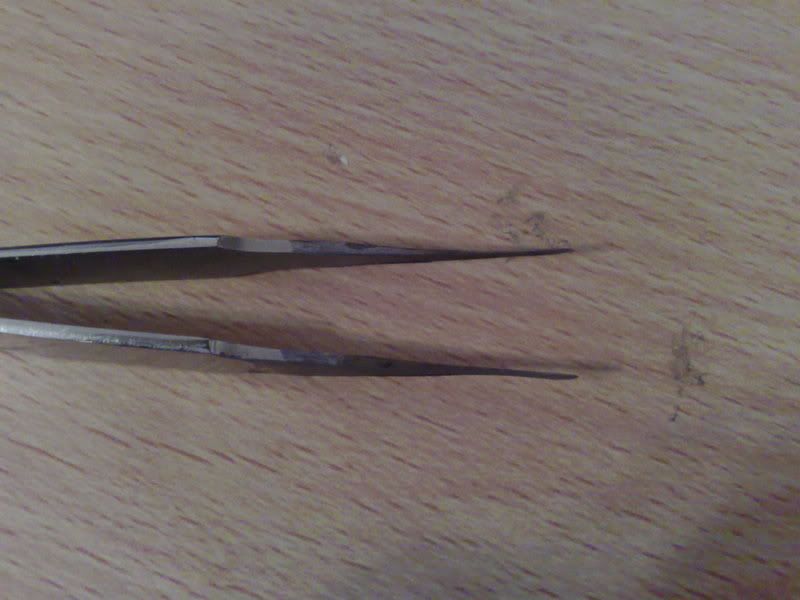
I needed to remove the ATX connector but didnt have an extraction tool so i did what anyone would do.. modded myself one! Taking an old pair of tweezers i ground the ends down to form two very thin spades.
Didnt work first time but after a bit of fine adjustment I could remove the crimps form the housing.
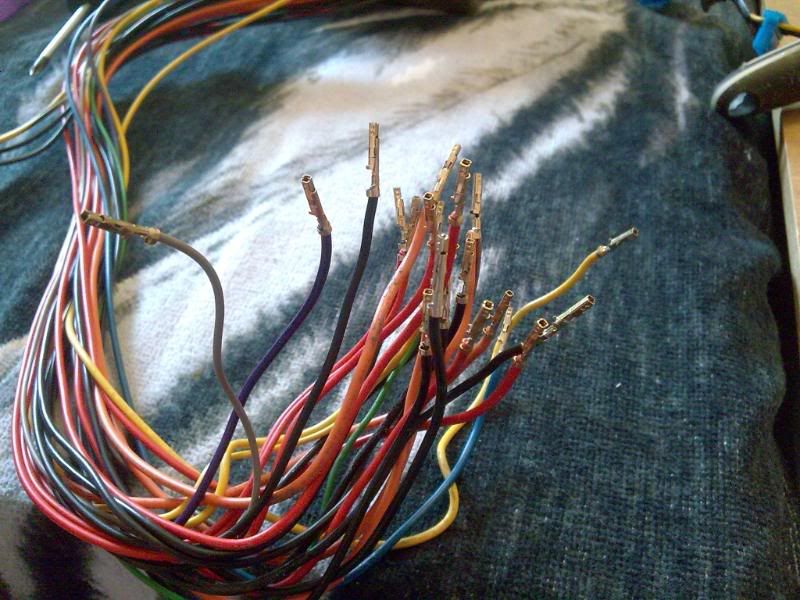
Ill have to make sure i remember to flay the lugs back out when i go to put the crimps back in otherwise they wont grip.
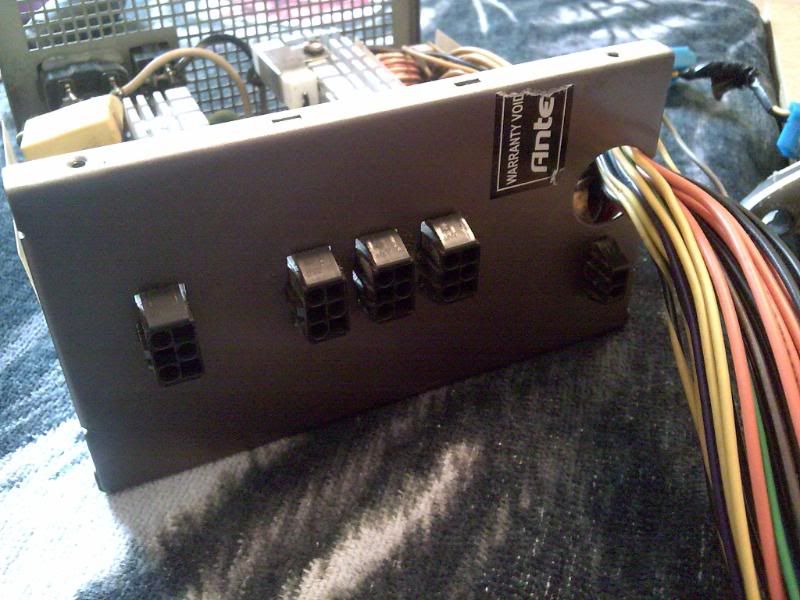
As you can see, the power supply was modular (meaning you can disconnect some of the cables and only have what you need), modular is good, but not for this project. I know what im going to be putting in there so i can plan how many cables im going to have to add to it.
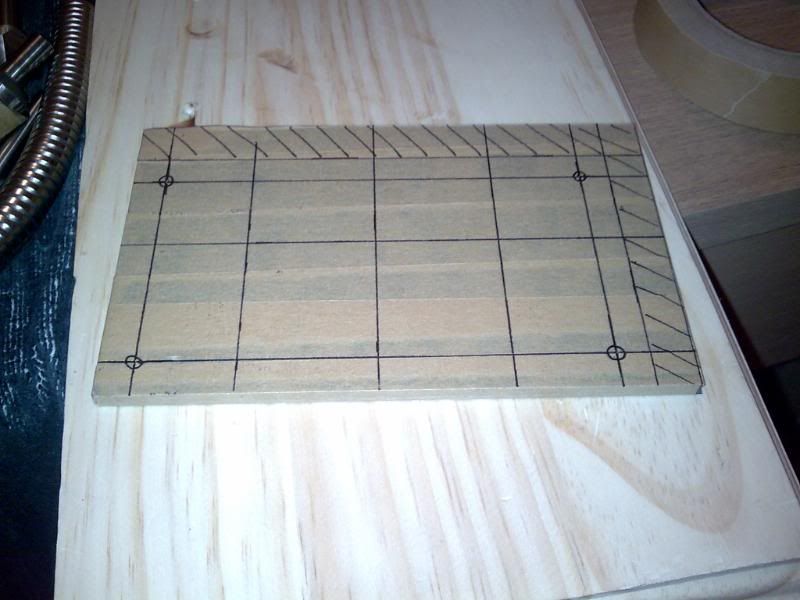
Im going to be using the blue plex i bought as a plate for the front of the power supply, i began by cutting out an oversize piece of plex, i masked it up and marked four holes where the plate will join onto the front of the PSU.
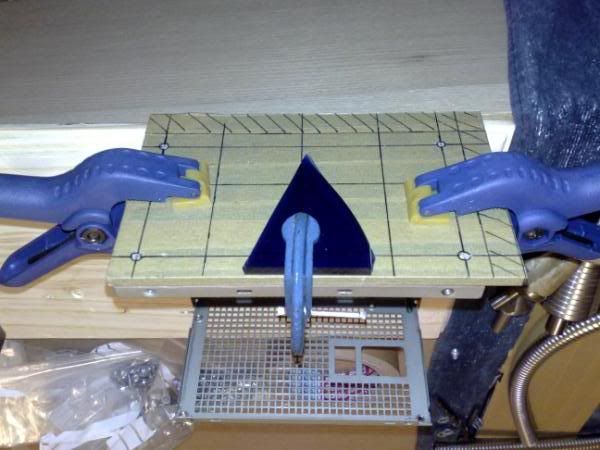
I drilled the holes, countersunk them and then drilled through to the front of the PSU and tapped the holes to M4
Then screwed the plate to the front of the PSU.
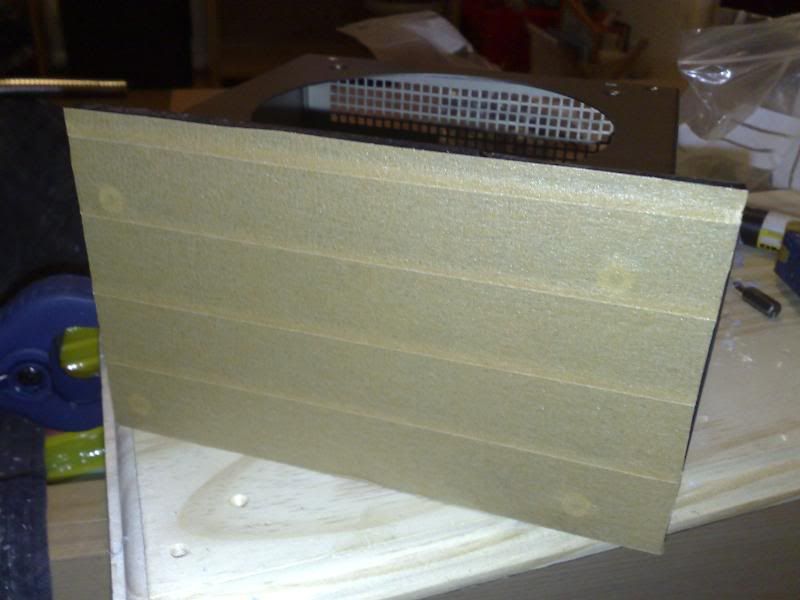
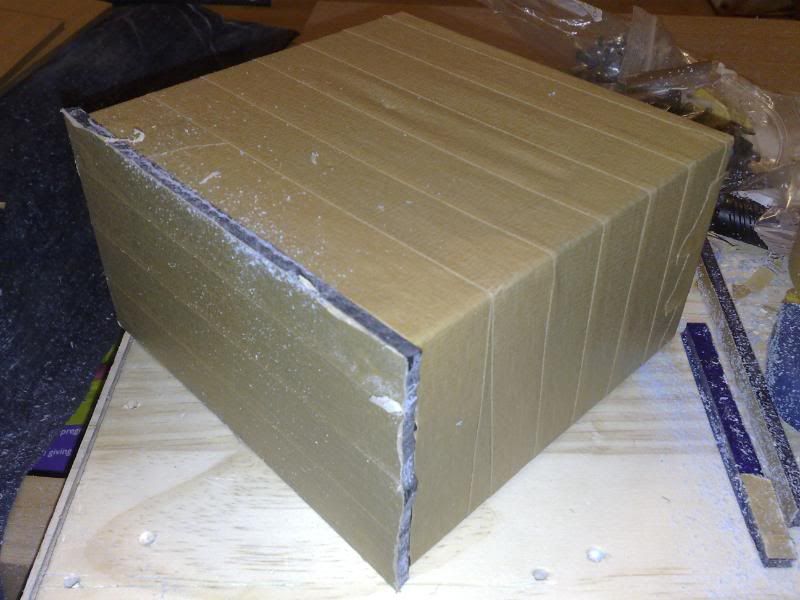
Masked of the rest of the box and remasked the plex and began taking away the excess acrylic to match the shape of the PSU
After a LOT of filing...
Now we have the rough shape i can sand and polish the edges, but i have work to do before that, dont want to polish it up and then scratch it up when i work on it.
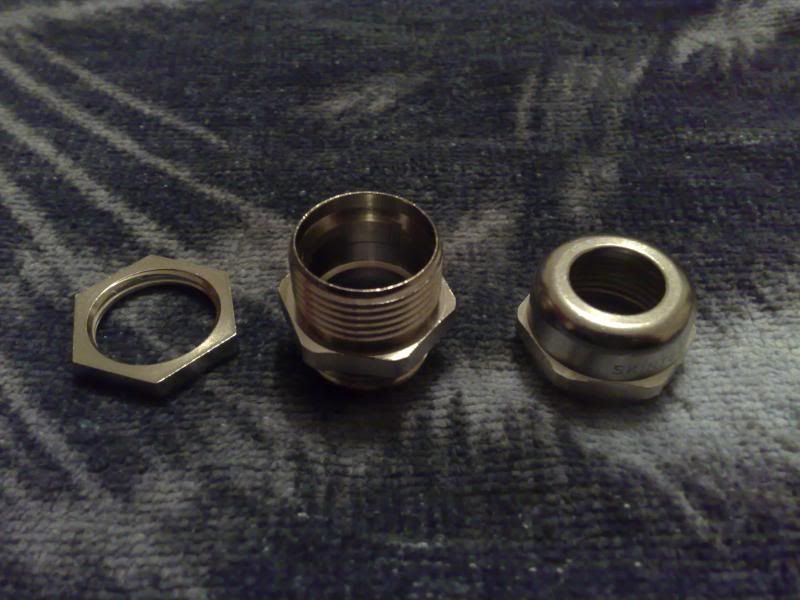
I needed a way of the cables to exit through the plate, after a while i came across these cable glands. I use them at work so i know they will be perfect for this. They took a couple of days to arrive, here's a pic of one of them disasembled, there is usually a plastic part that slots into the middle piece that grips the cable, however we wont be needing that so i tossed it in my bits box.
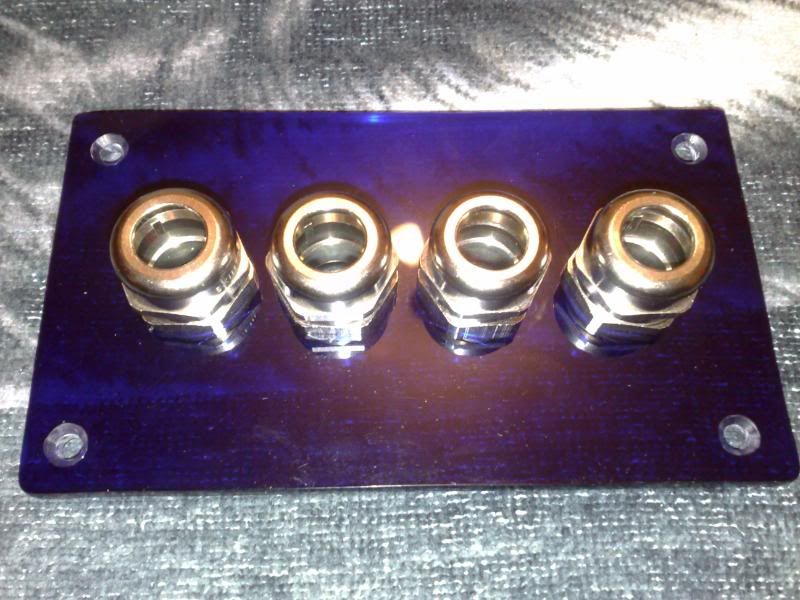
There M20 in size, im going to be needing four for the front panel (2 for all the ATX wires and 2 for the rest of the power).
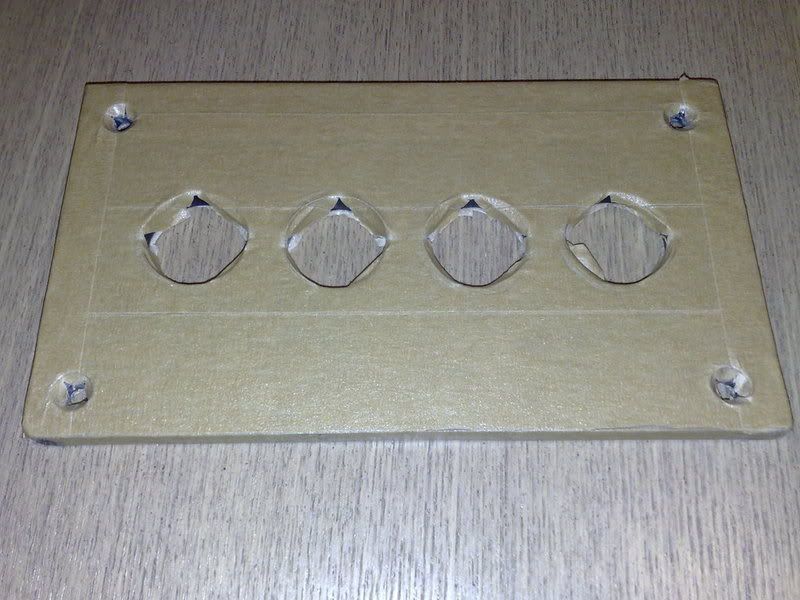
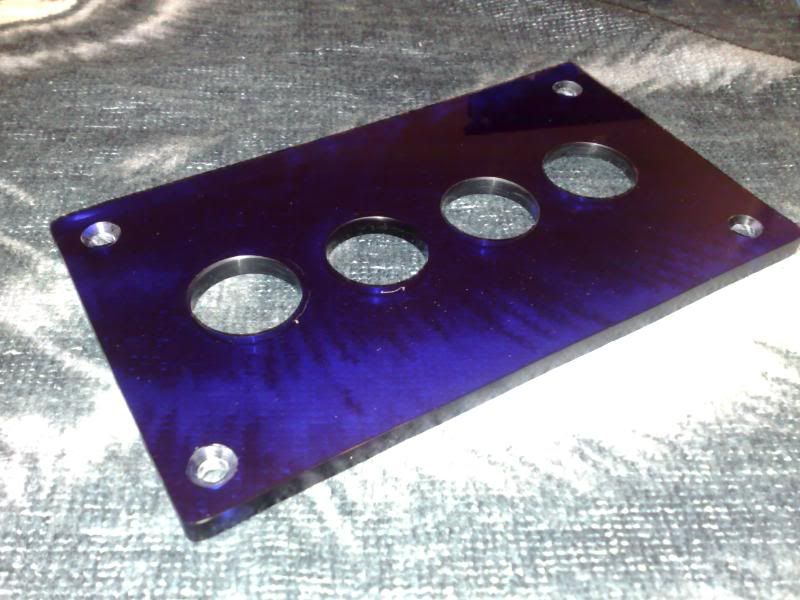
I marked up the plate for the four holes the drilled them out...then re-masked it to keep you lot in suspense! muahah...
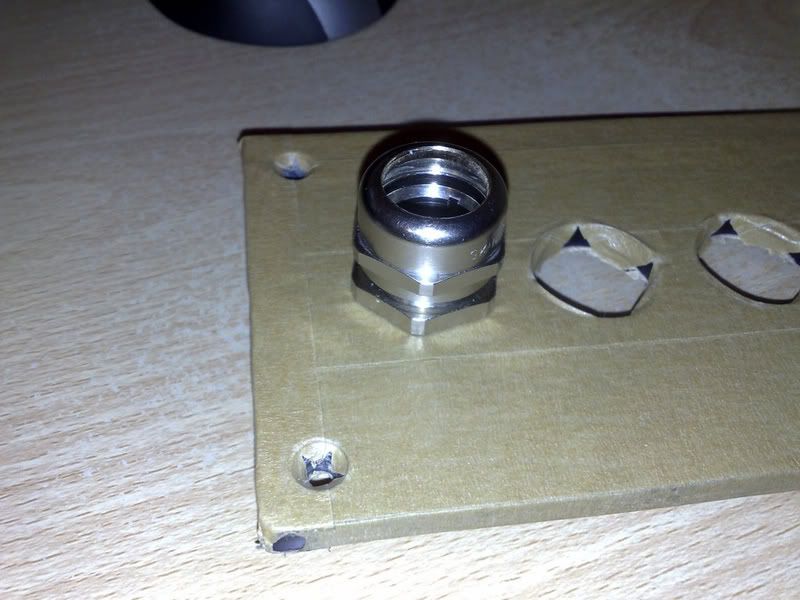
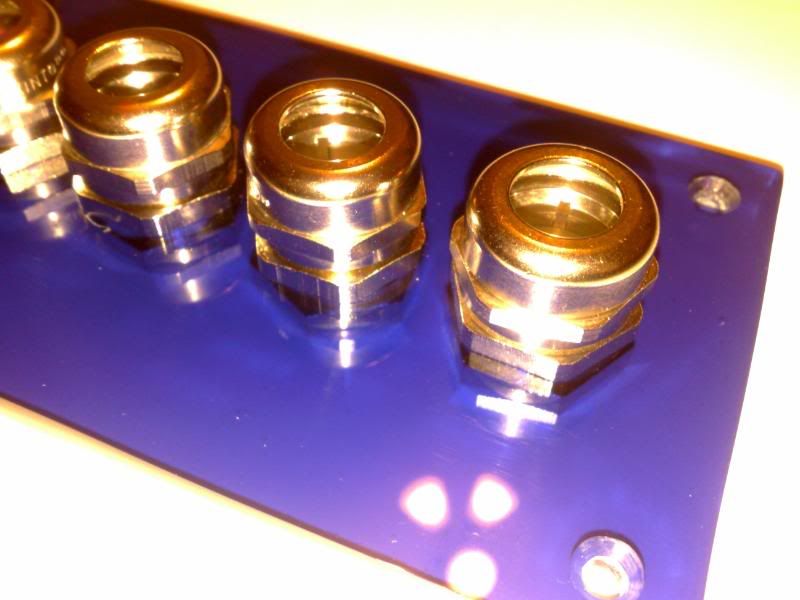
Gave the glands a quick test fit...
Perfect!
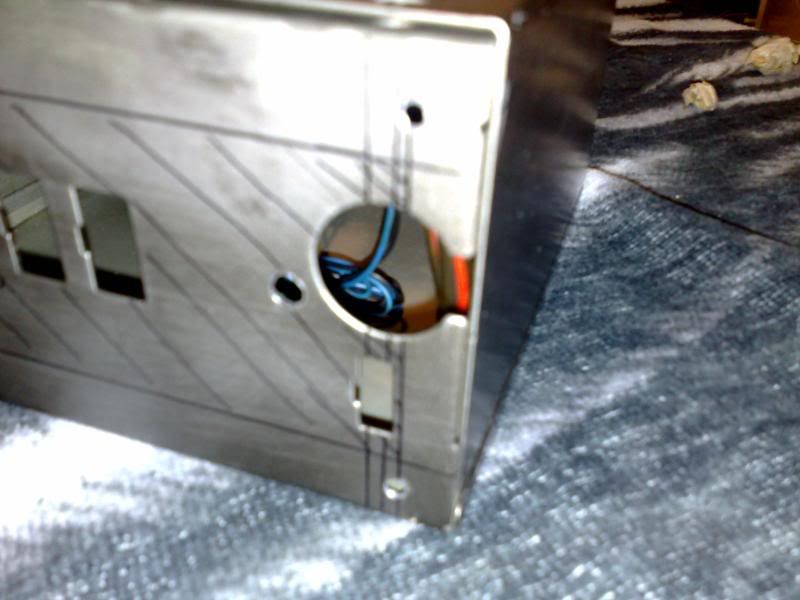
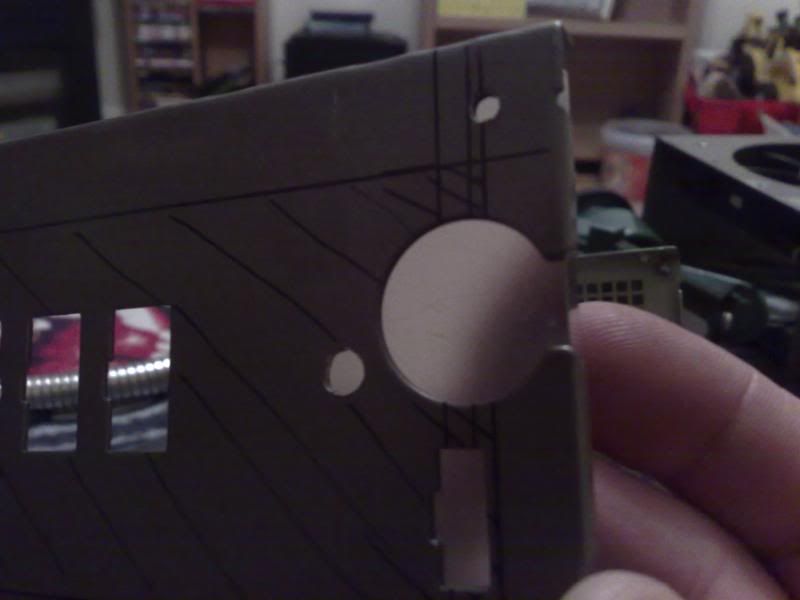
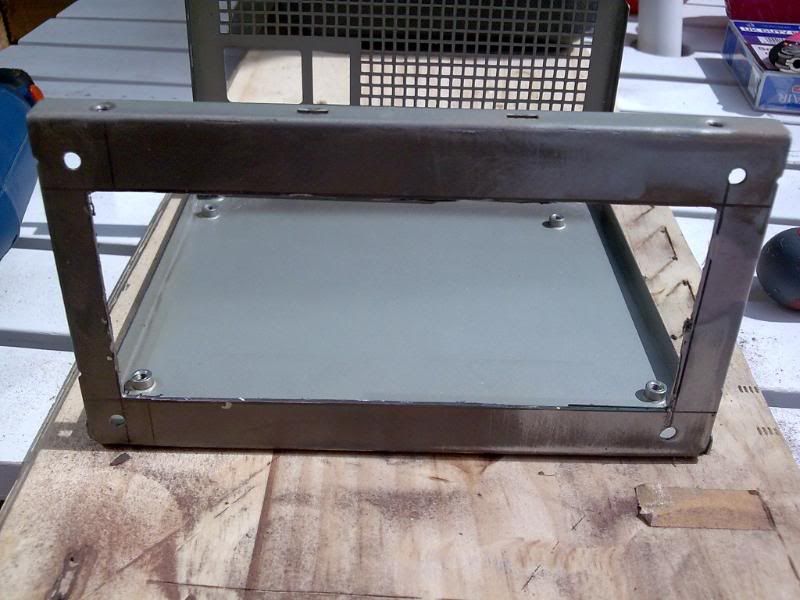
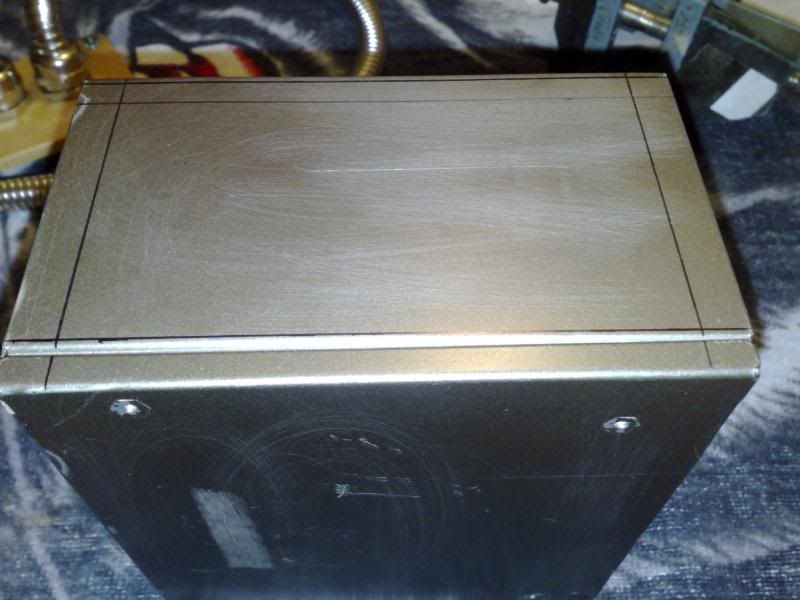
Now, as you saw before, the PSU has connectors on the front where this plate will screw onto, don't need those anymore so i removed them and marked out the case so i can cut away enough space for the glands to fit, also this semi window will allow the light to shine through the plex plate from inside the psu.
DAM, thats a pain in the arse! I can either just got ahead and cut out the rectangle and hope the plex will cover it up OR i can fill it so its perfect... method one will eventually drive me crazy as I will know its there even if you cant see it so im gonna filll it.
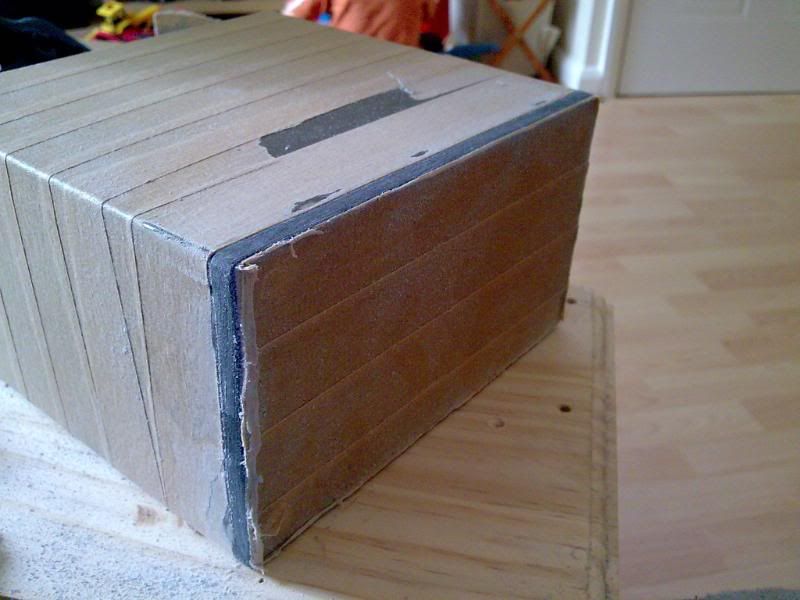
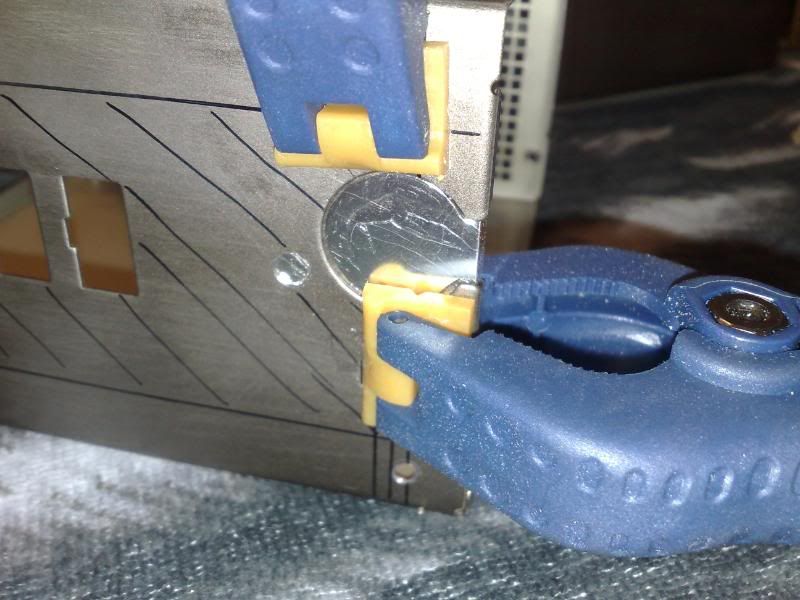
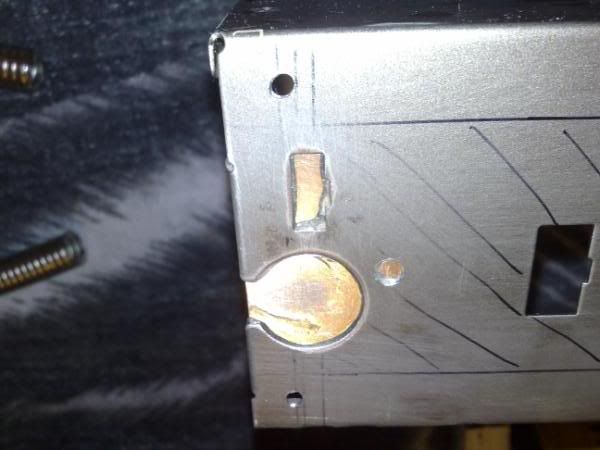
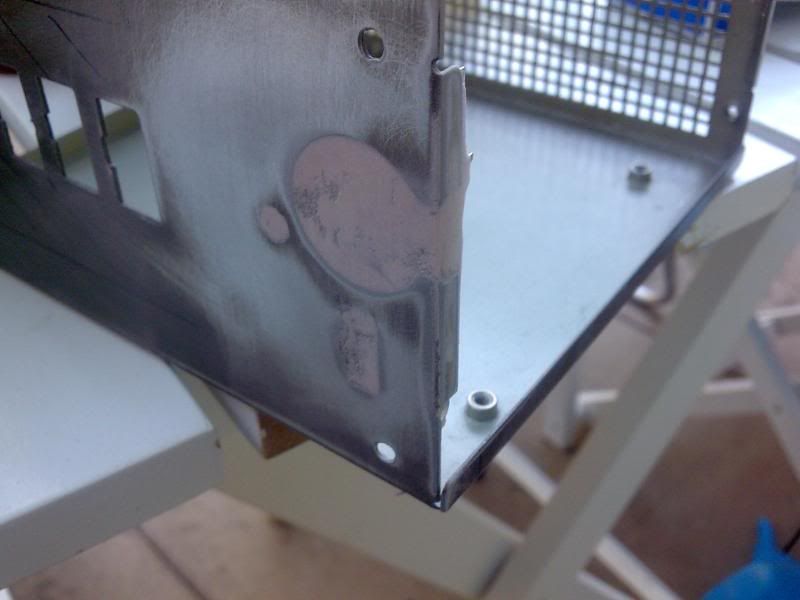
Needed somthing strong to use as a base for the bondo to sit on. Got some thin sheet metal i had knocking about, this stuff is actually RF Cage they use on circuit boards, its about .3mm thick and really sturdy so its perfect for this job. I scored it and bent a right angle so it fit the hole perfectly...
Then glued it in place with some rapid araldite and clamped it until it was set...
Once set i gave it a good old keying with some 400 grit...
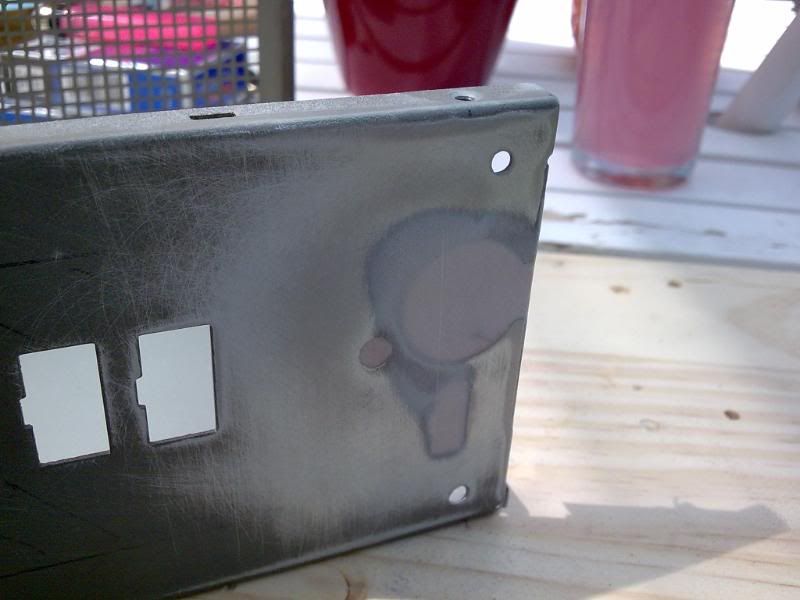
Added the first layer of bondo..
Left it for 24hrs then sanded it...
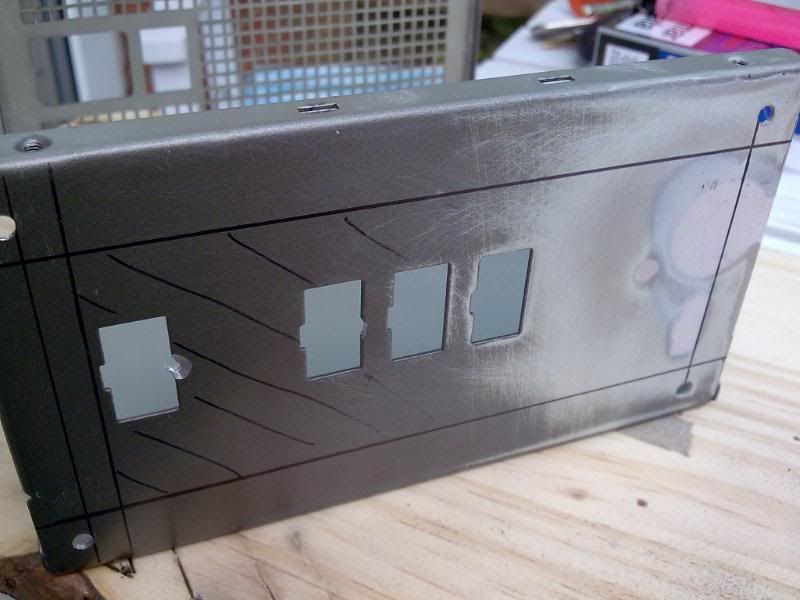
Refilled it, re-sanded it and remarked the cut line (dead smooth now :) ).
Broke out the Dremel, remember how i was telling you how great my non-dremel dremel is? well its not, its a pile of $h1T! I was using it and the bloody thing got so hot it nearly melted my face OFF, i took it back to the shop as its only 4 weeks old and demanded a replacement, they were happy to replace it much to my dismay as i wanted to make a big Jackie Chan style scene in the hardware store as they had delayed my project slightly, being denied that angered me further! After i calmed down i cut out the window...
I filed down the remaining material but forgot to take pics so you guys will have to trust me that i did it ;)
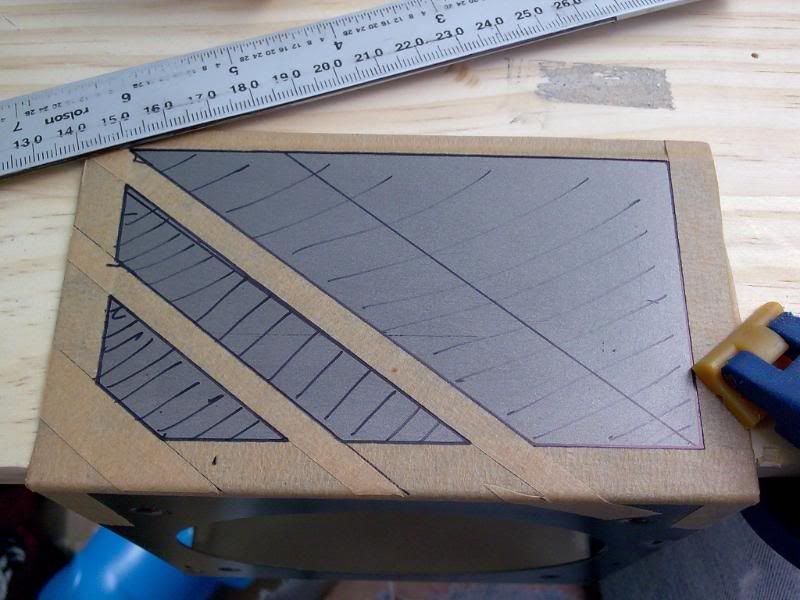
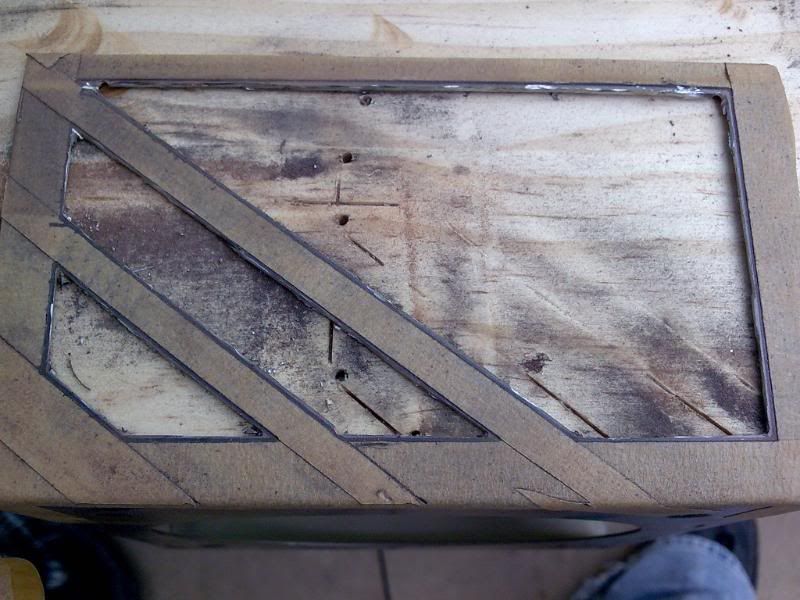
Right, now i know what i have done so far have been a slight deviation from the original concept sketches but they are only concept sketches anyway so that's ok right? :D Coming back to the concept though my next job was to cut out the side window for this baby, marked up the maximum amount of space i can use without it clashing with anything... Works out 10mm in from each edge.
The angles are all 37 degrees, same as the side panel so they will match :D
New dremel power here we come!
First rough cut...
Wow that IS rough!
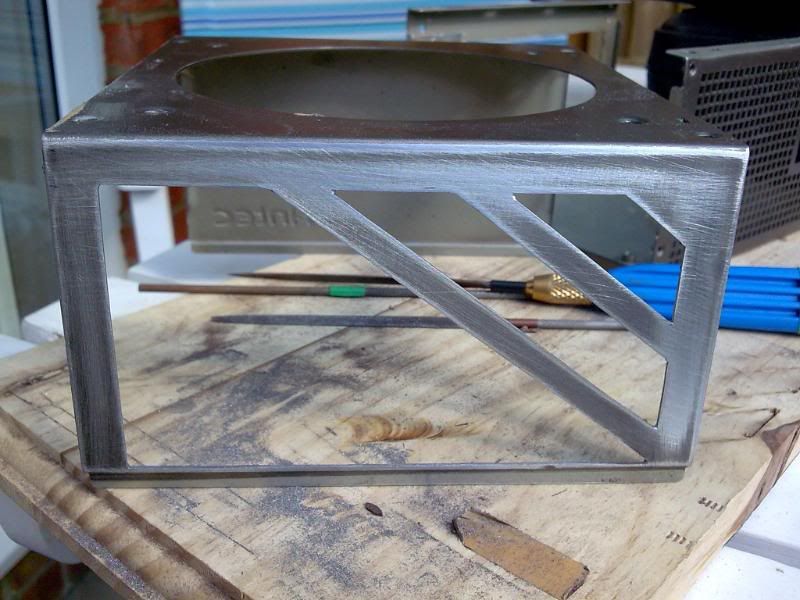
Bit of sanding a filing and it becomes perdy!
24Hr drying time and sanding between 3 coats of spray filler primer type stuff and it becomes a lot nicer.
Obviously not the end colour, that will be a surprise for later.
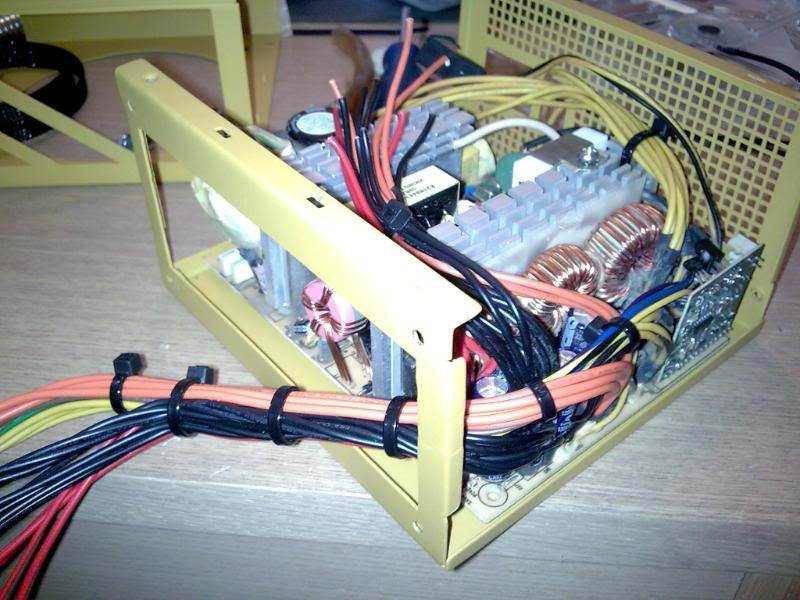
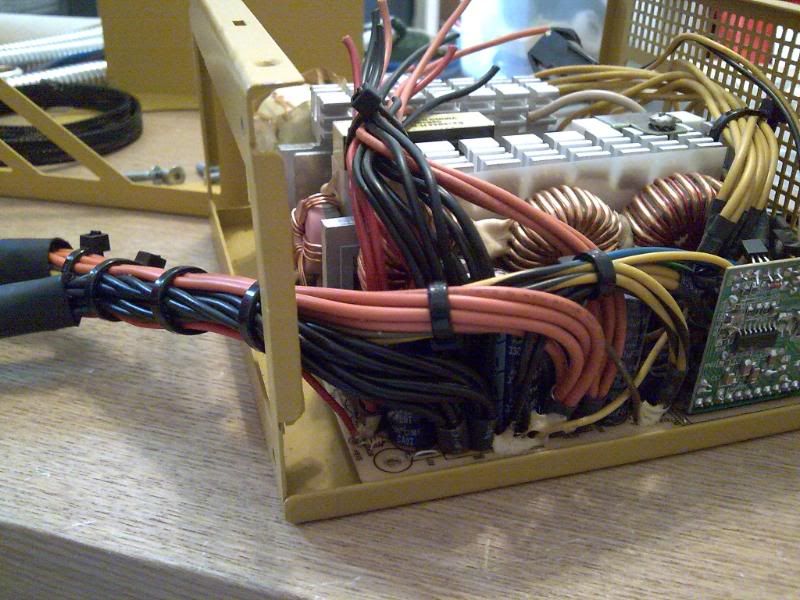
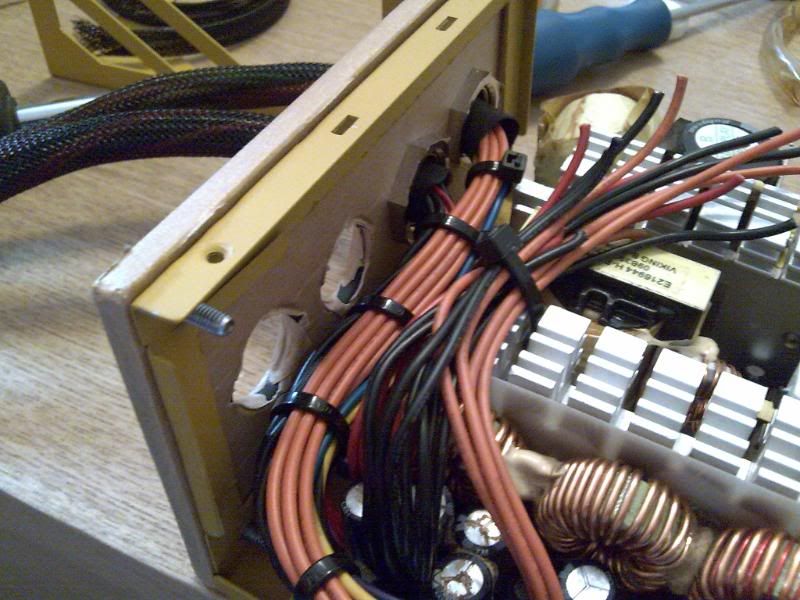
Time to tidy up those wires, gonna keep the ATX wires at the same lengh as they are long enough already, unfortunatly i will need to extend/replace a lot fo the other power wires as they will be too short, iv cut them back and tiewrapped them out of the way in the following pics.
Two glands for the ATX wires i said didnt I? Yup, gotta split them up. I routed them neatly to where they will exit through there glands.
Look how invisible the bondo'd hole is now! sweet!
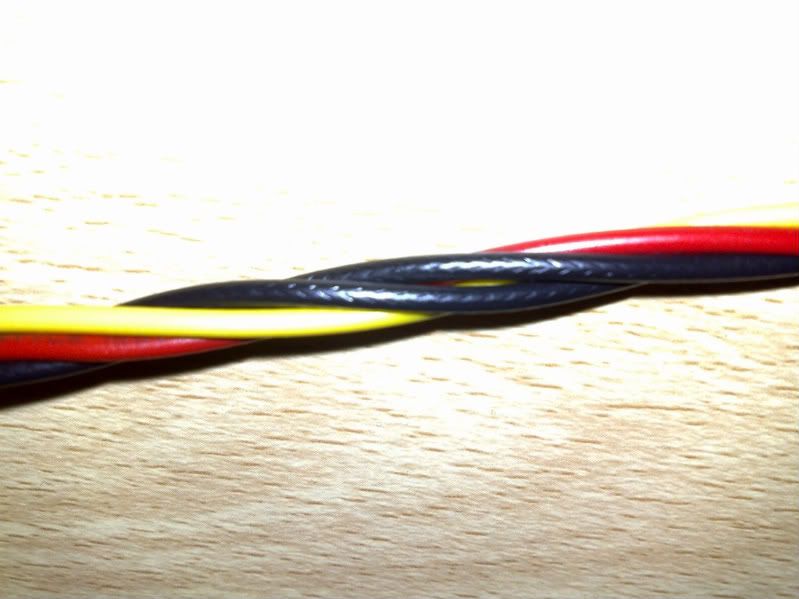
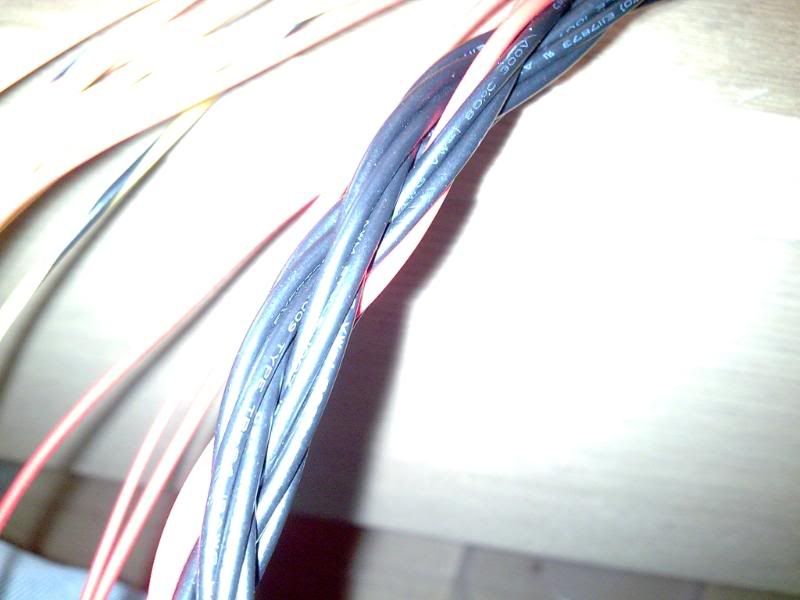
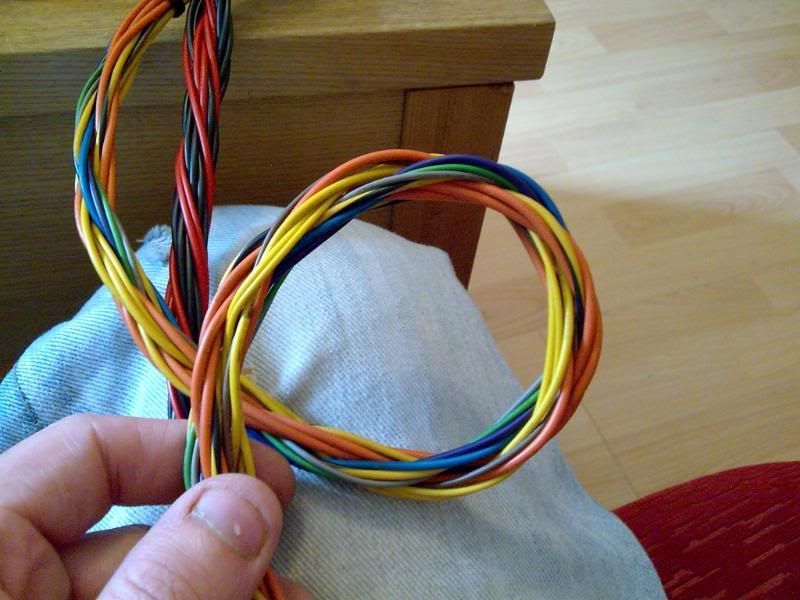
Now its time to lay up these wires! What? Yeah! Lay these bad boys up! I used to be a wireman, my job for 7 years was making cables for the military, a properly made cable has a lay pattern so all the conductors sit in a pattern, they are twisted together to make them more flexable and stronger. In each of the arms we are going to have 12 wires. First we grab out 12 wires, divide them into fours then lay them counter-clockwise (lay NOT twist, twisting stretches wire, gently turn the wires into a twist, no crossovers.)
Once i had all 3 sets of four done like this we lay these together in a Clockwise lay.
See how neat and tight that is? That's what we want, if we have a couple of extra wires we can tuck them in the interstities to make it rounder.
Its really flexable as all the wires travel the same distance around the bend as they are twisted, which means no strain on idividual wires when it bends.
Re: Project: Accelerated Fear
So, after we get really exited about twisting bits of wire together (just me yeah?) we stick some black snake sleeving over the top and cover the ends with black heat shrink to protect it from the metal glands.
Added the plate back on for a test fit, YEP GONNA BE TIGHT DAWG! but dont worry, ill cram it all in there and make it neat...somehow!
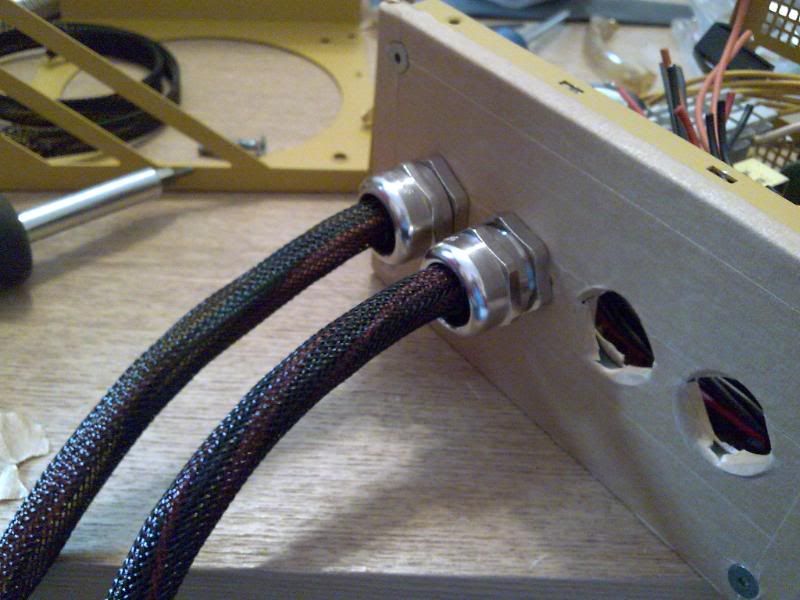
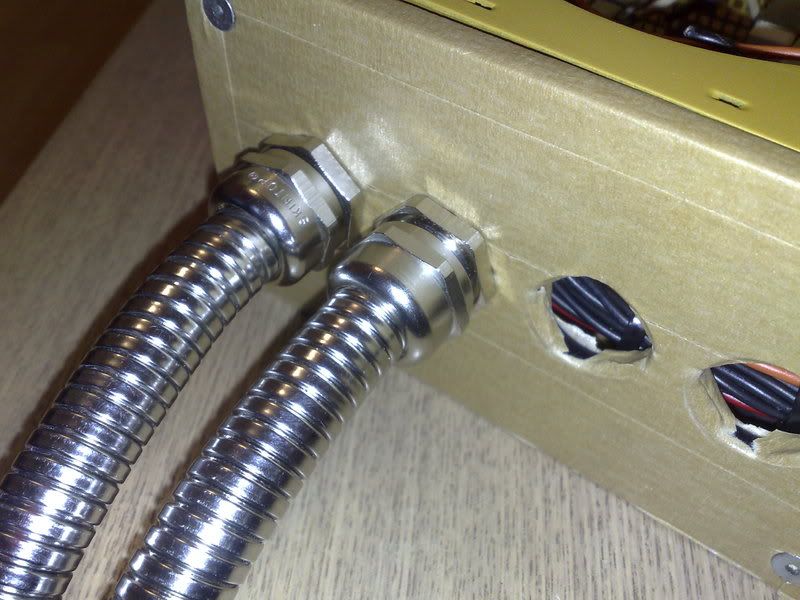
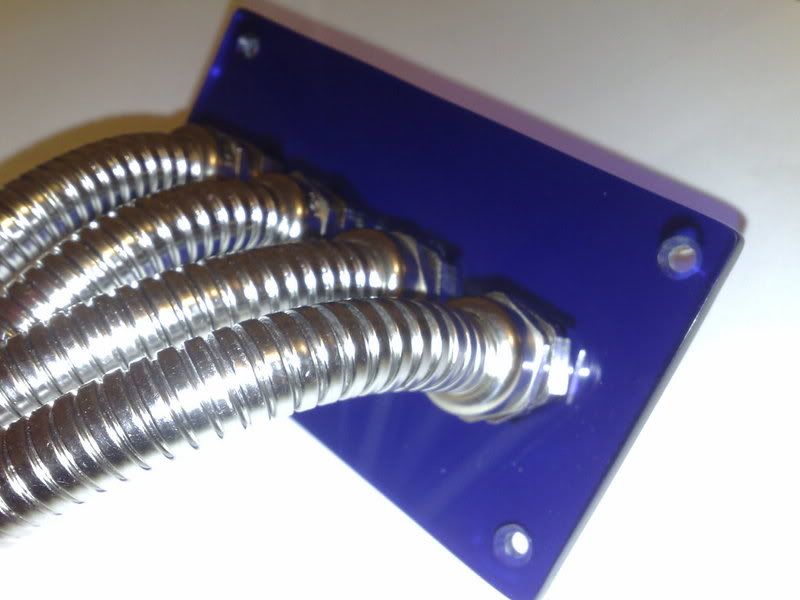
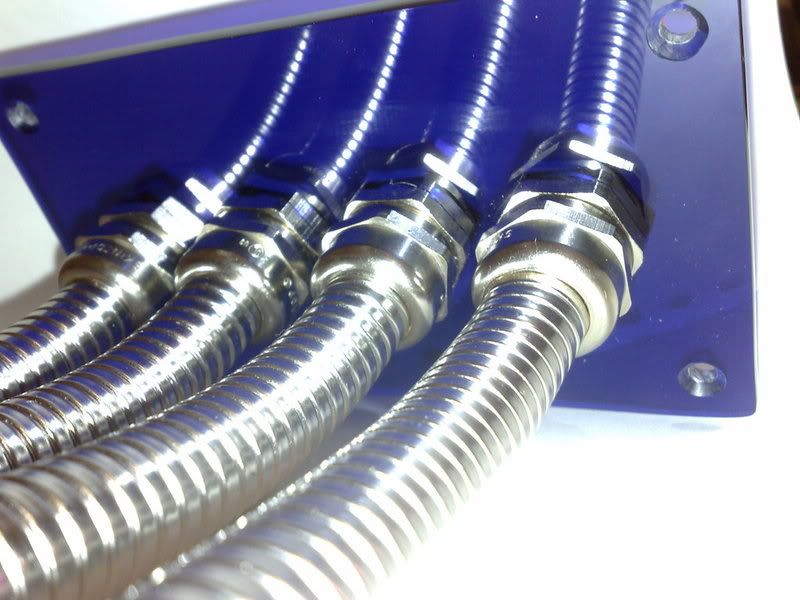
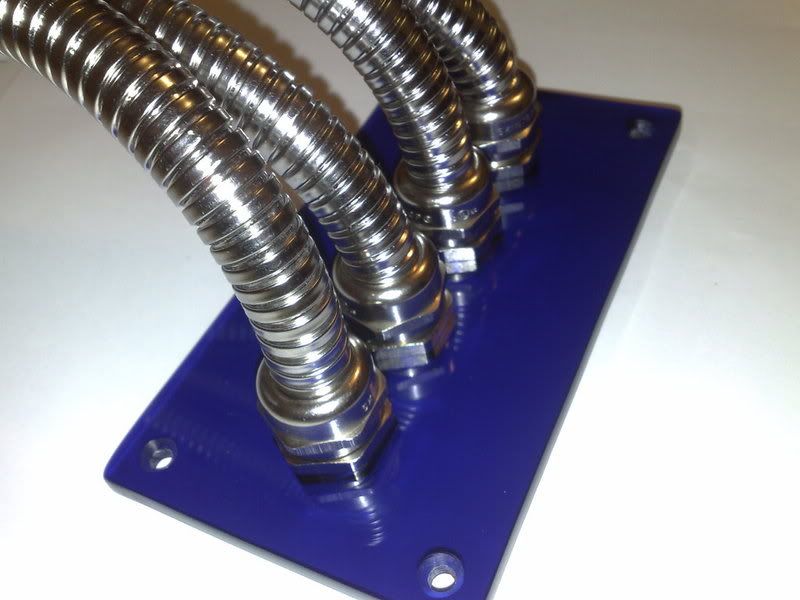
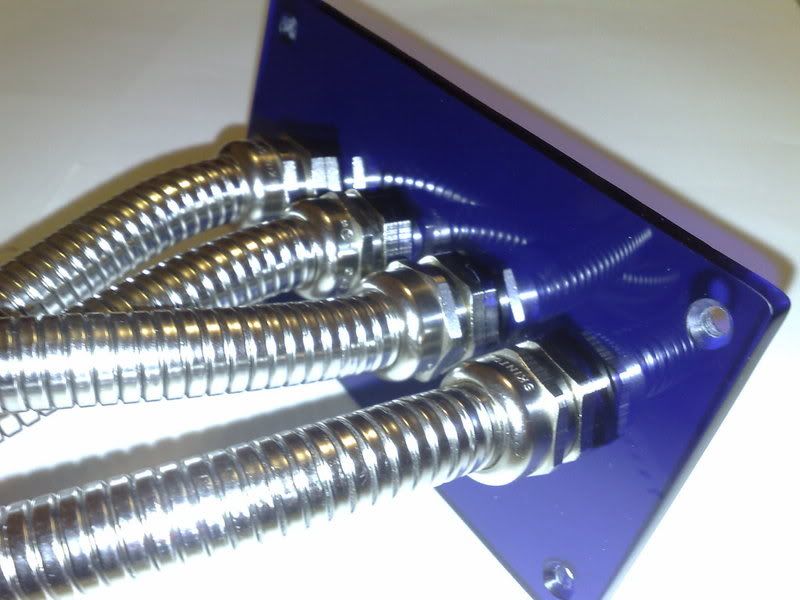
Once the cables were sleeved and protected i covered them with the ultimate cable covers...SHOWERHOSE!
I cant take credit for this, Orac3 gave me the idea for this and i am shamlessly going to use it as it looks too awsome to be too proud not to use in this mod.
This is as far as i am with the case at the moment, when i get some funds im going to get an ice blue case fan for the psu and some paint, till then enjoy these shots of the plex naked without masking tape and with the glands and hose installed!
As you can probably tell im quite proud of how it came out! :)
Thanks for reading guys!
_'J5
Re: Project: Accelerated Fear
Very cool work on the PSU, looks fantastic. +rep