/\ do it!!!that b cool as

Printable View
/\ do it!!!that b cool as
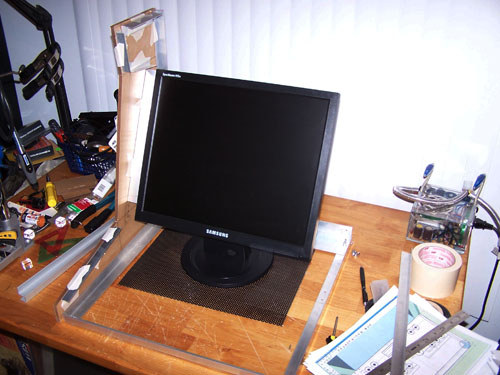
I was going to use an 18" touch screen monitor in this project, but that would have been a total waste - so I instead sacrificed one of my 19" Samsung 915N monitors. Not having dual 19" LCD monitors sitting side by side on my desk made little baby Jesus cry, I wasn't real happy about it either.
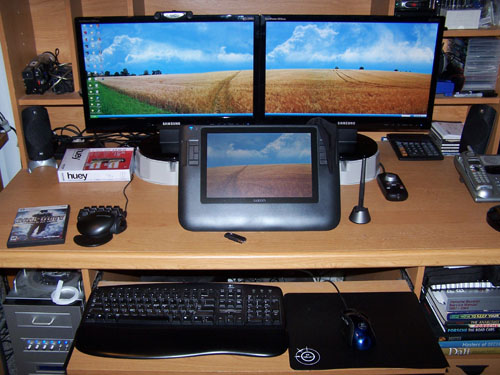
Fast forward three days and my two 19" LCD's that worked so great together have been replaced by two brand new wide screen full 1080P Samsung 21.5" monitors... shiny and awesome, the little monitor in front is my Cintiq 12WX tablet.
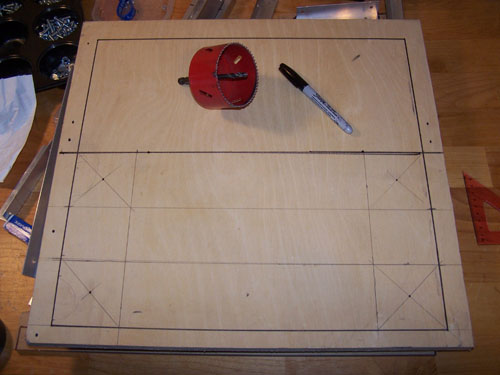
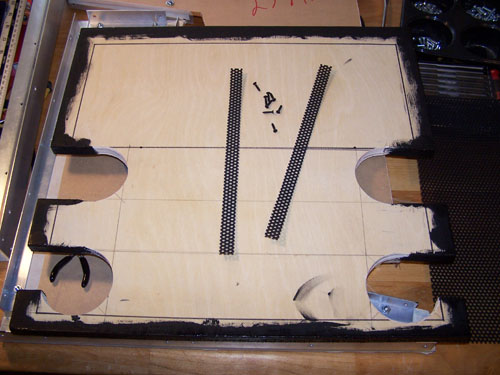
The Alum-Angle bottom framework is just that, framework... it's not a proper base for my arcade machine. Below is a piece of plywood I had in the shed, it fit almost perfectly as was. I marked it in preparation for cutting it using an 80mm hole saw and jigsaw.
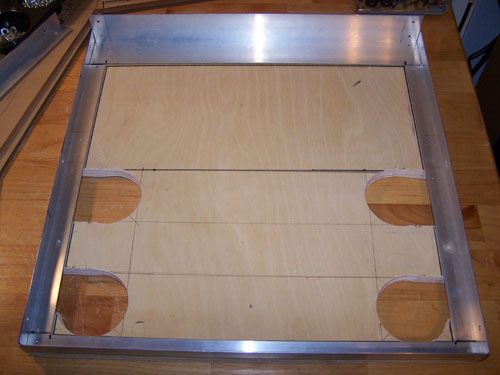
The finished product is shown below, I have the Alum-Angle framing set on top to test for fitment.
I painted all the outer edges of the base with black acrylic paint and then cut two strips of plastic mesh to cover the side edge vents.
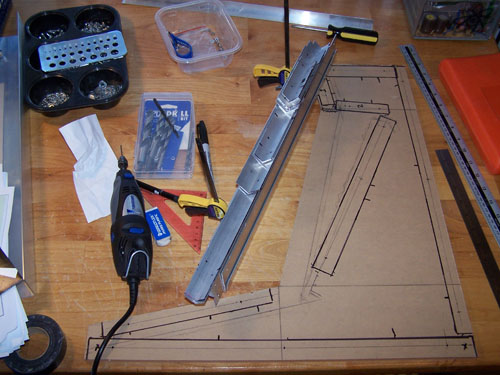
Back to the side panels... I traced all of the pieces of Alum-Angle onto the inside of one panel and then marked each aluminum piece for drilling.
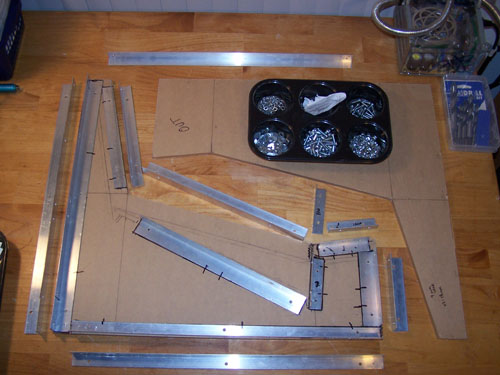
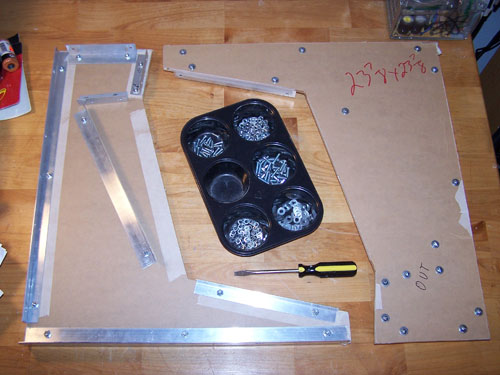
The next picture shows all of the aluminum pieces drilled and lined up on the side panel, it also shows what twenty-six dollars worth of nuts, bolts, washers and screws looks like... crazy.
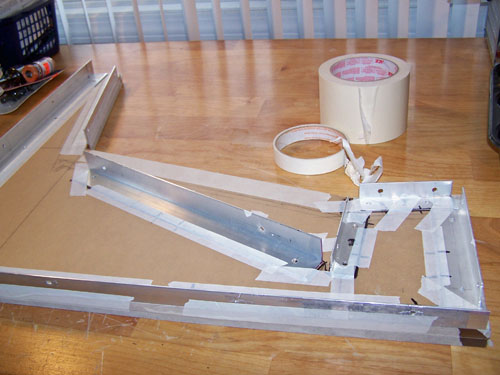
I lined up and taped both side panels together and then lined up all of the pieces of Alum-Angle and taped them down in preparation for drilling the acrylic.
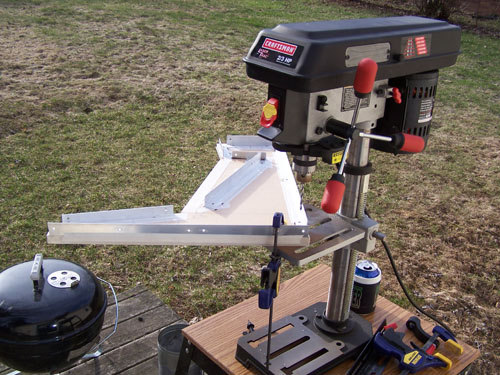
Since the holes needed to be perfectly straight I bust out the drill press with a 13/16" TAP Plasdrill bit, the aluminum angle acted as a guide template and the bit cut through both acrylic panels like butter.
Below shows both sides of my side panels with their aluminum parts bolted on.
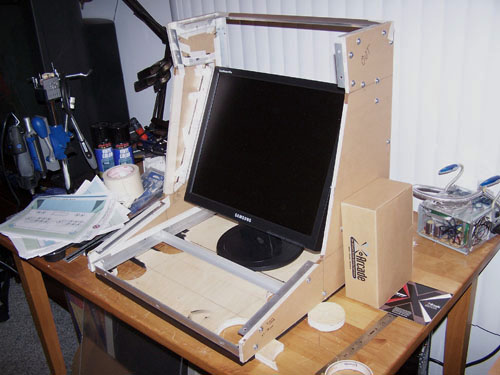
Well, now it's starting to look like something. I set my side panels onto the plywood base and then set the monitor inside to make sure it's all going to line up, so far so good.
Dude, I am terribly envious of that workstation you have. That tablet is awesome!!!
I love your monitors lol. I am going to get a 24" Samsung soon.
wow.. this is gunna be really cool
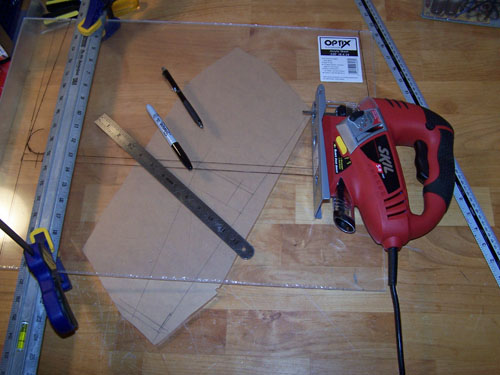
I marked a sheet of .220" 18x24 Optix acrylic for cutting, it will become the top most panel and control panel. I also marked the side panel scrap piece that will be jigsaw cut to become a center brace for the control panel.
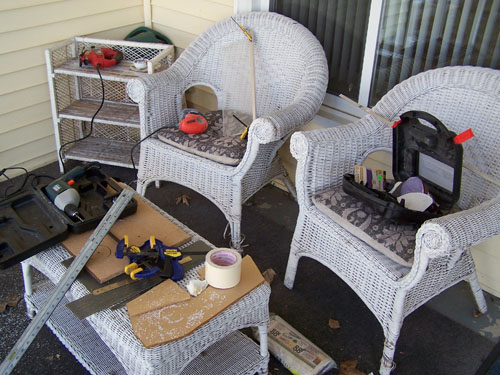
Below shows my front porch/work area. The chair closest to the corner has the top acrylic piece with a length of Alum-Angle double side taped and clamped onto it with my Mouse sander sitting next to it. Clamped down Alum angle and the sander work great for straightening screwy jigsaw cuts.
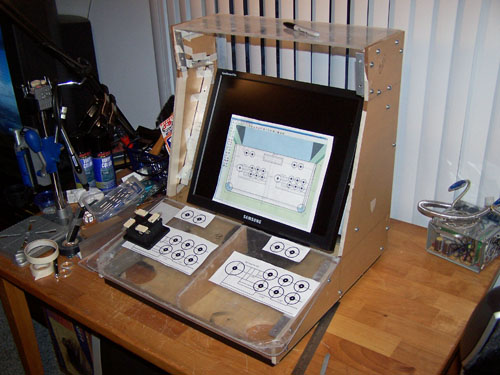
The following picture shows the top piece and control panel test fit... it let me know that I need to make some minor adjustments to a few pieces of Alum-Angle to make things fit together correctly.
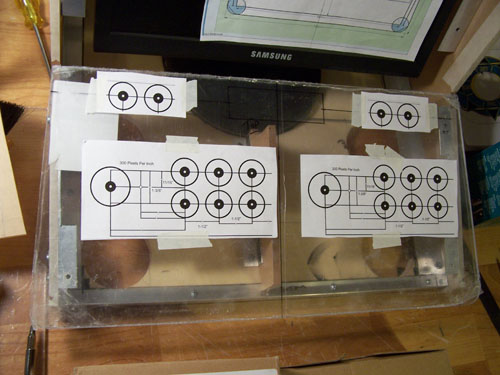
I installed the center brace beneath the control panel and positioned paper templates for the buttons and joysticks layout, I also marked out the Matrix Orbital display location.
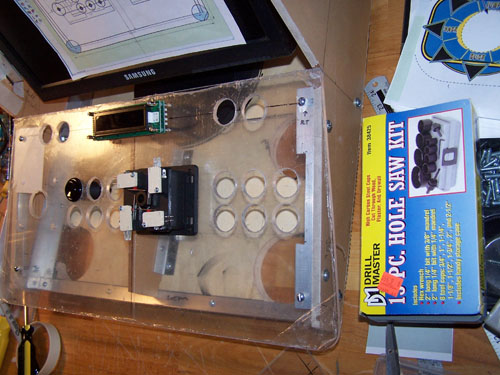
The hole saw kit is a $6.99 Harbor Freight special, it had the two sizes I needed and they cut holes in acrylic pretty good, well worth seven bucks anyway. Below shows the nearly finished control panel, it still needs a bit more filing before I can prep it for paint and final assembly.
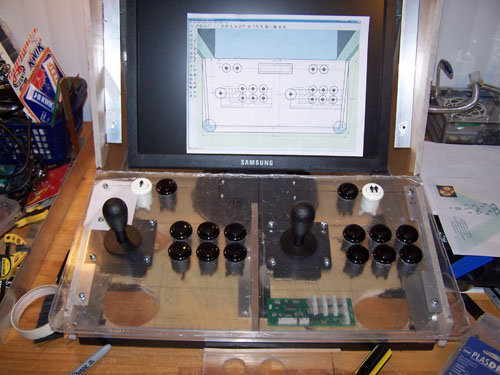
I determined placement of the X-Arcade BYO Arcade controller board, filed down all the hole edges and dropped in both joysticks and sixteen buttons just to get an idea of where I'm at. I'm excited, it looks (exactly like my SketchUp design) and feels like an actual arcade machine.
I was just at a Harbor Freight on Sat. picking up some tools :banana:
I love this project :up:
GAME ON!
Is the plex going to stay clear?
@ THRASHER2 - Thanks man, and Harbor Freight is an awesome store for tools on the cheap.
@ DrumThumper - No, I am going to vinyl dye the acrylic black.
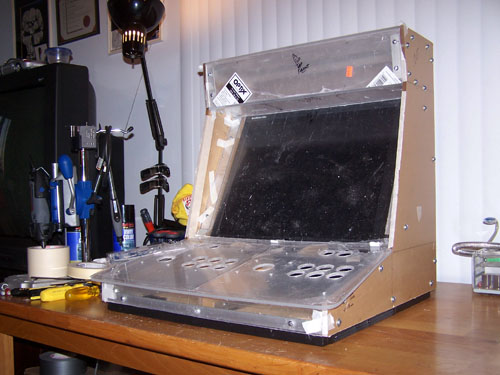
I cut all the pieces of acrylic needed to finish the outer casing and put it all together for a test fit... I still have to cut the speaker holes, but after that it'll be ready for masking and painting.