loving this, I've always wanted to build a screen into my case, may not be what you're going for, but I believe someone on the board has an applicable quote in their sig for that ;) happy modding!

Printable View
loving this, I've always wanted to build a screen into my case, may not be what you're going for, but I believe someone on the board has an applicable quote in their sig for that ;) happy modding!
Sorry...alas, it is not going in the case. Small case and a 15.6 screen. Nope, this one will be hanging on the wall. I have a second panel and a case it would fit in and I thought about it....but any cases that size are on the floor, under the desk - so there doesn't seem to be much point.
Okie-dokie - supplies bought, planning moves towards building.
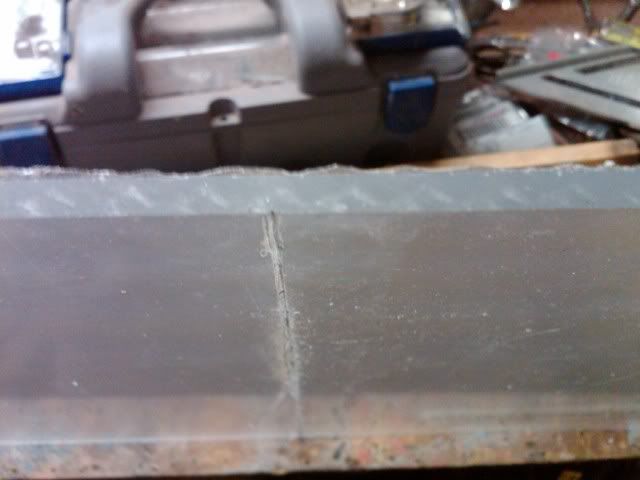
First off, I hate plexi. I don't know why I do so many mods with it. :rolleyes: Every time I start a new piece, I pick up a new plexi knife and try once again try to cut it the "right" way. I've still never succeeded. Everyone tells you to score until you're half-way through the glass, then snap. After 45 minutes with a brand-new knife, this is how far I got:
Yet again, I gave up and ran it through the tablesaw. I don't ever like the cut, but I can't seem to do anything else. At any rate, once I had the sheet split in half for the front and back pieces, I took another look at the layout.
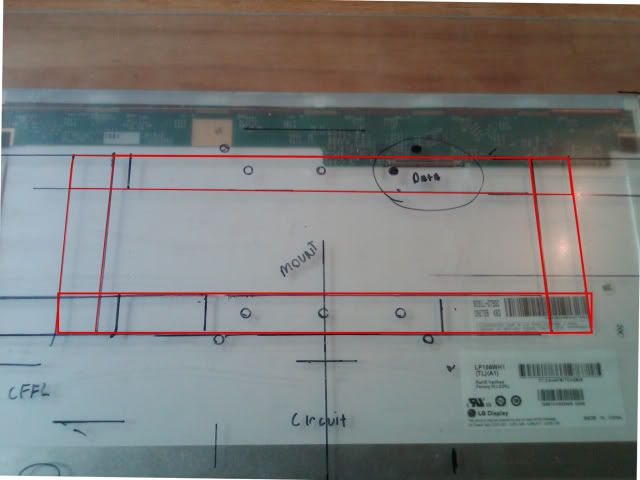
On second look, I think that I can mount the circuit board below the wall mount after all. It's going to be tricky with the main cable, but I think I can make it work.
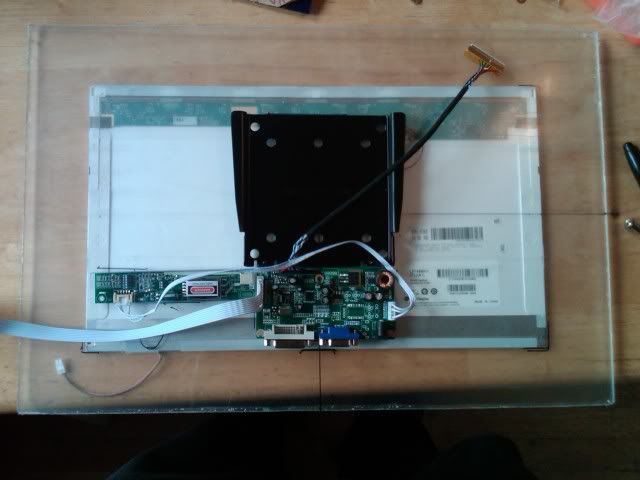
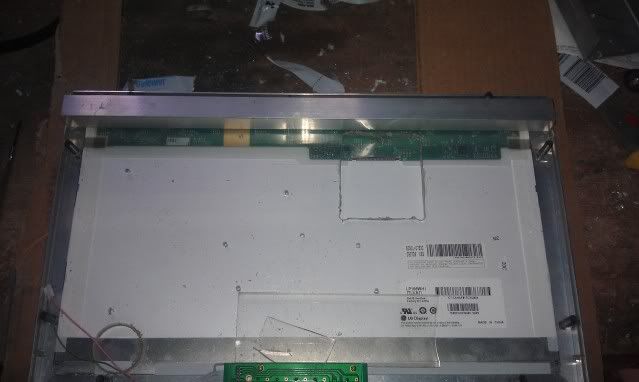
As you can see here, I marked up the protective coating on the glass to figure everything out. I have marked the various mounting holes for the back plate. As you can see, there are two that fall in the area that I will need to cut out to access the top cable connection. The red highlight mark the frame that I'm going to attache the wall mount to. With the cable routed under this frame, I shouldn't end up having any issues.
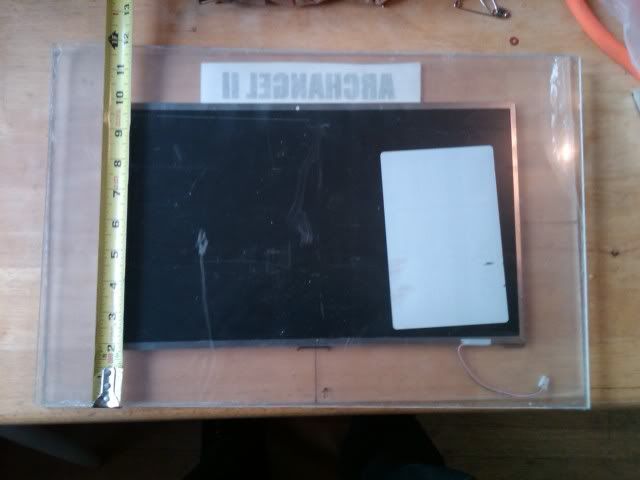
So...the big question: Is this too much border around the screen? I really can't tell - it's pretty big when I hold it up to the wall, but it's the amount that I need on the top and bottom for the Archangle logo and the screen buttons (when I figure them out.) What do the rest of you think?
(Note: It will be a royal pain in the ass to cut it down, though - my rip fence on the table saw can't go any farther than 12")
Note: I think I'm going to reduce the height a bit and leave the width.
Okay, through a combination of lack of replies, rethinking the project and a bit of "life" happening, this project got put on hold for a while. I really decided that the monitor was going to be way too big. Then, I ended up getting a second monitor anyway, and I put it on the back burner.
Now, I've decided to use this smaller monitor for a system monitor screen - things like CPU usage, GPU load, etc. For this, I'll be going with the bare essentials and a tiny bit of flare.
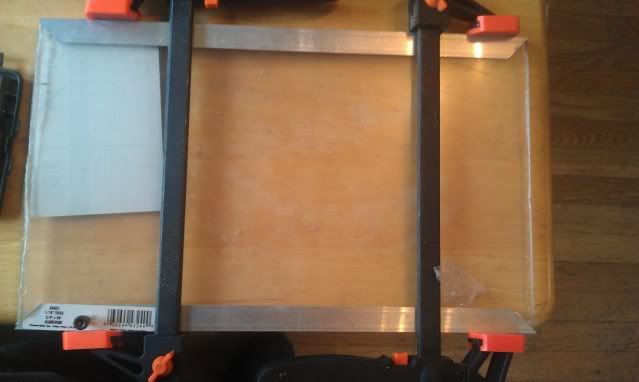
I've nixed the front piece completely, and cut the back piece pf plexy down to just what I need. Instead of plain glass, I'll be going with a metal frame painted black to go with my other monitors and case. the first step was to cut the rails and affix them:
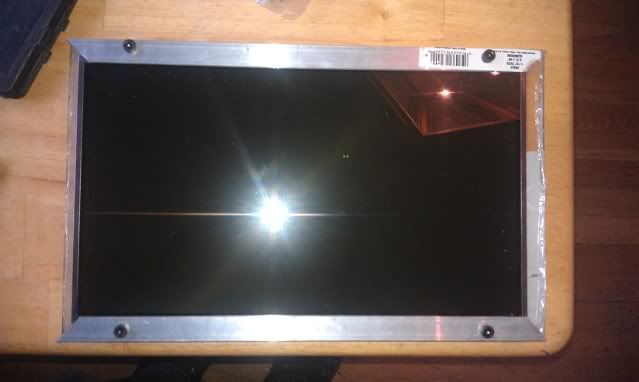
As you can see, I went with black thumb-screws, because I like the look.
Horizontal rails:
...and the vertical ones (Note Modder Dog deciding that she needed to be in the worklog:
Please ignore the corners for right now. They're not perfect, but that's because I plan to cover them and pull them in tighter.
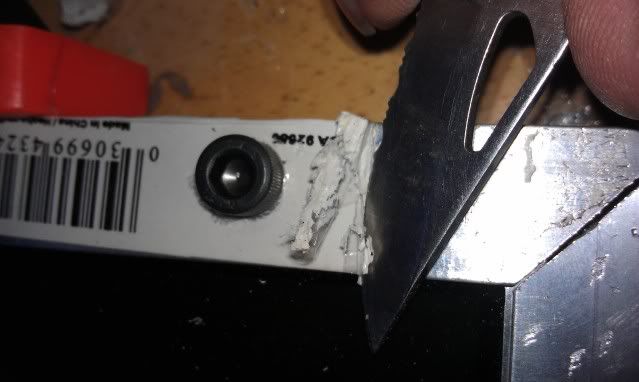
Before doing the corners, I almost forgot to remove some stickers. That would have been annoying:
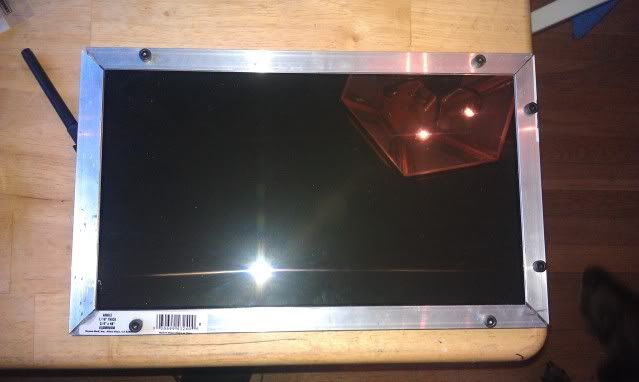
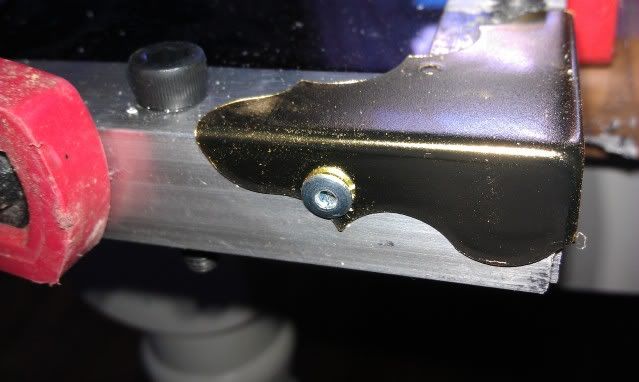
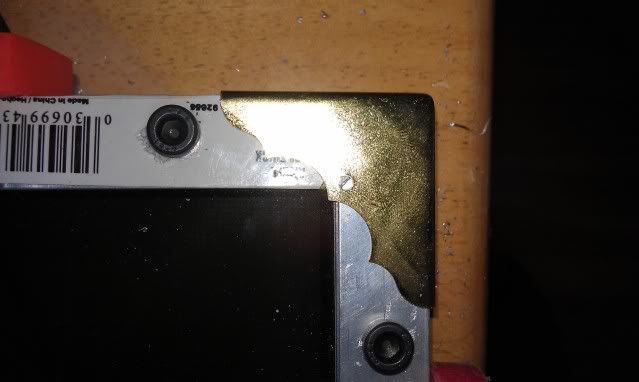
The corners themselves are scalloped corner-protectors affixed with my old buddies, the pop-rivets.
Again, I used the clamps to pull everything in as tight as I could so that the corners were square and flush.
Here's where we are right now. I'll be painting them black, but right now, this really gives me ideas for a future Steampunk mod:
Looks good. Nice, solid, basic design. :up:
Hey, man - glad you're still following. Sorry I left you hanging on the board usage and everything. Now, I'm in "finish it or die trying" mode.
Hahaha, that's fine...I'm not in a financial position atm to be buying boards anyways.. :(
Whoops...I did some work last week and forgot to post anything until I did this week's update. A quick update before my update:
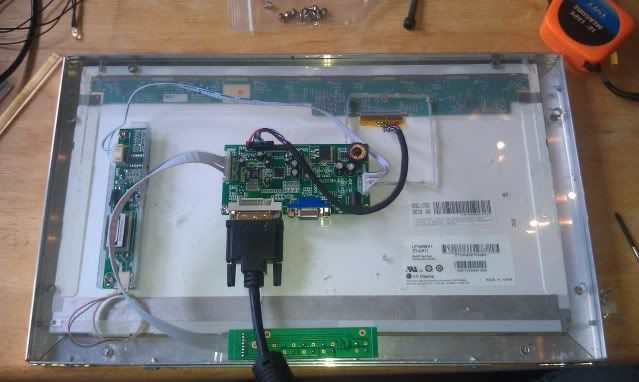
Here is my mockup of the back and wear things will be
I think that I'm going to have to move the main board again, but I will address that after I finish the chunk that I'm on.
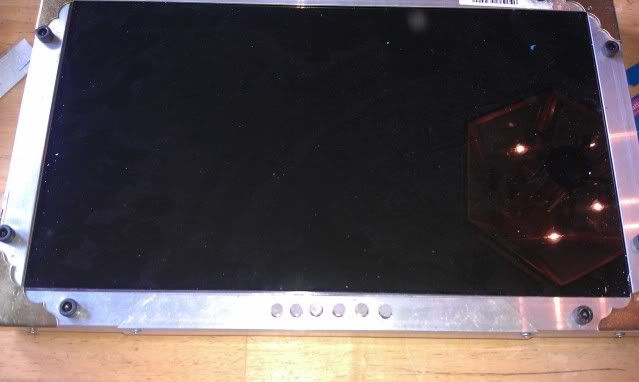
I also added a decorative faceplate to the front and cut posts for the buttons (unfinished.)
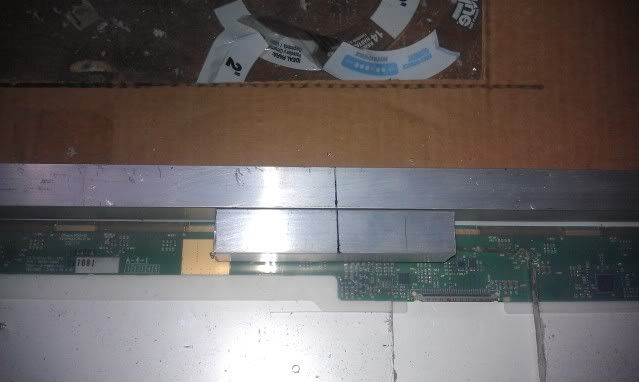
Work today was on the mounting hardware for the back. The original plan was to wall-mount it, but ever since I decided to mount it on the post of my dual-monitor stand, I've been trying to figure out the best way to tackle it.
The first step was the manufacture of reinforced mounting point. Here, I used 3/4" square-aluminum bar.
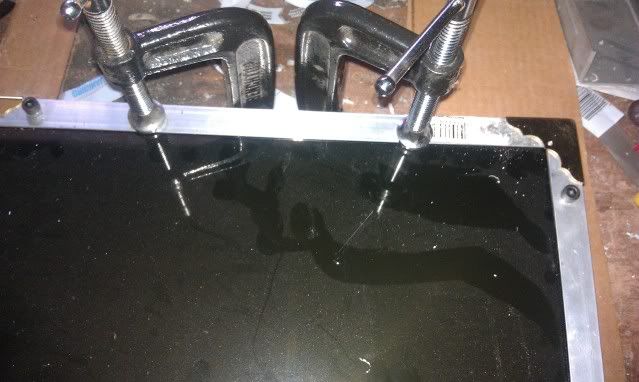
Widening the center of the mount:
This was affixed with the same bolts that I used to secure the faceplate: