Yes, because tying together all the free pins of a uC is a good thing. :P

Printable View
Yes, because tying together all the free pins of a uC is a good thing. :P
lol, as well as tying together every component with a 5v and ground :facepalm:
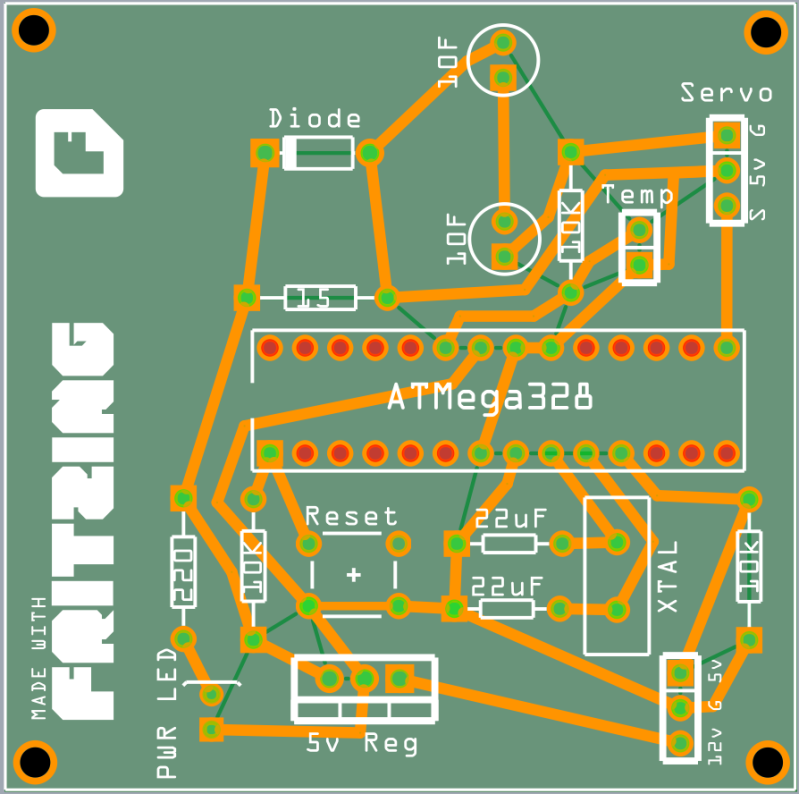
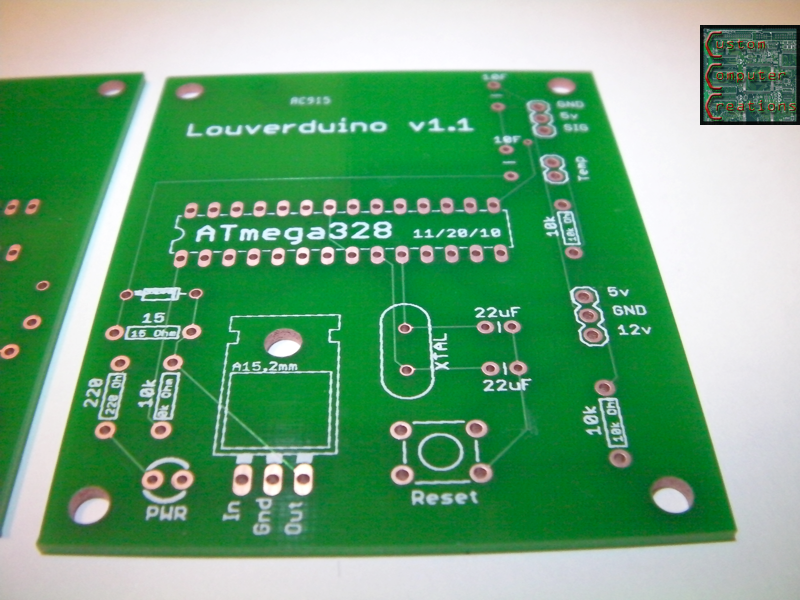
And here is revision 5! After a few days of testing to make sure the circuit would perform as intended, I went and rearranged some things to make it more compact and have a smaller footprint. I also made the traces bigger for etching's sake. I've been reading that narrow ones are tougher to do at home, so I beefed them up and spaced them accordingly to (hopefully) have as few issues as possible.
The reason for so much PCB space on the LH side is that the 10F caps are as long (in the body) as the atmega328 chip is, and I intend to have these laying down once they're soldered for cleanliness, and that's just a whisker more PCB than will be needed so they don't overhang.
Any and all comments/suggestions/hate mail is appreciated!
I also tried messing with the free version of Eagle, and even with looking online for tutorials and such I couldn't figure it out at all. I wanted to get it into a gerber to get a quote from a PCB fabhouse, but I'd still like to etch my own for giggles.
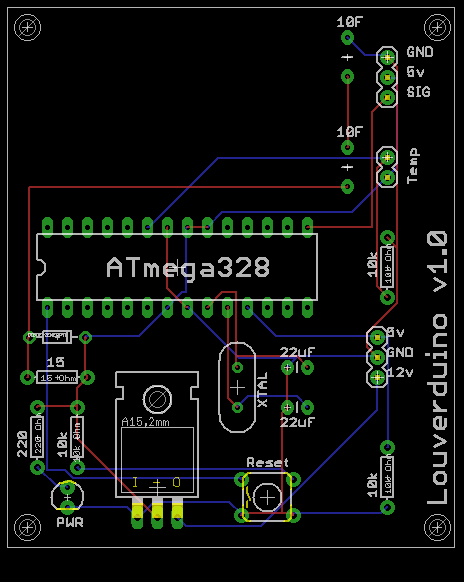
alright so I spent a few hours and learned the basics for Eagle from Sparkfun's amazing tutorials :banana:
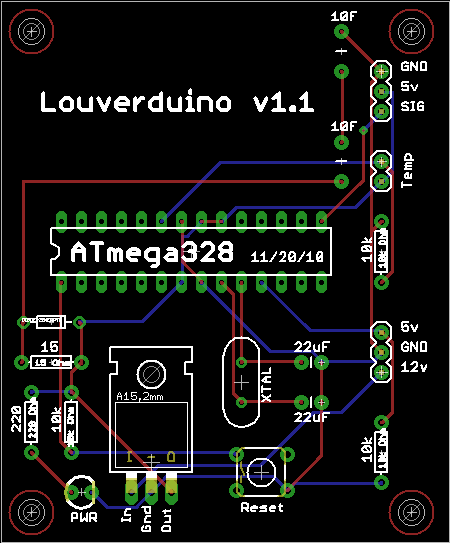
Here she is:
ok so I found some major issues with that last one, mainly the IC socket was wider than the atmega chip, so I had to swap it. Next, the in/out/ground for the vreg didn't match up from the schematic drawing to the PCB drawing, so I had to mess with wire connections until I found out what was actually what. OUT in the schematic is Ground in the PCB, ground in the schematic is IN in the PCB, and IN in the schematic is OUT in the PCB :facepalm:
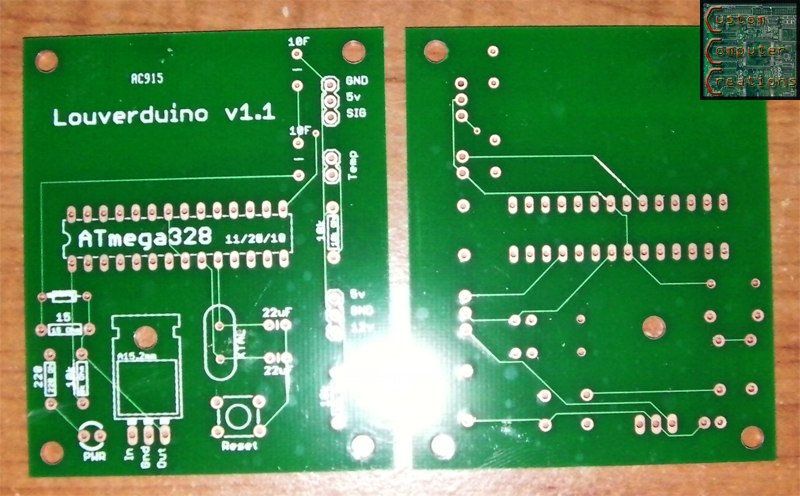
and I ordered it through batchpcb on 12/5, just got my email saying my board is on its way to me :banana: should be 2-3 days (read: hopefully before christmas) till I get it in! :banana:
Nice! What's a single, single-layer board like that run with them?
$15.10 for the board, plus $10 setup fee and $5 shipping, so $30 all said and done. I should have ordered 3 or 4 to make up for the $10 setup fee (would have only paid it once) but it's probably better incase theres a design issue. that way I'm not stuck with 3 or 4 junk boards lol
:EDIT:
you can order one here: :D
http://batchpcb.com/index.php/Products/47020
dont until I get mine and verify it first lol
boards came in today! YES I said boardS. I ordered one, but got two, so it worked out to $15.05 each, with a total turnaround time of 18 days. The same price as getting the etching solution and a bare board and doing it myself, but a much better result :D
should have time to get one soldered up and tested this weekend! :banana:
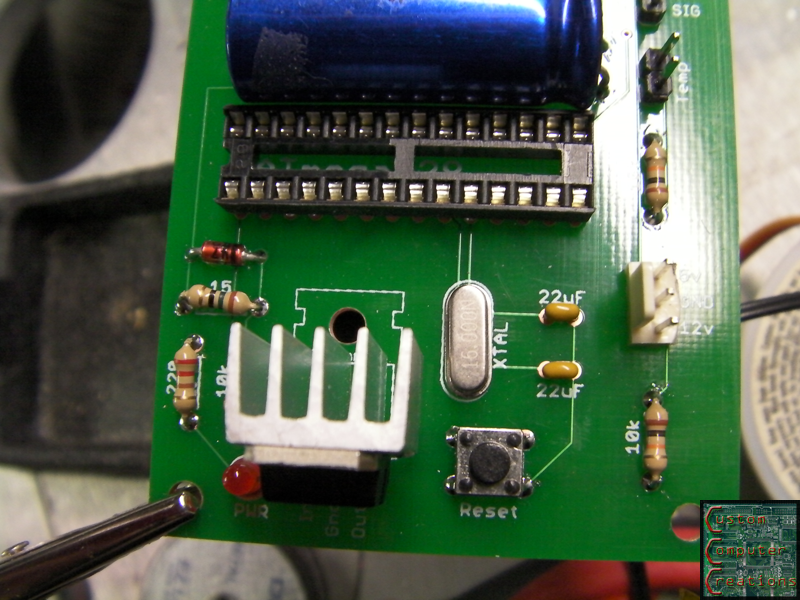
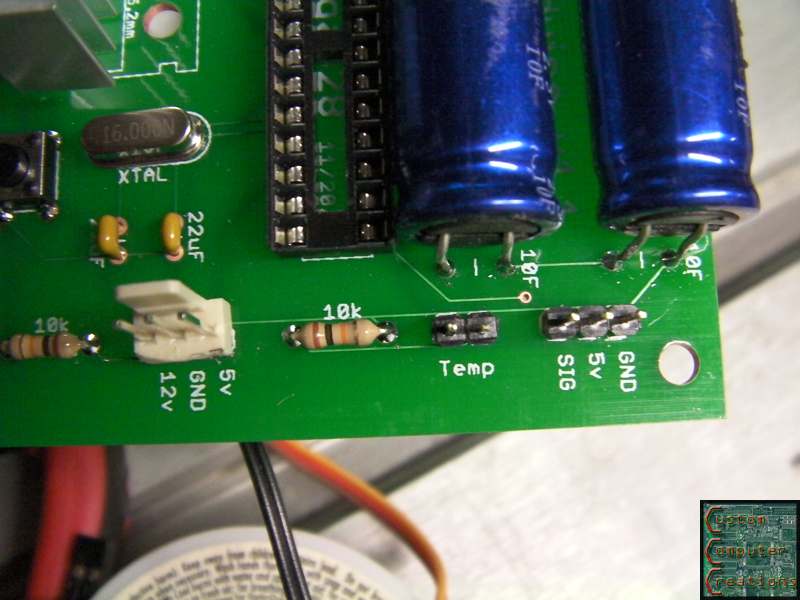
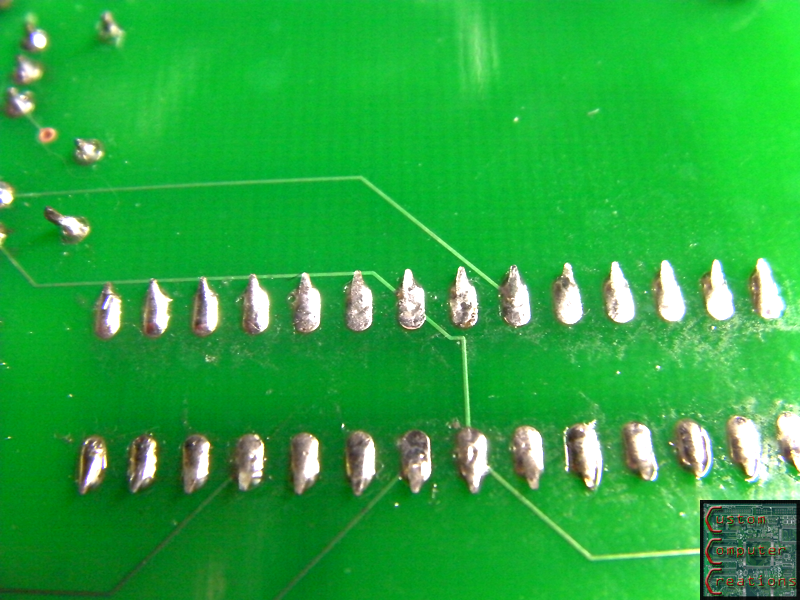
soldered up:
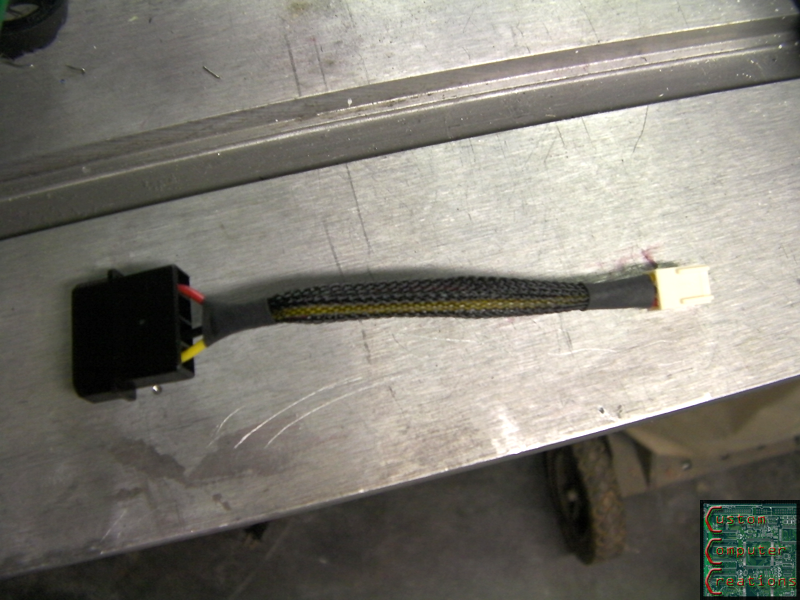
4-pin to 3-pin adapter made:
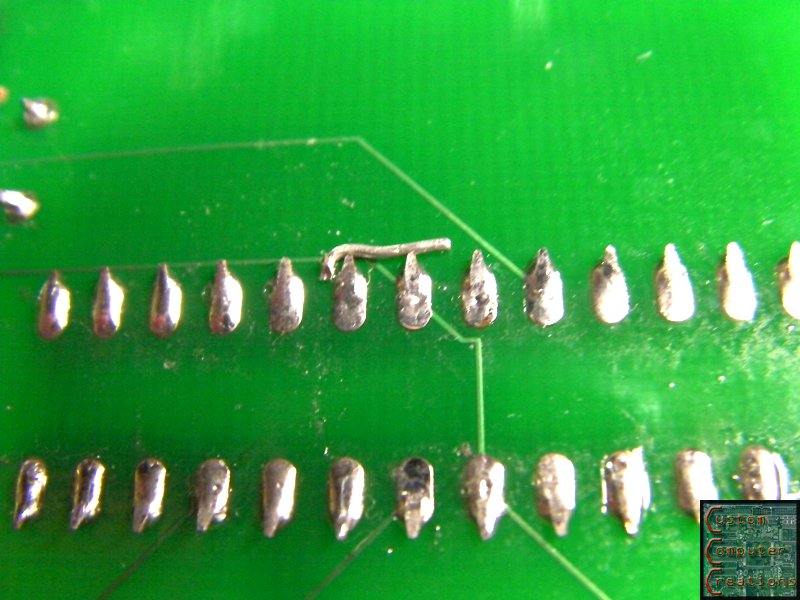
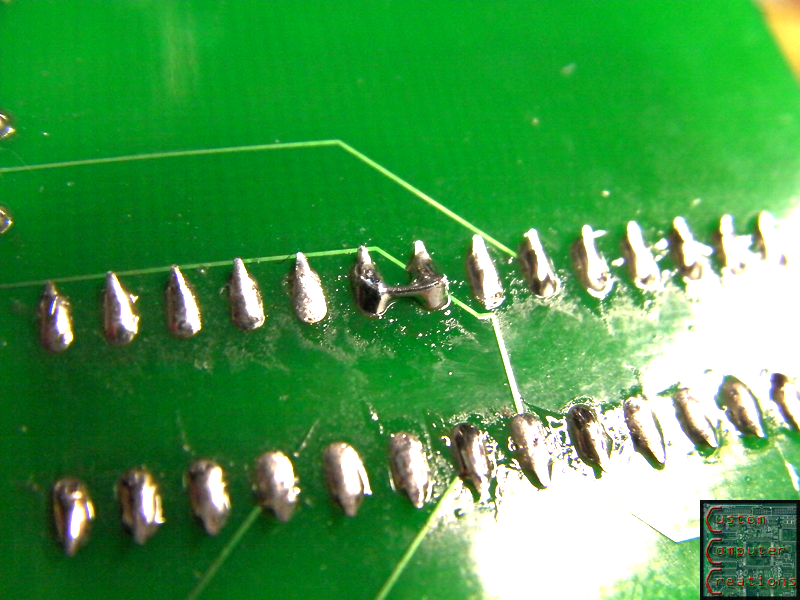
And I found an error. One of the VCC pins on the chip was not connected to 5v, so I just soldered a piece in to fix that:
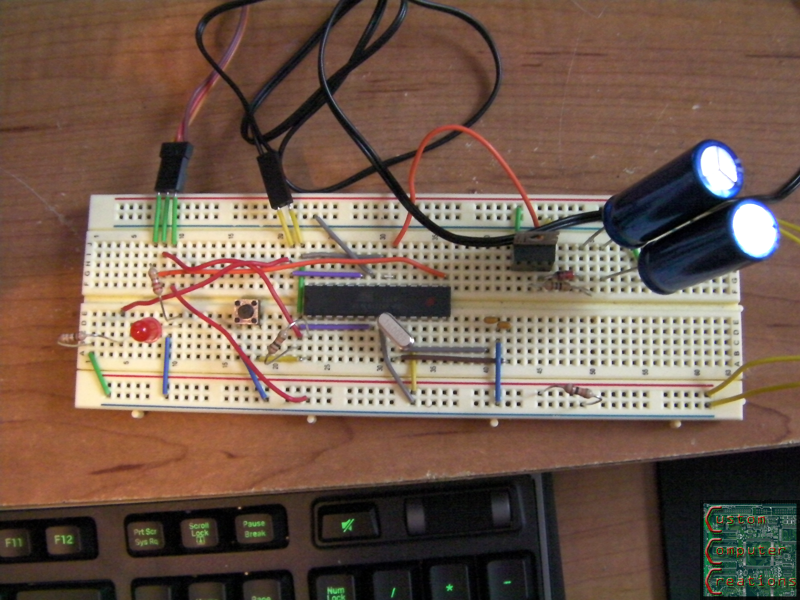
Now it kinda works. You plug it in, it turns on, and it seems like the servo does its slowmove to the closed position. It seems like it's not sensing the 5v input. Although the routing and coding are both correct. I made up this exact setup in a breadboard and it does the exact same thing. Today's project is to troubleshoot it and get it working properly.