Thanks man !Quote:
Originally Posted by licenseless

Printable View
Thanks man !Quote:
Originally Posted by licenseless
Thought about a 4x120 rad instead of 2 2x120s to save a few cm? Temps would almost certainly be better running them on one loop anyway, and you could reduce some of the front overhang (underhang?) that seems to be an issue.
Looks great though. You guys are making me wish I could work more on mine, but until this EKG comes off I'm just about tied down.
That is a bad ass theme dude! This is going to be a monster, I love it!!!
That was the initial idea also! Except I am doing this without sponsors so money is tight. I had these 2x 240's lying around ...Quote:
Originally Posted by Kayin
Thanks man ! Still in the middle of some family problems so expect no update real soon (maybe in a month or so)Quote:
Originally Posted by jdbnsn
Well its been more then a month ...
Good to hear from you! I hope all is going well or at least better now.
Thanks man! Been a couple of hard years but as my health improves, so does the need to build again!
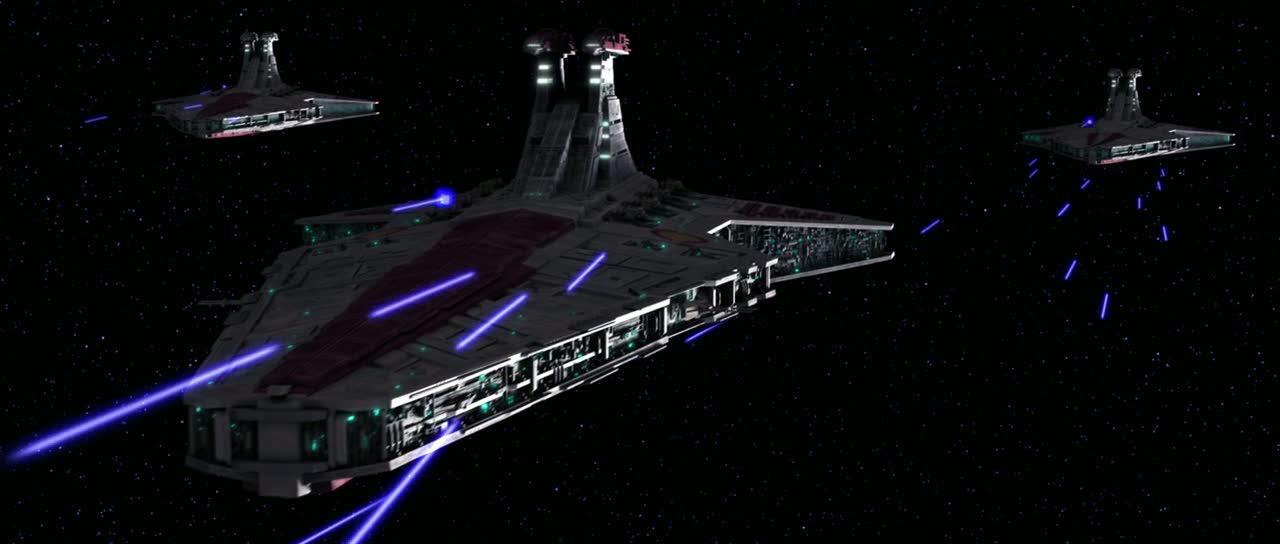
"YAZI" - Venator Class Star Destroyer 3D Printing Update 001
Since the venator went into storage and I went off to pursue my dreams I learned a lot.
Learned about materials, fabrication, design and so much more.
So I decided I needed to build the YAZI in a different way then what I was used to before (ie jump in feet first and hope for the best lol)
I think that 3D printing is the way of the future of casemodding. To be able to create any (case)structure you want, any mounting option you want, any decoration theme you want, all from the comfort of your house is what I believe will be happening in the next few years. Offcourse you will need to use common sense like "reservoir before pump" and mounting a drainport 2 cm above your PSU is still not a good idea, but the way we look at computer systems and how they should be constructed is about to get a major overhaul. (ok rant off)
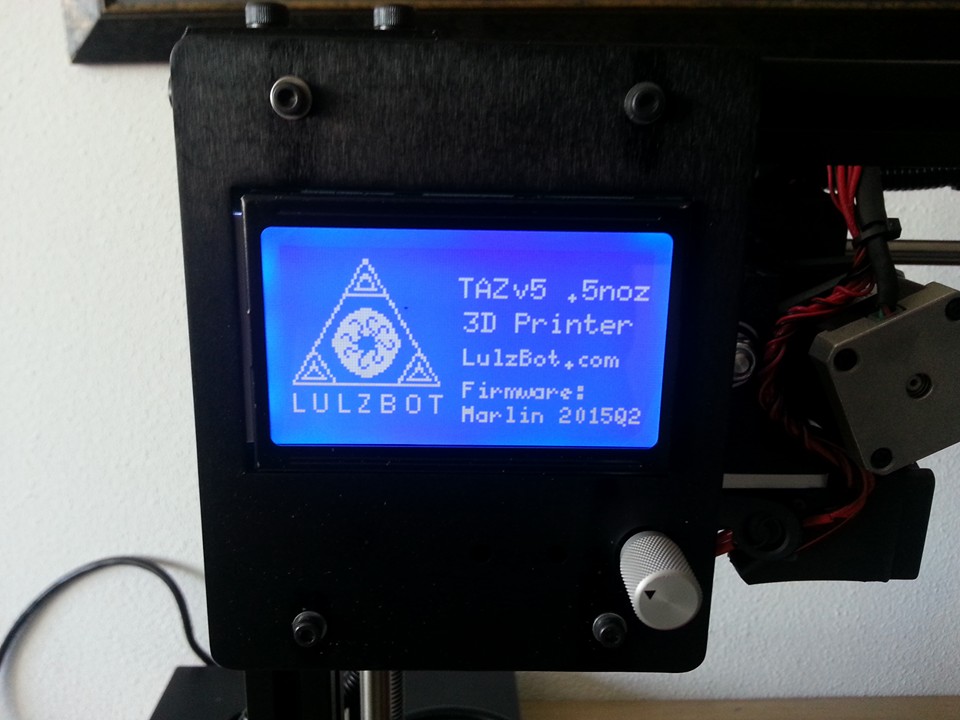
So I bought myself a 3D printer after a LOT of research. I decide on the TAZ5 from Lulzbot.
When you get past the name (lul means d!ck in dutch) its one hell of a machine.
Travel speed 185mm/sec, print speed 80mm/sec, dual extruder option and a nozzle that can heat upto 400 degrees. That means its capable of aluminum powder and carbonfiber printing.
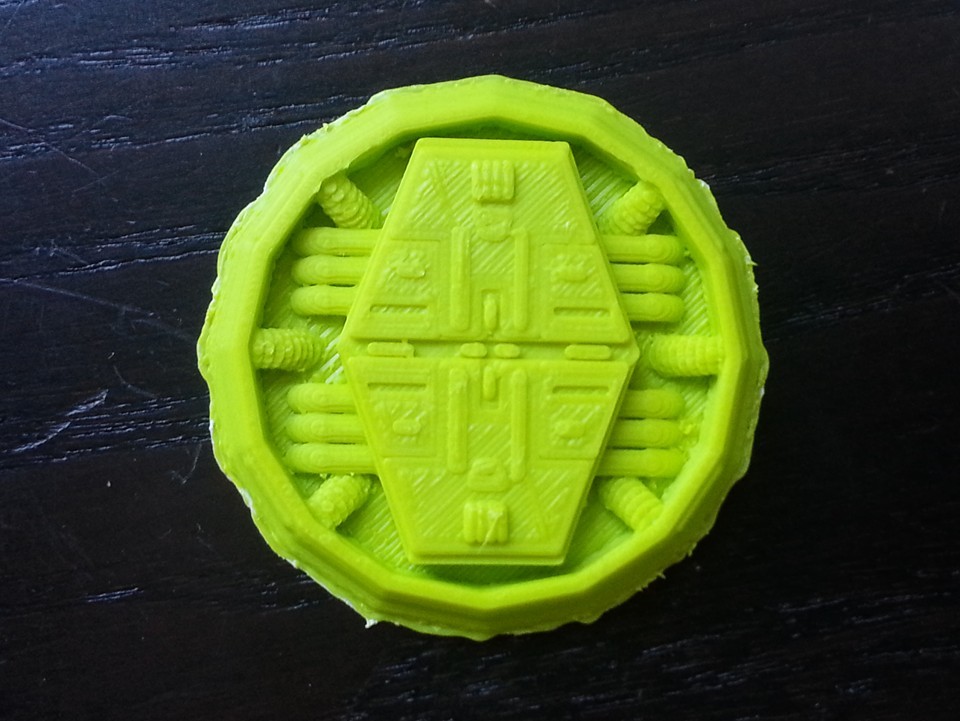
So I started learning how to design and print.
Here is the first print ever I did on the machine and its a part of the detailing (also called Greebles or Nurnies) that I am planning to put on the YAZI.
Not too bad I think, but it has lots of room for improvement.
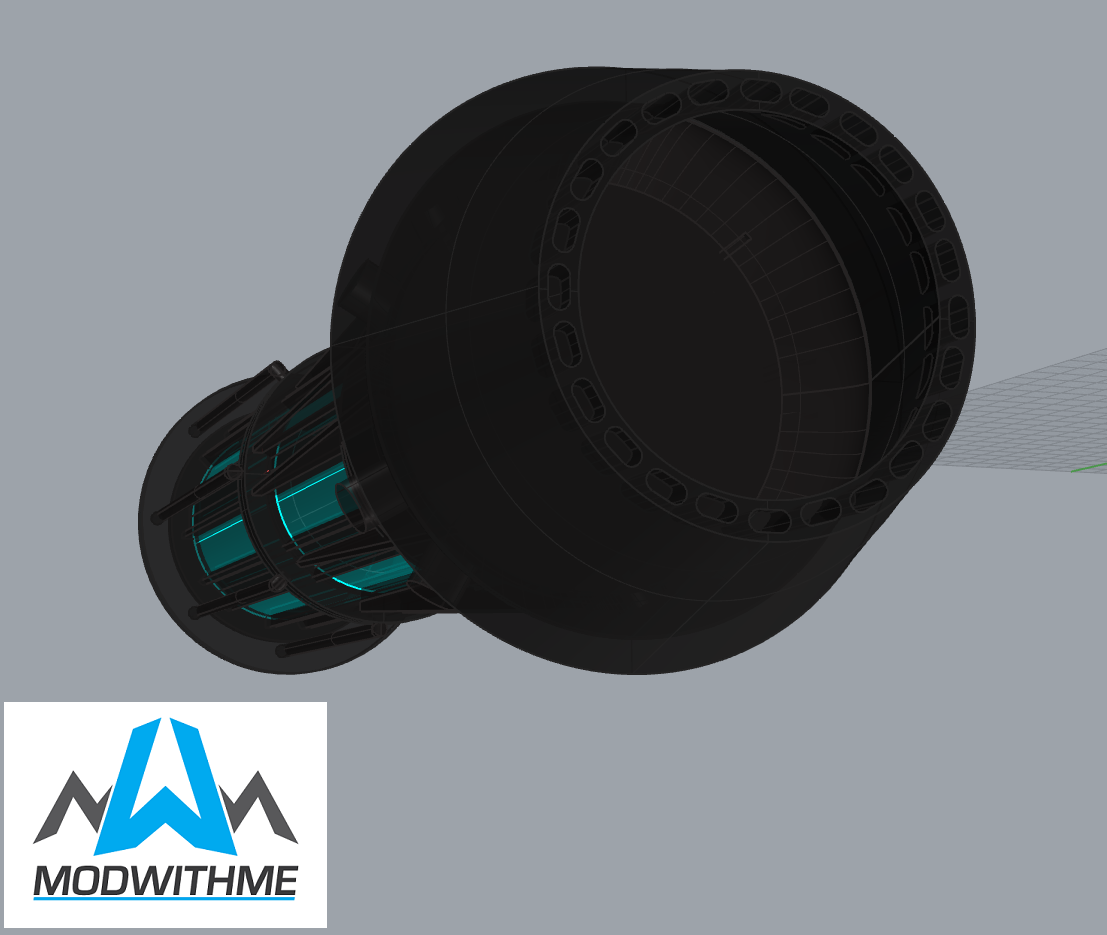
After several test prints I decided it was time to up the stakes.
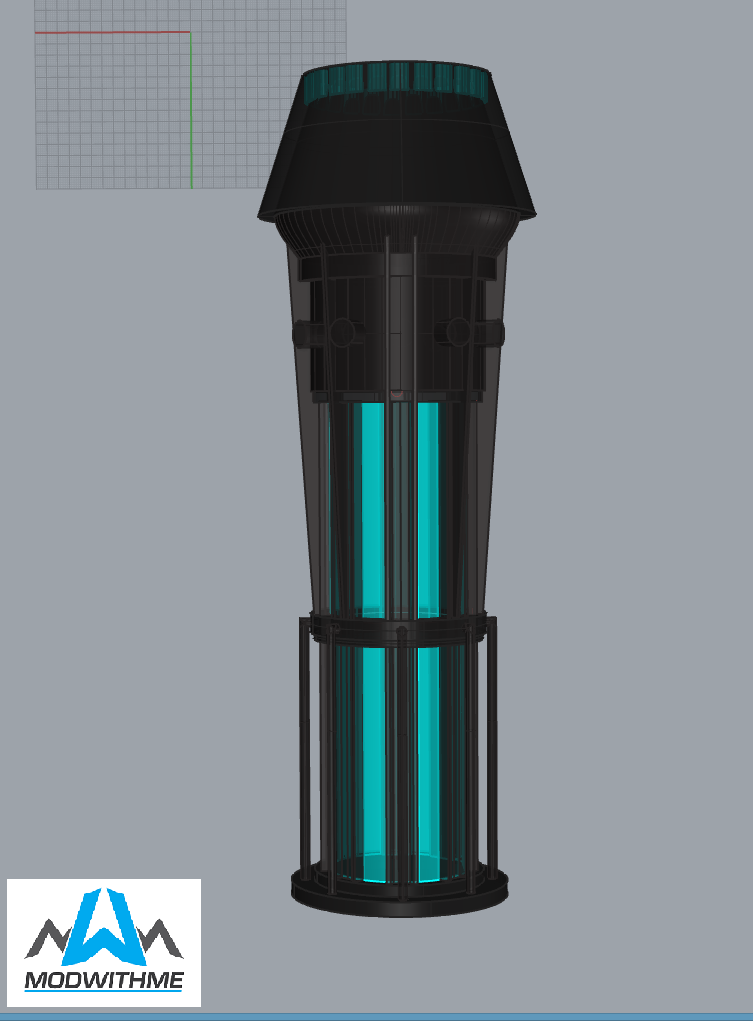
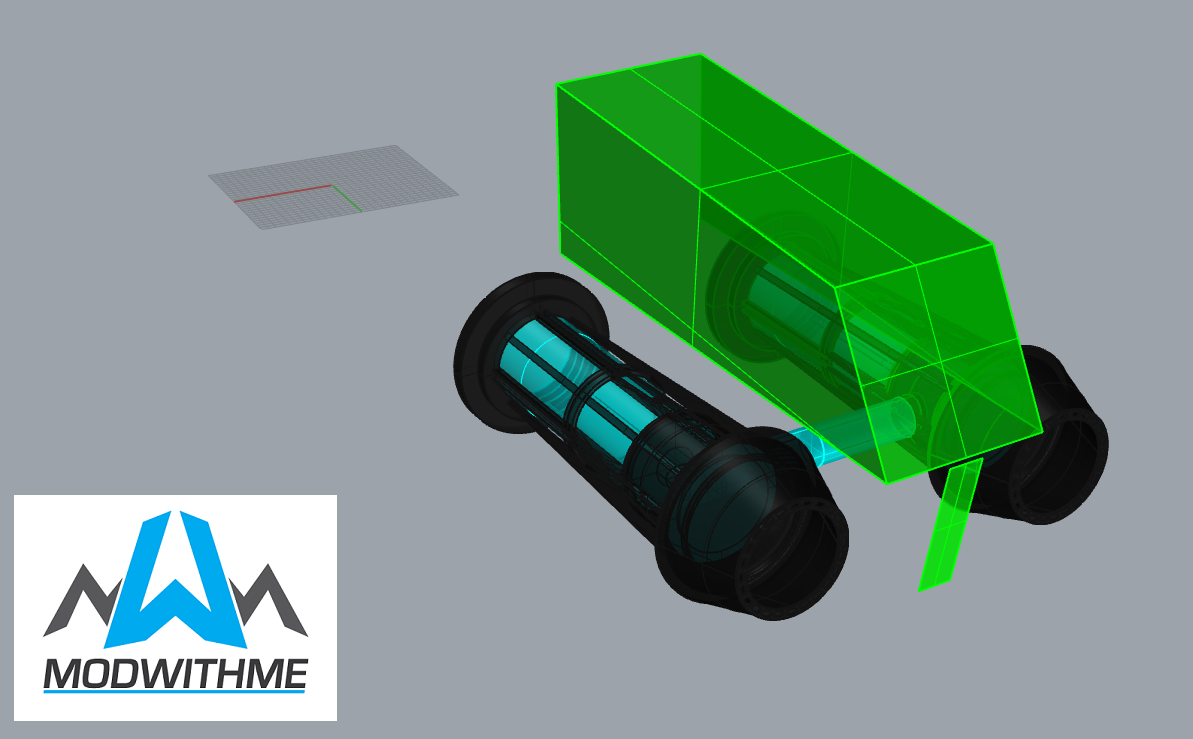
This engine part will hold a reservoir. (there will be 2 with and 2 without)
BUT , lets make it interesting and connect the 2 reservoir engines
This is what i mean with iteration based building. Small to large but in steps.
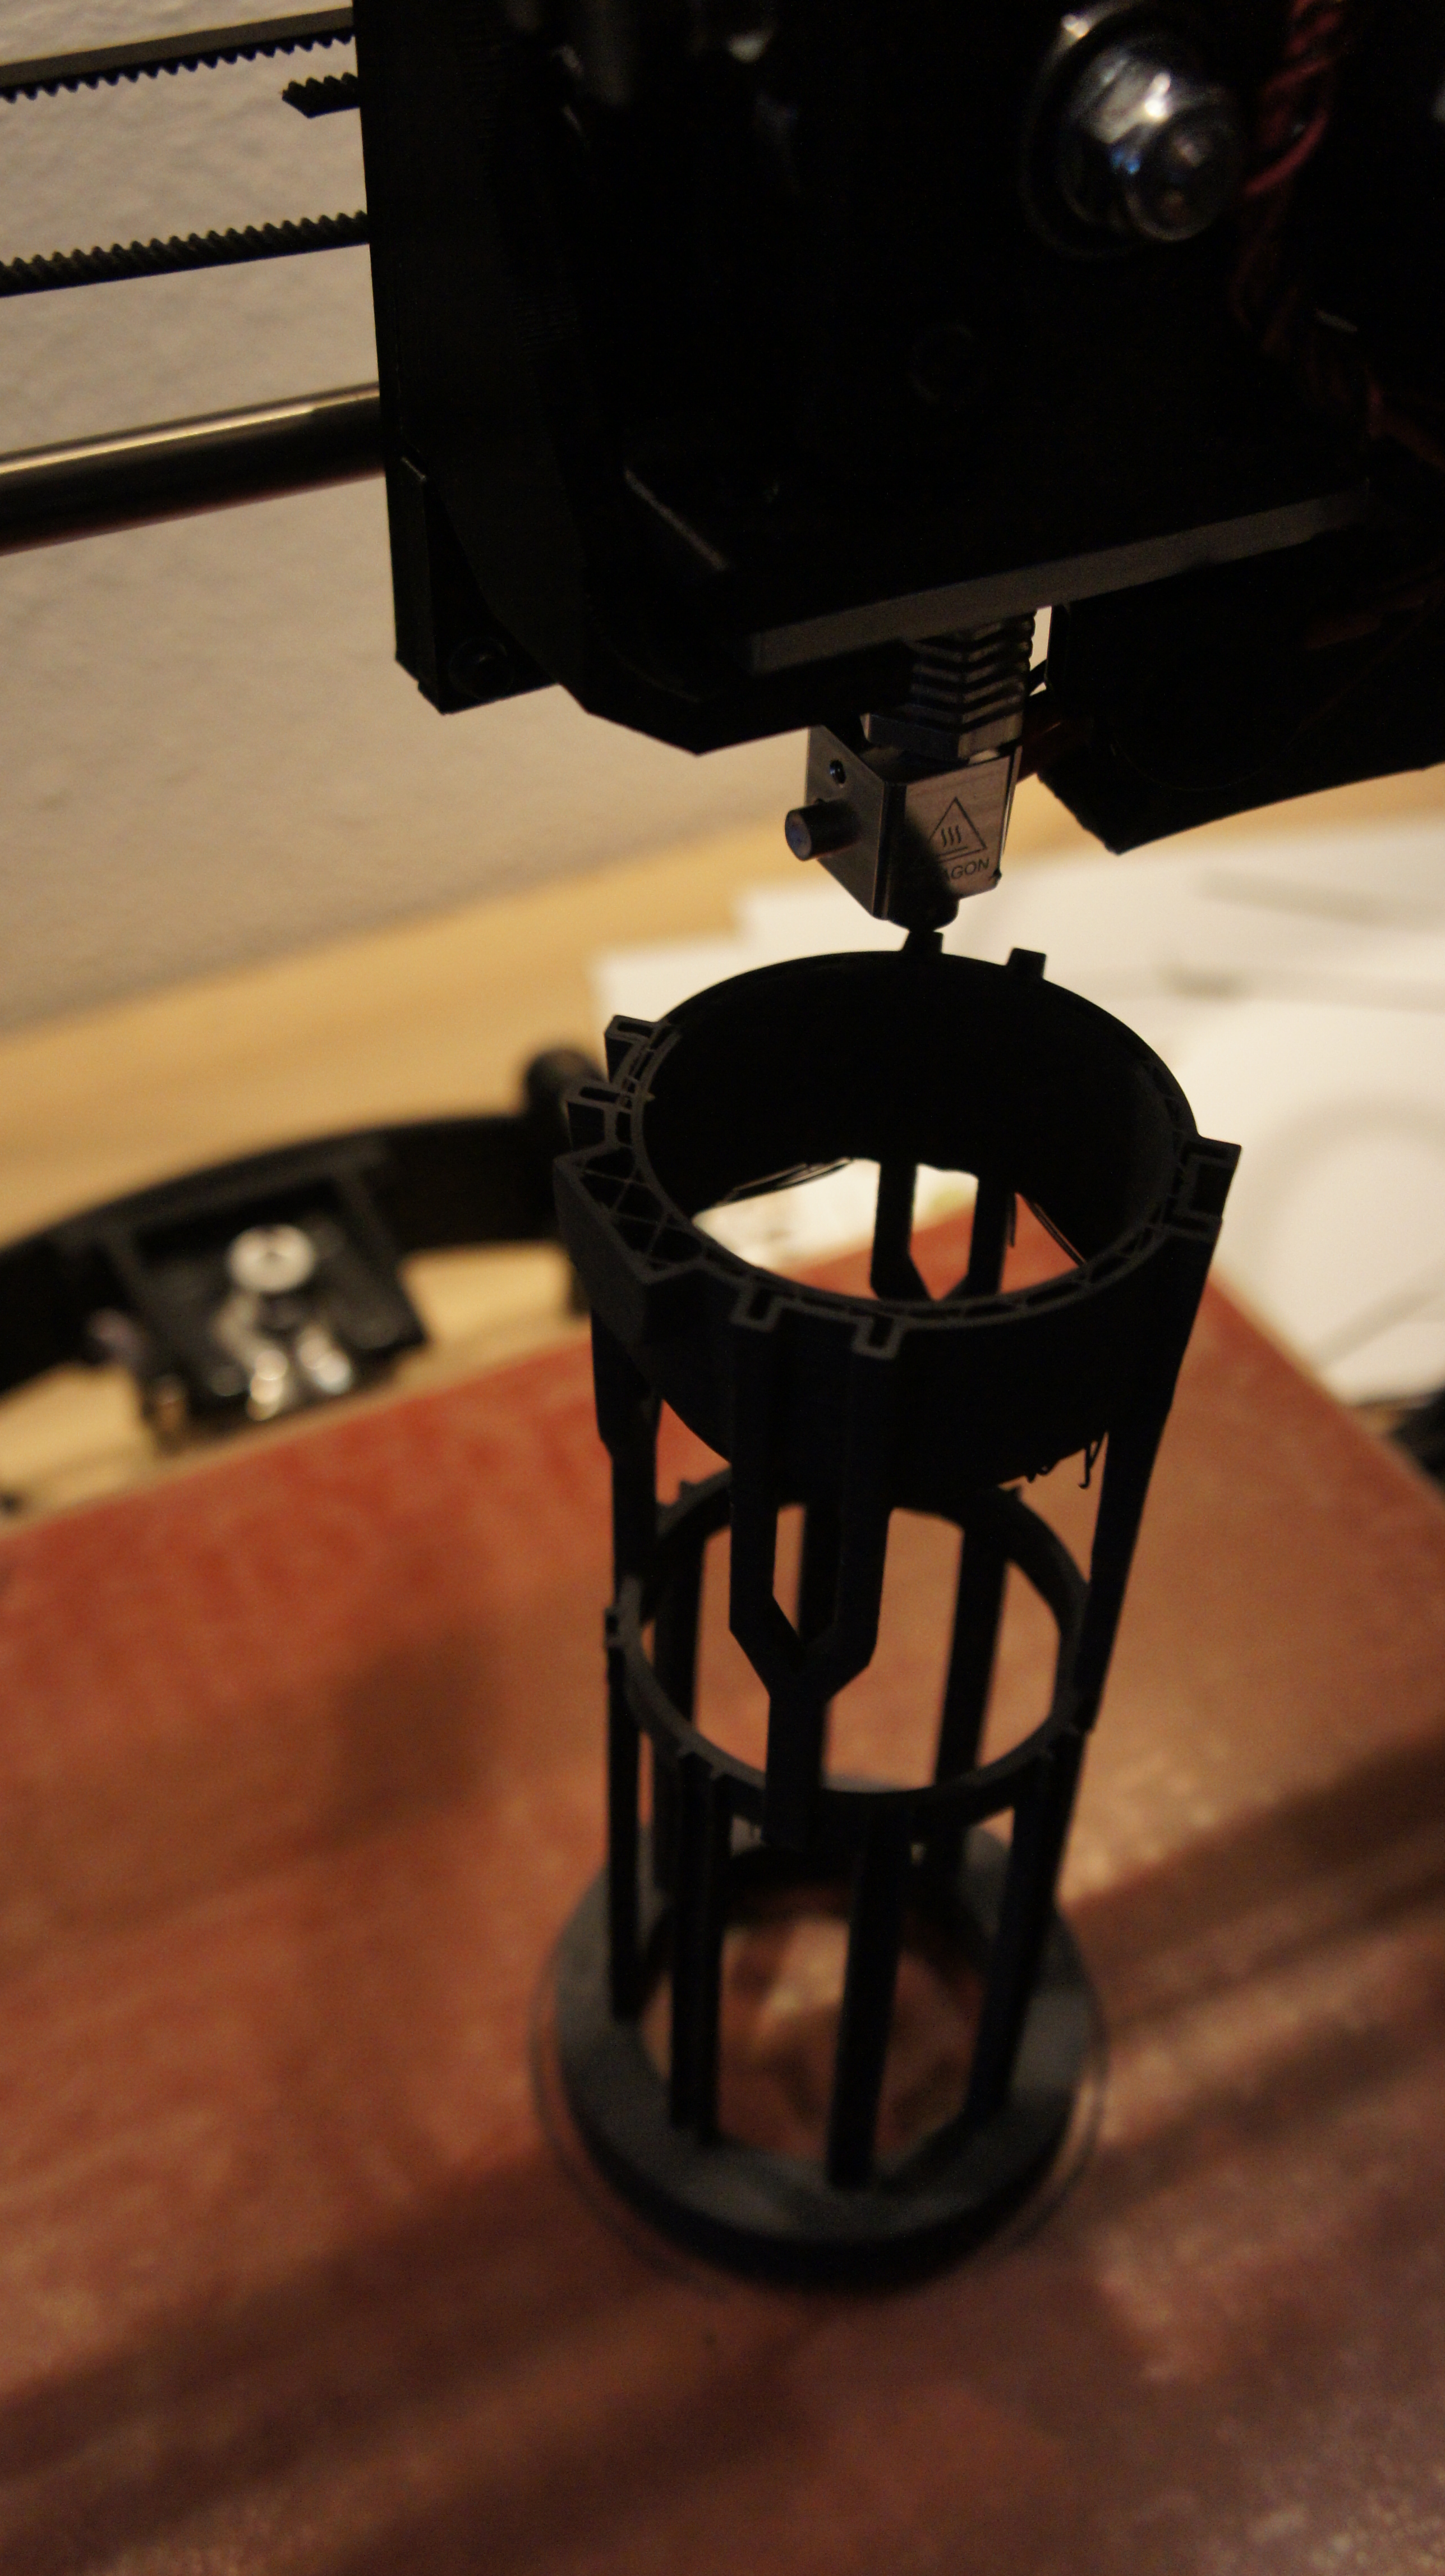
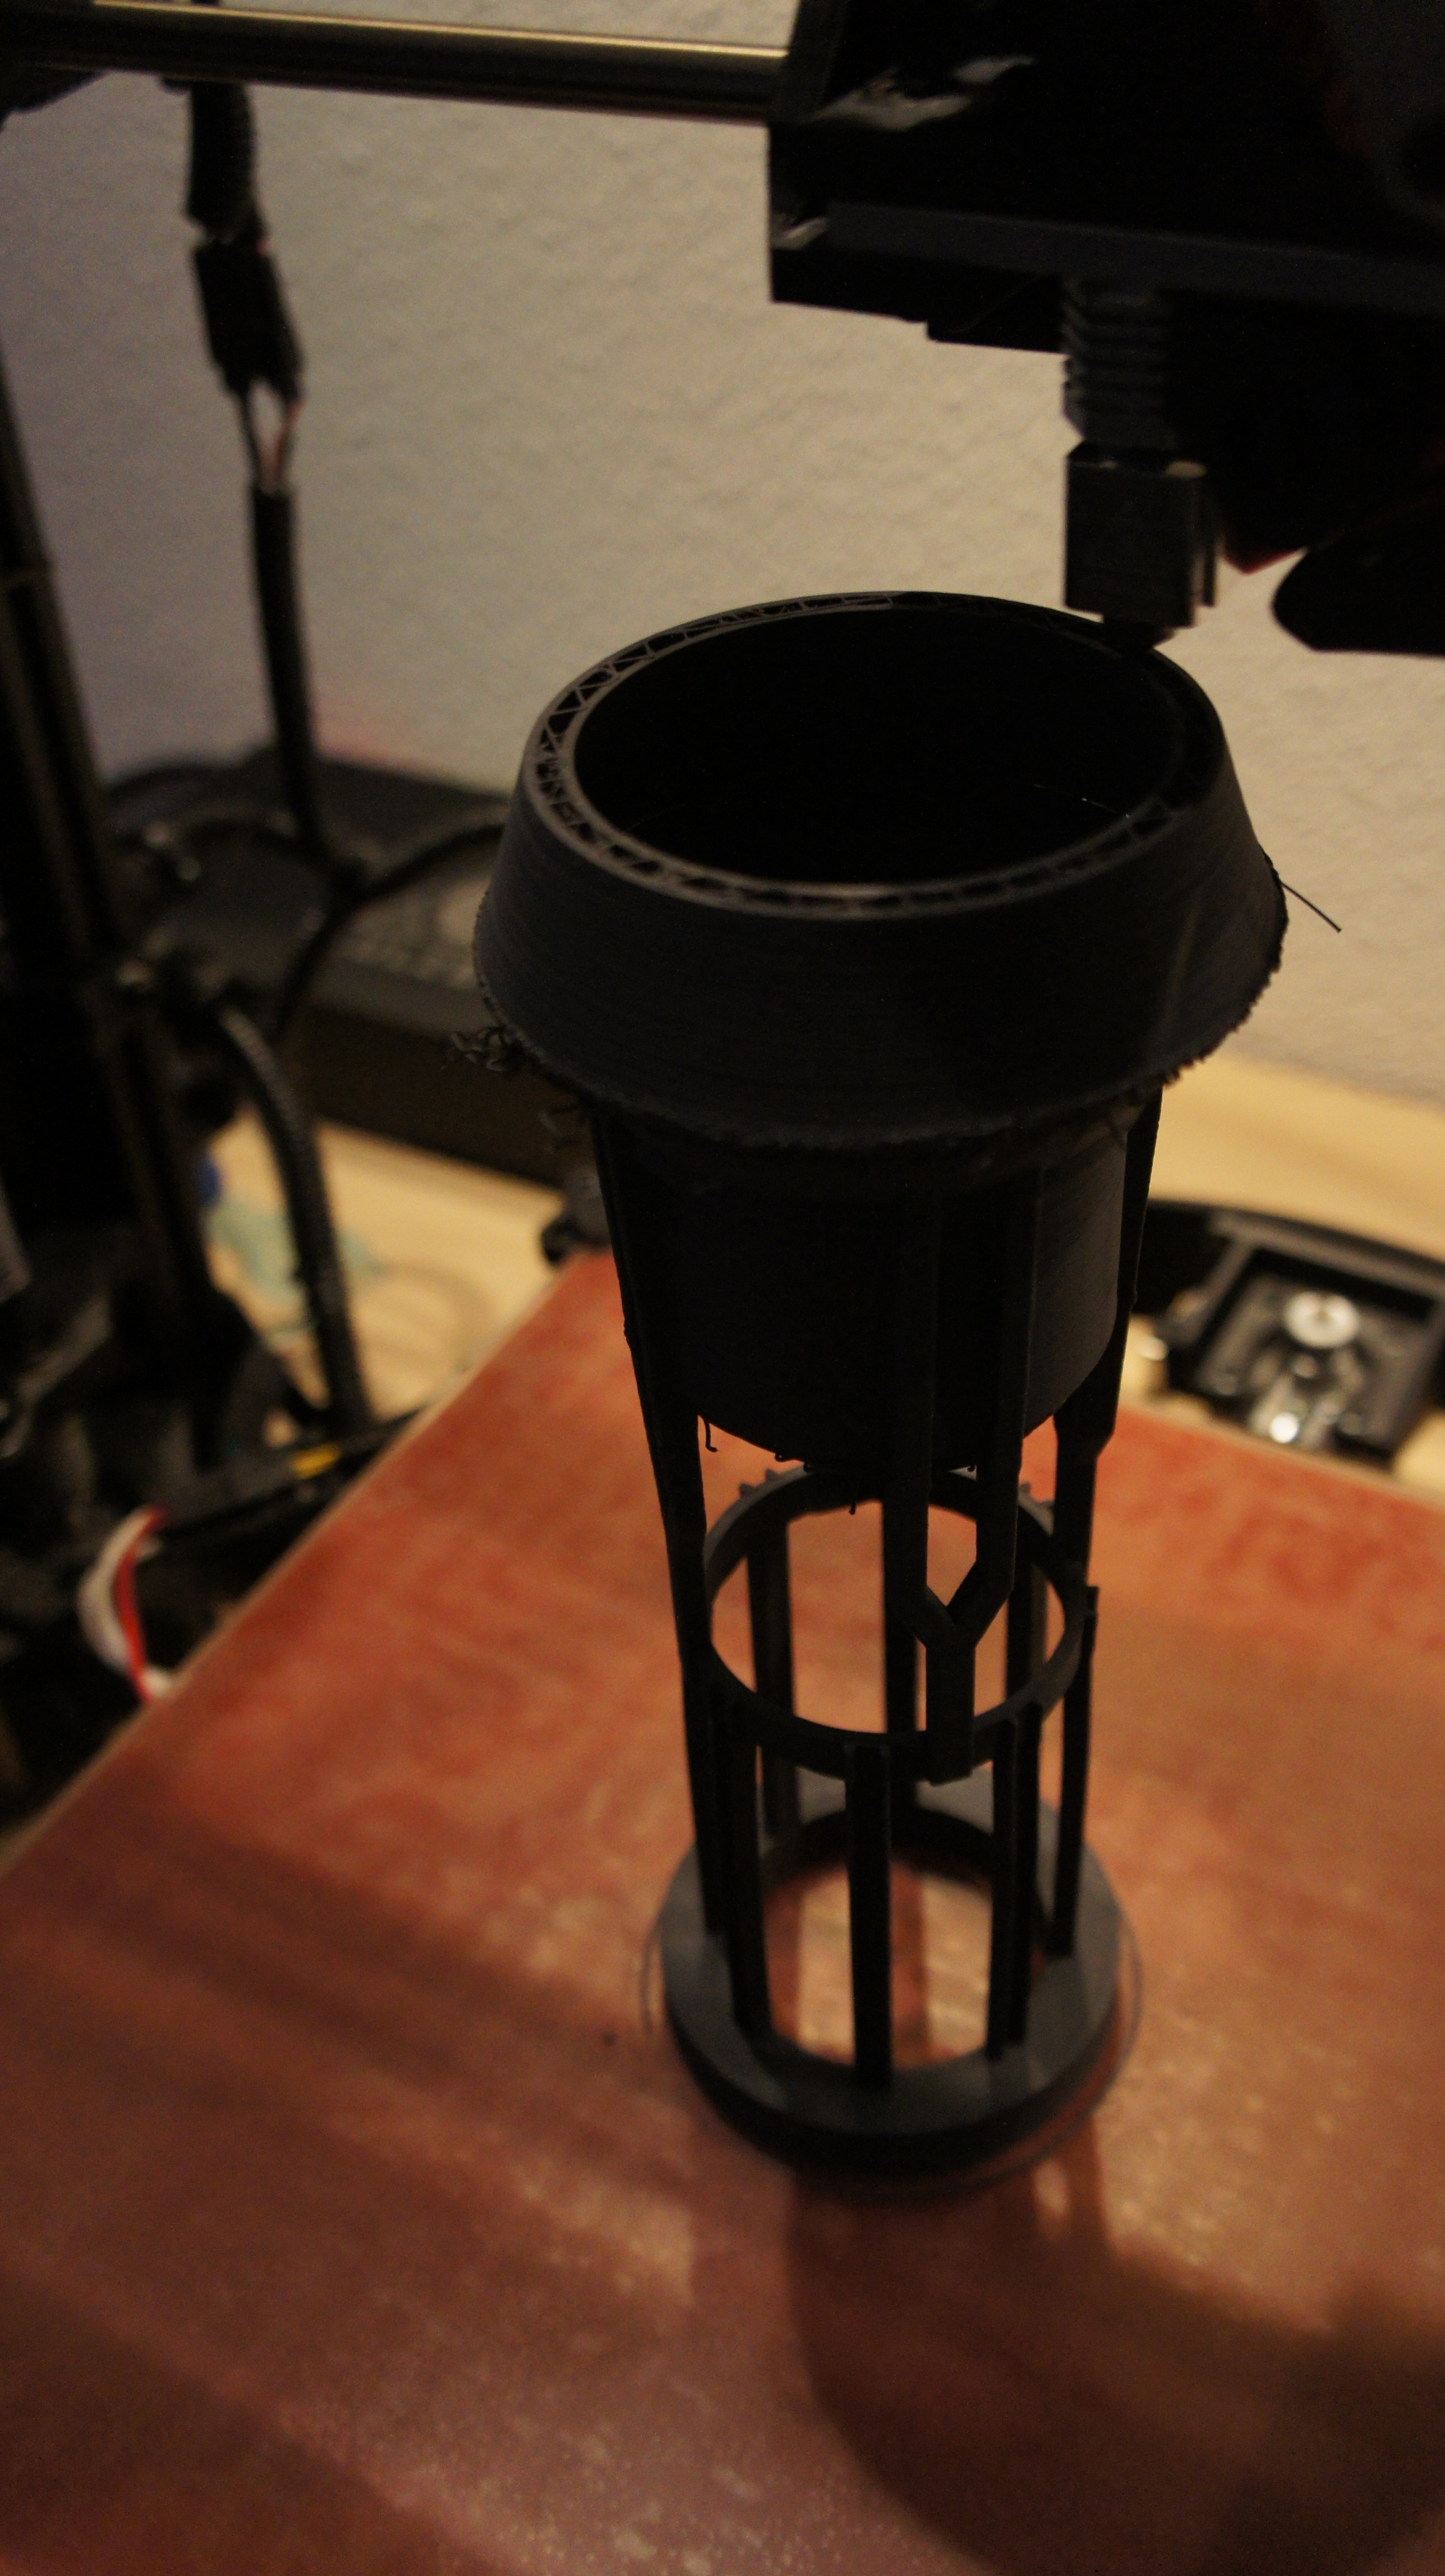
Some shots from the print itself. It different then with designing for laser or cnc. You think in single lines mostly when you design for those, for 3D printing you have to think in 2 lines as a wall.
Small but important difference IMO.
So that was it for this update, the final design and prints will come in a later update!
Have a good one!
Working my ass off in the 3D files atm.
If all goes according to plan, we can start cutting and welding aluminum this weekend.
FINALLY getting my hands dirty again with some REAL work lol
Somebody asked me where the hell I was going to put the YAZI When it was finished ..
Well right next to these !
Got some filament in today, time to crank up the volume !
https://scontent-ams2-1.xx.fbcdn.net...f0&oe=56B0C8B1
Sorry for the facebook link but for some reason I cannot get the picture to work properly!