Im with pOPe. Sleeve all of it. That would look awesome. Looking good man. Did you say the sleeving shrunk or were you just talking about the heat shrink tube?

Printable View
Im with pOPe. Sleeve all of it. That would look awesome. Looking good man. Did you say the sleeving shrunk or were you just talking about the heat shrink tube?
I was just talking about heat shrink lol. But thanks for the complement.Quote:
Originally Posted by BigJohnson
UPDATE - PAINTING
So i bought my paints yesterday and spent all day today painting. And it looks pretty good. Mind you I'm no painter... but for me it was good.
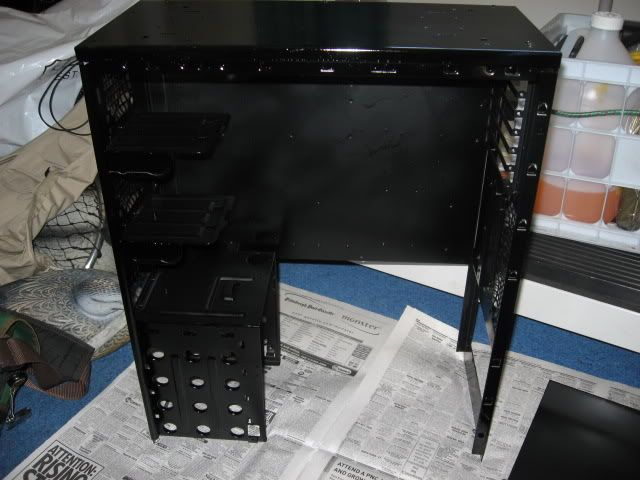
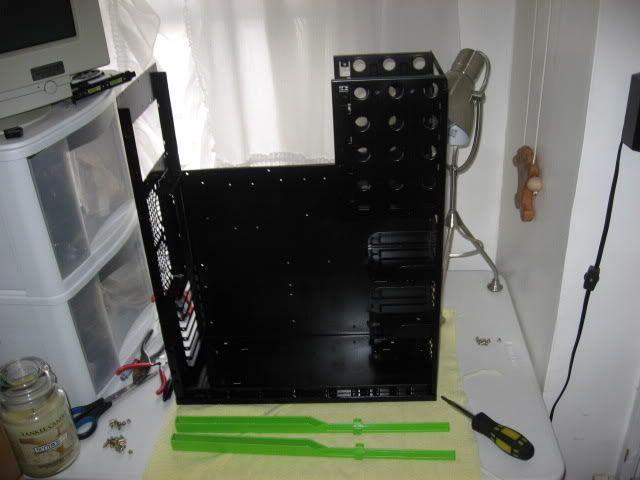
Pics of the empty case.
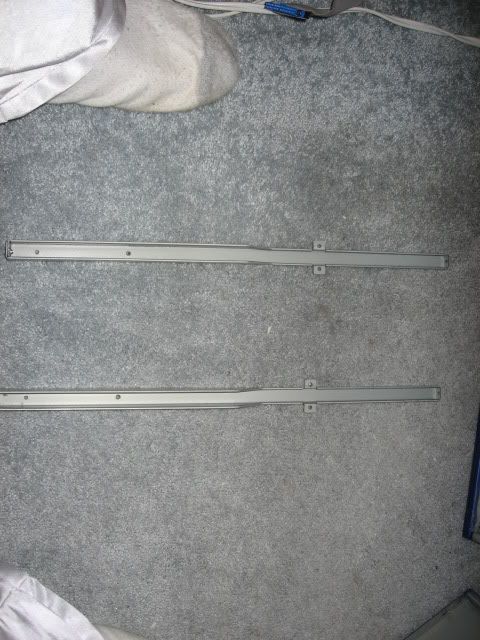
I took out the side supports so I could paint them green :D
And here's the lid.
Case after the lid, sides and supports are taken out.
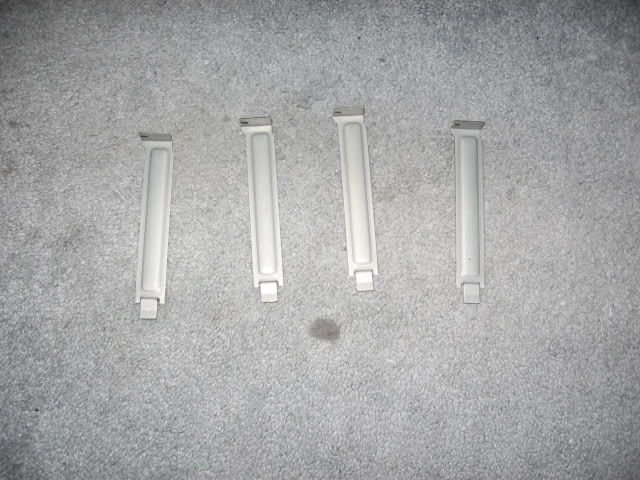
PCI slot fillers. Gonna be green.
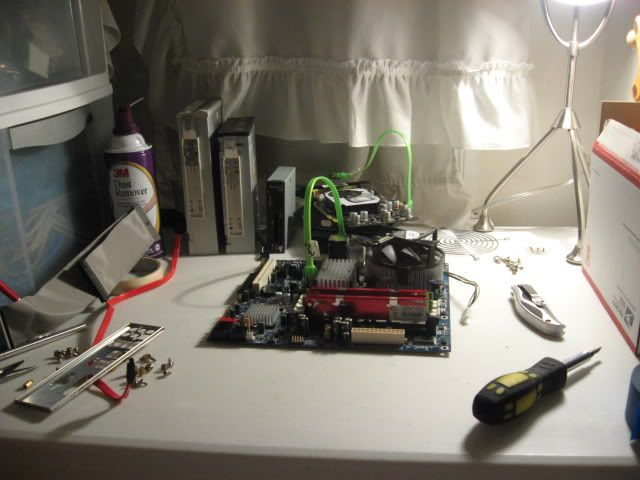
All the guts after i took the case appart.
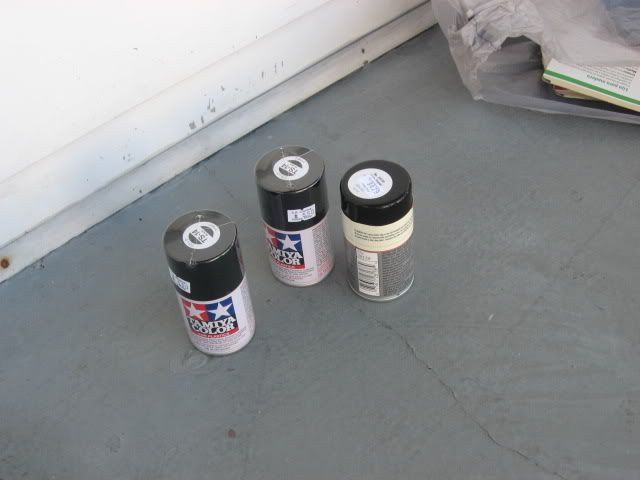
So to paint here's what you need:
Paint
Sandpaper
And Newspaper
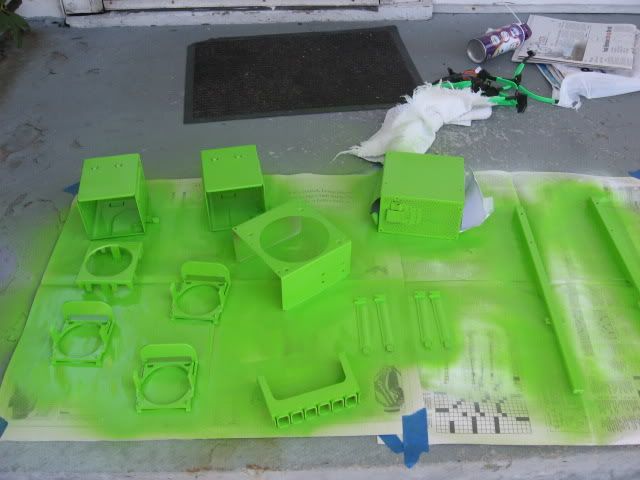
All of these parts will be white.
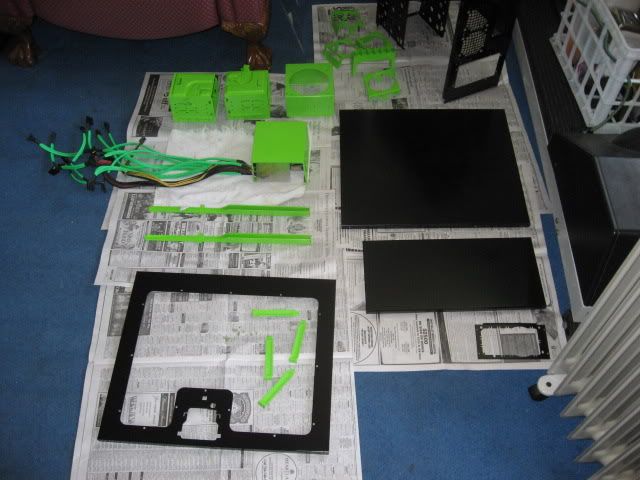
These will be black.
Now I couldn't take pics while I was painting cuz it was only me and I had paint on my hands. So here's after I was done.
Having them side by side looks sooooo cool :D
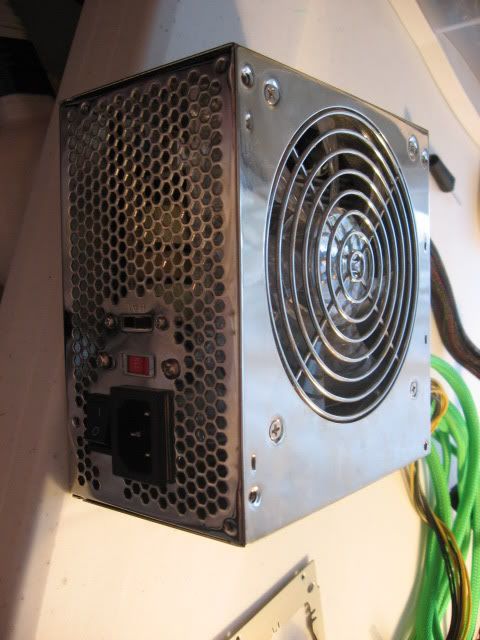
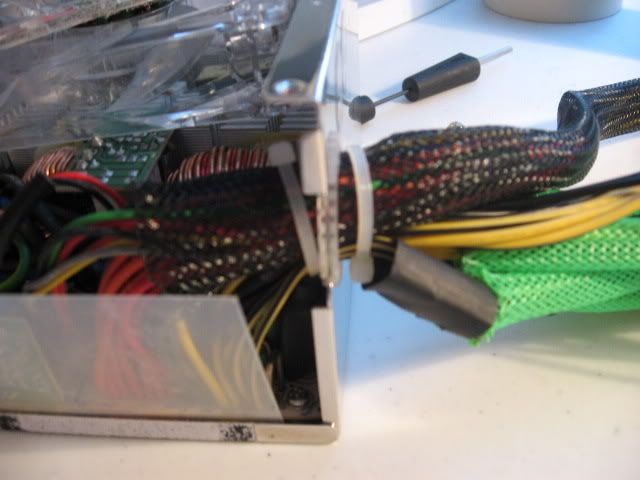
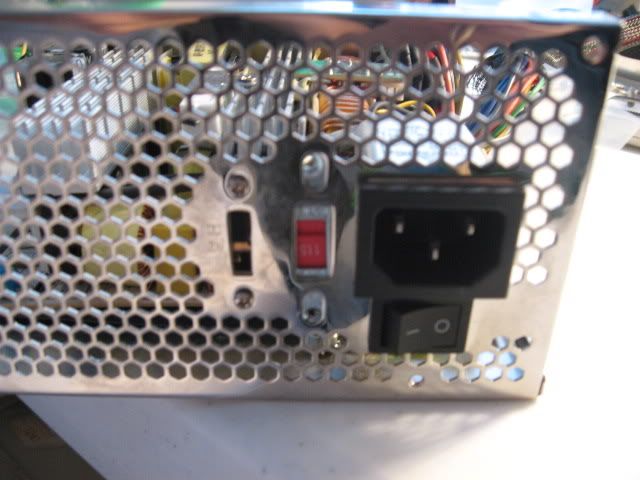
Now.... its time to take this mod to the next level with a... PSU MOD!!:banana::banana: Now if you've been watching you'll remember that ugly blue that lit my PSU. So ya I took that out lol.
Outside
Top off
There is the connector that connects the fan.
Cables
Back pannel
LED's after I took them out of the fan. Wasn't to hard to my surprise.
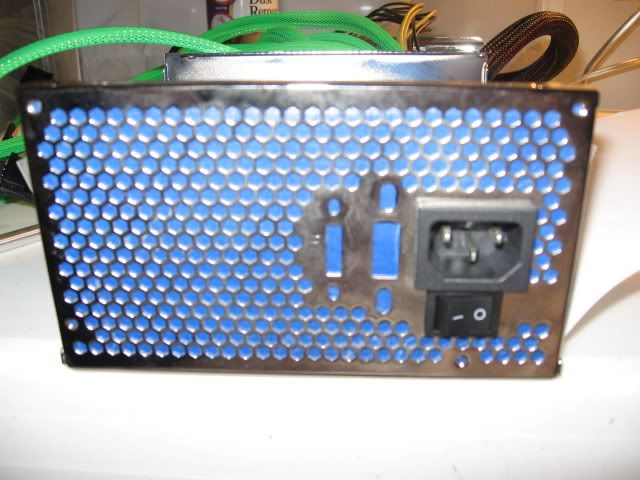
Have to tape up the back mesh before painting.
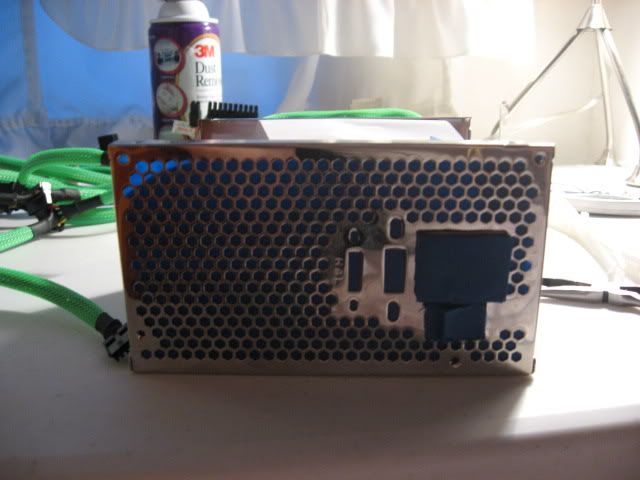
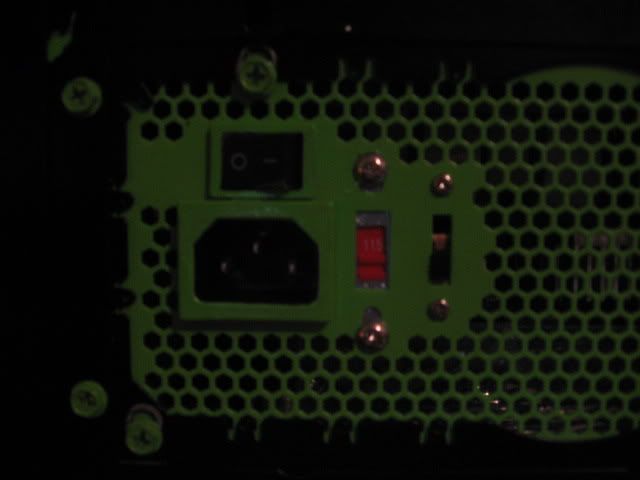
Tape over the power input and switch.
After I covered the innards.
After the paint.
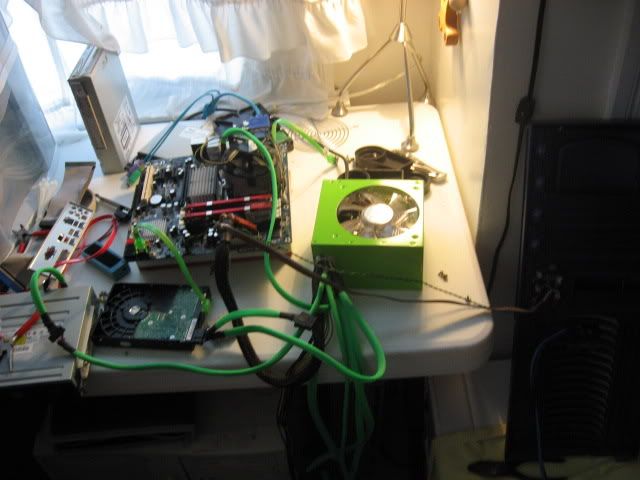
And here is the test to make sure the computer starts after I messed with the PSU. Ya I was a bit worried lol.
But its a success and it works :D:banana:
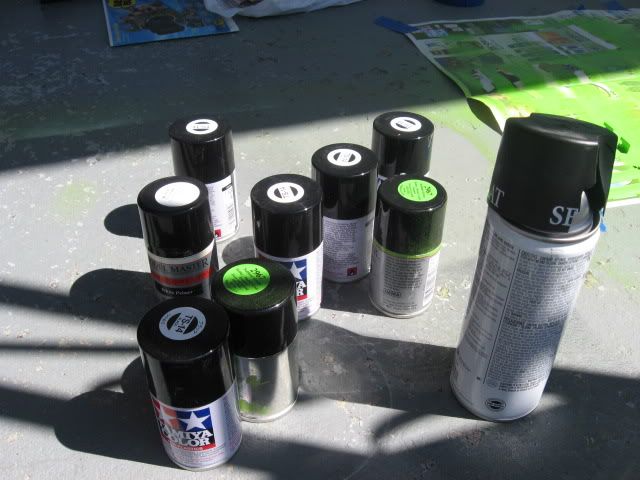
So I kinda miscalculated on the amount of paint I needed.... Here's how much I ended up using. 3 cans to 9 lol
Good thing the hobby shop is close.
I'll have some more close up shots once I find the rivet gun. My dad says there is one here but I don't think so. I think its at our other house up north... So I won't get it till like Sunday. I just wanna get it together and look at its beauty lol.
So until then I'll be waiting for some more sleeving to come so I can finish up all the other little cables in the case. And I'll post some more shots once I get it together. Then next moth I'll probably start a bit more on designing the front and how its gonna work.
Till then,
-Fuga
Wow Great work
Everything is looking real good!!
I have the same graphics card on my regular machine! Its a beast, too bad I only play starcraft and zombie panic source :)
UPDATE - ASSEMBLY
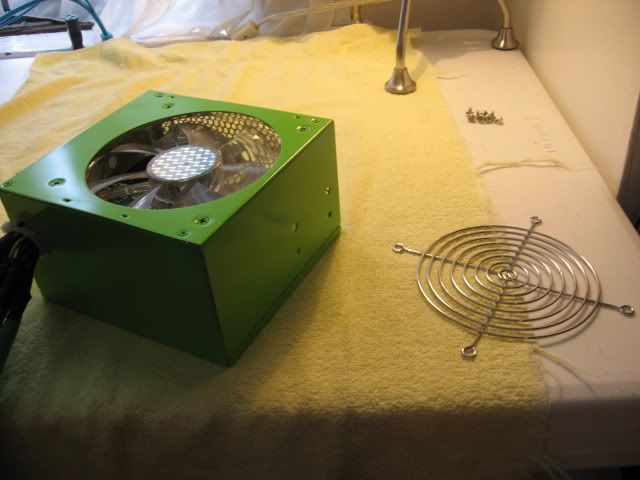
Well 1st off I got so pumped about my PSU paint job that I put it together without the fan guard :dead:
So I slapped it in and now its all good.
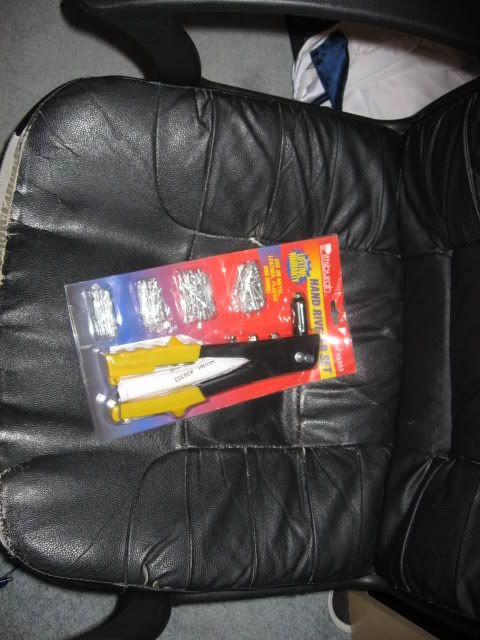
My dad felt kinda guilty about not having a rivet gun here so he went out and bought one.
For $3 at Harbor Freight you cant beat it :D.
Ok... now for the juicy part!!
THE ASSEMBLY!!!
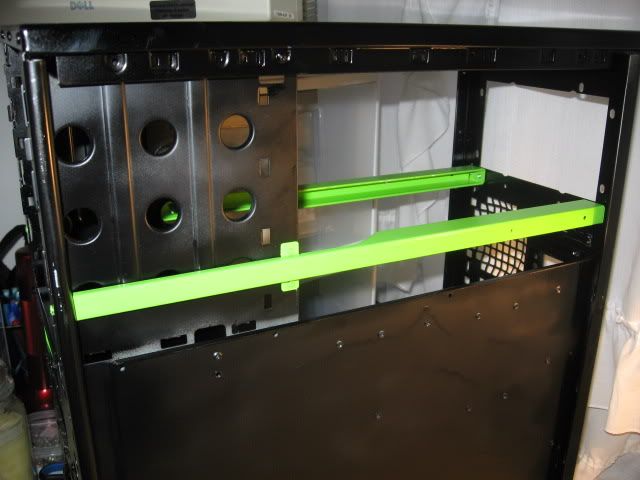
I really love the contrast between the green and black.
After the 2 supports are riveted on.
After I installed the 2 HDD bays.
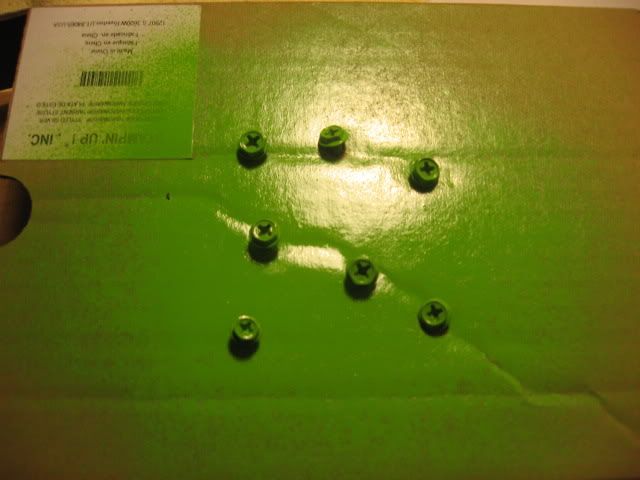
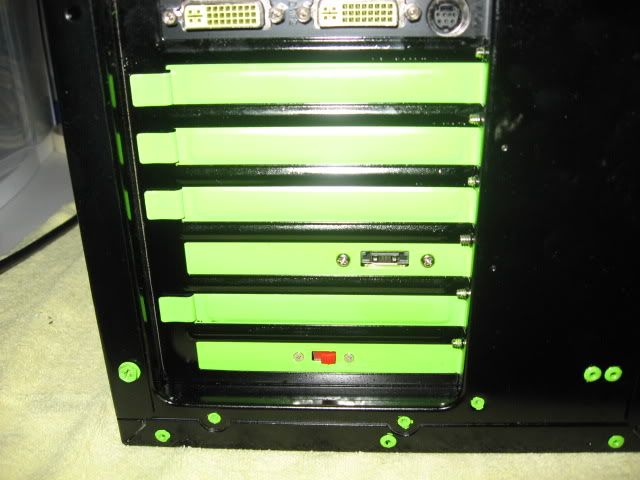
I painted a bunch of screws green for a nice accent on the back of the PC.
PS. I had to do this 3 times to get enough screws. :dead: Felt like forever for all of them to dry.
I then put some of the spraypaint into a little plastic container for touch up. Also I painted the rivets that I put in on the green supports green. (Another accent idea)
Finally get to put some hardware in.
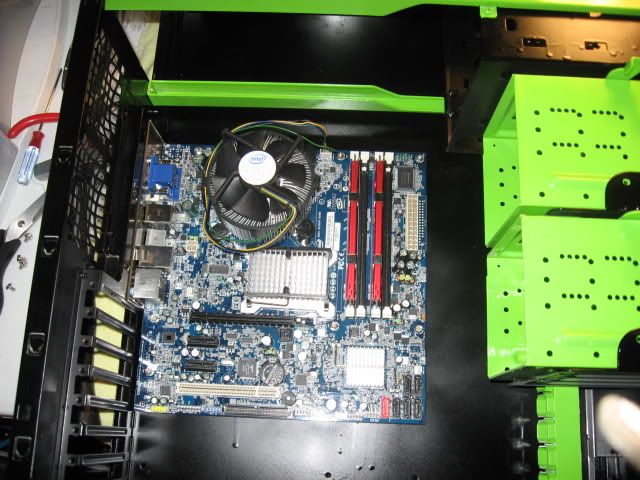
Mobo
PSU & Video Card
CD/DVD-ROM's, HDD, Media card reader and fans. I also tried to manage some of the cables.
I found this nifty hole in where the 5 1/4" drives go. I've had this case for almost 4 years and never notices it before lol. So I used it for cable management and man it works awesome.
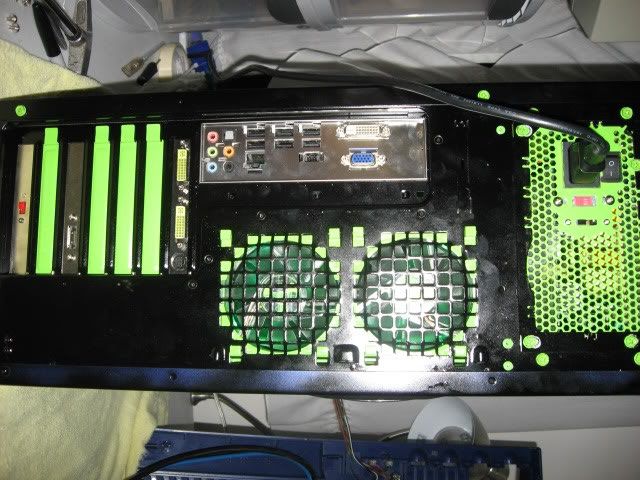
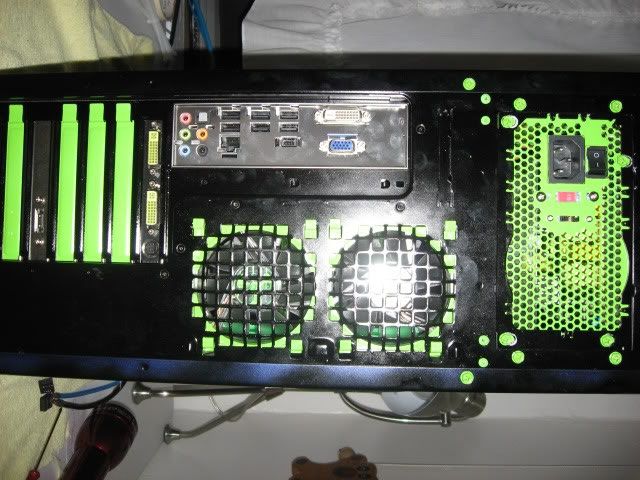
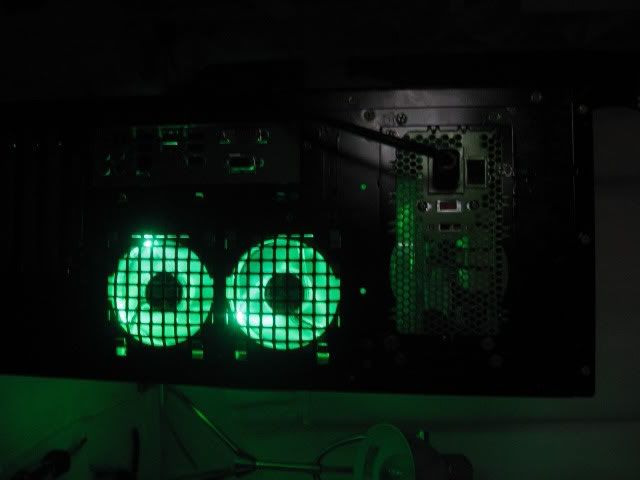
Here's a shot of the back after all parts are assembled and the side panel is put on.
With the screws.
POWER ON TIME!!!
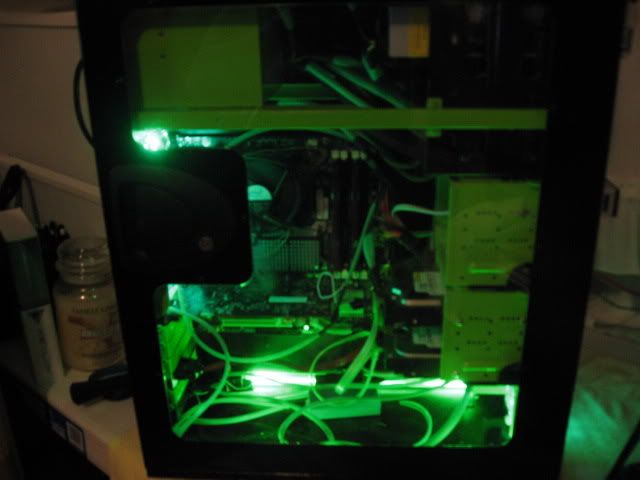
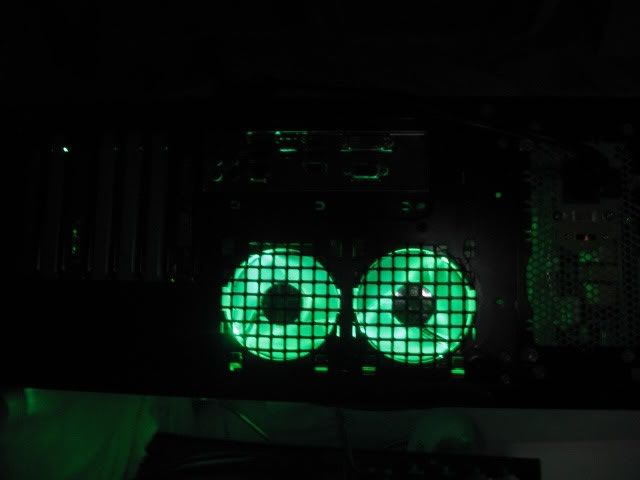
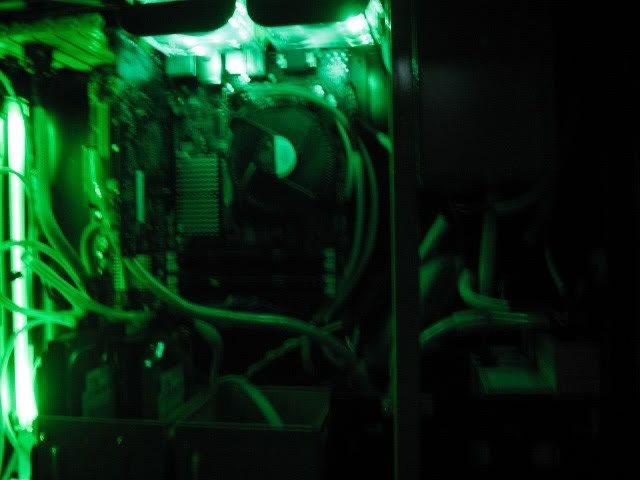
Have to do a dark pic! :P
Please let me know what you guys think so far. Input is great. + I get to know who's watching ;)
Now here is the question I need to ask everyone...
Do you guys like the accent I did to the back?
Recap pic
If so, do you think I should do all of the rivets in the green? It would deff make the back stand out more.
Oh wait one more!
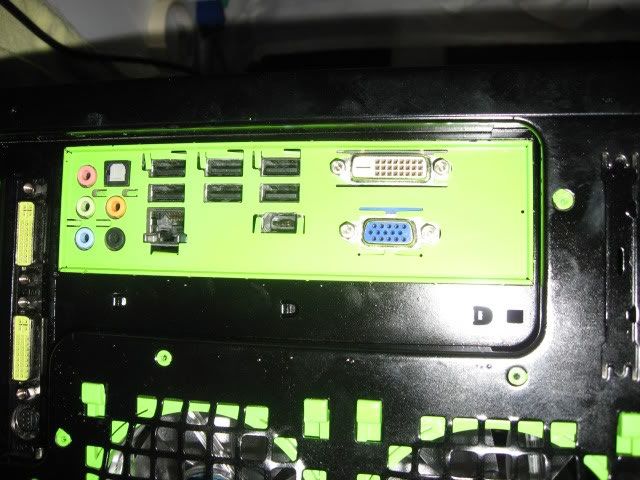
Do you think I should paint the ESATA and Cathode Switch panels in the back green as well? They are the only silver back there and I don't think it would be too hard to do. And what about the Mobo port panel?
Recap pic. (bottom)
Let me know. I'd like to do this on Sunday cuz Saturday I have to cut grass all day :(. But at least it will give me some mod money! Which is always a good thing :D
Till then,
-Fuga
Thats a nice green you are using there. Very Nvidia esque.
The black and green look great. And the accent pieces look very nice. But I would take anything thats left silver and change it. The black and green go well together but I knew something about that back panel looked off.
I say paint the I/O cover and the riser card panels, will definitely complete the look. It's easy to take the back covers off the video card and eSATA card. Just unscrew the the threaded stand offs that the DVI plug screws into, and take the screws out on either side of the eSATA port.
UPDATE - NEW IDEA
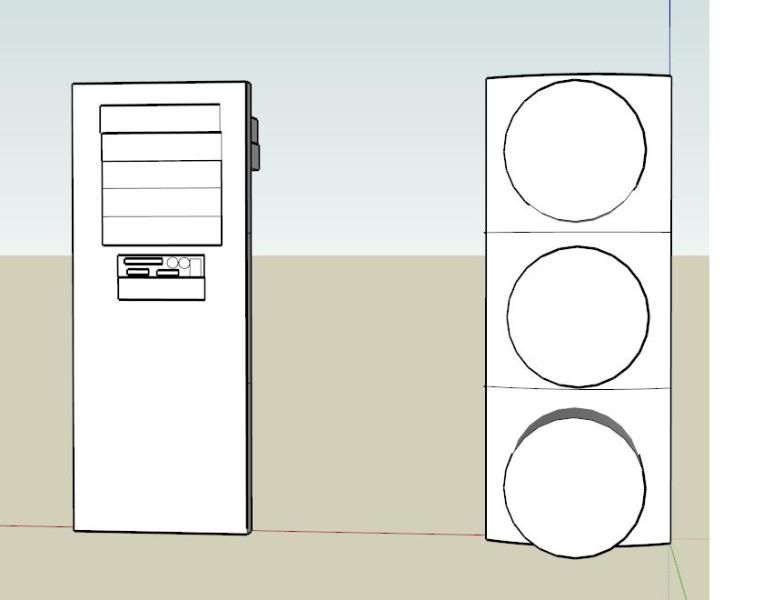
OK.... so I sat down with my dad and showed him the front panel of the case and my drawings in sketchup.
Here is what I showed him.
And yes I worked on this drawing like ALL last night.
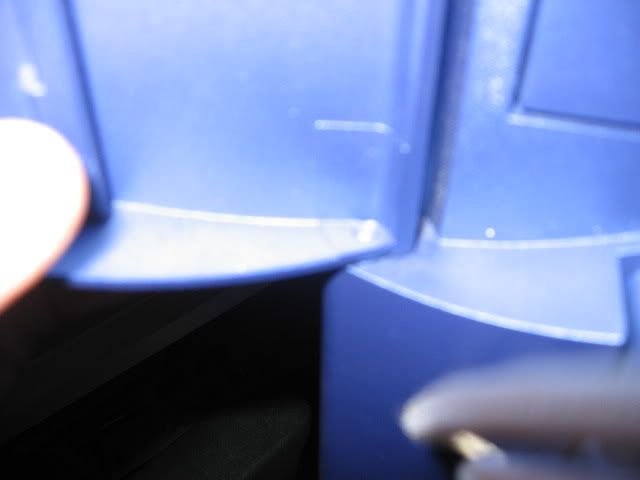
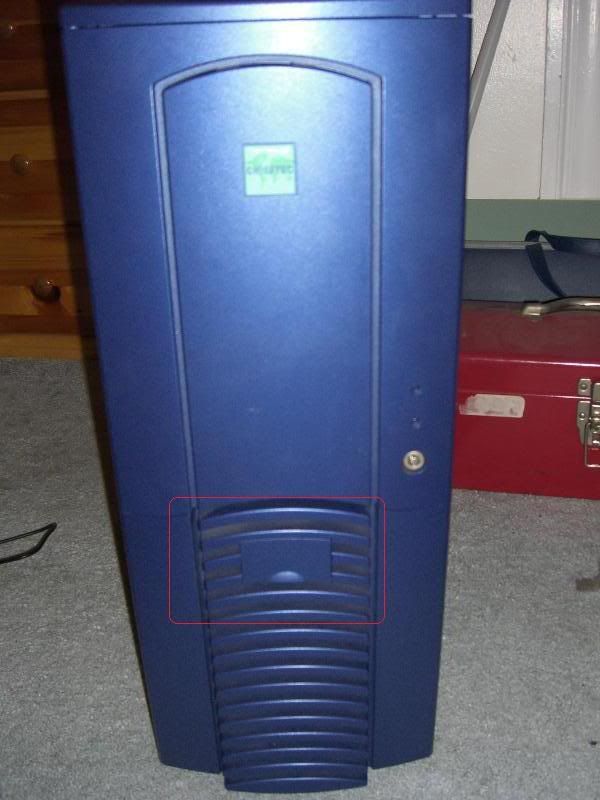
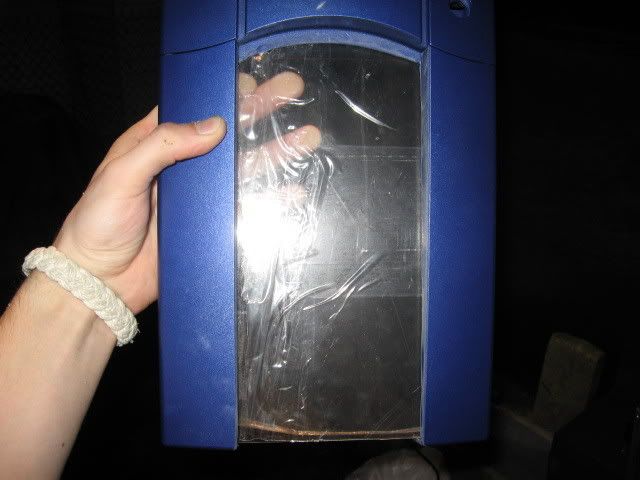
After closely examining the panel he said it couldn't be done. The reason is because of the way that the door is held on. it not a hinge or anything like that. Its held in with pressure....
Couldn't get a great pic with my sisters camera...
So here is my dads idea:
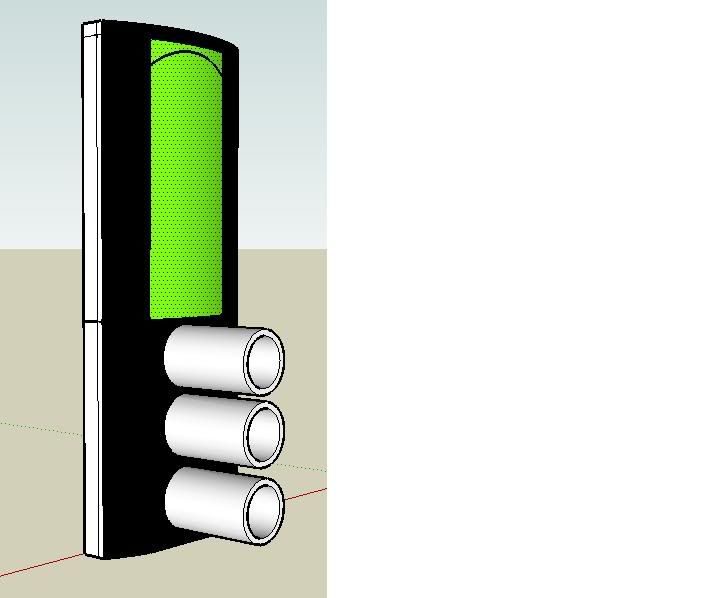
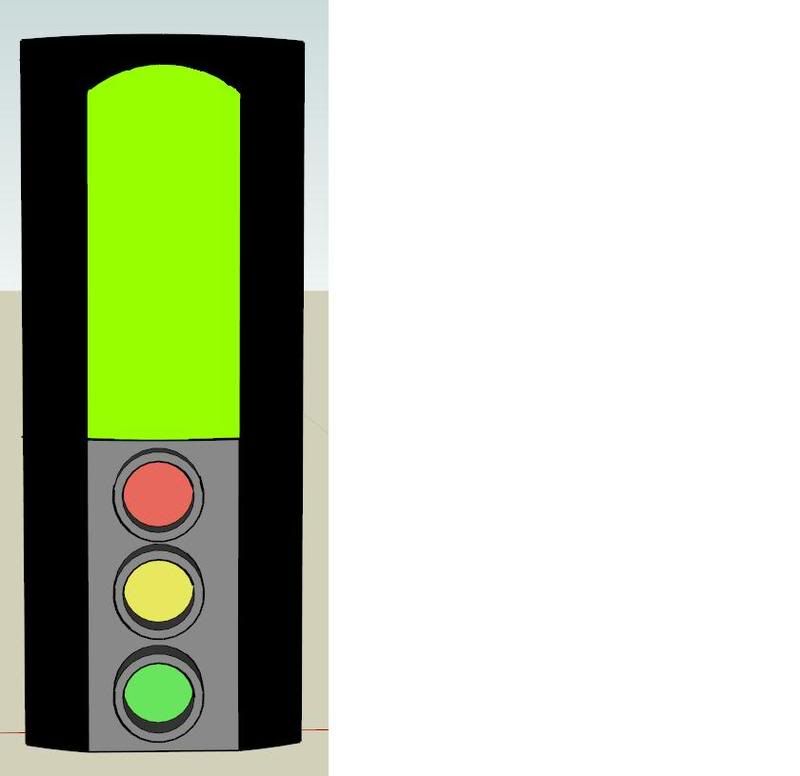
He suggested that I keep the door the way it is. And put the 3 lights at the bottom. Like this:
(The gray area will be black. Its just gray so you can see the tubes.)
Now I wanna know what ya'll think about it. If anything else... Imma just paint the front the way it is. With the middle being green and the surrounding areas be black.
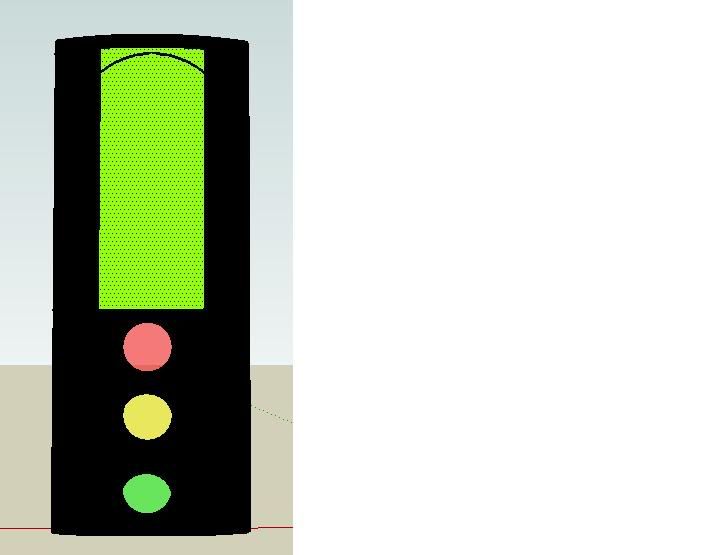
Here's my idea for the lights:
Make the POWER indicator be the Green light.
Make the HDD indicator be the Yellow light.
Make the Red light be the... something. (suggest please)
Do you think this is too much lights going on at once?
I can add more LED's to the ones that are already there and put them in the plexi to give the lighting effect I want. (The way Spawn showed me)
So lemme know what you guys think so far. If you have another idea for the front please tell me. All help is welcome!
Till then,
-Fuga
Who's to say you can't install a hinge on the door now, and keep your original idea. I like that idea much better, the new one doesn't really get the point across and think you'd be shortchanging yourself to pare down the idea. It certainly isn't impossible. Personally as a modder I have an issue with the concept of impossible, I rather like doing the "impossible".
Looks good so far!
I vote the first option as well.
And for the third light you could do dvd and cd drive activity.
There inlies the problem. The hinge is on the side of the PC that has the window... which is the side I have to open to get in the PC. So unless you know of some hinge thing that will work... idk what to do :(Quote:
Originally Posted by chaksq
And how exactly would you go about doing that?Quote:
Originally Posted by tinker
UPDATE - MORE PAINTING
Well while I'm waiting for some responses I'll post tonight's work.
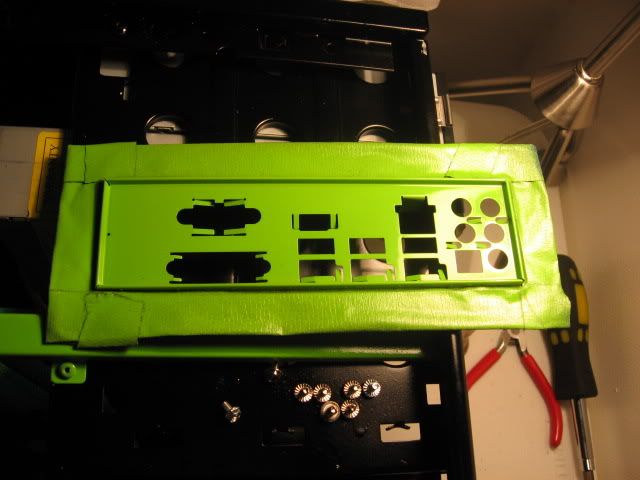
I took the advice of people here and my friends and painted the other PCI faces and my I/O plate.
Then I painted the plastic rivets on the door. They add a wicked touch to it.
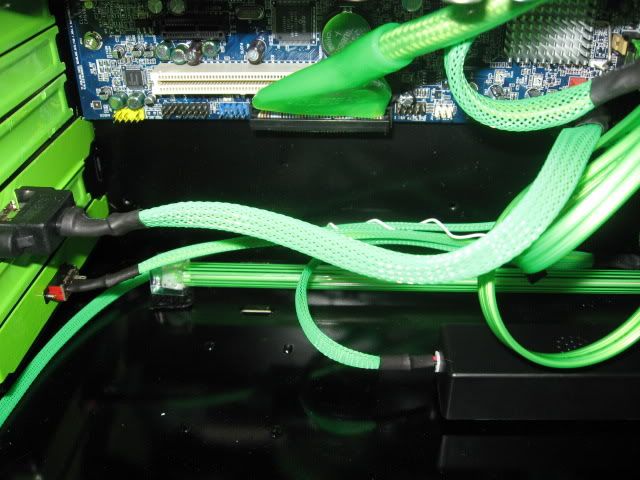
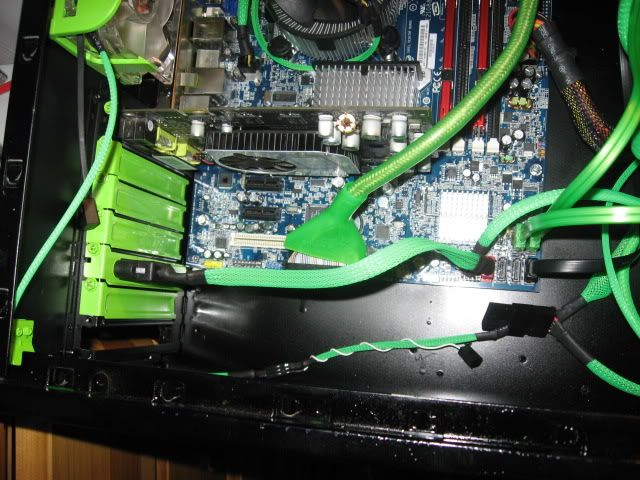
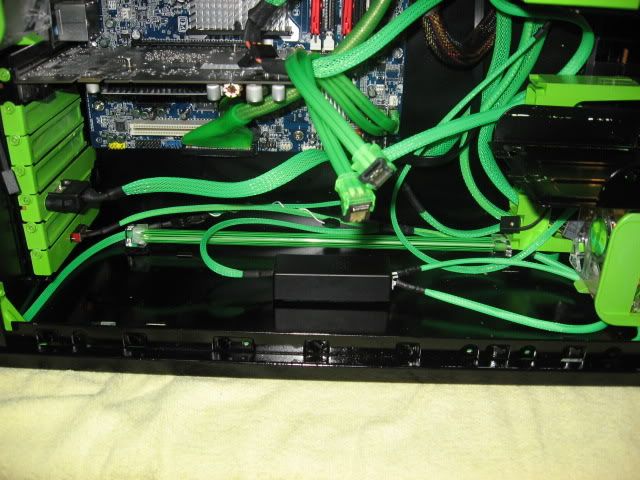
Also i really didn't like having that Red ESATA cable chillin' in there so I sleeved it.
I sleeved the CPU fan cable too. Looks nice :D
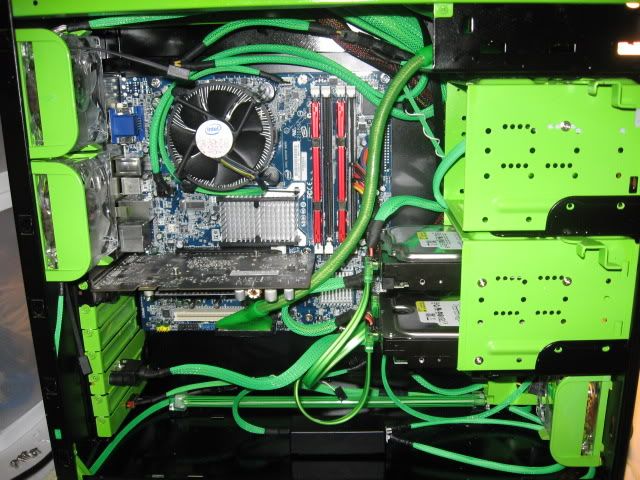
So as of now all cables in my case have been sleeved :D Thanks to all that suggested it. Was well worth it.
People also told me to add some accents to the back. So I did.
I got some paint on the powersupply plug so I painted it all around to make it look like it was on purpose.... came out good I think.
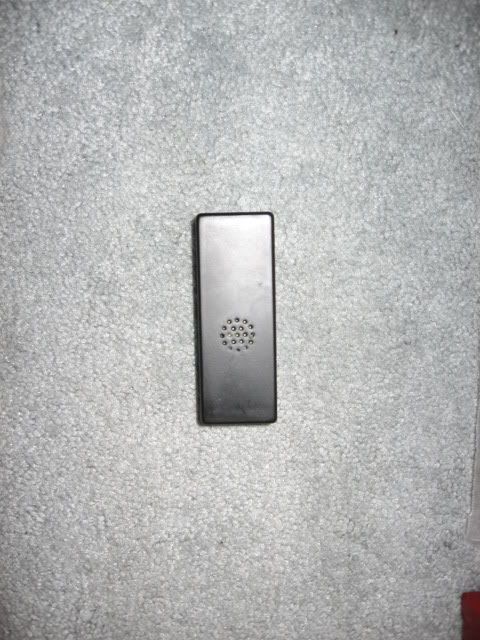
Now the cathode lights at the bottom of my case have this box... that hooks it up to the power. It was blue, now its black:D
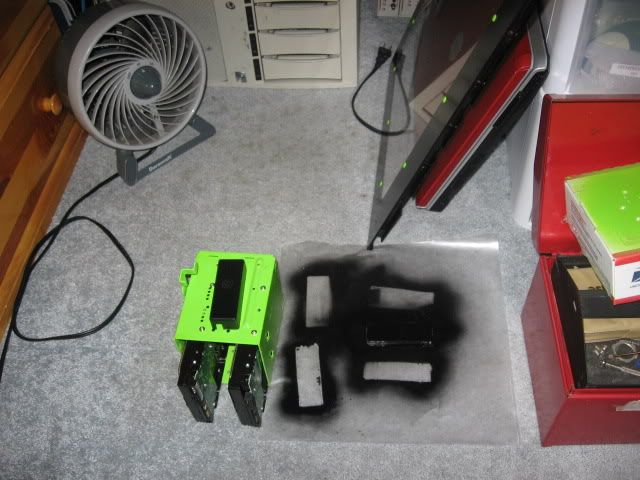
Here is my drying station infront of a little fan lol.
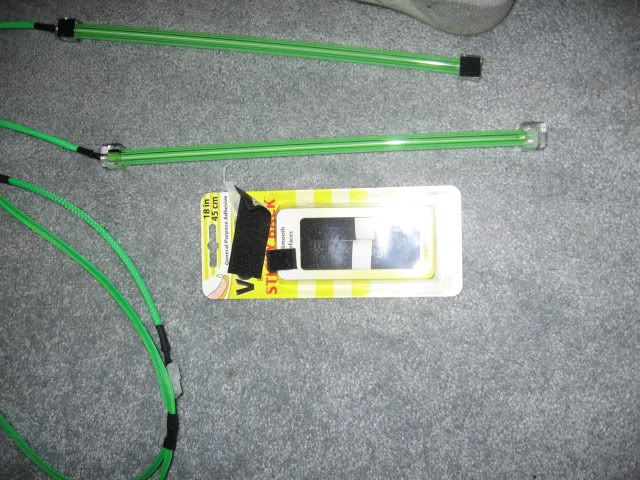
But to paint it I had to take off the Velcro that held it in the case. So my gram bought me some :D How nice!
After it was installed.
After everything was put in the case.
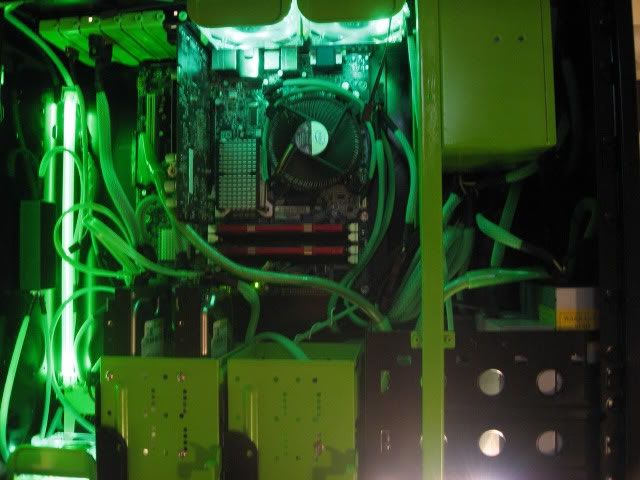
Lights on.
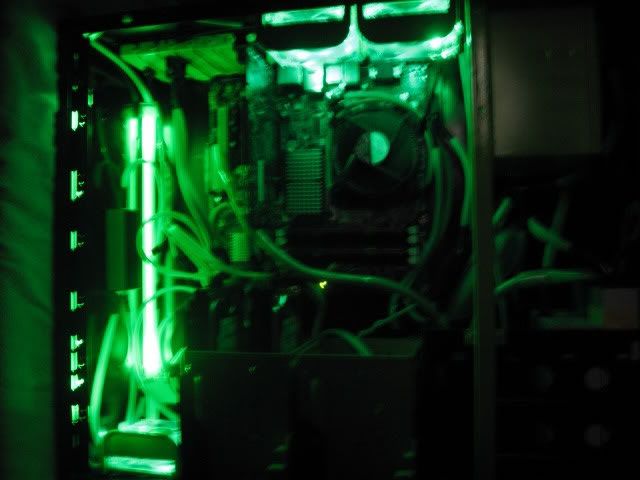
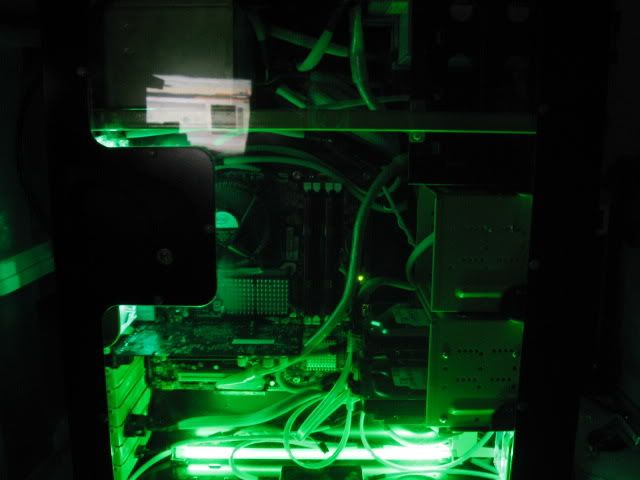
Night shots 8)
Door off.
Door on.
So the insides are done !!!!:banana::banana::banana::banana: Now I'm just waiting for some input from you guys on what to do about the front. But idk if anyone will respond cuz I think my mod got labeled or something. Cuz I know not to many ppl watch it.... oh well.
Comment if you want.
-Fuga
Plenty of people are watching, they just don't all comment. Not sure what you could do with the front of that perticular case. I would just paint and maybe add a diffrent power switch or matrix screen.
All the sleeving looks good. Nice paint job.
UPDATE - ANOTHER IDEA
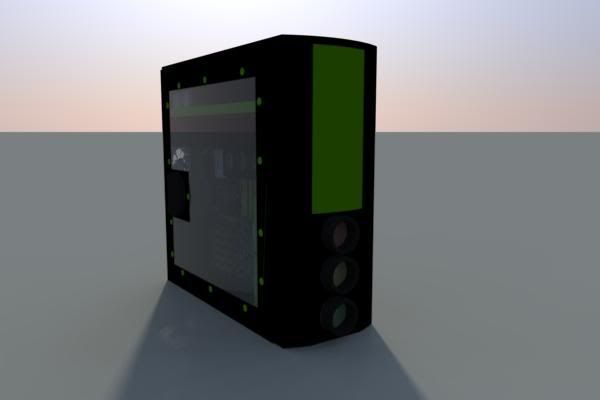
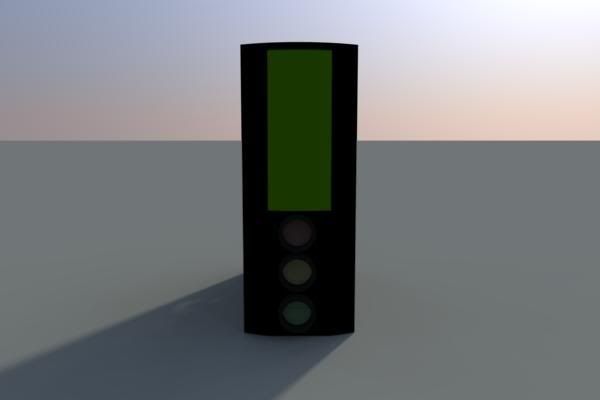
Well I've been thinking about my new idea and I just couldn't help how it just didn't look right to me. So i started playing with the mod in Sketchup and I think I found the winner.
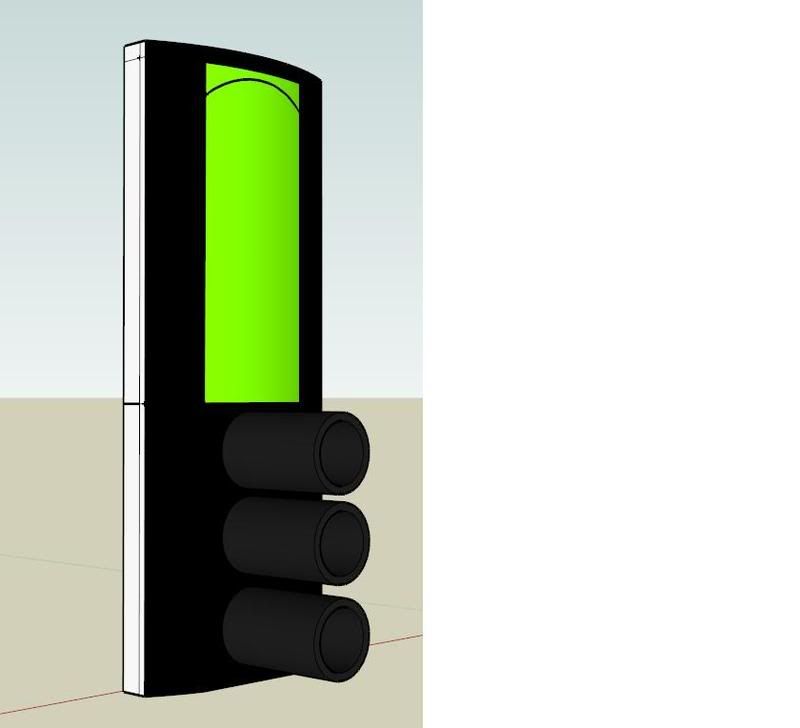
**The gray will be black. Its just gray so you can see it better**
I decided that it would look ALOT better if I didn't have the tubes out so far. So I make them 2.5" in diameter and 1" long. I think it looks good. What do you think?
I think this will also make it so you can see the light from them much easier. I'm about like 80% sure this is what I'm going to end up doing. But here is my list of things left to figure out.
*Where to remount the USB/Firewire that was in the front?
*How to make it so you can't see the light from the fan in the front, and so you cant see the light from the front inside the case? (The lights in the tubes in the front and the fan in the front of the case.)
- I think I can solve this by just putting a piece of plexi that I painted black on both sides at an angle. This way the fan will still get air from the bottom of the case.
*What do with the glaring empty green space on the front of the case?
- I was thinking about putting some kind of decal there. Maybe the name of my mod? But how ever would I do that?
*Thinking of putting in a lighted switch for my power and reset.
- I need to research this because idk what size I need or what kind. Any help on this would be most appreciated.
Lemme know what you guys think.
Till then,
-Fuga
pretty sweet idea fuga! Don't think i've ever seen one like this. :) Are you planning to do any special sequencing on the LEDs in front? Would be kinda neat if they lit according to HDD or CPU or networking usage, etc. :) Anyways, great design! +rep. :)
Thanks CerealKlr!
I think this is gonna be the final layout of the lighting:
*Green - This will be the power light.
*Yellow - This will be the HD usage light.
*Red - This will be the CPU usage light?
The only problem is... I have no idea how to wire the one for the CPU. For the Power and HD lights the cables already exist. So just adding some LED's will be easy. If anyone knows how to do this please explain it or link me to it. You get +rep for the help too!
What about a green yellow red acrylic fan grille? then place white leds in a clear plastic fan.
That way the light out the front is the color of the acrylic and the circles are functional (ie they are fans :D)
Also the opposite side of the fan can be coated or grilled with green to match the interior colors of the case
example
green acrylic grill | Fan | red acrylic grill
green acrylic grill | Fan | yellow acrylic grill
green acrylic grill | Fan | green Acrylic grill
the sides of the fans could simply be painted or blocked with a trim to stop white light leakage
I also have an idea for the rest of the front
what about a walk/don't walk setup
also the power indicator used for one of the lights might not be that exciting because well its on all the time except when its off :think:
If there is a way to indicate each hard drives activity, that could be used for something too. that could be cool.
Fuga, that thing new idea looks great. I dont know what to say about your questions yet, Ill have to go back and re-read it and let you know.
+Rep
Johnson is right, that new idea does look better.
I like th idea of a Walk/Don't Walk light. Heh, maybe a HDD indicator. LOL
UPDATE - DREMEL TIME!
So I finally started getting messy with the case. And got to finally break my dremel in :D
First off here are some things I picked up in the last few days.
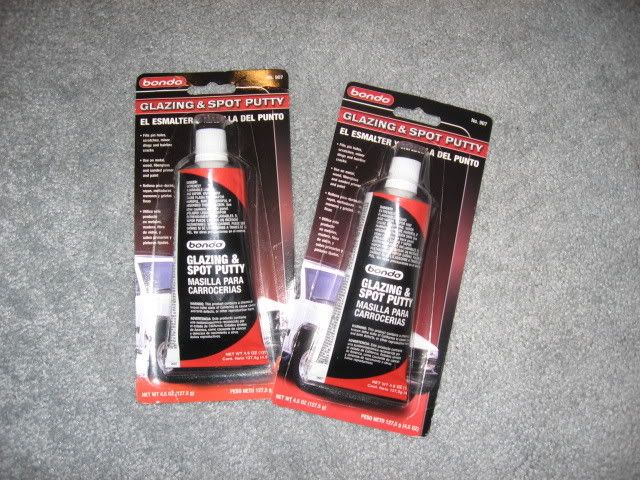
Bondo
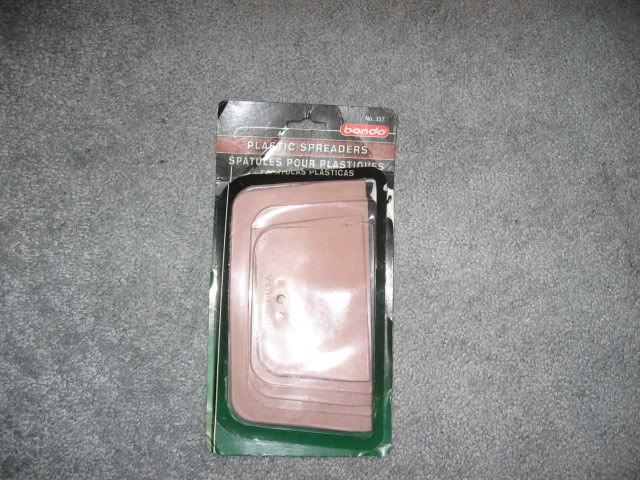
Spreaders
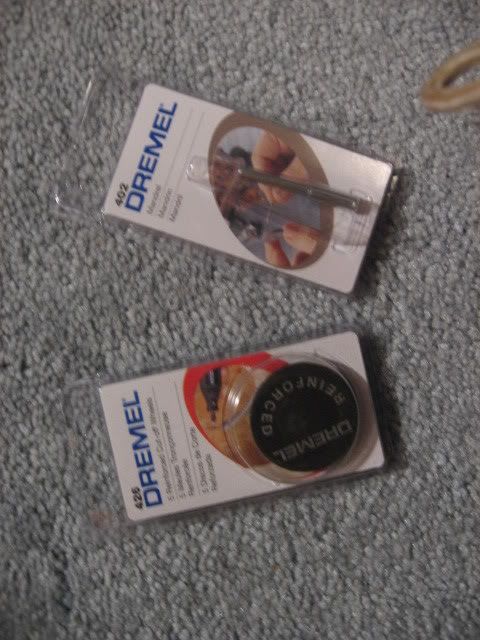
Dremel blades bits.
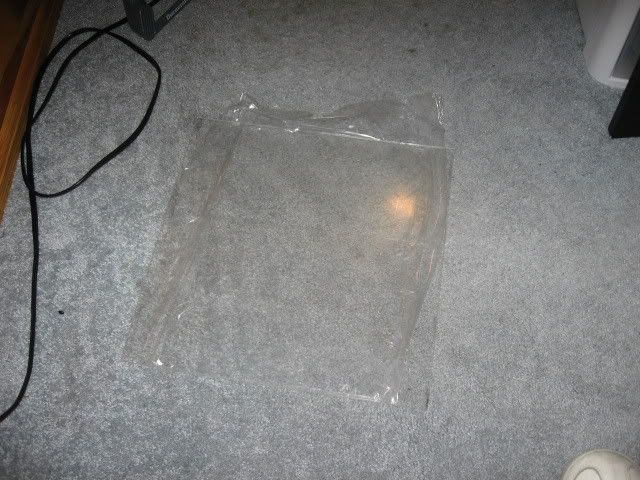
Clear pelxi
(Gonna be used for the backing to the tubes in the front.)
So it was like... 9pm when I started cutting lol. I was anxious :D.
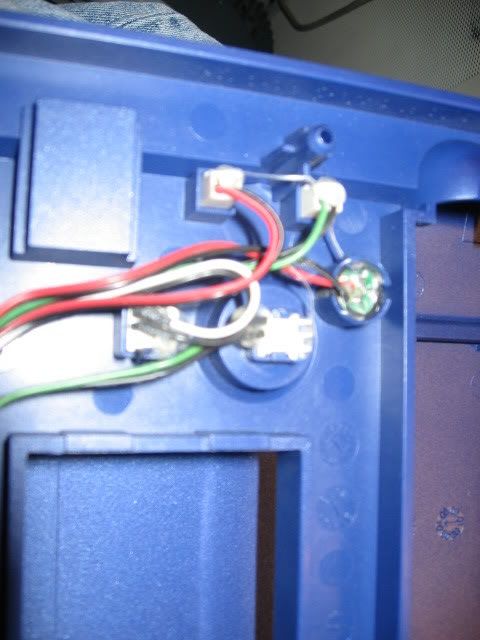
Heres the wiring for the old buttons and led's in the front.
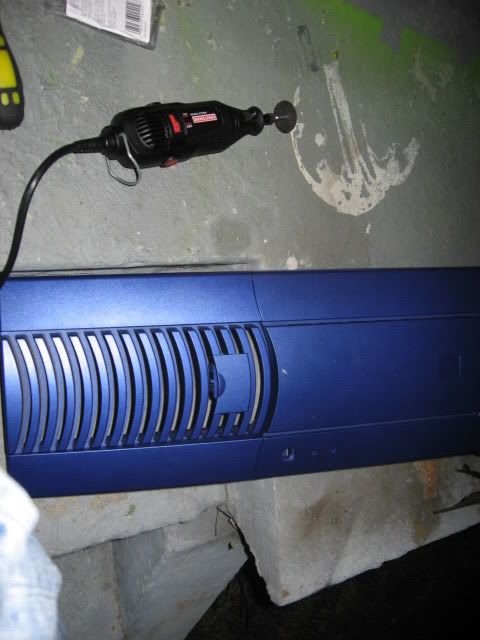
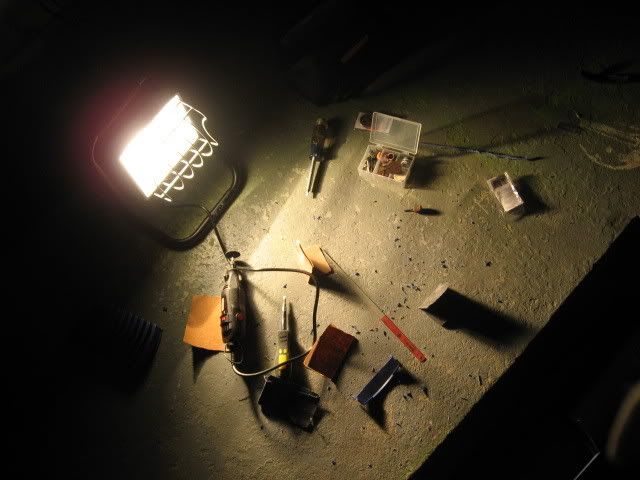
My setup outside
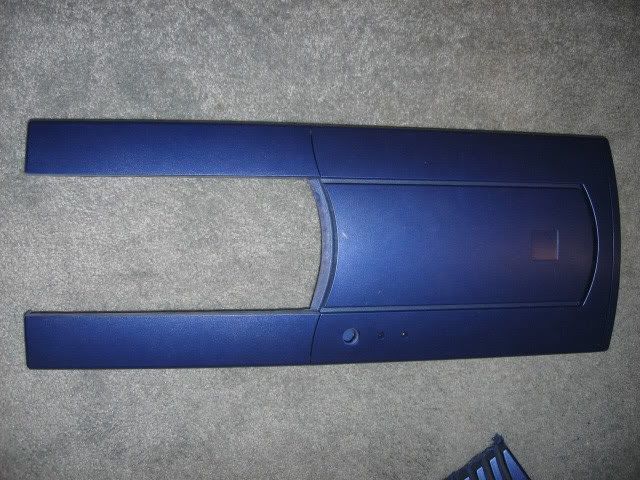
Finished product
Hopefully gonna be able to use this to remount my USB/Firewire ports to the top of the case.
Might be able to use this somewhere... idk
Tomorrow I have class till 10pm so I'll probably finish up my final sketchup model. It will show the tubes and lights installed, the new fan installed in the top of the case, and then USB/Firewire ports mounted. (Probably gonna have to make a bracket though for the mounting... we'll see)
Lemme know what you guys think.
Till then,
-Fuga
Nice dremel work, that front panel would probably make a nice side vent panel on another case.
Always good updates man. Keep 'em coming.
Nice job so far mate. I have a 900 case as well - they are FANTASTIC cases and I was looking for some inspiration as what to do with it. Even a paint job makes it really come to life. BIG FAN - good work mate! Thinking of a mod to do myself, that front panel is quite hard to work with, since I dont want to get rid of it!!
UPDATE - FINAL MODEL
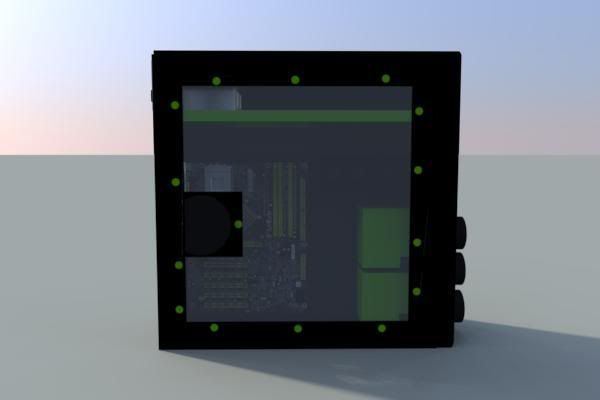
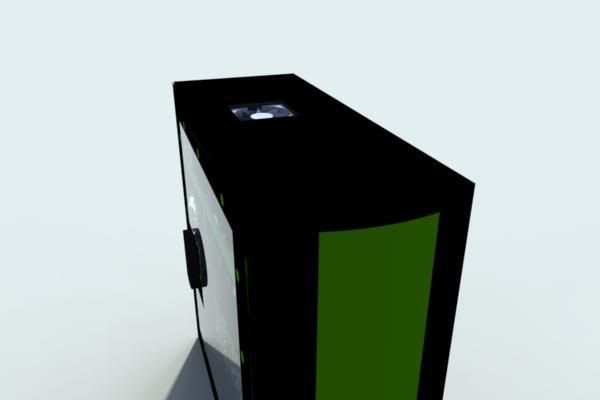
So I worked like 5 hours on this model today. Not great but I deff learned a lot doing it. Also I did find a rendering program called IRender which is a Sketchup Plugin. Link Also I have been talking to Dark~3nergy and he told me of a program that is free to use to render. The one he told me is Kerkythea 2008 and I found another called Blender. Hope they help someone.
Here are the pics that I rendered.
Not great but its a good start for me.
Tonight I'm going to start the measurements for the front plexi and make the markings to drill for the tubes. I also ordered 100 LEDs from www.ledshoppe.com and my 3 colors of transparent pelxi from www.estreetplastics.com. I bought enough of each so I can experiment because I've never done it before. So I'll be able to get some practice in. So might be another update tonight or tomorrow :D
Oh almost forgot!! I will be mounting the extra 80mm fan I have to the top of the case to be a vent. I'll make a pic of my airflow sometime soon. But I do need help... I have NO idea of what kind of fan grill to put on it. And I don't have the resources to make my own. Any suggestions? (Exact grill suggestions would be appreciated)
@Big
Thanks dude. Glad to know your watching :D
@Remexx
Thanks. My first time cutting with it :O
@Talon
LOL you caught me in the middle of doing an update. I will probably never do anything to my Antec 900 case cuz it is way to sexy the way it is. But thanks for watching!
Till then,
-Fuga
Isnt that the front panel to the Antec oh wait....... I meant 1080 not the 900. sigh :( The Antec 1080 is the case I was talking about
Green Light is a Chieftec case. My other computer with the Quad/8800 in it is the 900
Maybe its called something different here, but that front panel and the case for that matter is called the Antec 1080 server case - its been at least 4 years since i got that case lol bloody americans, calling things by different names lol
All in all it looks good lol. Yeah I thought the case was an Antec one.
Looks promising ! Keep it up !
Woo!! Front Page Thanks TCBS!!
it was well deserved, you are doing a great job!Quote:
Originally Posted by Fuganater
wow, i haven't seen thing case in a while and its come out really nice. i like that colour of green and the black. +rep and i gotta watch this more often.
UPDATE - FRONT PANEL
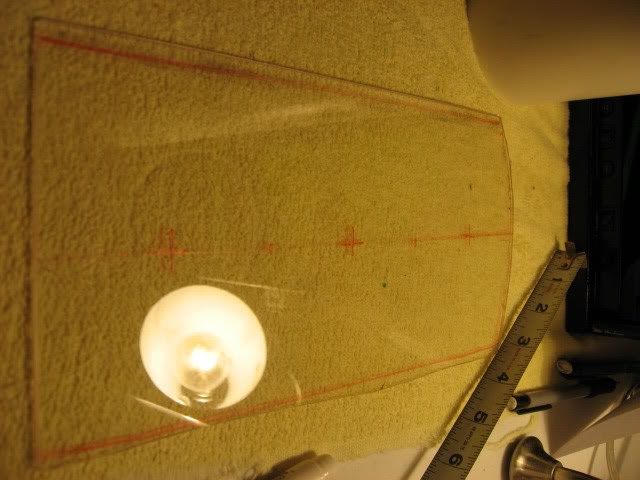
Here is my little sketch of the measurements.
Measuring up for the cuts.
My workshop out side again lol.
(Man I wish I had a garage....)
After the cuts.
After it was all done it looks awesome! Left enough room for the epoxy to hold it on nice and tight. Now for more planning.
Here are some items I bought.
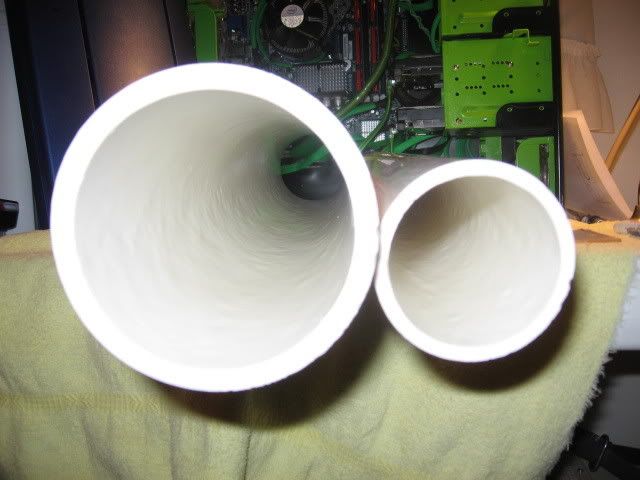
3" and 2" PVC Piping.
I got 2 sizes because I didn't know which one I would need.
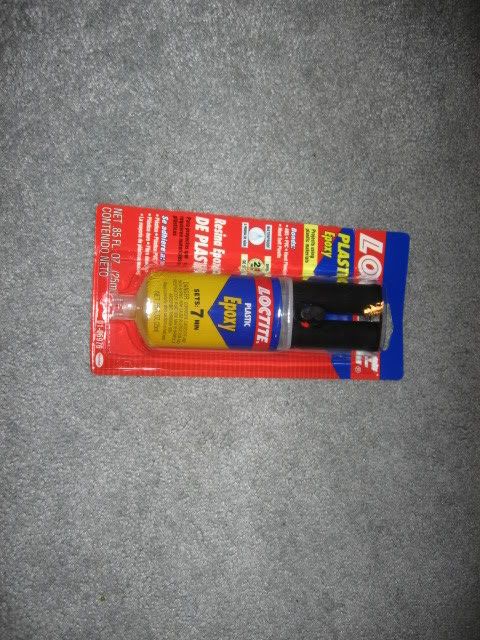
Epoxy
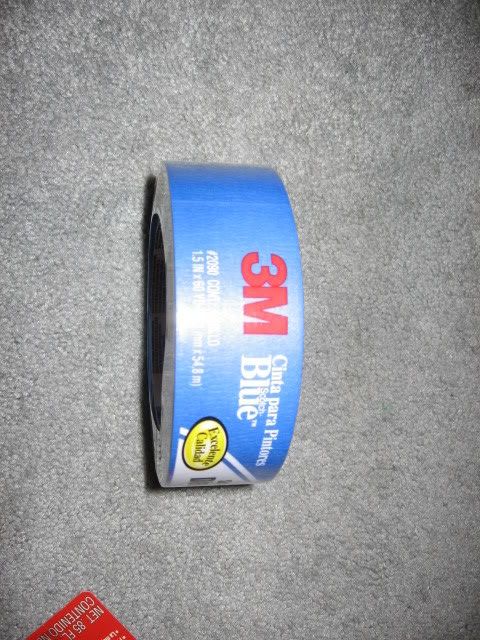
More painters tape.
My marking for where the tubes will sit on the front pelxi.
My dad is going to take the 2" PVC pipe to work tomorrow and get the guys there to cut it for me on the band saw. The sections are going to be:
3- 1" sections
3- 1 1/2" sections
3- 2" sections
We figured because I have 2' of the PVC, mind as well use it. This way I can see what size looks the best in real life because its way too hard to tell in Sketchup.
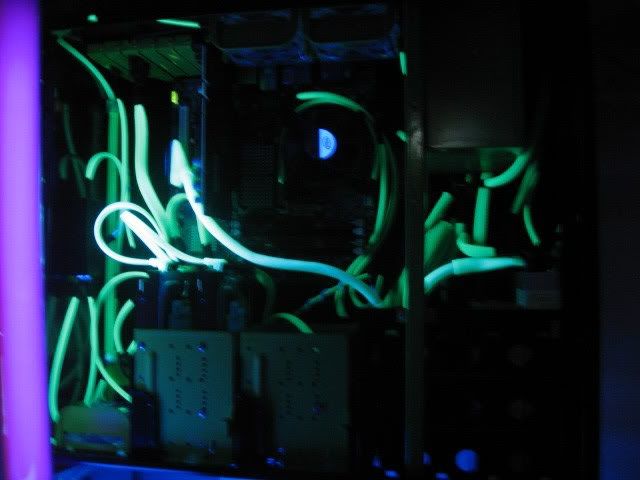
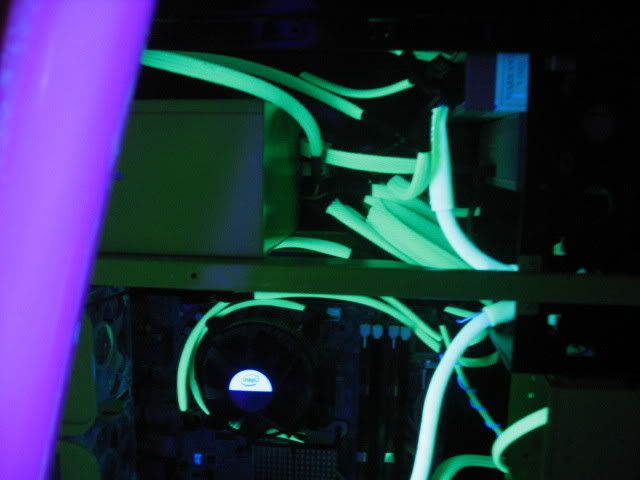
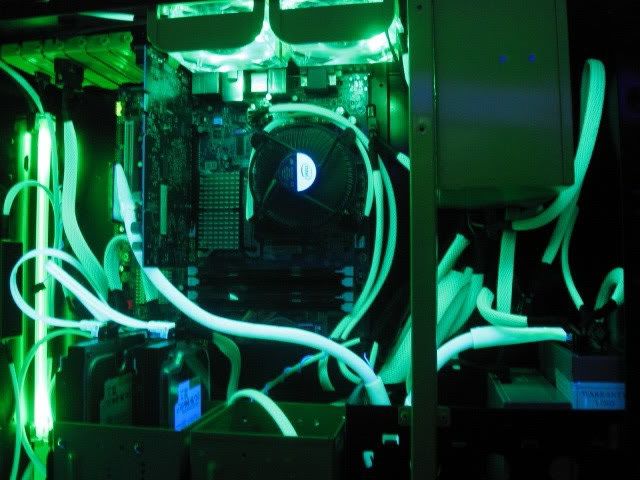
Now for the interesting part. I wanted to see what the case would look like if I had a UV light in the case. So I grabbed one of my blacklights off of my wall, dusted it off lol, (haven't used it in like years), and put it by the case. Here are the results.
UV light, Case Lights off
UV Light + Case Lights on
No UV Light, Case lights on
Which do you guys think looks the best? If I would get a UV cathode kit, it would probably be this one because it has a switch like the green lights do to turn it on and off. UV Cold Cathodes They are the exact same make as my green ones which I am EXTREMELY impressed with. And for the placement... idk. I would probably put one on the top of the case and one at the bottom. What do you think?
And don't forget TCBS! I still need some help finding a sweet fan grill for the top of my case. It has to kinda blend in. If anyone could "make one" I would be more that willing to pay for it and the shipping :D Please post your ideas.
Great to see you watching again Spawn. You've helped me a lot earlier and now I'm going to be doing the LED's soon so I might need to call upon your services again :DQuote:
Originally Posted by Spawn-Inc
Now watch for an update Saturday or Sunday. I'll be doing some more measuring, adjusting, calculating and seeing what looks the best. If I can get a hole saw for the plexi I'll even be cutting this weekend.
Till then,
-Fuga
Nice work mate. The sleeving looks great.
Man, this thing is lookin' good! I love the shade of green you chose, looks excellent with the black, more more more. :yellow_green:
________
LINCOLN Y-BLOCK V8 ENGINE HISTORY
UPDATE - FRONT TUBES AND TOP FAN
Finally got the tool and stuff needed to get the front moving along.
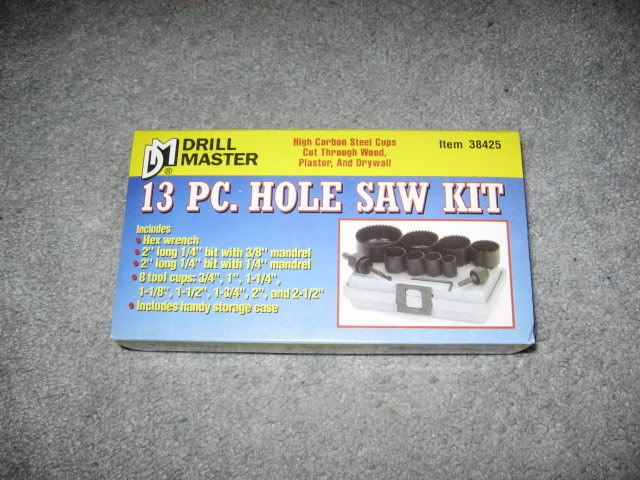
Hole saw set from Harbor Freight :D Can't beat a sale like $9.99 for $2.99!!!
Goes from 3/4" to 2 1/2".
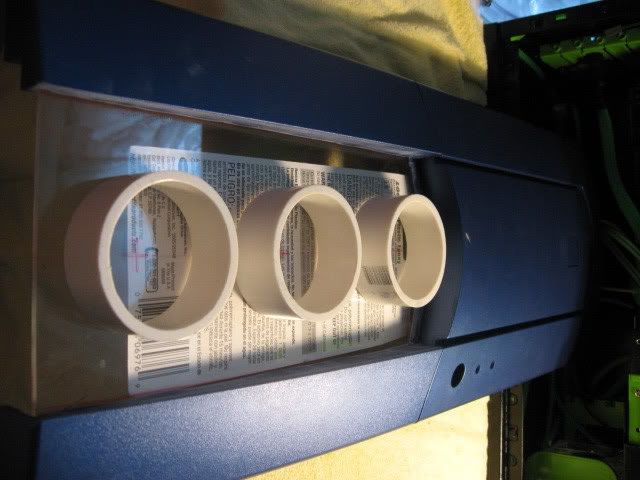
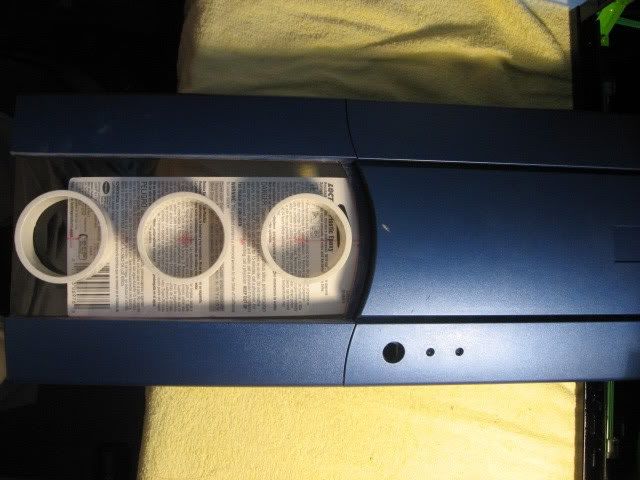
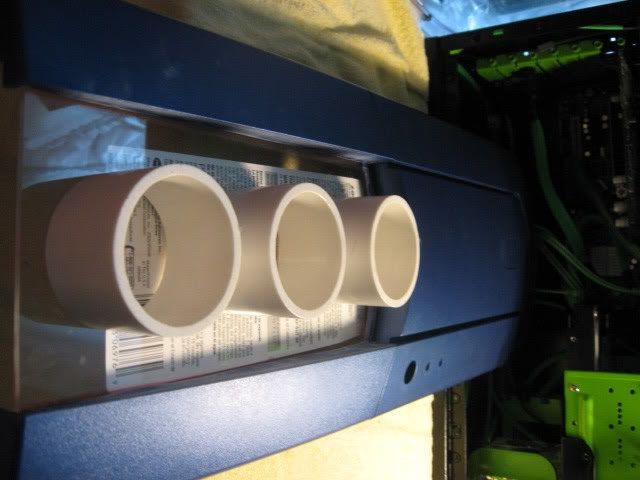
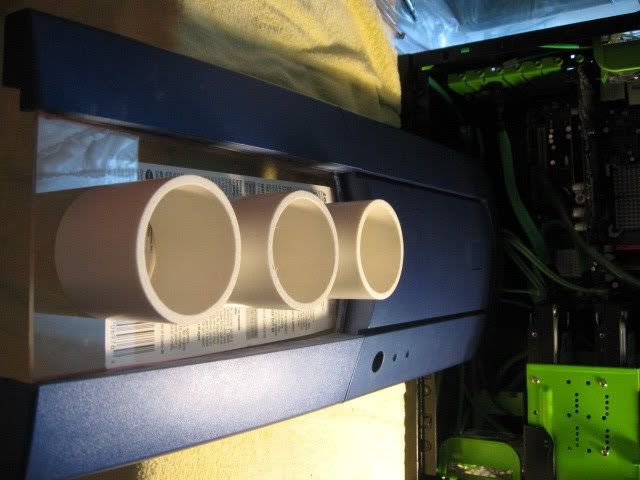
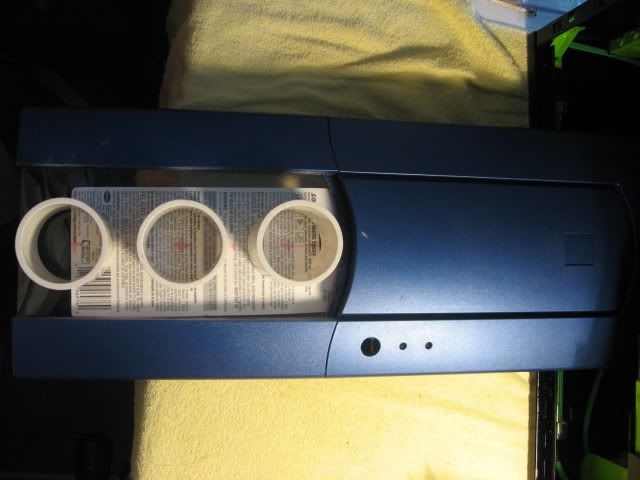
Like I said before, my dad took that PVC piping to work and the guys there cut it for me. Into 3: 1" pieces, 3: 1 1/2" pieces, and 3: 2" pieces. 3
So here are the pics that i used to decided on what size I was gonna use.
1"
1 1/2"
2"
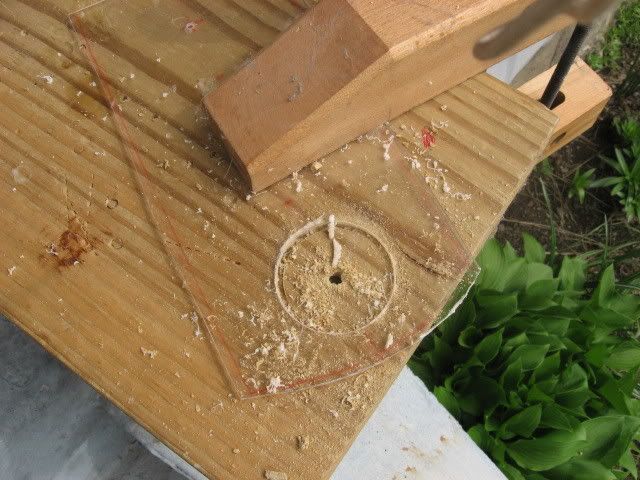
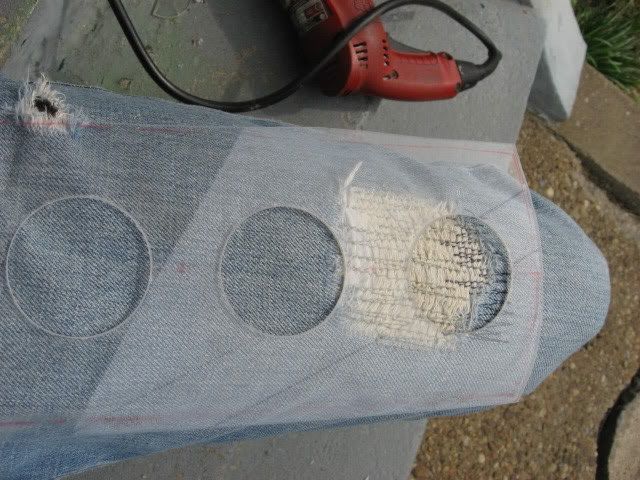
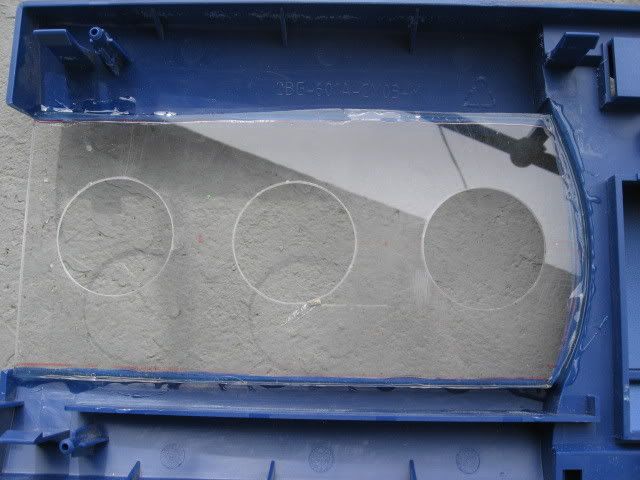
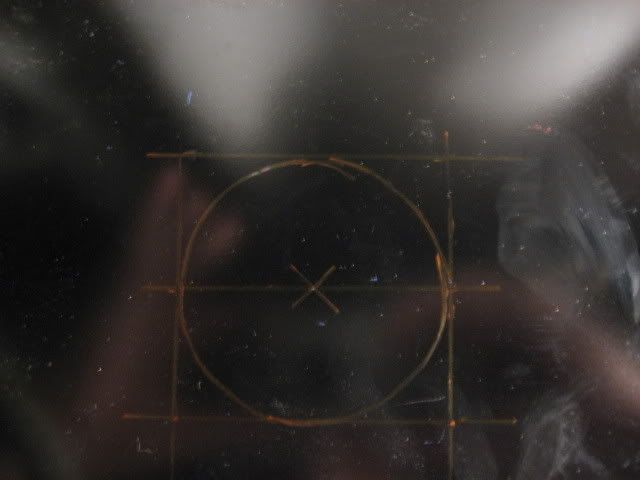
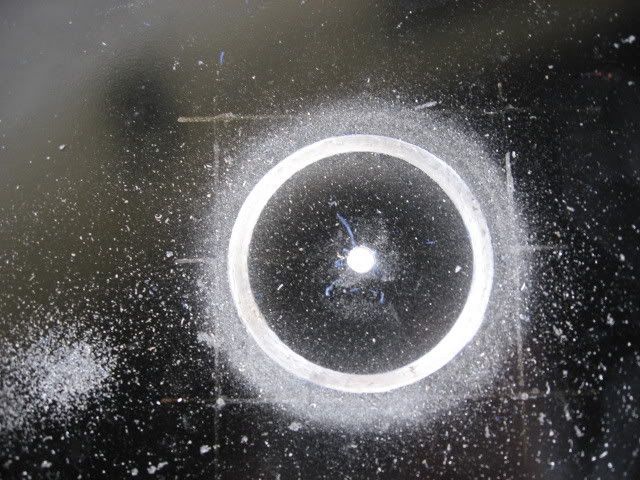
In the end I decided on the 2" tubes. They gave the best depth and anymore would make it look funky. So having decided on that I drilled the 3 holes in the piece of plexi that the tubes will be attached to.
Remember I have limited room... so anything becomes my bench lol. In this case its the edge of my front porch and a block of wood.
All cut and sanded smooth.
Epoxied to the faceplate.
I'll have some more pics of it when it finally dries. Takes 7 minutes to set but 24 hours to fully dry.
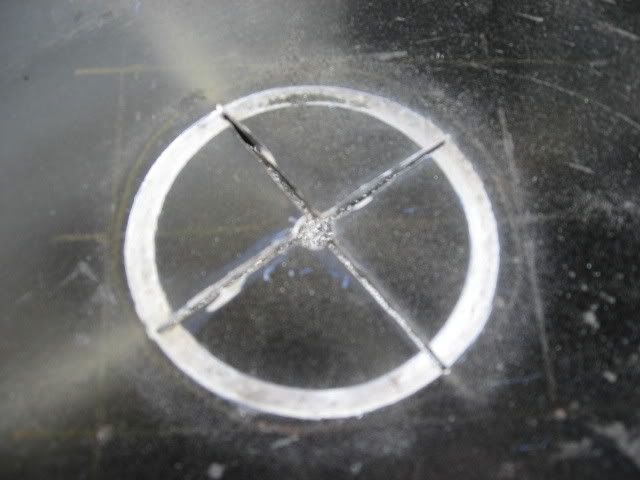
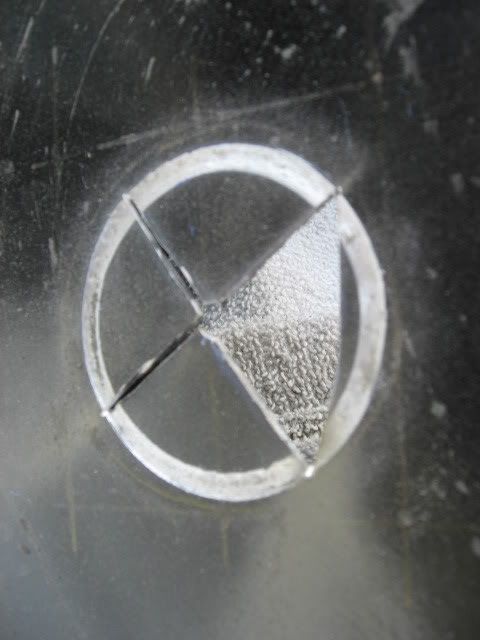
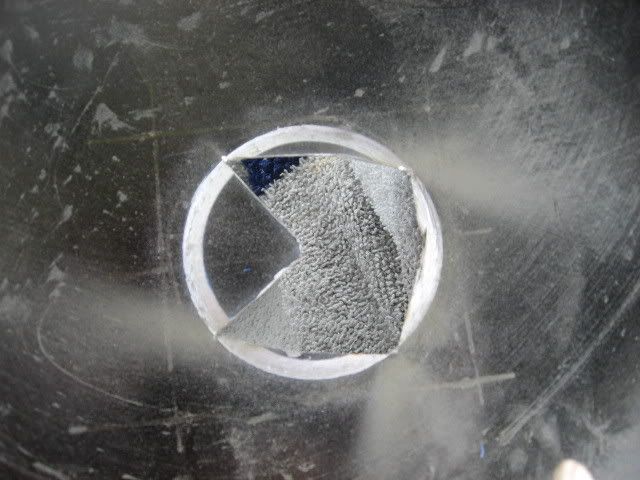
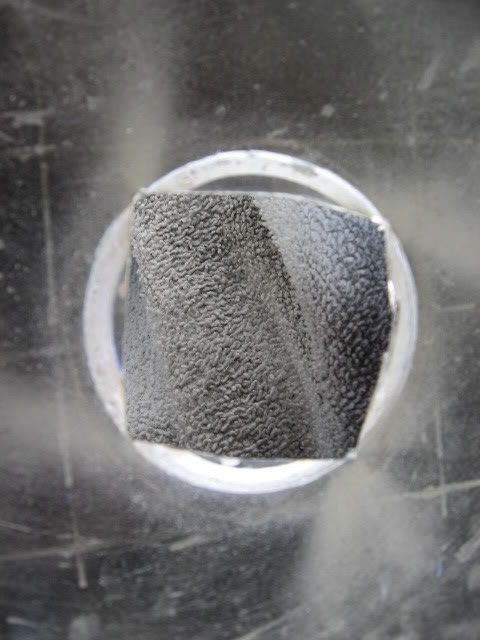
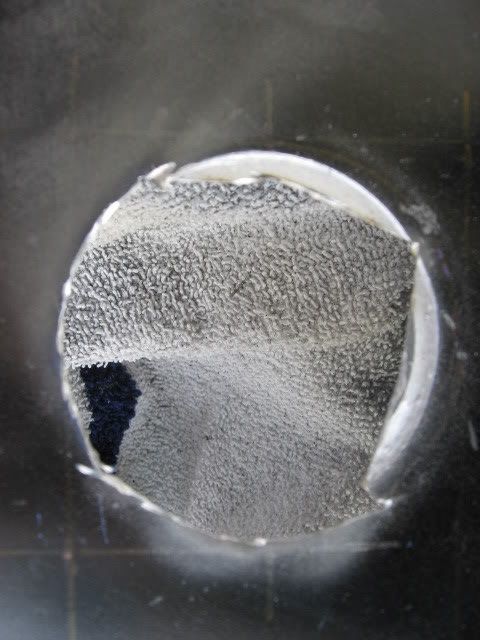
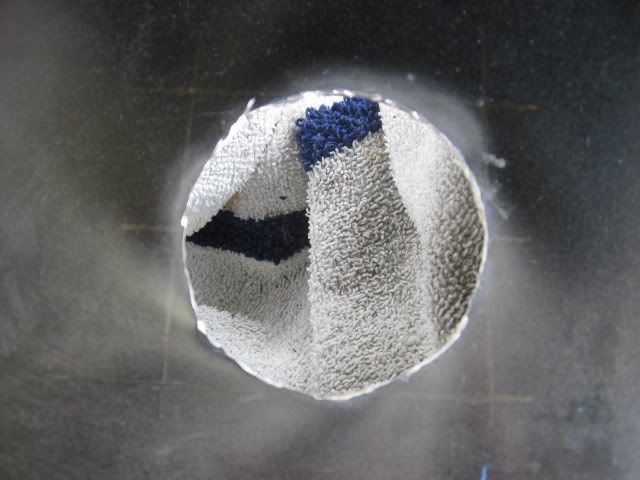
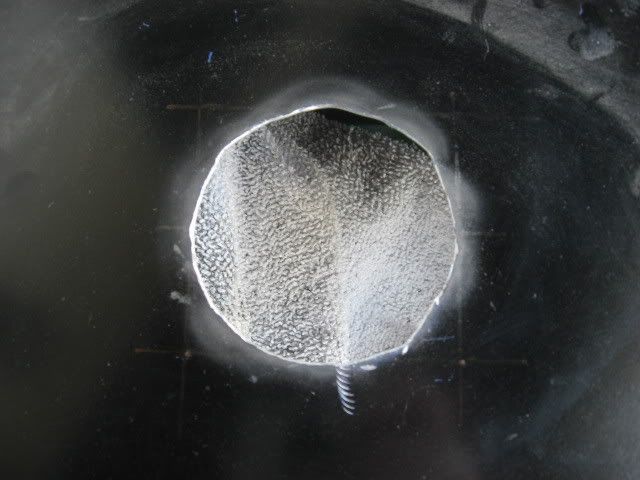
Now for the top fan. I've never worked on aluminum before so this was a learning experience for me. Here are my measurments plotted out on the top of the case.
I tried to use the 2 1/2" hole saw to try and cut down the cutting, but the plastic and metal bit had little effect on the aluminum :(
So we had to do it the hard way... they way I've never done before. Wait what am I saying?? I've never done ANY of this before lol!
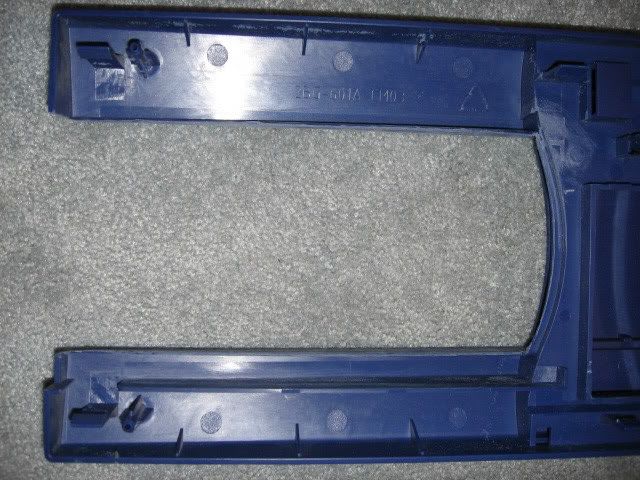
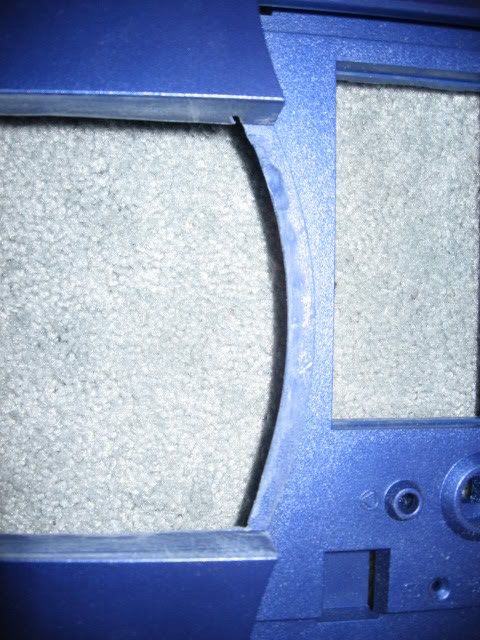
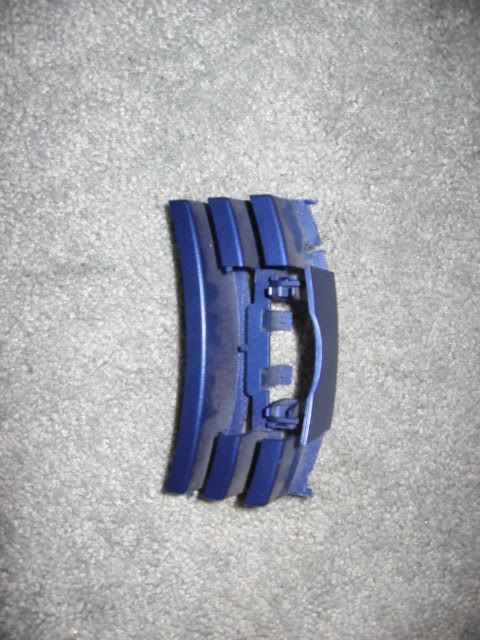
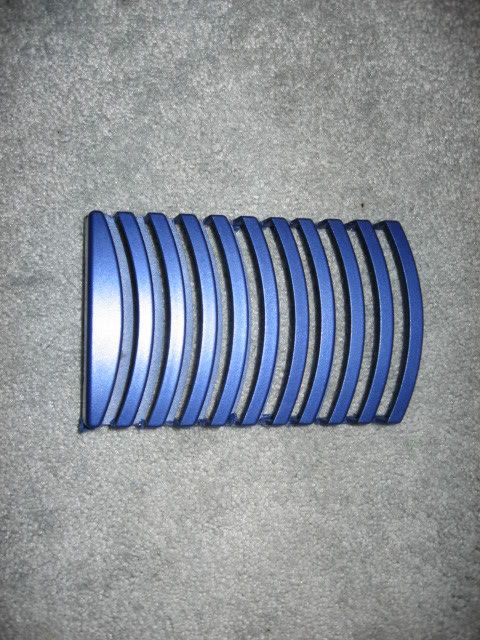
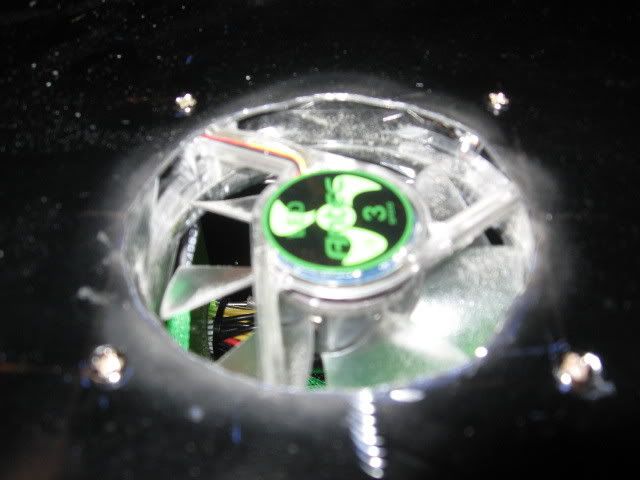
And this is where my dremel skills stop. I'm not that good with it so I did my best. So to cover my lack of cutting a circle skills, I purchased a case grill. I asked for suggestions but got none, so I just got a cheap biohazard one from FrozenCPU. It will cover up the edge so it will be ok.
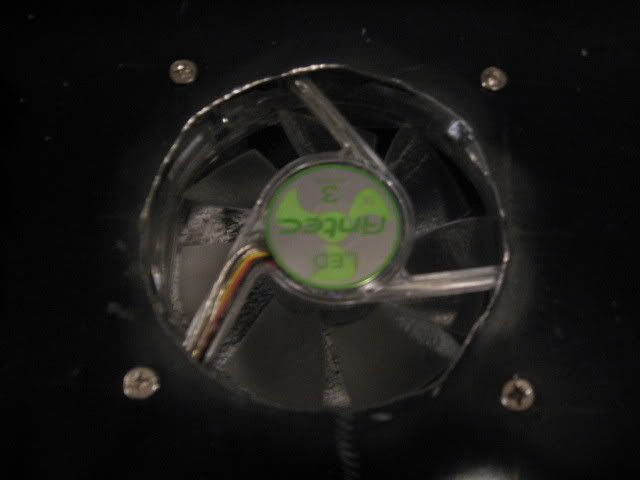
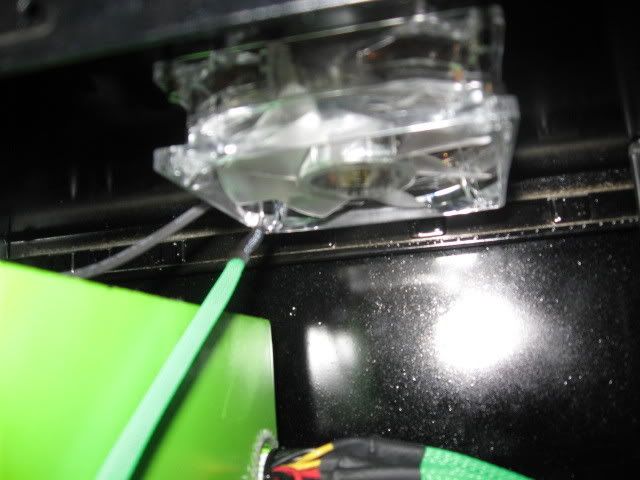
Here's what it looks like now with the fan in.
Oh ya.. and I messed up when drilling one of the holes... noob. So I hope the grill will cover that up too.
I also sleeved the wires for the fan.
And a top pic before the repaint.
Ill probably paint the screw green just like I did for the back of the case. Should look ok in the end.
I also ordered a set of 12" UV cathode lights from FrozenCPU that will give me a huge improvement on the inside look of the case. I asked everyone in my class and they all said with the UV and lights. :D
And the last thing I did today was paint the other side of the rear I/O panel.
I kinda forgot to do that before :neutral:
One thing I am throwing around is redoing the switches for the power and reset. I found some that I like on Performance-PC's website that look good but idk how to do it or if they are the right ones. I'll be watching and searching other mods tomorrow to see if I can find some hints.
Well thats all for today. Got alot of work done :D I can't wait till I get some time, hopefully Tuesday, to mount the tubes to the front. Then after that I'll be putting on bondo.
Till then,
-Fuga
i have a case just like that one so i am keeping an eye out here;P nice work
and btw. go for the green light and the uv! that looks wicked awsome!