those bay drives are prrrreddy :)

Printable View
those bay drives are prrrreddy :)
Why thank you, sir. :D
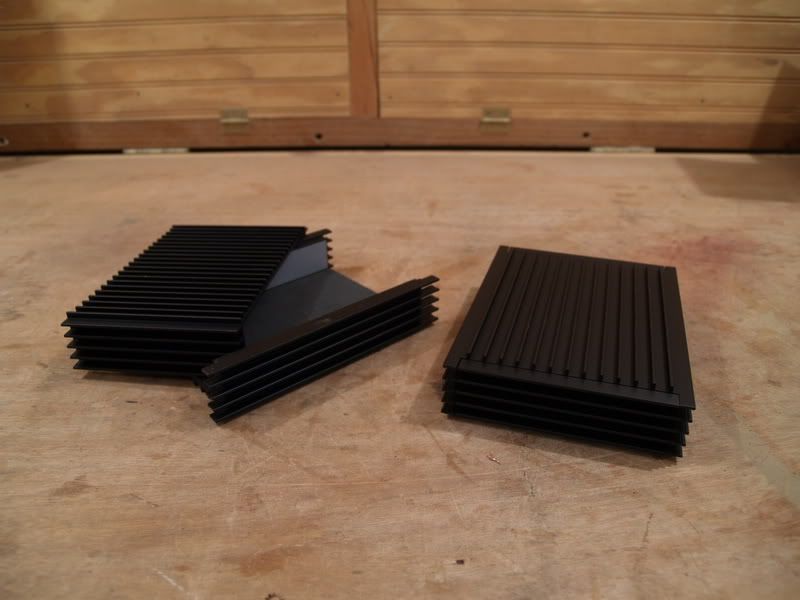
I was finally able to find some suitably industrial-looking (and sexy, admit it) hard drive enclosures.
Hope to have a sizeable update done in the next couple of days, as it has warmed up here and I'm off work. Stay tuned...
Nice HDD enclosures, are they the Scythe Himuro? Where externally will you be mounting them again?
You know your kit well, they are indeed. :) They will be hanging on the outside of the right side panel, with the wires running through copper tubing back to the eSATA ports on my board and into the case to power.
Sounds like a great idea.
/\ yeah it does... now do it!!! lol
Awesome project! The gears are awesome.
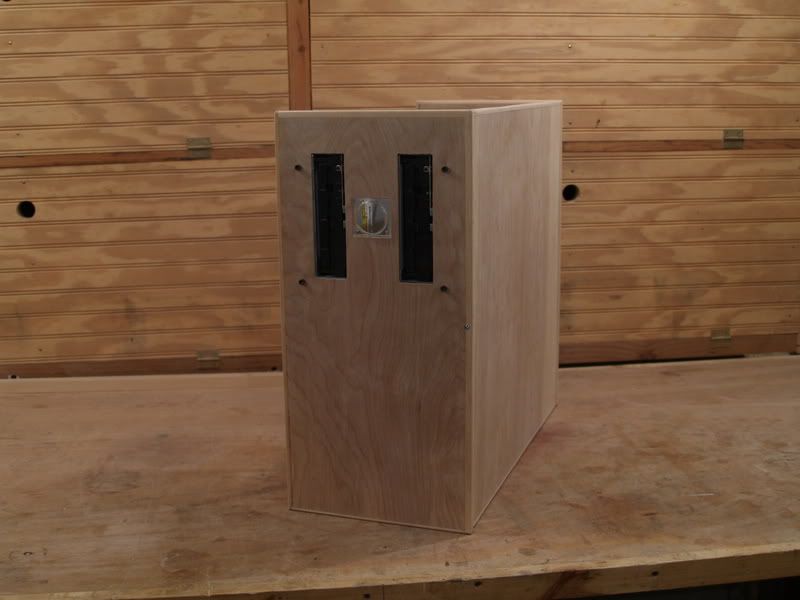
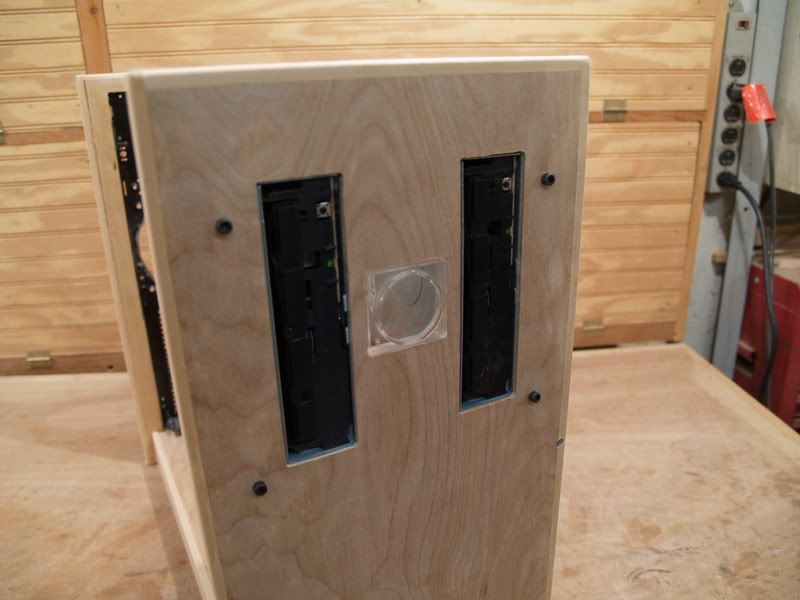
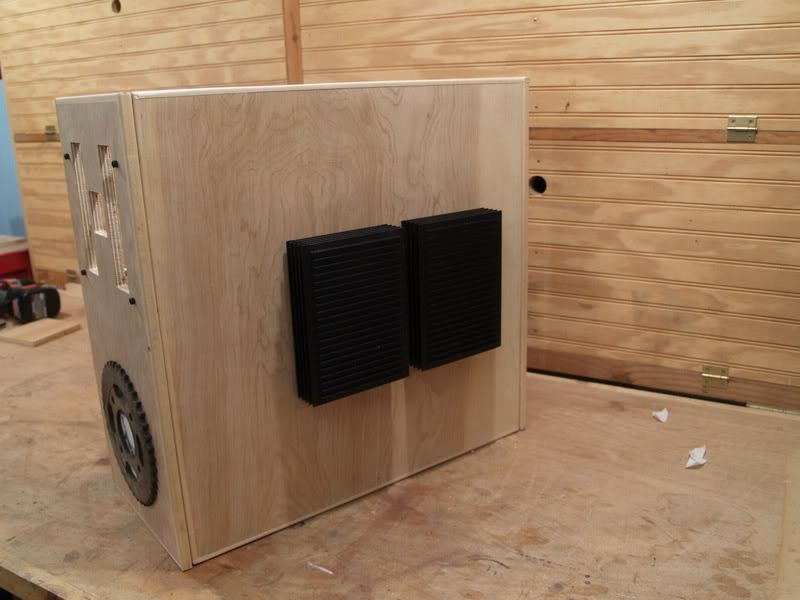
Well, I decided that the stacked dual optical drives were just plain boring, so I built a whole new front panel and turned them on their sides. :)
The clear square in the center is the lens for my analog temperature gauge, it looks a lot better there than it did underneath them before.
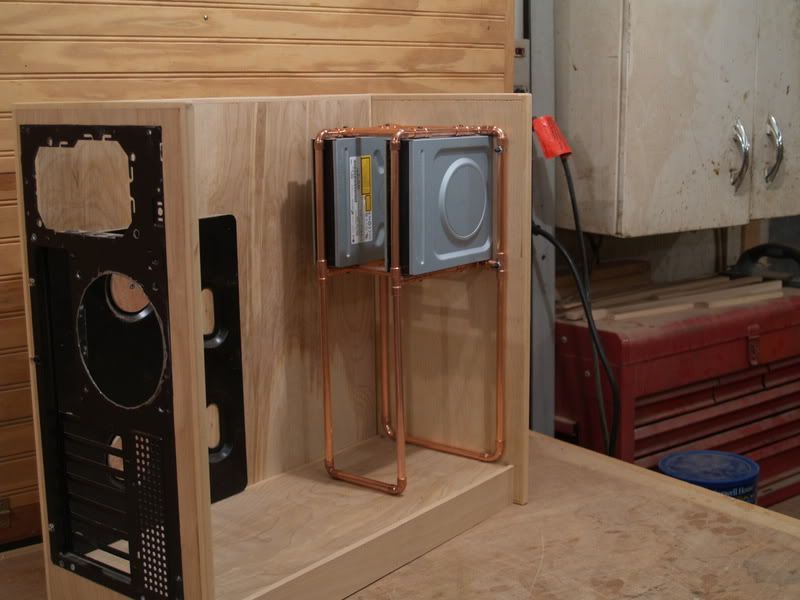
Of course, turning them on their side meant that I had to build a whole new support cage. This one is more complex, and I think it turned out very well. (The bolts you see coming through the front panel are what I'll be using in the end, but of course I'll have black nuts on them.)
Tomorrow, if all goes well I'll get the hole cut out for the front intake fan. I'm still waiting on parts for the new geartrain.
I'm not having any luck with the paint, however. I've tried Metal Effects in iron, copper and bronze, with four different patinas: blue, green, black, and rust. I just can't seem to get the old, corroded look I want. I may have to go another route...
Very nice work on the drive mounts, they look very good, very different.
Awesome work! I love the Wood Case with the copper and brass!
those copper brackets are the shiz man nice work... front looks heaps good
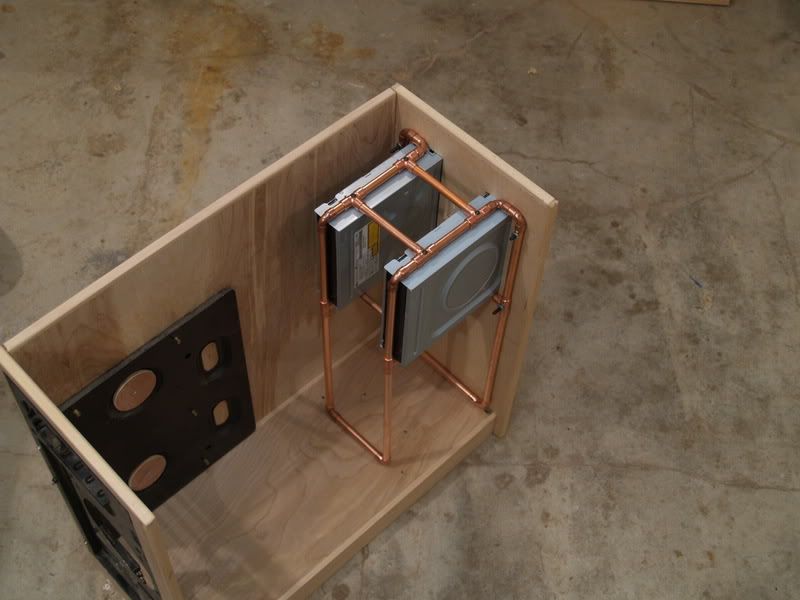
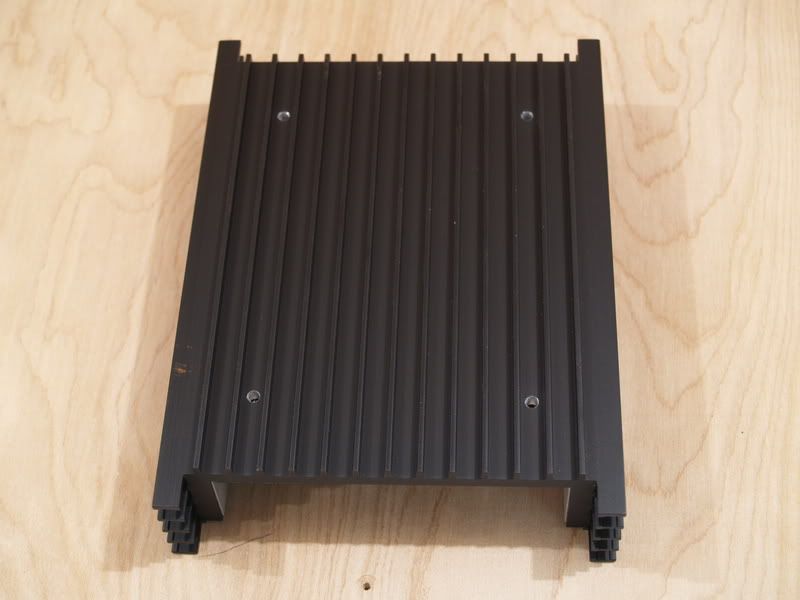
Progress!! I got the hard drive enclosures mounted! I wasn't sure how I was going to do it, but I ended up using brass inserts and just bolting them to the side of the case, four bolts each. They're not going anywhere.
I drilled four holes just inside the interior, all the way through the back piece.
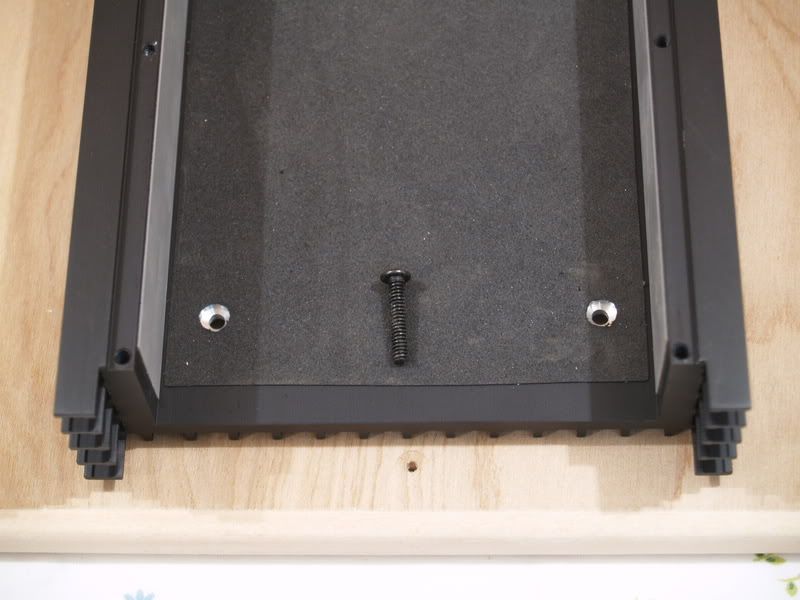
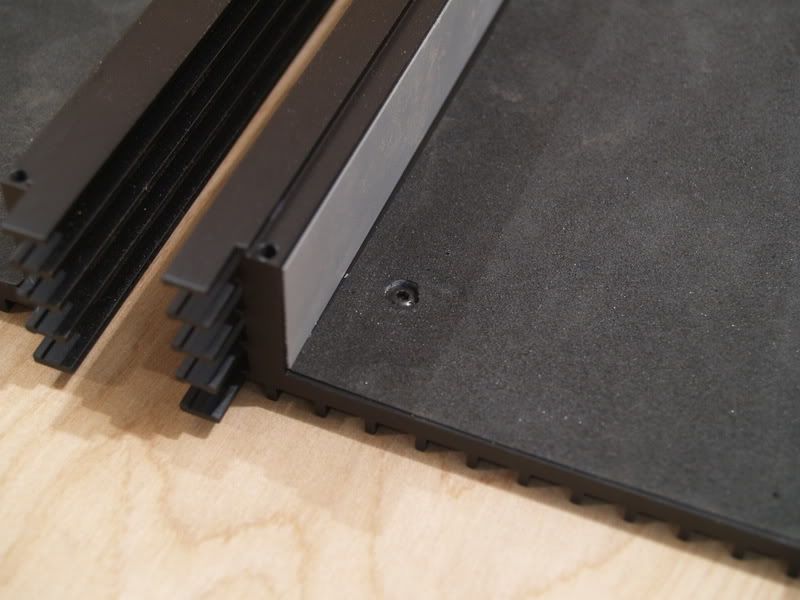
The fit inside is very tight by design, so I had to drill countersink holes for the heads of the screws I was using. Thankfully the housings were thick enough to let me do it.
And presto, bolted on, countersunk, and in place! I was right, those things are sexy. :D
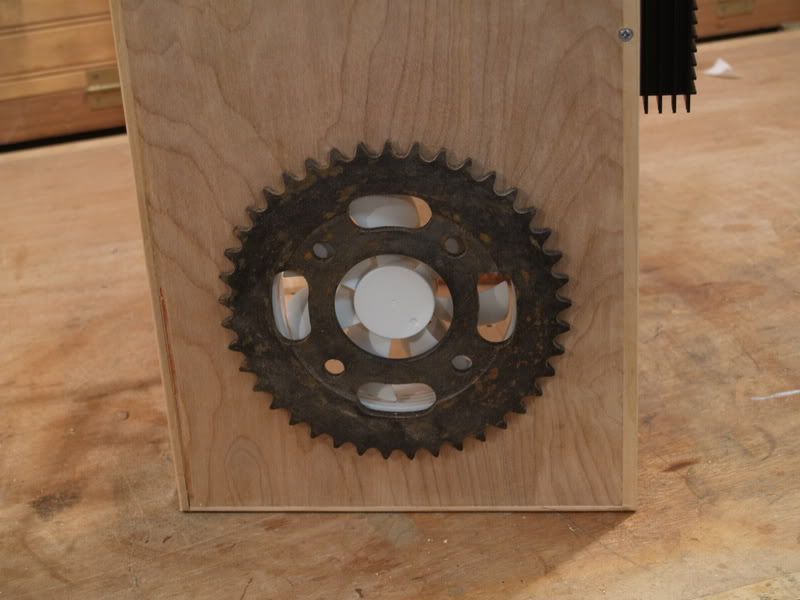
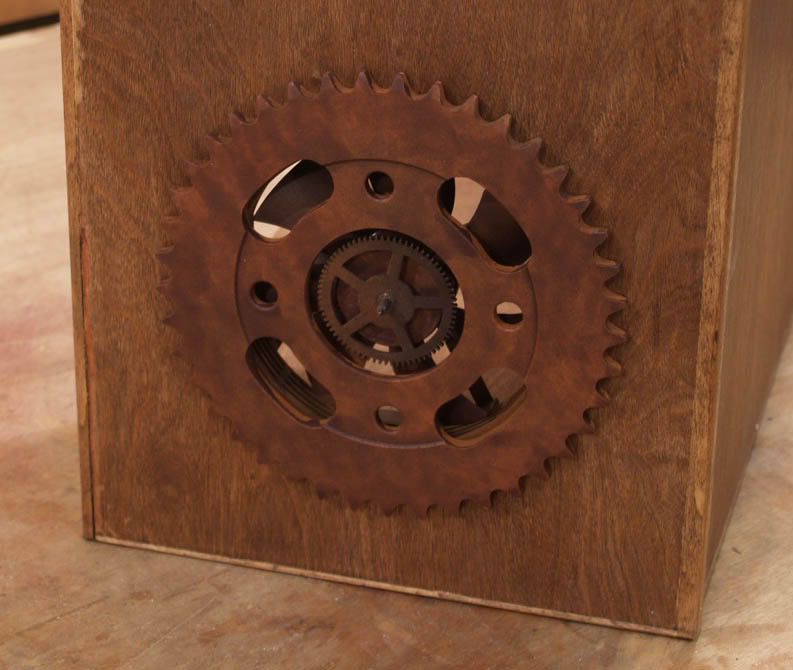
I also managed to get the hole cut for my front intake fan. I'm using a Thermaltake Silent Cat, and they have an odd profile so I was worried, but it came out perfectly. I stuck the front fan grill sprocket up with tape just to see how it was going to look.
Not too bad. I am also pleased (and relieved) to report that have finally been able to manage the finish I wanted! I'll be using it on a lot of internal parts, including the optical drives, the motherboard tray, the PSU, and all three fans. More news as that happens.
That's it for the week here, back to work tomorrow night. <gag>
The drive enclosures look right at home on the side of the case. Very cool fan grill ;).
yea i love those racks.. looks killer
I'm loving this mod. Beautiful woodwork, copper piping, moving geartrain. :bowdown: + rep/sub Can't wait to see how this turns out!
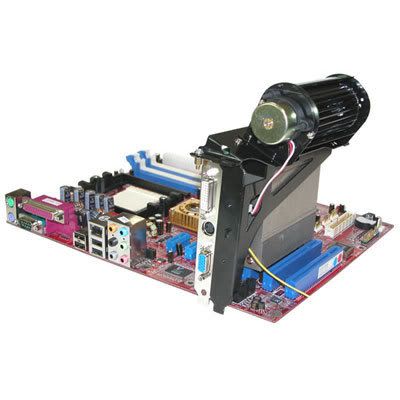
I recently bought a pair of HD 4670 video cards, and while I love them the stock fans are LOUD. I've been looking for an affordable cooling solution that would go well with this mod and had no luck at all. Until tonight. Look at this....
Wow. This thing is huge, and ugly, and absolutely perfect for this build! And $20 shipped. I ordered one tonight, we'll see how it fits when it gets here. If it works as well as I hope I'll get another. :) I may have to figure a way to rig a belt or a chain around one end of the fan...
Looking awesome Blue! I love the copper tubing!
The video cooler will definitely give it an interesting look, but I am not sure if squirrel cage fans are any quieter. Looking forward to seeing the result!
wtf is that thing....
DO NOT WANT lol
nah its... interesting
@ OvRiDe - Thanks very much. More to come in the next couple of days, I'm finishing up my last worknight now. :)
@ DonT-FeaR - Yeah, I know. It would take a very special kind of case for that thing to look good in. But I just happen to have one. :D
rofl... get the thing copper plated :) look so awesome then
That's a very interesting cooler attachment lol. Am I right by saying that it just clips on rather than acts as a total cooling solution?
One of my friends recently brought a 4850, unfortunately he got a passive cooled one. I put him onto the Thermalright HR-03 and he couldn't be happier, it is an amazing cooler, took temps from 85c load to 45c load without a fan. If the 4670 uses the same mounting holes as a 4850 then you will have no problem installing them. I know you are using the 4670 and these coolers are a bit expensive but they are worth every penny and would really look the part in this mod I think.
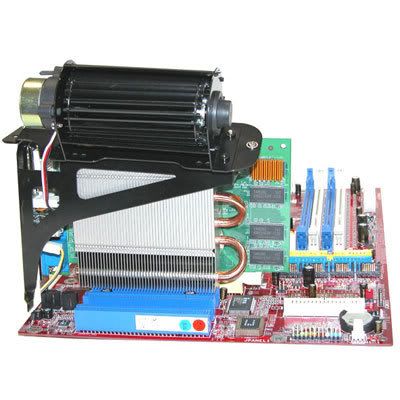
Actually, the heat sink portion bolts to the GPU like most others, the huge ugly bracket mounts in the adjacent PCI slot and the squirrel cage fan mounts on top of it, blowing air straight down through the fins on the mounted heat sink.
On the HR-03, I had considered that one, as well as the Thermalright V2 Copper Quad-Heatpipe cooler (I *really* like that one), but they are cost-prohibitive, and not nearly as eye-catching as these ugly monsters. :D In the end, there will be very little shiny inside this case. As little as I can manage, in fact.
If these don't work out, I'll be back on the Thermalright trail...
lol at least this will be 100% unique :)
nice work jase... thinking it trough once again
Like the look of this blue, i'm subscribing 8)
the copper pipe frame looks well nice, and the frame is sure to be incredibly sturdy and looks very well made:banana:
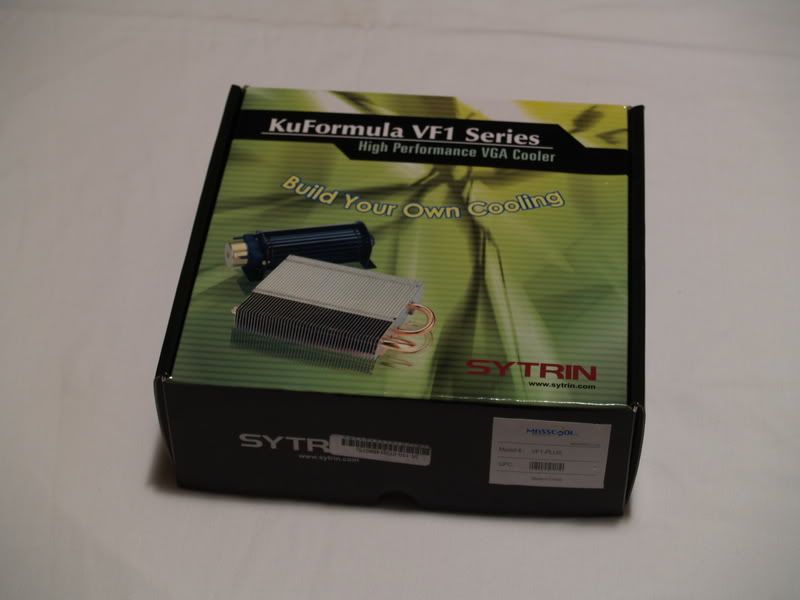
Well, my big ugly squirrel-cage VGA cooler came in today. I did some testing and found that it should work fine in the new case, even with the side fan. :) Here's the box that came in my favorite brown truck:
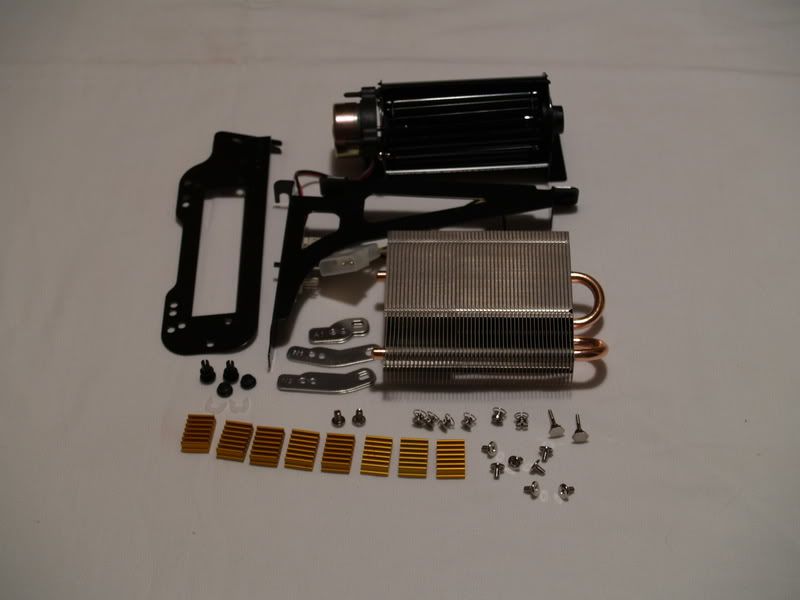
The box says "build your own cooling". That's exactly what I ended up doing. I found out that it does not fit my video card. :( I knew that none of the HD series were listed in the official "supported card" list, but I took my chances, hoping ATI hadn't changed their cooler mounting system. They have. You would think that with all the adapters and screws in the box it would be possible to make it fit.
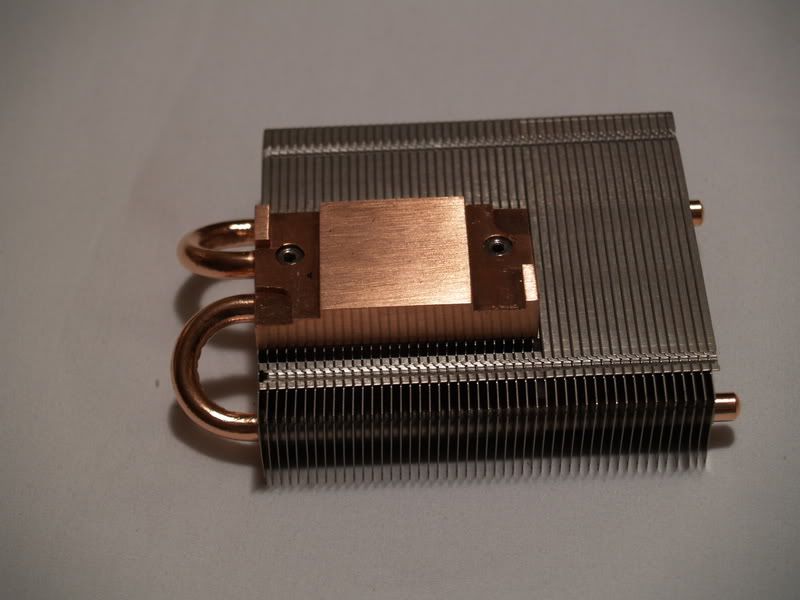
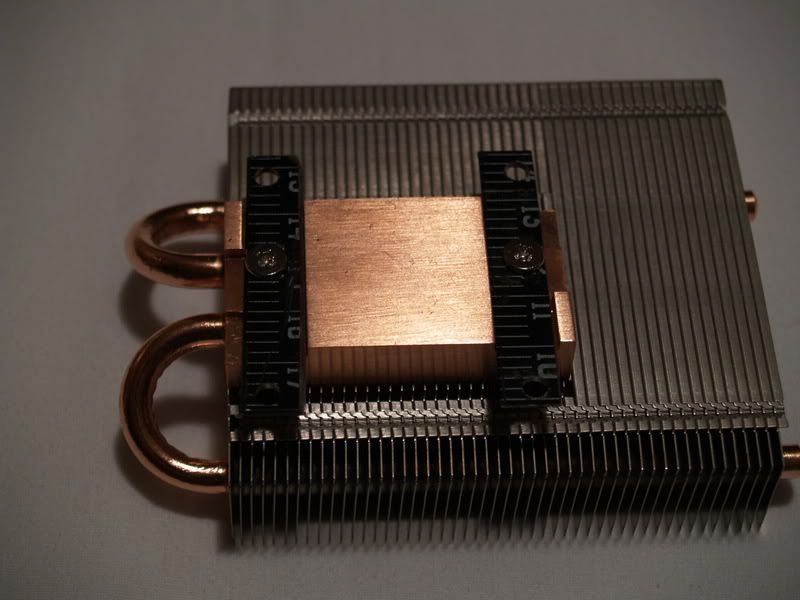
It wasn't. But I didn't give up. Looking at the copper base on the heat sink, you can see there are two channels on each side, that are meant to house the various adapters for (older) ATI & Nvidia cards, and two threaded holes to mount each adapter.
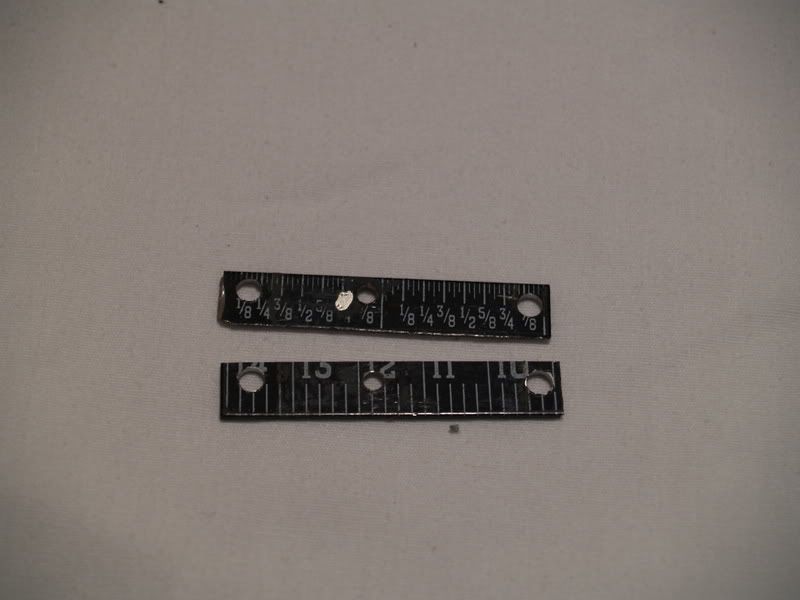
The mounting holes are exactly the same width apart as the mounting holes on my card. But since all of the adapters are bent, the resulting mounting holes don't line up. Obviously I would have to improvise. I had an old steel square laying around that I had never used, and the rule on it was 1/16" thick and fairly good steel. In answer to the delimma I cut my own adapters out of this square. :)
They had to be the same width as the channels in the copper block and as long as the distance between my mounting holes, and it worked perfectly.
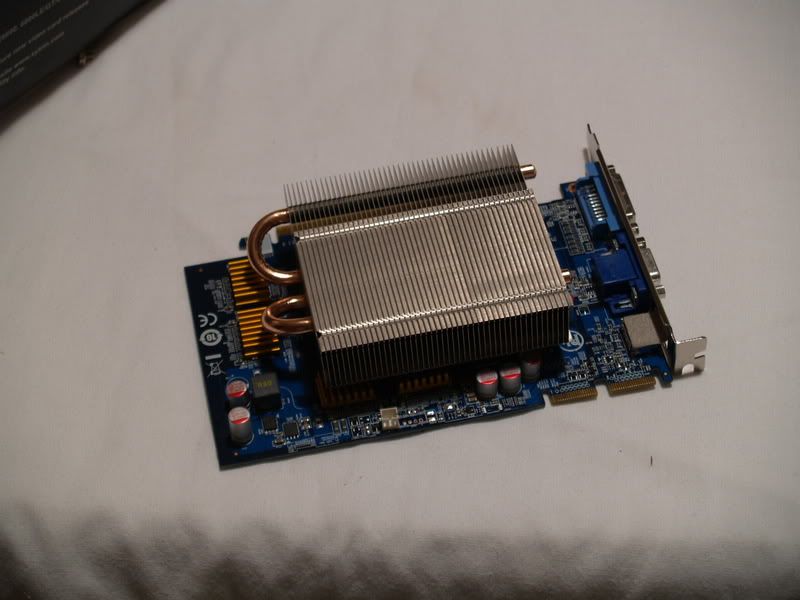
Ugly, but you can't see it anyway. After drilling out the mounting holes on the card itself to accomodate a #6 machine screw, I ran the screws up through the bottom of the card and into machine nuts on the top of the new adapters. (THAT was a joy.) In the end, it all worked out.
I hooked it up with the squirrel cage fan and am using it even now. MUCH quieter than the stock cooling. I was even able to determine that I will be able to fit two of them in a stack in the new case, though the clearances are very tight. It will hide over a quarter of my motherboard. Now all I have to do is figure out how to route Crossfire cables between the two of them.
All's well that ends well, I guess.
Is it me or does the base look kinda slanted? You should really think about lapping the base of the cooler, will work much better. I expected the cooler to be much smaller, from the pics you posted up earlier it looked a lot smaller lol.
I couldn't see any slant to it whan I had it in hand, that's probably a trick of the light in the pic. As for the lapping, yes it could use it, but it is doing an excellent job so far with the fan on the lowest speed, and with the trouble I had getting the thing on there it can stay. Maybe someday when this thing is done and I'm bored I'll pull them apart and lap both of them, but I doubt it. :)
I think the pic I posted earlier showed it mounted on a large card. The 4670 is actually pretty small.
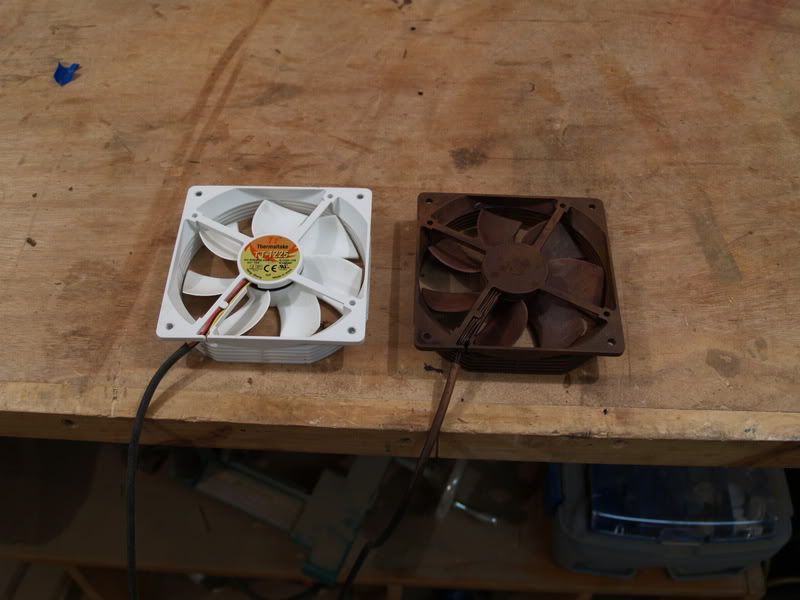
Can you believe the blades on the fan are metal? The whole thing is either metal or rubber (lots of isolation mounts for the fan and motor), no plastic. :D
Sooooooooo............basically............you have a blender attached to your GPU LOL :banana:.
Nice job on getting it mounted blue :up:
Thanks. Where there's a will (and a Dremel) there's a way. I wasn't about to send it back. :)
looks sweet... nice brackets.
hahaha. wait a minute... (gets idea) a gpu cooler that can make smoothies! YUSS!! lolQuote:
Originally Posted by The boy 4rm oz
interesting cooler, nice mod to get it to fit! +rep
Here's an example of the rust finish I'm using. Opinions??
Me likes it! I think it will go great with the theme!
:up::):up:Quote:
Originally Posted by blueonblack
:stupid:'s I like it, looks neat :up:
Looks wonderful. :up: Details of how you got that look??Quote:
Originally Posted by blueonblack
i give you the jeff tick of approval....
(im jeff btw)
Thanks for the thumbs up! :) Here's the same fan mounted on the front panel, I got the big sprocket done also, looks like part of the front panel is done. :banana:
As to details, I'm using a product made by Rustoleum, marketed under the brand name American Accents. It's called Natural Rust. It comes in two parts, first you spray it with the included textured spray paint. Let that dry and paint on the top coat and dab it with a wrinkled paper towel or newspaper. As mentioned before I tried just about everything Metal Effects had and wasn't happy with any of them. I found this stuff at my local Ace Hardware store for $13 and I love it. The texture on the basecoat even makes it feel like rusted iron.