indeed! the black coils break up all the red, and it looks awesome!

Printable View
indeed! the black coils break up all the red, and it looks awesome!
Oooh yeah... this just got even better. Good call!!
Thanks guys!
Finished painting the HDD sliders. Also spent an hour on cable management where you can and can't see. Before the back of the case was really hard to put on. Now, not so much :D. Currently I am trying to cut one of the mesh fronts to accommodate my media card reader but I kinda messed up on the first one :( One bad cut and your effed when it comes to mesh. Well I guess any material but w/e. You get my meaning. I wonder if I can get more from CM if I try again on the 2nd one...
Looks like they sell replacements for all HAF models except the X. The hotswap tray is the only X drive related part they carry, don't know if you could salvage the cover from that?
Good find sir! That's exactly what I'm working on.Quote:
Originally Posted by TheMainMan
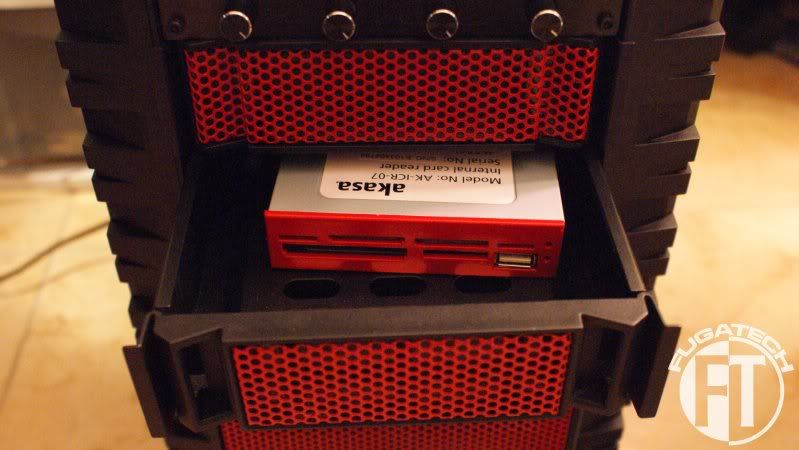
I had the 2.5" media card reader just sitting in one of the SATA hot swap front bay drawers and I had enough of that. Its not a mod unless your cutting it up. So here goes.
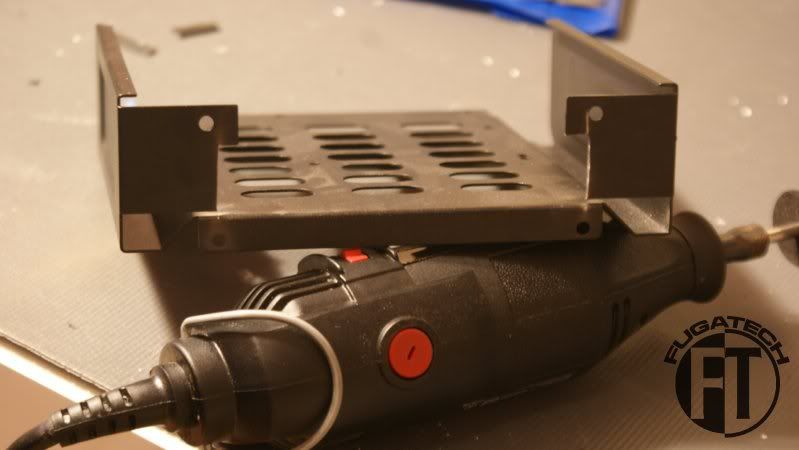
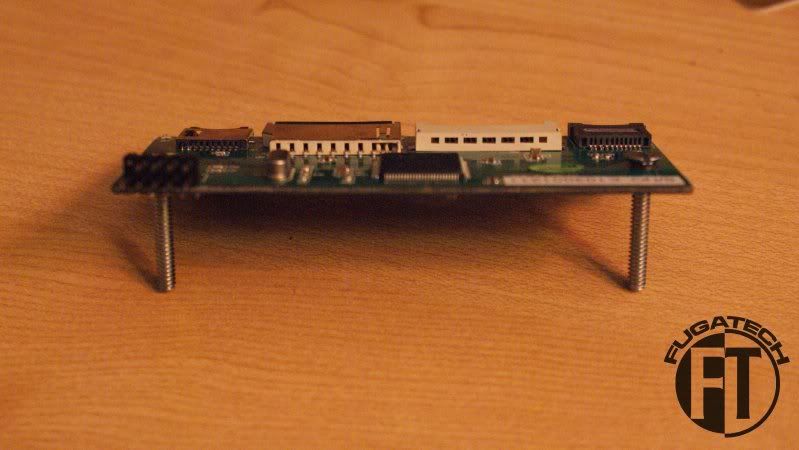
Since the HAF-X is lame and doesn't have a 2.5" bay in the front.. I have to make my own. Here I cut the bay drawer so it could accommodate the board inside the media card reader.
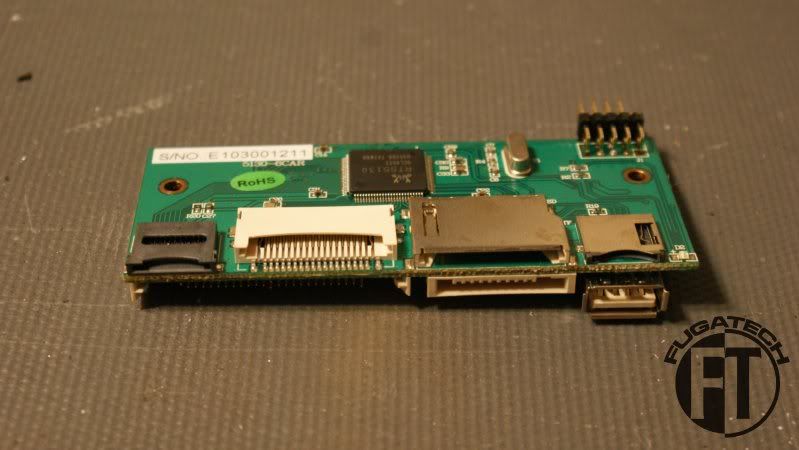
Here is the board.
Whew, fit on the first try.
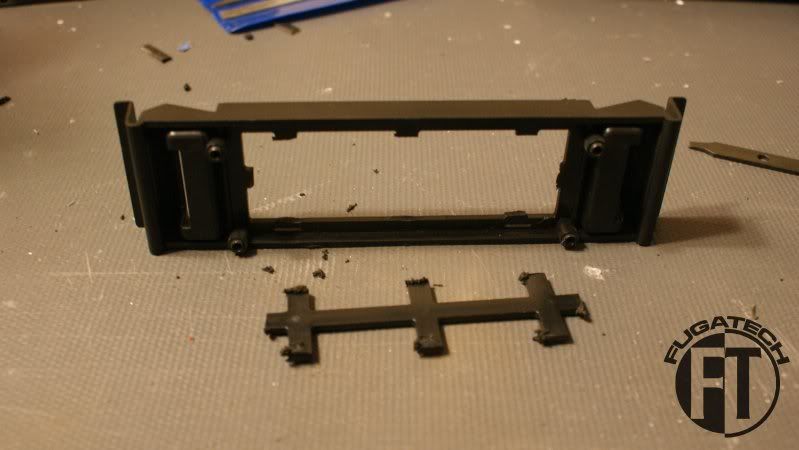
Next I cut away the plastic lattice work on the bay cover.
Then I had to make it about 3/16" wider on each side but I forgot a pic of that... oh well you get what I mean.
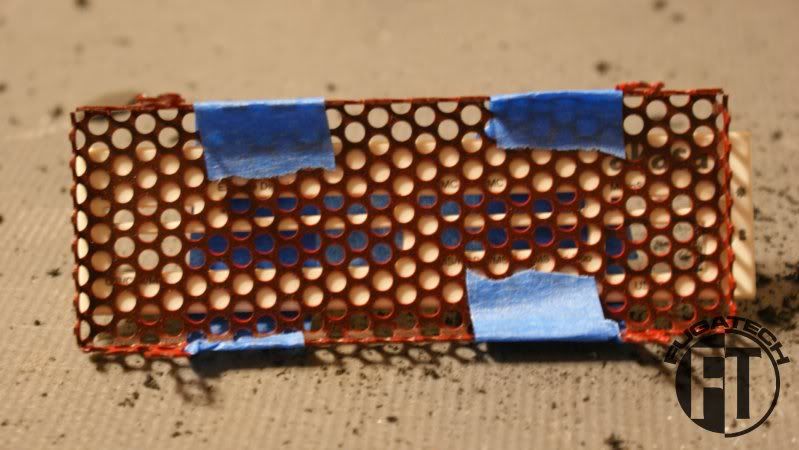
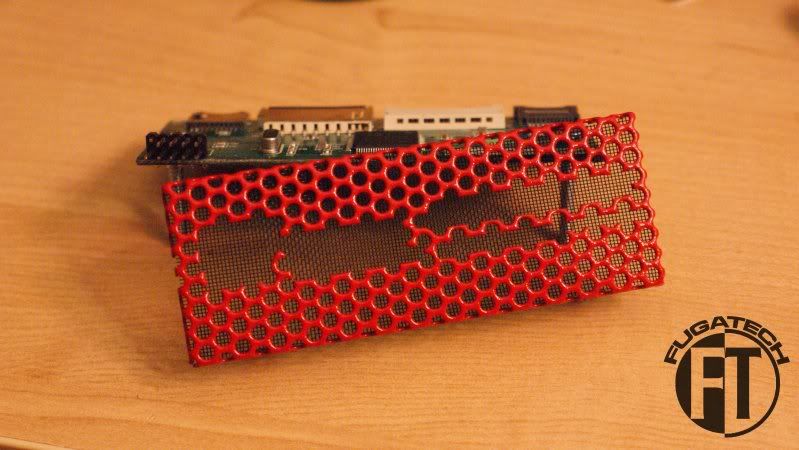
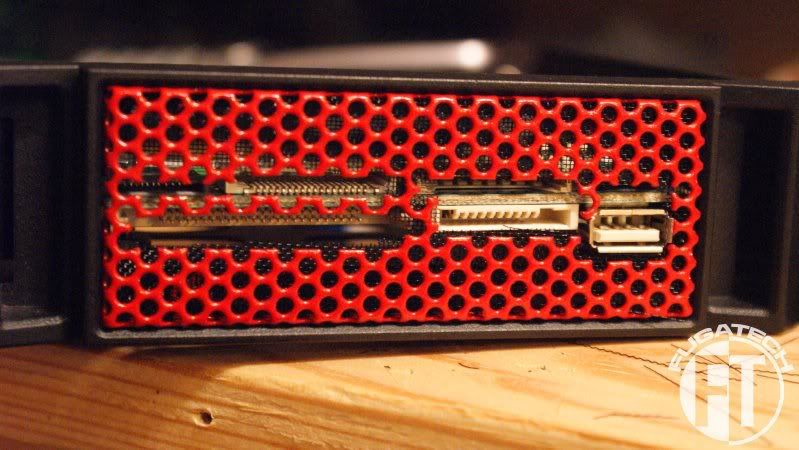
Time to start cutting up the bay cover mesh. Here I taped one of the extra media card reader covers to the mesh so I had a template.
An hour later I had this.
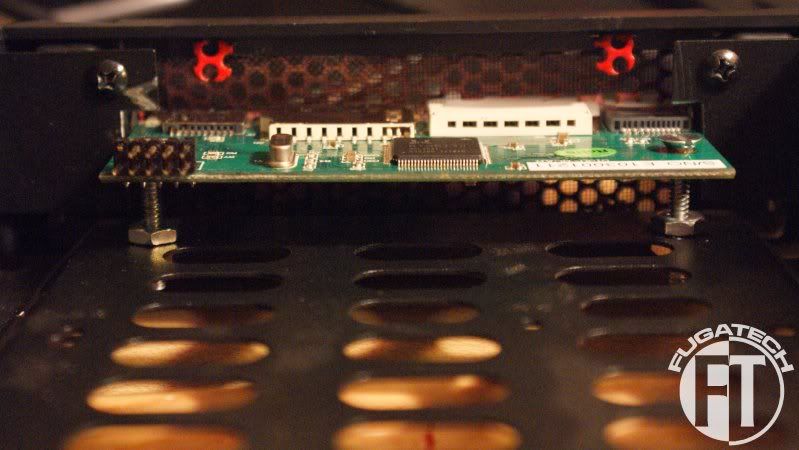
Since the bay drawer doesn't have the nifty tabs for the board to screw into I had to get bigger screws and nuts to make it work.
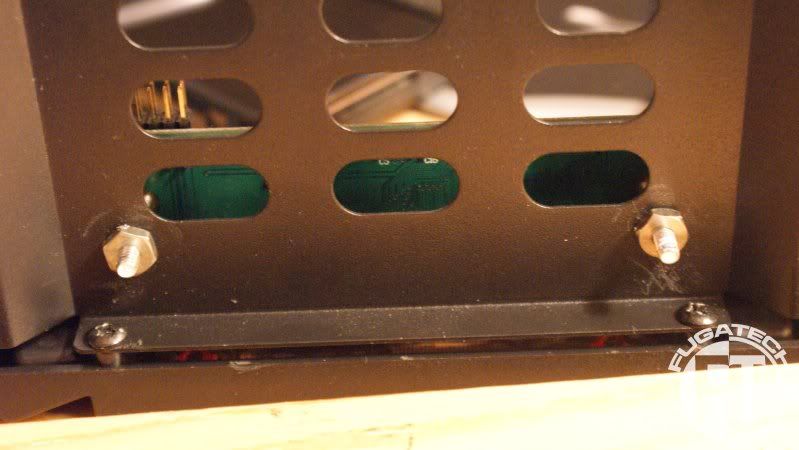
Here is what it looks like on the inside. You can see I have 1 nut on the top of the metal.
And one underneath to make it tight.
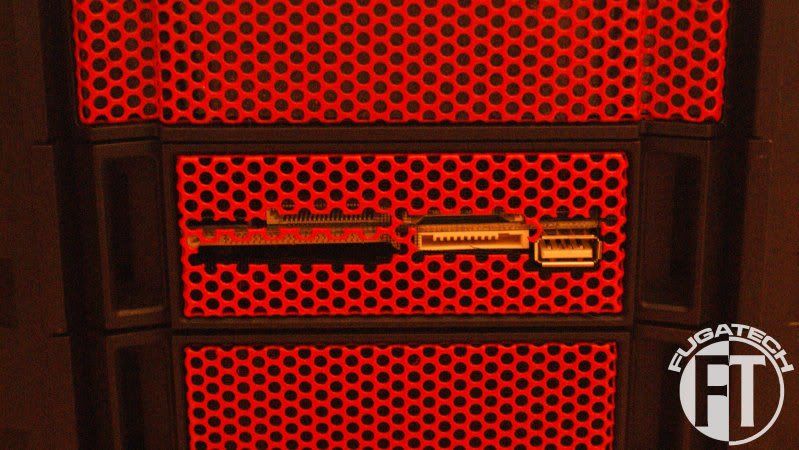
Looks good right?
Ok, out with the old.
In with the new.
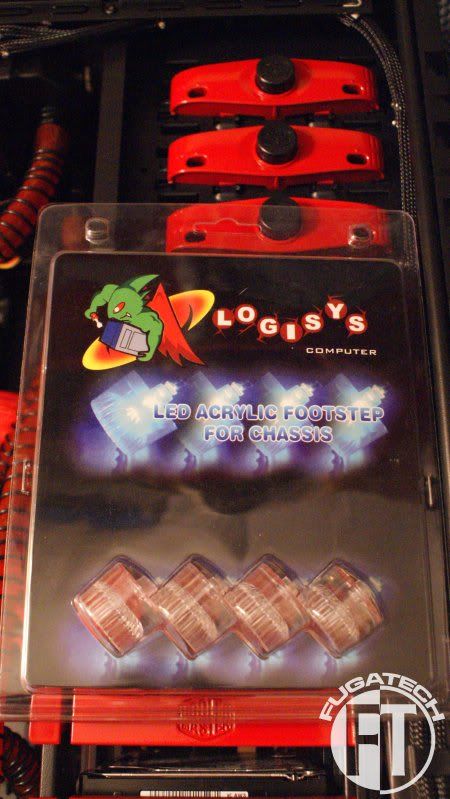
I just got in some nice red LED case feet so I have been sleeving them today. Once I get the I/O plate painted I'll take pics and install them. Will have to cut into the bottom of the case but no worries. So I'm like 95% sure that the case feet are the last thing to do but you never know.
Thanks for reading.
Cheers till next time.
i'm diggin' it.
Thanks man!Quote:
Originally Posted by xr4man
I bought some basic LED case feet.
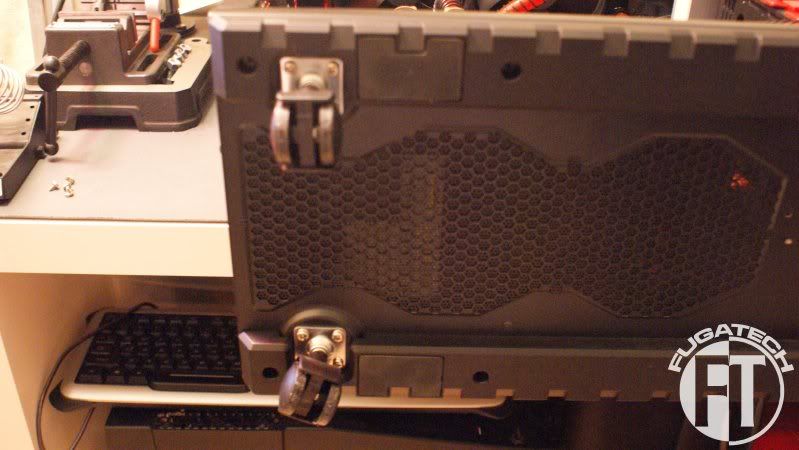
The wheels that come with the HAF-X are absolute crap.
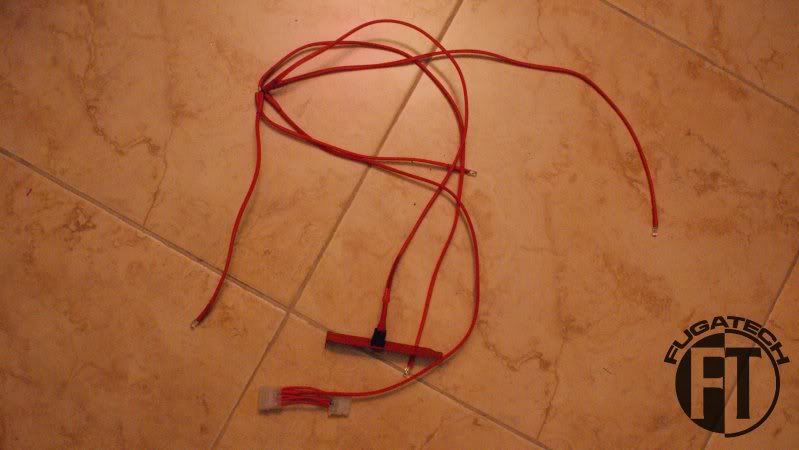
Here is the cabling all sleeved up. Takes awhile because you have to take alot of it apart to get the sleeving to fit just right.
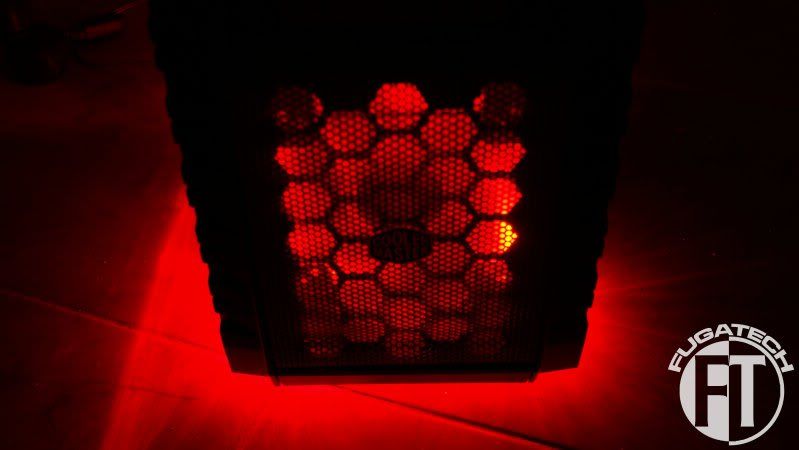
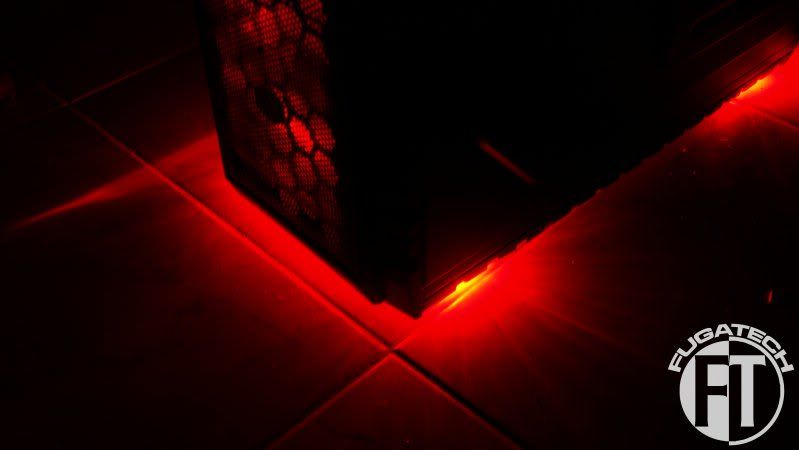
Lights out it they look great.
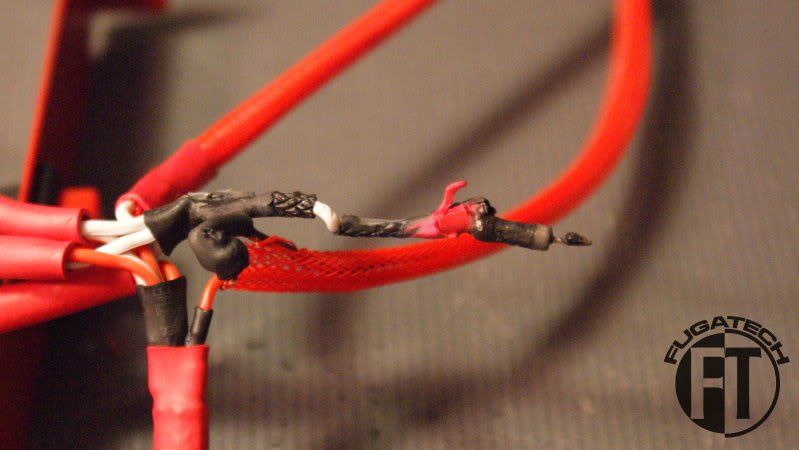
About 5 minutes after I took those dark pics I noticed a smell.... I was like "WTF is on fire??". Then the case fee went dark. Crap! I turned off the computer and pulled out the cabling for the case feet.
This is what I got...
The resistor fried. I have no way to tell what the rating is on it unless someone here knows some voodoo magic? I can't see the bands on the side but I might take some cleaner to it and see if I can get the char off of it. If not can I tell with a multimeter even if its blown? Otherwise I guess I need to buy another set.
Cheers.
I like the card reader. +rep
Thanks TGS! It means alot when I do something way out of my comfort zone and a senior modder like yourself likes it. Same for the rest that have been reading. I'm tring to do more with each mod I do.Quote:
Originally Posted by TheGreatSatan
no way to tell what the resistor value is with a multi-meter if the resistor is blown.
you could possibly pull out the resistor and led from another foot and check that one.
did you have it hooked to 12v and it was supposed to be hooked to 5v?
There is no way unless it was wired wrong. It hooks up via a Molex connector.
ok, i couldn't see that part in your pic. in that case, i'd try and send them back for a replacements instead of trying to repair.
FrozenCPU won't take it back because I resleeved it. I don't think Logisys will either.
oh yeah, that sort of voids warranties, lol.
i'm going back to my original suggestion of checking what value one of the other resistors is then
typically though if it was say a 220 ohm resistor (for a single LED on 5V) and it was hooked to 12v, it'd blow the LED not the resistor. Unless it was a REALLY small wattage resistor, but I've used 1/8w resistors with LEDs with zero issues. Something must have shorted somewhere.
yeah, true, i hadn't really thought about that.
although i am wondering, since they were taken apart to be sleeved, did the 5v and 12v wires get put back wrong?
crap, nevermind. that still would play out just like you mentioned above.
There are lots of reviews on Newegg about this happening. So I know I didn't screw up.
in that case Logysis should take them back
I'll give it a shot. If not I might try to make my own. Or buy another... not really expensive.
Or you could wire up your own led's for the feet.
I put a 62 Ohms resistor in place of the one that burnt out and it worked fine. Though after about 3 minutes it got pretty hot. What size should I try next? FYI 62 is the biggest I have so I have to order in some.
http://t0.gstatic.com/images?q=tbn:A...4ZAjkGLQRP&t=1Quote:
Originally Posted by Fuganater
??
I put a 68-ohm 1/4W resistor in-line with a CPU cooling fan it hardly gets warm. I put 1/8 (TINY) resistors in my LED setups and they don't get warm at all. If a resistor that big got that hot something's not right
Its 4 x 5mm Red LED's.
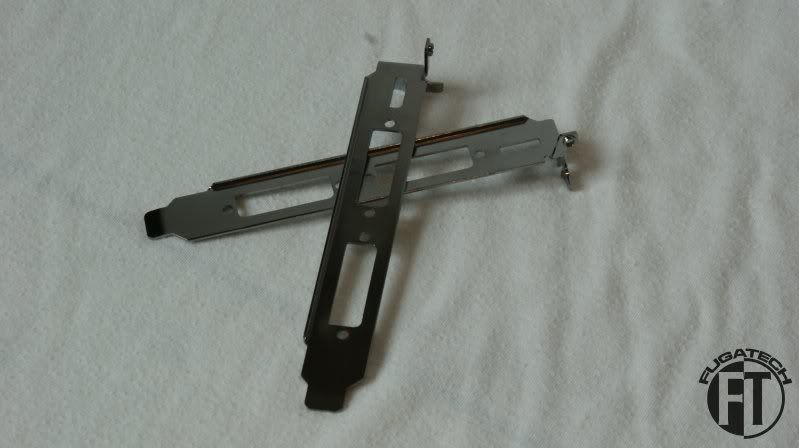
Got the backplates in today for the GTX 560Ti's. I'm painting them now and will install tomorrow.
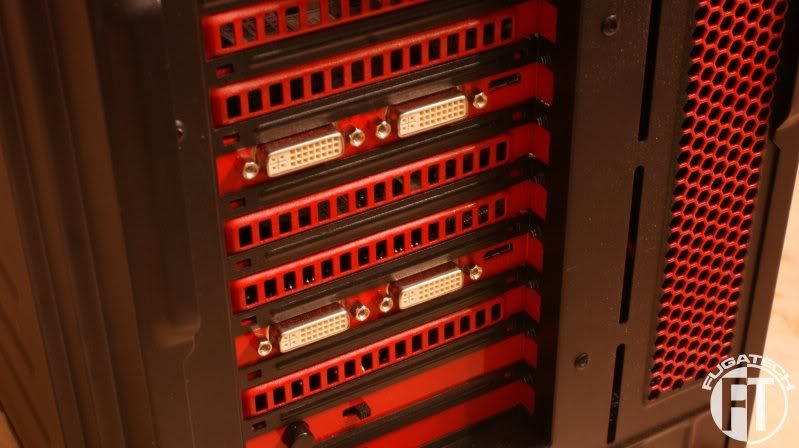
So I painted the backplates and got them installed. They greatly improve the look of the case.
Also the cards have a much more "snug" fit. Which is good because I thought the weight of the water blocks would hurt the cards eventually.
Later this week I will play with the case feet LEDs again and see if I can't get them working better. I might have to order some new resistors but I'll probably wait and just pick them up in the states when I'm on vacation.
Cheers till next time.
Wow, that's really nice looking! Very clean and seemless appearance.
I agree, great job, looks awesome :)
awesome!! I think I am gonna steal that for my mod :P thanks!
ok so I was thinking about doing it anyways... but you just put it over the edge into the must-do category. thanks for that... adding to my to-do list! haha.
Thanks guys! Can't wait to finish this last little detail and call this completed.
Made my own header. Nothing special but its something.
I like it. If I could make a suggestion though, it would be to move the text at the top to the left and make it bigger.
Ok. Remade.
Very tidy nice project Fuganater :) +rep :up:.
I can't wait to see some finished shots of this once you get everything in order. I love the 'thermal armor' on that board...It just makes the board 100x cleaner. And I've always loved the black, red, and white color trio. It simply looks good on everything; especially this mod.
Quote:
Originally Posted by Waynio
Thanks guys! I was going for as clean a look as I could.Quote:
Originally Posted by mDust
Next I will put a mesh backing on the GPUs. But I need longer screws and rubber screws so the card doesn't conduct.
I finally got the washers in to act as a barrier between the PBC and the mesh. Will be installing them this weekend.
Got one of the back plates installed. Doesn't look half bad.