It sounds like you were trying to run the hole saw through the plexi too quickly. Especially with a hole saw that big, you have to take it slow. High RPMs, but drill through slowly.

Printable View
It sounds like you were trying to run the hole saw through the plexi too quickly. Especially with a hole saw that big, you have to take it slow. High RPMs, but drill through slowly.
I wasn't going fast at all. Max RPMs are 3100. I've used a hole saw before and I know to just keep tapping down when using the press. But it didn't matter. It would stop almost as soon as it hit the plexi.
Hmmm, weird. That's a 4.5A motor on the drill press, right? That should have been able to blow through it, no problem.
Something is wrong... Does it matter that its running on a power source of 50Hz and not 60Hz?
IDK, it might. I have the same power motor in my Craftsman hand drill and I know it would eat right through that. I do find it odd that the center bit on the hole saw snapped though. Something's definitely strange there.
It is a big surface area for a drill press to be cutting?
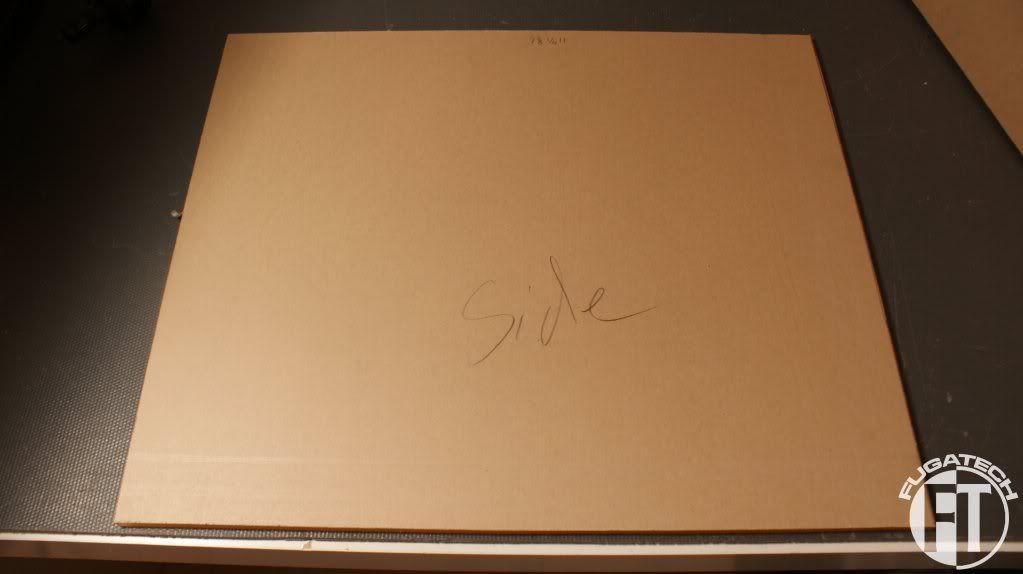
I have to get over breaking the back panel and work on the front. Since the hole saw isn't working out I'll have to do it all by hand. I will be going uber slow to make sure I get the best cut I can. There will be some flaws but that is to be expected when doing things by hand. So here we go.
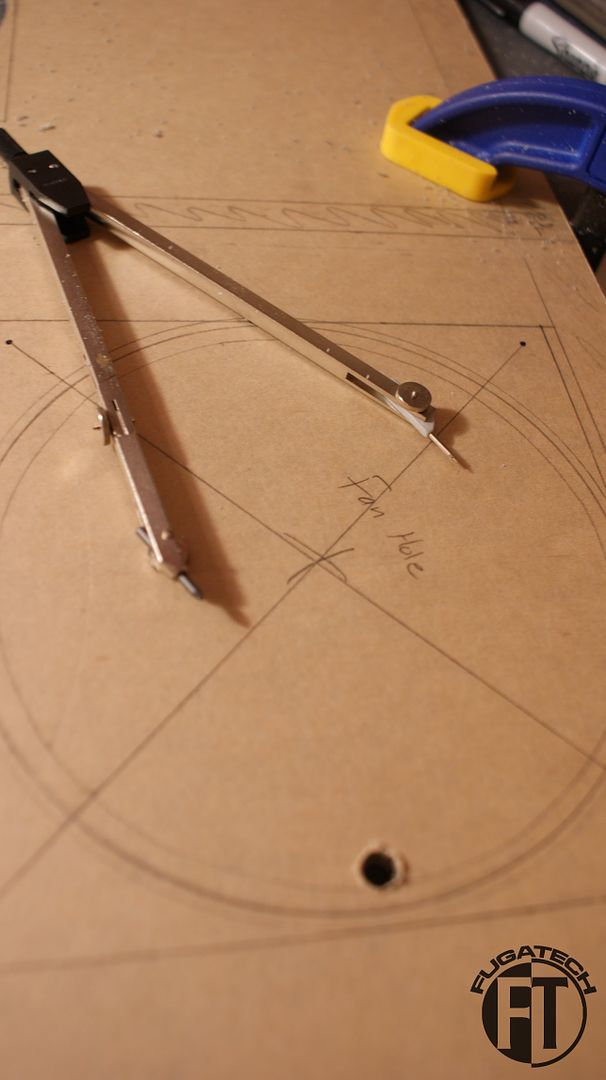
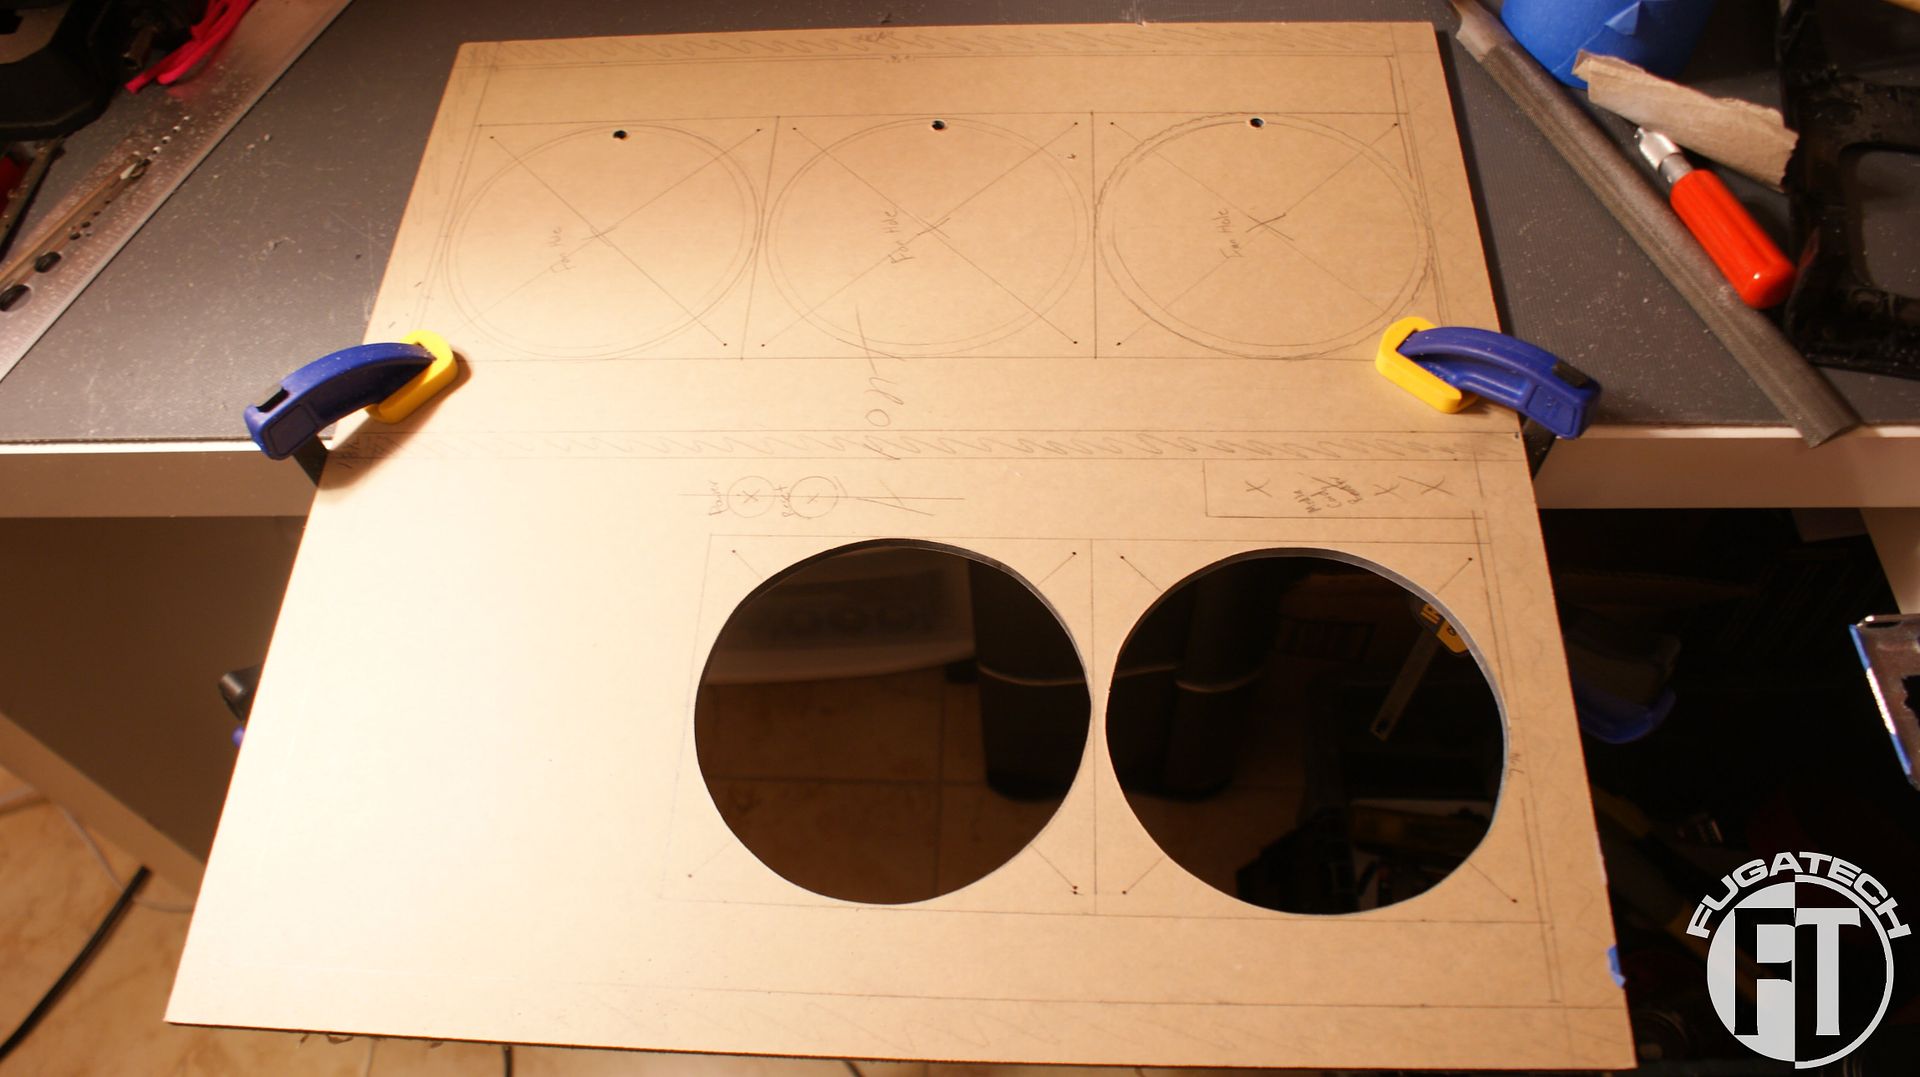
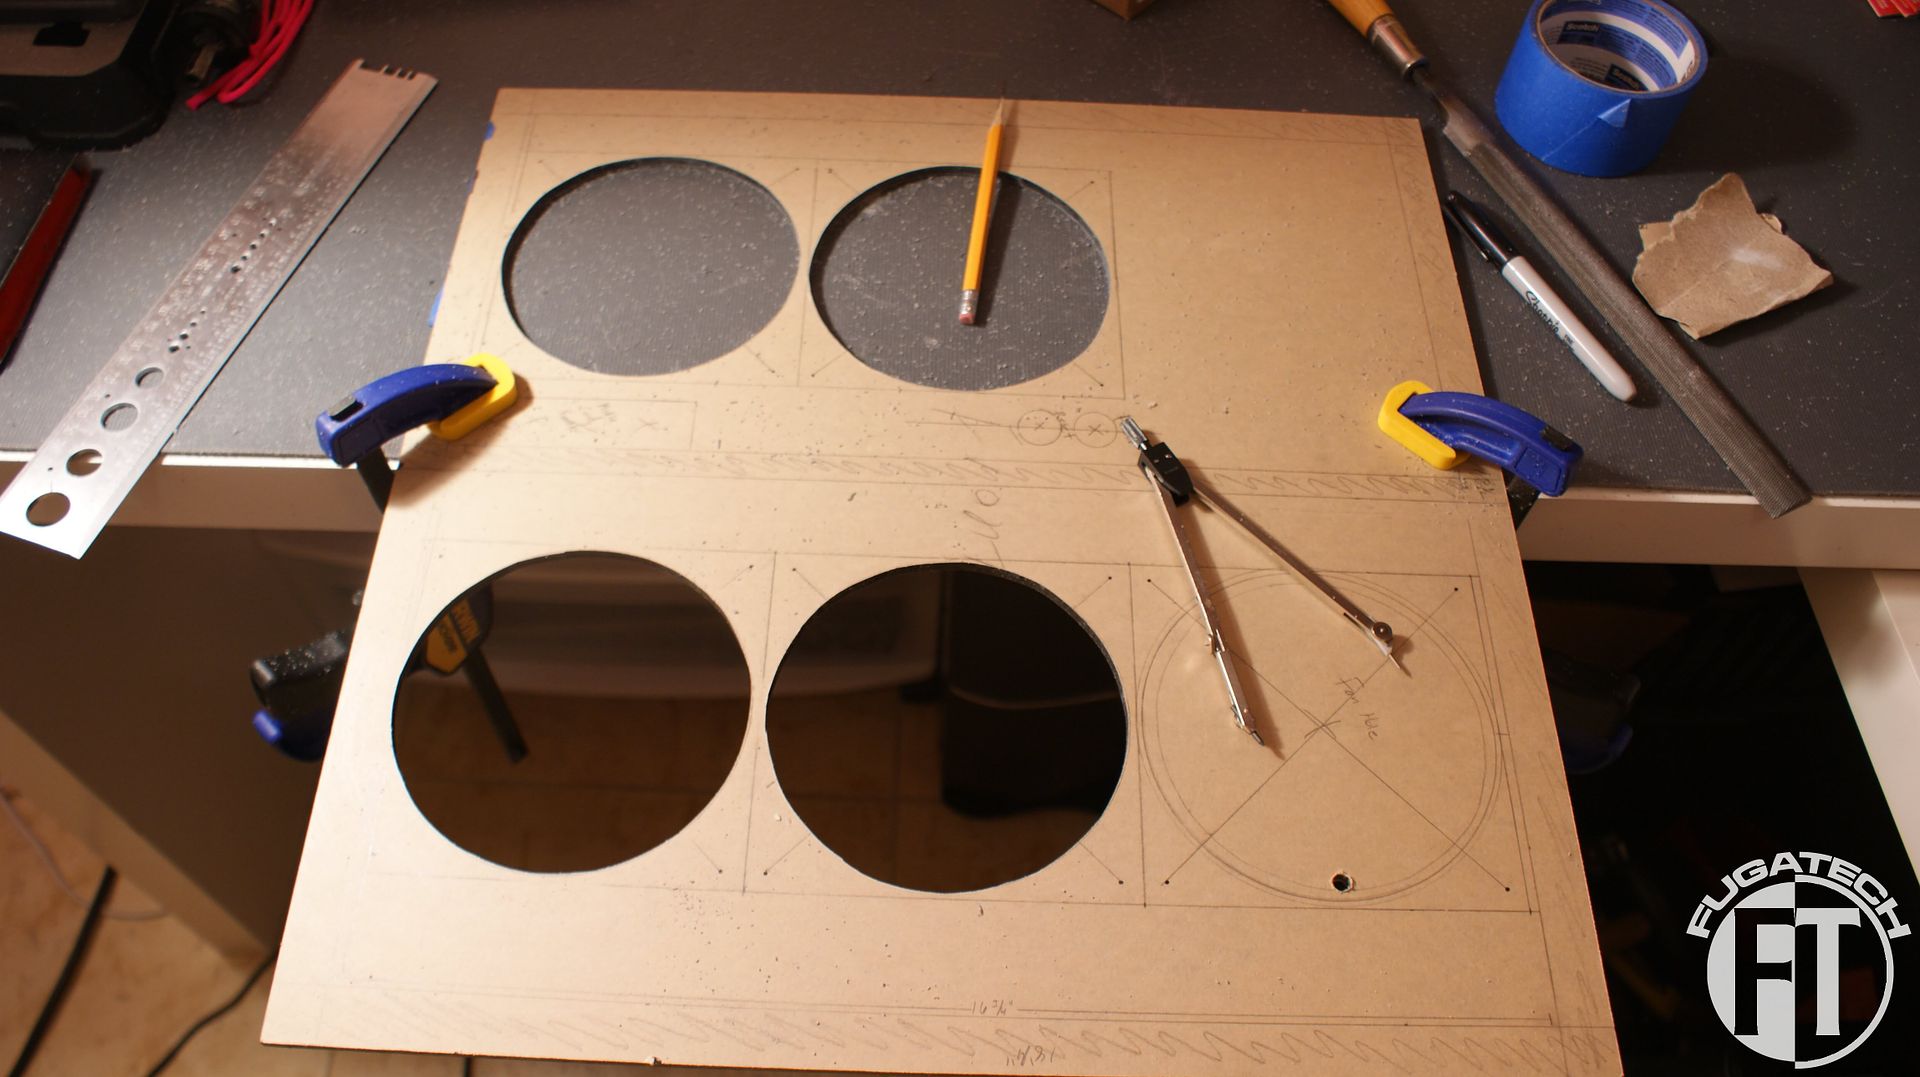
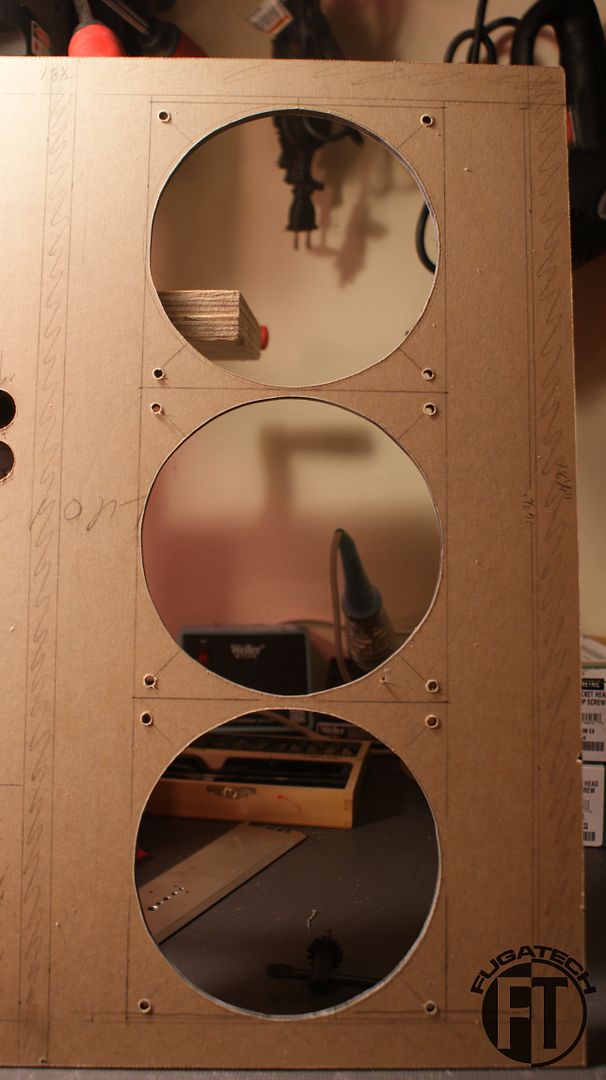
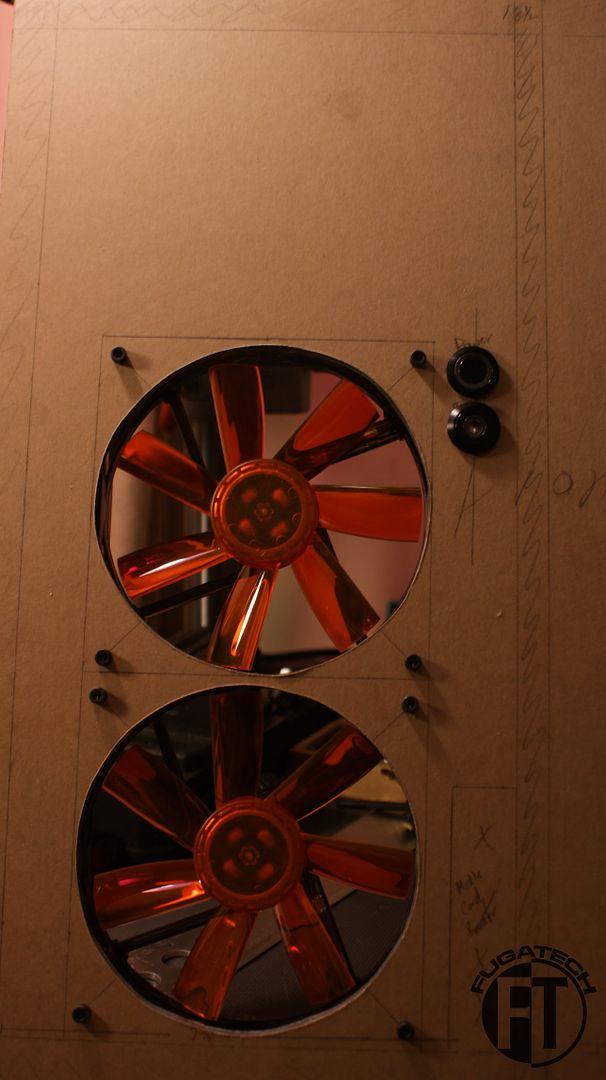
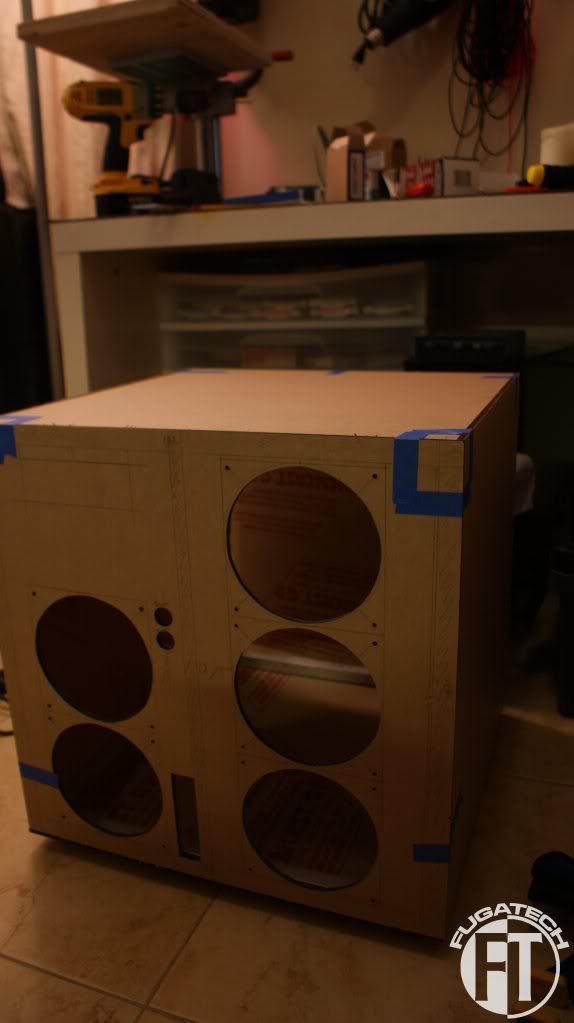
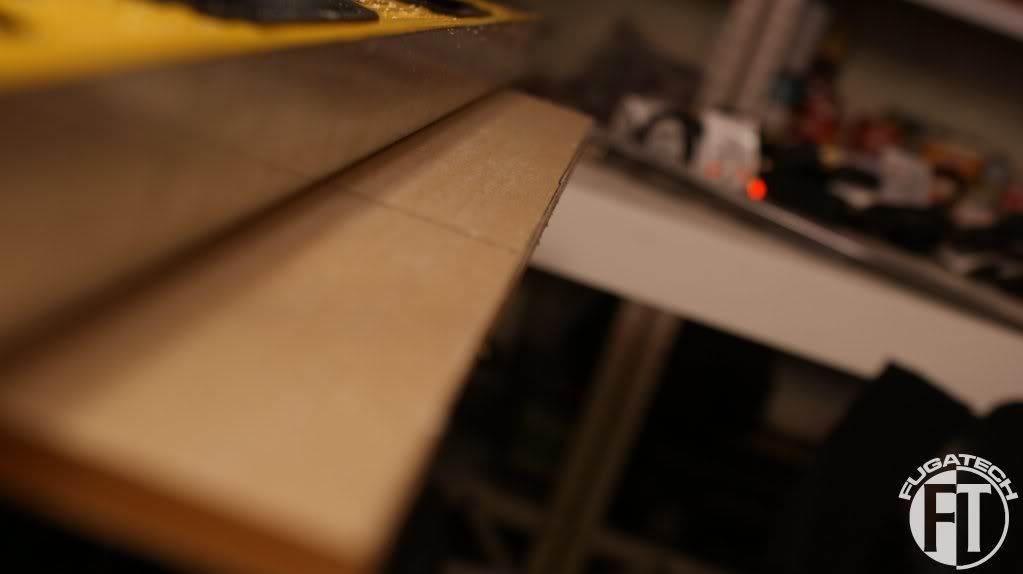
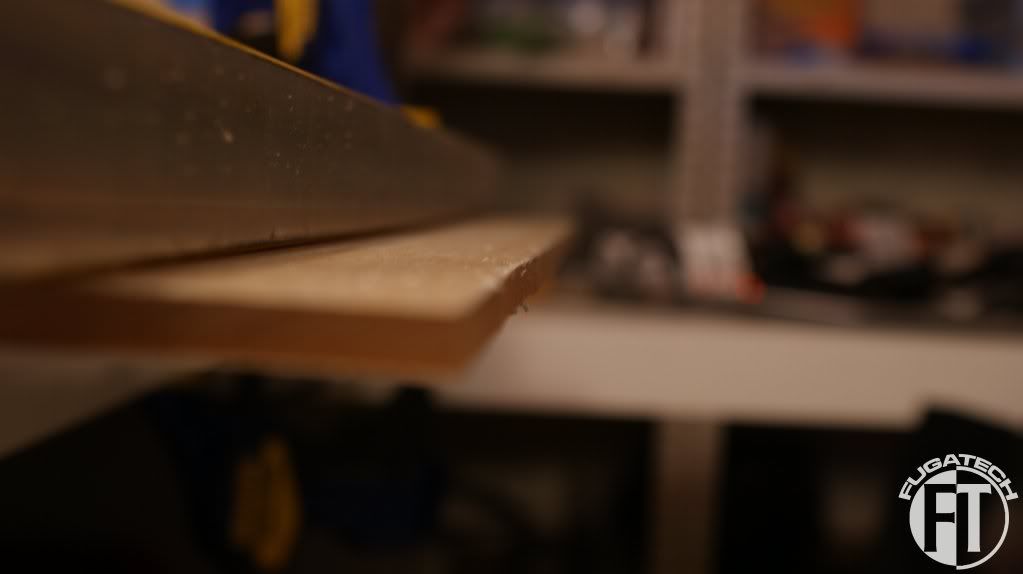
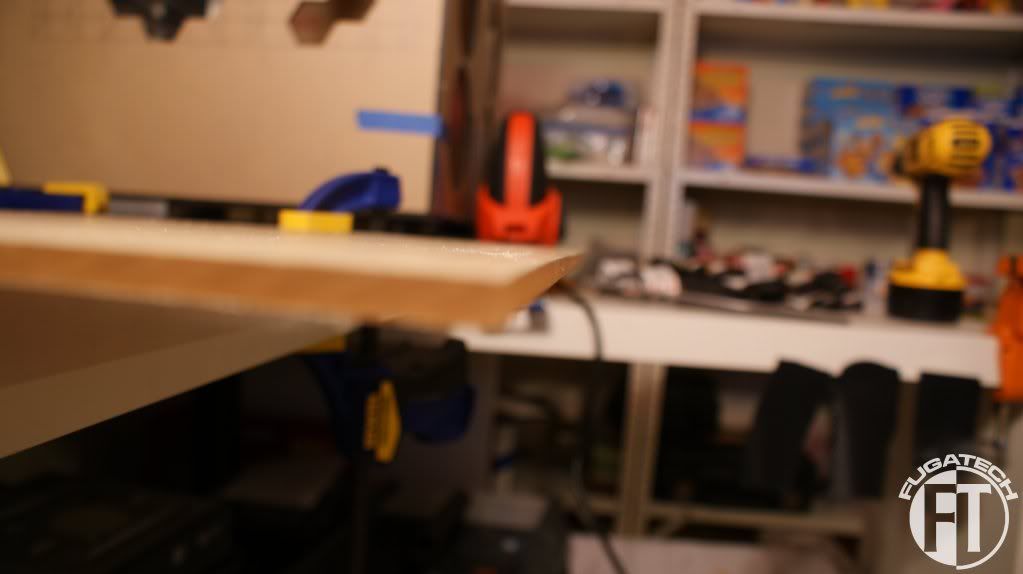
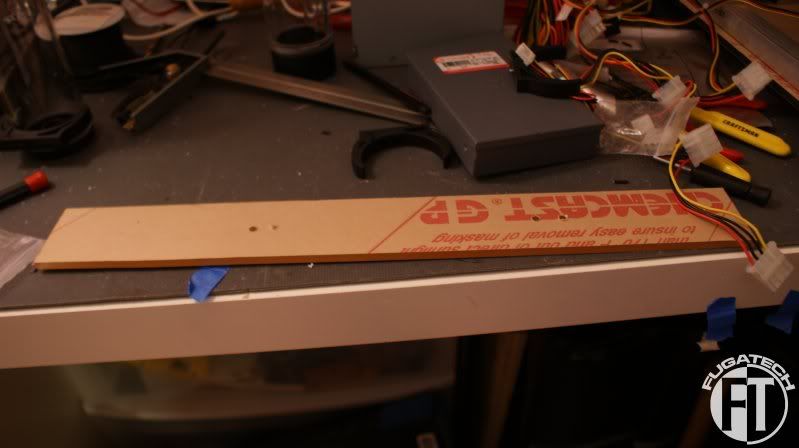
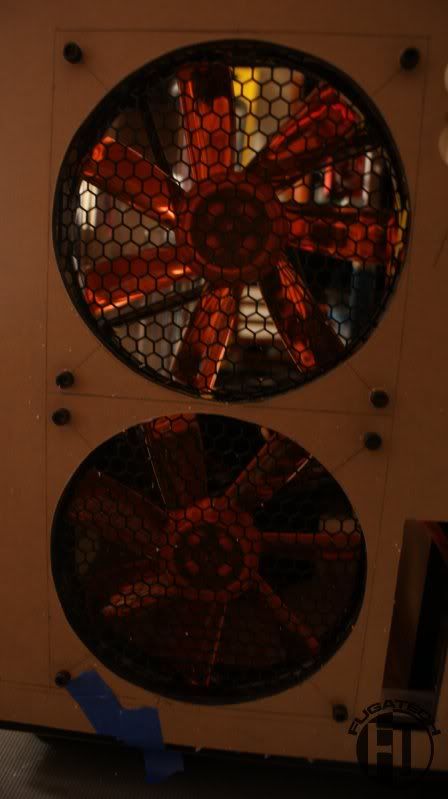
The first holes that I made were 4 1/2". Well I needed a 5 1/2" hole for the 140mm fans. After remeasuring for the 5 1/2" holes, I noticed that 3 of them would not fit on the HDD side. So I down sized it by about 1/4" and they all fit perfectly. I used a compass to draw the circles.
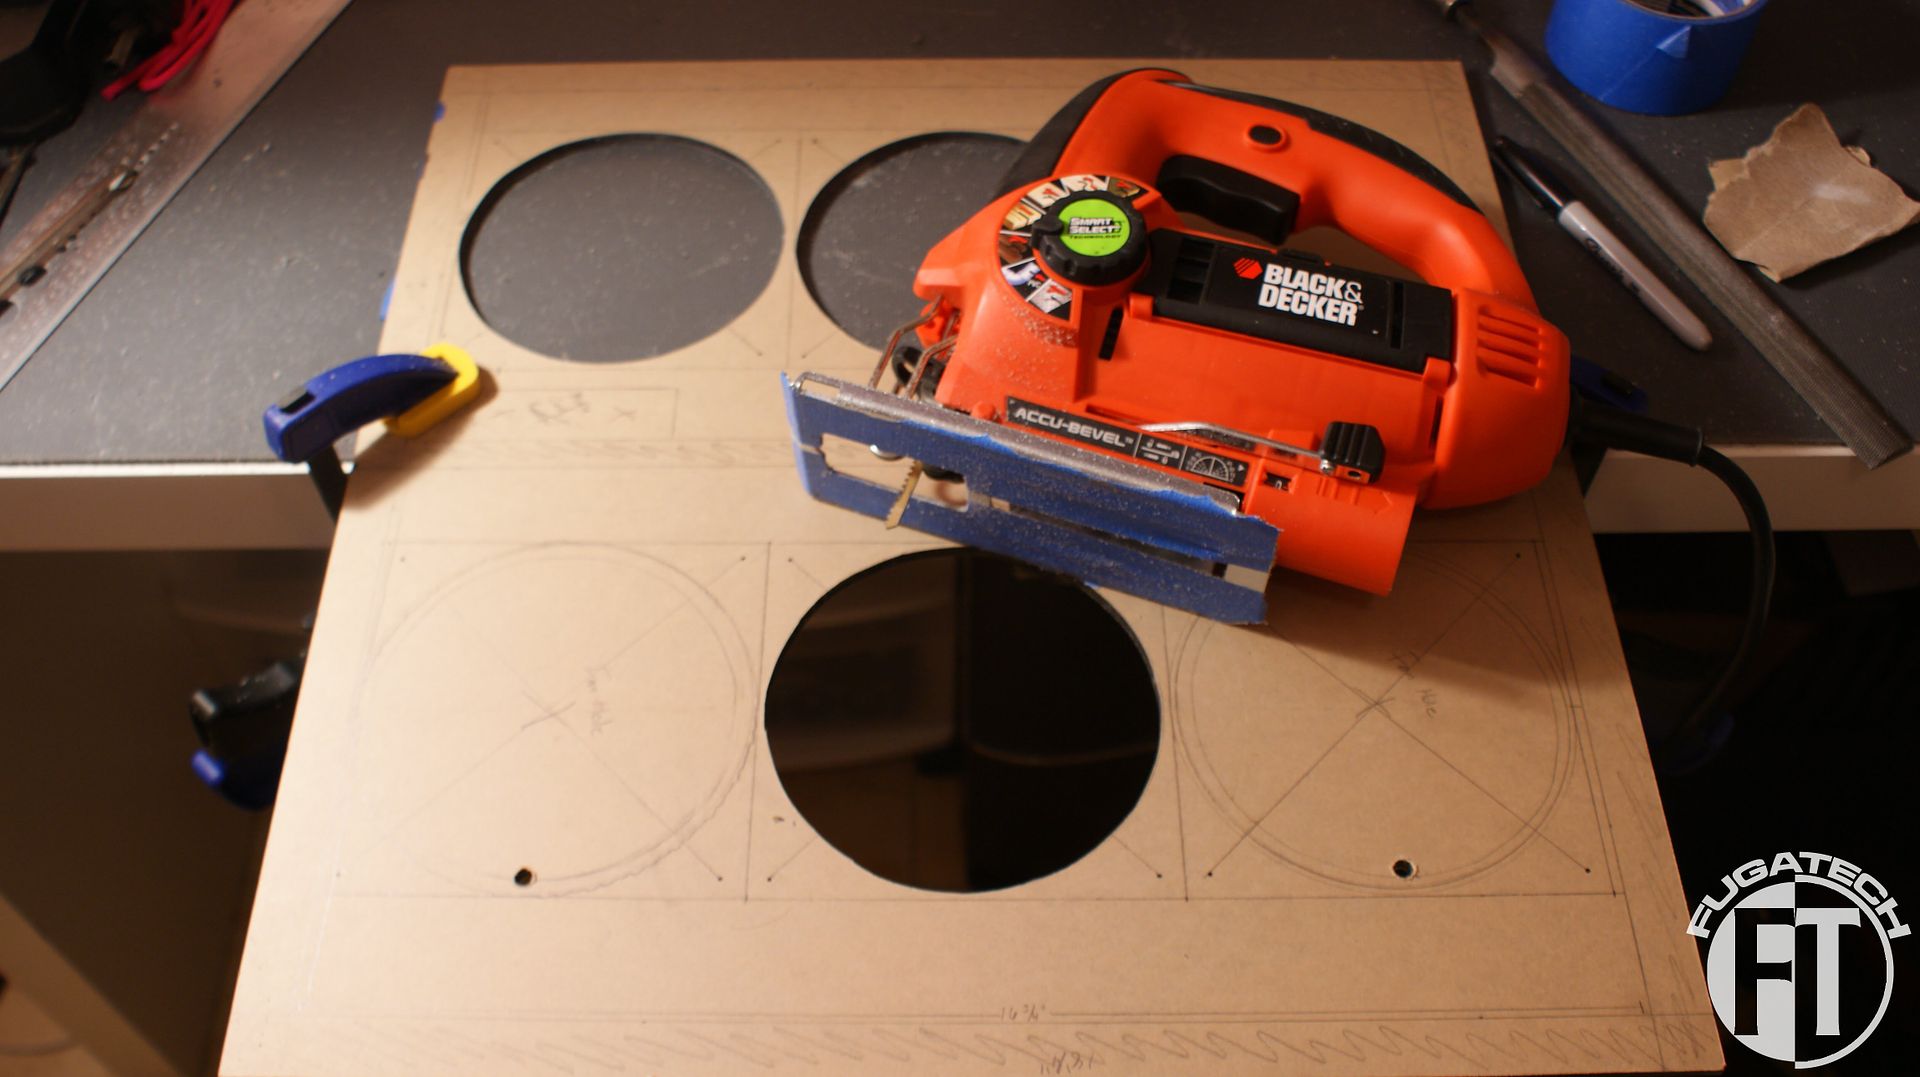
I then started out cutting the 2 fan holes on the mobo side of the case.
Next was the center one of the HDD side.
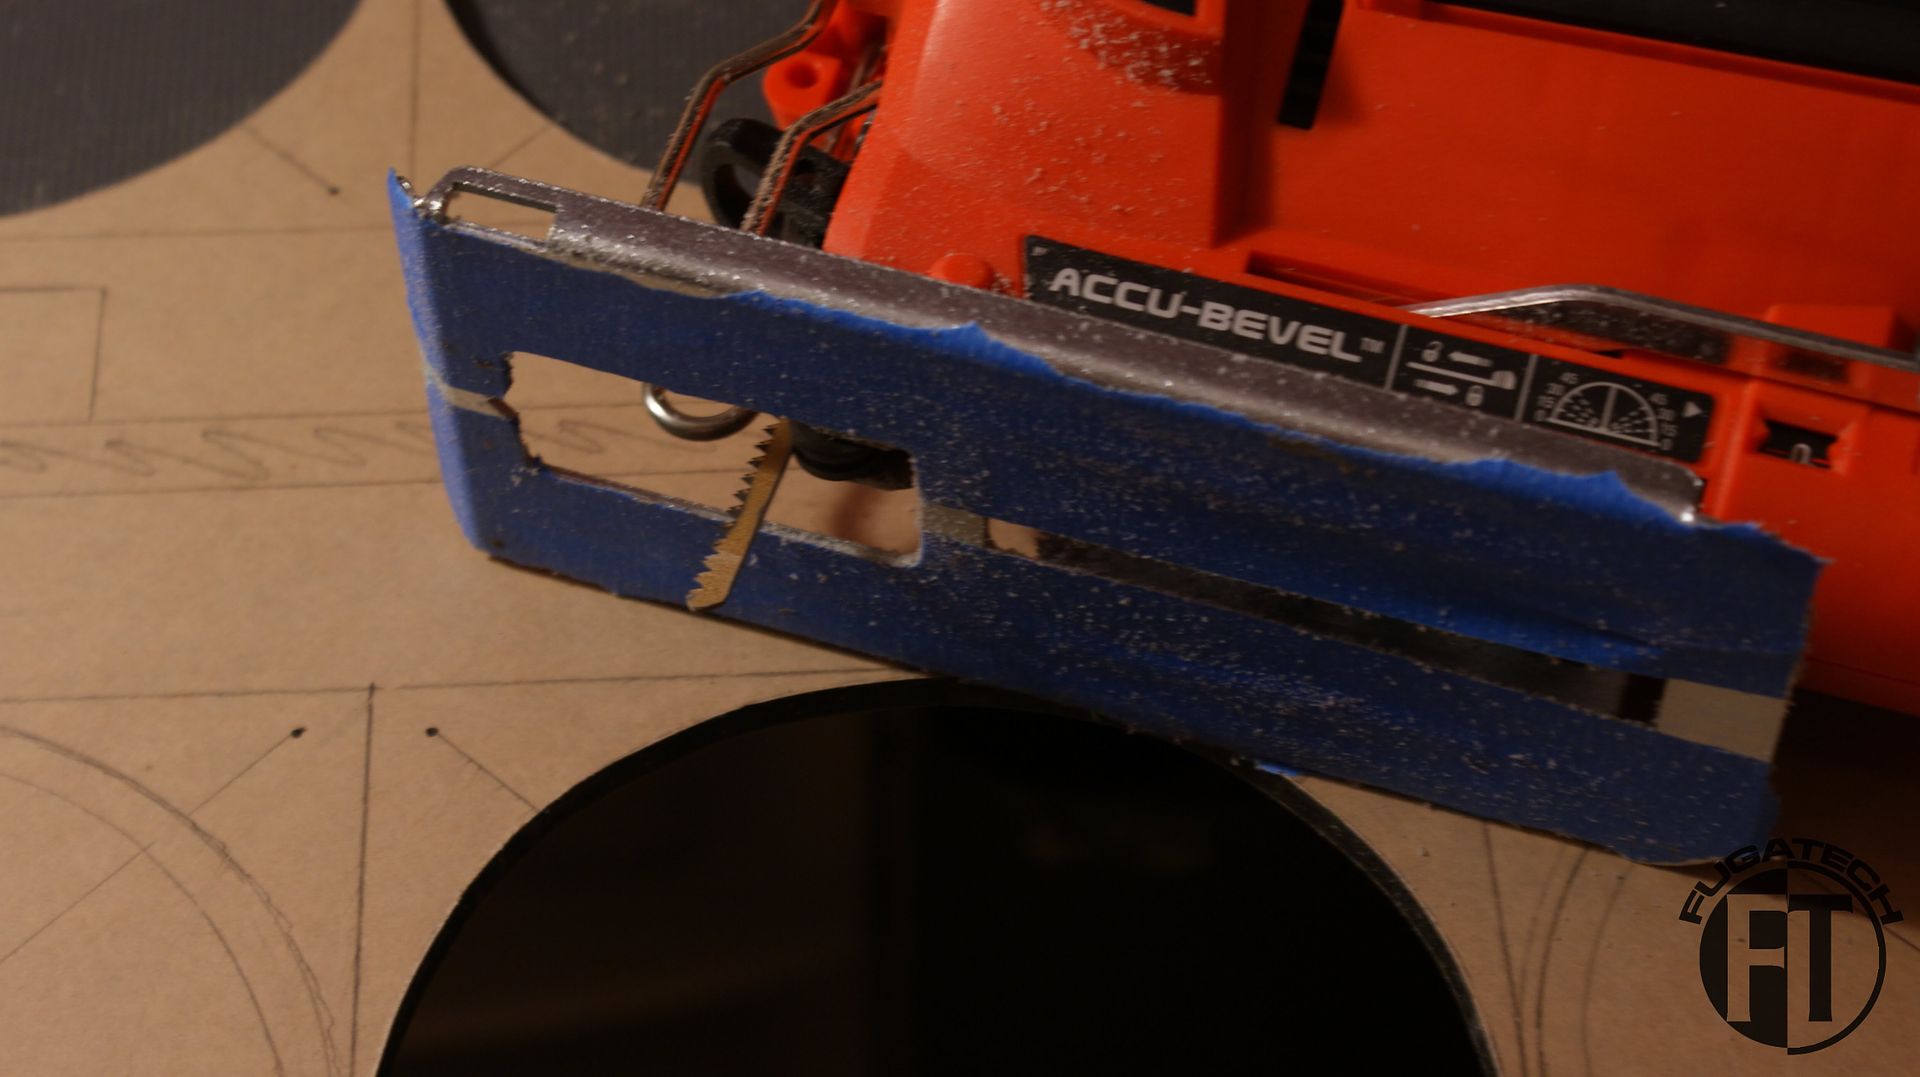
I heard from someone that you should tape the bottom of your jigsaw so that you don't scratch the plexi and so it glides better. Well it worked like a charm for me.
One to go.
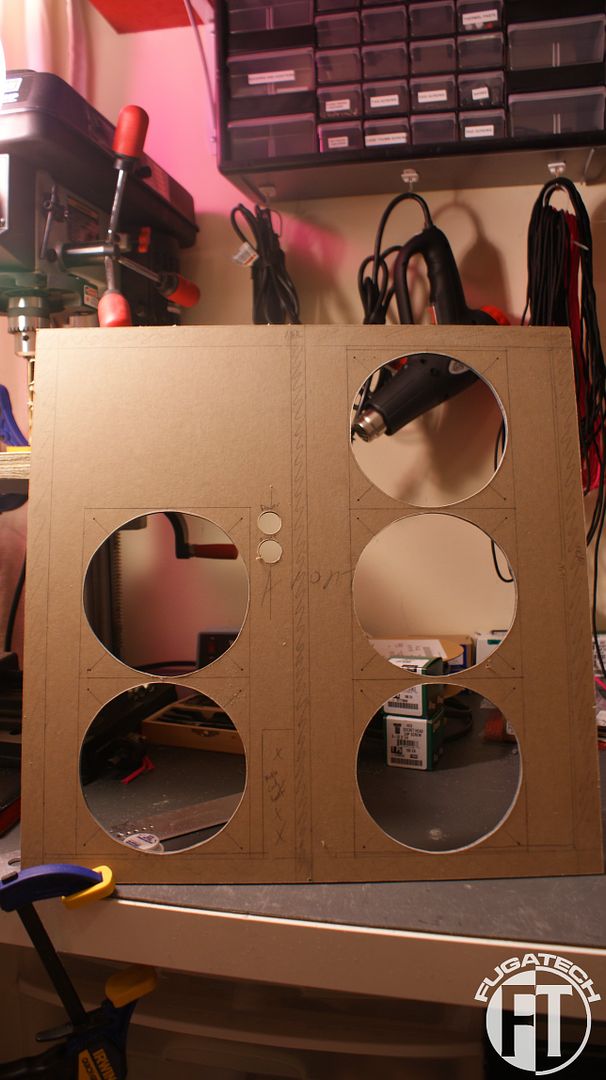
All done.
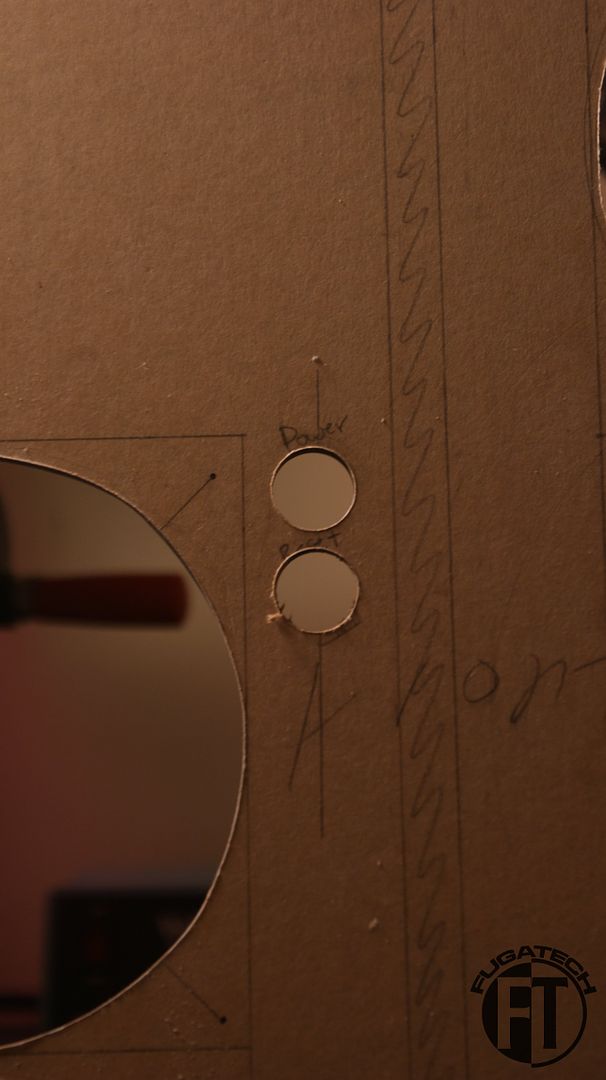
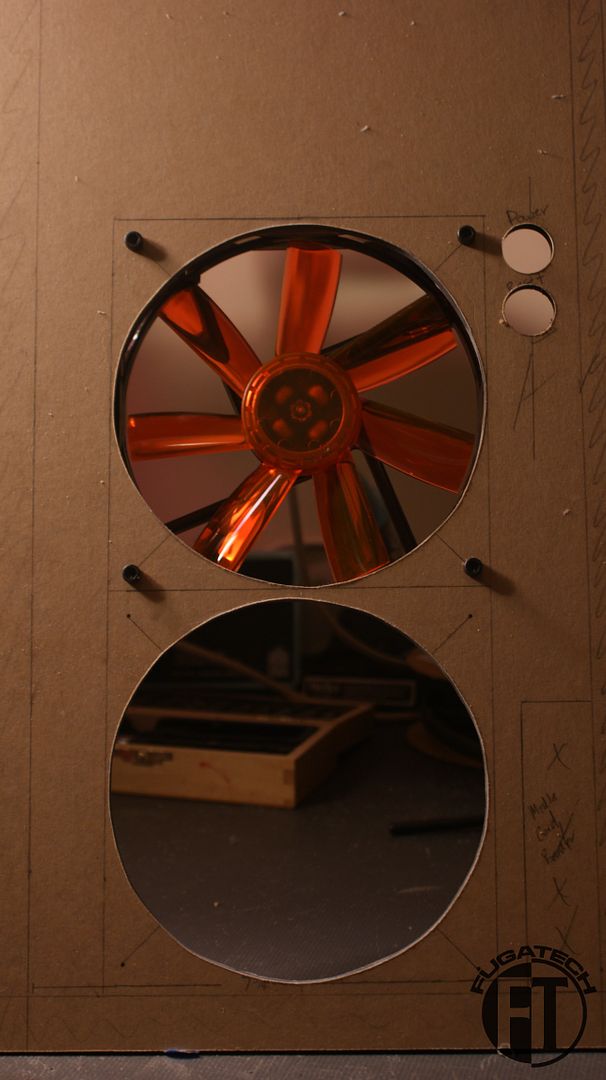
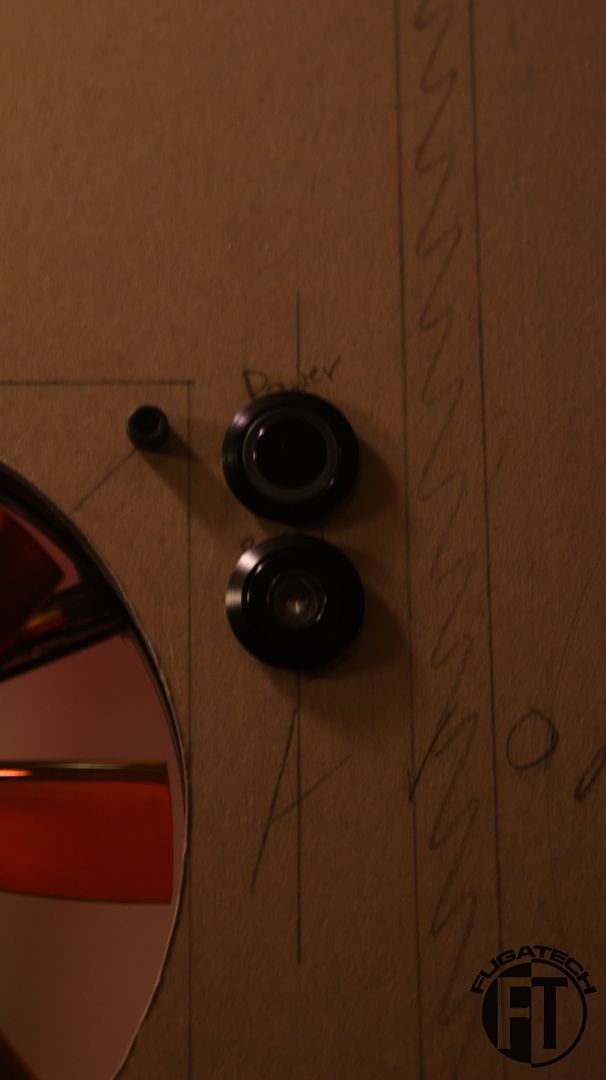
I also drilled out the Power and Reset switch holes.
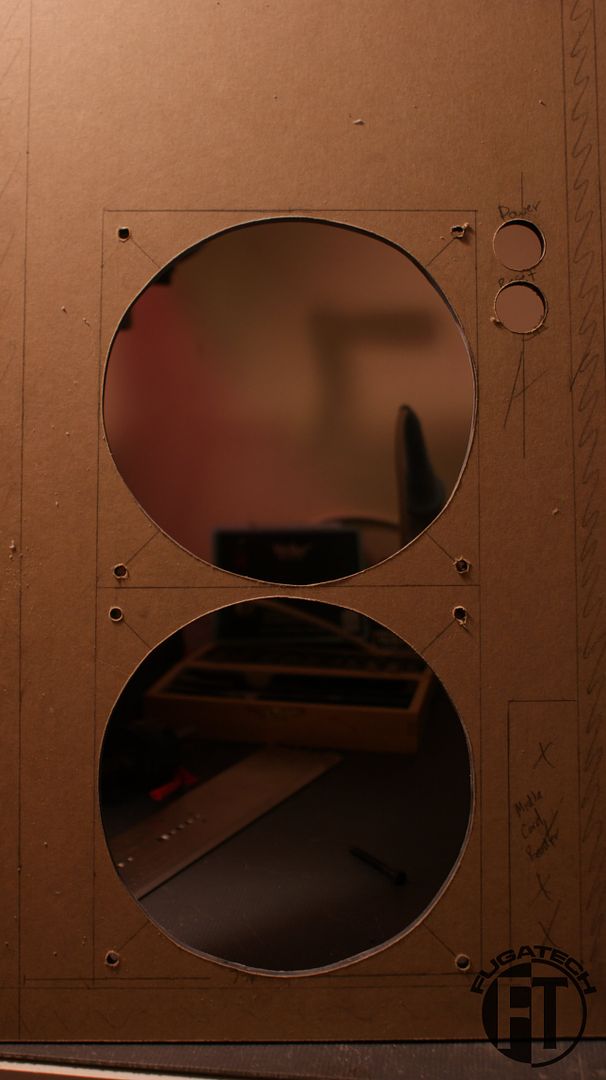
Next I have to drill the holes for the screws.
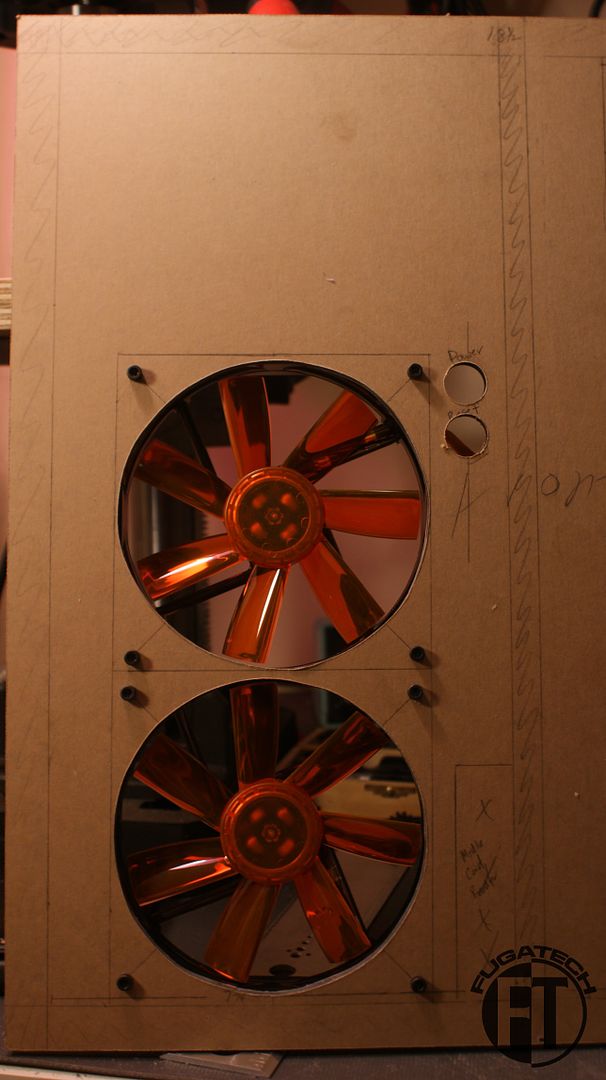
Now to test fit some of the fans.
And the switches.
Looks good. They stick out a smidge so I'll have to sand the holes a bit more or something.
I'm using 8-32 x 1 1/2" Socket Head Cap Screws with 8-32 Hex nuts.
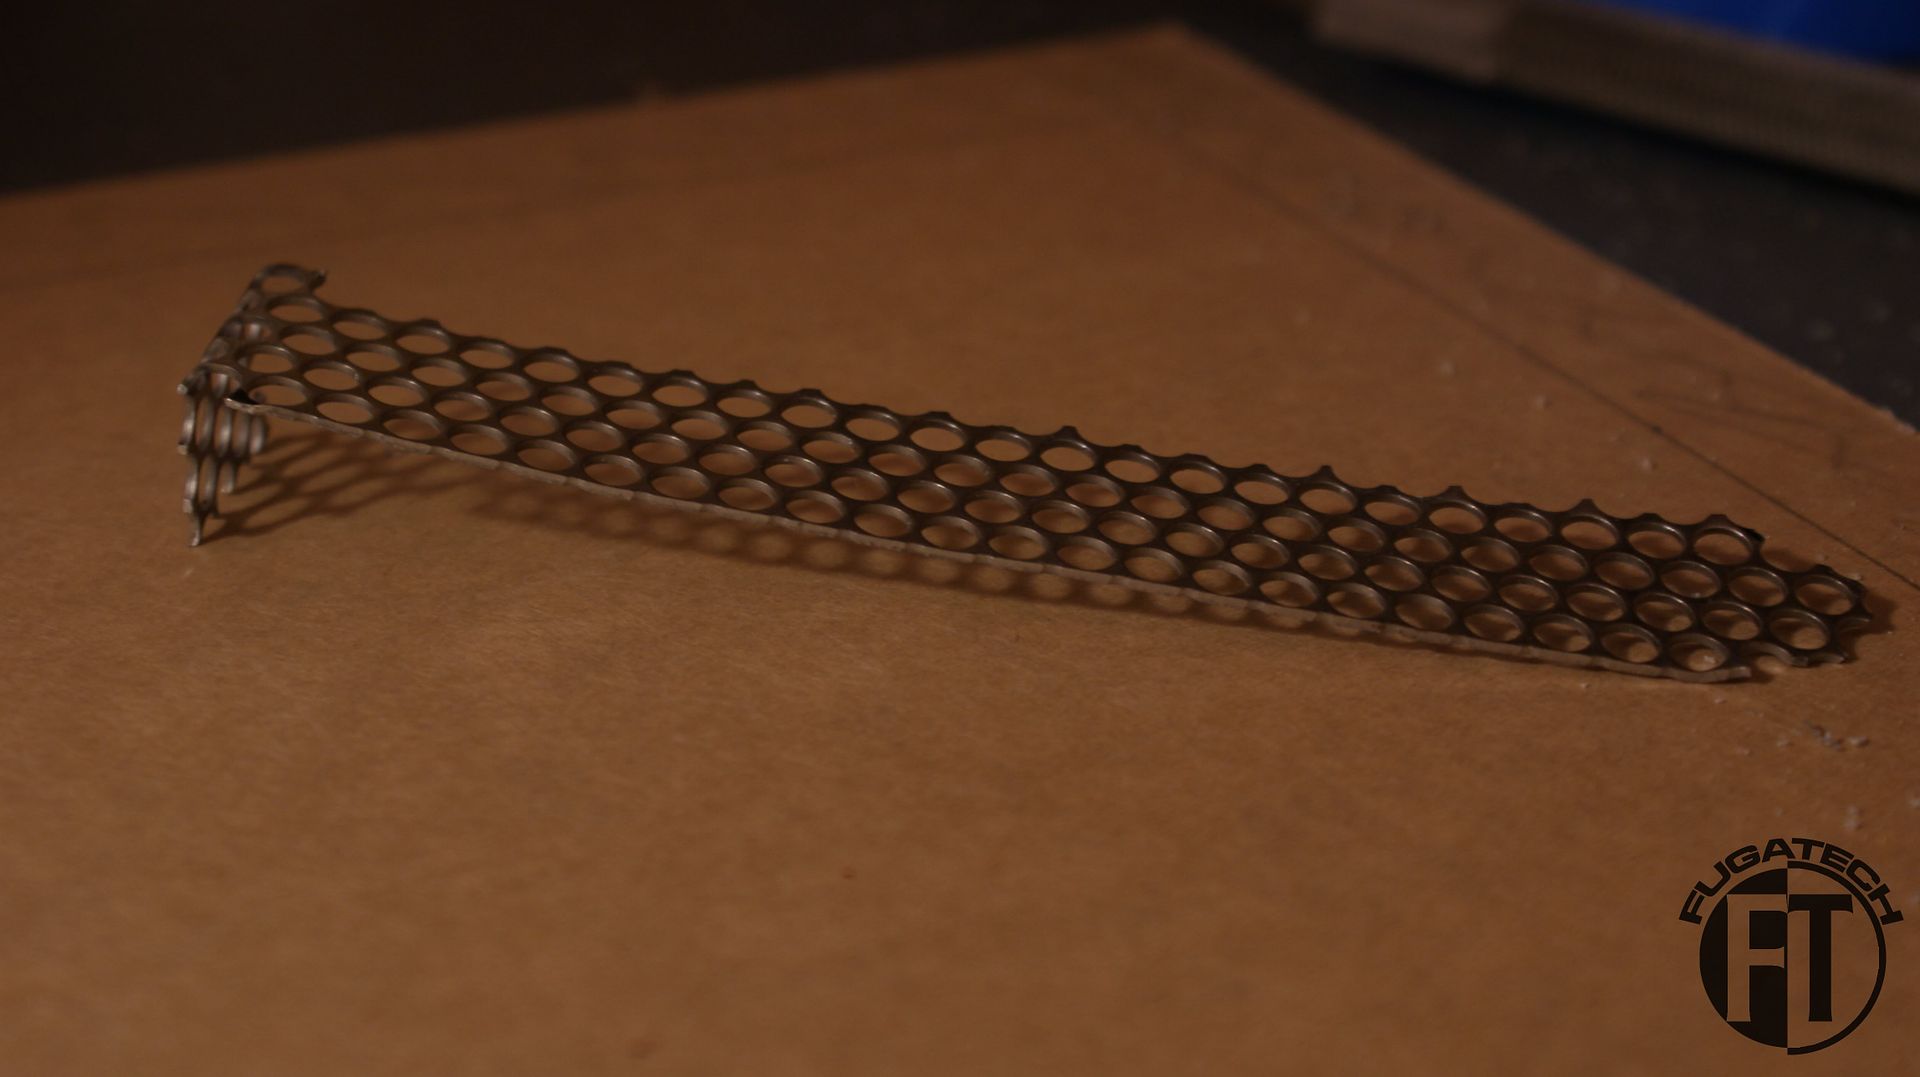
I also did a little brainstorming on the I/O covers. I didn't like the ones that came with the mobo tray so I thought I would try my skill at making my own from some MNPCTECH Modders Mesh.
Stock cover.
I straightened it out as much as I could.
And after a bit of cutting and bending.... I got this. And it fits perfectly.
How does it look?
I finally got in touch with Delvie's Plastics to order some more plexi since I broke the back panel. I also needed the hexagons laser cut and I needed a few sheets of orange for the 2 side panel windows.
I bought some Orange paint while I was home on vacation. Do you guys think a Orange mobo tray and I/O back plate would look good Orange? Or should I just paint the I/O covers Orange? I appreciate the feedback.
Cheers till next time.
looking good :D
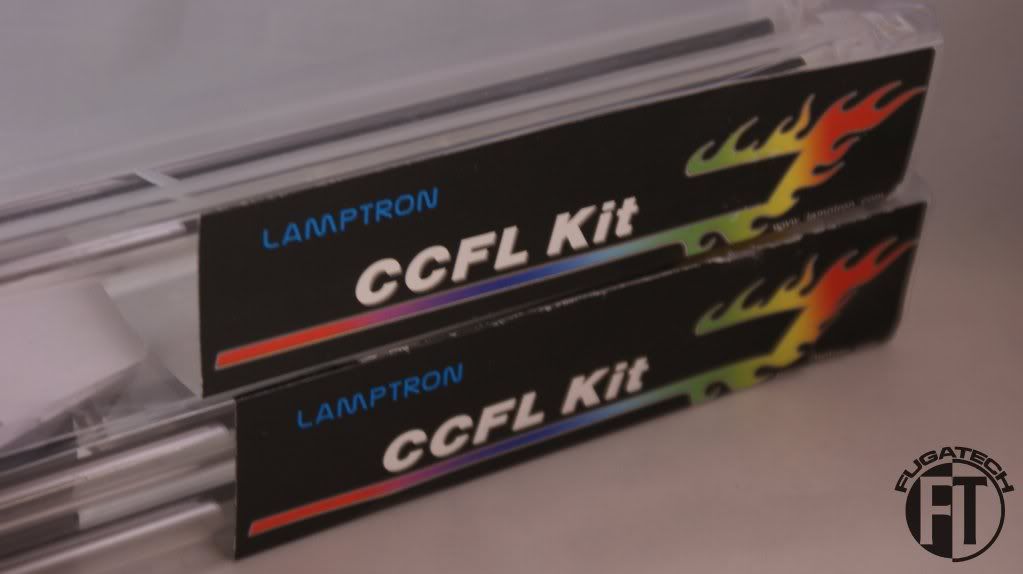
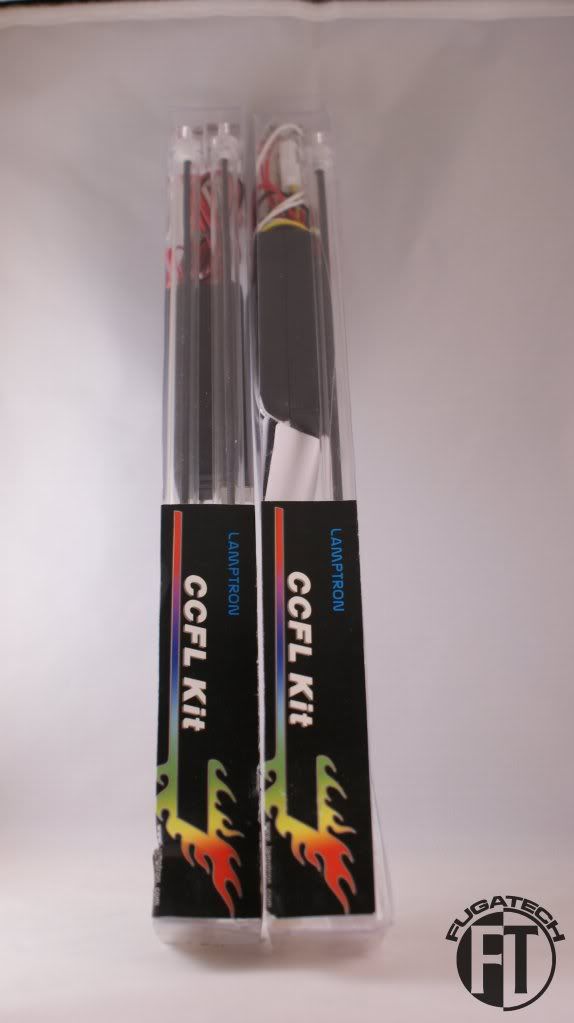
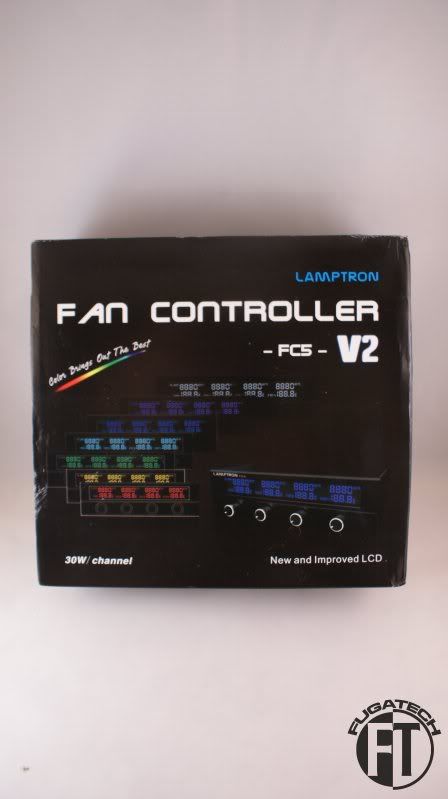
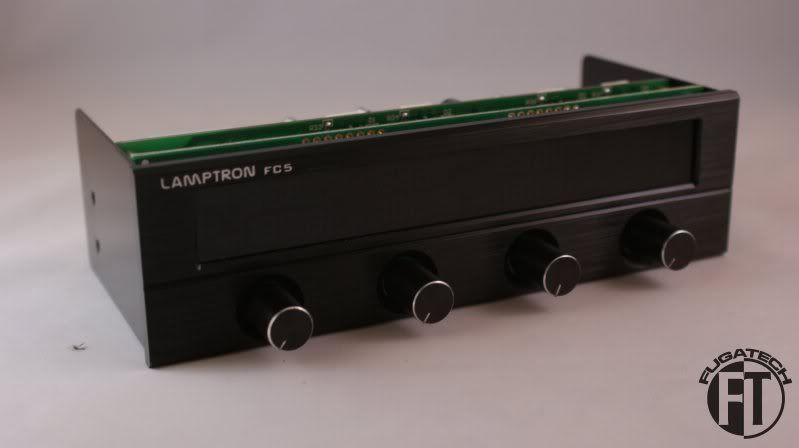
Lamptron hooked me up with a few things.
2x 12" UV Cold Cathode Kits
FC5v2 4 channel Fan Controller
You can check out the review I did for Lamptron on the FC5v2 here.
Thanks again to Lamptron for helping out with this mod!
Cheers till next time.
sweet stuff from lamptron.
30W a channel is pretty dank!
Since its a 3 day weekend I will be trying to get as much done as I can. Here is what I did last night.
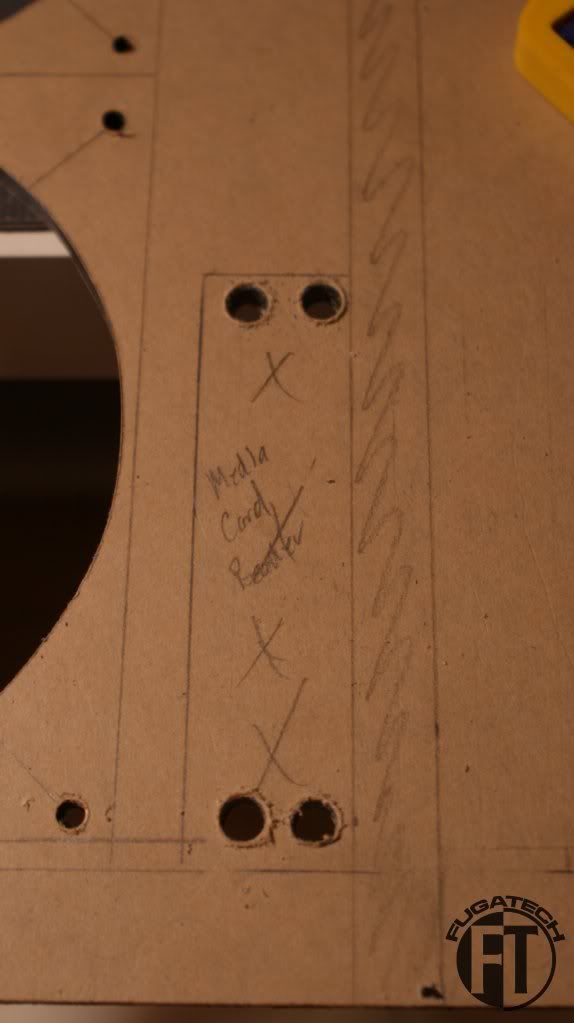
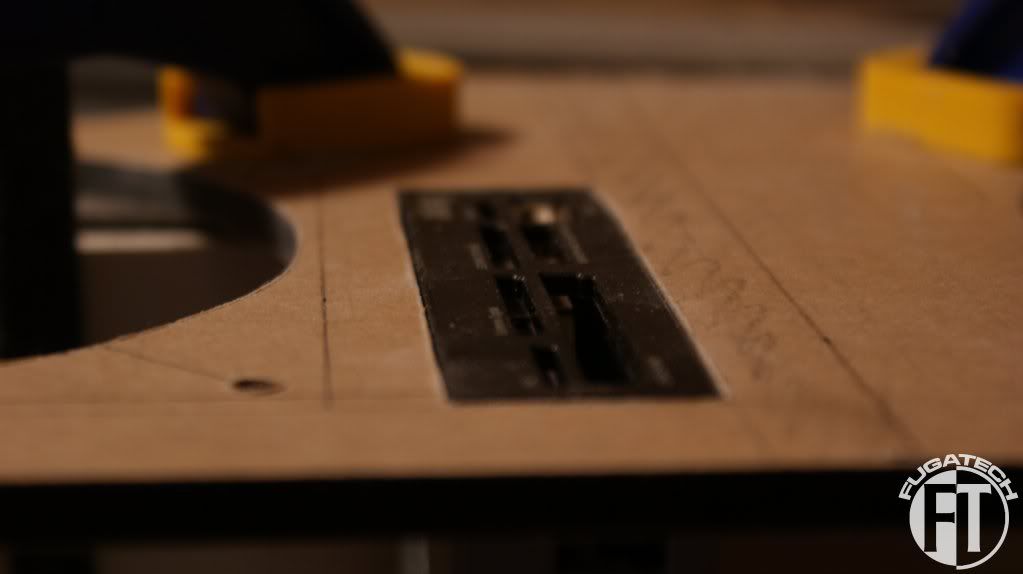
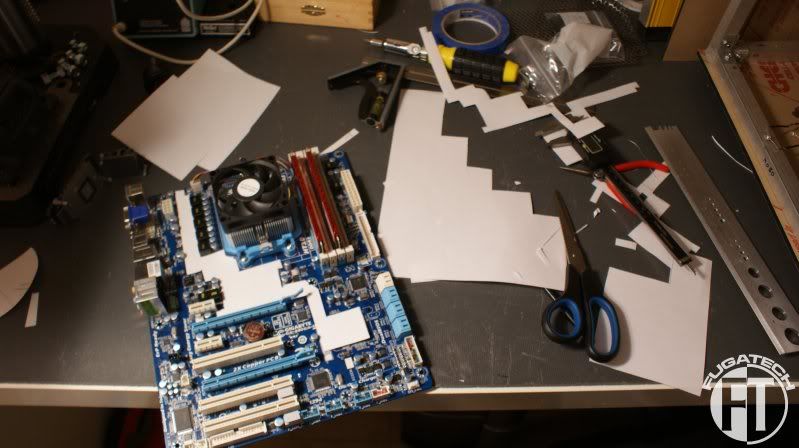
So the media card reader will be in the front plate of the mod. I didn't want to put it anywhere... traditional?
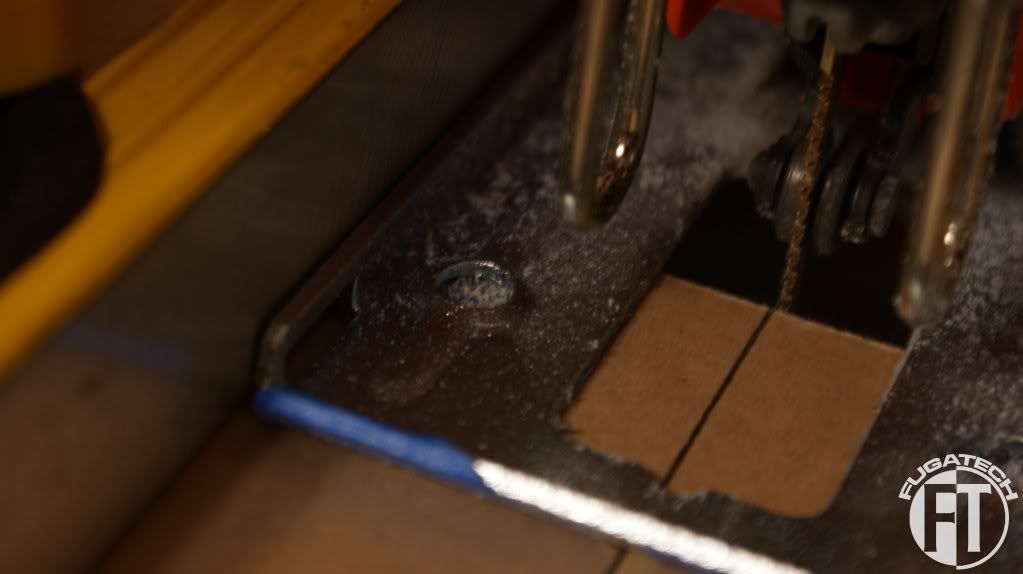
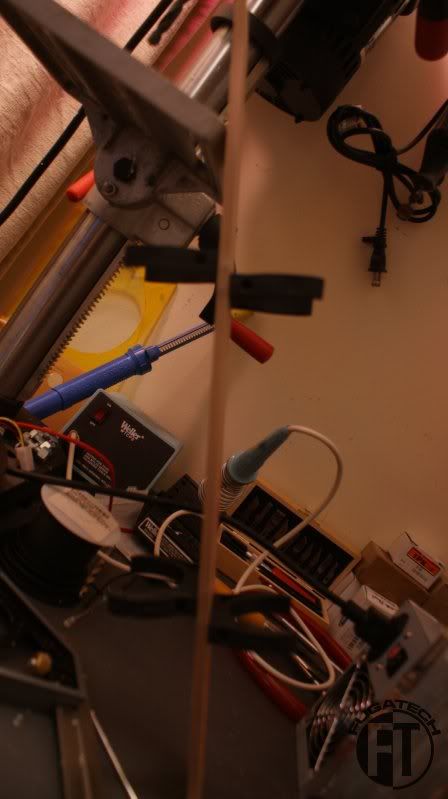
Drilled holes to fit the jig saw blade.
After cutting.
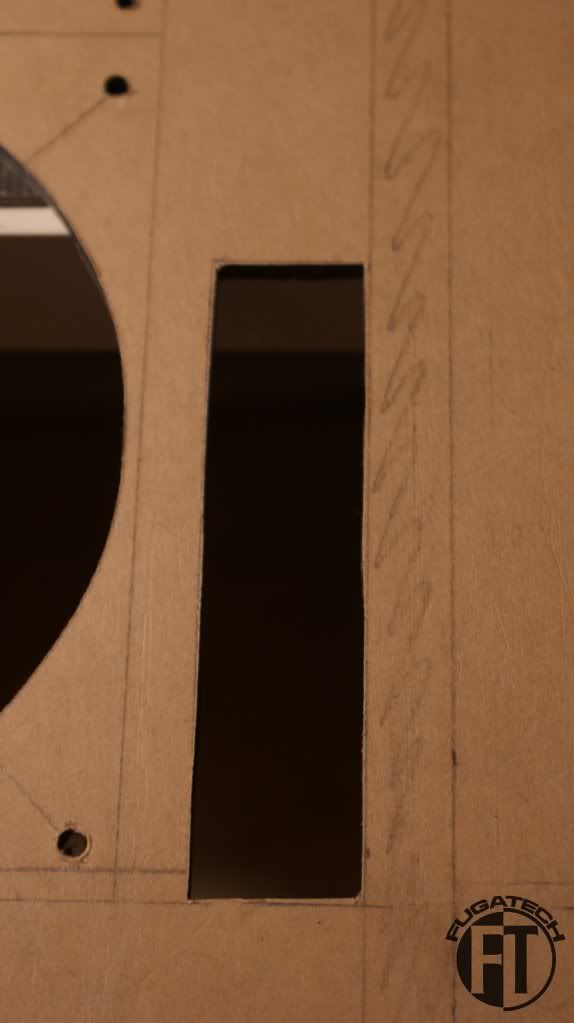
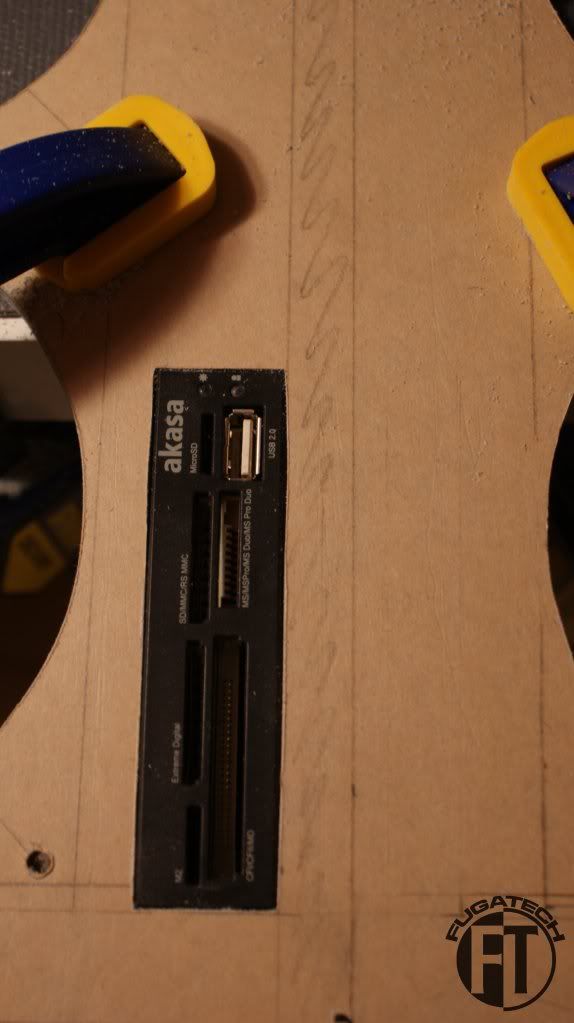
It actually was really straight when I first cut it but I had to widen it roughly 2-3mm so that the card reader would fit snugly. This took almost an hour because I didn't want to take too much off.
As you can see here. Nothing is holding it up. It fits perfectly.
Flush with the front panel.
That's it for today. More to come this weekend hopefully.
Cheers till then.
oh s@#t your cutting through lexan?
Yea you need some dank machinery to cut that stuff, its impregnated with glass fibers.
Plexiglass is just some plastic crap. but lexan is another beast. You ought to be able to shoot your computer up with .22 shorts from a rifle and it won't make more then a small smudge in the glass lol.
It says Cell-Cast Acrylic Sheet... is that the same as lexan?Quote:
Originally Posted by Twigsoffury
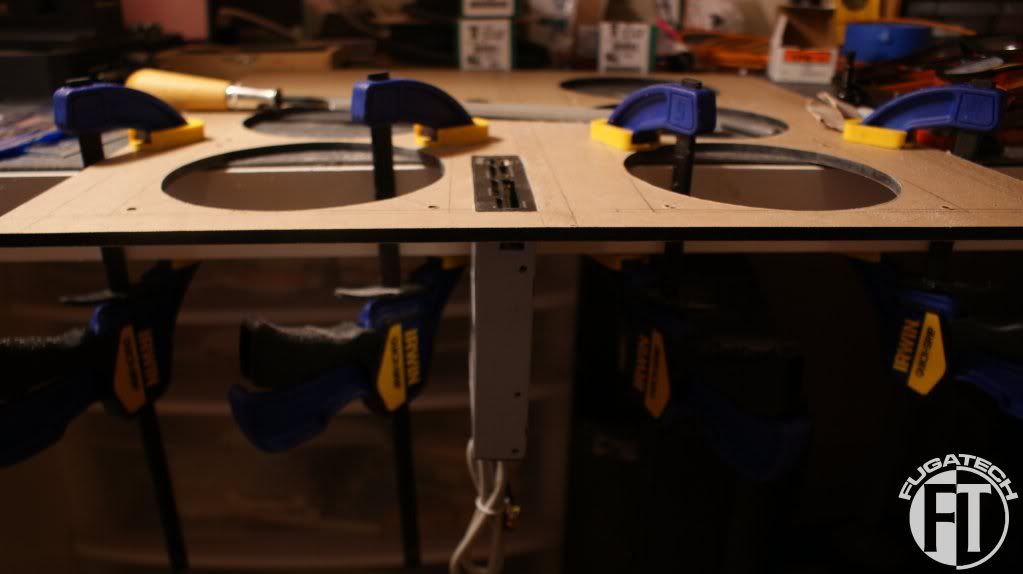
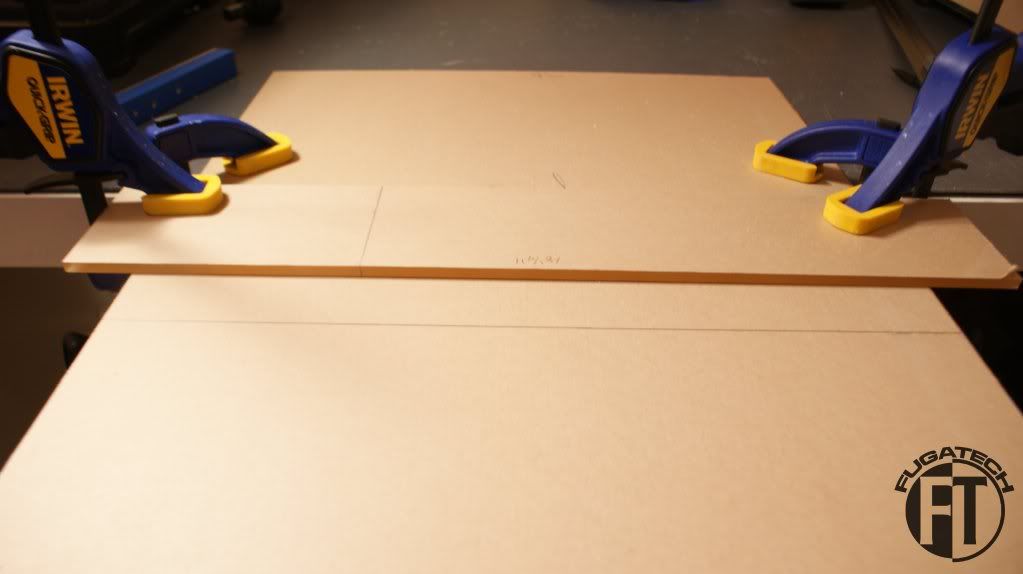
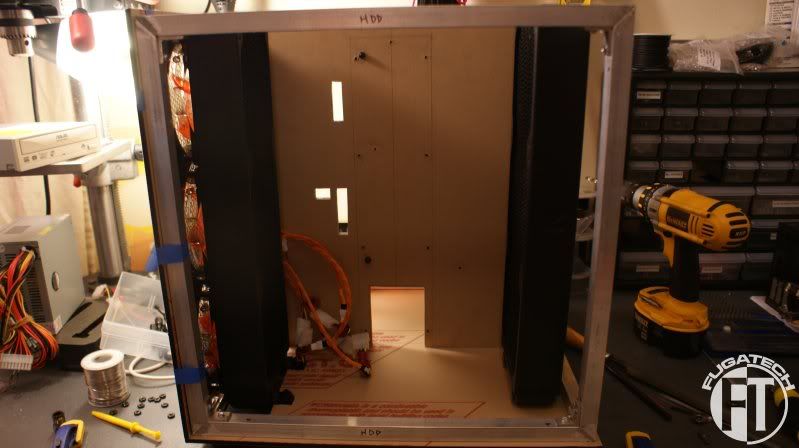
Yesterday and today I worked on putting the top and bottom panels onto the case. I also worked on the design for the side panel window today.
First I measured where I wanted the holes to be for the bottom panel.
Then I drilled and tapped them.
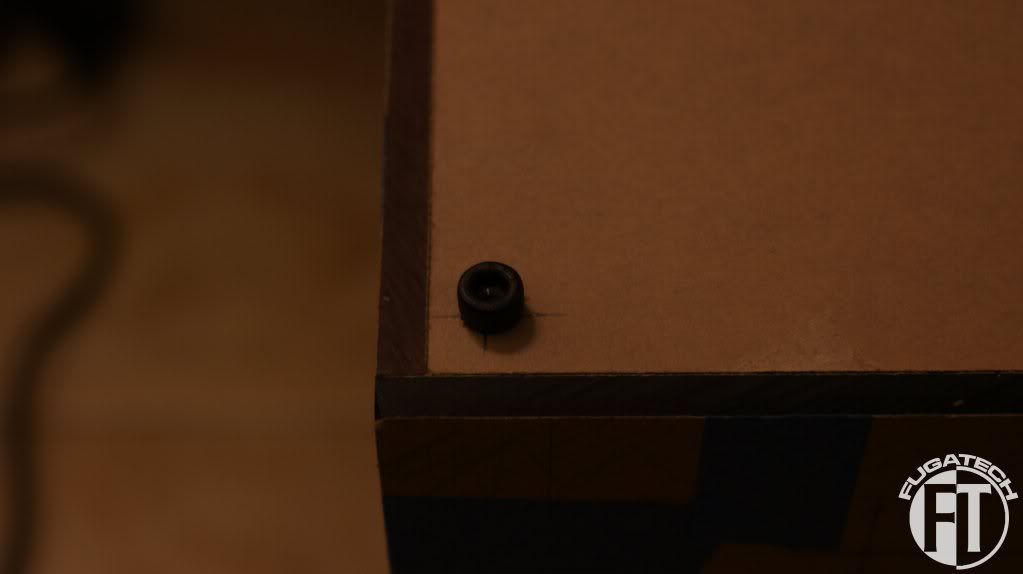
I then drilled the holes for the case screws and for the case feet.
Attached the feet.
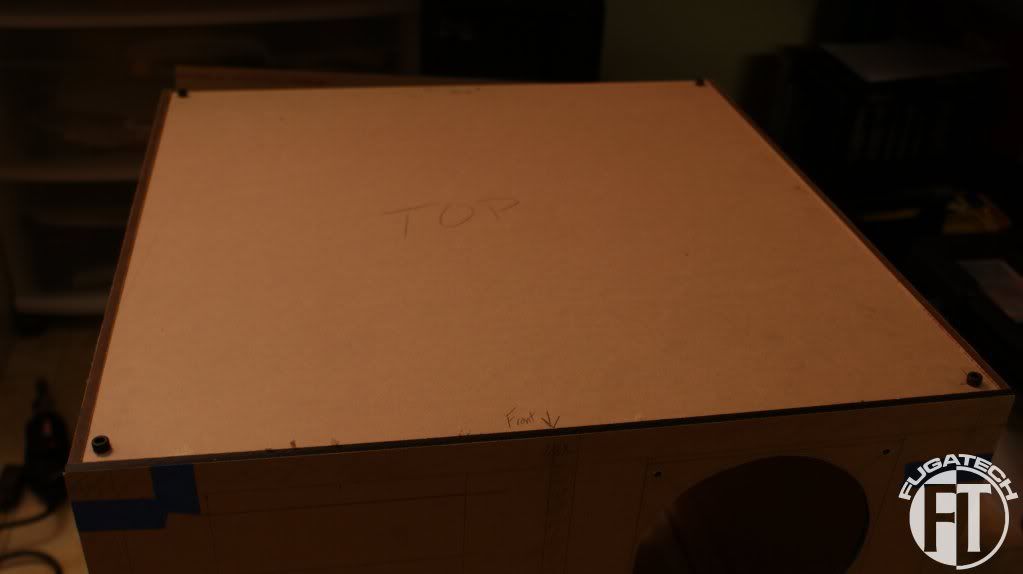
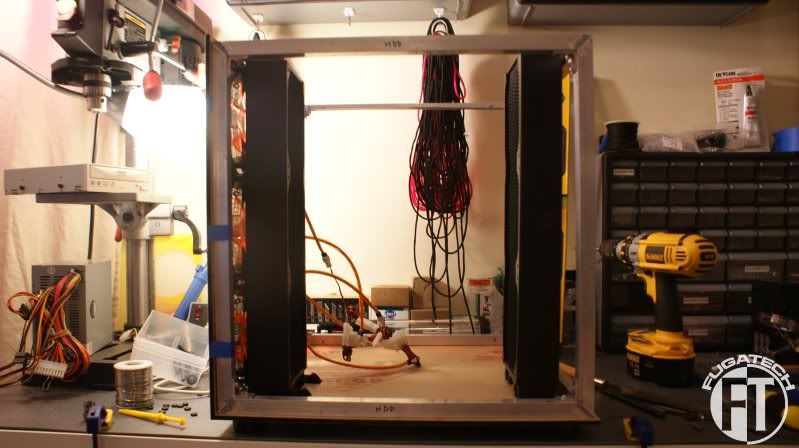
In order to do the top panel I had to temperamentally attach the side and front panels.
Marked where I need to drill.
Another good fit.
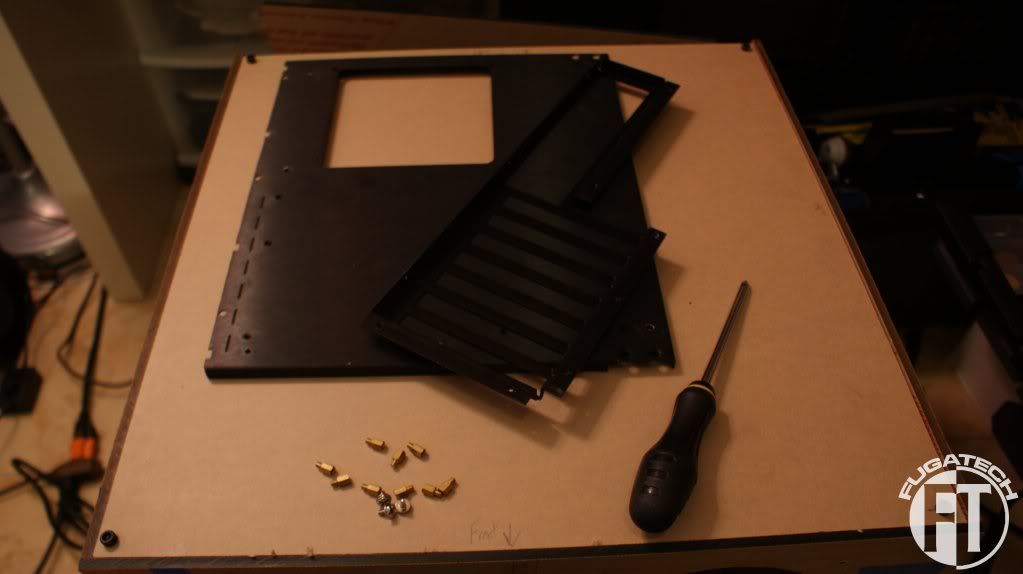
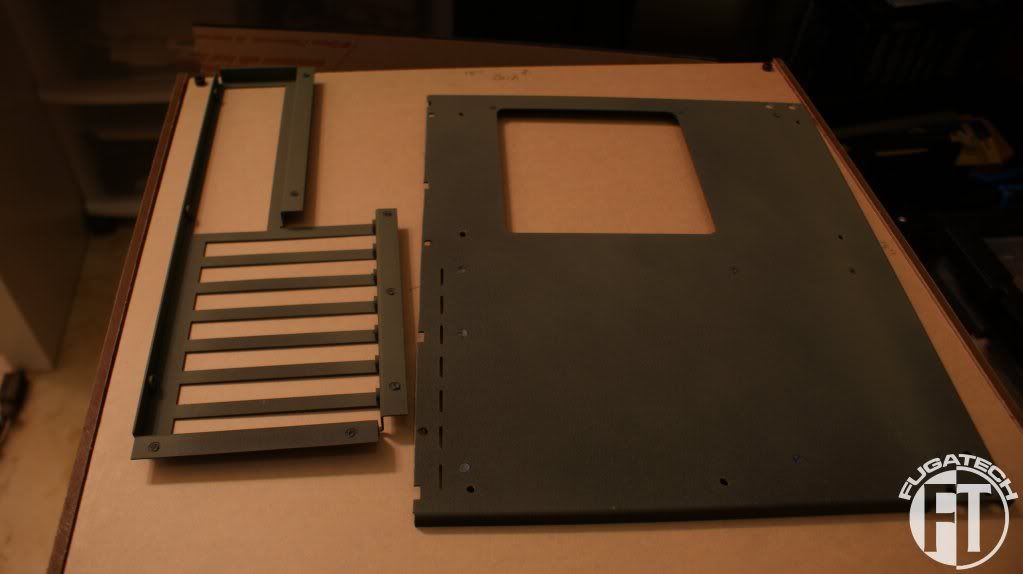
I decided that I wanted to paint the motherboard tray and I/O backplate orange so I took them apart.
Sprayed them with some self etching primer.
And now I am putting the orange on. I am doing light coats so that it looks even.
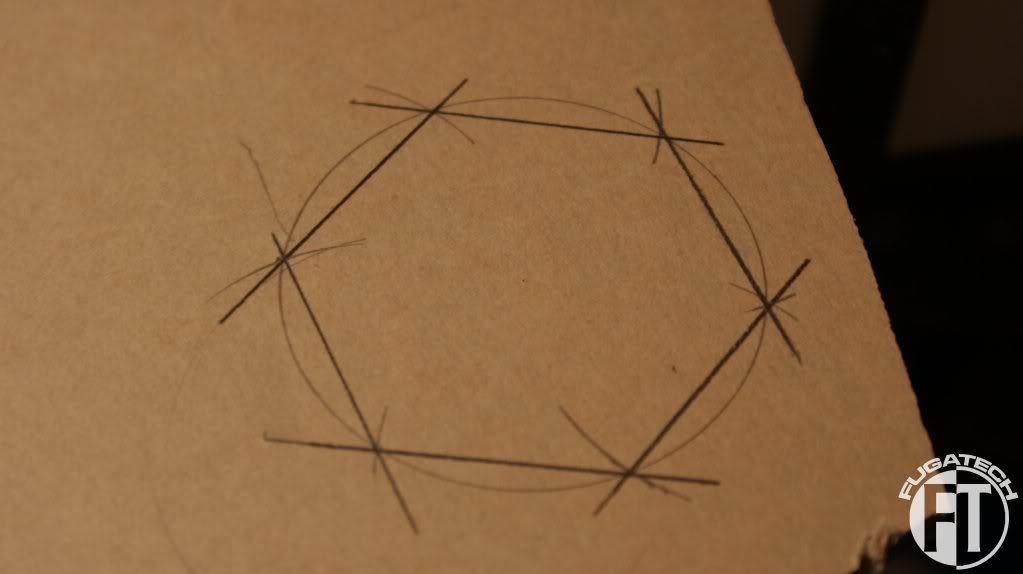
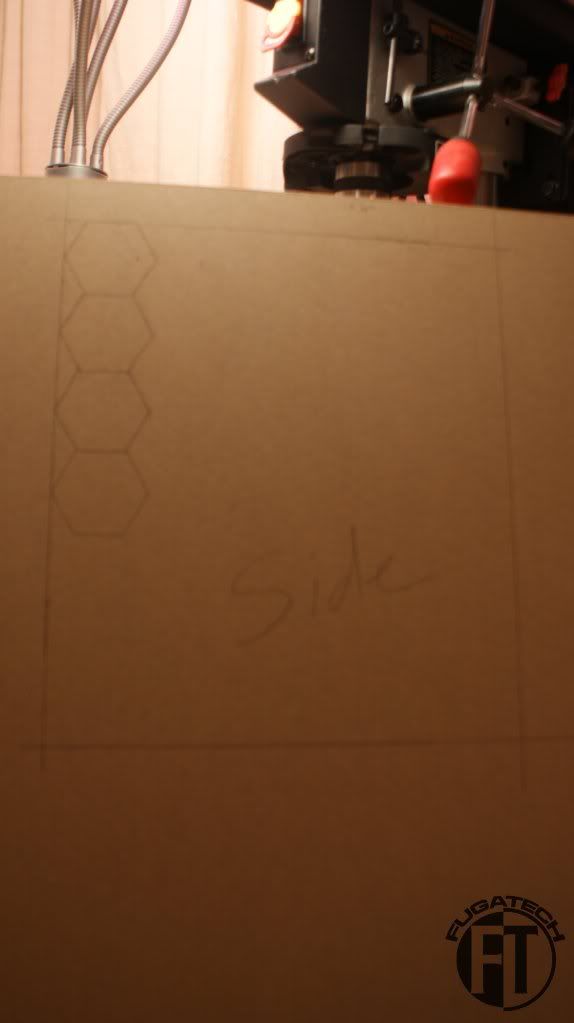
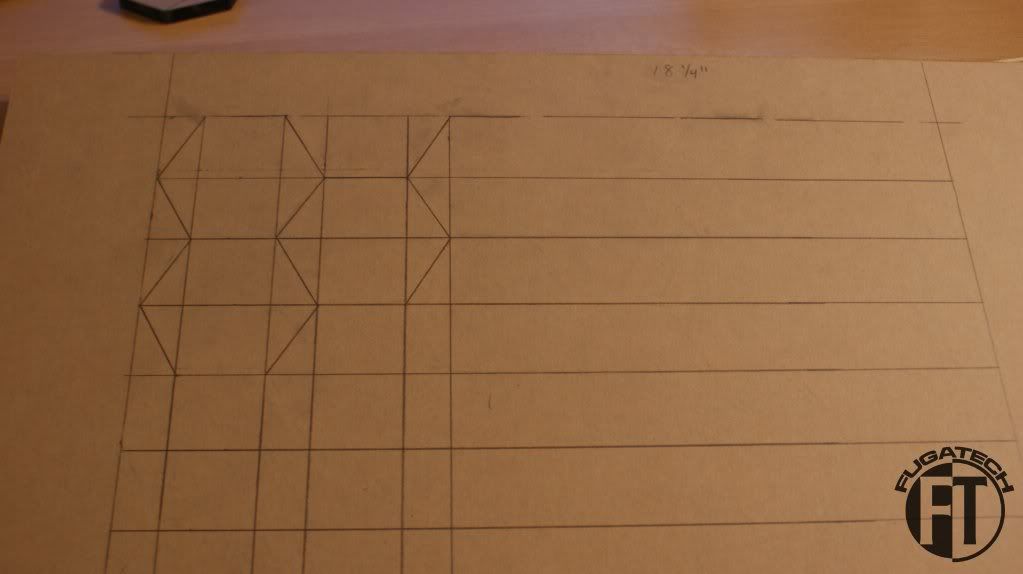
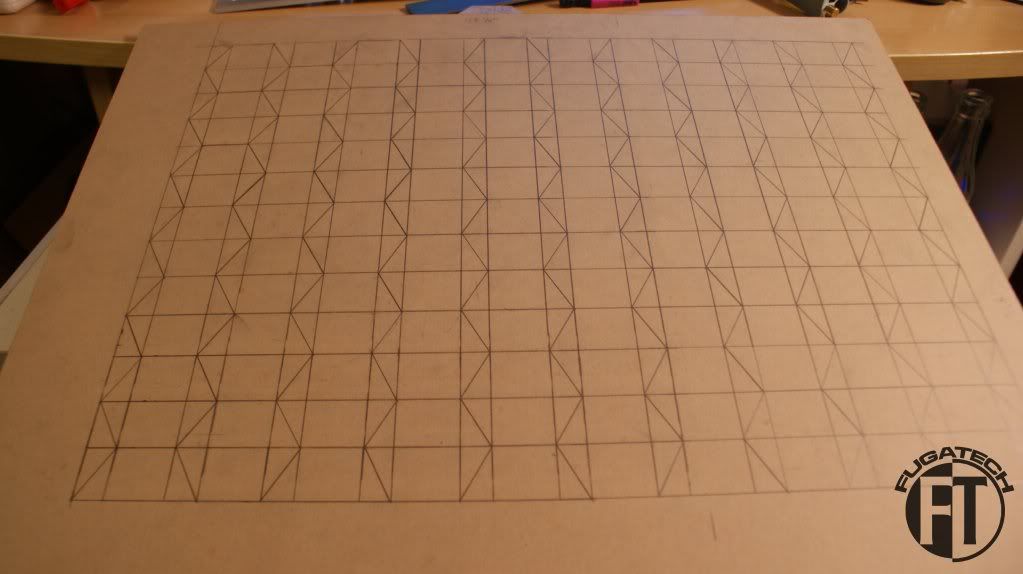
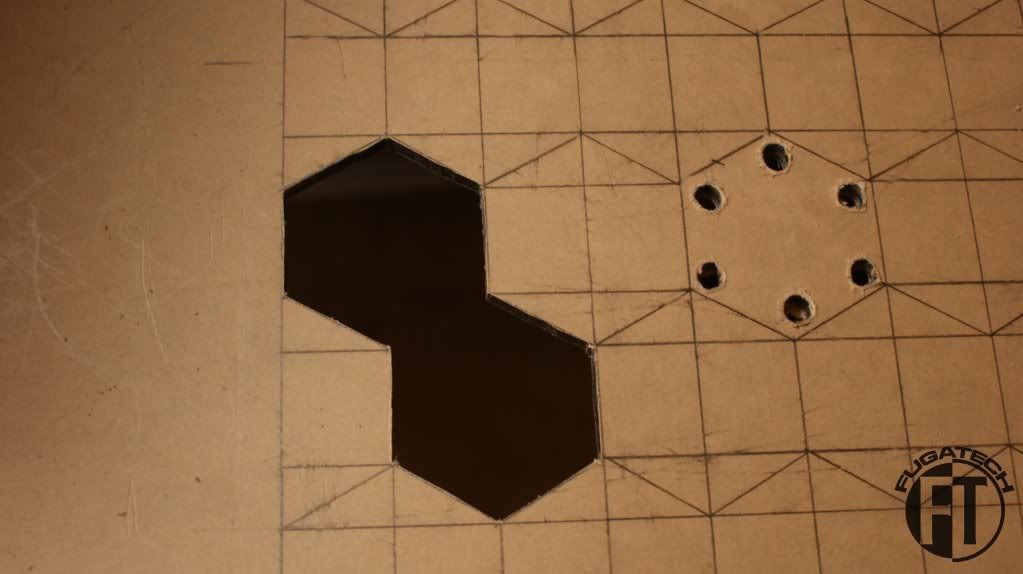
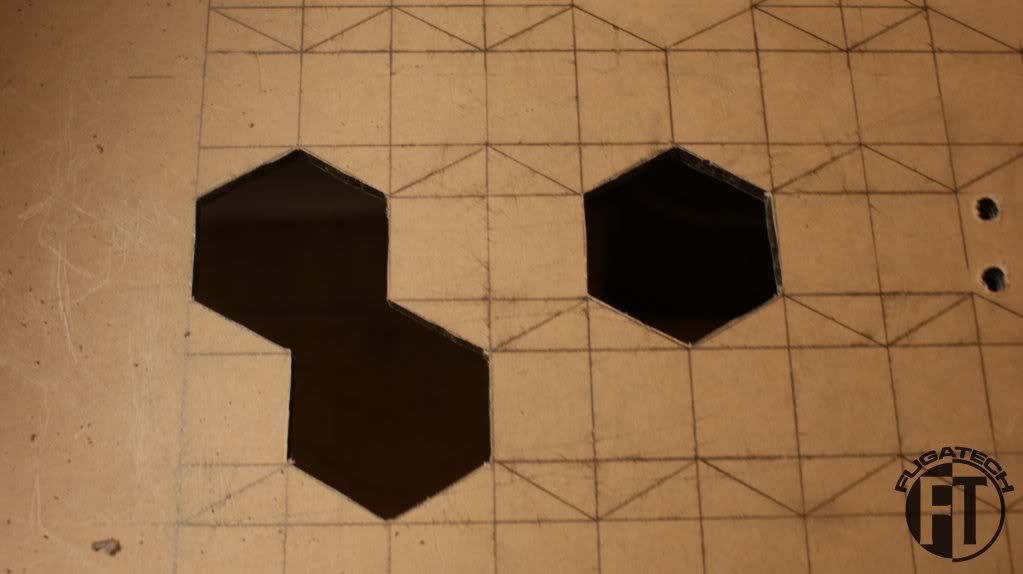
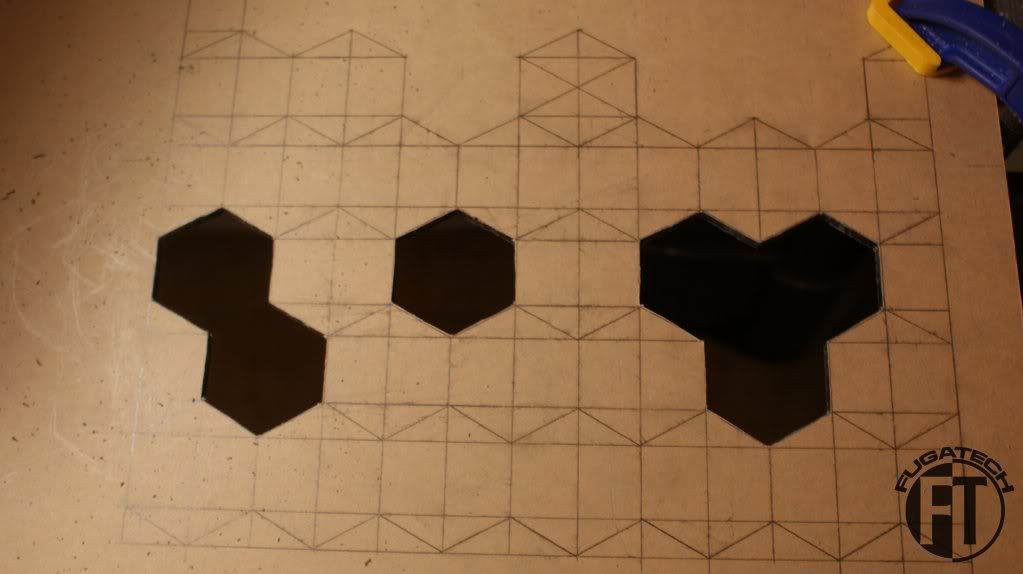
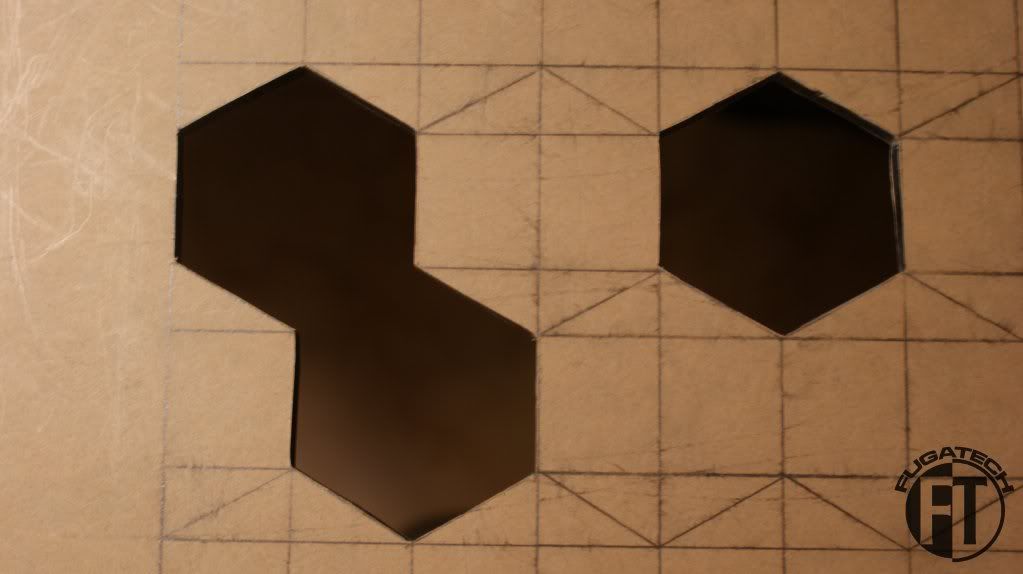
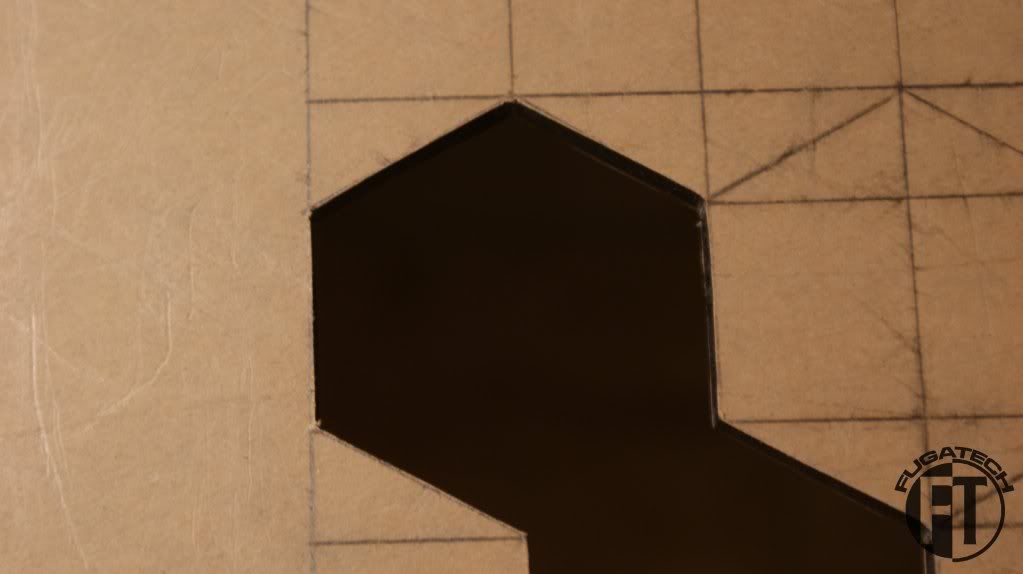
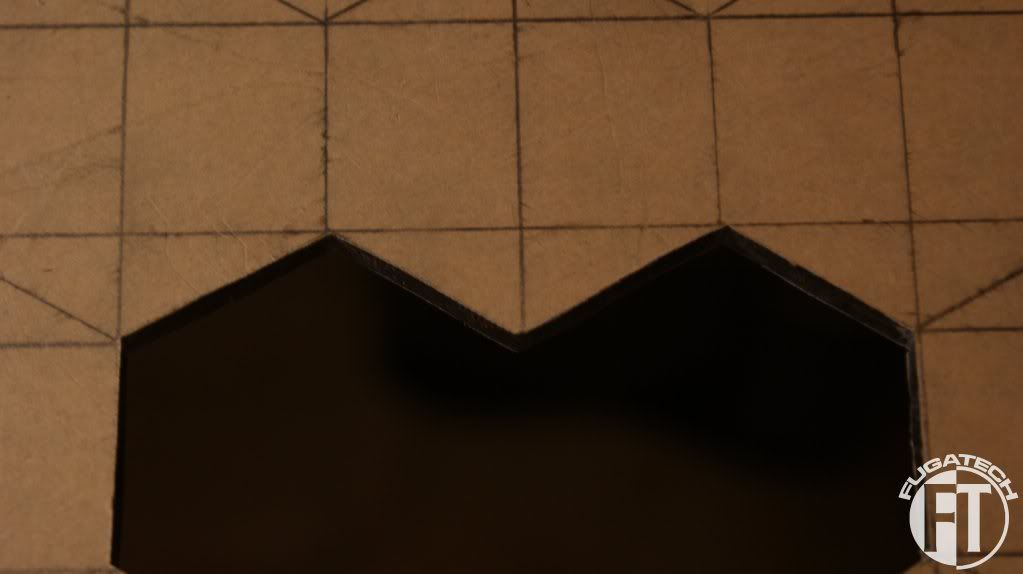
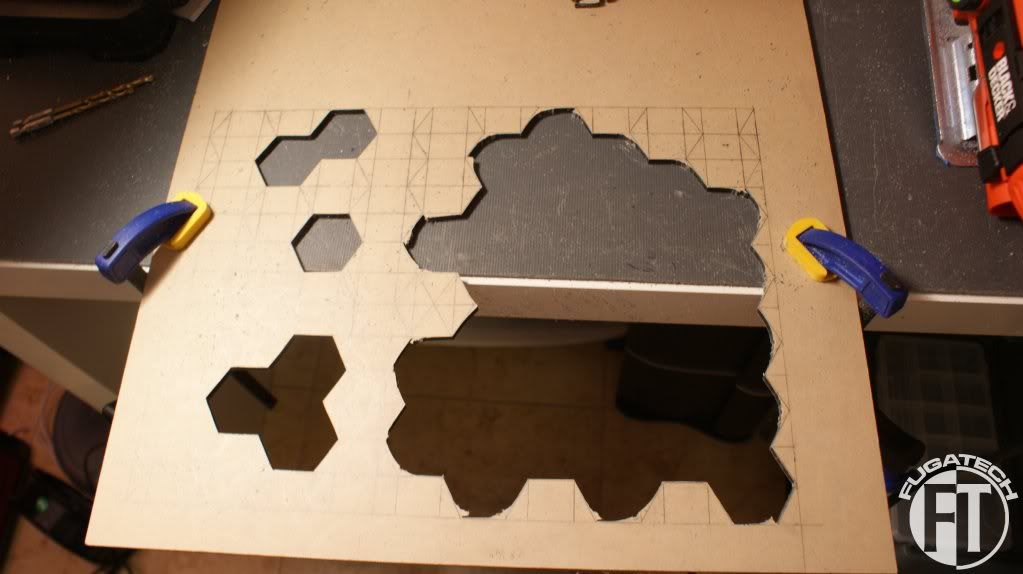
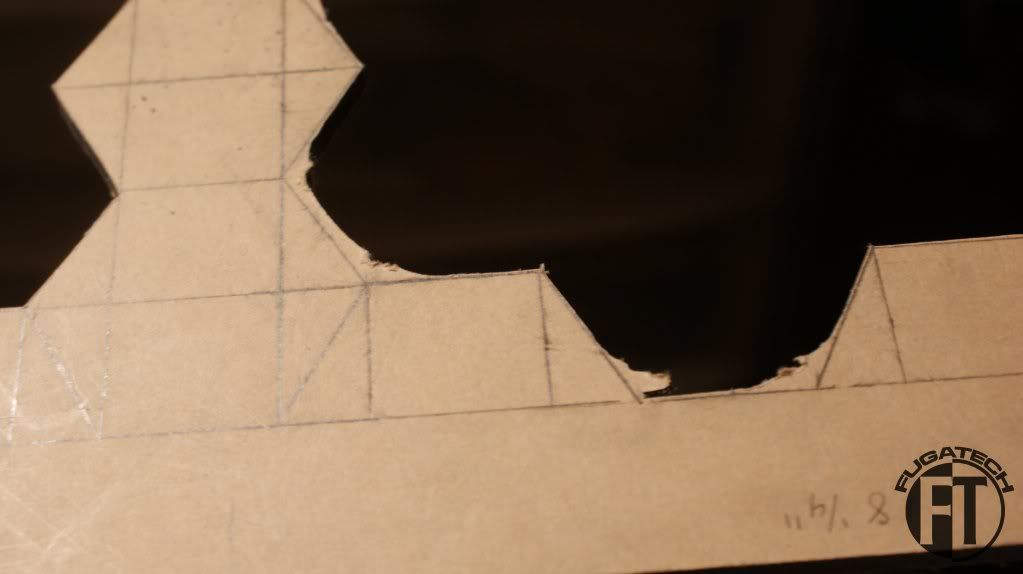
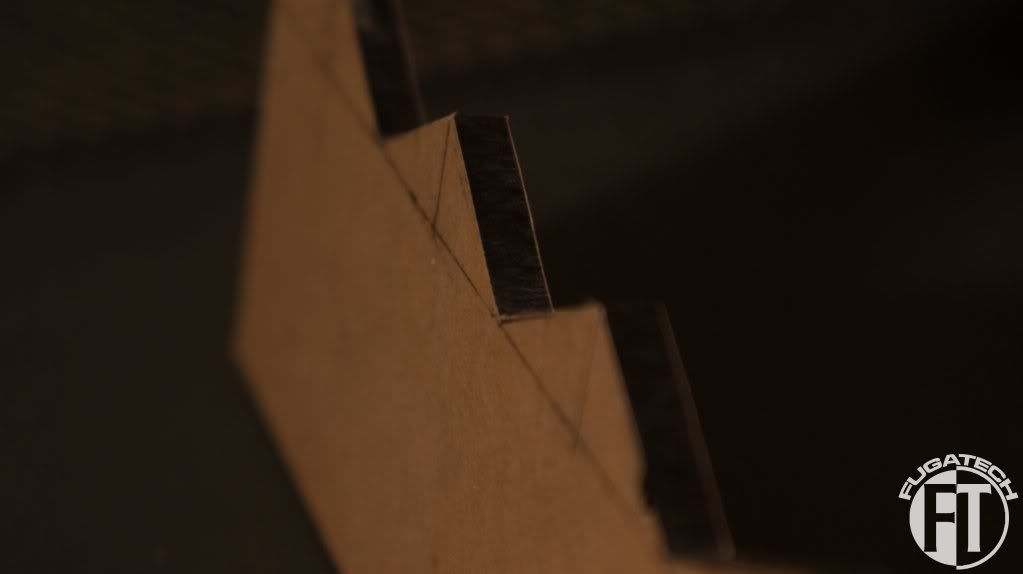
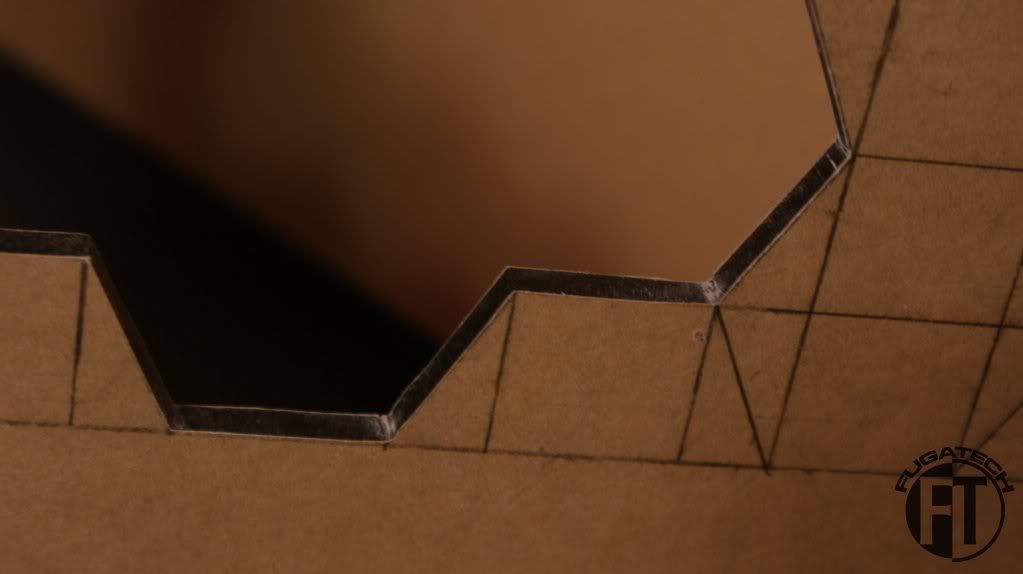
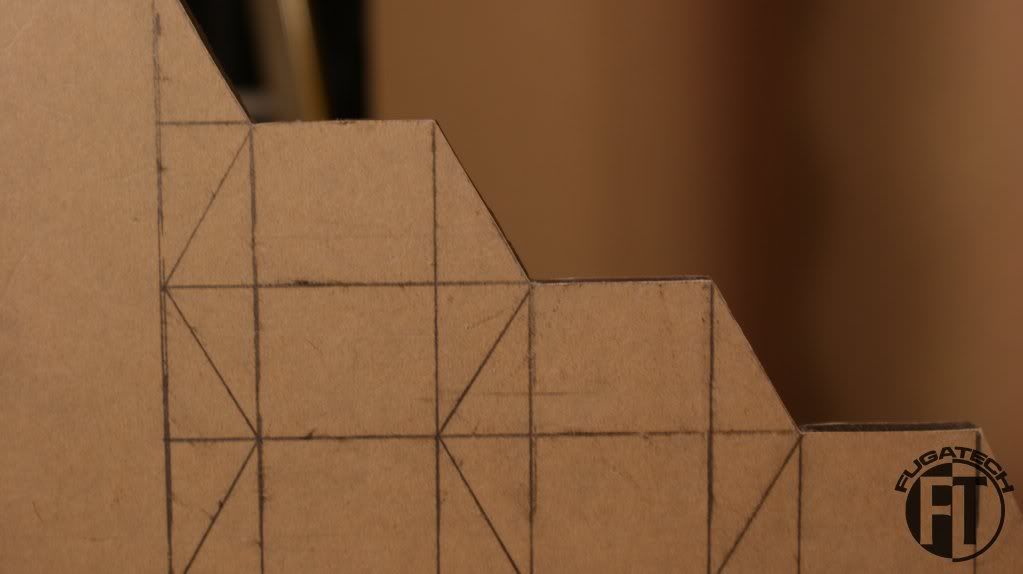
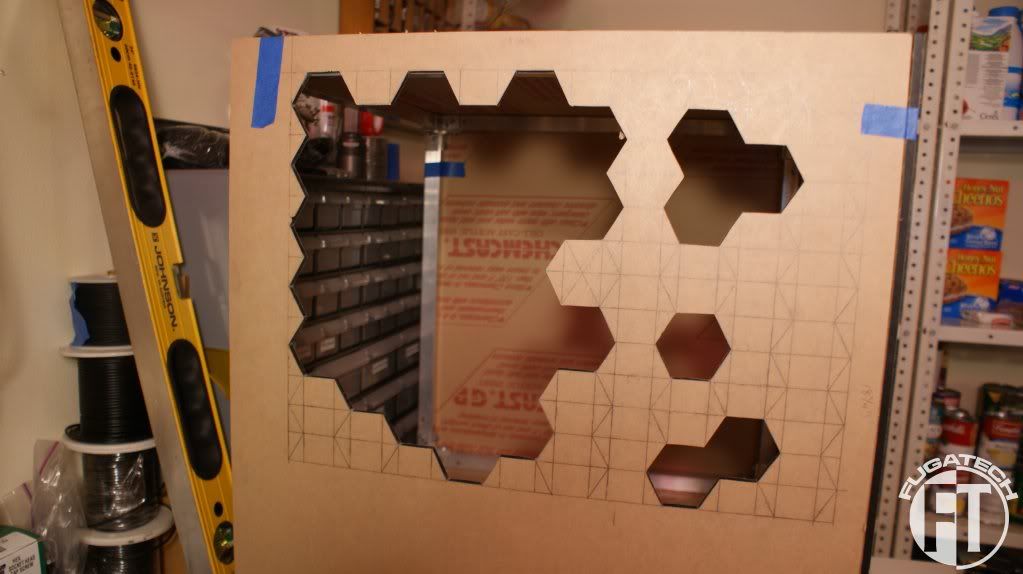
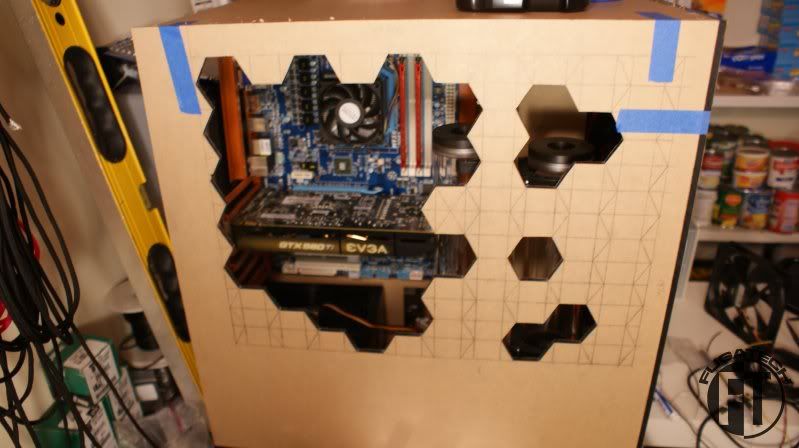
Now for the side panel. I didn't know how I was going to draw the hexagons so I experimented first.
It looks ok but after 3 or 4 of the hexagons, it wasn't square.
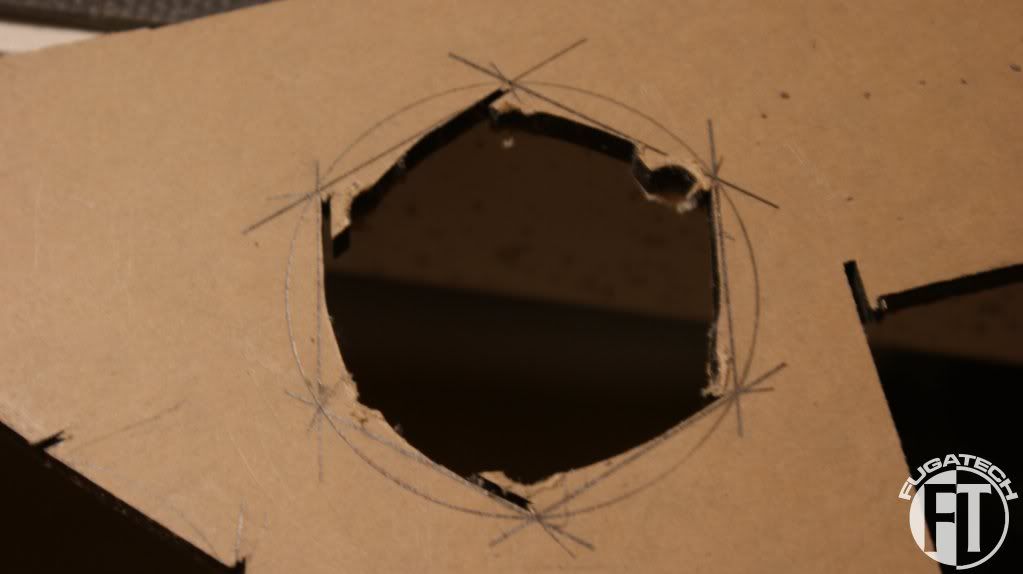
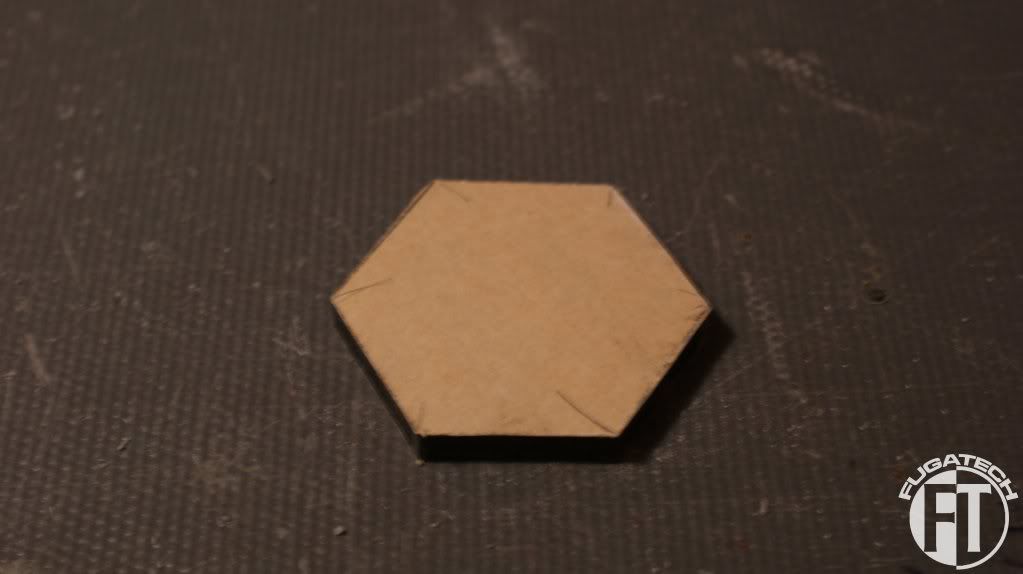
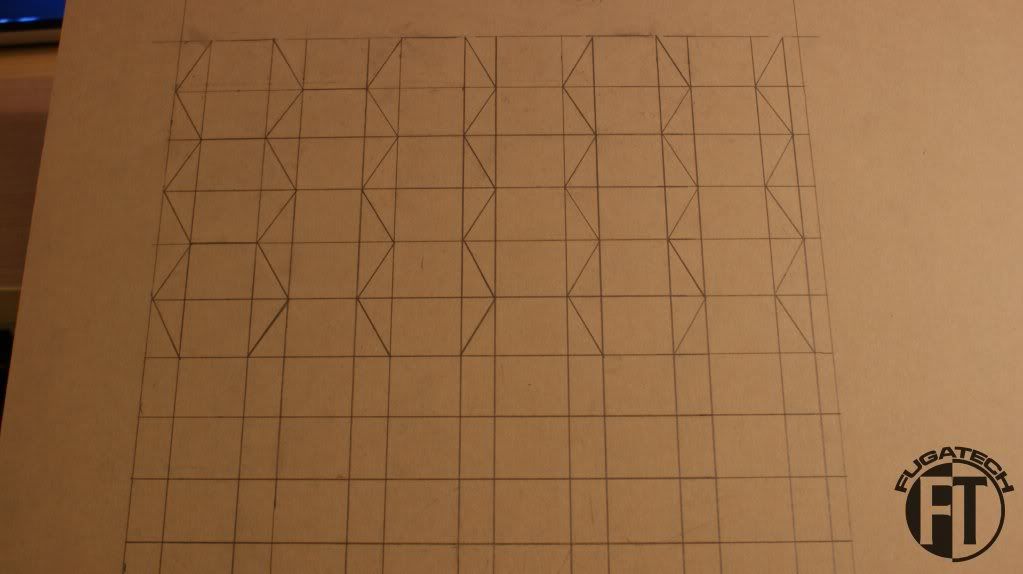
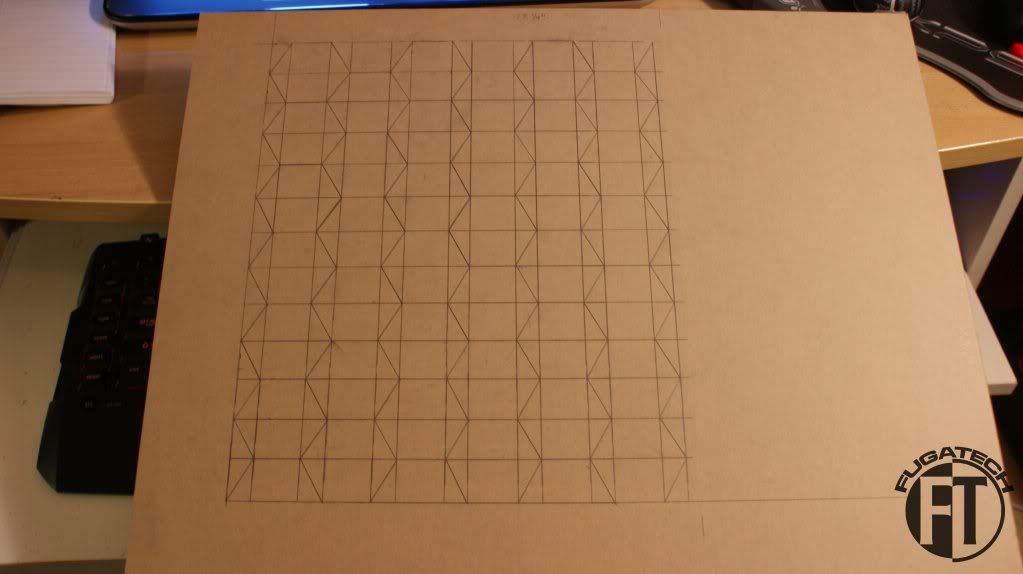
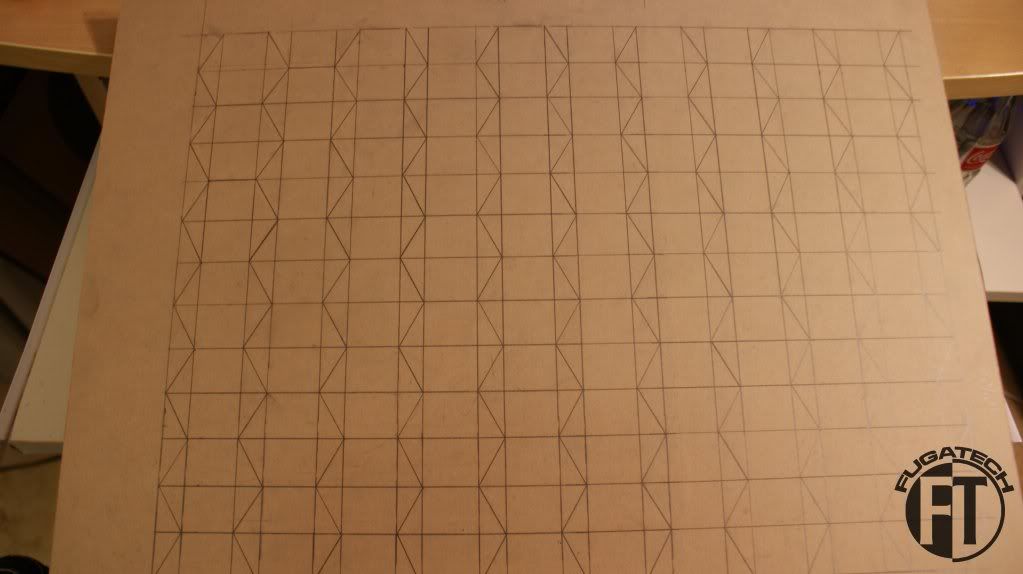
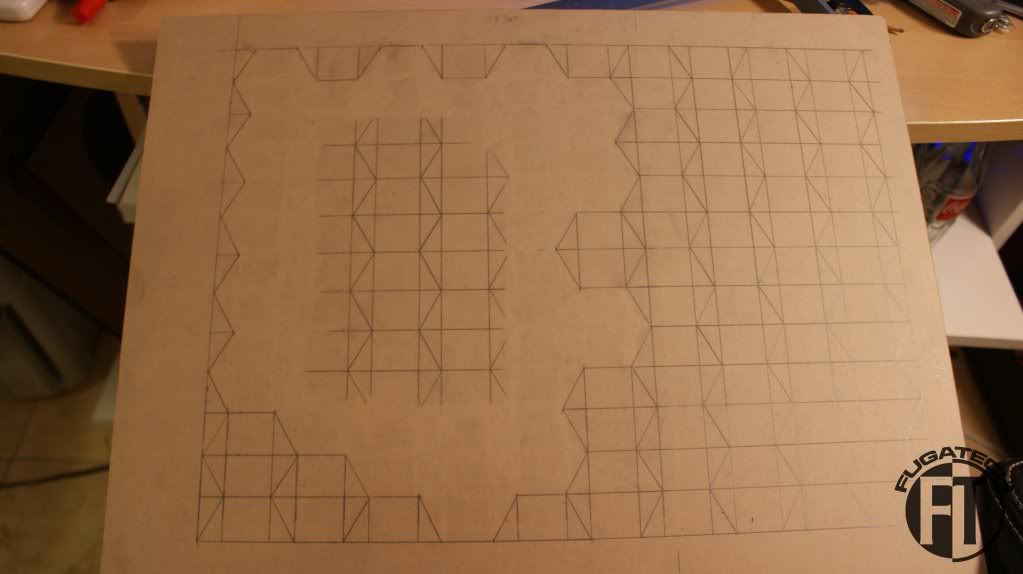
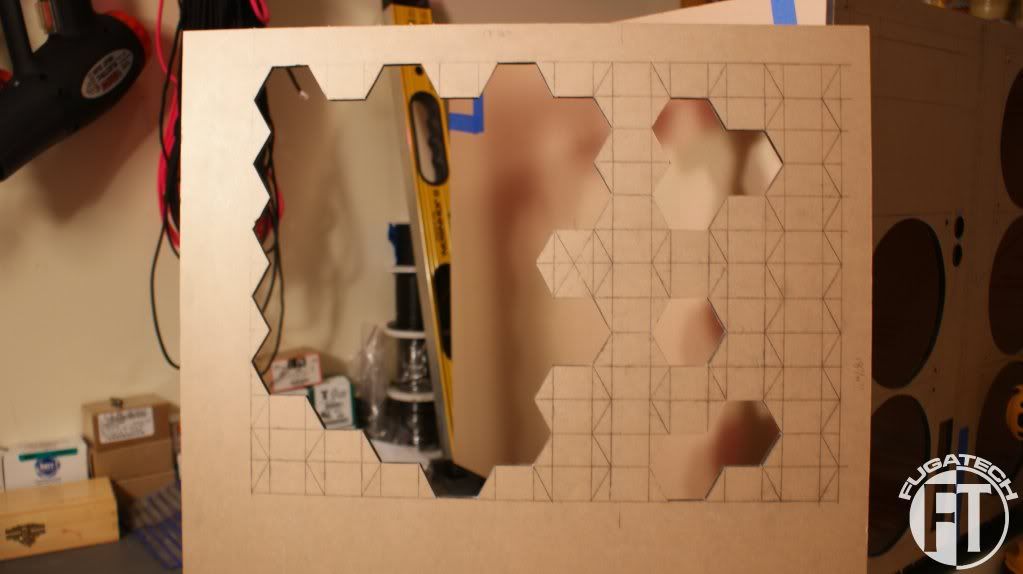
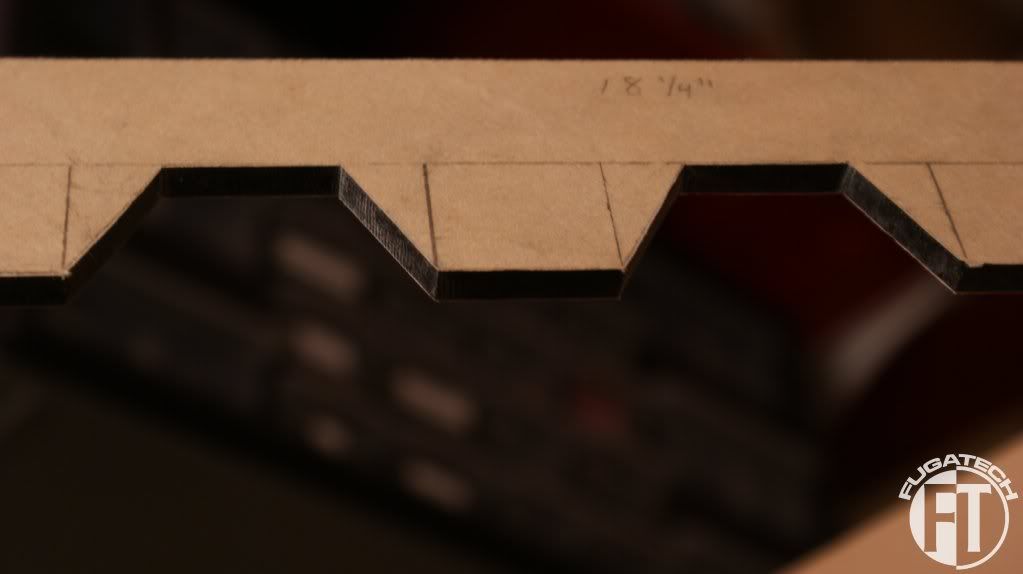
So now what? It took me awhile but I then figured out that I should measure the hexagon I cut out and just make a grid on the panel. IDK why I didn't think of that in the first place but oh well.
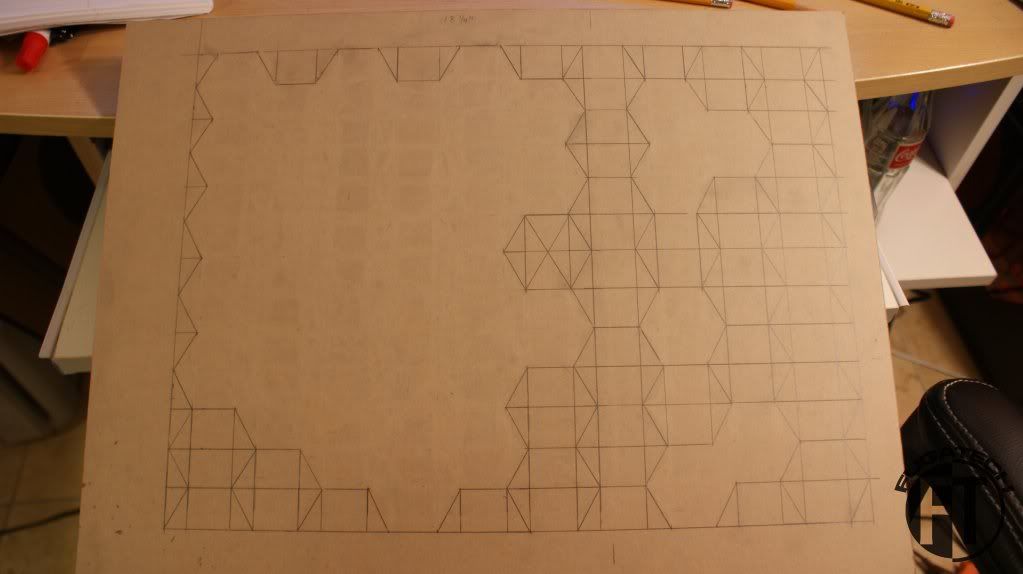
Progress shots.
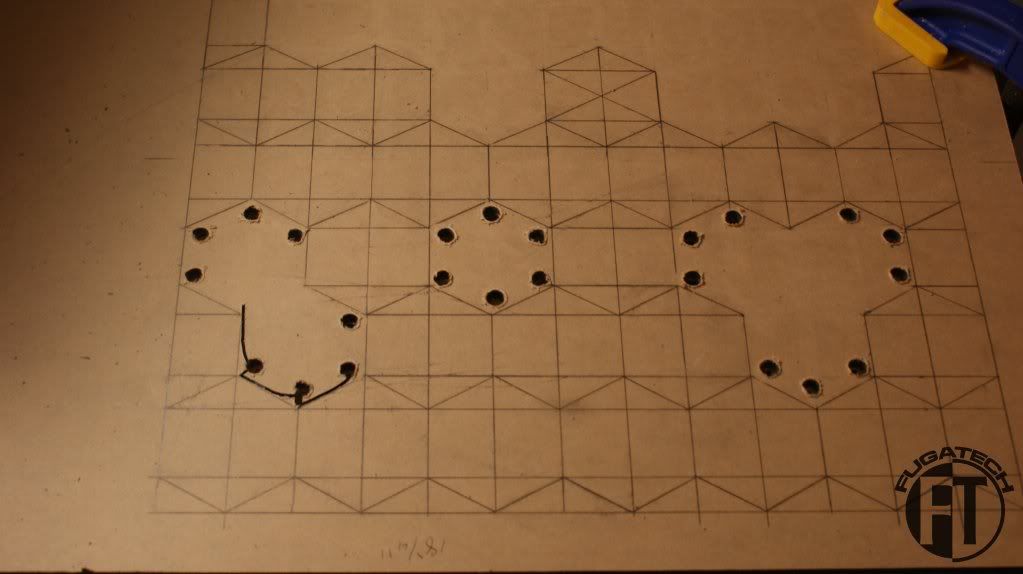
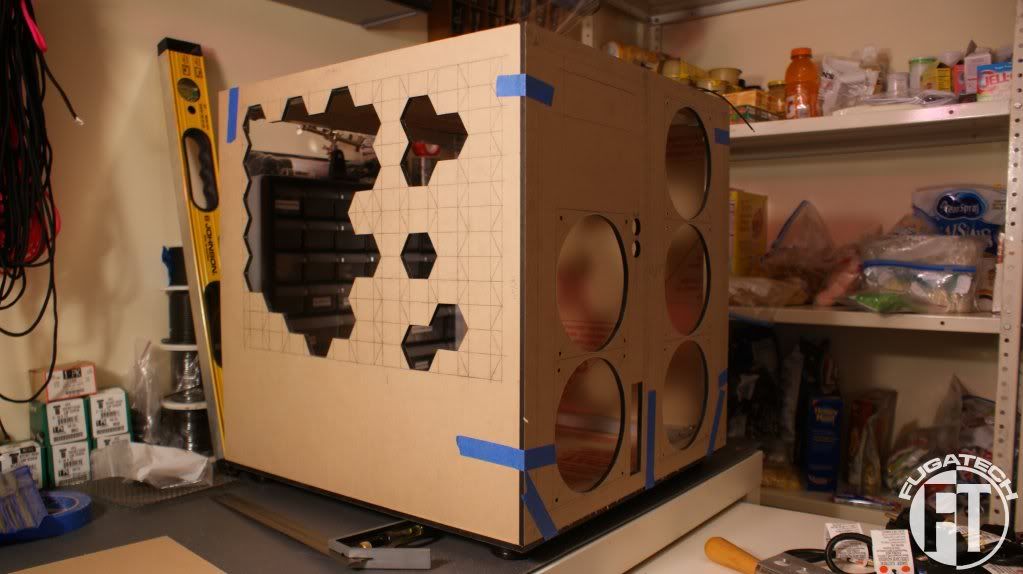
Starting to form the window.
And finally with all 4 windows cut out. Through the 3 small ones on the right, you will be able to see the 2 reservoirs.
I think I will start cutting the side panel tonight. Hopefully I'll get the motherboard tray finished today or tomorrow.
Cheers till then.
looking good!!
Thanks! I've been working furiously all day! Another good update tomorrow.Quote:
Originally Posted by SXRguyinMA
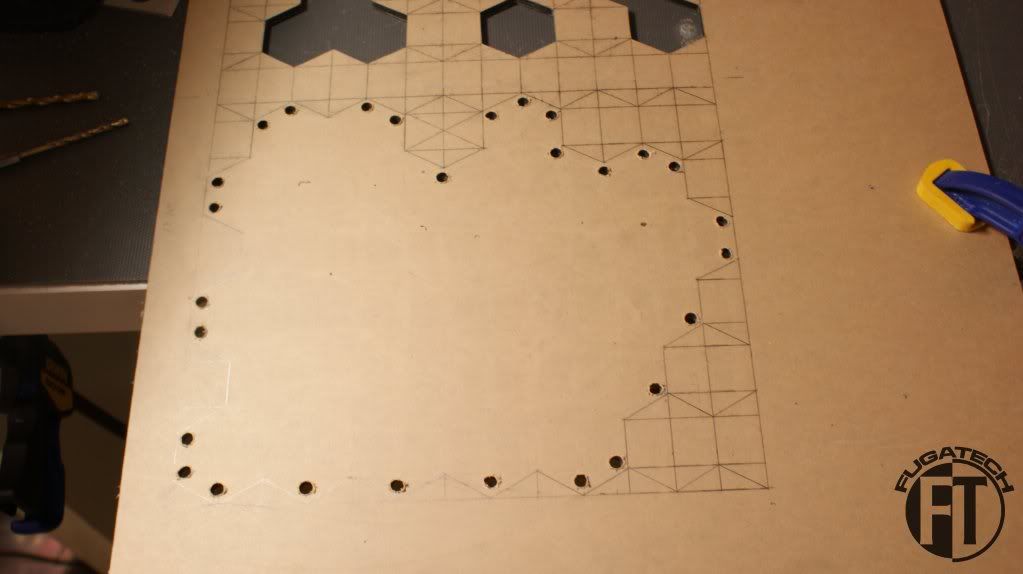
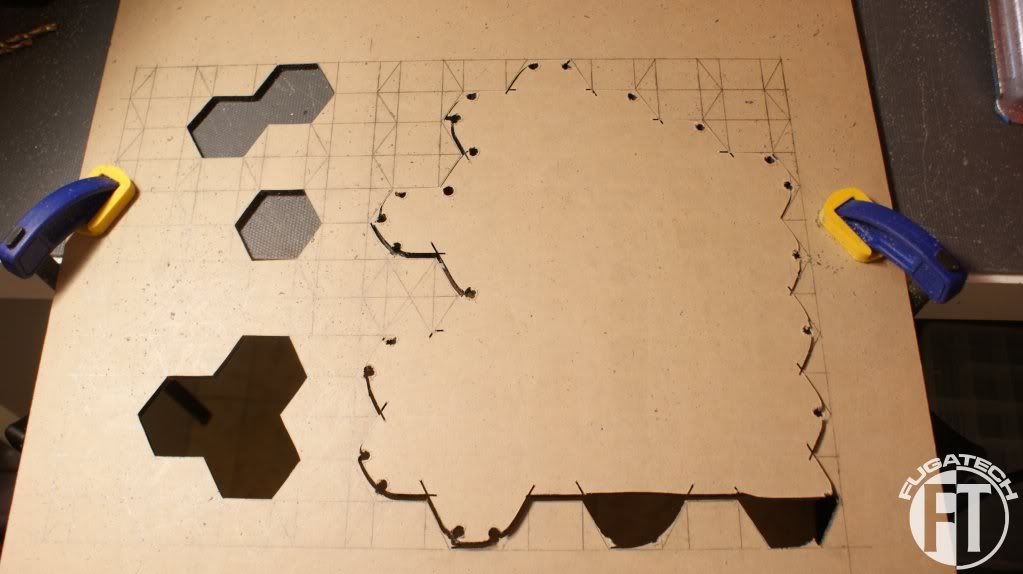
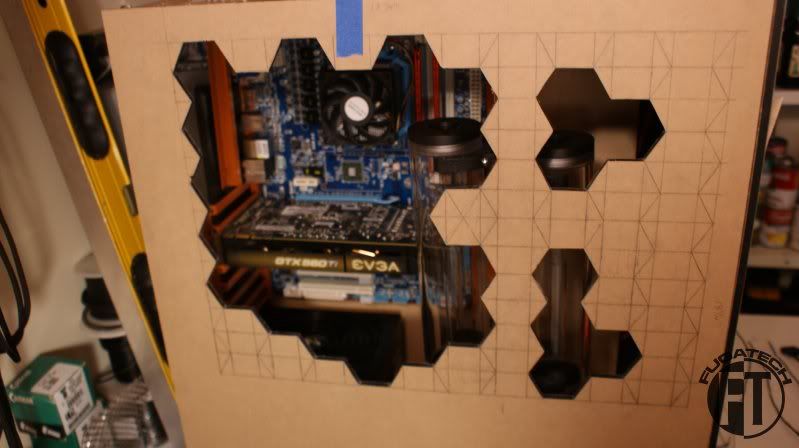
After I finished drawing up the side panel yesterday I started cutting it. It took me roughly 4 hours to do the 1 large window and 3 small ones. I wanted ever cut to be perfect because you can always take more off, you can never put it back.
When cutting windows plexi, first thing to do is drill out your corners so you have somewhere for you blade to go.
First one done.
Second.
And finally the third small window.
You can see how the edges are just a bit off. So here they are after filing for a good 30 minutes to get it perfect.
Next up is the large window. I had to drill lots of holes.
Done! Well... almost.
Using the technique that I do, You will still have most corners looking like this but that's OK. I take my jigsaw and clean up the corners with ease.
All done!
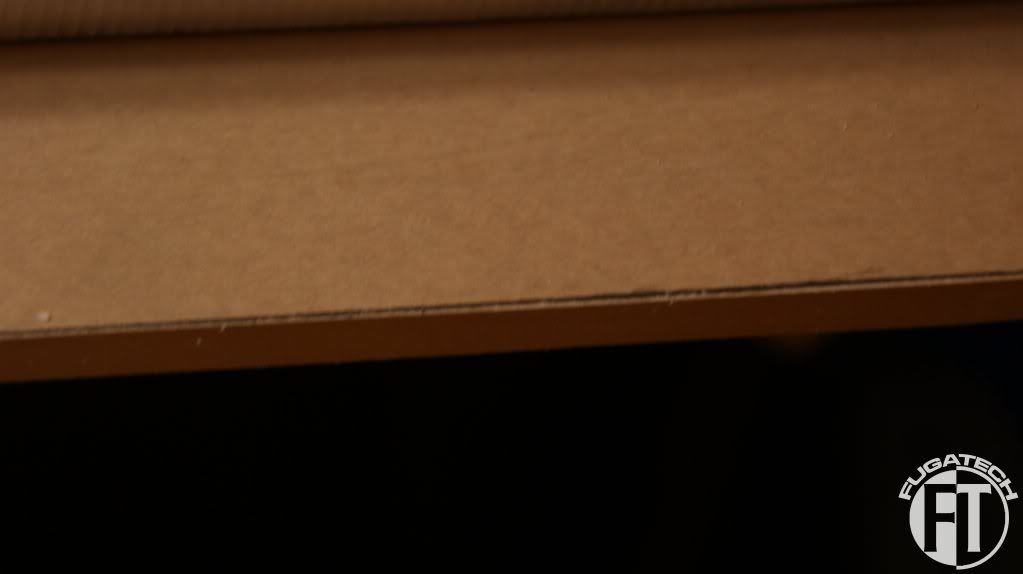
Here are some shots to show the edges. Remember, this is all done by hand so its only about 95-98% perfect. I might have to file 1 or 2 of the the sides again.
And here is what it looks like on the case.
This is only the 1st level of the side panel. There will be raised hexagons on the top, one orange with a black one on top. And behind the window cut out there will be Orange and then the clear piece. The Orange will have LED's behind it to give it some glow.
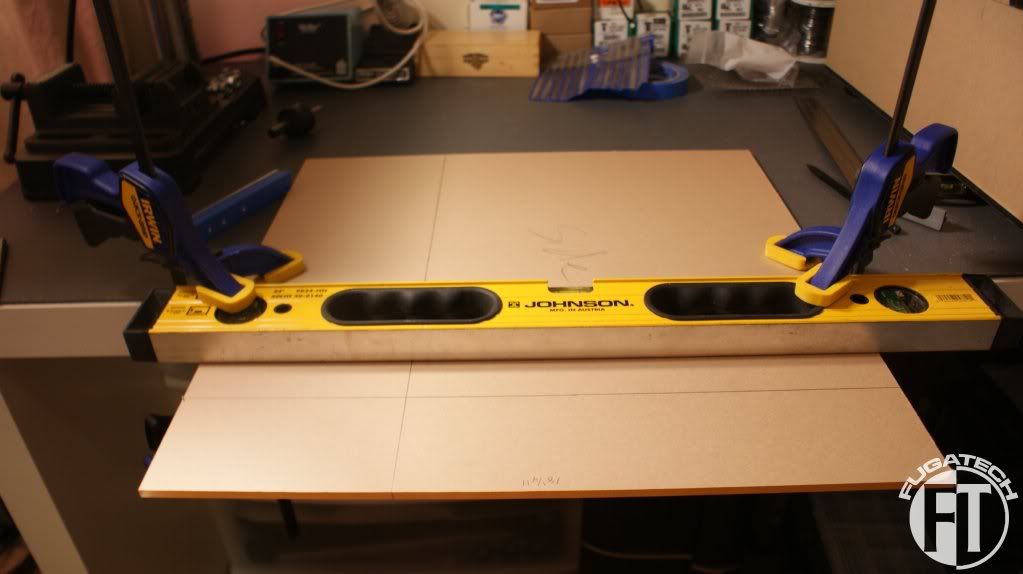
Since I have some clear plexi I figured I would cut that to size too and since I don't have a table saw or a laser cutter, I had to make my own.
Here I am using a level as my guide so that the line is perfectly straight.
Up close shot.
Not too bad.
And since I cut that piece off, I used it as my straight edge for the next cut.
Another good cut.
The line to the left is where the frame stops.
Here is what it looks like in comparison to the panel.
That's it for now. I'm still painting the mobo plate and I/O back plate. Until I receive more plexi all I can do is attach the front panel. I might find some other small things to do but nothing major.
Cheers till next time.
Nice job with those hexagons. Creative solution. +rep
:stupid: this is gonna be SICK!
Quote:
Originally Posted by x88x
Thanks guys!Quote:
Originally Posted by SXRguyinMA
After talking to a guy on one of the forums he has agreed to help me make a custom made mobo waterblock. Here are some shots of the beginning stages of me planing it out.
These are pictures from a few days ago. The current layout is almost perfect. I still have to work on it for a few more days.
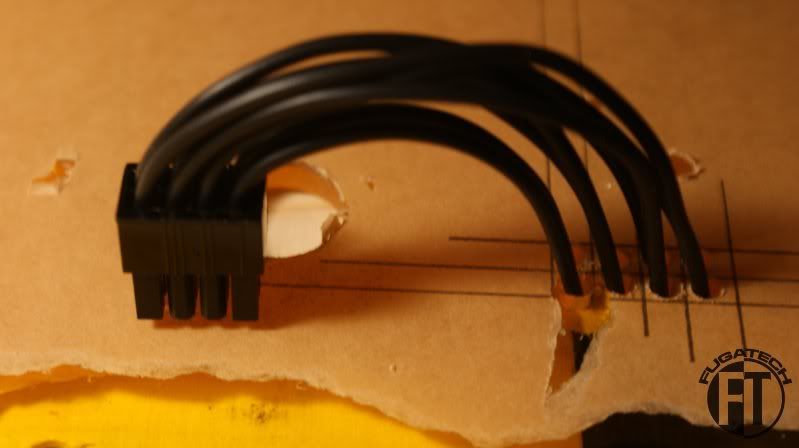
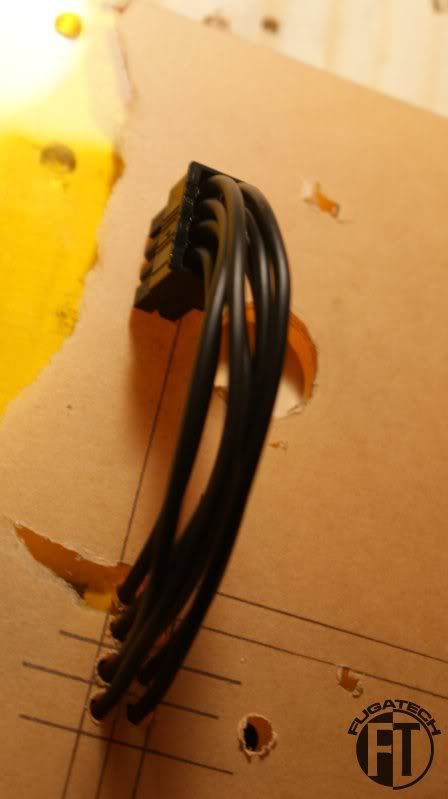
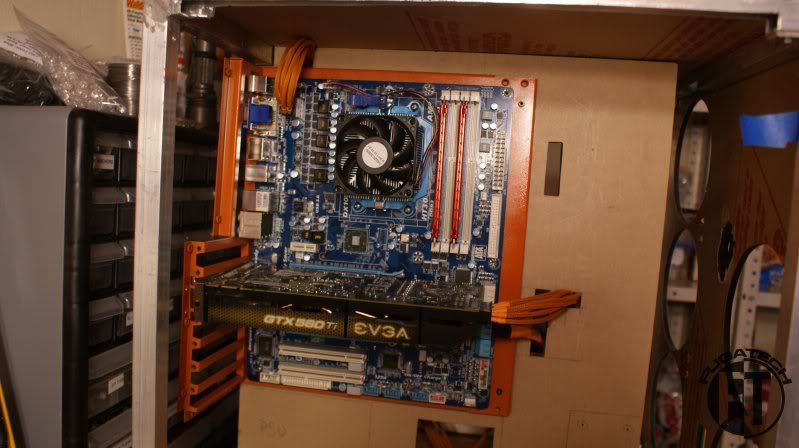
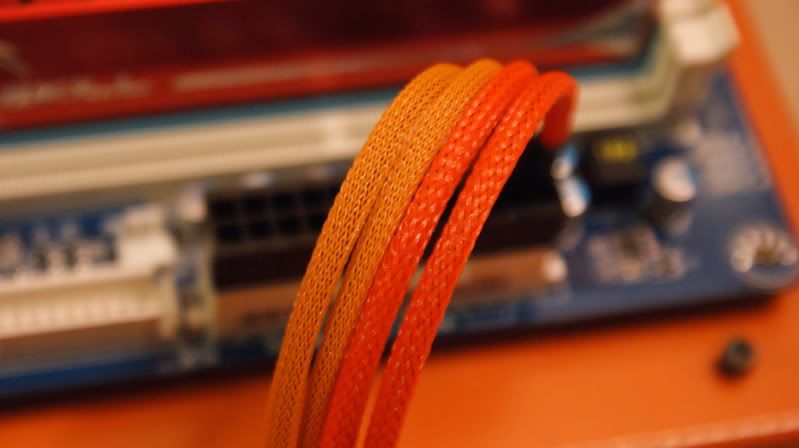
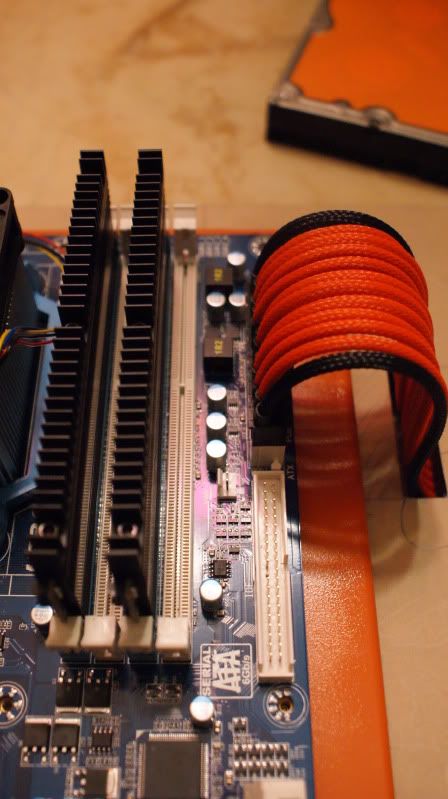
Now for the cables.
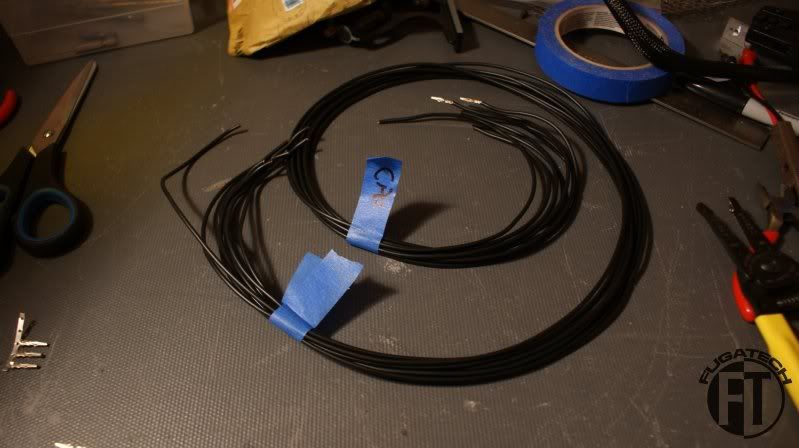
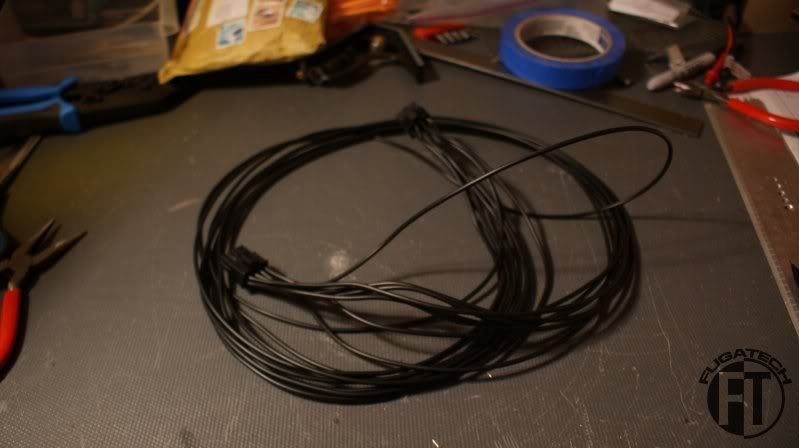
CPU Power cable cut.
Assembled
And sleeved.
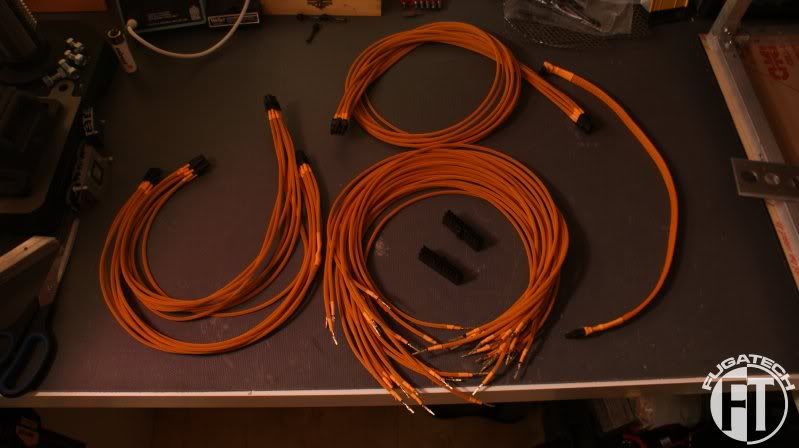
Here is where I stand with all the other cables.
The CPU Power and 2 PCI-E cables are assembled so far. I have the ATX Power cable cut in the middle and on the left was an attempt at sleeving a SATA cable. I just finished cutting the cables for the SATA power for all the HDDs, the SATA power for the Blu-Ray player and the fan hub power cable.
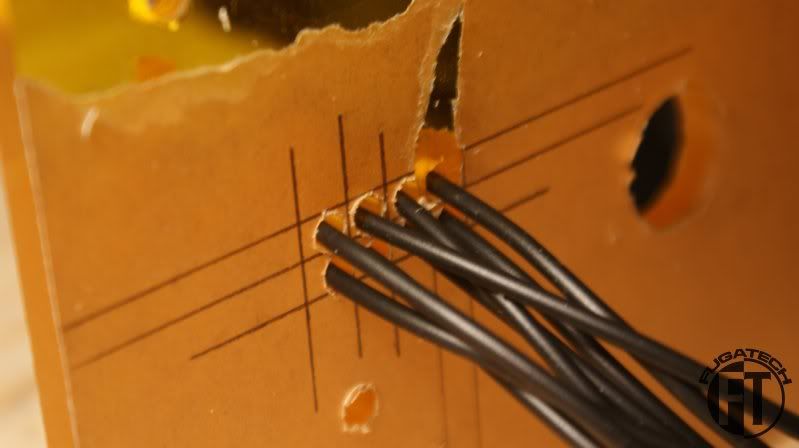
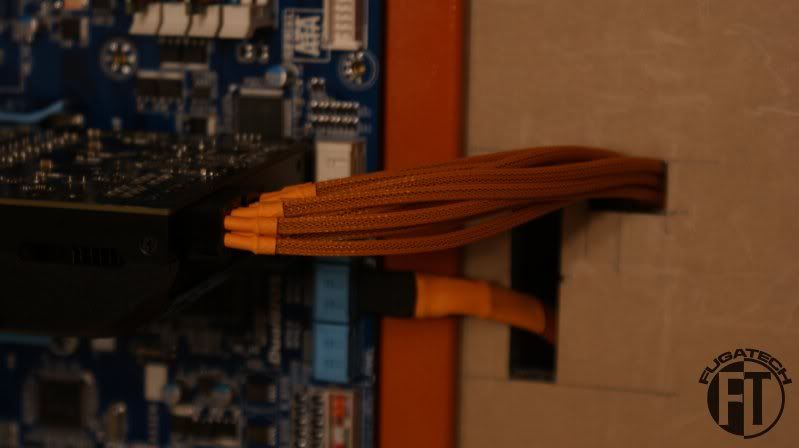
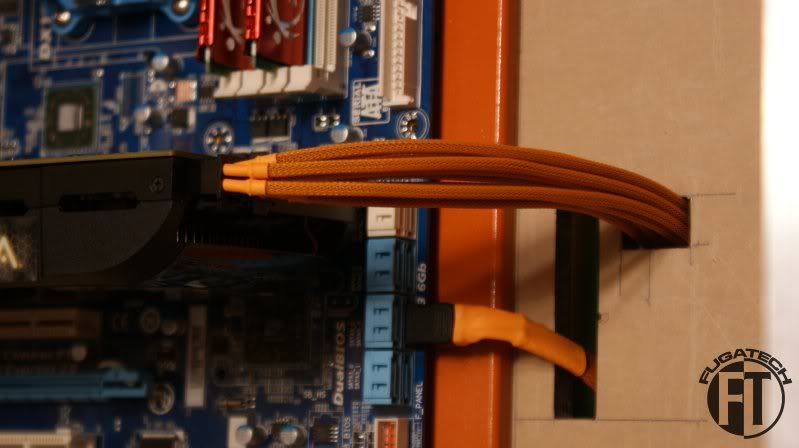
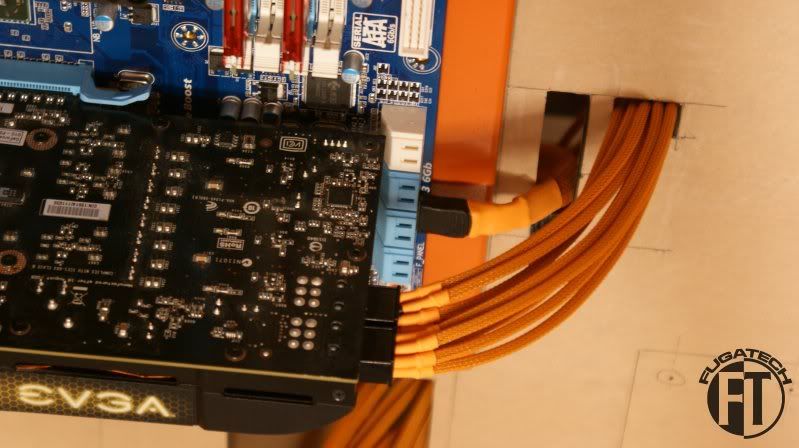
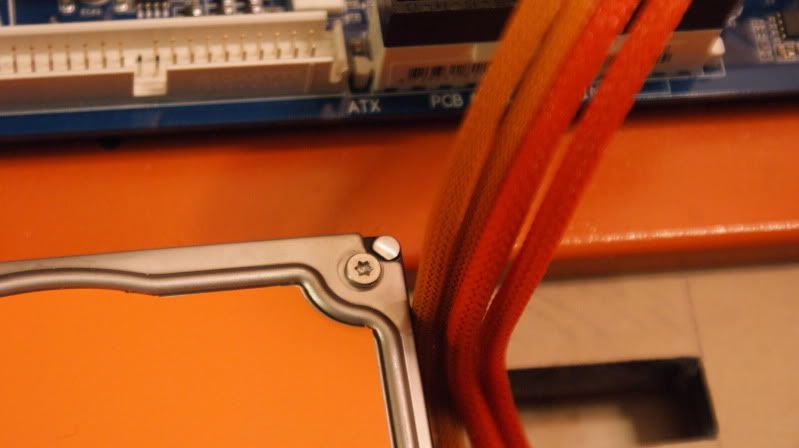
Now to connect all these to the mobo I need more holes. I wanted to make a hole for each wire to go through but that didn't work out. But it did look good.
I ended up doing this.
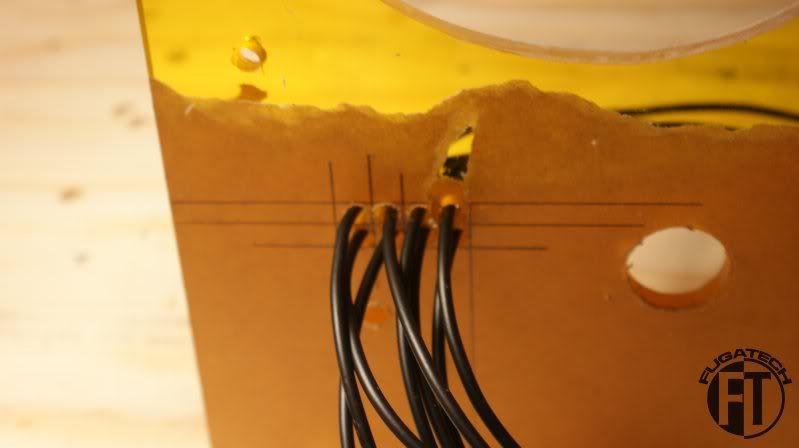
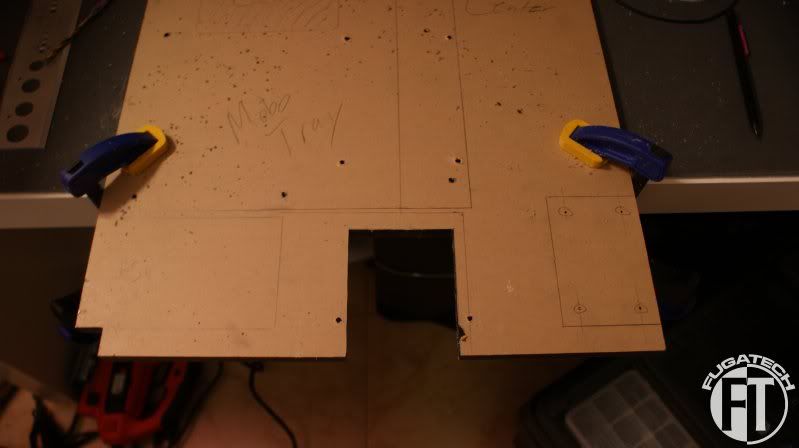
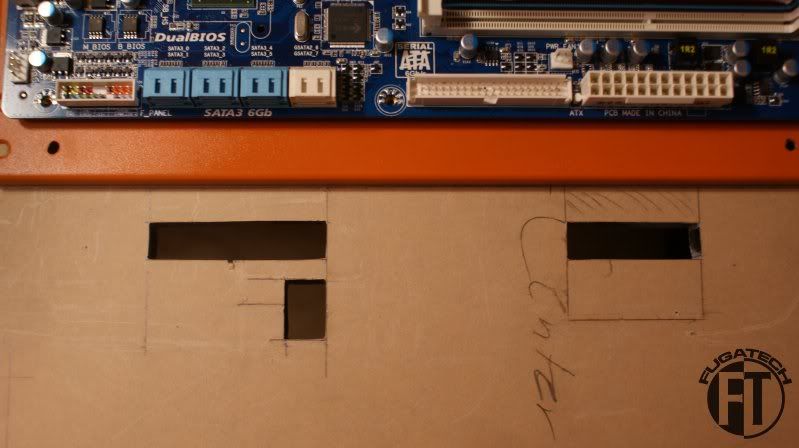
Here is where all the wires will pass through the center piece.
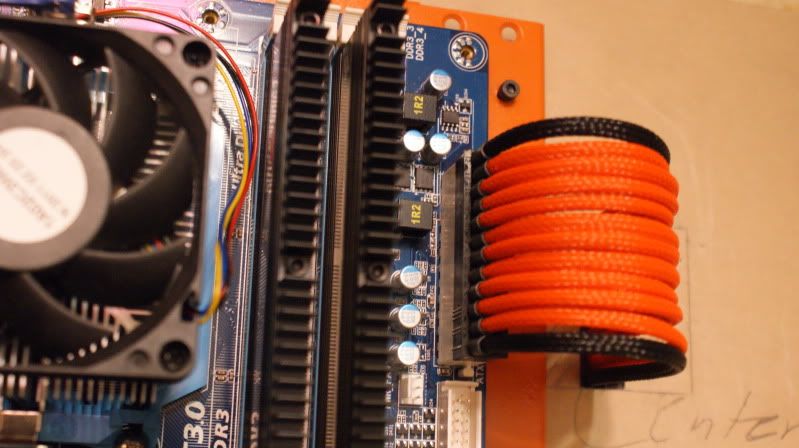
This is at the top left of the mobo. The CPU Power will pass through here.
Here are the holes for the ATX Power, SATA cables and the PCI-E cables.
I didn't get a good one of the CPU power. I'll have more later.
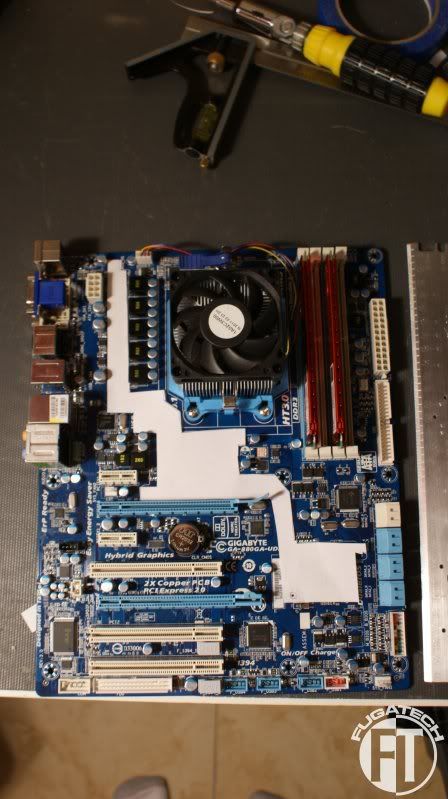
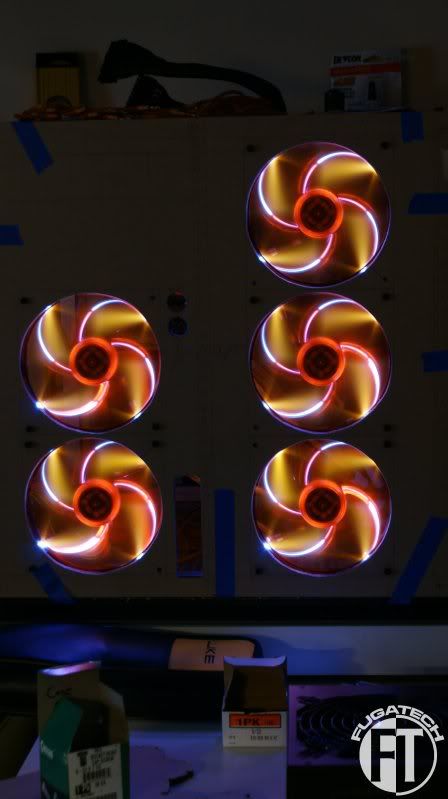
And finally I couldn't resist doing a fan test. The white LEDs look good for now.
Today I am working on the PSU support, fan grills, painting the I/O backplate/PCI covers and more PSU cables.
Cheers till next time.
I love that fan shot! That's a really cool effect! The hexagons on the side panel look great!
Thanks! If you like that then you will like tomorrows update which has the fan grills installed that I made.Quote:
Originally Posted by TheMainMan
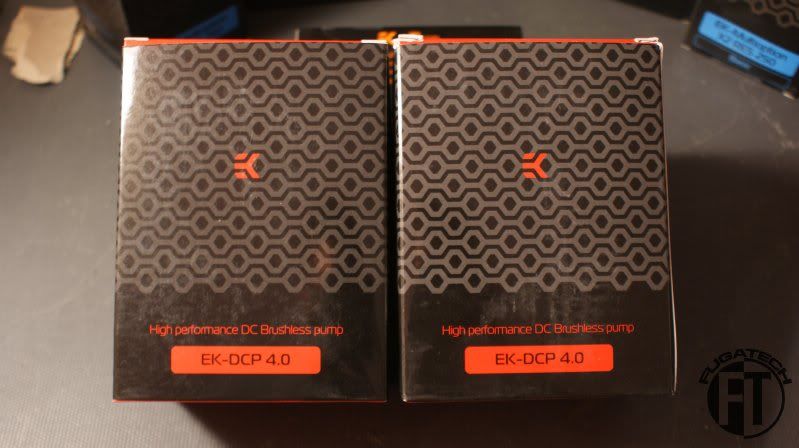
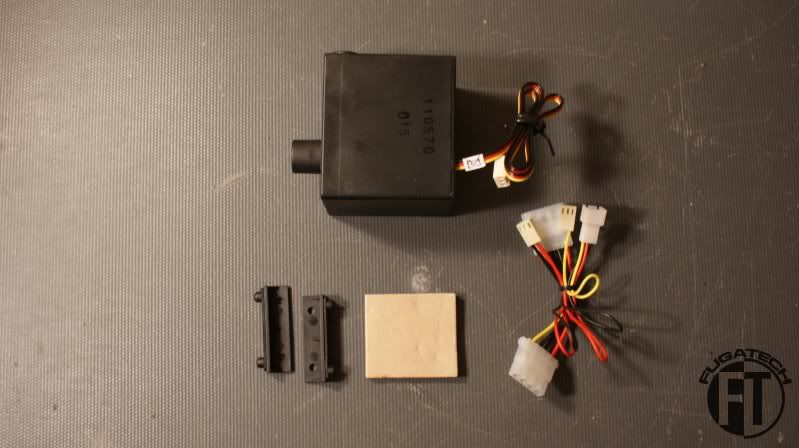
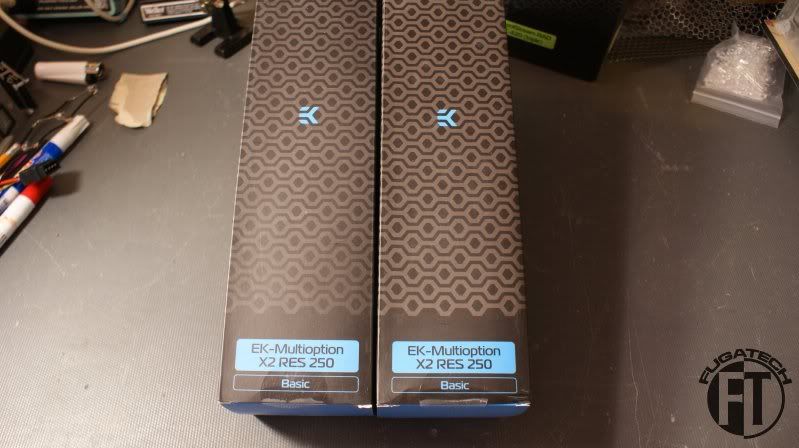
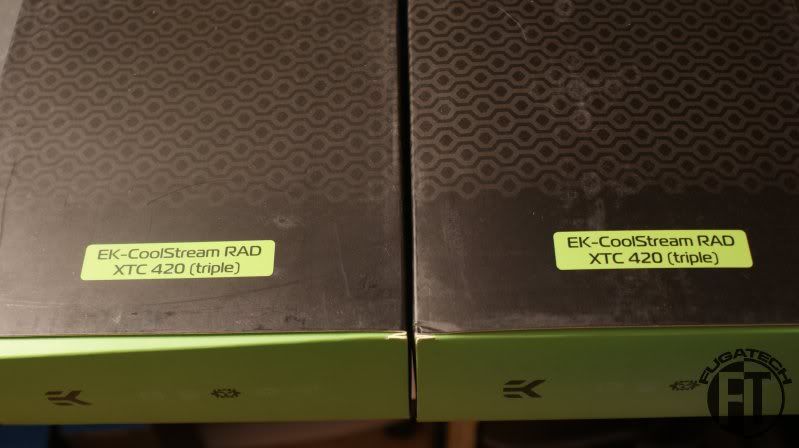
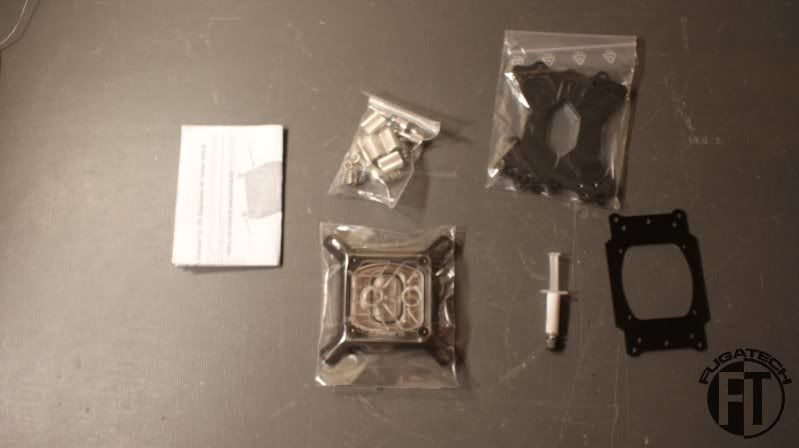
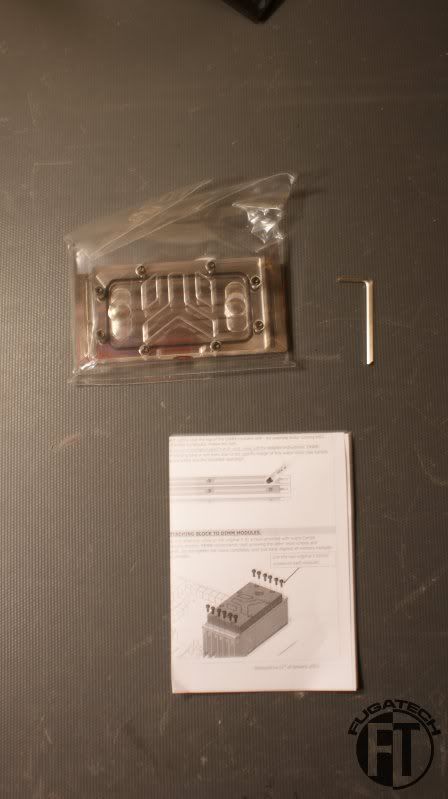
My EK Waterblocks order finally got here! Thanks EK for this massive sponsorship.
Here it all is :D
2x DCP 4.0 Pumps
2x Multioption X2 Res 250
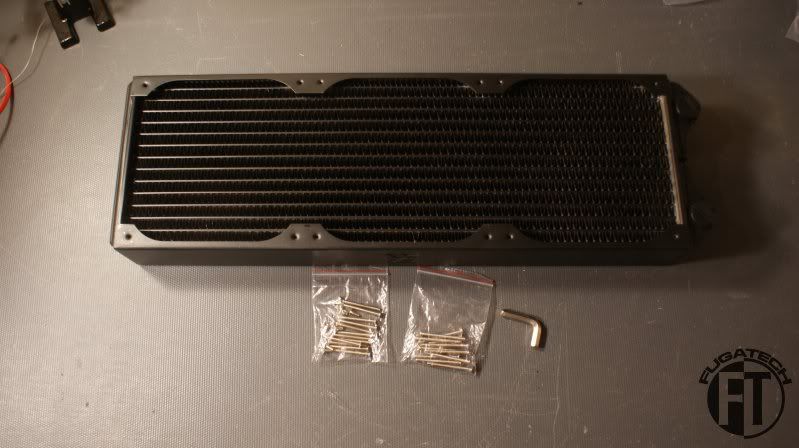
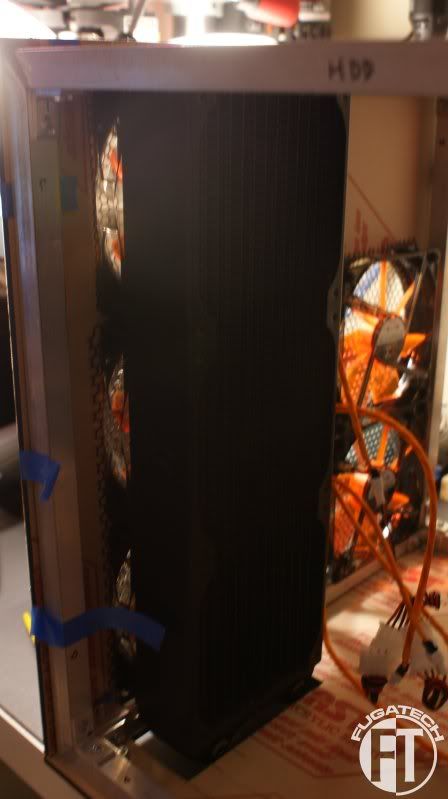
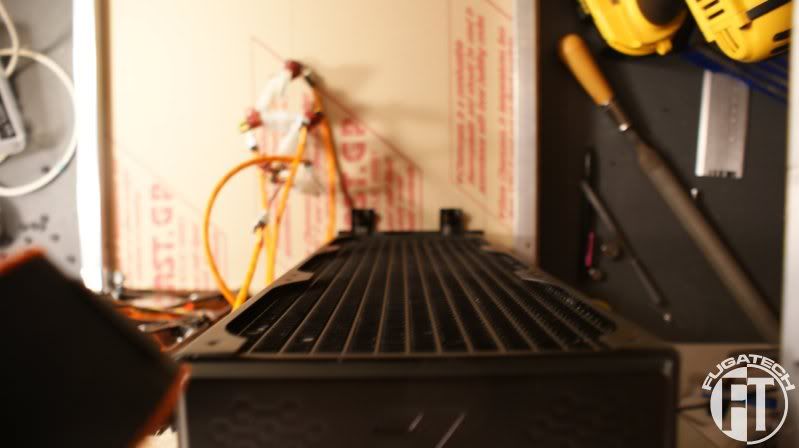
2x 420 Rads (These are MASSIVE!)
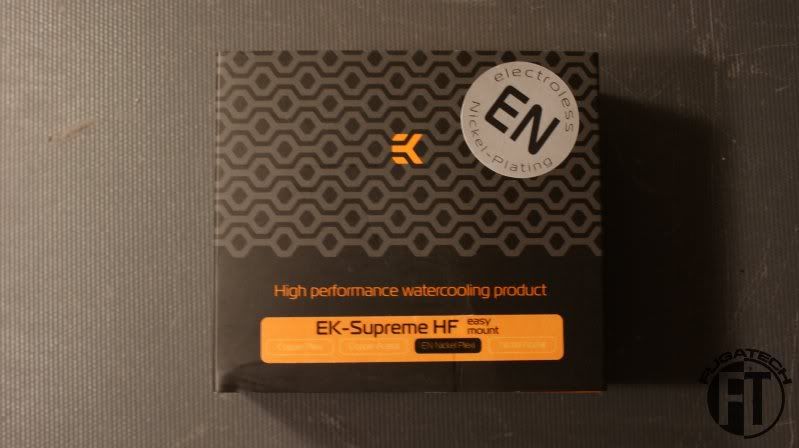
1x Supreme HF
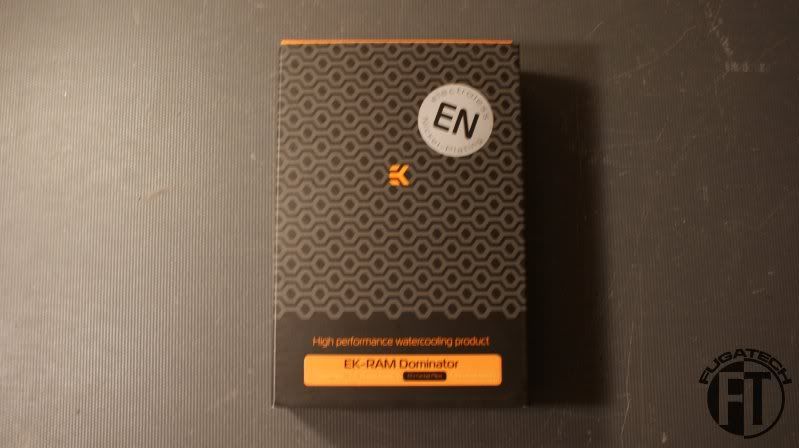
1x RAM Dominator
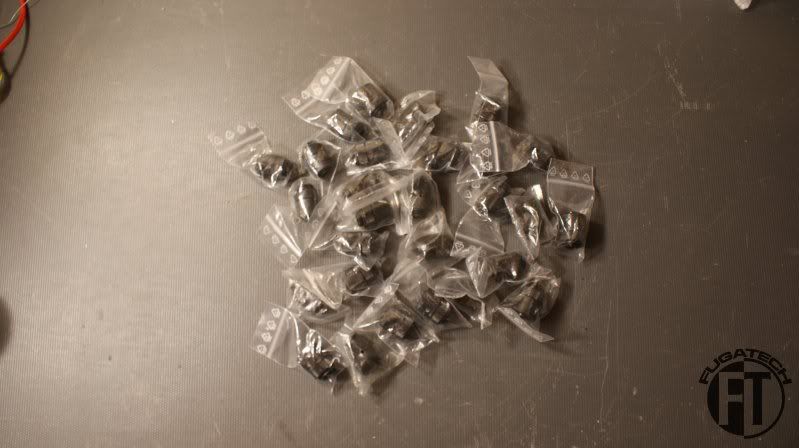
Tons of 10/13 Straight and 45 degree Compression fittings.
Straight and 45 degree
Huge thanks again to Gregor at EK Waterblocks for sponsoring this build.
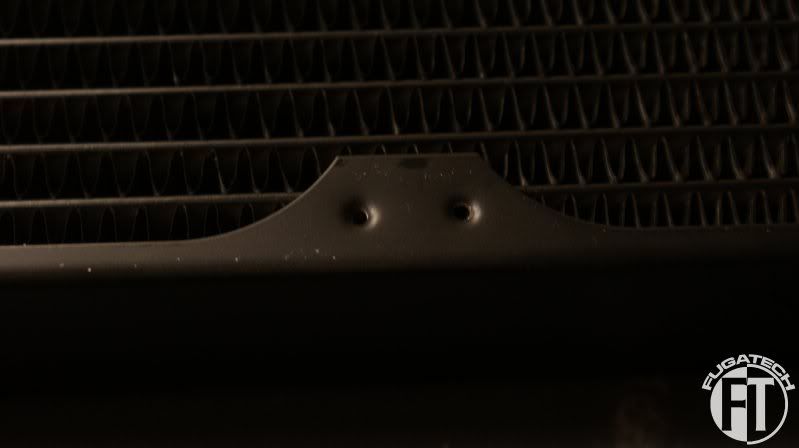
First thing is first. I'm not using the stock bolts for the rads. I like the ones I bought but they don't fit the threads of the rads.
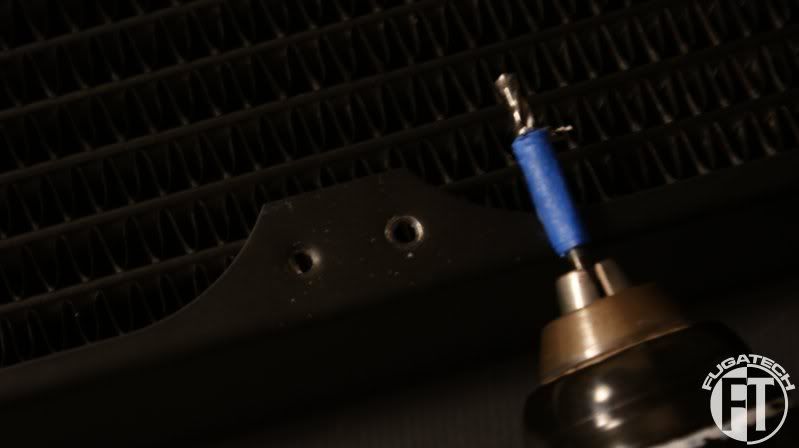
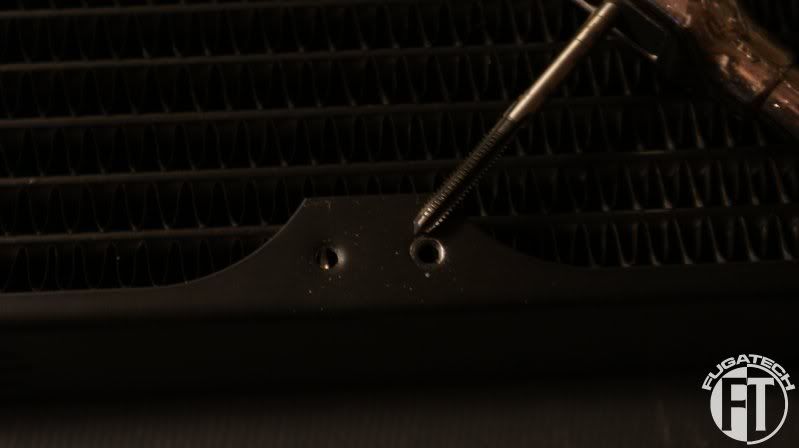
So I drilled
and tapped them to accommodate an 8-32 bolt
When I tried a test fit I was like OH CRAP!! THEY DON'T FIT! My initial measurement was off by about 3/8" to accommodate the rads. So I cut spots in the bottom of the case for them to go.
Here you can see how far it sticks out the bottom. Which isn't much.
Here is the front one on.
How it will look with the second one. Can't install it until the new plexi arrives. Should have been shipped yesterday or today.
I forgot to take a close up but at the bottom of the left rad you can see the barbs are on. I had to cut about another 3/4" to be able to fit the barbs on. No biggie.
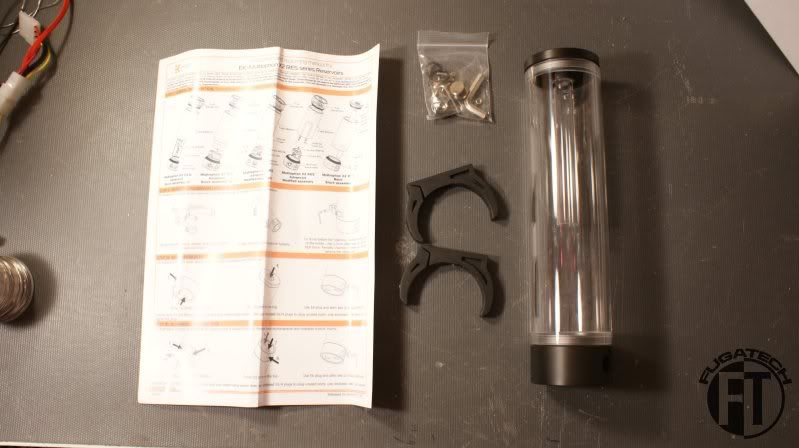
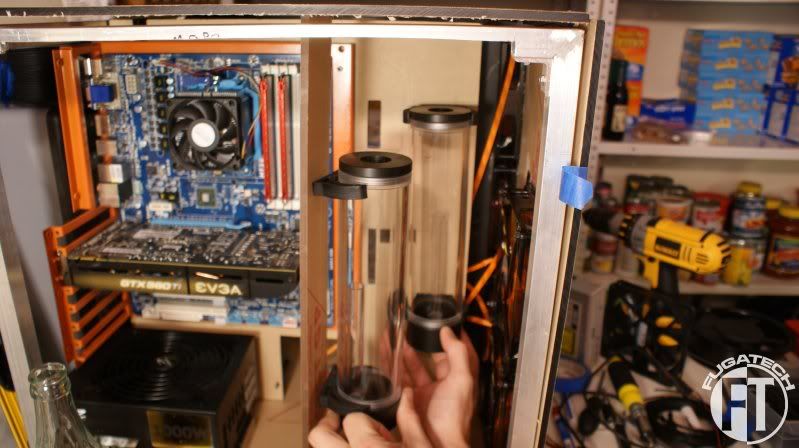
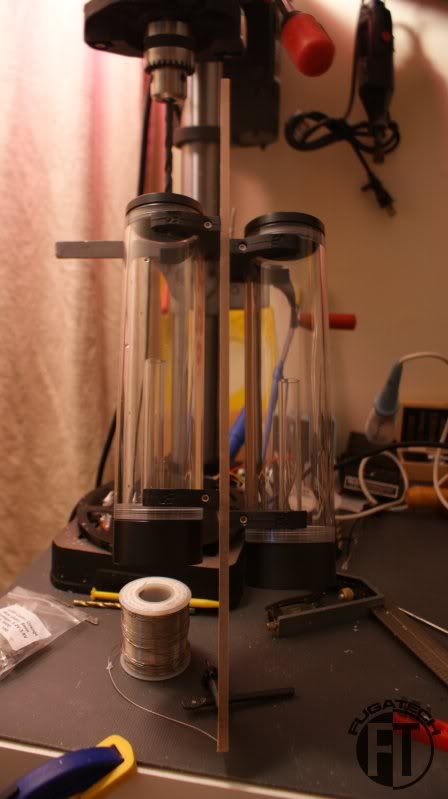
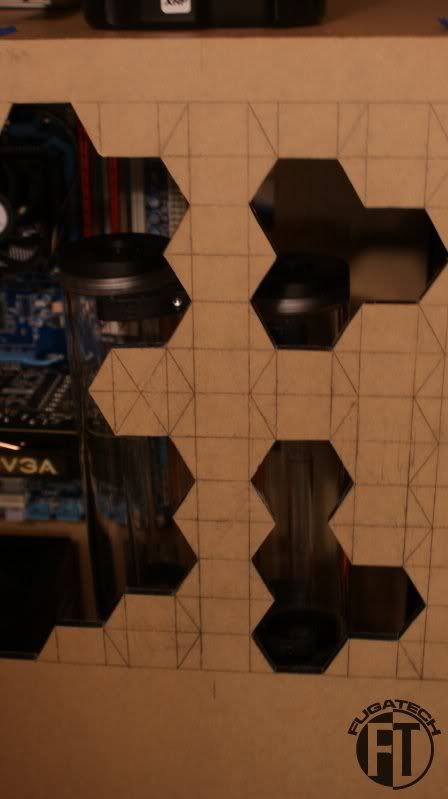
It took me quite awhile to figure out where the heck I was going to put the Reservoirs'.
This was my first thought.
And my second.
But in the end my buddy came up and told me they would look sick if I put them back to back on the same stand. I said OK lets try it.
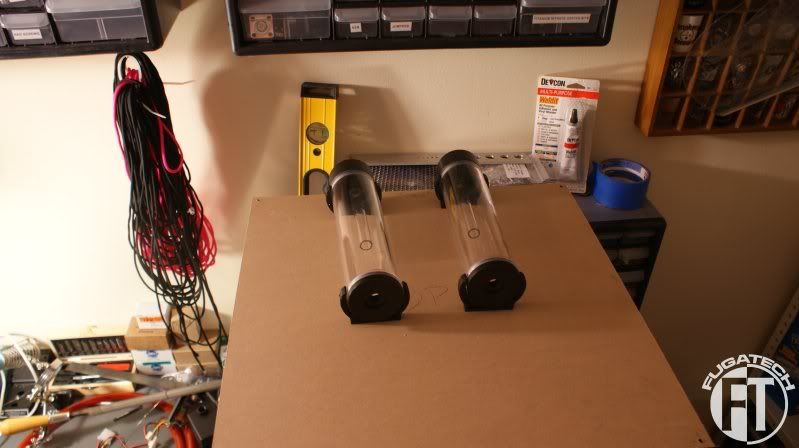
I cut the clear piece of plexi to be exactly as wide as the res clamps.
Drilled and mounted the res clamps. I had to drill a hole the drill a larger hole on the opposite side but only 1/2 through the plexi. The screws they give you are extremely short.
and attached the reservoirs'
Here they are in the case.
This is not actually the final position. They will be about 1 1/2" to the left of where you see them... well to the back of the case but to the left of the pic.
From the front you can see they only block about 1/4 of the 2 front fans. That's fine since everything is WC'd. The 2 fans in the front are just to keep air moving.
With the side panel on.
You can't really see them... Lets fix that.
I cut 2 more hexagons out so that you could see them better. I won't cut anymore because then it will lose its look.
Things are finally coming together. My next update is all about experimenting with lighting. I've never used SMD LED strips before nor just using normal 5mm LEDs but some of the effects look pretty good.
Cheers till then.
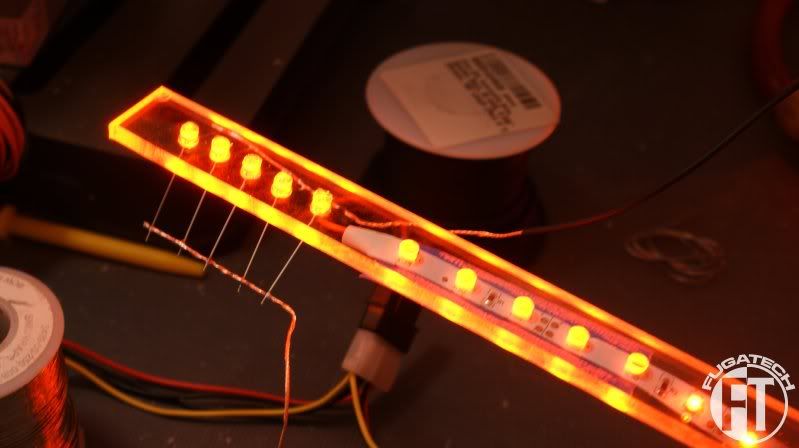
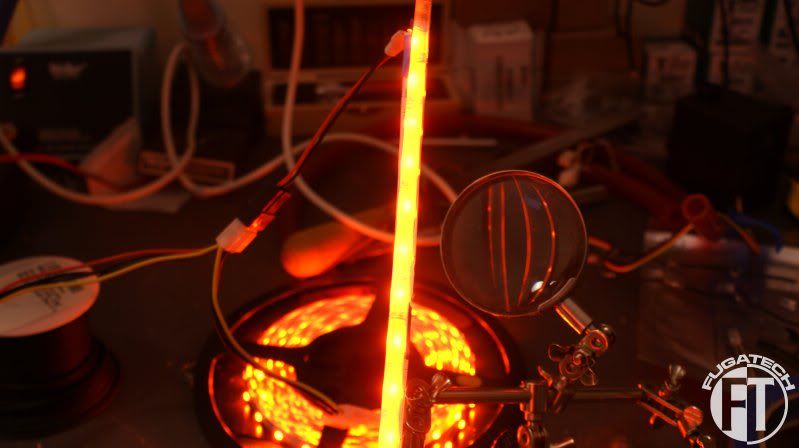
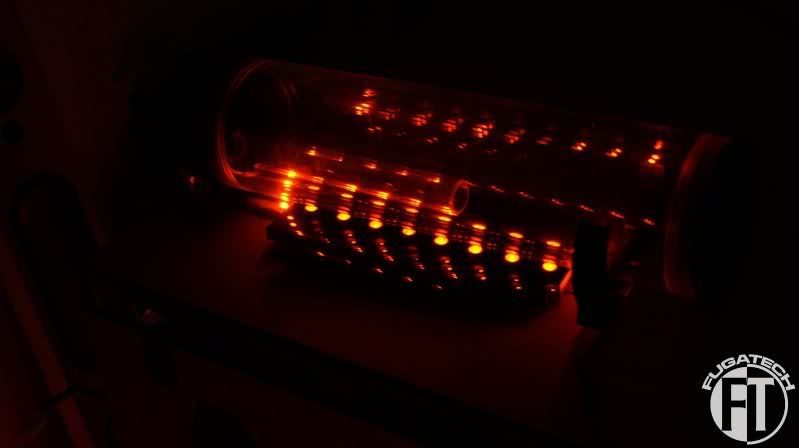
As I said in my last update, I've never worked with SMD LED strips or used LEDs for this kind of lighting.
I drilled some holes in a scrap piece of clear plexi to see how the lighting looks. At the top is a few 5mm LEDs and the bottom is the SMD LED strip.
It looks ok. I don't like the spaces between the light on the side of the plexi.
Now here is the same piece of pelxi but with the SMD LED strip taped to the side of the plexi.
MUCH better looking IMO.
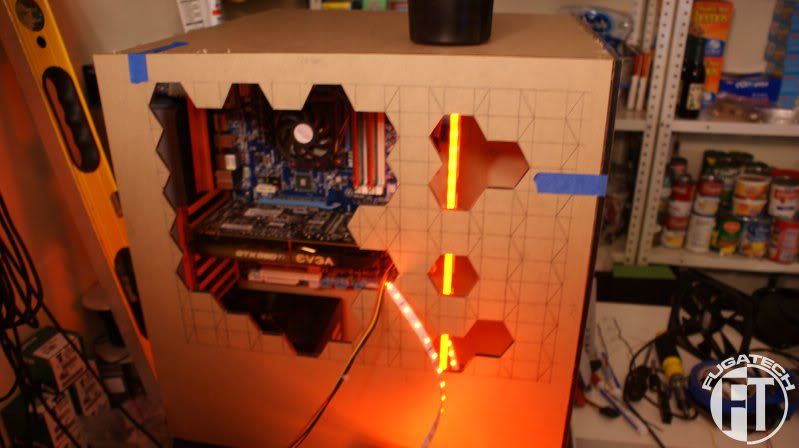
Here it is in the case. Its a bit hard to see it because I didn't cut it to size yet but I'm testing here.
From the front
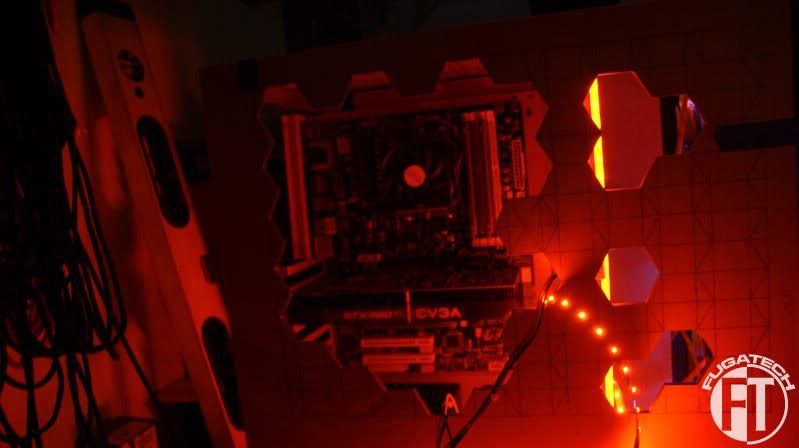
I also wanted to see how it would look with LEDs directly under the res.
Deff not very good.
Since most coolant is crap I will be doing distilled water and some silver coils for now. The EK blocks are nice because they have a 3mm hole for an LED so I bought some Orange ones 2 days ago. They should be here next week. Anyways by doing this I won't need the coolant reaction, the LEDs should look great.
Well sorry for the bulk updates but I've been working really hard and didn't have time to publish them. I'm gonna work on the lighting some more tonight. Hopefully tomorrow I get some more materials in.
Cheers till next time.
nice goodies :D
I don't know. I'm normally more into the smooth well-distributed lighting myself, like your edge-lit example, but I think the shot directly under your reservoir actually seems to go with your theme. Gives it more of a hive look than a solid illumination.Quote:
Originally Posted by Fuganater
Maybe it's just me, but I think they could look pretty good in there if they were done right.
I took the paper off of it and mounted the SMD LED strip to it and it looks way better. You'll see in the next update. It doesn't effect the front shot that much anymore.
Bee-yew-tee-ful!
Looking awesome!
I've been so busy I lost track of the builds and I'm catching up now.
Me likes what me sees. ;)
:DQuote:
Originally Posted by AmEv
Thanks man. Means a lot to me coming from you.Quote:
Originally Posted by BS Mods
Sorry I haven't updated in a few weeks. Its not that I have been busy its just I haven't done much work. I am still waiting on the rest of the plexi to arrive. Been 2 weeks and I'm still waiting. Anyways... here is what I have done.
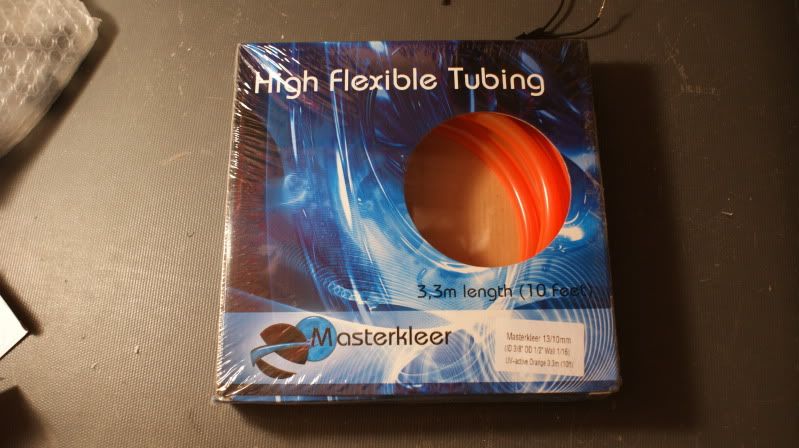
I got my Orange tubing in.
I also ordered a Rivet Nut Setter. Basically its a bigger pop rivet gun.
So with that I got the threaded rivets and drilled my old holes.
Used the tool, which I actually had to read the directions for, and voila! A steel threaded hole. These will hold up much better than the aluminum.
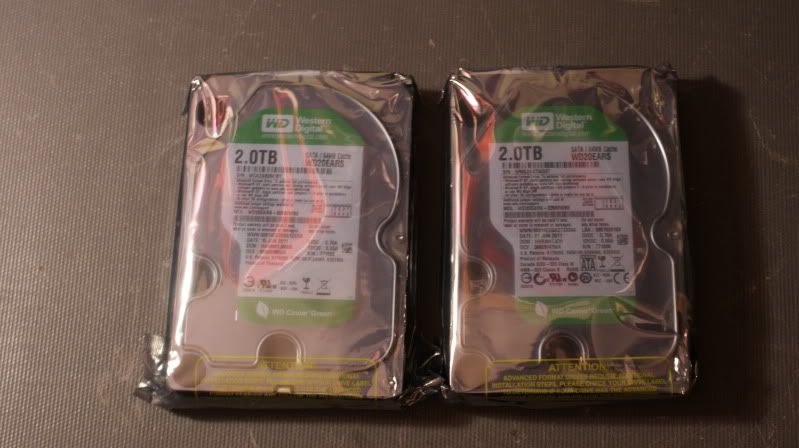
2 more 2TB Green HDDs
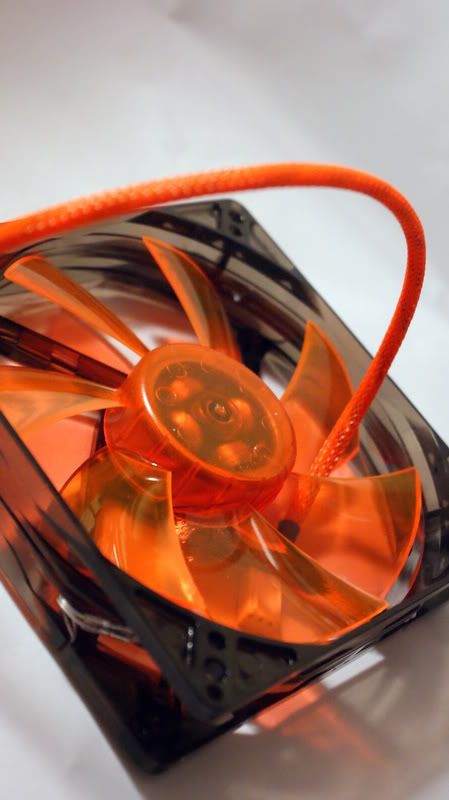
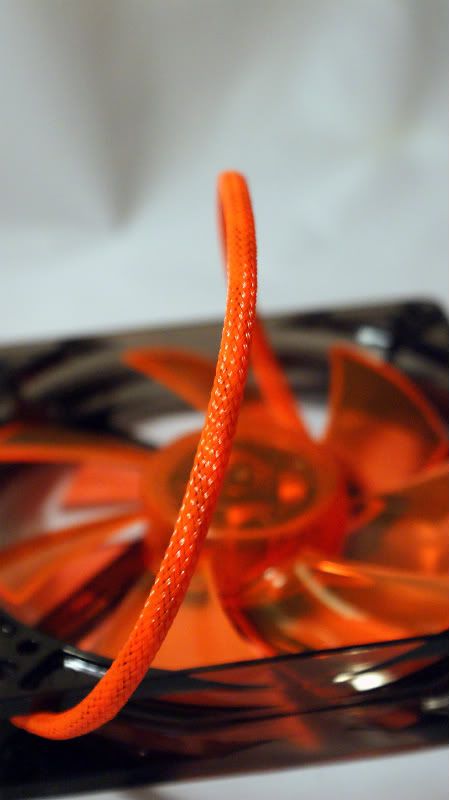
A 120mm fan for the mobo side of the case.
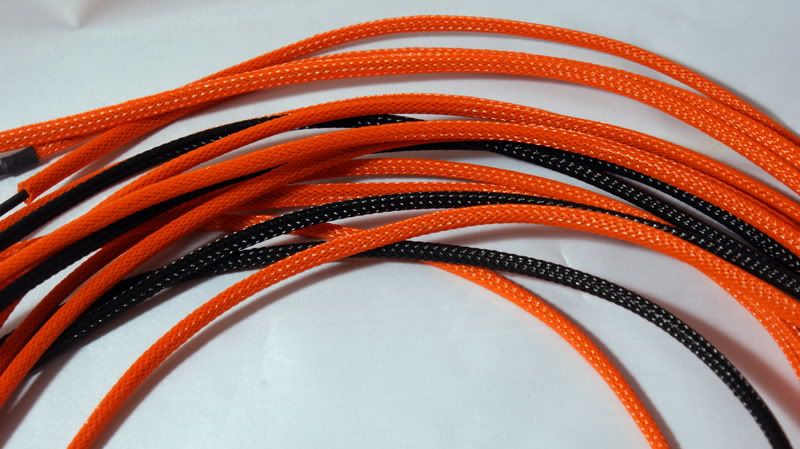
Sleeving... I ordered the FlexO from FrozenCPU because it was "cheaper". The quality wasn't great but I could afford it. I decided to do a sleeving comparison for my fellow modders and when I ordered the other brands I got my hands on some MDPC-X sleeving. No wonder everyone uses it. The color is amazing and its only $0.22 PER FOOT!! That's 1/3 the price of the FlexO. The only problem is that it takes 2 weeks to get :( Germany to USA. USA to me. I wish Nils would ship to APO/DPO but he doesn't so I have to deal with that.
Here is a comparison between the FlexO and MDPC-X
You can see on the HDD I bought some Orange vinyl film. Its pretty transparent so I have to put 2 layers down to get the color I want.
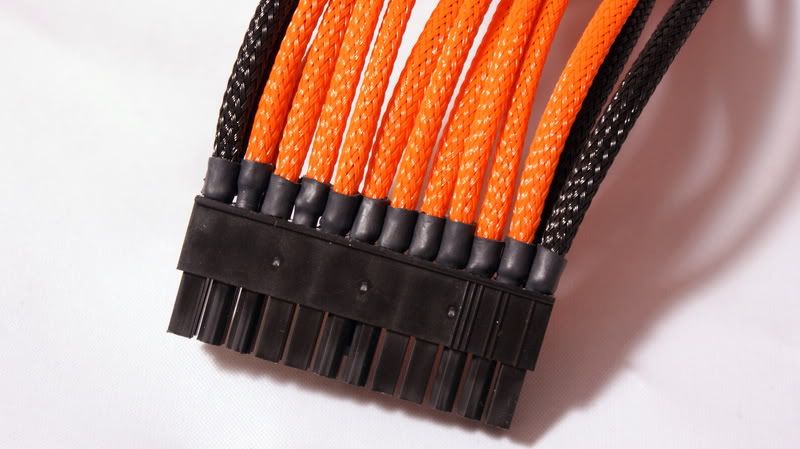
Since I had some of the MDPC-X I started sleeving the ATX power. I might add a few more black wires to the mix.
And that's it. I just put in an order to get the rest of the sleeving that I need form MDPC-X and I'll use up what I have left here.
Cheers till next time.
Man I love that color!
.
Still waiting on my plexi :( If it doesn't arrive Friday then I'm going to call.
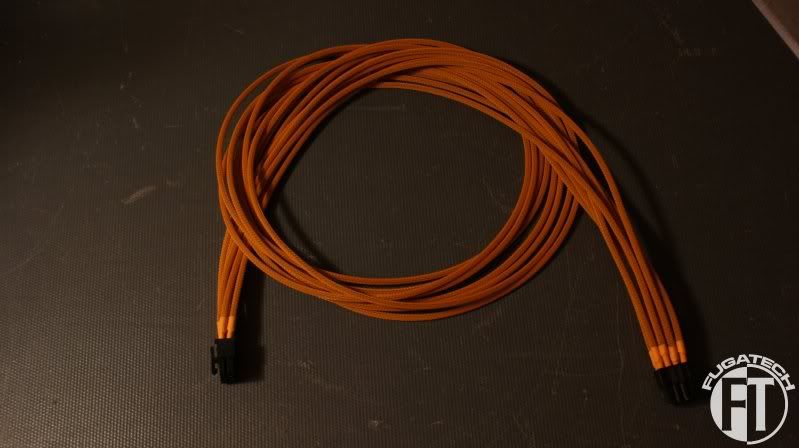
Random shots of my sleeving.
I'm not 100% happy with the connector so I might redo it.
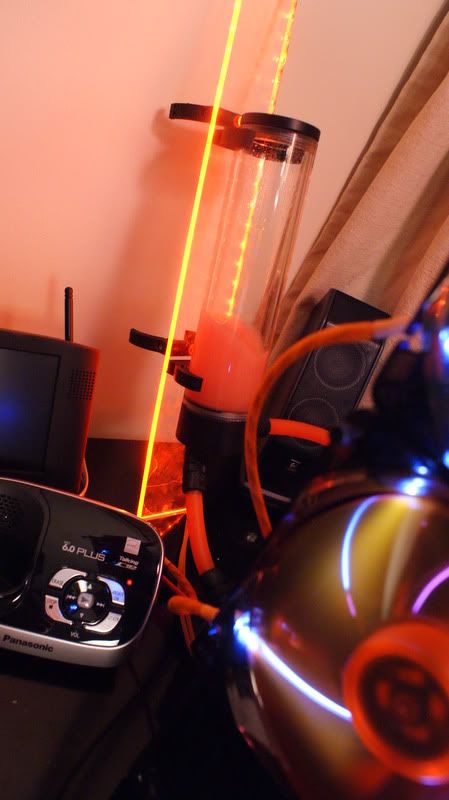
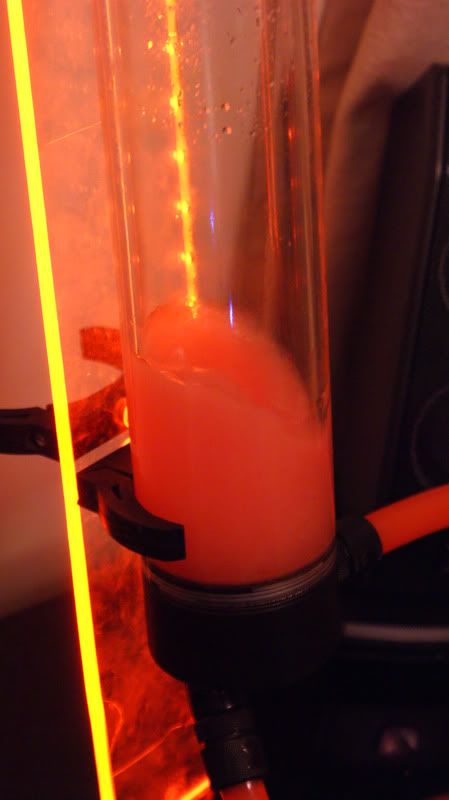
I decided to buy some Primo Chill Ice UV Orange coolant and see how it looked.
Its actually not very UV reactive but it looks great without it. I ran it for 2 days like this and it was fine. I let it sit for a day and there was the problem. My res had an orange residue on it. So I deff won't be using this. Hopefully a certain someone will finish making their orange coolant for me :D
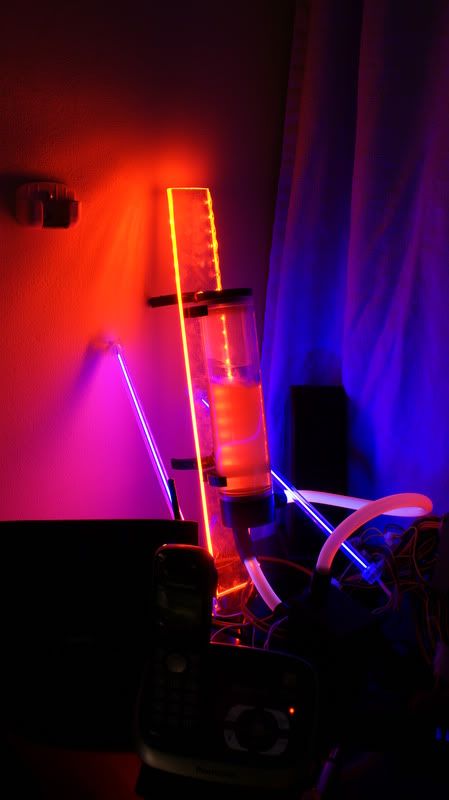
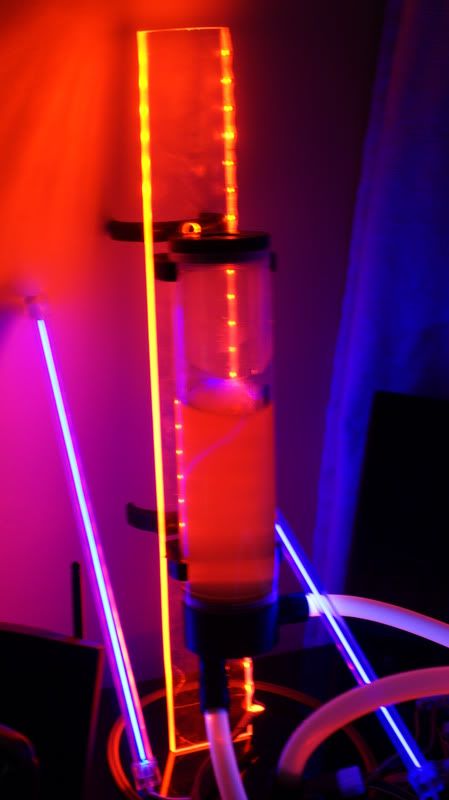
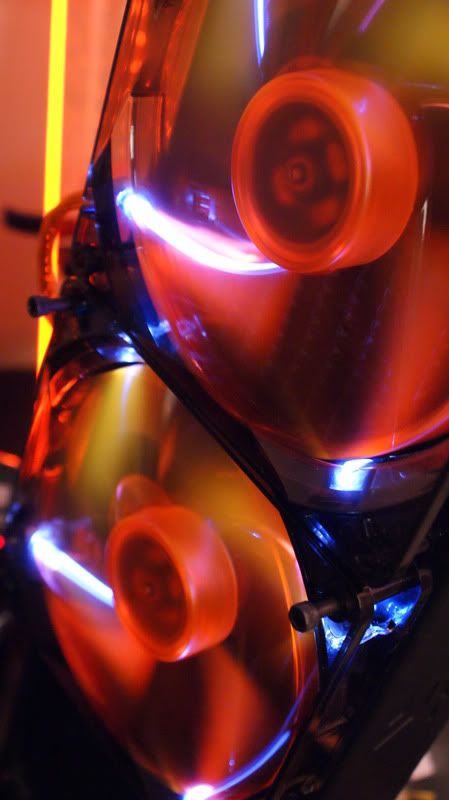
Random cool looking pics I thought.
Its was a holiday weekend in Germany so my MDPC-X sleeving didn't leave Germany until today so I should have it in about 2 weeks. Hopefully I can get this done by November but starting Tuesday for 2 weeks there will be no modding :( My wife and daughter come back and my sister is visiting for 2 weeks so I have to spend time with her.
Cheers till next time!
Is it just me, or are a couple of your pix corrupted?
idk they all look fine to me.
FIREFOX!
Where's your "reload image" button????
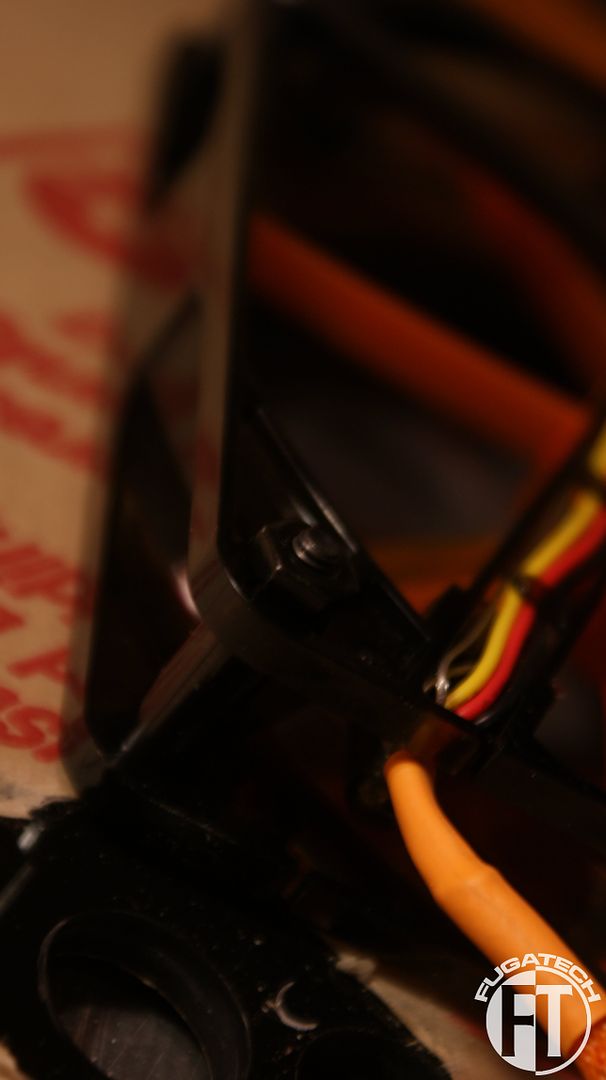
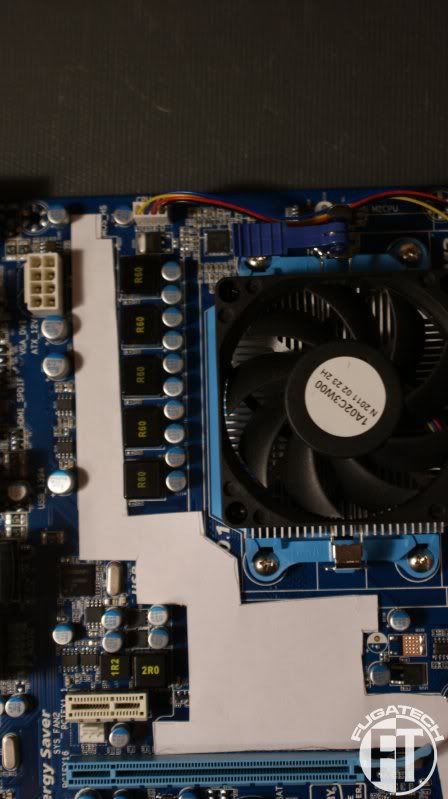
i don't think your fan will work well with the cable going through the blades like that.
They're working now; I don't know what happened.