Looking great Troy!

Printable View
Looking great Troy!
Looking really sweet mate, reminds me a lot of the Commodore 64's lol.
Coming together nicely! I can't wait to see it painted.
Great job!
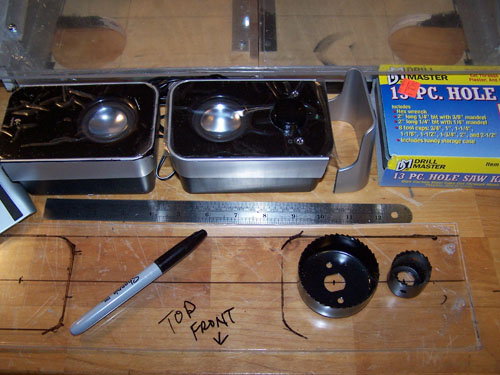
In the following picture you can see that I cut the legs off the speakers and marked their position onto the acrylic, now it's time to cut some speaker holes... to do this I will once again be using my handy $7 Harbor Freight hole saw kit.
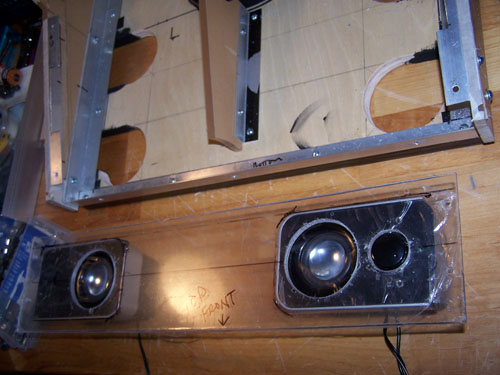
Ok, speaker holes are cut and filed, below is a test fit. After I vinyl dye the acrylic sheet I plan to use some Weld-On 16 to permanently attach both speakers onto it.
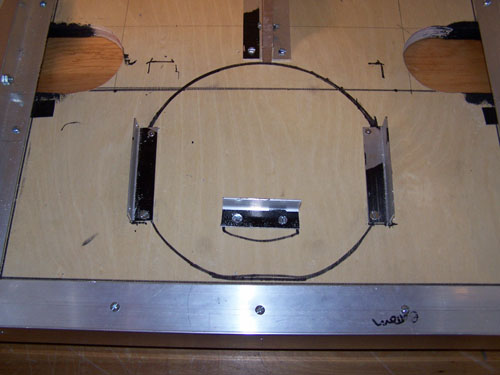
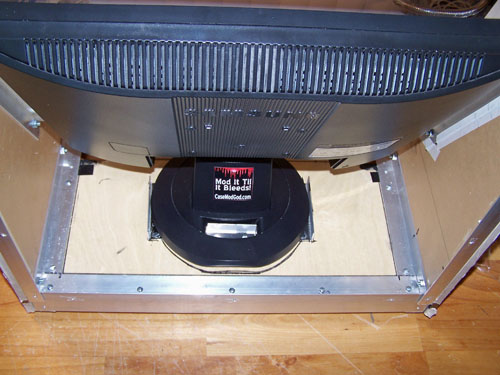
I had to figure out a way to keep the monitor from shifting around inside the cabinet, I considered cheesing out and just running wood screws through the base, but I really didn't want to have to modify the monitor... below is what I came up with.
The monitor is held firmly in place by the three pieces of alum-angle and the front of the monitor base presses tightly against the control panel support brace I made. Doing it this way makes it easy to remove or replace the monitor if needed.
Speaker and monitor mounts, they look really good.
another sweet mod mate... good work
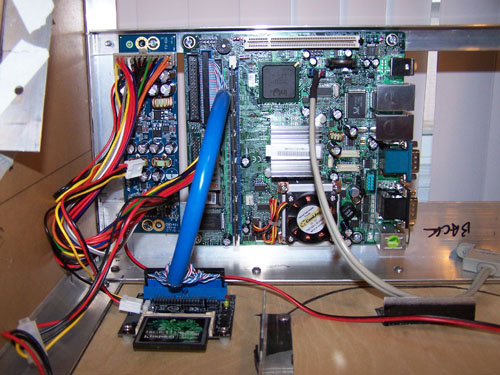
I used aluminum binding posts and plastic spacers to mount the motherboard and power supply to the back Alum-Angle, the IDE CF card was similarly mounted onto the plywood base using wood screws.
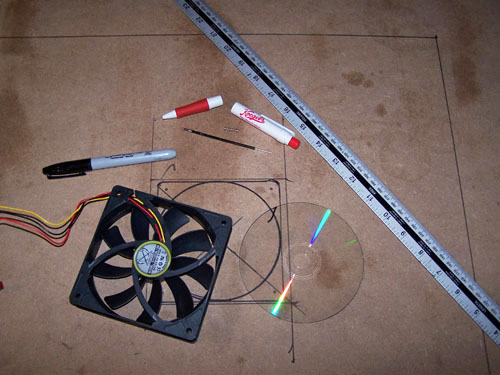
I decided to make the back panel out of pressboard because it's cheaper than acrylic and nobody will see it anyway. Below shows where I plan to install a 120mm fan that will be temperature controlled by the Matrix Orbital.
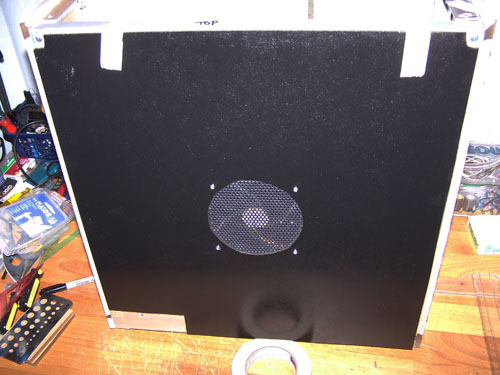
I cut my holes, assembled it all and then gave the back a couple coats of black spray paint, below shows the test fit.
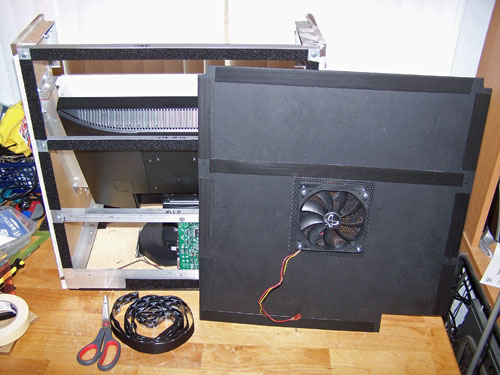
I cut lengths of adhesive Velcro and placed them on the back framework and back panel, I figured Velcro was simpler and more forgiving than screws and it works great.
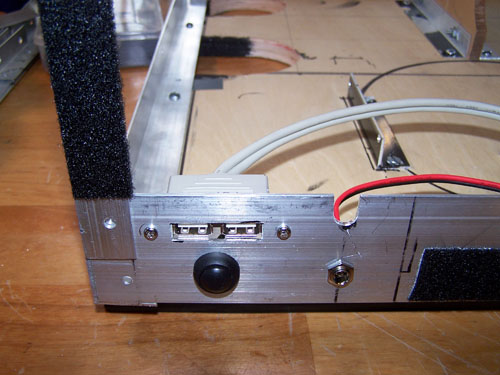
I drilled holes for both the power connector and the power button and also cut a couple USB ports into the bottom Alum-Angle, below shows everything installed.
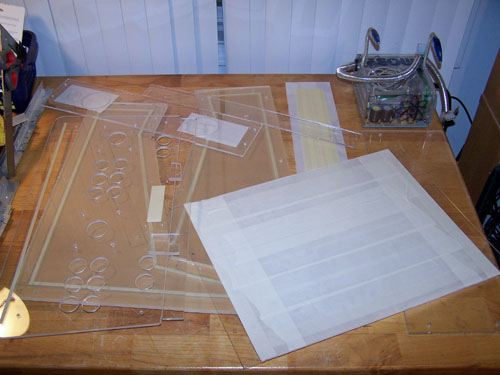
I masked and prepped all of my acrylic pieces... too bad the sun went down before I could coat them with black vinyl color.
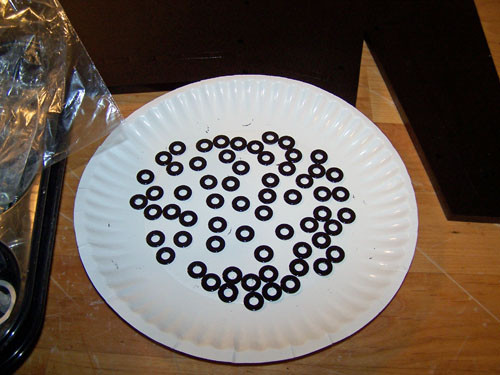
I spray painted a bunch of washers with black enamel and then transferred them to a paper plate to dry.
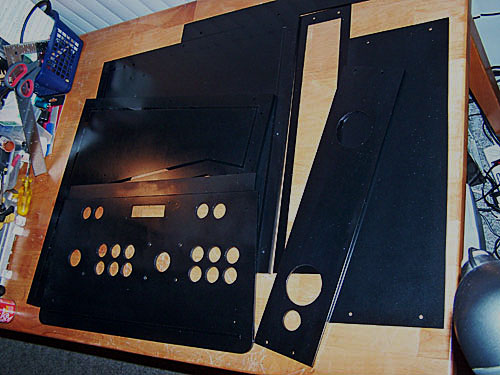
The next picture shows all of my acrylic vinyl colored black and ready for assembly.
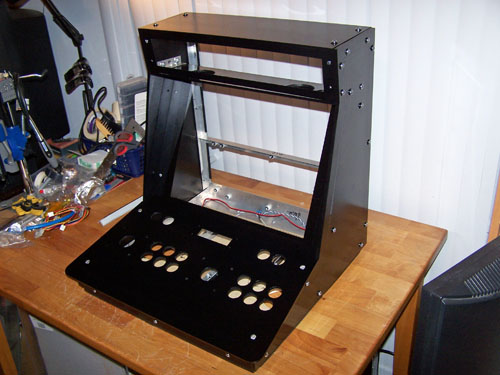
All of the nuts and bolts are just finger tight right now, but I put it all together for a post paint test fit and to get an idea of how cool it's going to look when I'm finished.
Looking top notch Troy!
Looking really amazing, I can't wait for final shots.
drum thumper said it all!