-
Re: PROJECT: Lobo
The paint on the back of the plexi wolf-illuminator was to keep light from entering the case, right? Am I guessing correctly that you're going to paint the back with chrome paint as well as the edges, then? It's worth wrapping all but the visible side with new tinfoil, I'd think, to get a rough idea of how it would look.
Anyway, I love the attention to detail so far. Keep experimenting! +rep
-
Re: PROJECT: Lobo
Yes it was to prevent leakage of the light into the case - I'm considering my options on that now. I don't want to use tinfoil permanently because it didnt stick well enough for me to be 100% sure it won't end up loose. I may try the tinfoil temporarily as you suggested or chrome paint first, if not, maybe some shiny black plastic...
-
Re: PROJECT: Lobo
Well I warned ya this would get updated in chunks as I'm only really working on it weekends - here's the latest batch... Not a lot new unfortunately, mainly do-overs and improvements but it's an update :p
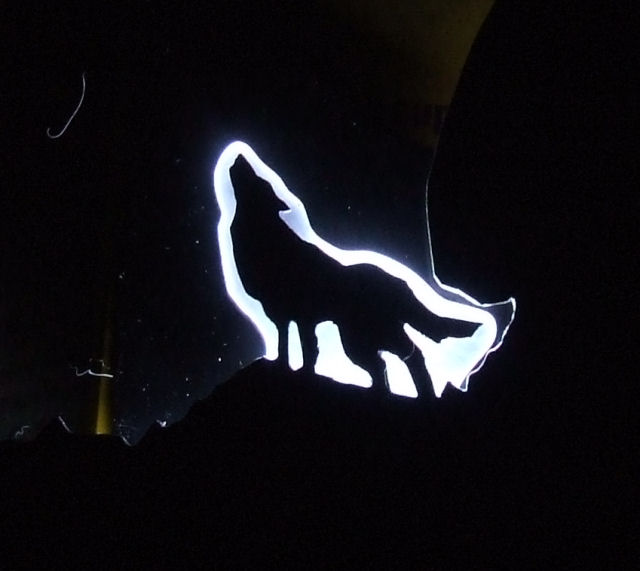
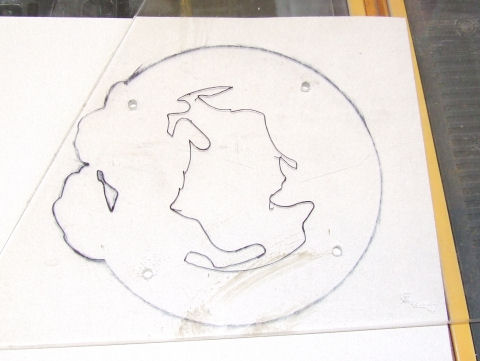
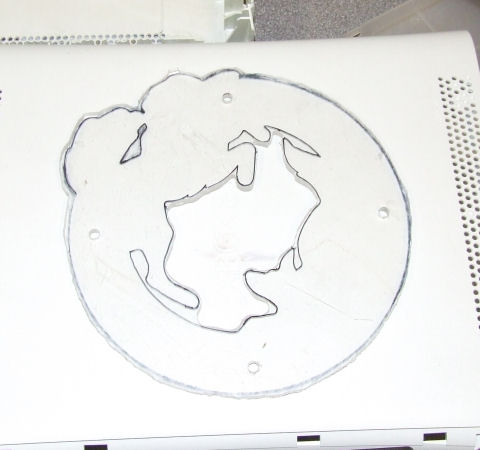
First of all - the wolf illumination.
I want to have him well lit, and I also want to minimise or even totally eradicate light leaking into the case. As the black paint on the back of the wolf killed it almost completely, I decided to try something else. I painted a piece of scrap metal and gave it a quick wetsand and polish. The placed that directly behind the perspex - there's no gap at all between the two and...
MUCH better - I'm happy with that. Some people may think it's too bright but bear in mind, it'll be going behind tinted perspex so that'll tone it down some. I also noticed some really fine cracks appearing in the bottom of the wolf - I'm assuming thats caused by heat and expansion in the LEDs - I don't think they'll ever turn into anything structural, but when it comes to be time for final assembly, I'm going to bore the holes out a little and hold the LED's in with a dot of hot glue - at the moment they're held in with nothing more than friction because the holes are exactly the same size as the lens of the LED. The cracks are in the base so they're behind metal anyway - not re-making the wolf AGAIN unless I absolutely have to...
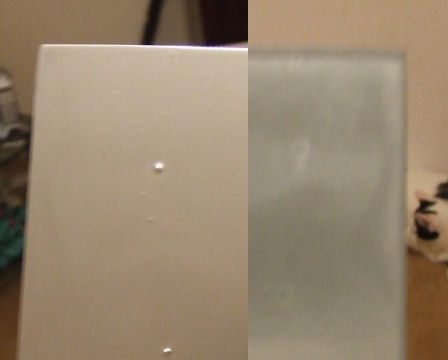
I went out and bought some of that dreaded chrome paint (after saying I wouldn't) and gave it a try. It's not going to be any good - while the dry surface of the paint is pretty reflective (its just a very shiny metallic silver) the paint is a very dull fairly dark grey on the back where it actually contacts the perspex. As this is the side which would be facing the light (assuming I painted the edges) this is another one for the "tried it but never mind" bin...
Left hand image is the "air" surface, right hand is the behind perspex one. Note the huge bubbles lol - it was raining when I painted it but as it was purely a quick n dirty experiment I didn't really care...
I'm going to try to get my hands on some scrap automotive vehicle mirror privacy film next - I'm stubborn lol - I WILL find a solution....
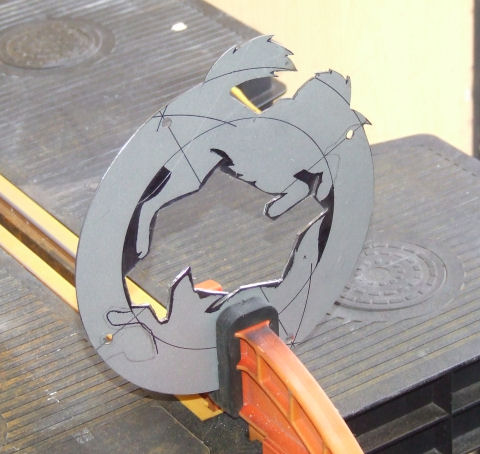
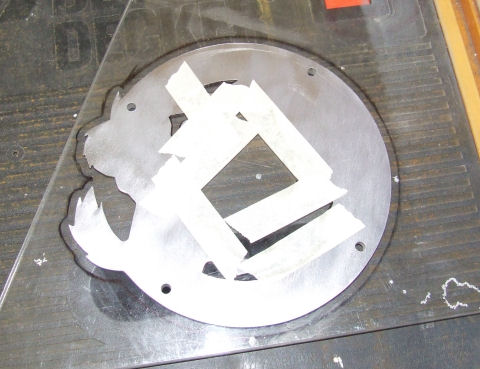
Next, the fan grille (which I swear is going to be the end of me - again - stubborn so it WILL get done heh)
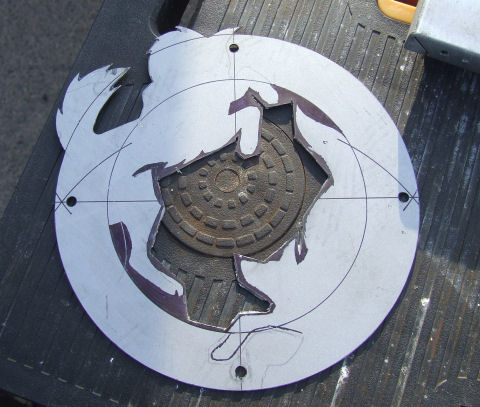
Every time I cut a fan hole, every single time, I manage to get the fan mounting holes slightly out of line - doesn't matter how carefully I mark them out, or how slowly I drill them - I don't have a drill press and the drill always manages to move JUST enough to make them wrong. This time was no exception but this time I was expecting it, so I drilled slightly smaller holes than needed. I put an existing fan grille over the top and marked the proper position for the holes...
... and then filed them out so they're pretty much perfect now ...
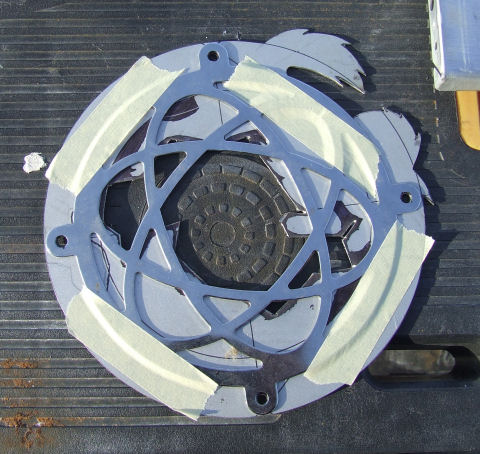
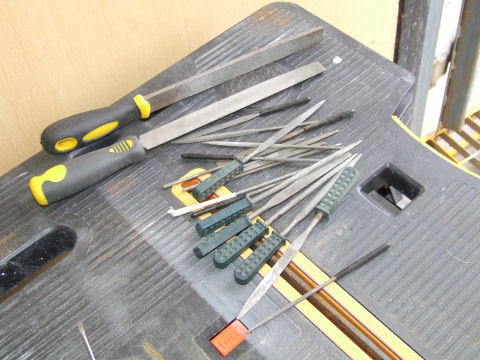
Then I decided to finalise the initial cuts on the fan... Quick recipe... take one of these...
Add most of these...
And a liberal helping of both elbow grease and time...
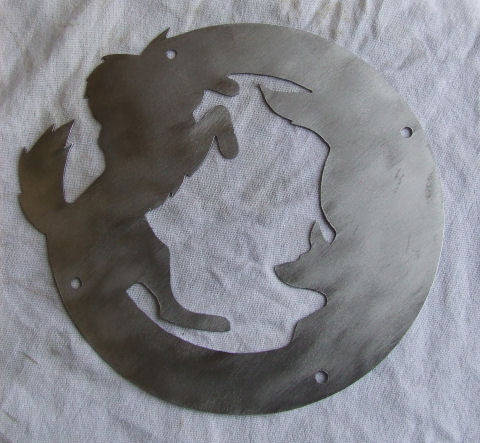
Grind gently with a wire wheel to remove paint and little metal burrs and...
Looking awesome - REALLY happy with how that turned out...
I then lined the grille up on the top of the case, and used it to drill the fan screw holes in the top of the case - this also had the bonus effect of smoothing the holes in the grille to perfection - and I didn't take a photo lol - makes a change - I photograph everything else heh...
I also made a start on the perspex part of the grille which will be effectively the "meat" between the steel "bread". I want the edge on the inside to be as close as possible to the metal to minimise the blocked airflow but I'm thinking of letting the outer edge of the perspex protrude a little to give a similar halo effect to the wolf on the side panel.
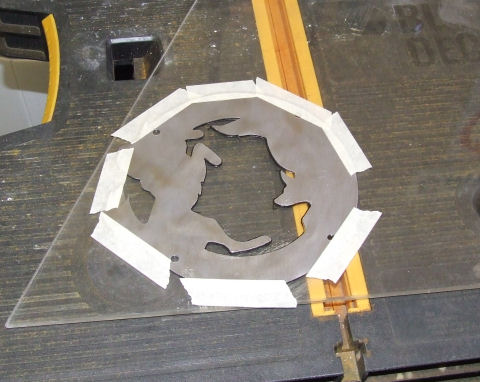
Started off by taping just the outside of the grille to the perspex and tracing a line...
Then taped the inside, took off the outer tape and using a well worn cut-off wheel as a guide, drew the outer line...
And hey presto - one set of guidelines...
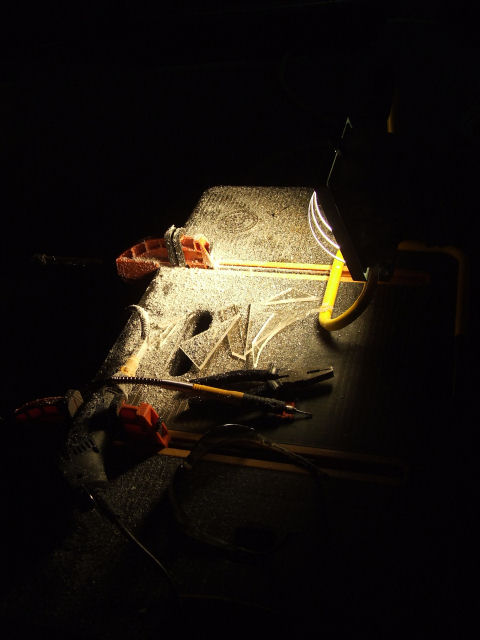
So I set to work on the cutting and within 10 seconds - I snapped the cable inside the flexi-shaft of the dremel-clone - NOT happy....
Fortunately, I had an old flexi-shaft in the toolbox from a long dead dremel-clone and while it was longer, the cable (after a little snip) worked so back to it and after about an hour of grinding, using the same bit as I used on the wolf I ended up with this...
With the grille over the top it looks like this (photo sucks - I'll get a better one soon)
At which point I gave up as it was getting SERIOUSLY dark. I tried to take a pic of the bench to show all the debris - this should give you some idea how dark it was when I was trying to accurately cut away the perspex *grin*
Anyway, thanks for reading - another week done - next I think it'll be tidying the perpex part of the grille up, cutting the blowhole in the top of the case and the non-transparent window in the motherboard side - not even sure I'm going to do that yet tho...
-
Re: PROJECT: Lobo
i swear ive seen this b4... lol
looking good!
-
Re: PROJECT: Lobo
It's like deja vu n stuff huh? lol
On a side note - just gave the credit card a minor hammering - perspex sheets for Lobo, K-9 and my upcoming xbox mod are on the way, as are all of the LED's I'll need - hopefully, other than paint, I'm done with the money spending part of this project lol
Still need to buy something for K-9's frame but I'm putting that on hold for now as I don't have the space for multiple mods in pieces at once....
-
Re: PROJECT: Lobo
sounds good i cant wait to see
-
Re: PROJECT: Lobo
Check out your front page blurb here.
Grats man, great job so far!
-
Re: PROJECT: Lobo
-
Re: PROJECT: Lobo
Looking good.:up: That back light looks great. +Rep and congrats on the front page.:banana:
-
Re: PROJECT: Lobo
Well weather is looking positive this weekend so lots of modding potential while at work....
Only problem I have is that it's 3.33am as I type this and I start work at 10am - cannot get to sleep and I have to get up a little earlier to load the car with all the gear I need to mod...
Fingers crossed and ty for the congrats re: Front page...