lookin nice! I like that SS sleeving :up:

Printable View
lookin nice! I like that SS sleeving :up:
ditto. :)
I like the SS sleeving...just be reeeaallly careful routing it. ;)
Quote:
Originally Posted by x88x
Oh ya I know. One little bump in the wrong spot and bye-bye hardware.
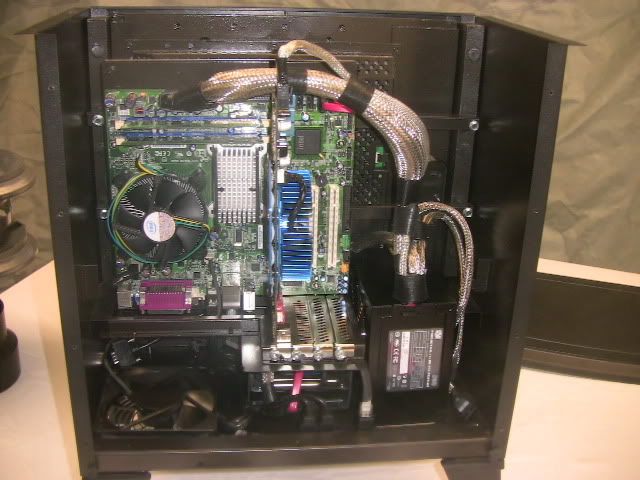
I finished up mounting everything tonight, wire management is done, and I'm loading the OS right now.
The slot load drive is acting screwy so I need to check into that, but it's running great!
I'll do a proper update tomorrow.
I'm waiting...
Wow take it easy..lolQuote:
Originally Posted by Trace
Big update time!!
I got quite a bit done and I will be revealing the big secret I've been keeping. I like to keep some things quiet as long as possible for some extra wow factor. :P
I was working on making a way to eject the hidden slot drive and now it's ready and working great. The slot drive was acting screwy because the screws I used were barely too long and made contact with the mechanism inside. Easy fix. Special thanks to Boddaker for letting me pick his brain on this thing since he always uses them.
So anyway, I used a small brad nail, cut it to length, painted it black, and used it for a hidden button in the front grill.
Do you see it??
How about now??
Nobody will ever know it's there. Well, except all of you. :wink:
So it has the hardware back in,
I loaded the operating system, updated all drivers, etc, etc. Then I decided to do a video stress test just to see what this little thing could do. It really wasn't that great. I am used to a high end gaming rig, this only managed to hit 32 fps on CS:Source. :shock:
That just won't do. This will not be a big time gaming machine but come on! We need better than that!
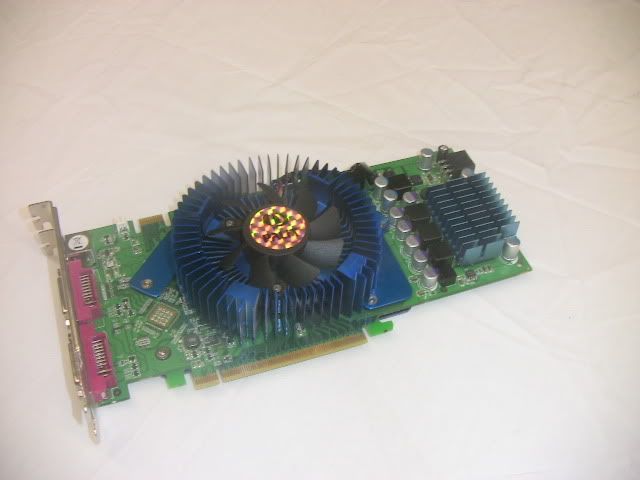
So, I rummaged around in my spare parts and found a Palit 8800 GT - 1 gig video card. And since the board does have a PCI-e slot it would be a shame to leave it empty. :)
Aahhh, much better! I re-ran the test and it pumped out an average of 122 fps. Now we are talkin!! Minesweeper and Solitaire have never looked so good :wink:
Also, there was a huge hint in that picture of what I'm about to reveal....did you see something?
But first....
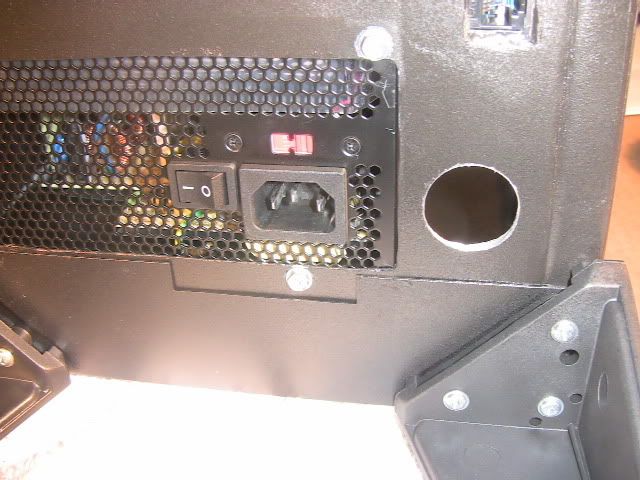
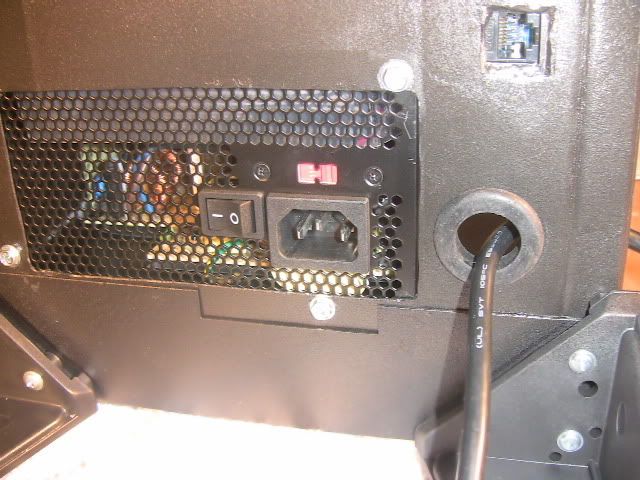
I needed a hole to run the monitor power cord through the bottom of the case. I found a spot right next to the PSU so they can be next to each other..
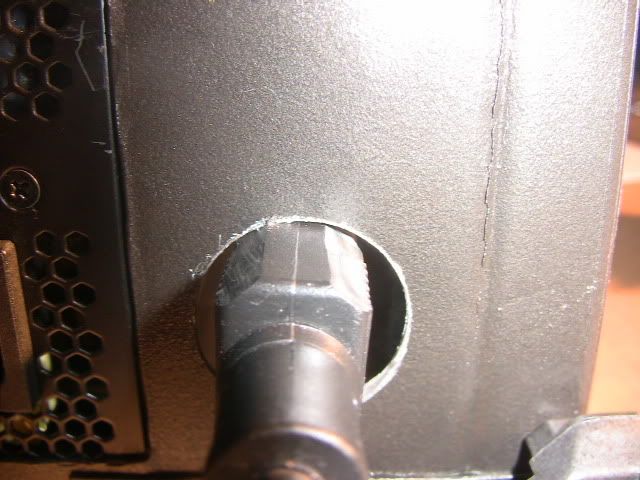
Have you ever tried putting a square block in a round hole??
It doesn't work.....or does it??
You just make the square a little rounder that's all..
So I ran the cord through and also fed it through the grommet that's going in the new hole.
That will work great!
Ok you've waited long enough.....here is the big deal......
A bunch of parts -
to make a -
Where else would the airflow exit the case?!
So here is the story with the chimney.
It will allow the air to exit out of it.
It will have a few LED lights inside that will work with the HDD activity indicator to give it a flickering effect. So it will look like a real fire is inside and the glow is coming up the chimney.
side note: Santa will be so screwed if he goes down this chimney.
It will also have real smoke that comes out of it to make it look like the real deal!!
Ok so that's a lot of excitement for one day....I have more done but you can wait. I'm tired. 8)
loving this mod sir, good work!
Hahahaha, awesome idea on the chimney. :D +rep
That hidden eject button was also very well done. I can see it in the first picture now, but not knowing it's there it's basically invisible...heck, I had to look for a while to spot it in the second picture!
Thanks guys.:)
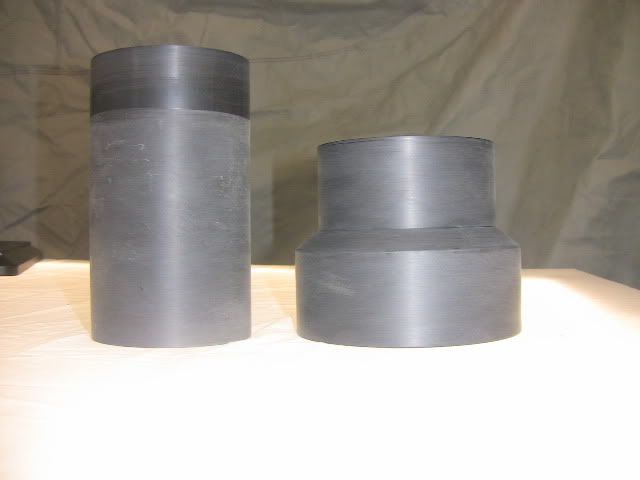
Making the chimney.
I am using some plastic pipe/fitting for the main chimney. I decided to use that because it's cheap, easy to cut, and comes in lots of sizes. It's also easy to glue to, and you can drill holes easy, etc. The only downside is that it's not that pretty.
I took some 600 grit and wet sanded the pieces to make them smooth.
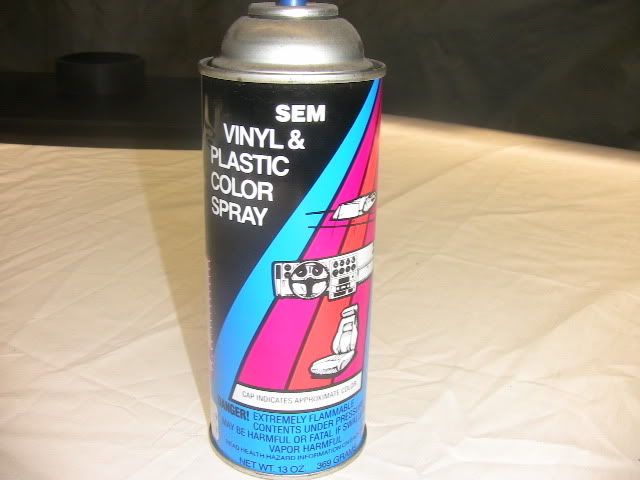
This is the stuff to use for plastics. It holds great. It's used in the auto industry to change complete interiors to a different color so it has to work good.
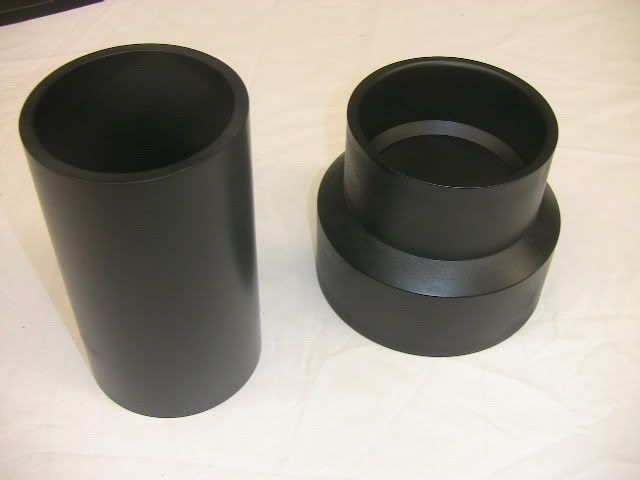
All painted. This is more of the look I wanted. :)
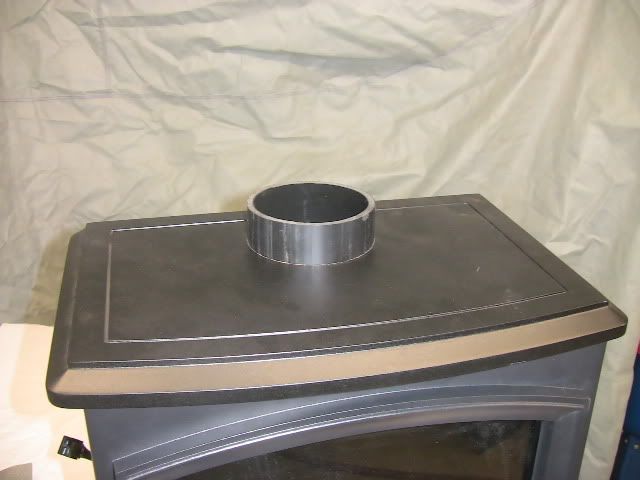
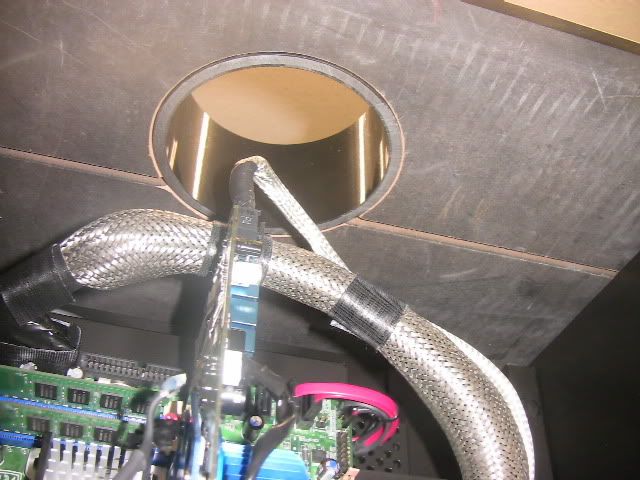
Time to make a hole in the top.
I'm making a short base piece that will mount to the top of the case permanently.
Looks like a nice fit.
Now I can just take the chimney portion and set it on here or take it off when needed.
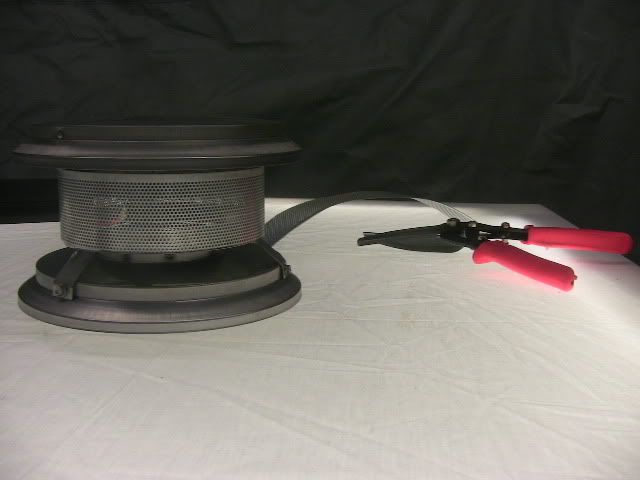
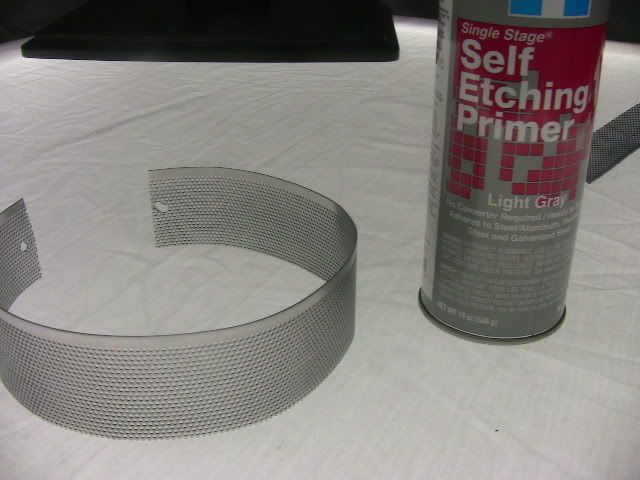
The chimney cap was ok but not great so I thought I would spruce it up a little. I thought the middle section needed a little different look. I took some aluminum perforated metal and made a band to go around the mid section.
It looks good but I still think it needs something. Contrast. I'll paint it black!
I picked up this awesome (and expensive) etching primer that will cover just about any metal and really hold good. You can even use it on galvanized steel.
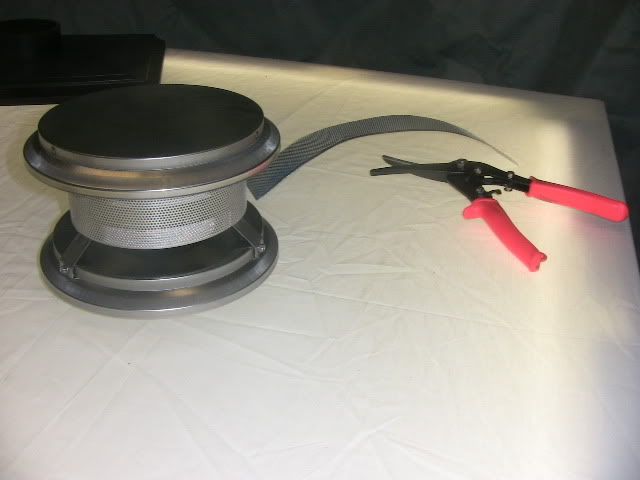
Some primer - some paint and boom!
This looks way nicer.
I think the contrast really looks good when it's assembled.
I wanted to have a little light inside the chimney that would flicker and simulate light from a fire inside the stove. So I wired the HDD activity lead to a super bright red LED and ran it up the chimney. It works ok but I can see I need to add in some yellow or orange. So I'll run a string of LED's and get them installed for the next update. It flickers really good though.
SMOKE
My goodies arrived for making smoke. I thought I would use the smoke setups for hobby trains. They run on low voltage and should run off the PSU. The one I ordered is made for a chimney of a building that you would have as part of a neighborhood in a model train setup.
It turned out to be waaaaayyyy smaller than I thought.
I tried it out and was not impressed. In fact it was a big waste of money. It just won't do what I need. So, back to the drawing board. I have an idea to build my own but I'm running out of time.
It's coming along pretty good in general. I'll get the LED's Monday and make up my own smoke generator. That should be interesting. :P
Beautiful. I'm looking forward to your solution!