Looks great mate.

Printable View
Looks great mate.
I did have me reading glasses on, perhaps thats worse lol.Quote:
Originally Posted by xmastree
Now that would be cool, sixty of them all blowing up. Might have to buy a bulk load of them and have a domino rally with a difference.
Not at all, much better than no protection.Quote:
Originally Posted by Xperiment
I second that.Quote:
Originally Posted by xmastree
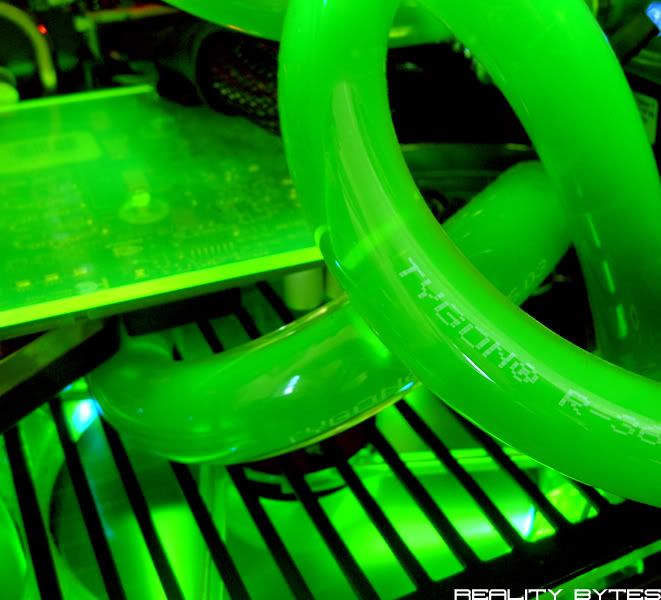
i love the way you did the vga cable, very clean looking with the heatshrink. :)
Great solution for nast soldering indeed! I alwyas hate it if I need to solder things that small. Although it works better with a third hand ;)
Good job!
Thanks, I'm quite happy with how it came out. Although it could have done with some smaller diameter heatshrink, may have to amend it a little.Quote:
Originally Posted by billygoat333
Thanks, I must admit it was a huge relief not to have to solder it, a third hand would have been nice, but then again when wouldn't it lol.Quote:
Originally Posted by TEAMIKKE
Update: Outer Side Panel
Well I've been looking forward to getting the outer side panel started for a while now and after a few days of planning and marking out the design I was able to get down the garage today and make some progress.
The panel is going to be made from two sheets of plexi (what else was it going to be) :) One black and one clear, both 3mm. First I needed to get both pieces the same size as the side of the case.
I clamped them to a the workbench and used a plank of wood as a guide to get a perfectly straight edge:
After two cuts with the jigsaw I had the two pieces of the correct size:
I had already marked out the cutting lines for the black piece:
I started by using a holesaw to get a perfectly round curve:
Then with the jigsaw cutout the rest:
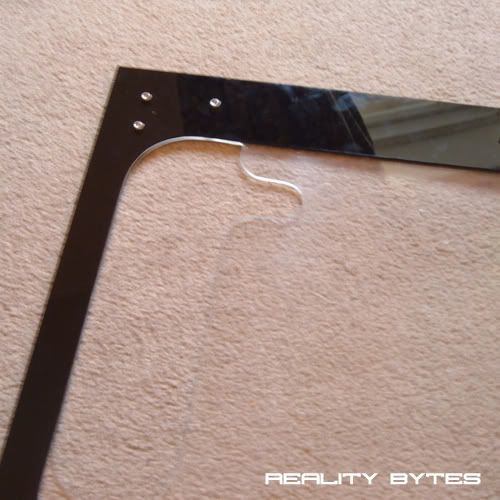
Leaving a frame to cover the clear piece of plexi:
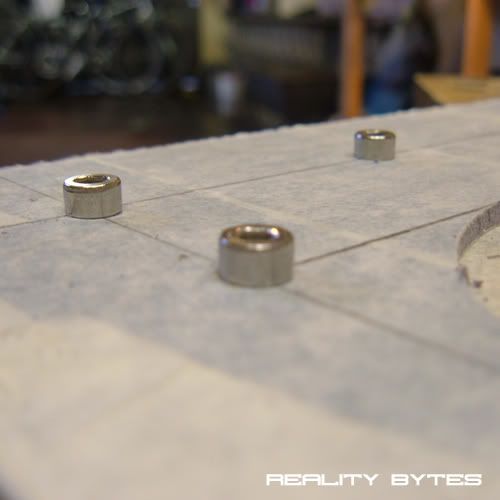
Next I cut 4mm holes for the bots to hold both bits together:
And used M4 socket bolts to secure:
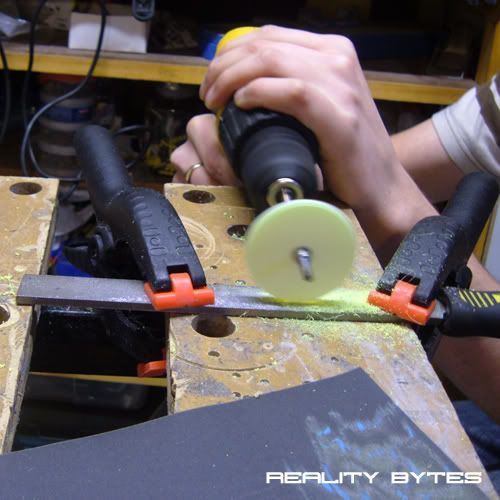
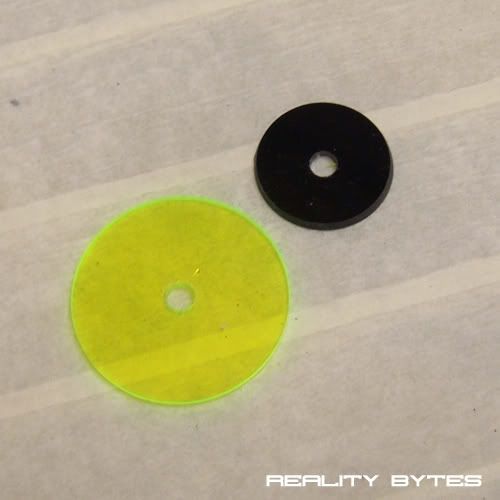
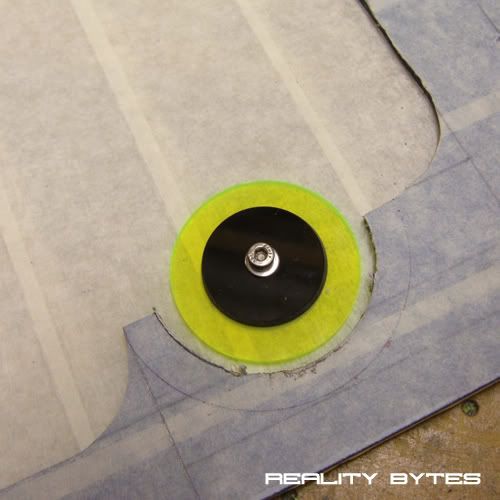
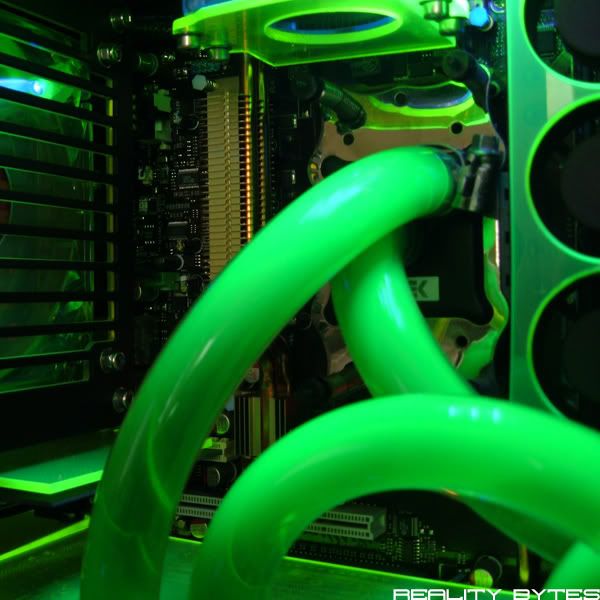
Next to add a little detail to the panel I cut a circular piece of UV green plexi using a holesaw and fitted it to the end of the drill, allowing me to file and sand to a perfect finish:
Then the same, but smaller with a black circle, giving me two pieces:
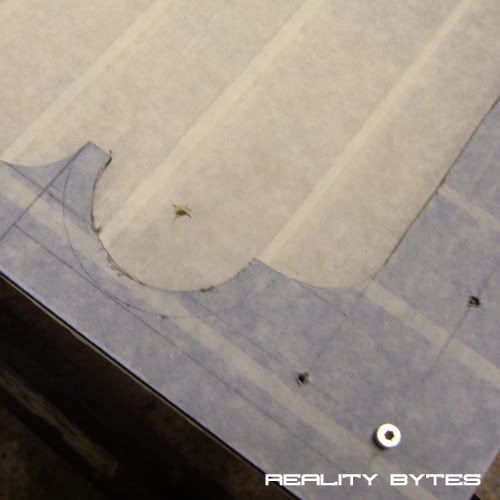
Then cut the a mounting hole in the panel:
Before bolting together:
The idea being the UV green circle will glow from the light inside and appear to be 'floating' against the clear plexi.
I couldn't resist having a peek, so took the masking off the black plexi. I have left it on the clear piece for now as I still need to cut a hole for the res to poke through:
I'm really happy with how it is looking so far and think the curves and green circle really fit in with the theme of the case.
More to come soon, but that's it for now. Thanks for reading, look forward to hearing what you think.
:)
Very nice cutting mate, jigsaws can be a bit awkward to use sometimes especially when cutting curves. You really pulled it off. That plexi disk is a great idea, will look great on the other plexi and tie the side in with the interior perfectly.
I sat here for ages waiting for this page to load cus of my stupid internet.
It was worth it.
Lovely work.
Thanks, yeah jigsaws can be a pain. I find having the plexi clamped to a workbench really helps though. Gives you that much needed free hand.Quote:
Originally Posted by The boy 4rm oz
Still wish I had a scroll saw though.
Thanks Scotty.Quote:
Originally Posted by Scotty
Nice little detail! It brakes the form of the window. Now it's more than just a window. Good job.
all i have to say is... wow. good job on the plexi. looks amazing. :)
Sweet window! :D I msut say, you're just a TAD bit better then my father and I with the jigsaw! :P
+Rep
@ TEAMIKKE - Thanks, thats was the idea behind the little detail, having the res mounted through the window should also help.
@ billygoat333 - Thanks, gotta love plexi.
@ CerealKlr - Thanks, slow and steady seems to be the winning way to use a jigsaw, cheers for the +rep.
Update: Inner Side Panel
Only a small update today. Now I have started work on the outer side panel I needed to get the inner panel secured in place so I can mount the res.
It will be secured in two places, first to the 3.5" bays next to the pump. I cut some 4mm holes to allow me to bolt it to the bays.
Here:
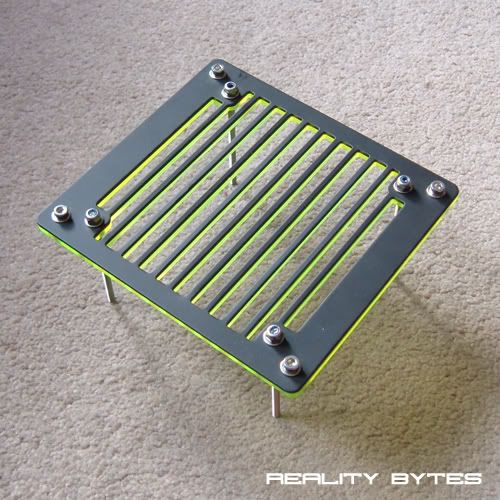
It is also held in place by the rear exhaust fan. I did this to minimize the number of bolts I would have to have showing.
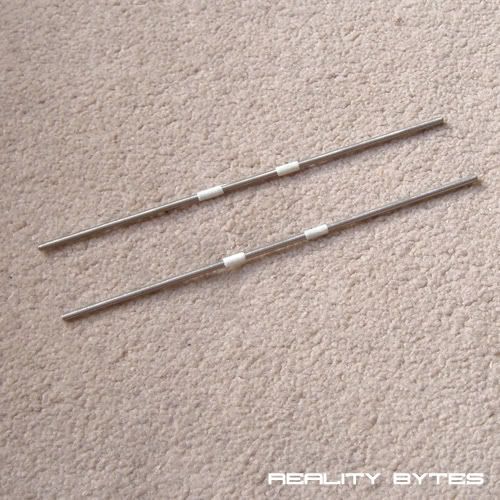
So to make sure the panel is held tightly in place I changed the way the rear fan is mounted.
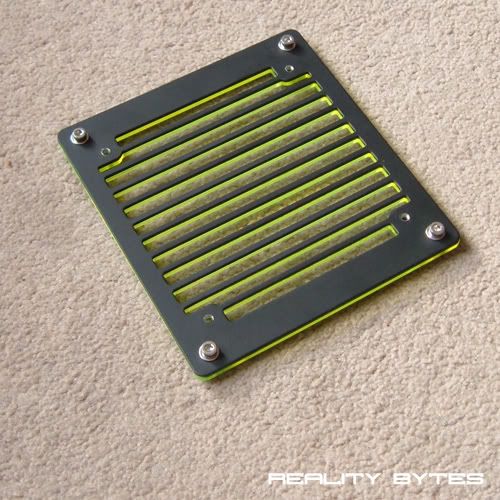
The grills:
The fan and empty fan:
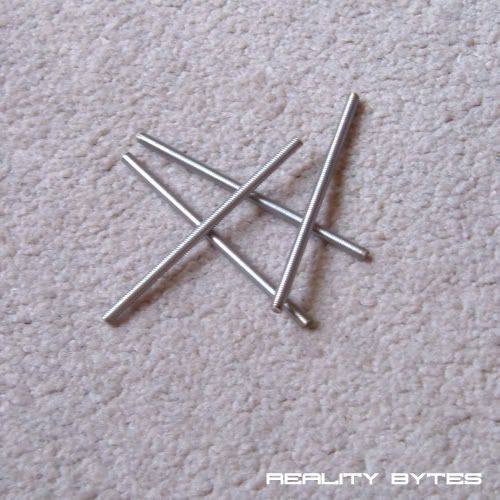
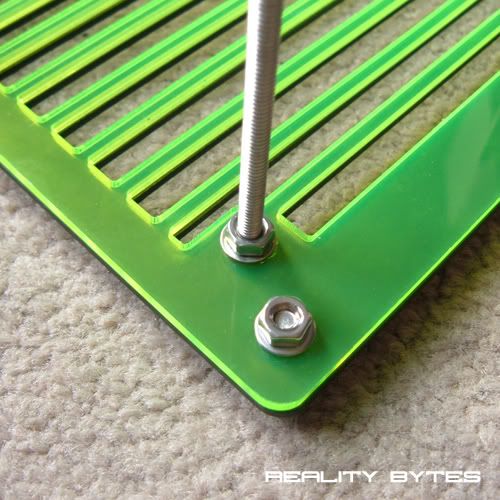
M4 threaded rod marked for cutting:
First the two grills bolted together:
Threaded rod cut using dremel:
Bolted through the grills;
Fan mounted:
Empty fan fitted:
Then finally mounted, with grill, to the case:
This way the fan grills pull towards the back of the case and hold the inner side panel tightly in place.
Thanks for reading, I should have the side panel finished in the next few days, pics to follow.
those bolts that you used, are they hollow in the middle so you can put threaded rods into them? or did you weld or solder them to the thread? it looks like they screw in, cant tell. oh and looks good :)
yeah, m4 nylon locking nuts.
kickass... you gave me an idea for my ps2 mod... which is on hold due to moving processes.
Update: Side Panel
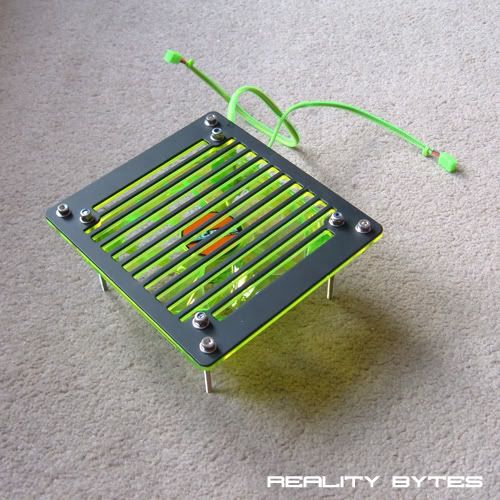
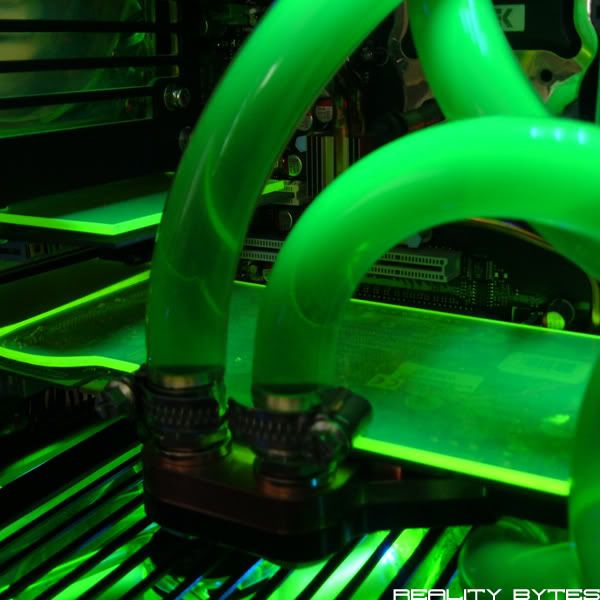
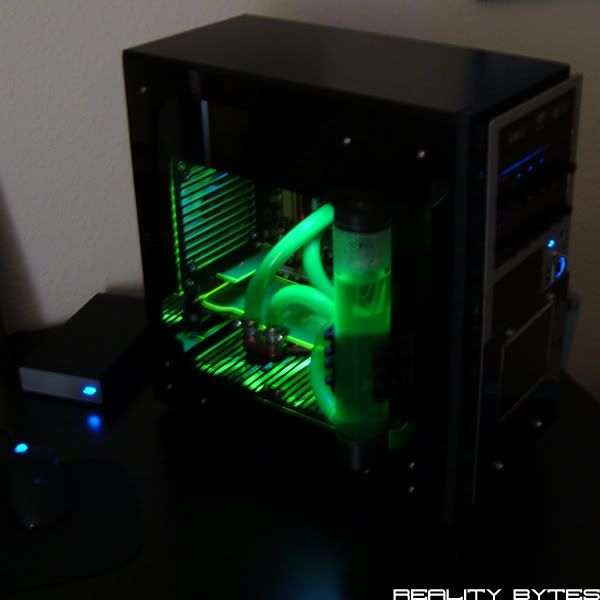
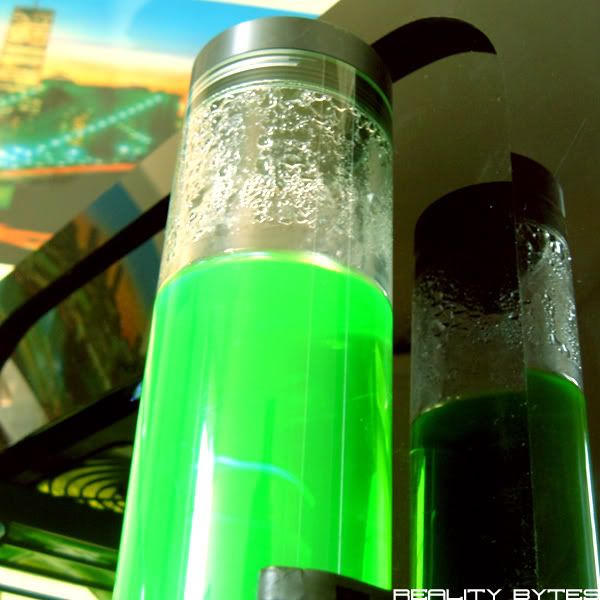
Just a quick update as the side panel is almost complete now. Mounted the res to the inner side panel:
Then cut a mounting hole in the clear plexi of the outer panel:
Now for a test fit:
Just resting in place in that picture, a few minor adjustments needed before it can be bolted in place.
Thanks for reading, more updates soon I hope.
sexy as hell!
+rep
Mate I have been away for 4 days working and I can tell you you have made great progress. This looks fantastic, great work.
Everything just fits together beautifully! I like the overal look:up:
@ calumc - Thanks, and thanks for the +rep
@ The boy 4rm oz - Glad you found it worth the wait, thanks
@ TEAMIKKE - Glad you like it, thanks
First off, apologies for the lack of updates over the last few weeks. What with Christmas, new years and starting a new job its been hard to find any time to get any real modding done.
Also I have run into a slight problem with the build. After connecting the LCD screen up and powering it on I cant seem to get it to function.
Windows detects the additional screen but I cant get anything to display on the screen, not even a flicker.
So all of my time is being taken up trying to figure it out. Does anyone know if windows would detect the screen even it wasn't getting any power, or had blown in some way. I don't think this is the case as windows knows the max res of the screen so must be getting some info from it, but it would be nice to rule it out.
Be nice to get some ideas from people of what the problem may be as I am fast running out of ideas. Theres a massive +rep for anyone that can help :)
Hopefully I will get the last few bits of the build done in the next few weeks, so will post pics as and when I can.
I just read from page one on my capped net I Love the case so far so much work shoved into that tiny antec. nice man :)
Have you tried fiddling with the GPU control panel and setting it up for duel screen. You should install LCD Studio and see if it will detect it. Also check all of your solders and make sure the power and other critical cables are joined.
Hey Xperiment. I just caught this mod and I dont see any activity in the last 2 months. Have you done anything towards the completion of this great case?
+Rep for the work so far.
Edit: Apparently I need to spread it around first.
idk how the hell i missed the updates since the install of the lcd.... that is purely amazing youve been one of my favorite modders for quite some time now...and you never fail to impress
Well its pretty much finished. I just cant seem to get the lcd screen up and running. No matter what I try.Quote:
Originally Posted by BigJohnson
I can only assume its a dead screen so I am trying to get another one to find out.
This coming weekend I will take some completed pictures of the case and post them up as a completed mod. Then if I do get my hands on another screen I will just have to update one or two of the pictures.
Thanks for such a compliment, thats very much appreciated.Quote:
Originally Posted by b4i7
Hey is this thread completed or is it ongoing? cause if its ongoing still id like to see the pics
very clean work, nice finish
+rep
Impresionant!
I love em sexy colors... copyrighted or can I flick teh color combi for me next mod? lol
I have haha, without knowing.
Well better late than never I guess.
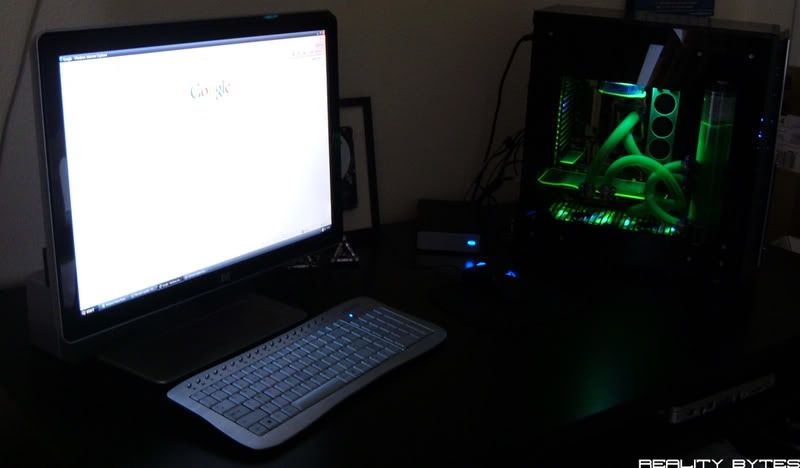
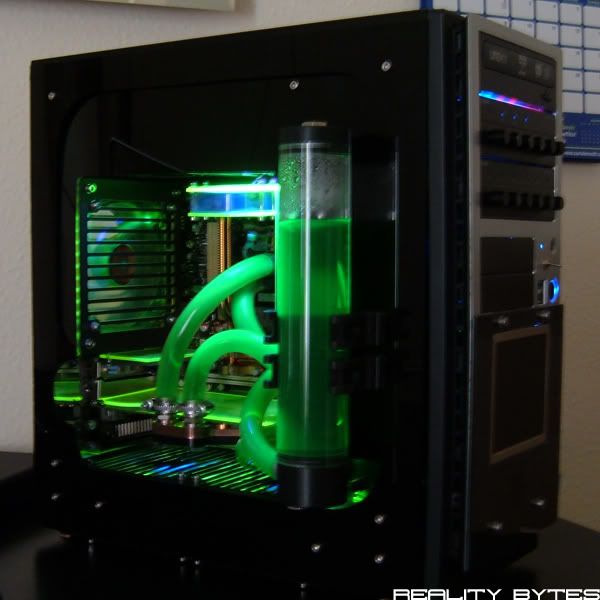
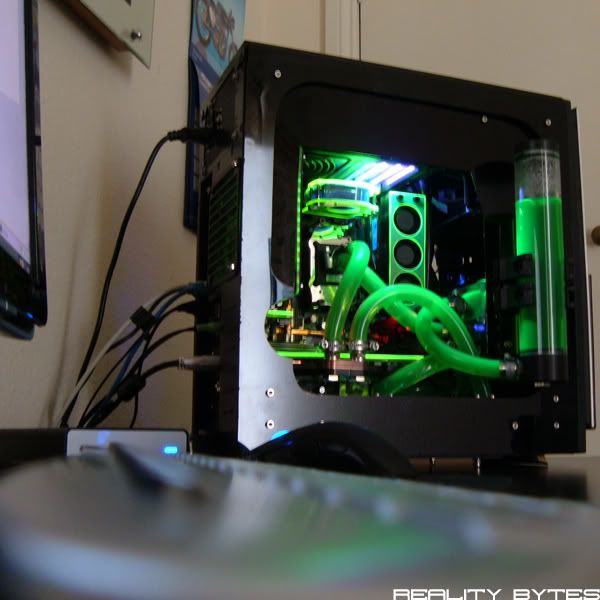
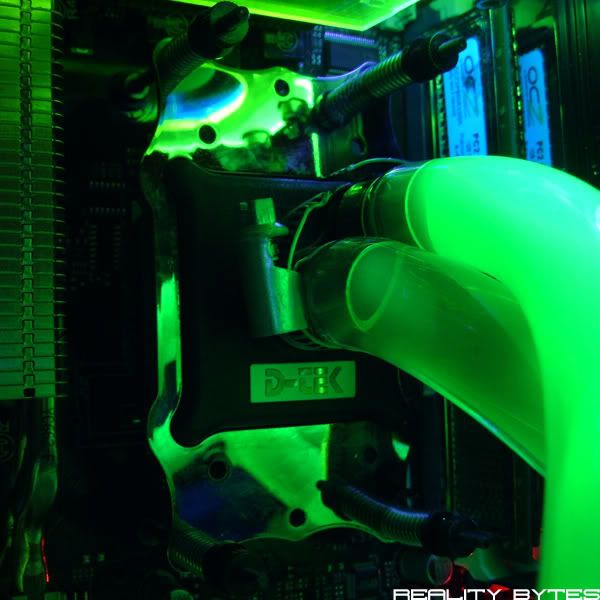
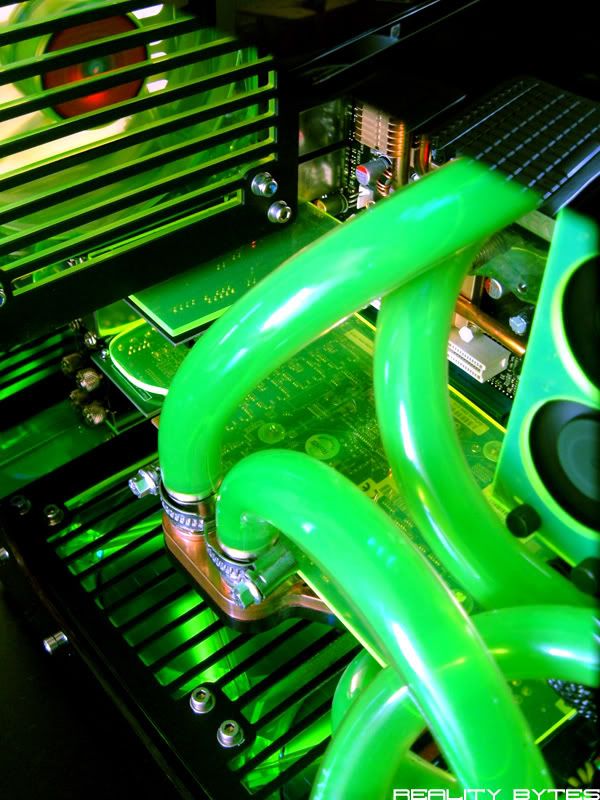
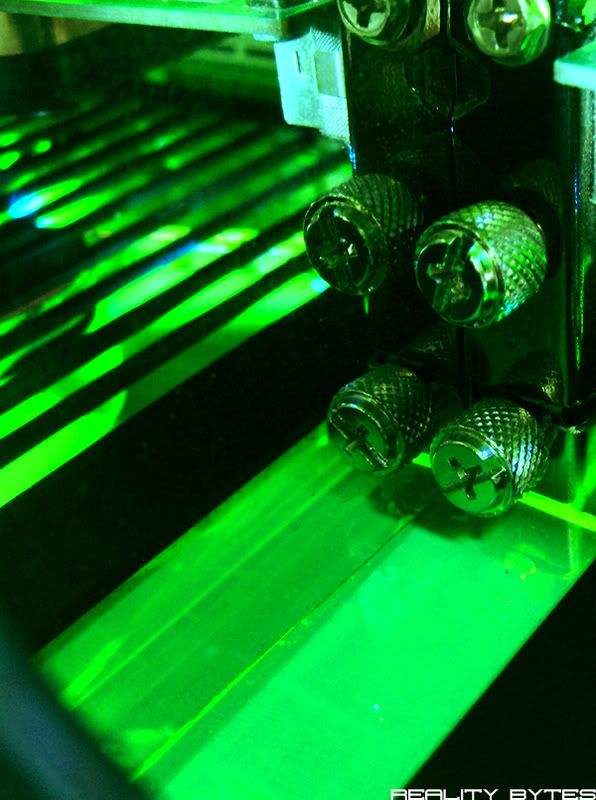
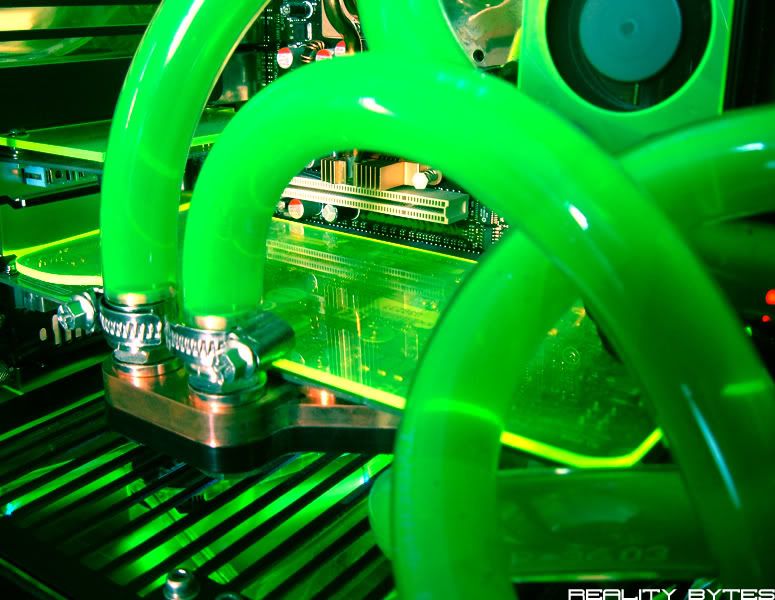
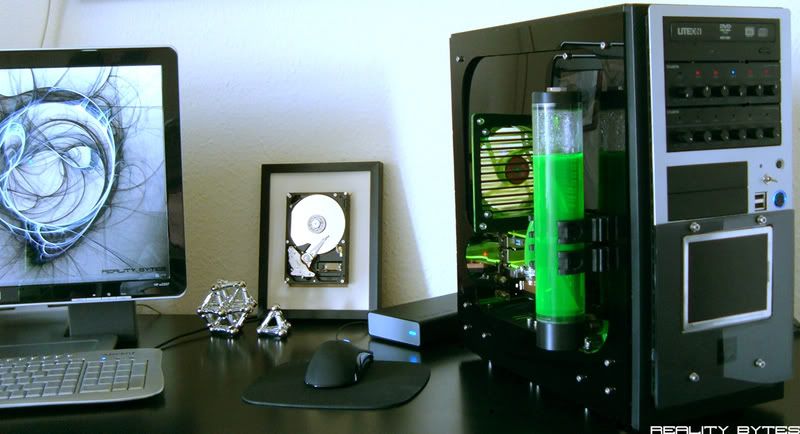
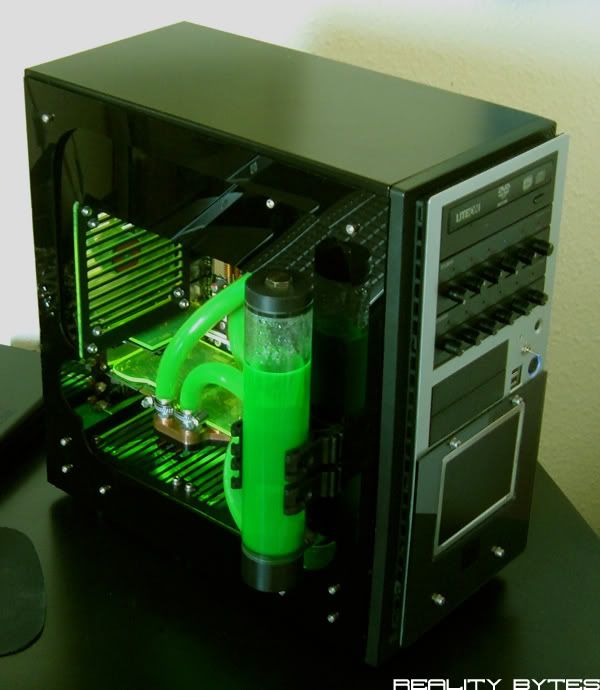
I have finally got round to finishing this mod, the side panel is finished fitted. I have chosen to remove the clear acrylic and have an open sided case just to be a bit different.
I'm very pleased with how this came out, just wish I could figure out the PS1 screen on the front, one day I will get it up and going!
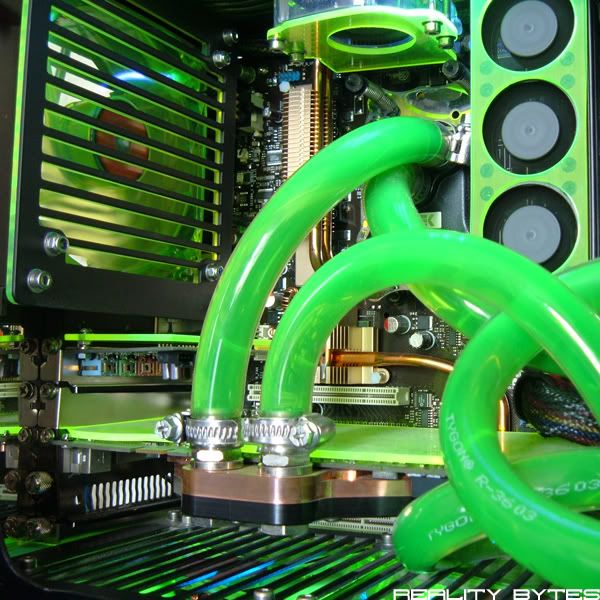
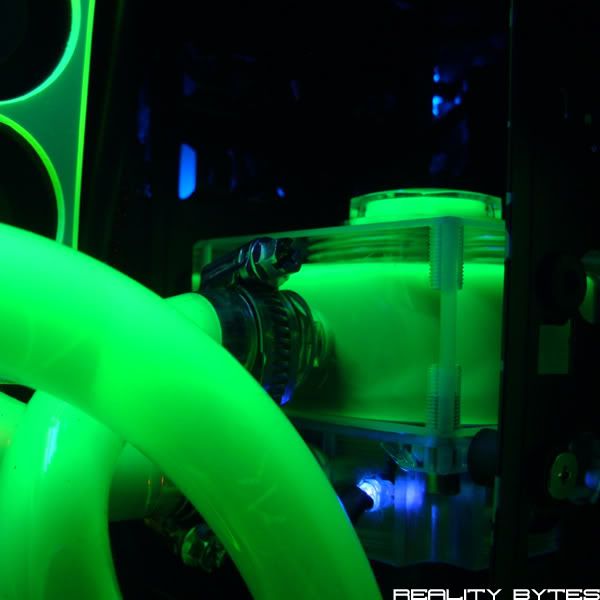
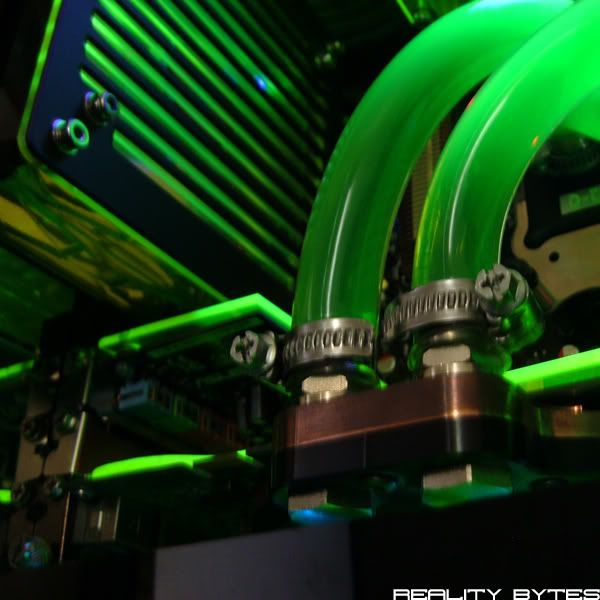
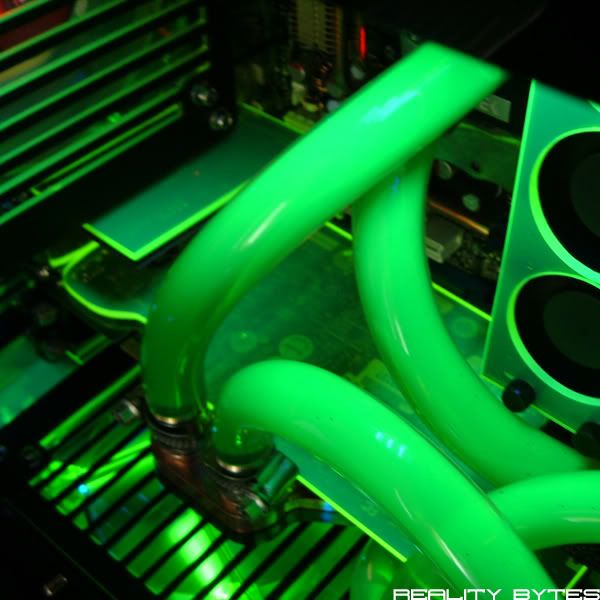
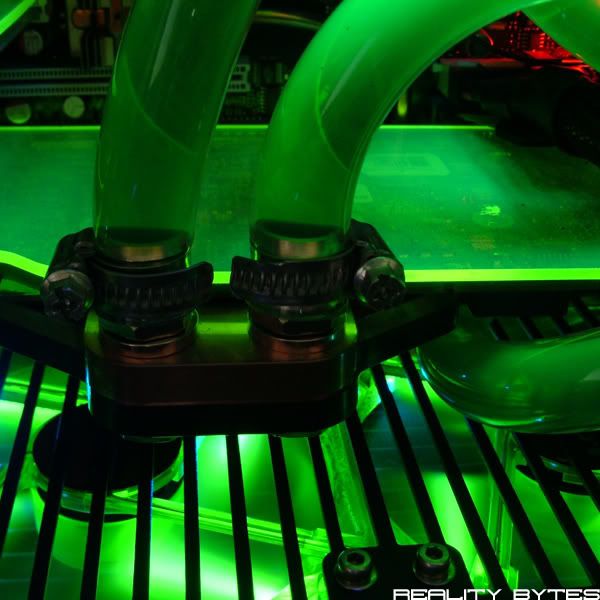
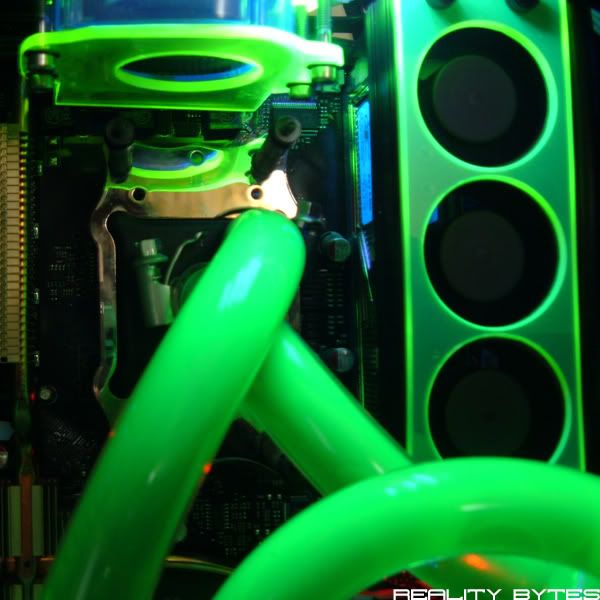
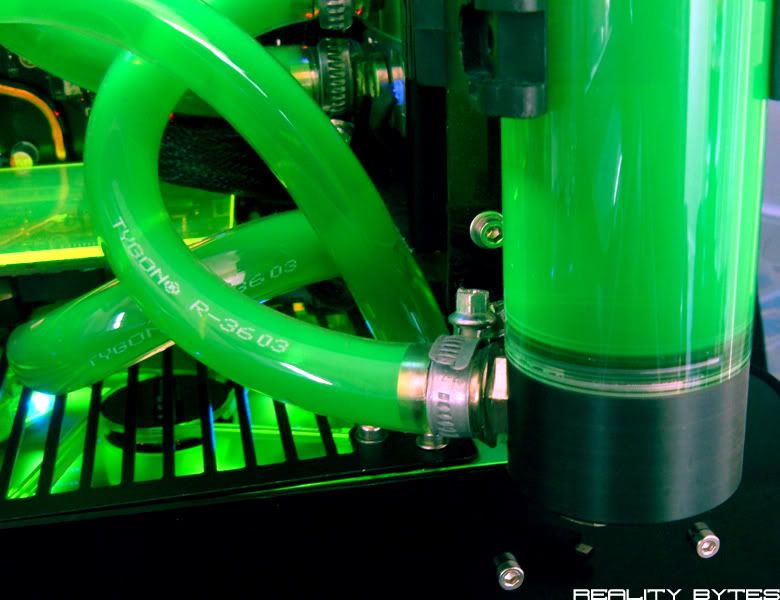
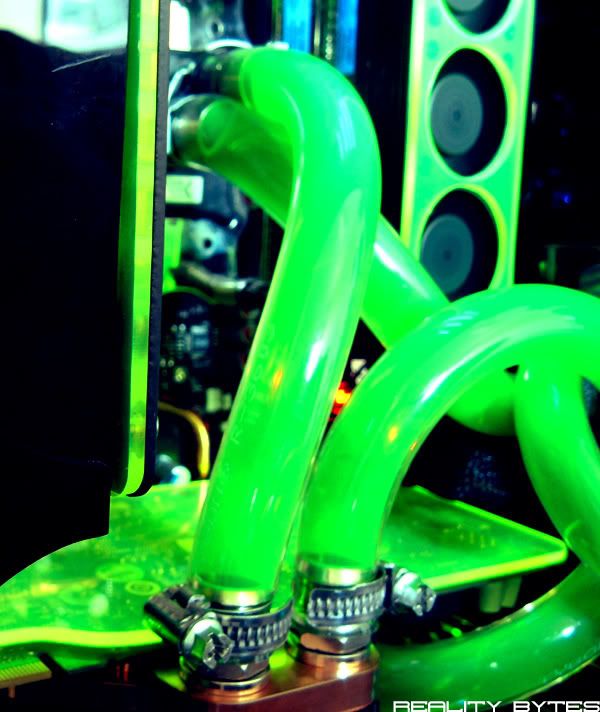
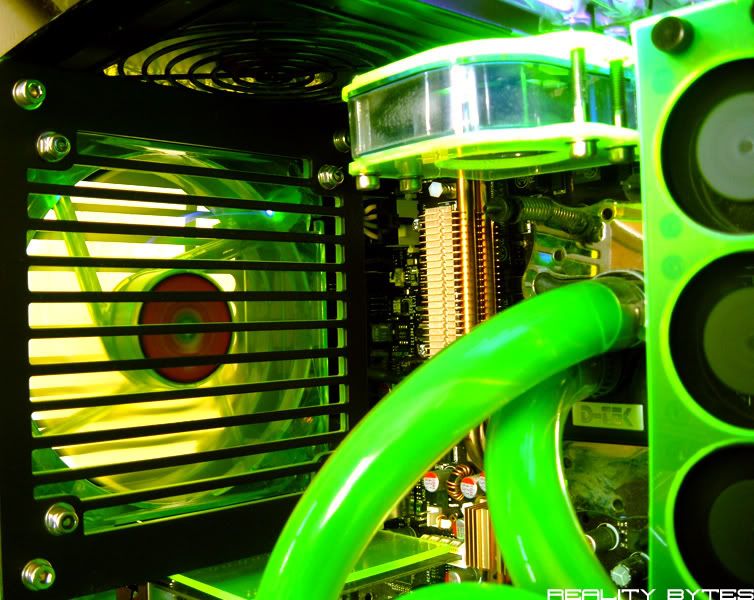
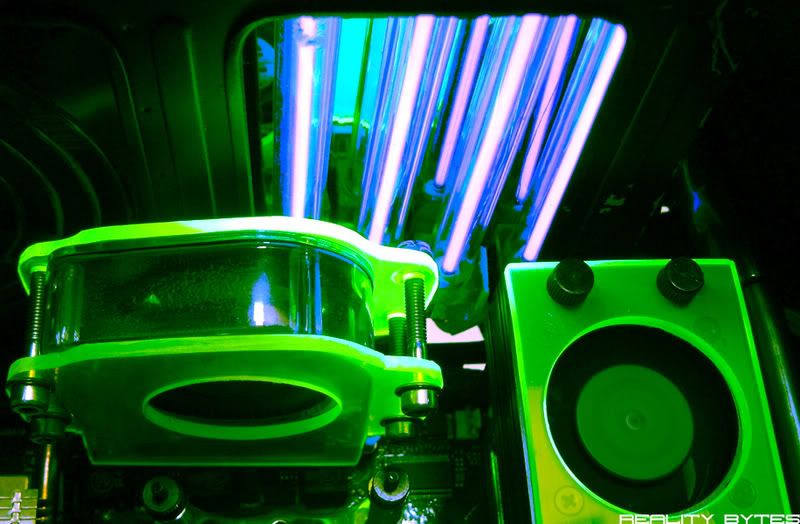
Enjoy some final pics ...............
Last but not least a big thanks to those who got involved along the way :)
Case modding photography is sublime.
I envy your ability. Looks Bad Ass Mannn!
Looks fantastic mate. Really glad to see it all done, apart from the front LCD.
I agree with Eclecticos, awesome photography skills.
The mods are so clean. Oh,and we have the same monitor!
FINAL PICTURES